Practicando en piel sintética Oso (Esp-Eng)
Hola queridos colegas le Tattoo World.
Por acá quiero mostrarle algo un poco distinto a lo que acostumbrado. Y contarle el proceso y además unas reflexiones sobre esto.
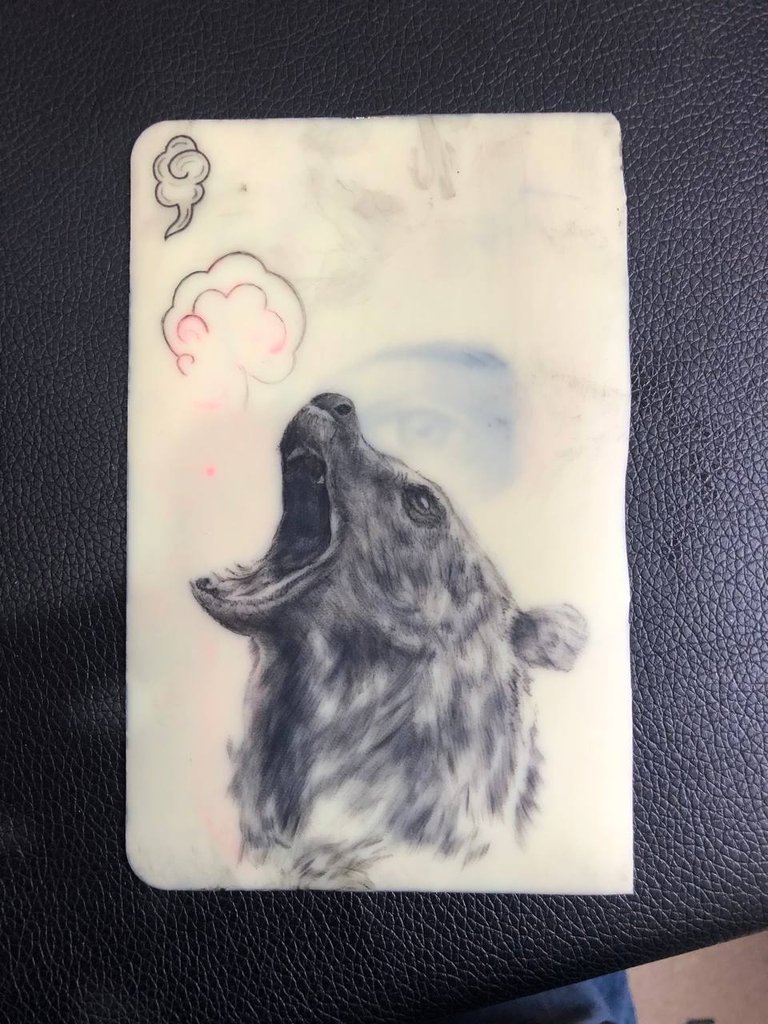
Hace unos días me decidí a retomar una práctica que tenía un par de año. Esto por la motivación de hacer aprovechar el día, ya que el cliente que tenia me cancelo la cita y ya tenía todo alistado.
Recordé que tenía guardado una piel sintética en uno de mis cajones y la saque para chequear en que condición se encontraba, y para mi sorpresa estaba casi intacto, solo tenía unas pequeñas prácticas antiguas.
En seguida me dispuse a buscar un animal para tatuar y me decidí por un oso.
Ya con diseño en mano y la plantilla puesta en la piel sintética.
Comencé a tatuar de poco en poco al estilo impresora, y acá recuerde lo que se borra la plantilla en este tipo de soporte, al no ser zona porosa la tinta no llega a pegarse igual que en la piel.
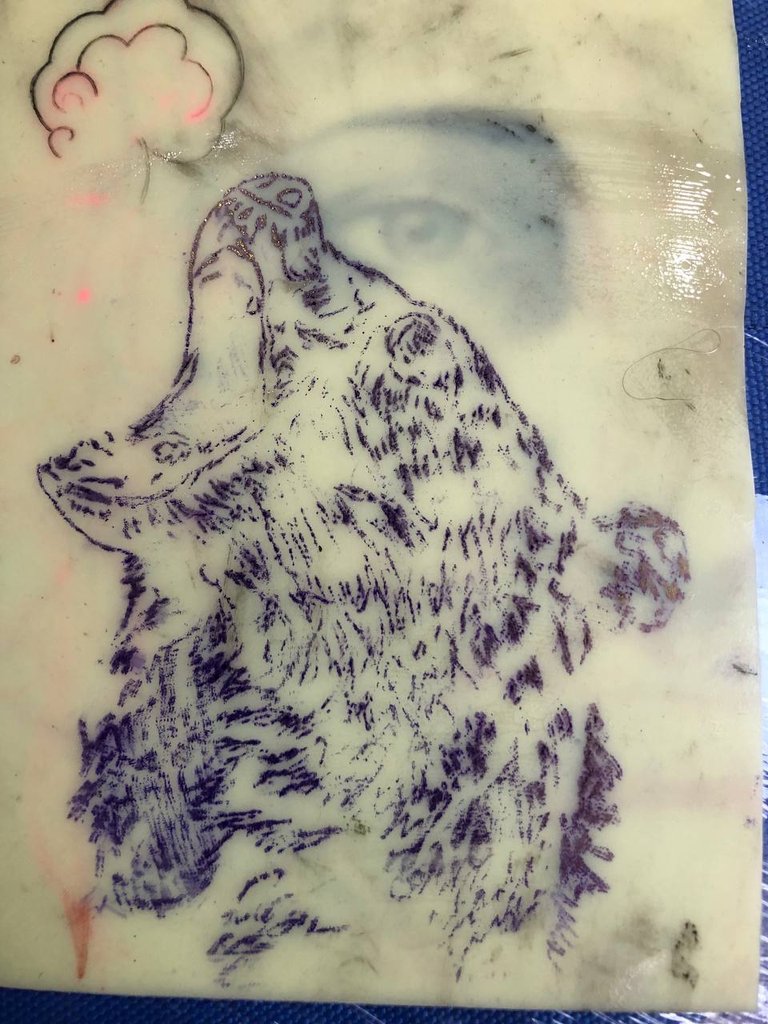
Una recomendación para que el esténcil quede mucho más tiempo en este tipo de piel es dejarla secar uno o dos días usando un bien líquido para plantilla.
Debido a esto, comencé a marcar las líneas base para no perder el diseño tomando en cuenta los puntos mas esenciales para poder tener la base y así para poder limpiar mejor el área.
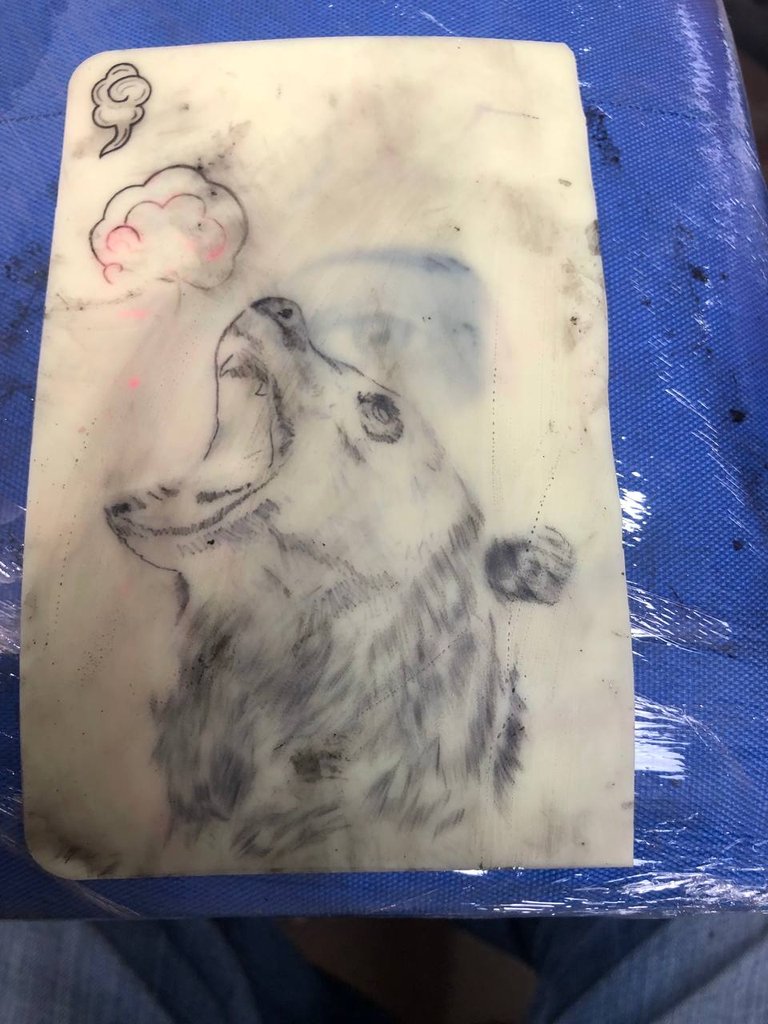
Ahora si con todo marcado comencé a realizar los efectos de pelo me manera muy claras primeramente haciendo veladuras en varias zonas al mismo tiempo, y poco a poco ir saturando y oscureciendo.
Para el dejar de ultimo las zonas mas oscuras como el hocico o algunas zonas del pelaje.
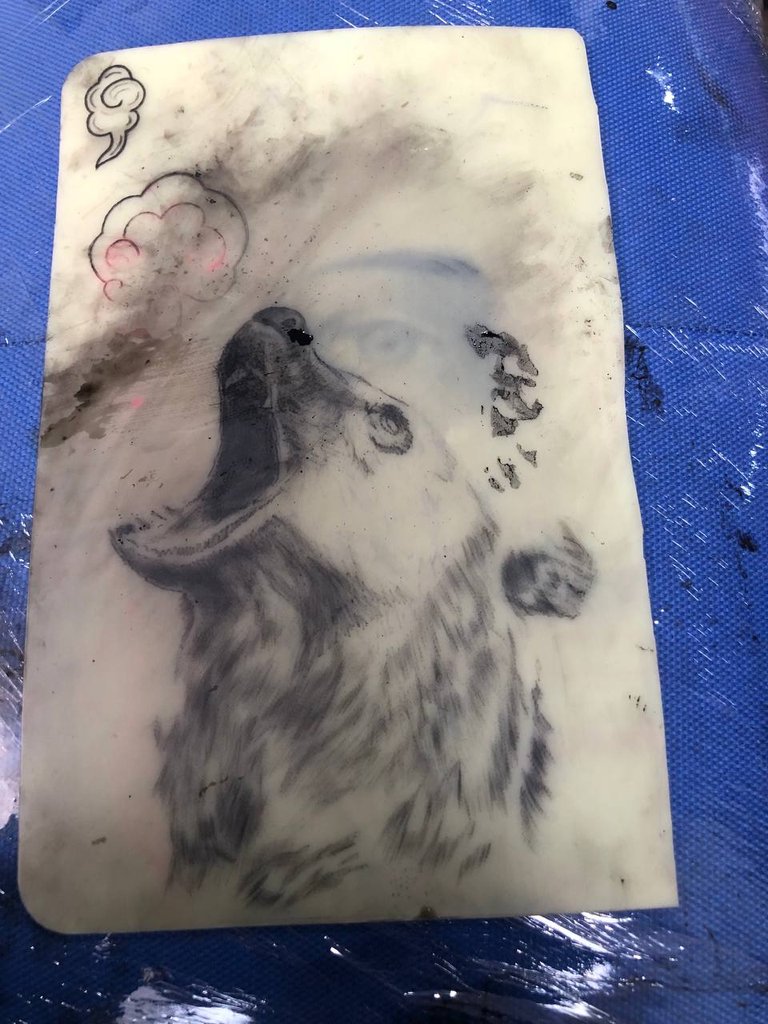
Como ultima recomendación al momento de limpiar, he notado que mucha gente se desespera porque la piel se emborrona con la tinta y les cuesta limpiar y dejar pulcra la piel, les recomiendo que limpien solo con la vaselina especializada para tatuajes, esta despega mejor las partículas de tinta que quedan regadas, la basílica común es demasiado densa para esto, y los líquidos no quitan la tinta de la piel sintética. Recomiendo este tipo de vaselina que las venden en cualquier tienda de tatuajes en potes grande o en sobrecitos, cuando la coloquen froten con la yema de los dedos y verán que sale muy fácil. Otro truquillo más es limpiar con aceite vegetal, el común de cocina.
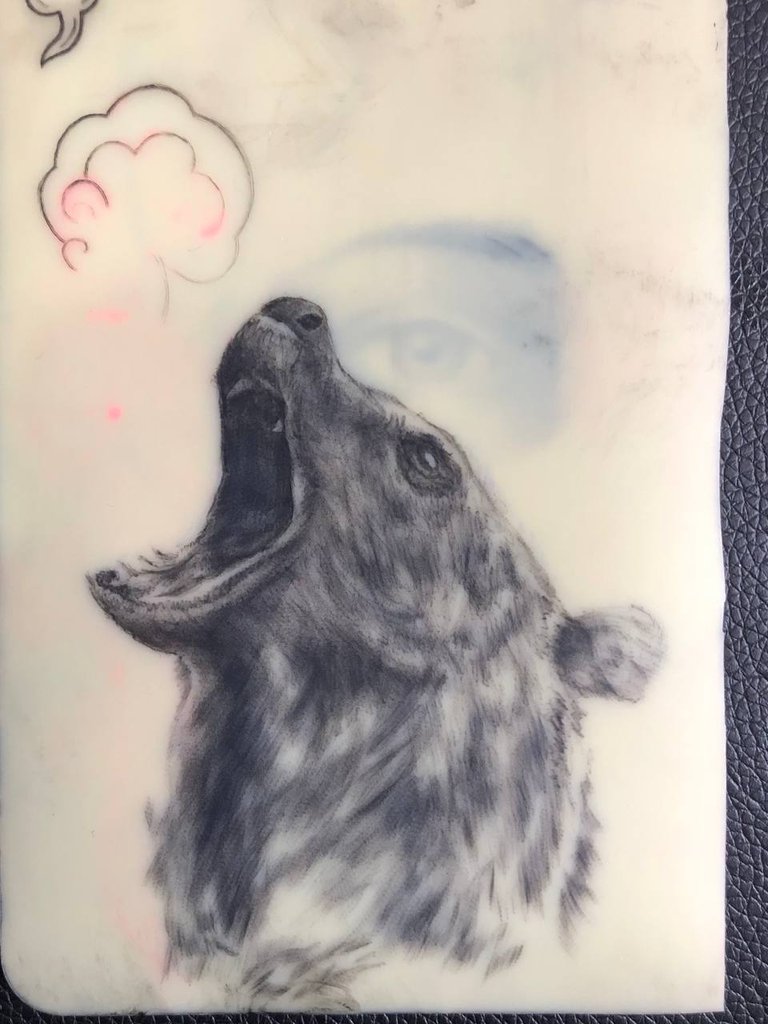
Las fotos las tomé con mi IPhone X
¡Espero les haya gustado! ¡Les invito a leer mis próximas publicaciones!
Traducción DeepL
Eng
Hello dear colleagues at Tattoo World.
Here I want to show you something a little different from what you are used to. And tell you about the process and also some thoughts about it.

A few days ago I decided to resume a practice that I had for a couple of years. This was motivated by the motivation to make the most of the day, since the client I had cancelled my appointment and I had everything ready.
I remembered that I had kept a synthetic leather in one of my drawers and I took it out to check its condition, and to my surprise it was almost intact, it only had a few small old practices.
Then I started to look for an animal to tattoo and I decided on a bear.
With the design in hand and the stencil placed on the synthetic skin.
I started tattooing little by little, printer style, and here remember how the stencil is erased in this type of support, not being a porous area the ink does not stick as it does on the skin.

A recommendation for the stencil to stay much longer on this type of leather is to let it dry for one or two days using a liquid stenciling liquid.
Because of this, I began to mark the base lines so as not to lose the design taking into account the most essential points in order to have the base and thus to be able to clean the area better.

Now with everything marked I started to make the hair effects in a very light way, first doing glazes in several areas at the same time, and little by little saturating and darkening.
For the last I left the darker areas such as the muzzle or some areas of the fur.

As a last recommendation when cleaning, I have noticed that many people despair because the skin is smeared with ink and it is difficult to clean and leave the skin clean, I recommend that you clean only with specialized petroleum jelly for tattoos, this better removes the ink particles that are scattered, the common basilica is too dense for this, and liquids do not remove the ink from the synthetic skin. I recommend this type of petroleum jelly, which is sold in any tattoo store in large pots or sachets, when you put it on, rub it with your fingertips and you will see that it comes off very easily. Another little trick is to clean with vegetable oil, the common kitchen oil.

The photos were taken with my IPhone X
I hope you liked it! I invite you to read my next posts!
Traduction by DeepL
La práctica siempre es necesaria y que bueno que pudiste sacar provecho del tiempo de ese imprevisto con la cita del cliente. El diseño del oso quedó muy bien 😊
Muchas gracias Irene, para mi las practicas siempre son necesarias!
El efecto del pelaje quedo muy bien, eso es saber aprovechar el tiempo, buenos consejos para otros artistas del tatuaje.
¿La piel puede reusarse @jarilustra ?
Te invito a pasar dejando tu apoyo y comentario a los post anteriores en la comunidad, es algo que debe hacerse costumbre.
Hola gracias por el apoyo! Pues fíjate, puedes seguir usando las zonas que quedan libres, o el reverso de la primera cada que usaste, así puedes sacarle el máximo a esas pieles
Buenísimo 😅
Excelente explicación y tremendo resultado !! Me gusta mucho el acabado en sombras que utilizaste.
Saludos
Esa práctica está muy buena, me gusta la textura del pelaje a lo personal siento que es una de las cosas más complicadas de hacer.
Congratulations @jarilustra! You have completed the following achievement on the Hive blockchain And have been rewarded with New badge(s)
Your next payout target is 250 HP.
The unit is Hive Power equivalent because post and comment rewards can be split into HP and HBD
You can view your badges on your board and compare yourself to others in the Ranking
If you no longer want to receive notifications, reply to this comment with the word
STOPCheck out our last posts: