Aretes de Muñeco de Nieve // Tutorial
Greetings everyone, this time I come to share with you the process to make a pair of earrings in the shape of a snowman, they are made using the amigurumi technique that consists of making three-dimensional crochet figures. I particularly love themed earrings and we are already at Christmas time and I could not miss the occasion. I hope you like it.
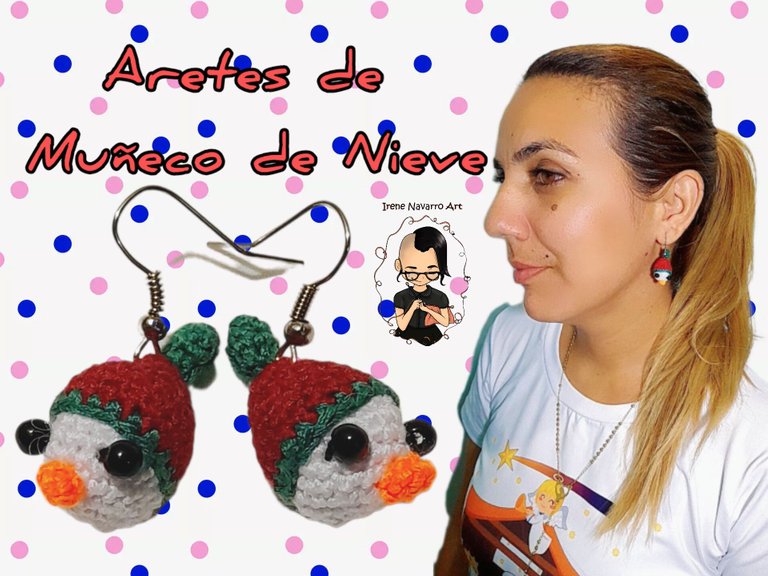

Materiales / Materials
- Hilo para bordar o coser (4 hebras): blanco, verde, naranja, vinotinto y negro.
- Ganchillo de 0.90 mm
- Relleno de fibra
- 4 perlas negras de plástico
- Aguja de coser
- 2 Garfios para aretes
- Pinzas para bisutería
- Embroidery or sewing thread (4 strands): white, green, orange, red wine and black.
- 0.90 mm hook
- fiber fill
- 4 black plastic beads
- sewing needle
- 2 Hooks for earrings
- Tweezers for jewelery

Proceso / Process
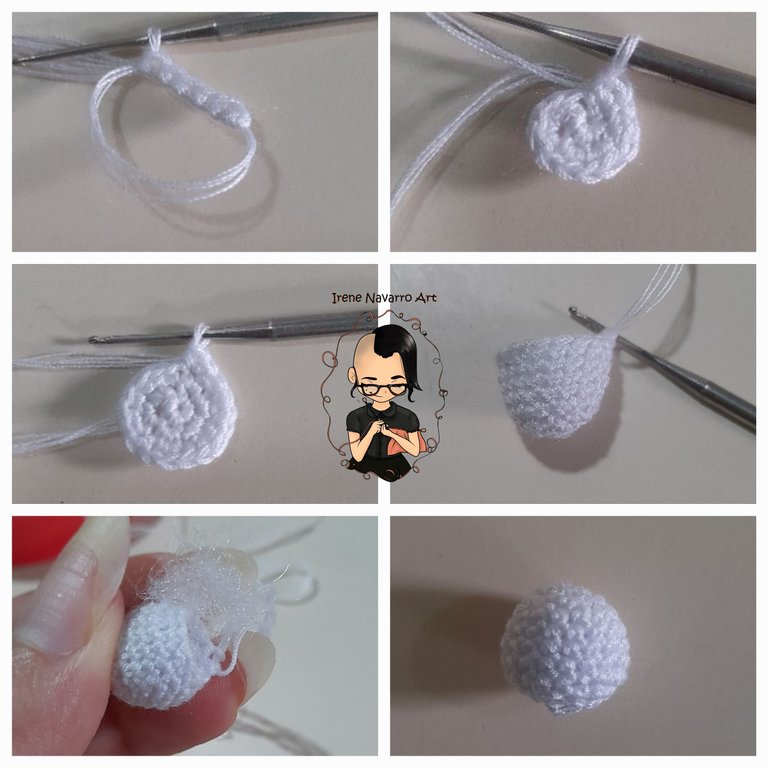
Con el hilo blanco hacer 6 puntos bajos en un anillo
Hilera 1: 6 aumentos. Total de puntadas: 12
Hilera 2: (1 punto bajo, 1 aumento) X 6. Total de puntadas: 18
Hileras 3-7: 18 puntos bajos.
Hilera 8: (1 punto bajo, 1 disminución) X 6. Total de puntadas: 12.
RELLENAR
Hilera 9: 6 Disminuciones. Terminar con un punto deslizado y esconder la hebra por dentro.
Hacer dos iguales.
With the white thread make 6 single crochets in a ring
Row 1: 6 increases. Total stitches: 12
Row 2: (1 single crochet, 1 increase) X 6. Total stitches: 18
Rows 3-7: 18 single crochet.
Row 8: (1 single crochet, 1 decrease) X 6. Total stitches: 12.
FILL
Row 9: 6 Decreases. Finish with a slip stitch and hide the yarn inside.
Make two alike.

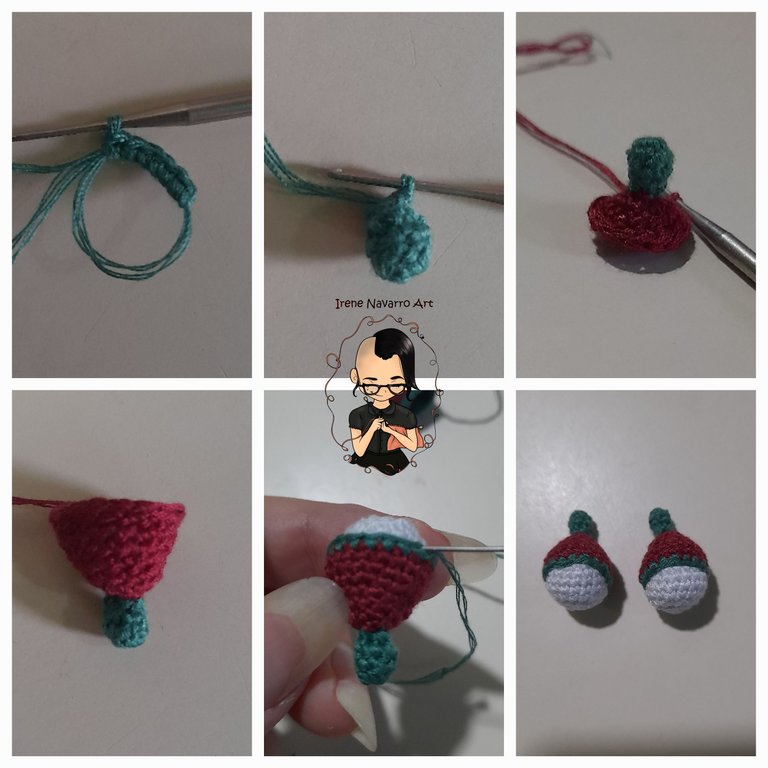
Con hilo verde hacer 6 puntos bajos en un anillo.
Hileras 1 y 2: 6 puntos bajos.
Hilera 3: (1 punto bajo, 1 disminución) X 2. Total de puntadas: 4
Hilera 4: Con hilo vinotinto (1 punto bajo, 1 aumento) X 2. Total de puntadas: 6
Hilera 5: 6 aumentos. Total de puntadas: 12
Hilera 6: 12 puntos bajos.
Hilera 7: (3 puntos bajos, 1 aumento) X 3. Total de puntadas: 15
Hilera 8: (2 puntos bajos, 1 aumento, 2 puntos bajos) X 3. Total de puntadas: 18
Hileras 9 y 10: 18 puntos bajos.
Hilera 11: Con hilo verde 18 puntos bajos.
Terminar con un punto deslizado y dejar una hebra larga para coser a la cabeza.
Hacer dos iguales.
With green thread make 6 single crochets in a ring.
Rows 1 and 2: 6 single crochets.
Row 3: (1 single crochet, 1 decrease) X 2. Total stitches: 4
Row 4: With burgundy thread (1 single crochet, 1 increase) X 2. Total stitches: 6
Row 5: 6 increases. Total stitches: 12
Row 6: 12 single crochet.
Row 7: (3 single crochets, 1 increase) X 3. Total stitches: 15
Row 8: (2 single crochets, 1 increase, 2 single crochets) X 3. Total stitches: 18
Rows 9 and 10: 18 single crochet.
Row 11: 18 single crochet with green yarn.
Finish with a slip stitch and leave a long tail to sew to the head.
Make two alike.

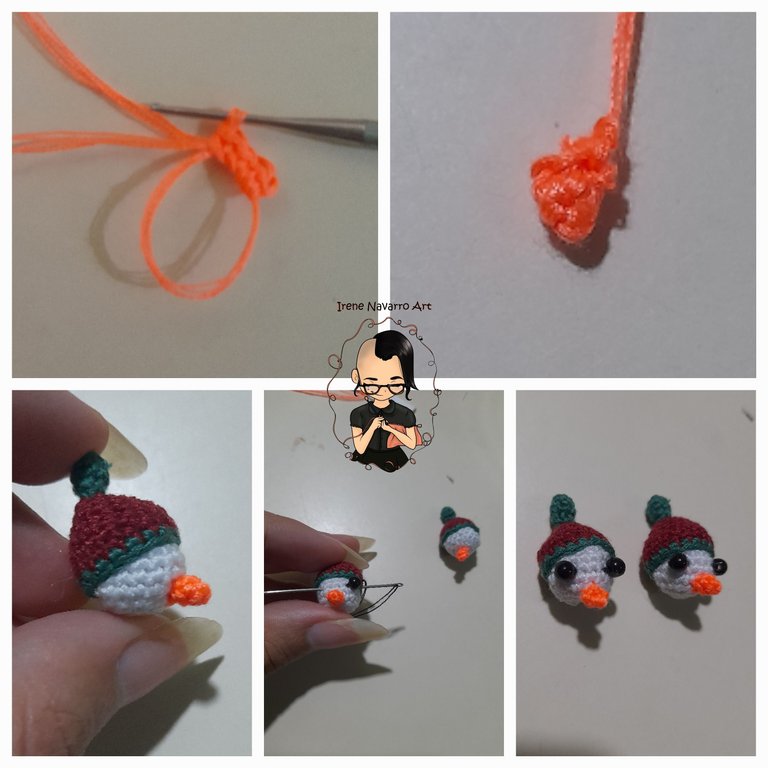
Con hilo naranja hacer 4 puntos bajos en un anillo.
Hilera 1: 4 puntos bajos.
Hacer un punto deslizado y dejar una hebra larga para coser a la cara.
Hacer dos iguales.
Con el hilo negro coser las perlas para los ojos.
Con las pinzas para bisutería colocar el garfio para arete en cada uno.
With orange thread make 4 single crochets in a ring.
Row 1: 4 single crochets.
Make a slip stitch and leave a long tail to sew to the face.
Make two alike.
With the black thread sew the pearls for the eyes.
With the jewelry pliers place the earring hook in each one.

Resultado / Result
I hope you find this tutorial useful, it is quite simple and by following it fully you can get a good result. See you soon 🤗
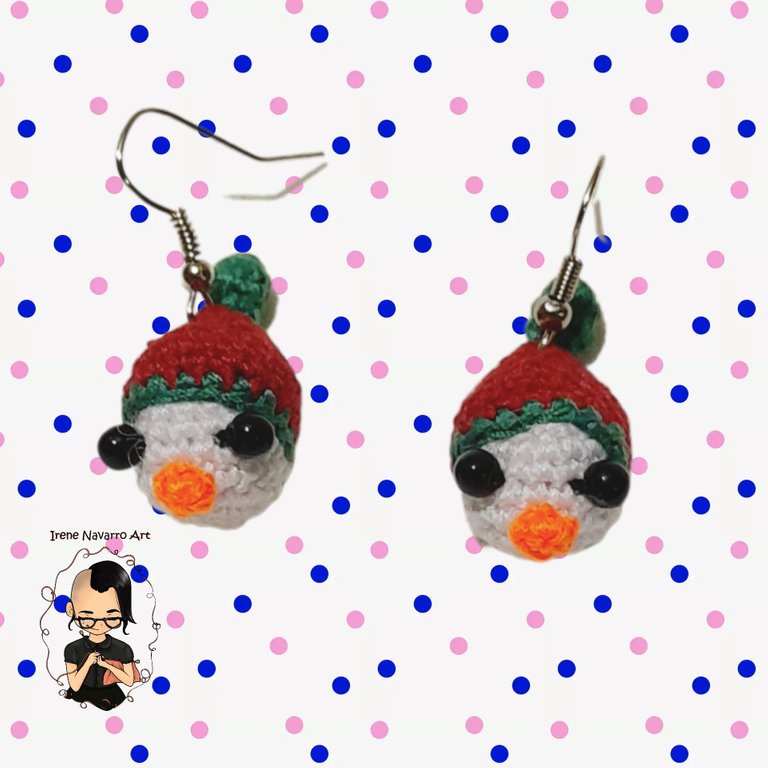
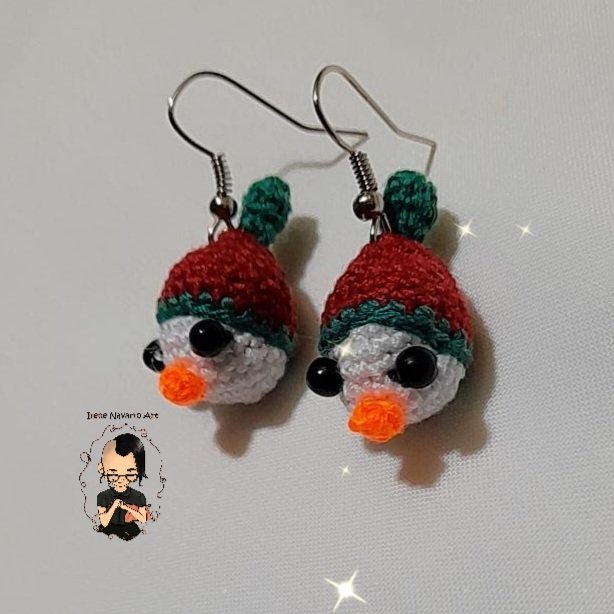
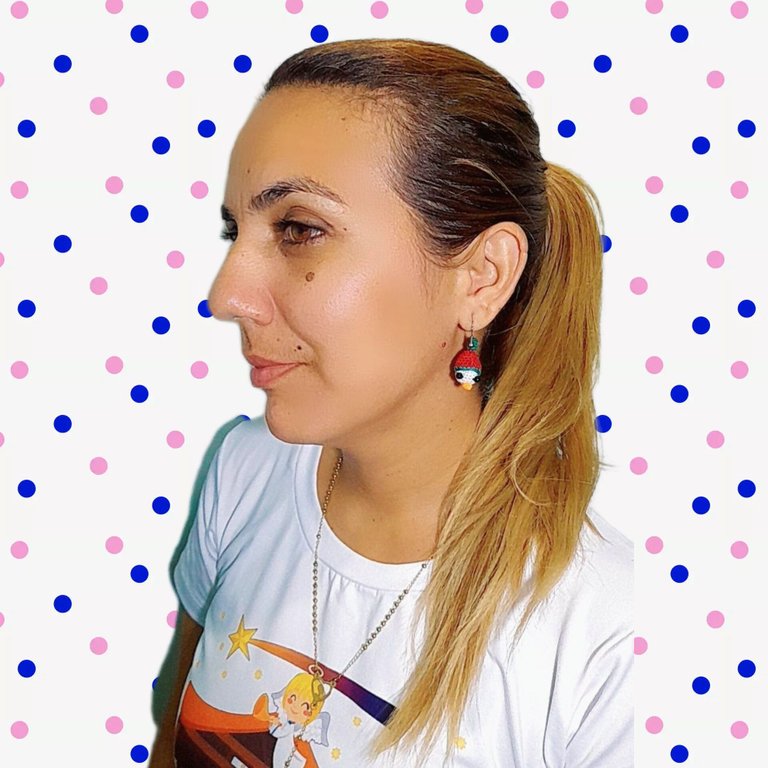

Imágenes tomadas con dispositivo Samsung A12. Portada editada en InShot
Pictures taken with Samsung A12 device. Cover edited in InShot
Invítenme un Café/Support Me on Ko-Fi

https://ko-fi.com/irenenavarroart
If you want to support my art you can also make donations for the value of a coffee (Ko-Fi)
Espero les haya gustado. Les invito a leer mis próximas publicaciones y siempre estaré dispuesta a responder sus preguntas y comentarios, también pueden seguirme y contactarme en cualquiera de mis redes sociales. ¡Muchas gracias!
I hope you liked it. I invite you to read my next publications and I will always be willing to answer your questions and comments, you can also follow me and contact me on any of my social networks. Thank you!
https://twitter.com/2471487180/status/1598123017967906817
The rewards earned on this comment will go directly to the people( @irenenavarroart ) sharing the post on Twitter as long as they are registered with @poshtoken. Sign up at https://hiveposh.com.
Es demasiado cuchi tu muñequito con ese gorrito Irene, Felicidades por el excelente trabajo! 🥰💖💕
Muchas gracias 🥰 lo hice con mucho cariño
Están hermosos, muy original el diseño, me encanta 👍
Muchas gracias 😊
Congratulations, your post has been upvoted by @dsc-r2cornell, which is the curating account for @R2cornell's Discord Community.
Enhorabuena, su "post" ha sido "up-voted" por @dsc-r2cornell, que es la "cuenta curating" de la Comunidad de la Discordia de @R2cornell.
Thanks for the support 😃
Que bello ay dios me encantaría horita un par, felicitaciones amiga y muchas bendiciones 🙏 gracias por compartir esas preciosuras.
Muchas gracias 😊
Wow... Están realmente hermosos, son excesivamente adorables. El que sean tejidos les da un toque muy original! También soy fan de esa combinación de colores, muy armónicos y agradables a la vista!! Te felicito de verdad, he quedado fascinada 🥰
Muchas gracias 🥰 Saludos