Crocheting a hair band for myself 🌹❤️🩹
Hello beautiful people of this community ❤️
It's been a long while
I missed here a lot
Hope you're all faring well🥰
I'm thrilled to share with you all today the steps i used in making this pretty and simple hairband for myself
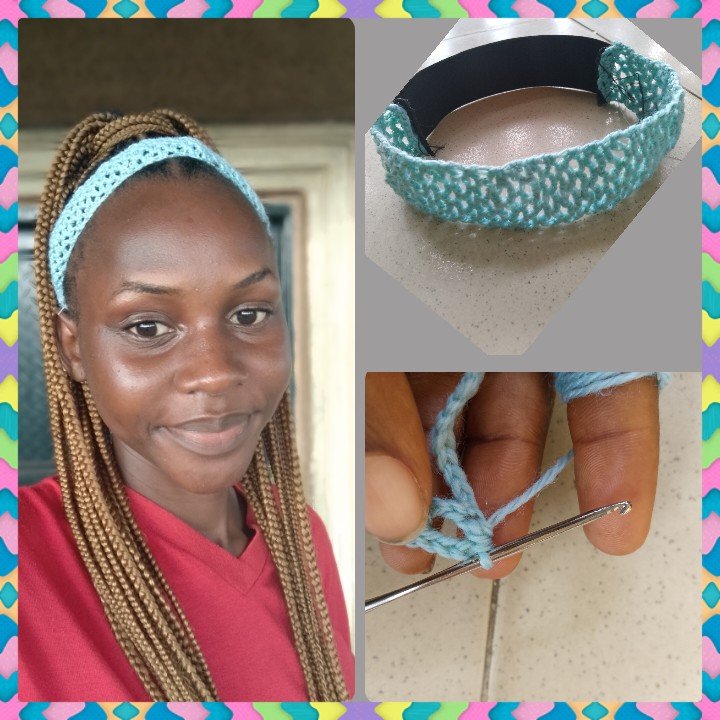
Actually, i made this hairband with an intention on covering my rough hair. My hair's a bit old and due to the cost of braiding another one , i have refused to loosen it and then ive been thinking of what to do to reduce the obviousness of the rough part till i got an advice from a friend that i should use a hair band which will make it much prettier and i thought it to be a nice idea so i decided to crotchet a hair band for myself for now and maybe within few days i could purchase it from the market or better still, crotchet more with different colours
Luckily for me , i had a blue wool at home and i fancied blue colour too so i choosed to make it with the blue wool.
The hair band making was quite simple let's see how it went...
Here are the materials i used in making it
- Blue wool
- Knitting pin
- Scissors ✂️ ✂️ ✂️
- Measuring tape
- Elastic
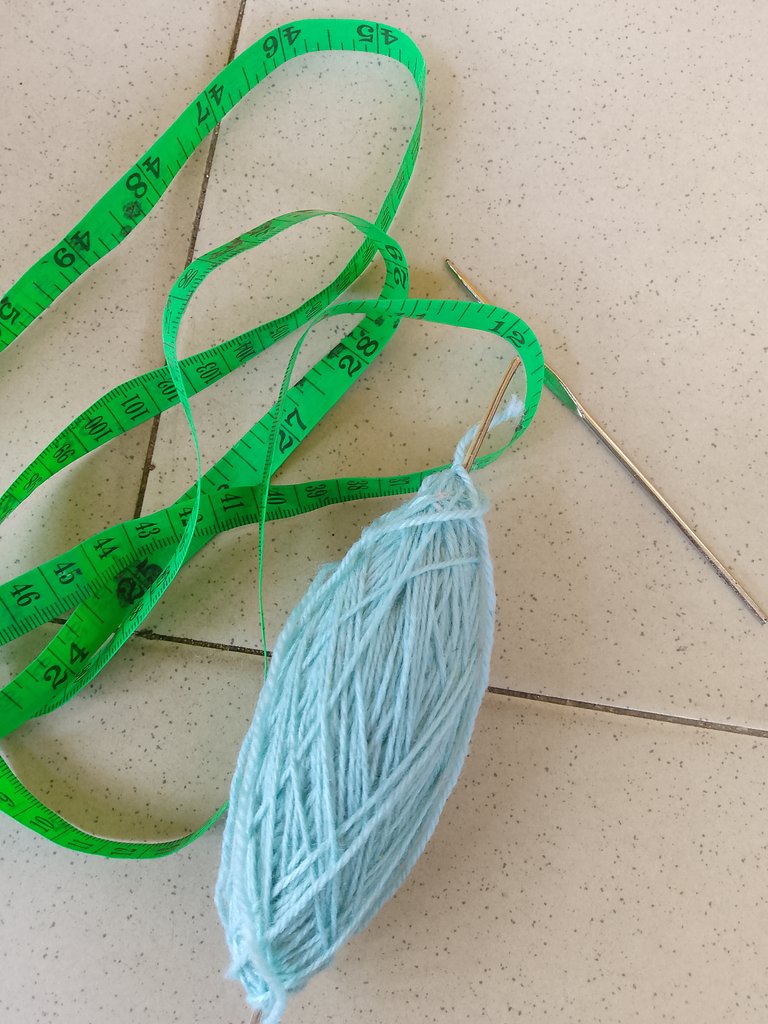
And these are the steps i used in making it :
I used my left hand to tie quite a size of wool round it and the remained the tip I'll be working with
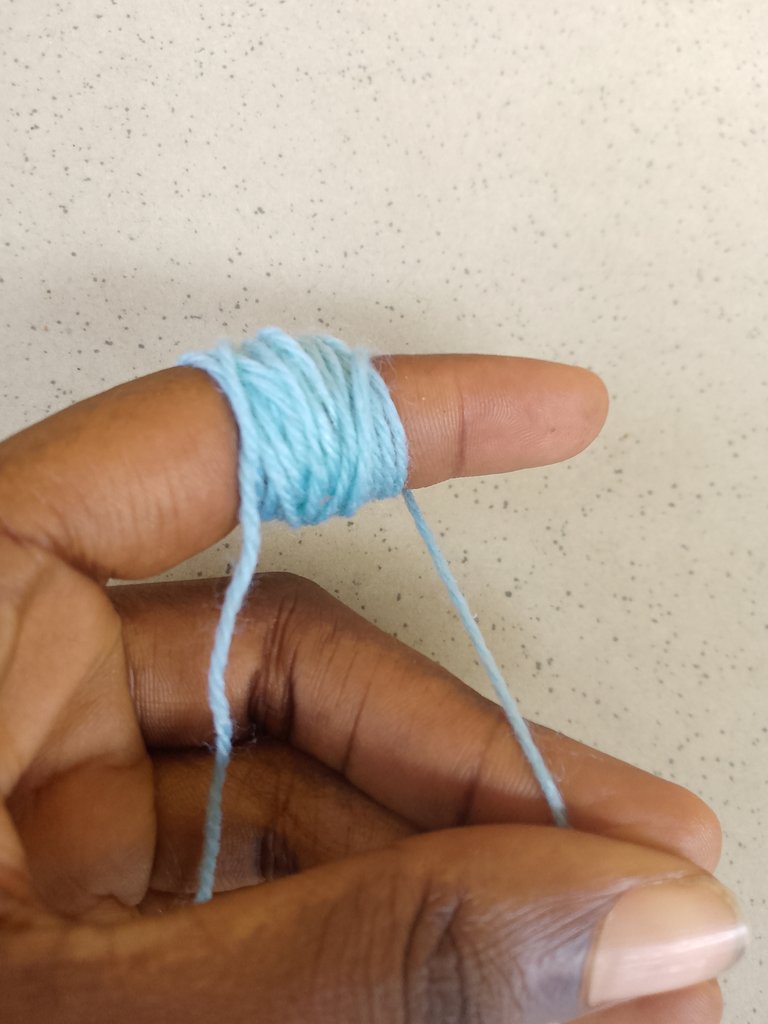
I then picked up my knitting pin and started working with it, i knitted 15 chains with the wool and this was because i was going to work with the distance of 3 chains for a hole
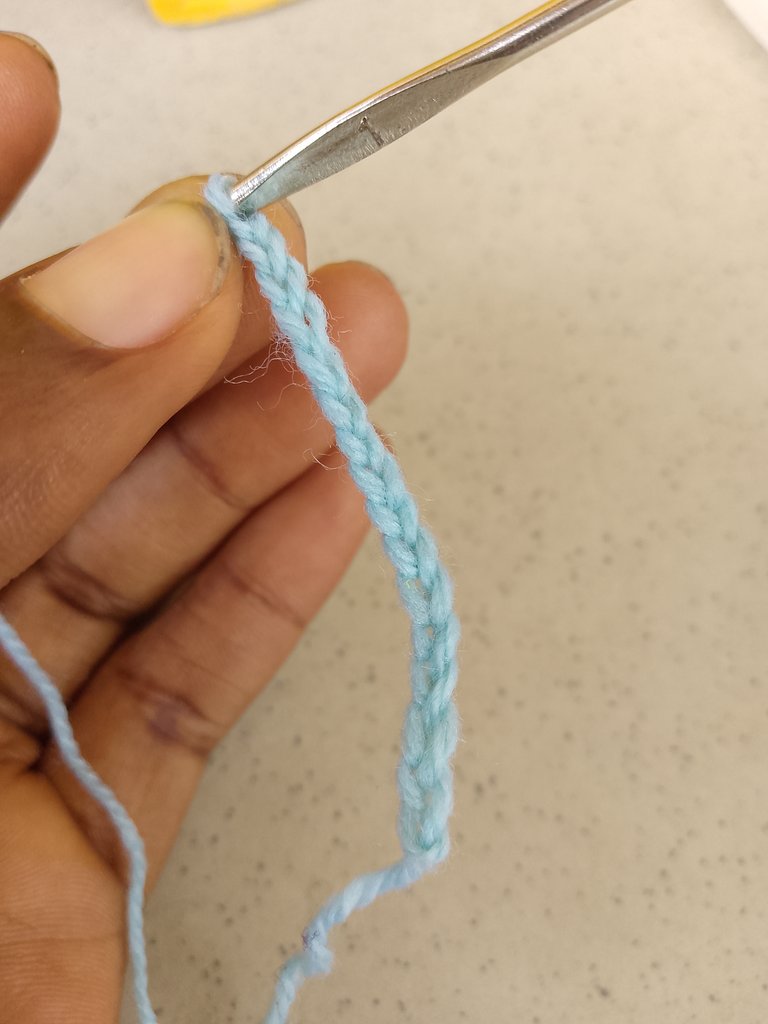
Now i made a single crochet into the third chain started from where the knitting pin was already at
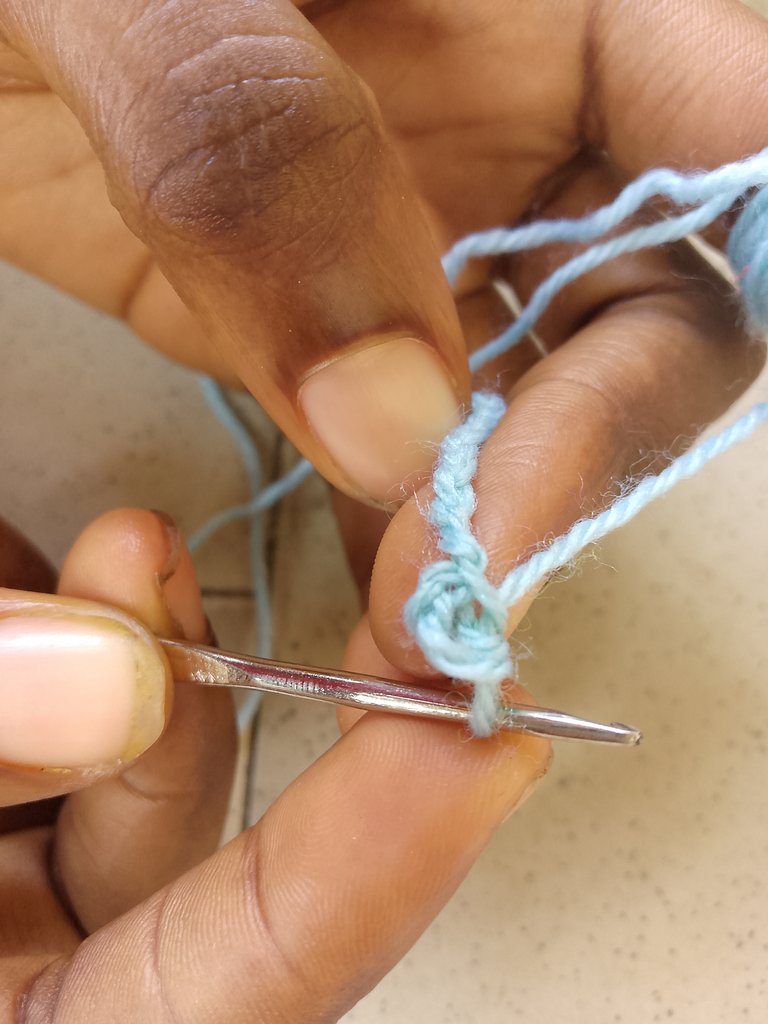
After then, i made three chains so that it will aid holes in the hair band
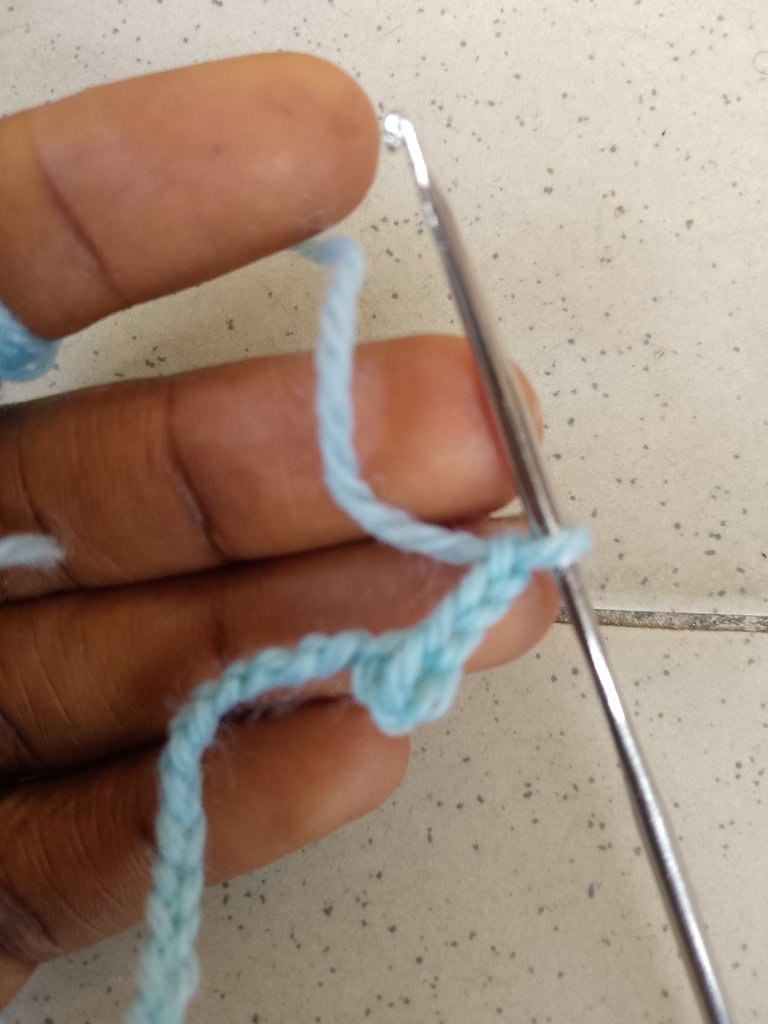
After which i skipped two chains and inserted my knitting pin into the third chain and knitted a single crotchet
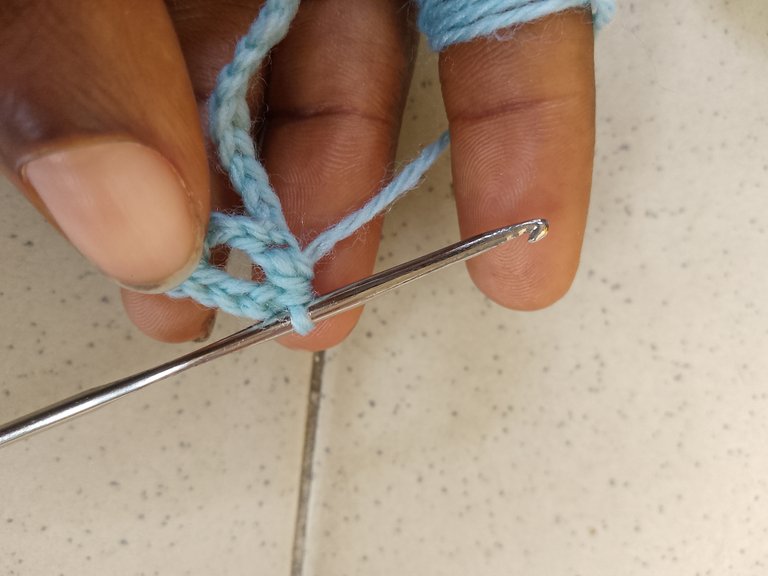
At this point, my holes started showing and again i made three chains with my wool
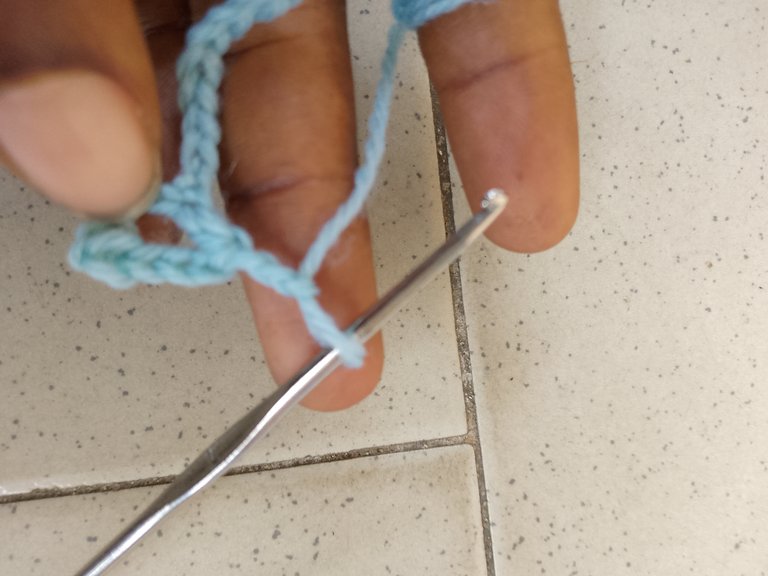
After making 3 chains , i skipped two of the chains in the previous row and then inserted my knitting pin in the third row and did a single crotchet
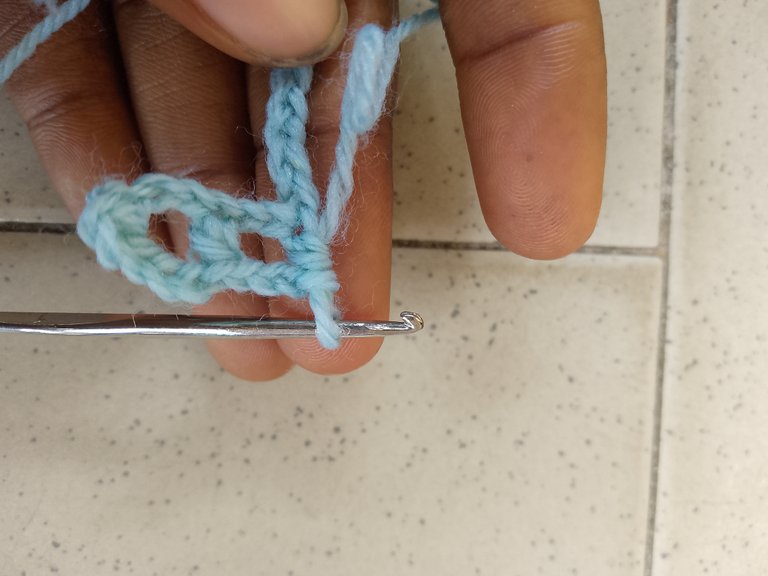
I continued that way till i got to the last three on that row
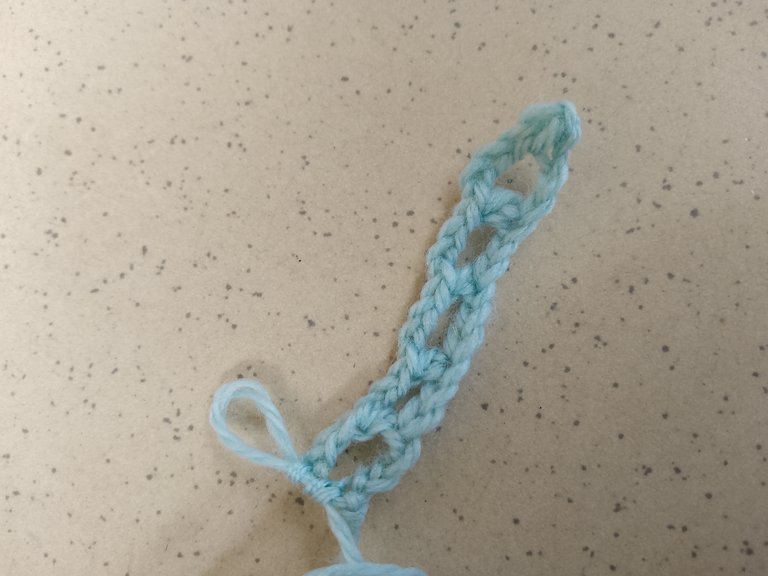
I then turned my wool so that i could knit backwards and then did three chains

I had holes filled in the hair band already so i started working with the holes instead.
After i had made three chains, i inserted it in the closest hole and did a single crotchet

I then made another three chains and inserted it in the next hole
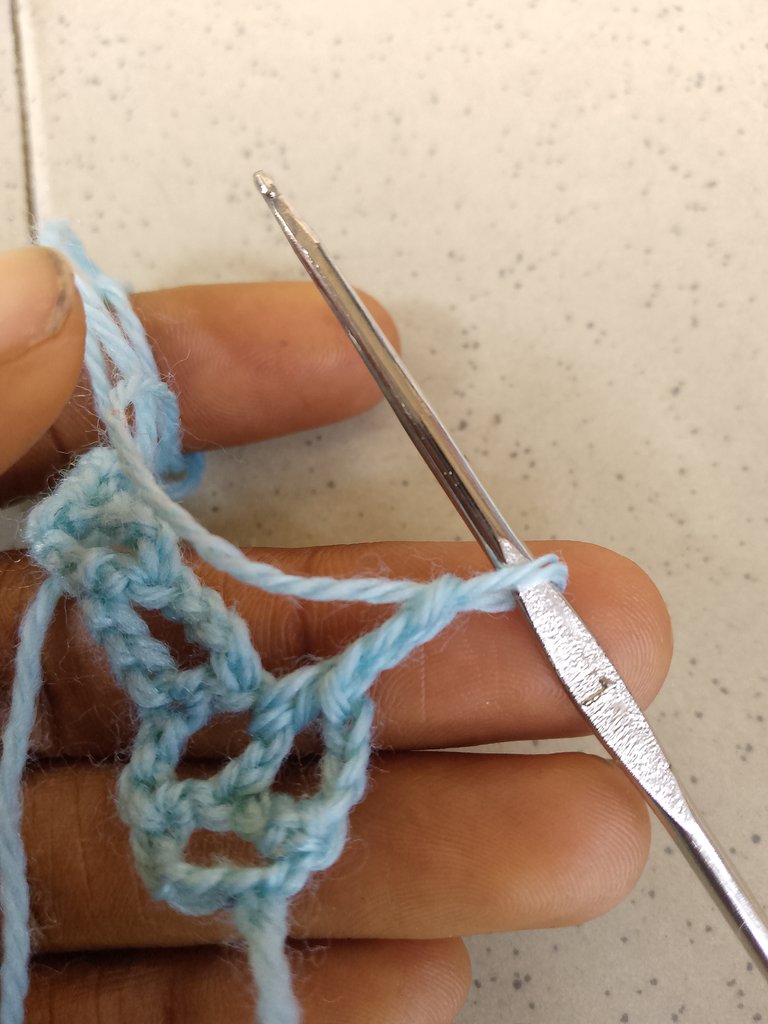
I continued till i fillled the holes till the end
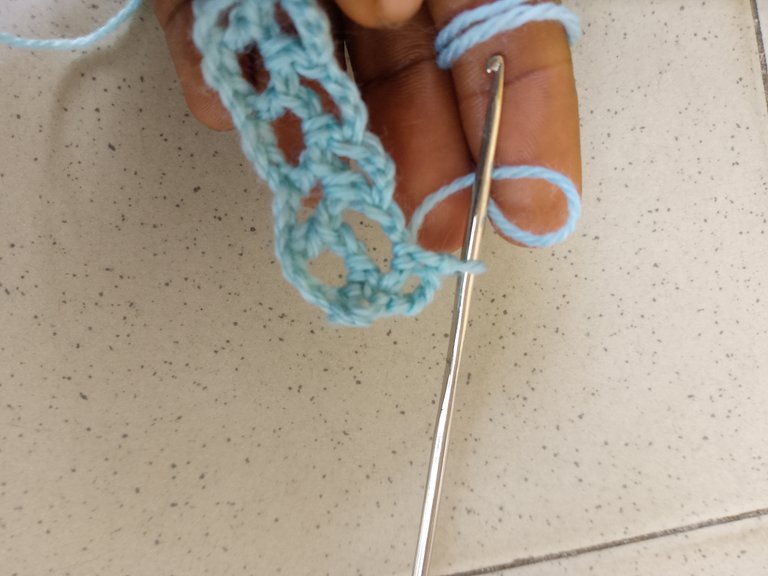
And then i moved to the next row by turning the knitted wool and continued with making three chains
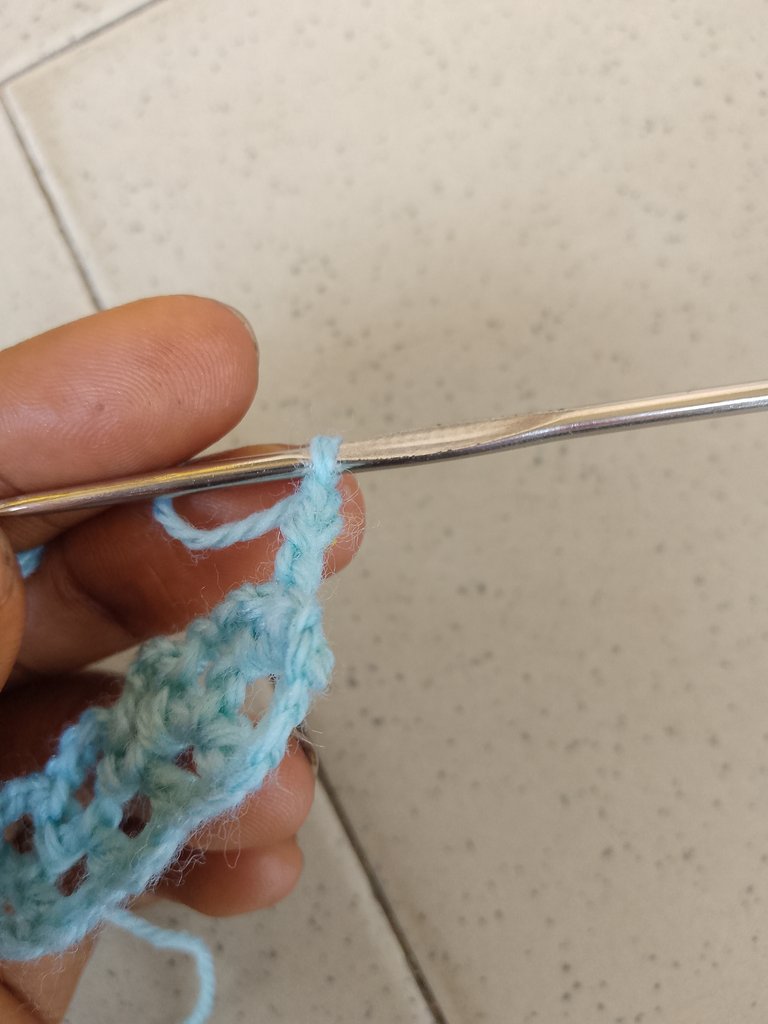
I inserted it in the hole that was next
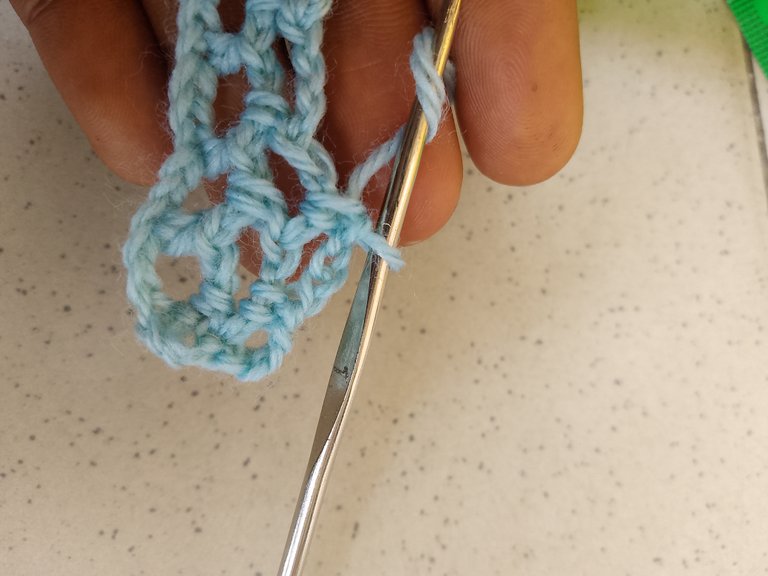
That was the same thing till i completed that row ...
I kept making row by row, knitting inside holes and using three chains to create new holes , with these steps i got to this point
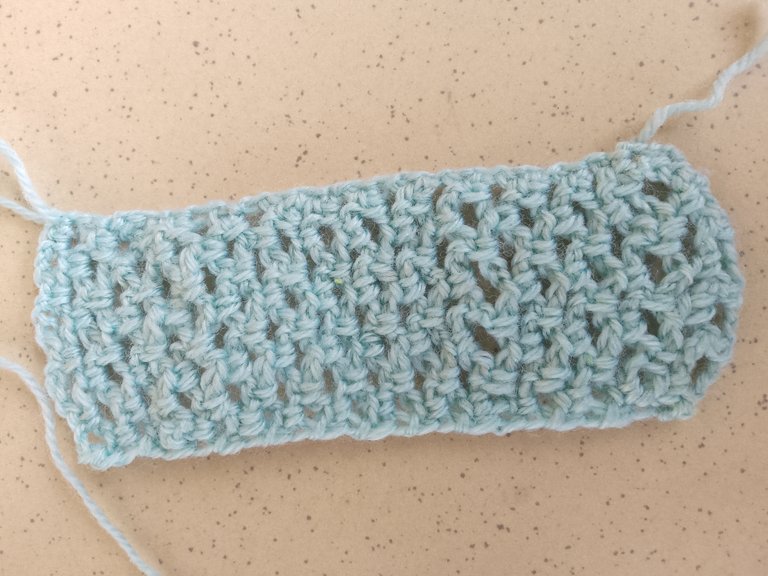
I kept on knitting, although i almost got tired but since i knew what it was meant for, i kept pushing till i completed the size of the forehead.
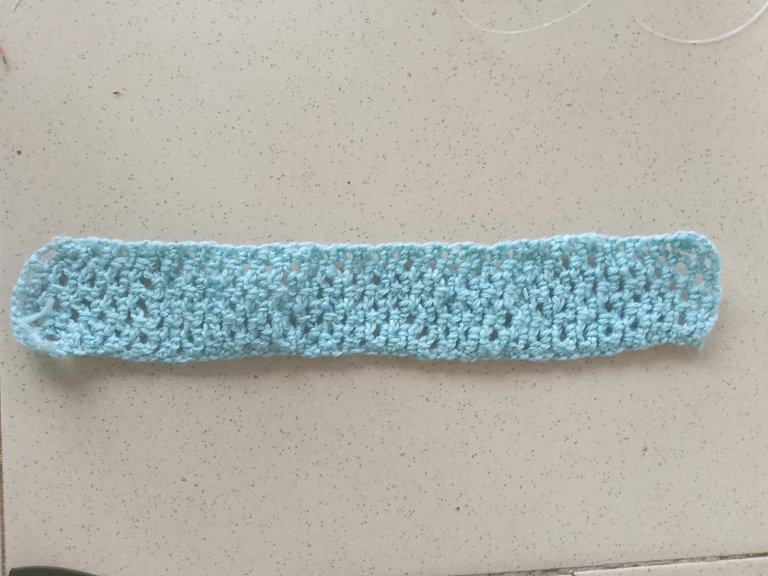
I then moved onto using elastic.
I cut my elastic to about 7 inches long
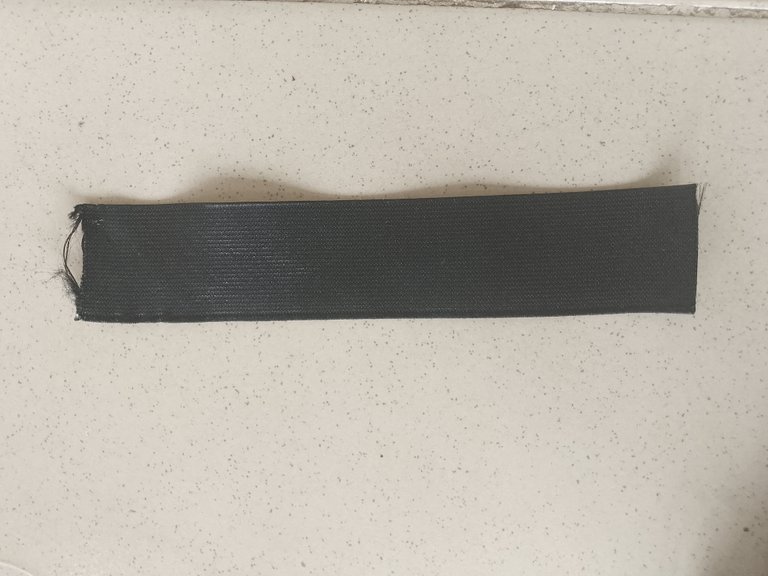
I then placed it on the edges of the knitted wool and then used my sewing machine to sew the two edges together
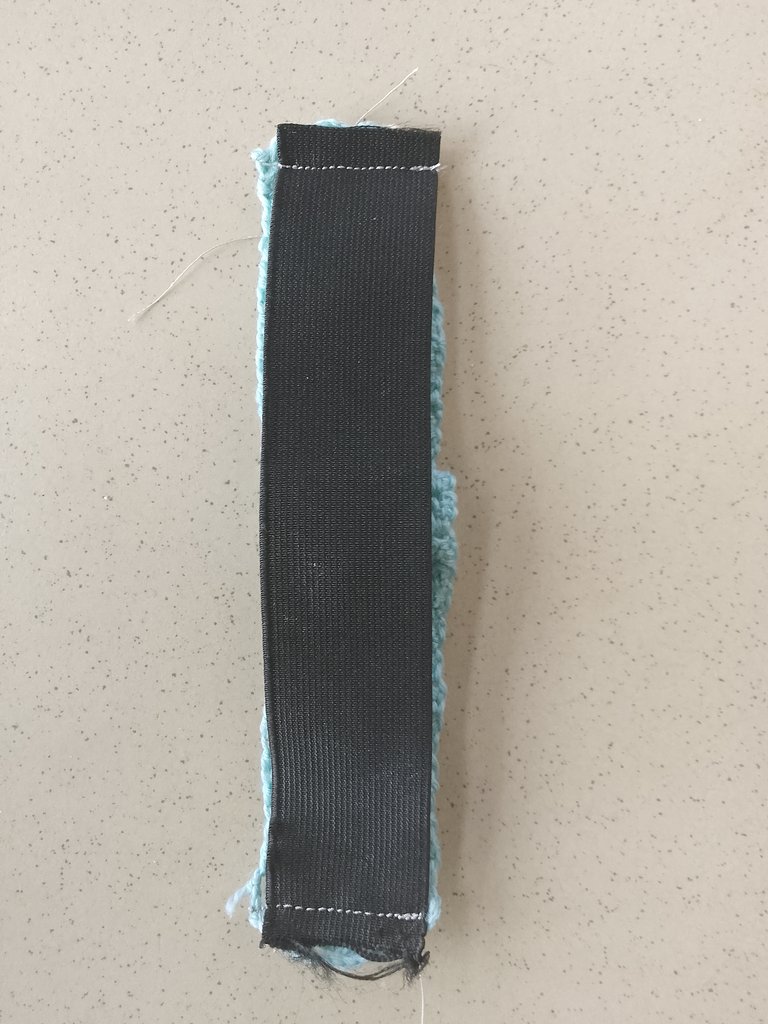
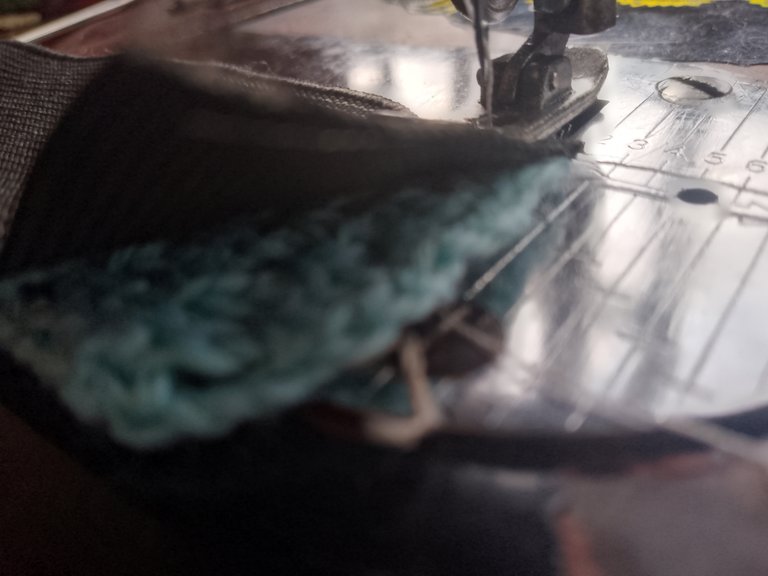
That is how i got to the completion of the headband 💜
It turned out to be as pretty as i wished
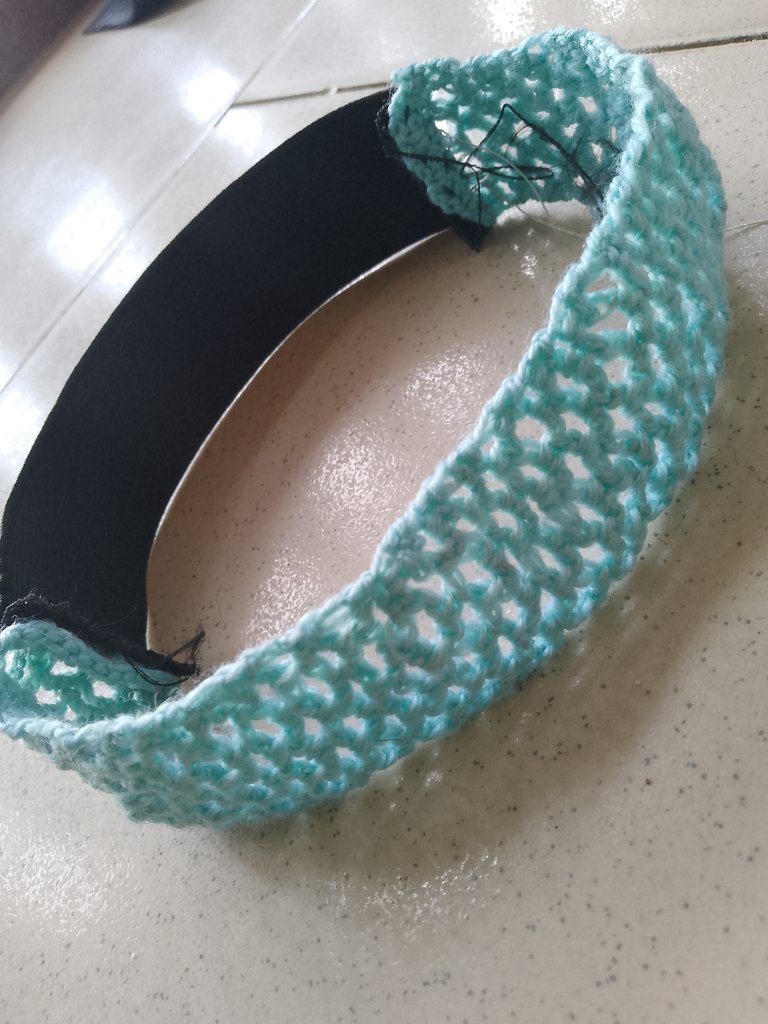
And it looked more better when i wore it, i even got compliments from my siblings and i was glad i was able to make something for my hair
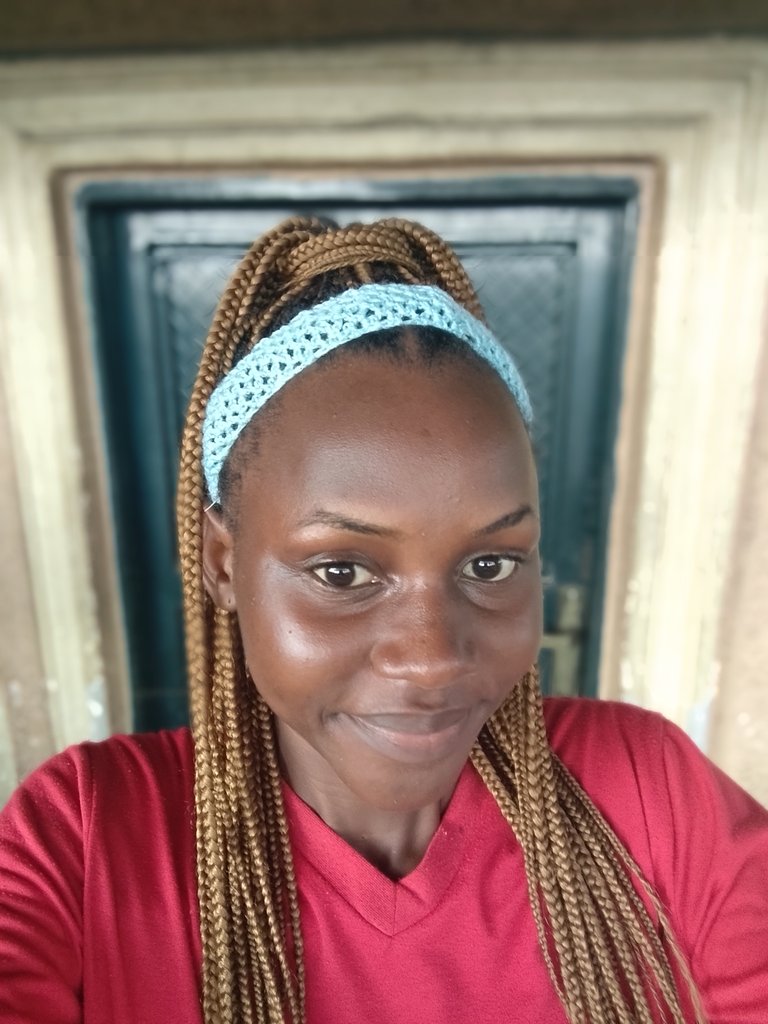
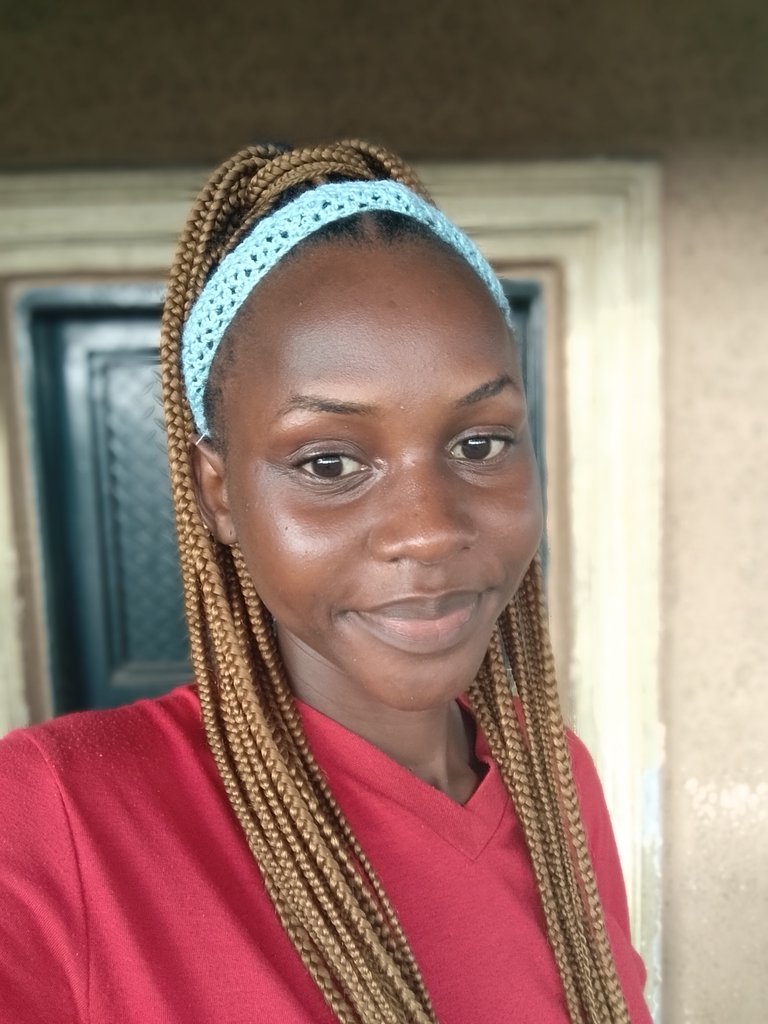
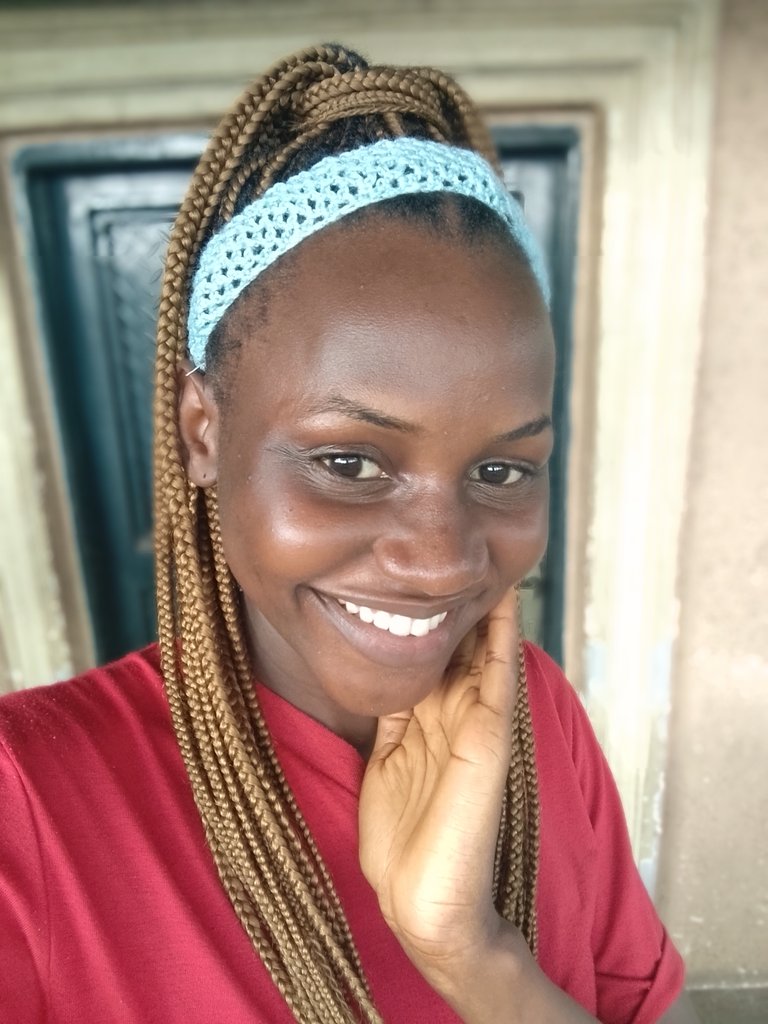
I'm looking forward to doing more with different colours, at least i can carry my hair longer than planned❤️🔥
Thank you so much for reading through my post, i really appreciate your comment and support ❤️🩹
Have a wonderful day or night everyone 💞💚🌹
This is lovely
Thank you so much
This looks really lovely. That you knitted the front and added elastic to the back is creativity in itself. Your hairband is beautiful. And btw, you look really pretty
Awwwn 🥹❤️🔥
Thank you so much
I'm glad you like it💚
It is so beautiful and lovely. Love its design. It shows your talent. Well done!
Thank a lot , I really appreciate
Beautiful 😍
Thank you 💕
Nice proyec, it looks very nice on you.
Thank you so much
I'm grateful 💜
An hairband is truly a useful women's accessory and this will help make your edges look neater.
Thanks for sharing
Very true
Thank you so much 🥰