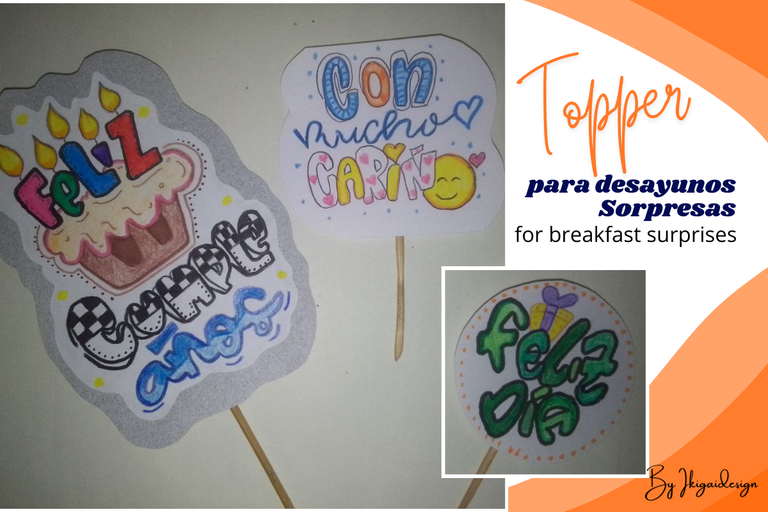
Topper para Desayunos Sorpresas: Lettering [ENG |ESP]
Amigos de #HiveDiy, un gusto compartir con ustedes nuevamente, confieso que con mi reposo, he estado bastante desactivada con mis filigranas, por eso no he compartido más, espero pronto volver a retomarlo, mientras en esta oportunidad les comparto, algo que me puse hacer, para un desayuno sorpresa, encontrando otra faceta, el lettering.
Friends of #HiveDiy, a pleasure to share with you again, I confess that with my rest, I have been quite deactivated with my filigranas, so I have not shared more, I hope soon to return to resume it, while this time I share with you, something I put myself to do, for a surprise breakfast, finding another facet, the lettering.
Y es que dentro poco cumple una amiga de mi mamá, esa señora la verdad se convirtió en nuestro ángel, ya que cuando me operaron, ella nos ayudó bastante, se quedó conmigo en el hospital, venía todos los días a curarme la cicatriz, en fin, estaba pendiente de ayudar a mi mamá, en la cocina, y en otras cosas, algo que le estamos eternamente agradecidas, como dicen por allí, de las personas que tú menos esperas recibes más.
Es por eso que mi mamá y yo decidimos hacerle un desayuno sorpresa, algo sencillo, para que no pase por debajo de la mesa, su cumpleaños; por mi parte, y como ando un poco desanimada, quise distraer mi mente un poco, asi que me puse hacer estos topper a mano, aplicando está técnica creativa con el lettering.
Los materiales que utilice fueron los siguientes:
💟 Papel blanco
💟 Colores y Marcadores
💟 Tijeras
💟 Pega
💟 Lápiz grafito y de tinta
💟 Palitos de altura pequeños
Con esto me dispuse a buscar modelos, para guiarme, utilice la página de Pinterest, buscando letras bonitas para desayunos, me salieron varios diseños, y bueno de allí comencé.
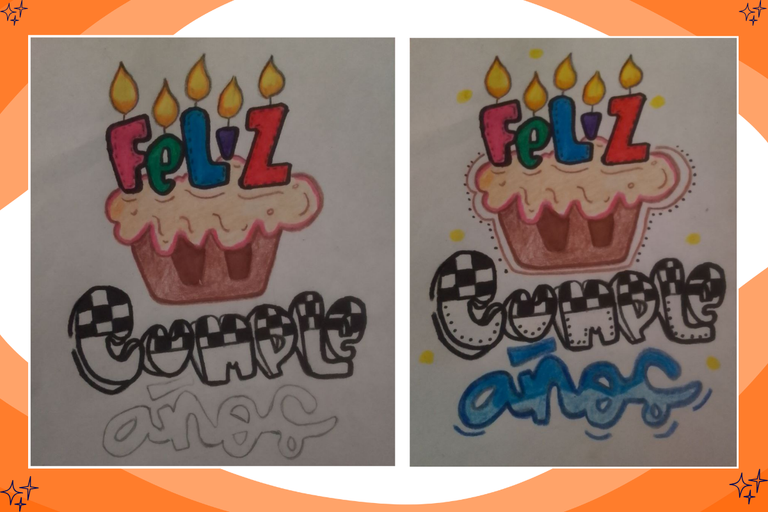
Lo primero que hice fue trazar las letras con lápiz, me gusto este diseño con un pastel, asi que lo tome, con las velitas en la palabra *Feliz, dibuje la palabra, con diferentes colores, asi como llama de las velas, con un amarillo, y a su vez le puse como una sombra de color naranja.
Seguidamente, me dispuse a dibujar el pastel, entre un color marrón, resaltando las líneas con un rosado, y color algo claro, para la base de dicho pastel.
ENGLISH VERSION
She stayed with me in the hospital, she came every day to heal my scar, she was always ready to help my mom in the kitchen and in other things, something we are eternally grateful for, as they say, from the people you least expect the most, you get the most.
That's why my mom and I decided to make her a surprise breakfast, something simple, so that her birthday wouldn't go under the table; for my part, and since I'm a little discouraged, I wanted to distract my mind a little, so I started making these topper by hand, applying this creative technique with lettering.
The materials I used were the following:
💟 White paper.
💟 Colors and markers
💟 Scissors
💟 Glue
💟 Graphite and ink pencils
💟 Small tall sticks
With this I set out to look for models, to guide me, I used the Pinterest page, looking for pretty breakfast letters, I came up with several designs, and well from there I started.
The first thing I did was to draw the letters with pencil, I liked this design with a cake, so I took it, with the candles in the word Happy, I drew the word, with different colors, as well as the flame of the candles, with a yellow, and in turn I put as a shade of orange.
Then, I drew the cake with a brown color, highlighting the lines with a pink, and a light color for the base of the cake.

Luego vino la otra parte de la palabra, el cumple, lo trace con color negro, dibujando en la parte de arriba con la mesa de ajedrez, o eso intente jeje, para terminar con un tono azul la otra parte.
Then came the other part of the word, the birthday, I trace it with black color, drawing on the top with the chess table, or so I tried hehe, to finish with a blue tone the other part.
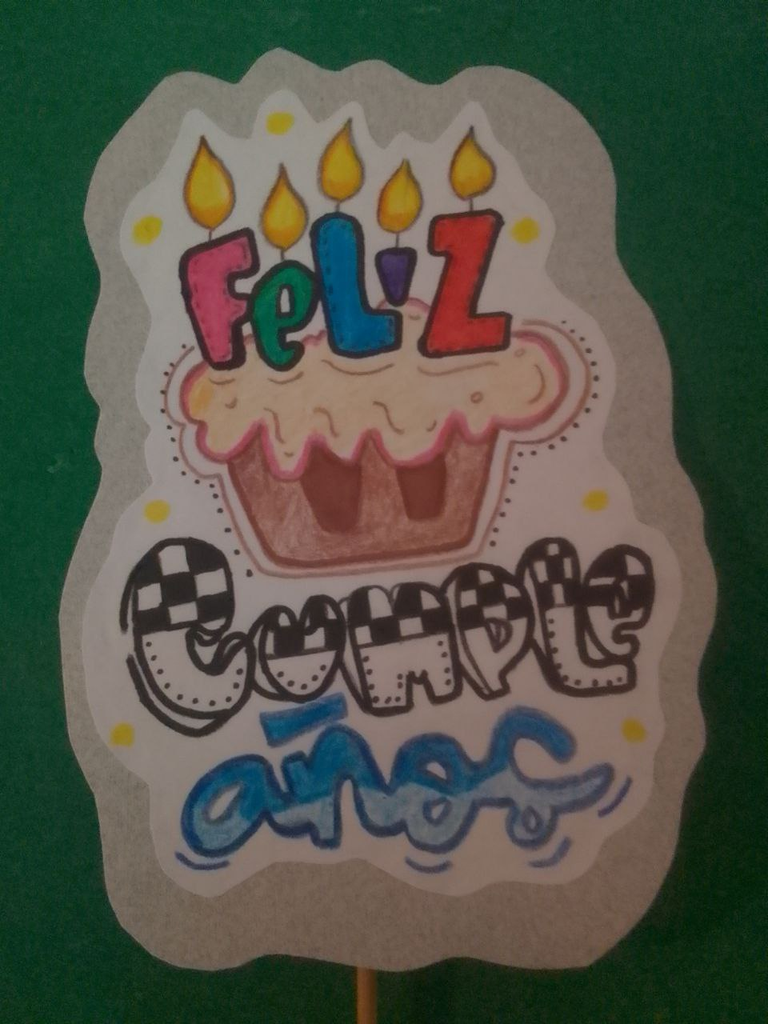
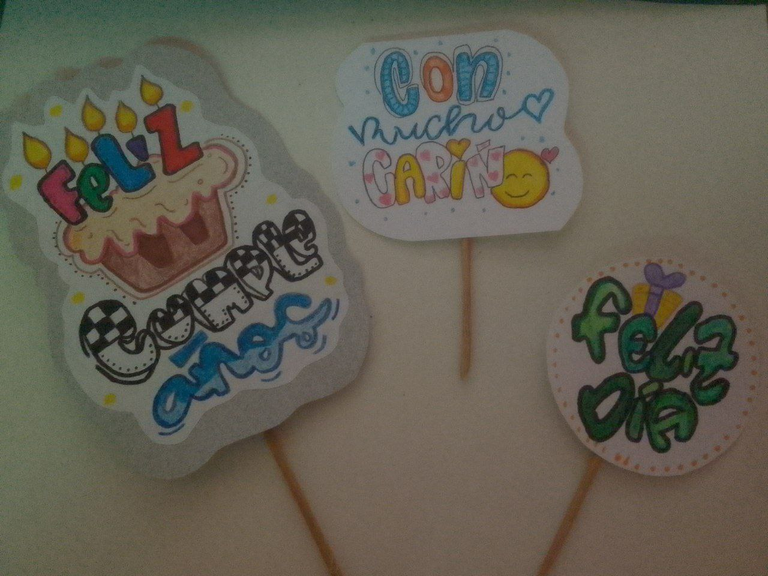
Este fue el primer topper que hice, pero me dije, bueno, vamos a hacer otros más pequeños, y sencillos, por lo que me dispuse a realizar estos otros dos, el primero diciendo solo Feliz Día, aquí quería jugar un poco con el color verde, entre una tonalidad clara y oscura, pero no me salió muy bien, no tengo buenos colores, entonces, me toca improvisar con lo que tengo.
This was the first topper I made, but I said to myself, well, let's make other smaller and simpler ones, so I set out to make these other two, the first one saying only Happy Day, here I wanted to play a little with the green color, between a light and dark shade, but it didn't come out very well, I don't have good colors, so I have to improvise with what I have.

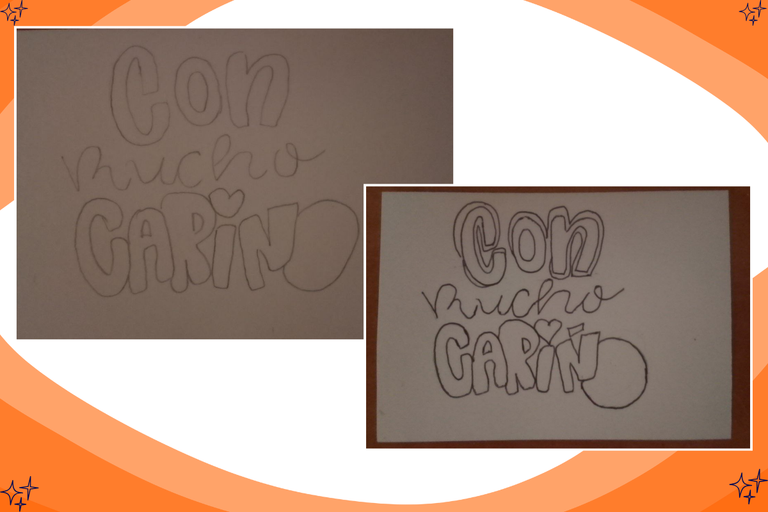
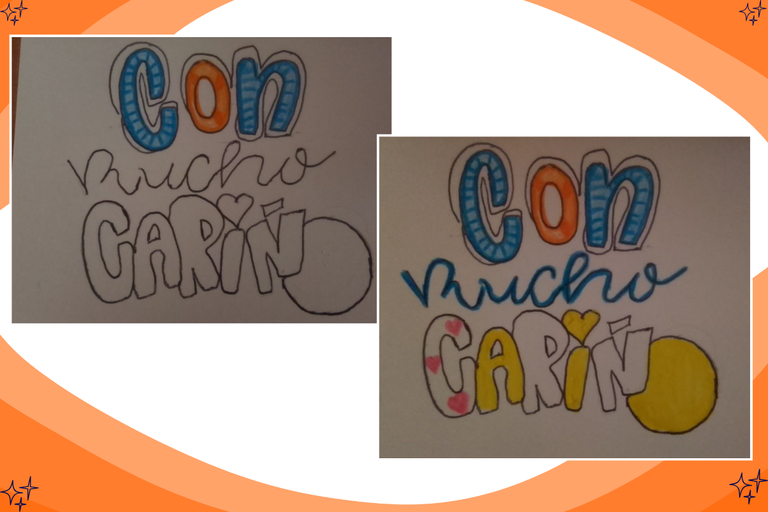
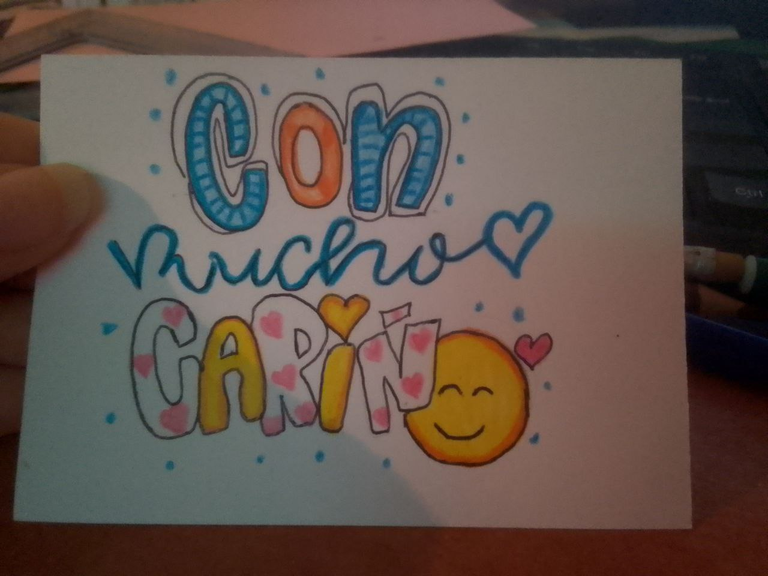
En este otro, quise hacerlo de otra forma, trazando las letras con lápiz de tinta negra, luego, le di color, usando dos tonalidades con azul claro y oscuro, luego con el amarillo, para dibujar la carita feliz, dando sombras con un color naranja, bueno me gusto mucho como quedo esto, bastante colorido y alegre.
In this other one, I wanted to do it differently, tracing the letters with black ink pencil, then, I gave it color, using two shades with light and dark blue, then with yellow, to draw the happy face, giving shadows with an orange color, well I really liked how it turned out, quite colorful and cheerful.
Y asi quedaron mis topper, sencillos, pero bien bonitos, y lo mejor fáciles de hacer, sin tener que invertir en nada, lo puedes hacer tú misma, en casa, solo es cuestión de un poco de imaginación y creatividad., cuando no tengas para mandar hacer unos o imprimirlos, bueno ya saben, tiene esta opción, tomen sus colores, cartulina o papel, y listo, a dibujar se ha dicho.
And so were my topper, simple, but very nice, and best of all easy to make, without having to invest in anything, you can do it yourself, at home, it's just a matter of a little imagination and creativity, when you do not have to send to make some or print them, well you know, you have this option, take your colors, cardboard or paper, and ready, to draw has been said.
Espero les haya gustado esta idea creativa, nos vemos en la próxima...
I hope you liked this creative idea, see you next time....
💖Los leo en los comentarios, gracias por leerme💖
I read them in the comments, thanks for reading me
| RECURSO / RESOURCE: | FUENTE / SOURCE |
|---|---|
| Imágenes / Pictures:👉 | Fotos Teléfono Tecno Pop 7 / Edicion Canva |
| Translation/Traducción:👉 | DeepL Traductor |
| Edition/Edición : | Cover and banner with Canva /Portada y banner con Canva |
| Edition/Edición : | Canva GIF Separator/Separador GIF Canva |
So beautiful and thoughtful, she's definitely going to love it and for you friend please take it easy on yourself okay? we wish you a quick recovery and good health, hang in there for a little while and you will be just fine😊
If it is a nice detail, I really like how it looks, and of course, I continue to take care of myself, here little by little, thanks for the support, greetings. 🤗
Ay amiga! te quedaron super lindos! me gustaron mucho, tienen un toque todo Coquette. Me encanta que te animaras a probas este mundo del Lettering, estoy segura que te fascinará porque está relacionado con el diseño que tanto amas. Un abrazo! Y felicidades para tu vecina que ha sido un angel guardián 💕🥳
Si quedaron muy bonitos, mis topper personalizados, jeje, gracias por el apoyo, amiga, estoy segura de que le va a gustar.😍
https://www.reddit.com/r/ArteEnEspanol/comments/1fkn0bu/aprendiendo_a_dibujar_con_esta_técnica_del/
The rewards earned on this comment will go directly to the people( @ikigaidesign ) sharing the post on Reddit as long as they are registered with @poshtoken. Sign up at https://hiveposh.com.
quedo muy bonito, felicidades!!
Muchas gracias, saludos.
saludos amiga.
Quedaron hermoso y son ideales para dejarles un detalle a las personas que amamos ... :D
Si exacto, así como que quedan más bonitos, personales, seguiré practicando jiji, gracias por el apoyo, saludos.