Making a cake topper with paper
One interesting thing about embarking on a DIY project is the brainstorming phase, those few minutes or hours you spend brainstorming what or how you want your project to be.
It’s not as easy as you think because it’s the brainstorming phase that births the project itself so technically it is the bedrock of the project.
It’s one thing to have it all in your head or watch tons of YouTube videos but it’s another thing to create them. Honestly, in my head, I can literally create a tractor and so many other things with paper😂 but in real life I do not even know where to begin.
If there’s one thing I’ve learnt about embarking on creative projects is to never give up. Even when what you’re trying to create looks nothing like what you had in mind just be patient because your project is undergoing some creative process, with every step, you get closer to achieving your goal.
So today I made a princess cake topper and I was glad that it came out just fine against all odds.
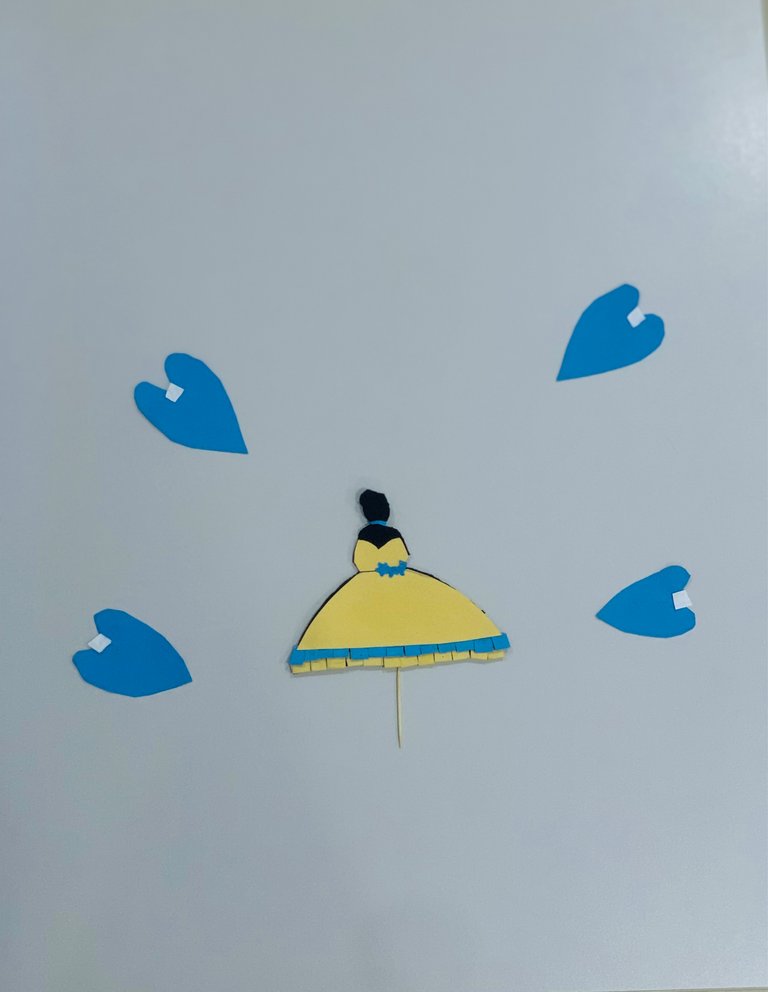
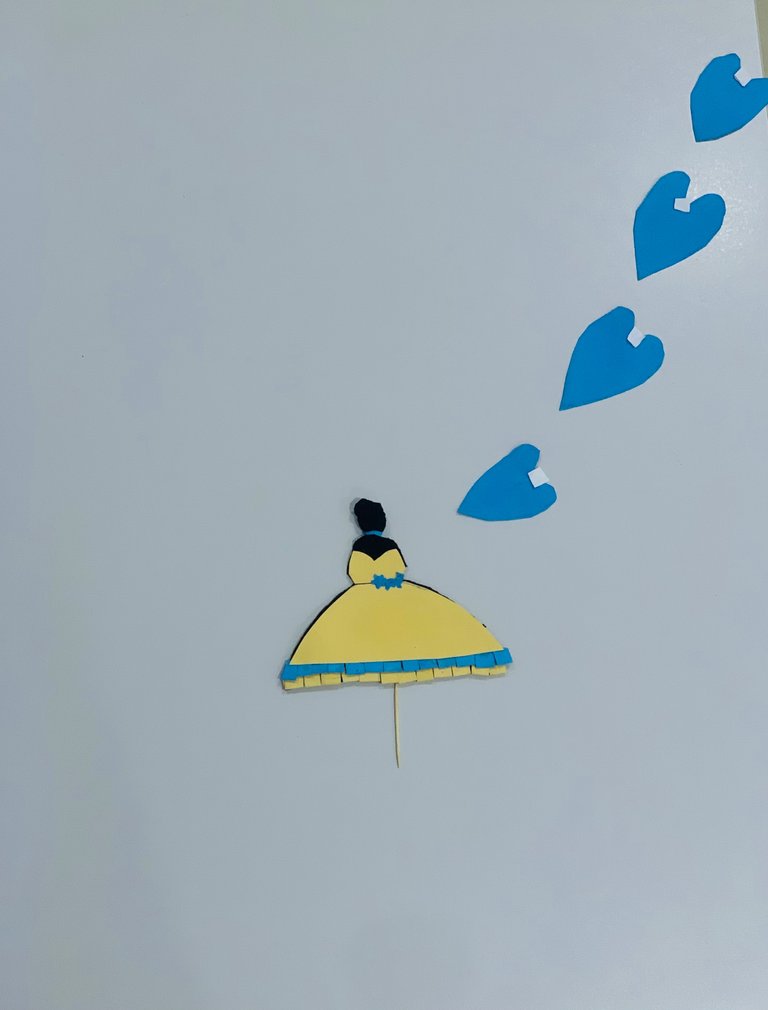
To achieve this I used the following materials:
Paper
Scissors
Razor blade
Gum
Leather
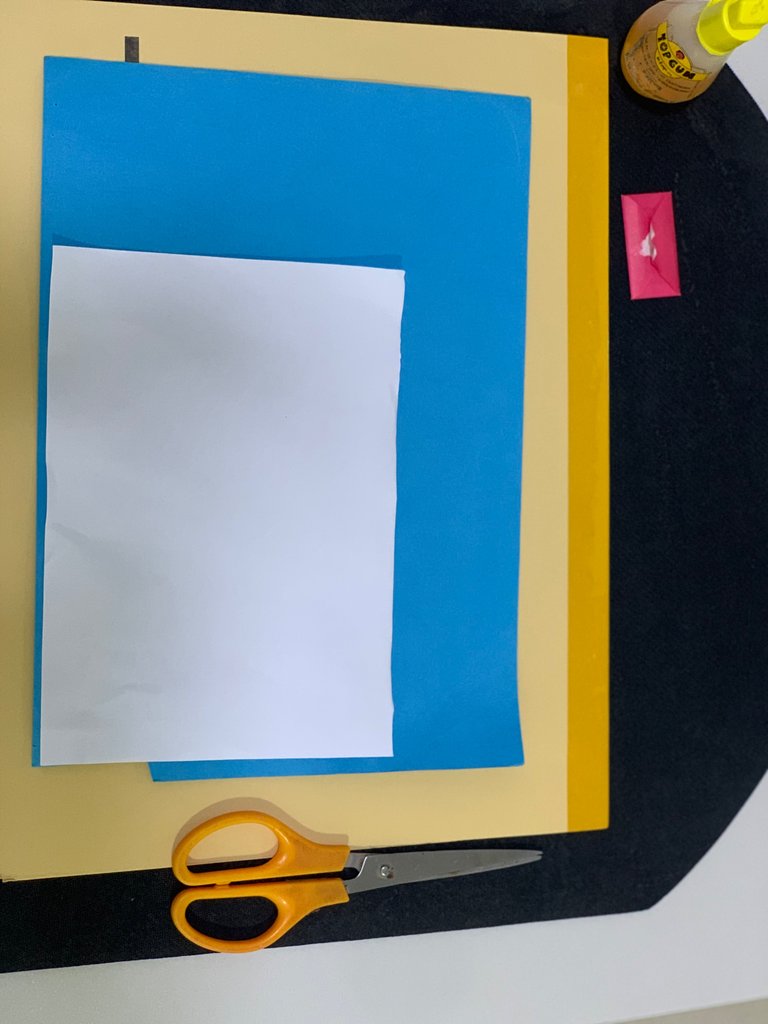
These are the few steps I took to create my princess cake topper.
Step 1:
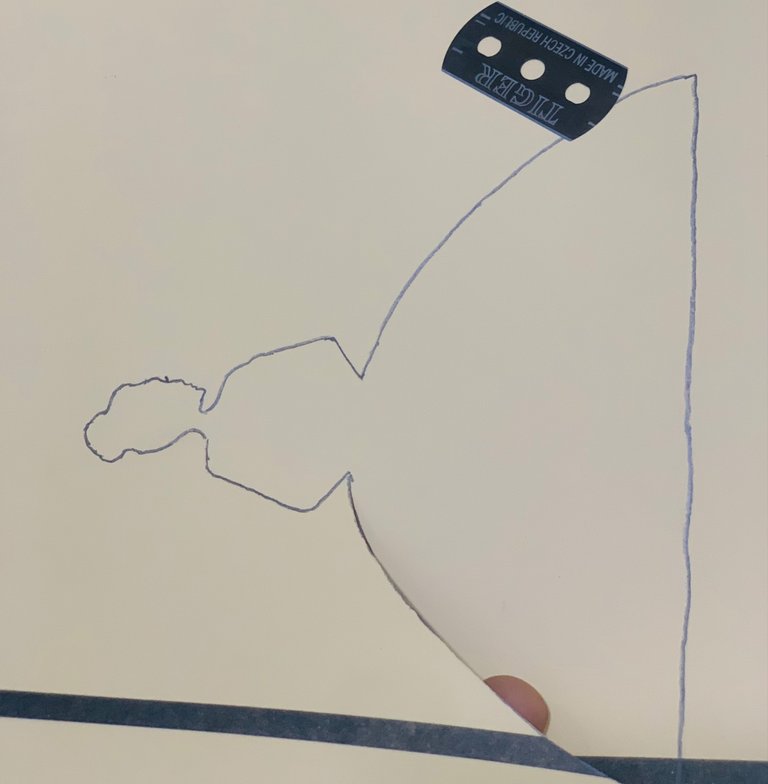
Draw the silhouette of your ballerina on cardboard paper.
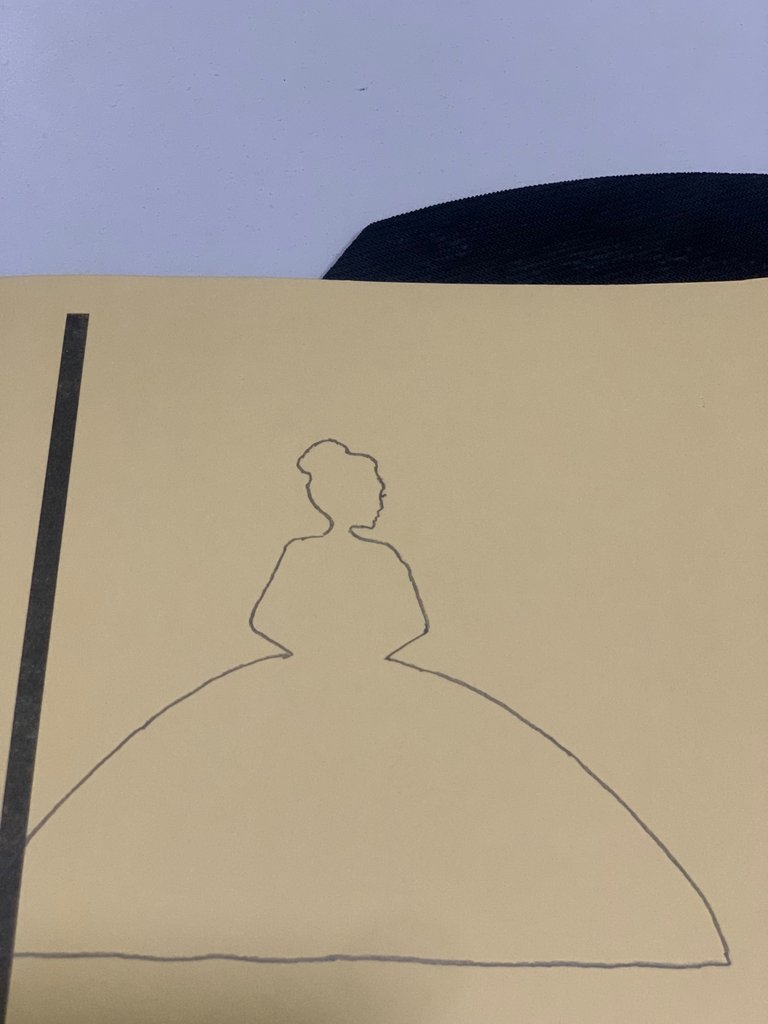
Step 2:
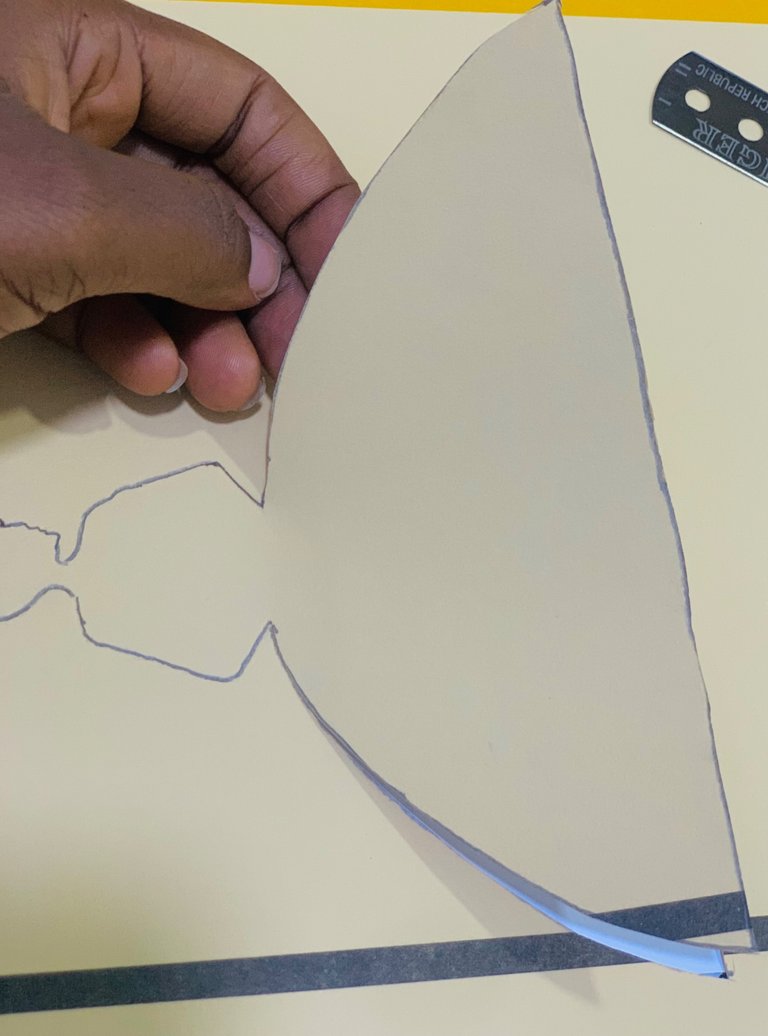
Use your blade to carefully carve out the silhouette as this carved-out shape would aid in carving out the silhouette on the leather.
Step 3:
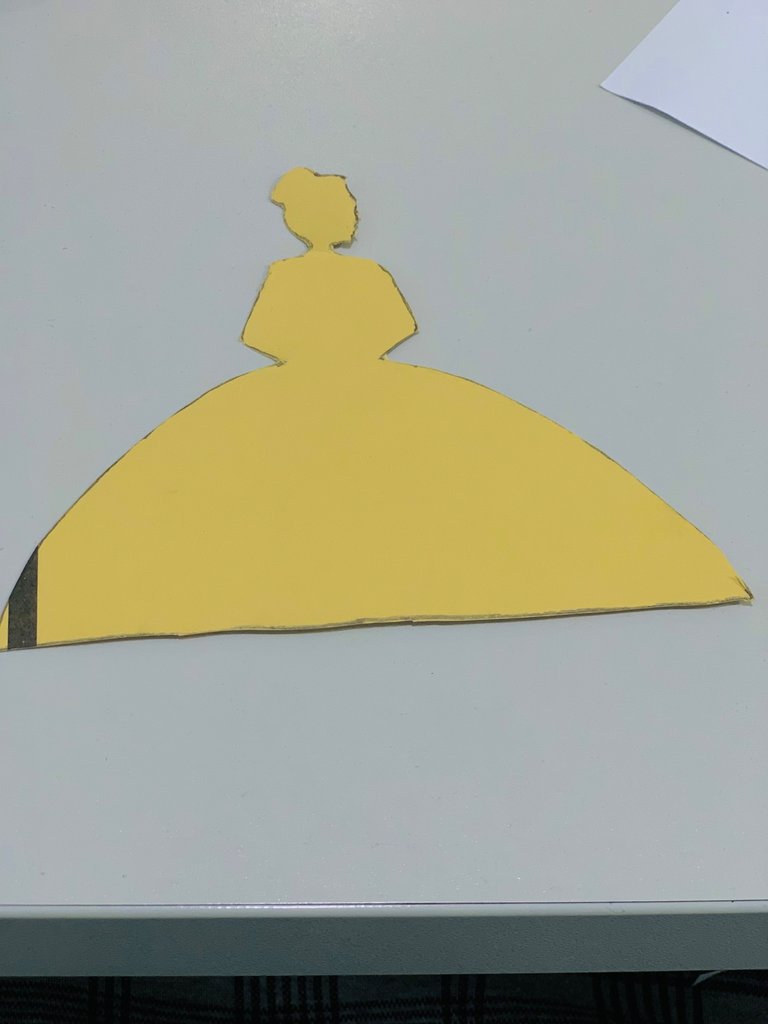
After carving, use your scissors to neatly trim the edges of your silhouette, this is to prevent you from carving out the wrong shape on the leather.
Step 4:
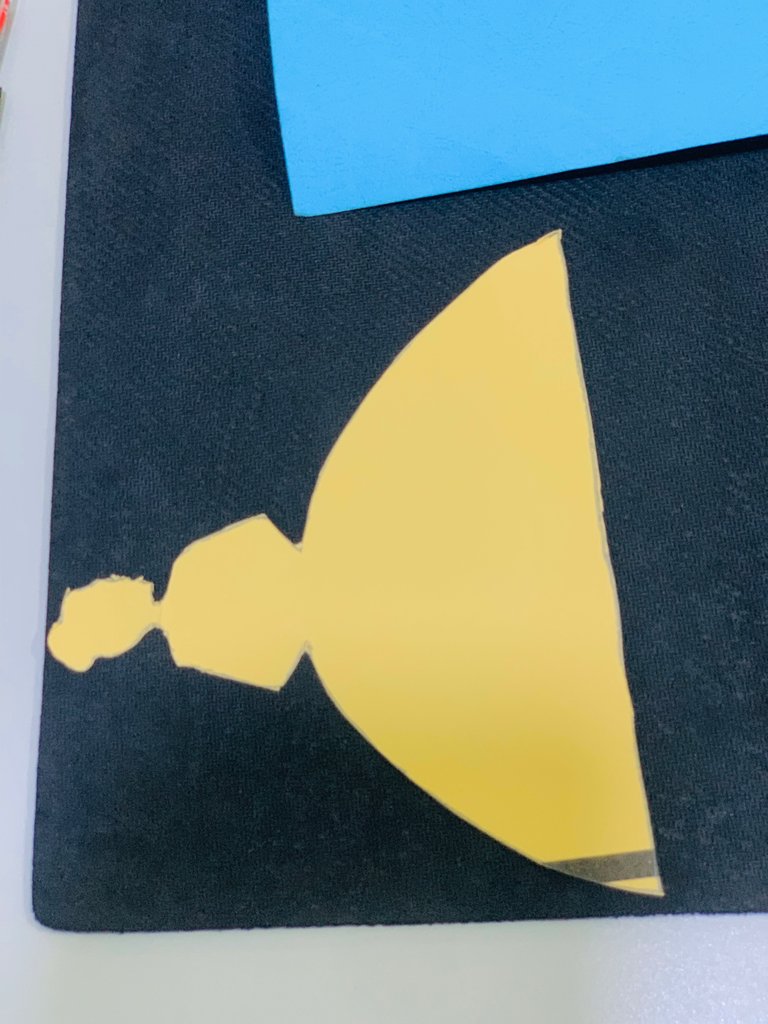
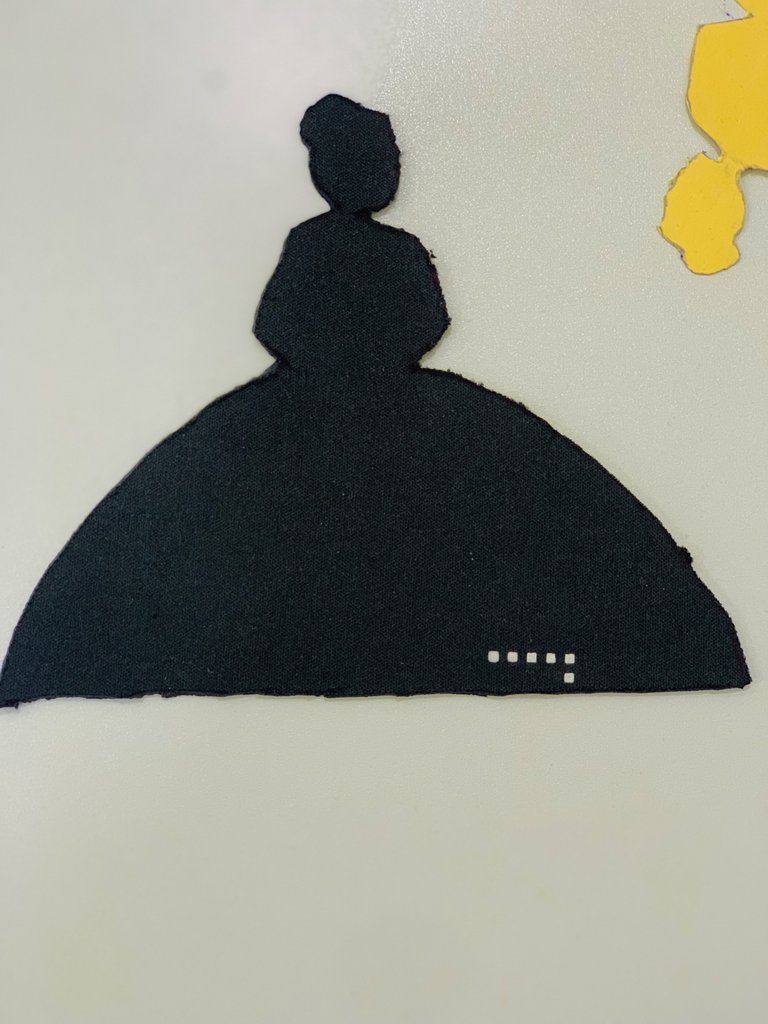
Use your paper silhouette to carve the actual silhouette from the leather. Do this carefully so you don’t alter the figure of your silhouette.
Step 5:
After successfully carving out your silhouette from the leather you move to the dressmaking stage and this is the most technical part of them all.
Step 6:
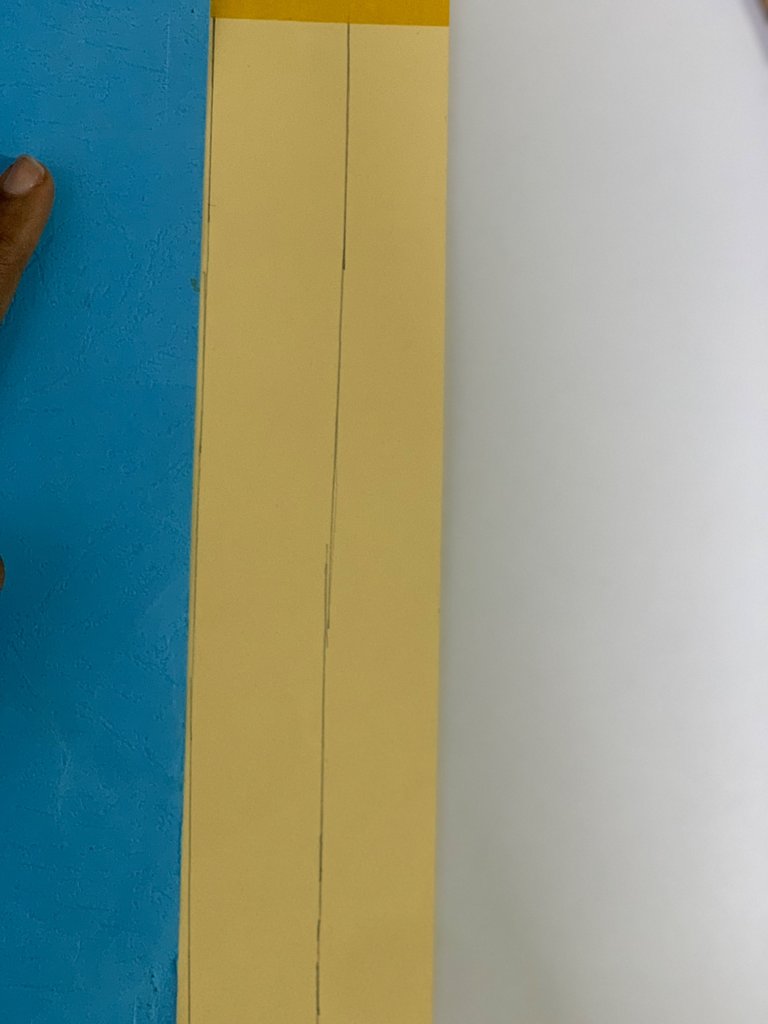
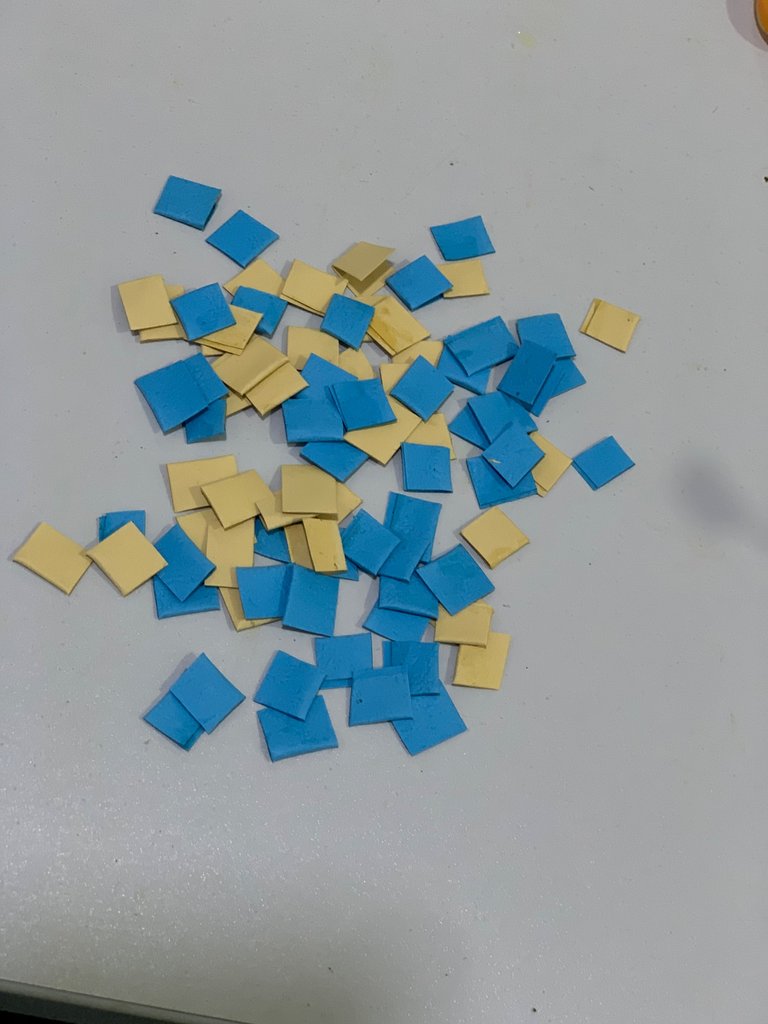
Cut out some strips from two different cardboard papers. Mixing two colors would help elevate the look of your dress.
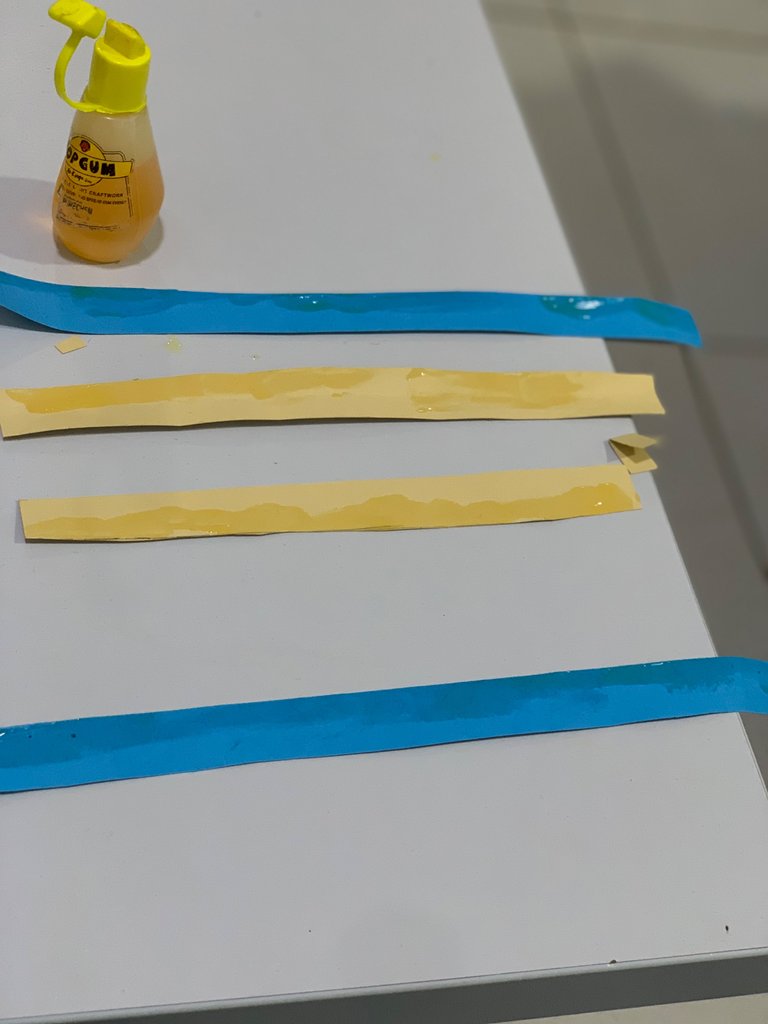
Apply gum to both sides of the strips.
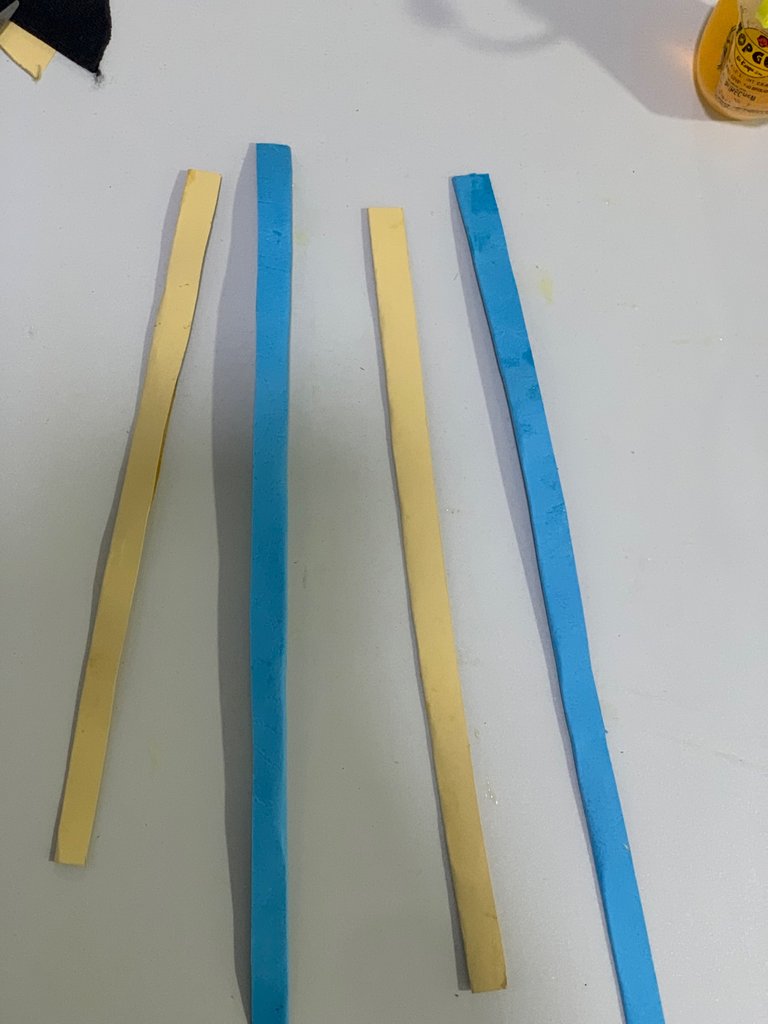
After applying gum on both sides of the strips join them together and cut them into smaller sizes, depending on the size you want.
Step 7:
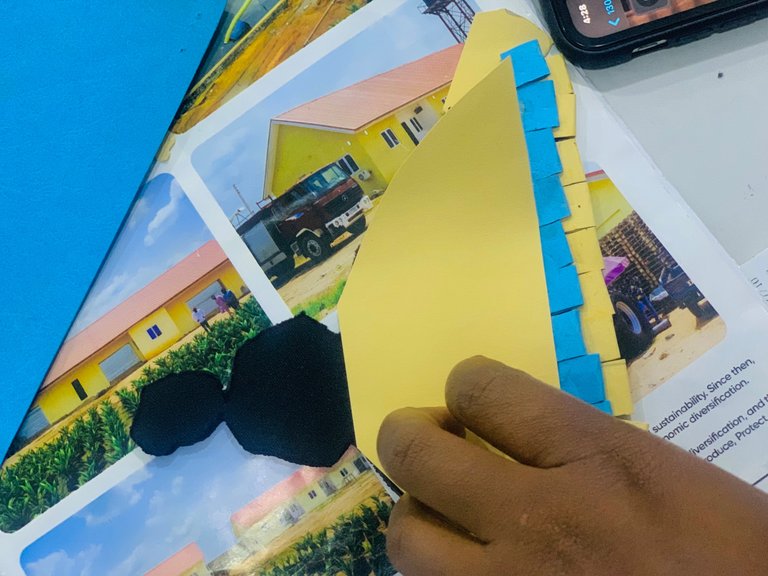
Apply your gum to your leather silhouette and start the process of placing the strips at the bottom of the silhouette to form the ruffled part of the dress.
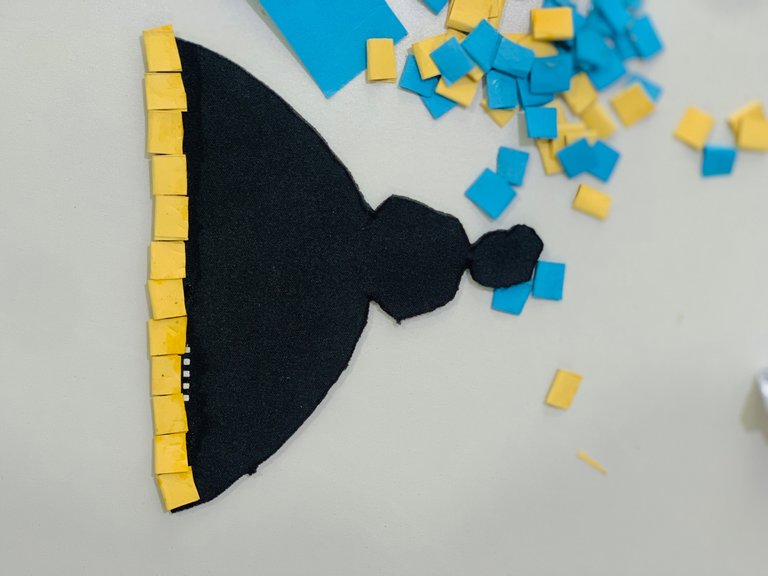
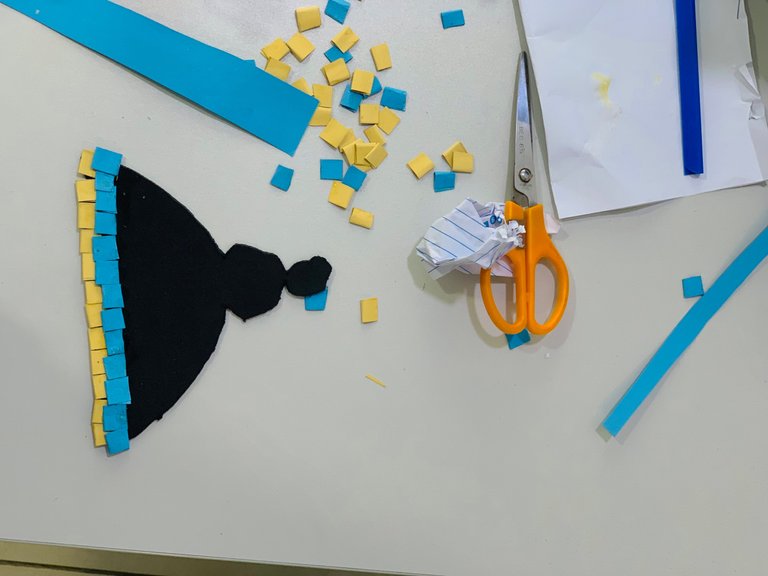
The design process is a lot of work but was worth it in the end.
.Step 8:
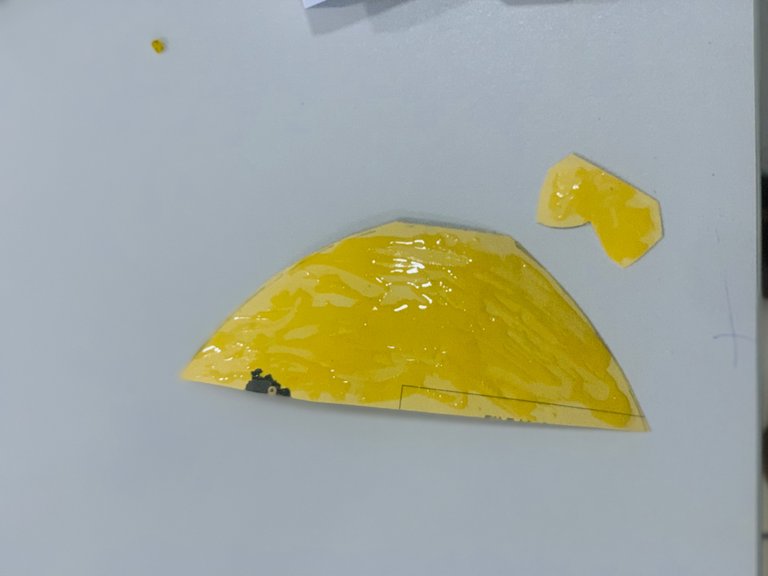
Cut out your design for your dress
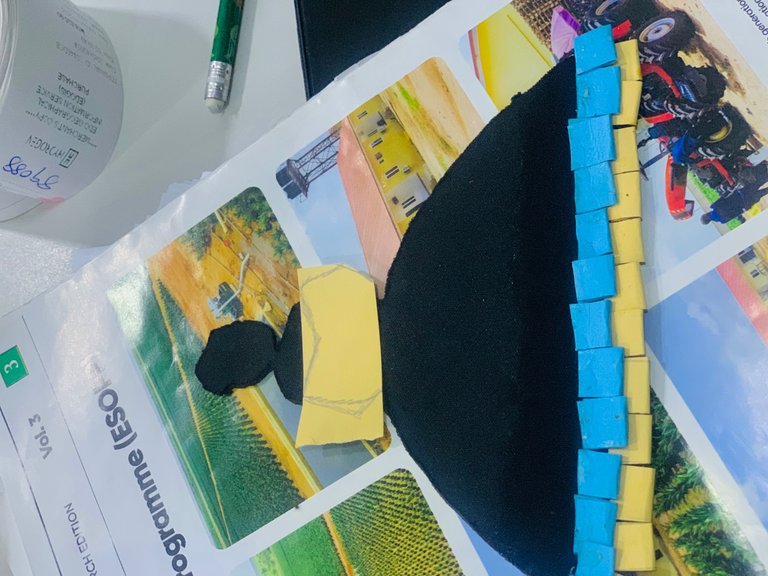
After getting your perfect design, gum it to your silhouette.
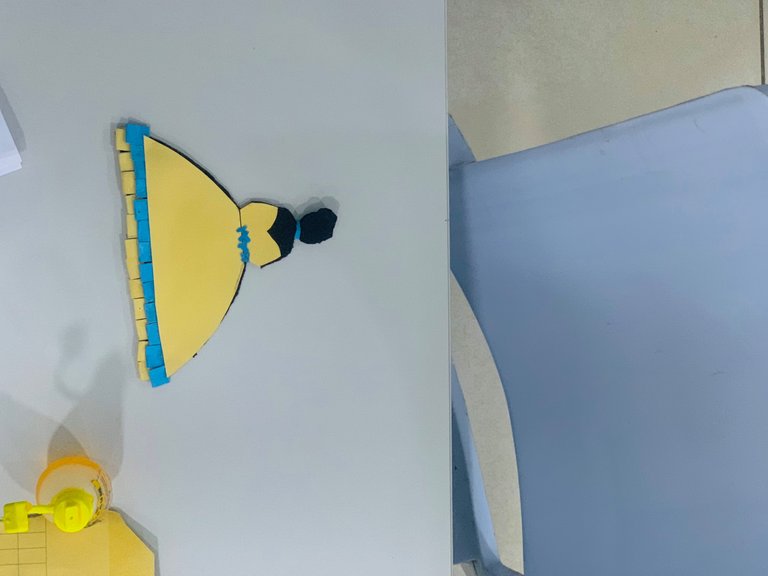
Put all the finishing touches and voila! Your princess cake topper is ready!😃
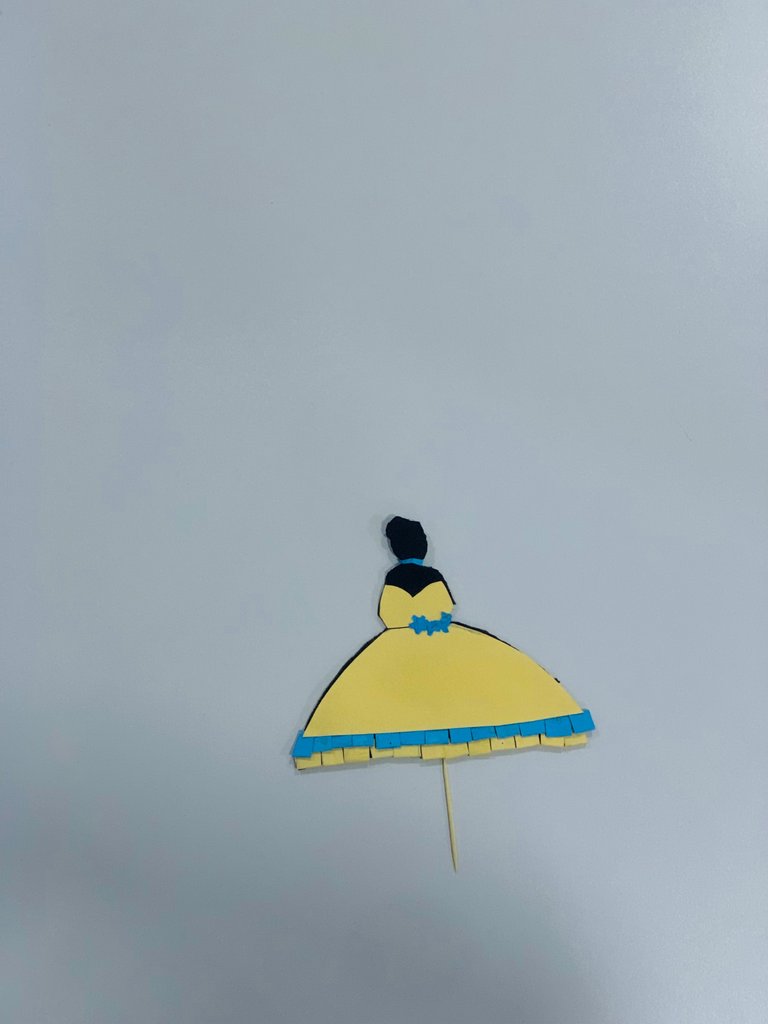

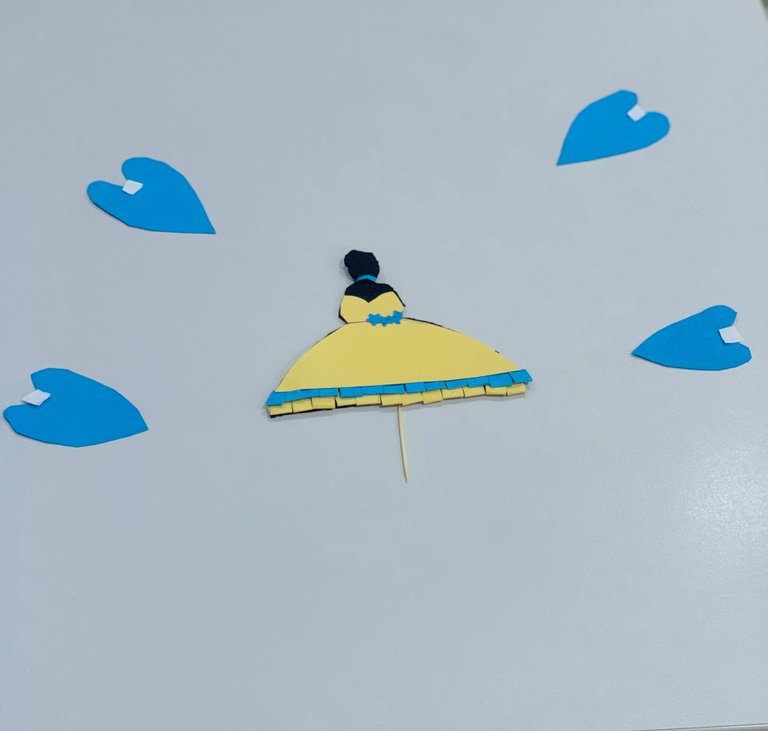
I’d love to know what you all think about my princess cake topper in the comment section.

All images are mine except otherwise stated.
Thanks for stopping by
Loads of Love🥰🥰
XOXO
Posted Using InLeo Alpha
Creativity 100%
Weldone ma
Thank you sir😃
There's a fantastic creativity that you have shown with the paper. Great work done
Thank you so much🥰
Wow this is so beautiful, you did an awesome job dear. You're really unleashing the creative genius within you. This looks like you put so much effort and time into it. The cake topper looks really awesome.
Thank you so much for your kind words Freda😃
You're really becoming a pro in this DIY stuffs. Imagine creativity. Beautiful and eye catching. Good job
!BBH
#freecompliments
Lol Luchyl you don't wanna know how many times I almost gave up😂😂
Thank you my darling❤️
I understand 😅, these things can frustrate one eh but it's always good to "kwechiri" 🤣
@ibbtammy! @luchyl likes your content! so I just sent 1 BBH to your account on behalf of @luchyl. (1/20)
(html comment removed: )
)
The brainstorming of a diy project being challenging is so true.
I'm very proud of you for not giving up along the line. You keep on giving us a pleasant surprise with your projects, this is very beautiful, I will happily place it on my birthday cake 😊
I can only imagine how challenging the process might be; well done, Ibb. !LUV !DIY
@ibbtammy, @funshee(1/4) sent you LUV. | tools | discord | community | HiveWiki | <>< daily
Thank you dearest Funshee, accomplishing this wasn't an easy feat but I did it any way 😃
!LUV🤗😊
@ibbtammy, @funshee(3/4) sent you LUV. | tools | discord | community | HiveWiki | <>< daily
You can query your personal balance by
!DIYSTATSIbbtammy cooked on this one. Real creative. How much for this if you wanted to make a ton for charity homes?
Hehehehe thank you so much Jay.
Lol I honestly have no idea😂
Exactly, creating a diy project from scratch is always not easy .
The cake topper looks really cute, well done
Thank you my darling🥰
I like how you used smaller pieces at the bottom to simulate the ruffle of the dress! Very creative! Now we need a cake — I should have been baking the cake while you made the topper! 😁
Hehehehe you can bake it anytime you know🥰
Thanks for the warm comment Kitty
Your Princess look so beautiful , nice craft work.
Thank you love🥰
Very cool you made that, amazing what you can do with cardboard paper.
Ohh yeah, you can make a lot from cardboard paper