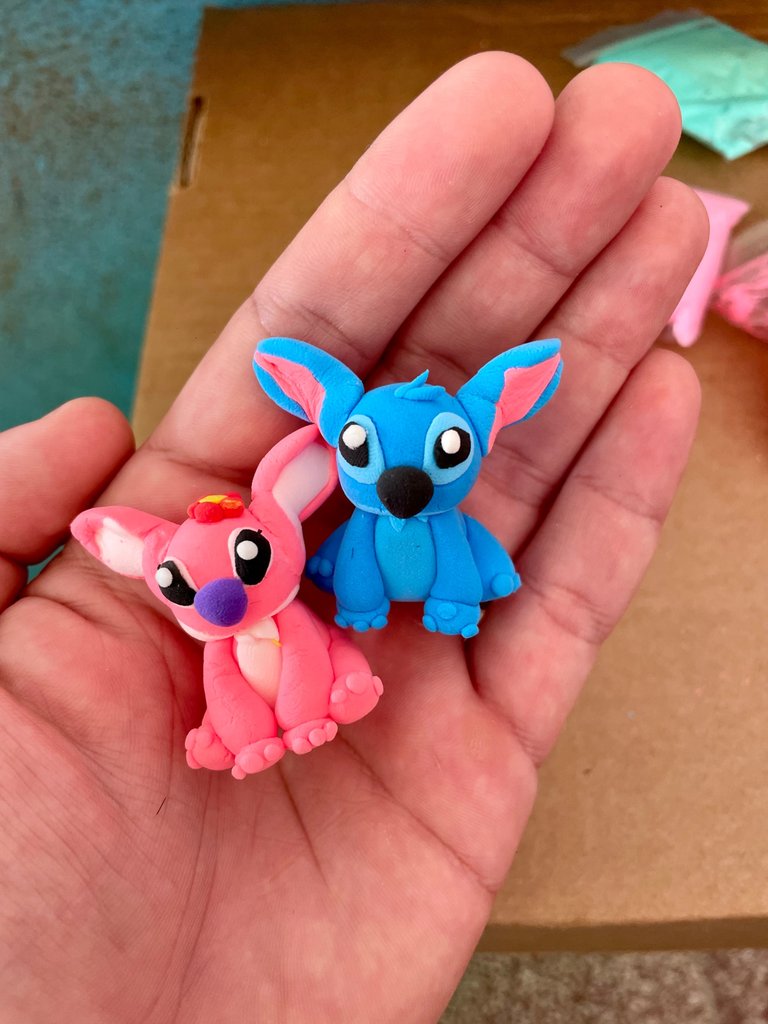
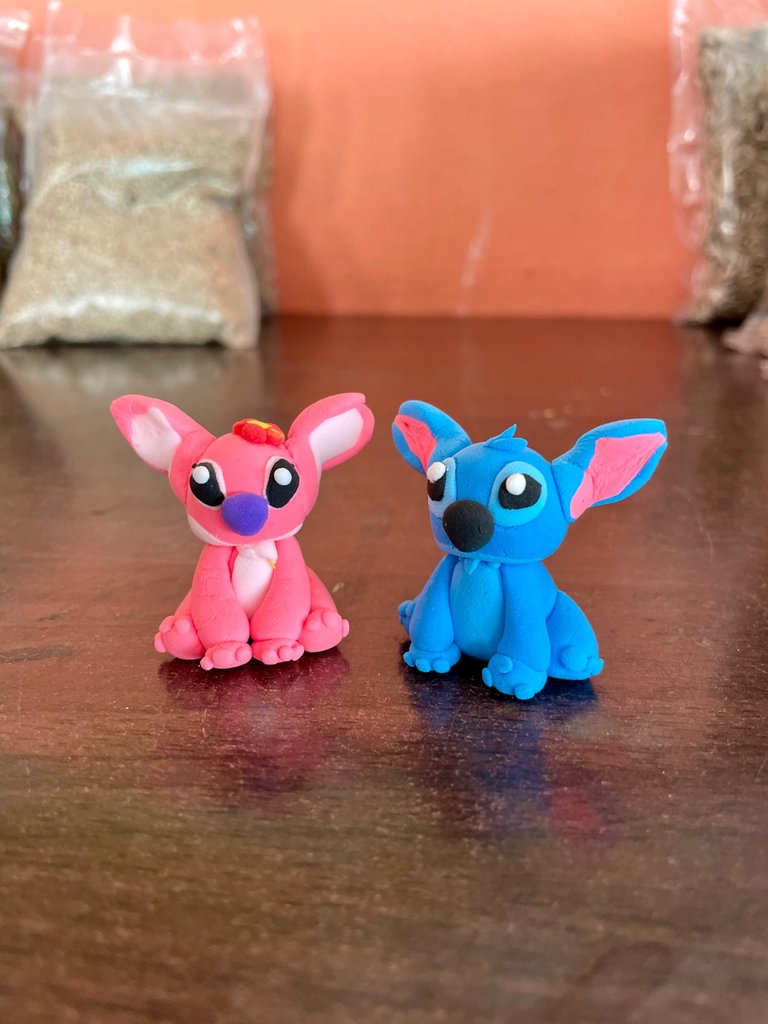
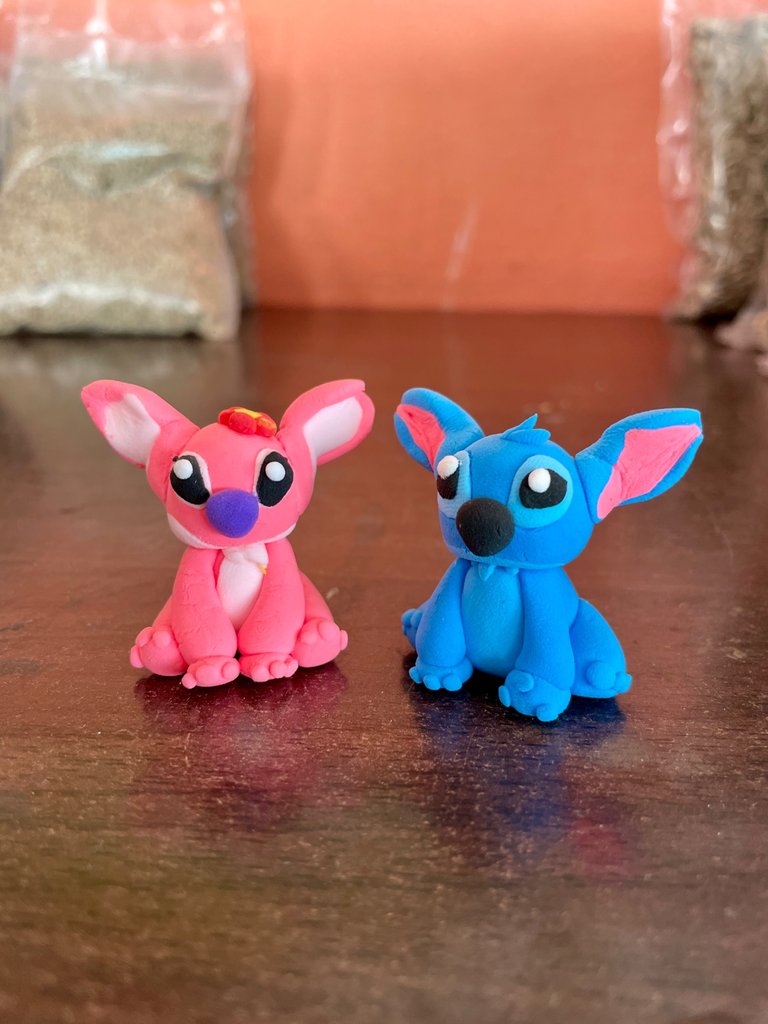
[ESP+ENG] Stitch y su novia "Angel" hechos con foami moldeable / Stitch and his girlfriend Angel made with foami clay.
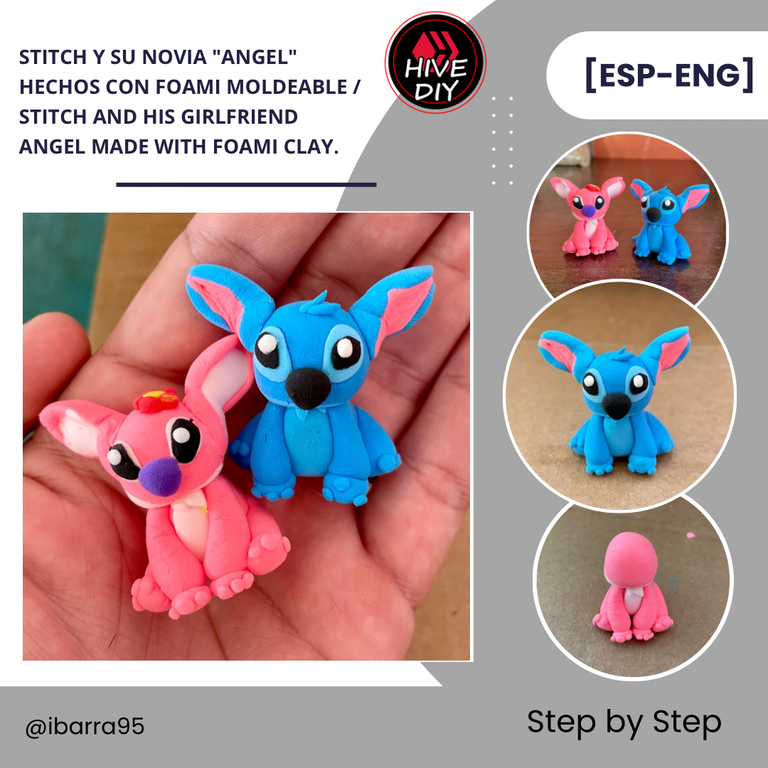
Hola!! Buenas Noches 🌙 familia Hive Diy, amantes de los trabajos manuales y artesanías, el día de hoy les enseñaré a realizar con foami moldeable (foam clay) a los simpáticos animados Stitch y su pareja Angel, muñequitos que disfrute muchísimo en mi infancia 😍👏. Espero les guste la creación, a toda la comunidad en general y yo súper contento en presentarles mi experiencia con este material flexible. ¡Acompáñame!
A continuación les mostraré paso a paso la realización de mi trabajo. Para empezar, mencionaré todos los materiales utilizados:
A continuación les mostraré paso a paso la realización de mi trabajo. Para empezar, mencionaré todos los materiales utilizados:
Hello! Good evening 🌙 Hive Diy family, lovers of crafts and handicrafts, today I will teach you how to make with moldable foami (foam clay) the cute animated Stitch and his partner Angel, dolls that I enjoyed very much in my childhood 😍👏. I hope you like the creation, the whole community in general and I am very happy to present you my experience with this flexible material. Join me!
Next I will show you step by step the realization of my work. To begin with, I will mention all the materials used:
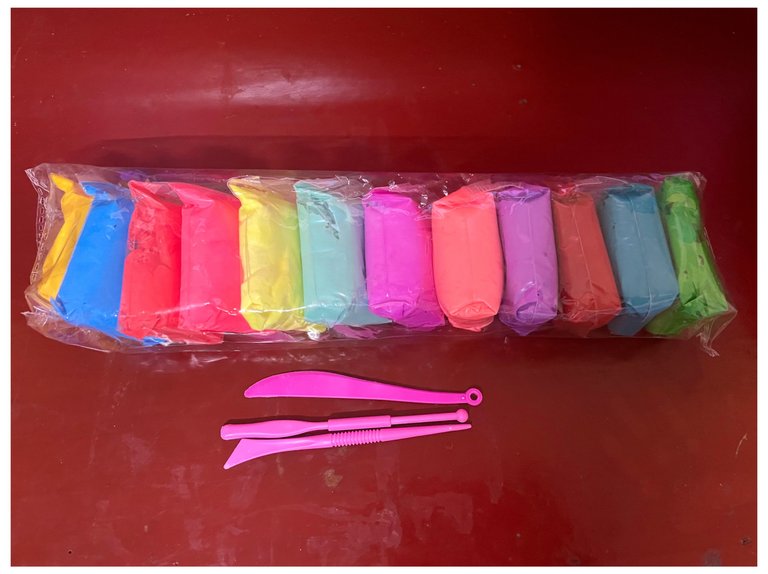
Materiales / Materials
PASO/STEP 1
En la fase inicial, comienzo tomando una porción de arcilla en colores Azul y Rosado para el cuerpo de Stitch y Angela. Luego, con las manos moldeó cada color en forma de bolas, dándoles una terminación curiosa.
In the initial phase, I start by taking a portion of clay in Blue and Pink colors for Stitch and Angela's body. Then, with her hands she molded each color into balls, giving them a curious finish.

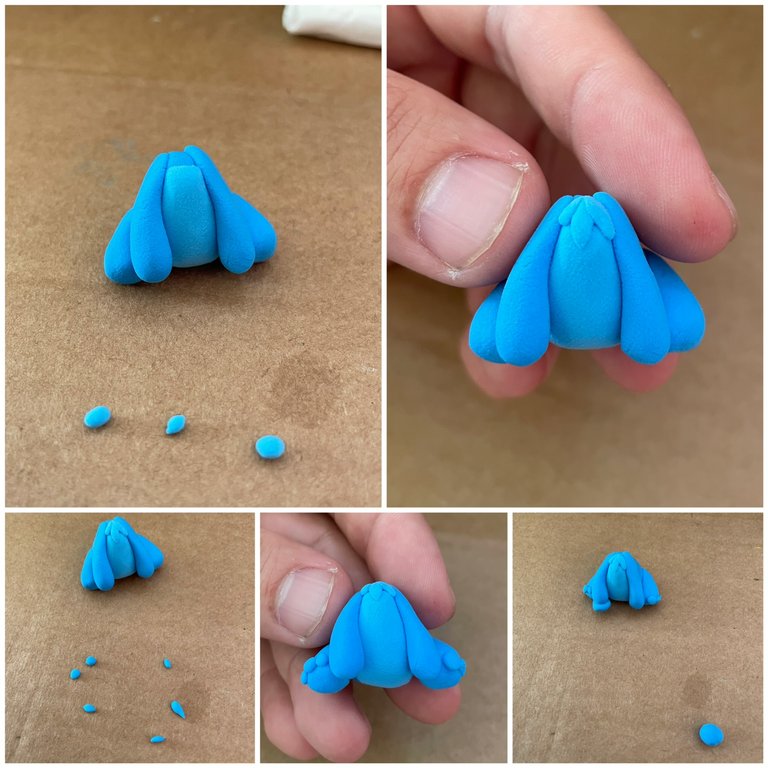
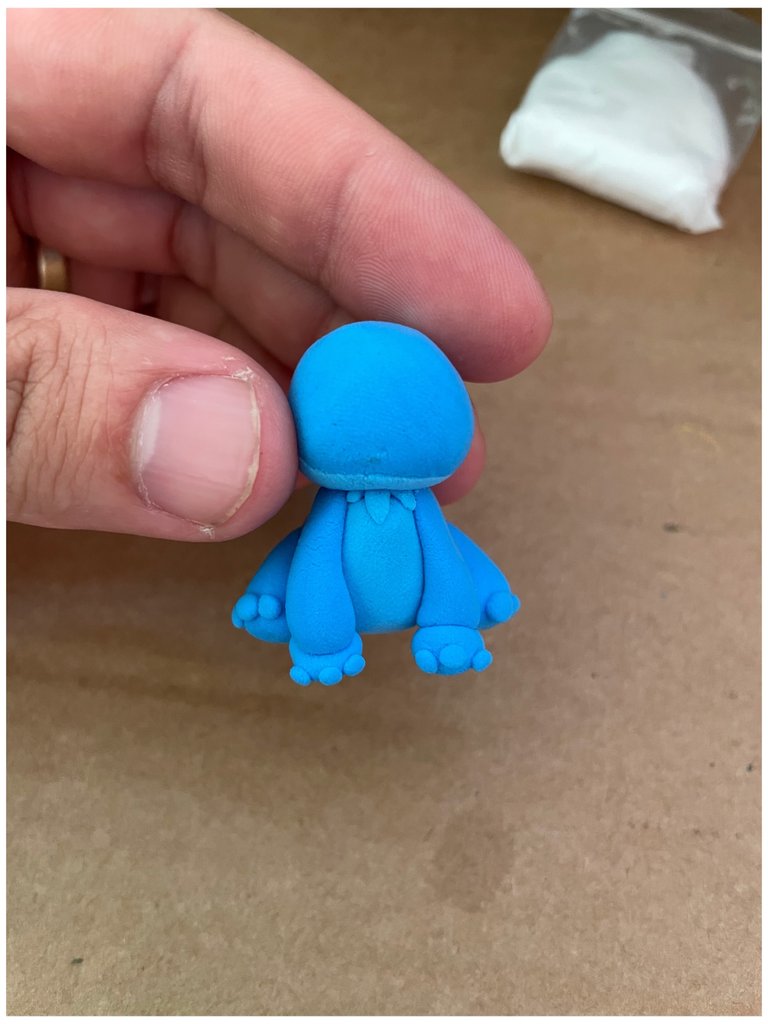
PASO/STEP 2
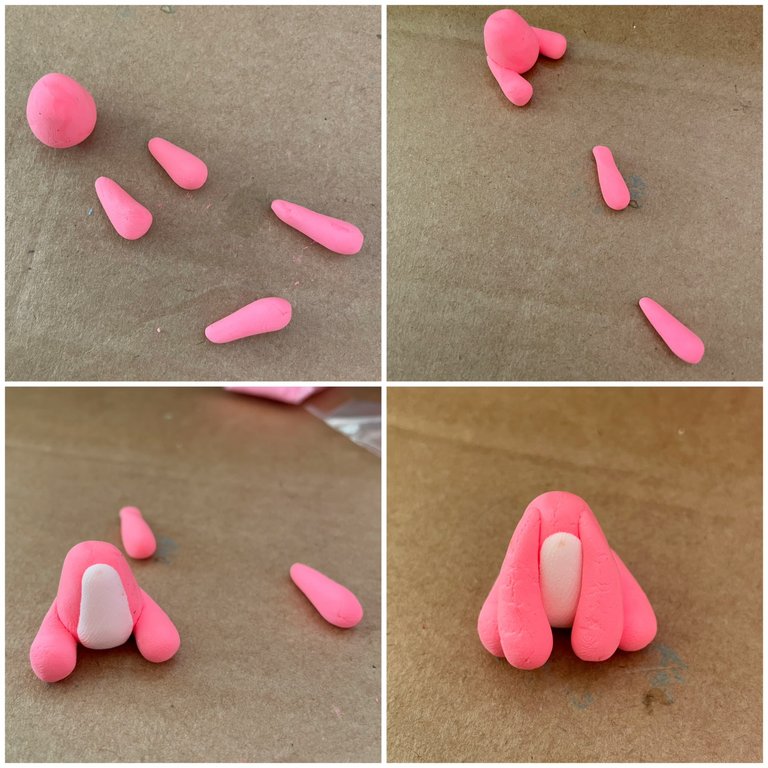
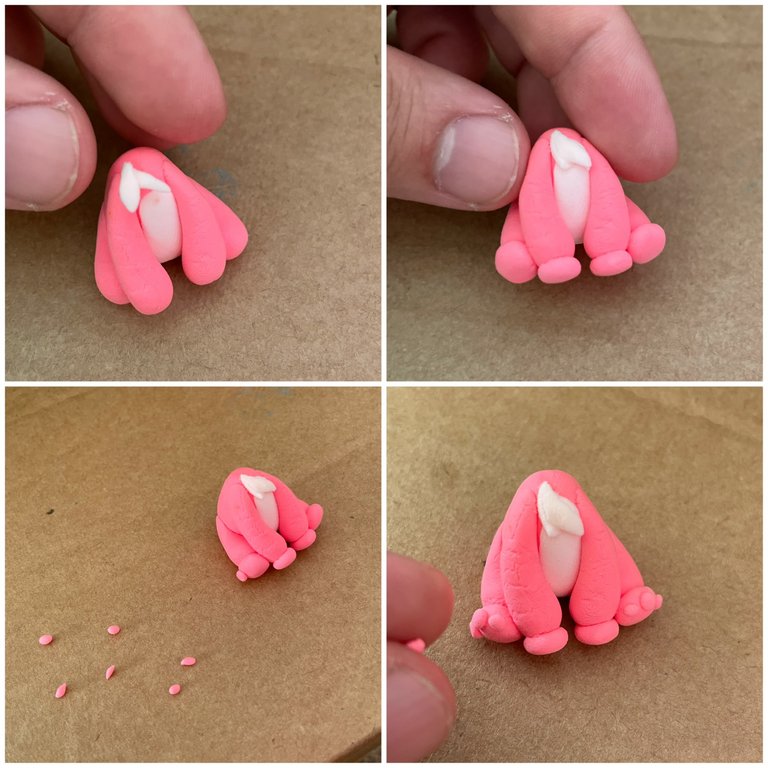
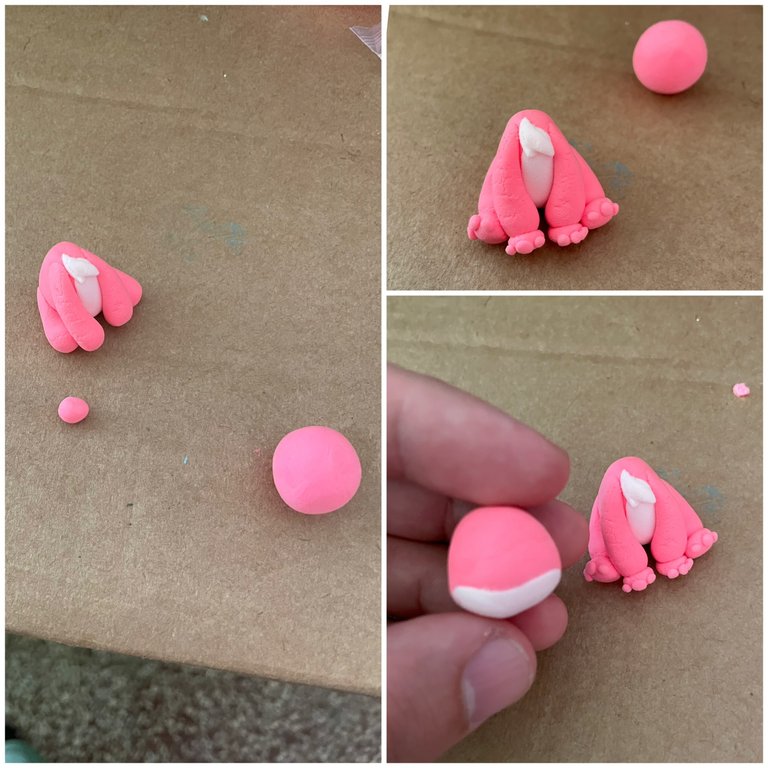
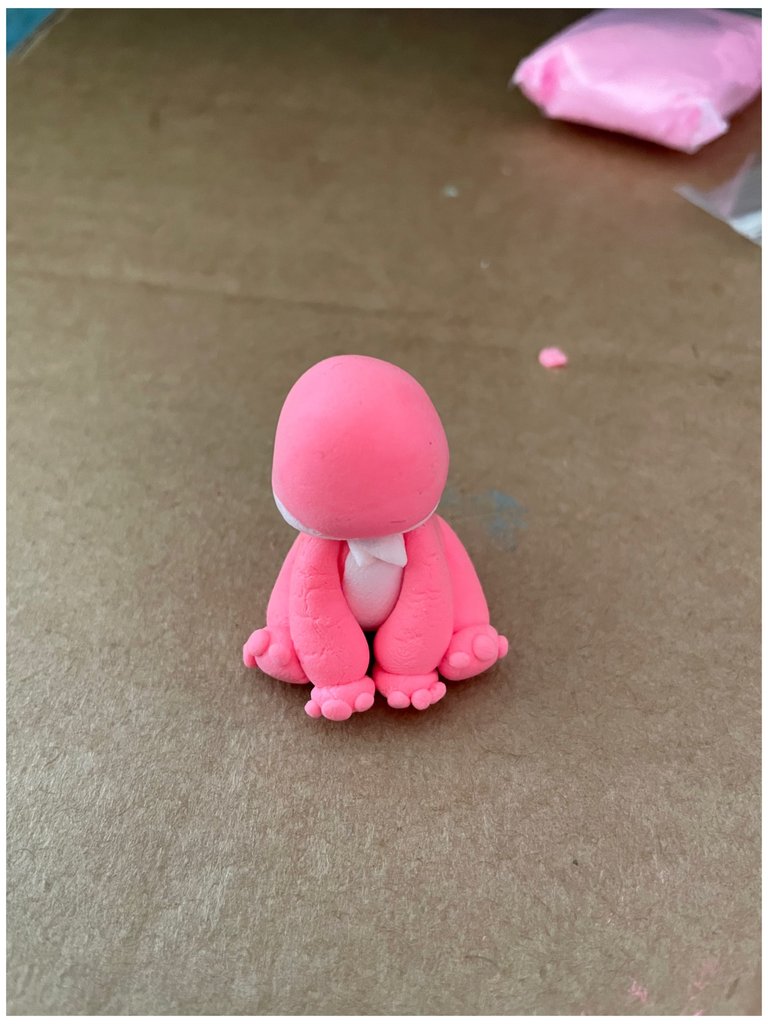
Seguidamente, desarrollo las partes del cuerpo en los animados, su cabeza , barriga, patas y manos , siempre dando lo mejor de mi.
Next, I develop the parts of the body in the animated ones, its head, belly, legs and hands, always giving my best.

PASO/STEP 3
Ya por último, realizamos los ojos y retoques finales en la cara, nariz, y orejas utilizando los colores negro, rosado, amarillo y blanco para el brillo de ambos muñequitos. Este diseño es un poco más complejo, pues son más pequeñas las partes a la hora de moldear.
Finally, we made the eyes and final touches on the face, nose and ears using the colors black, pink, yellow and white for the shine of both dolls. This design is a little more complex, since the parts are smaller when it comes to molding.
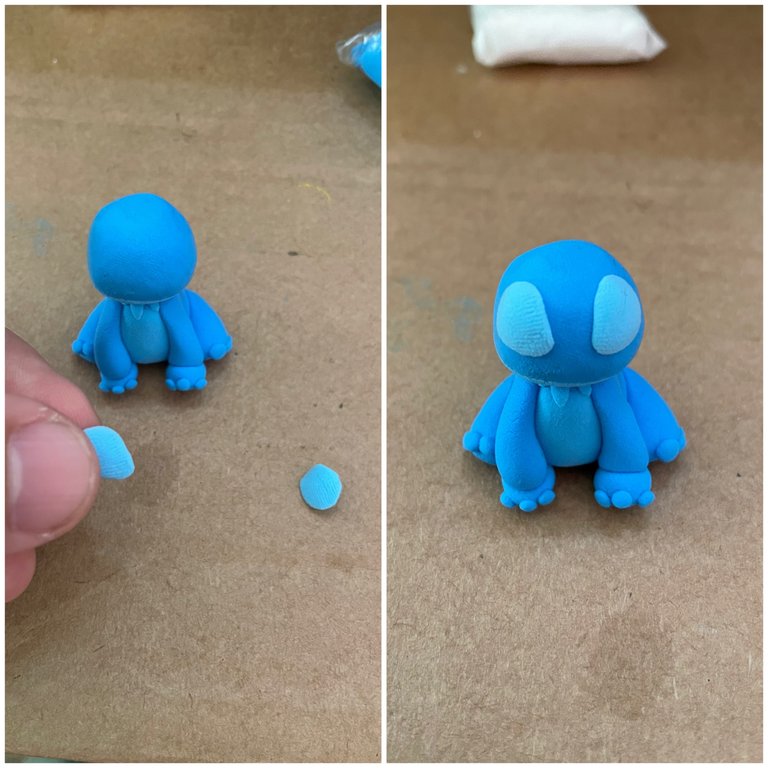
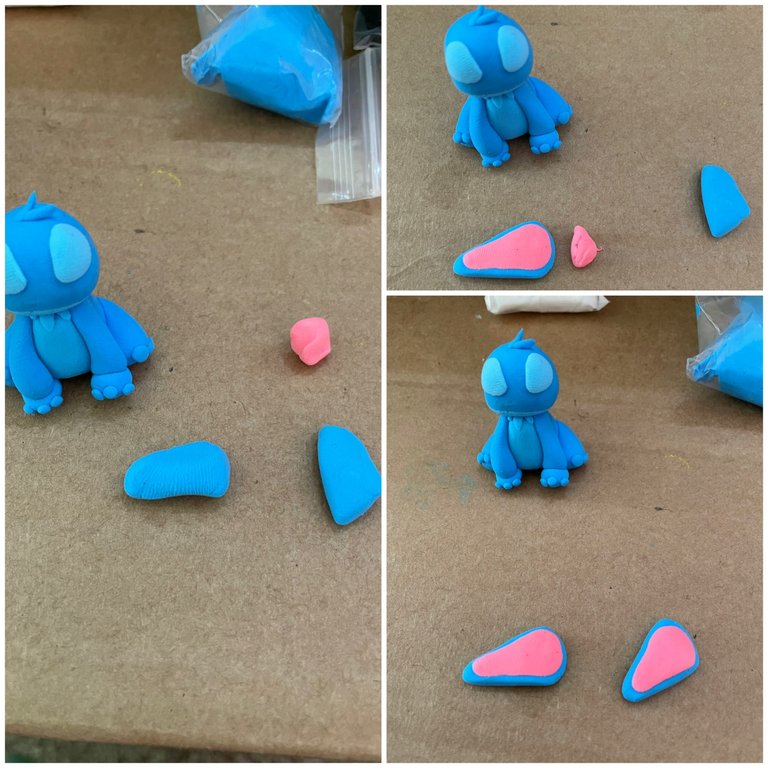
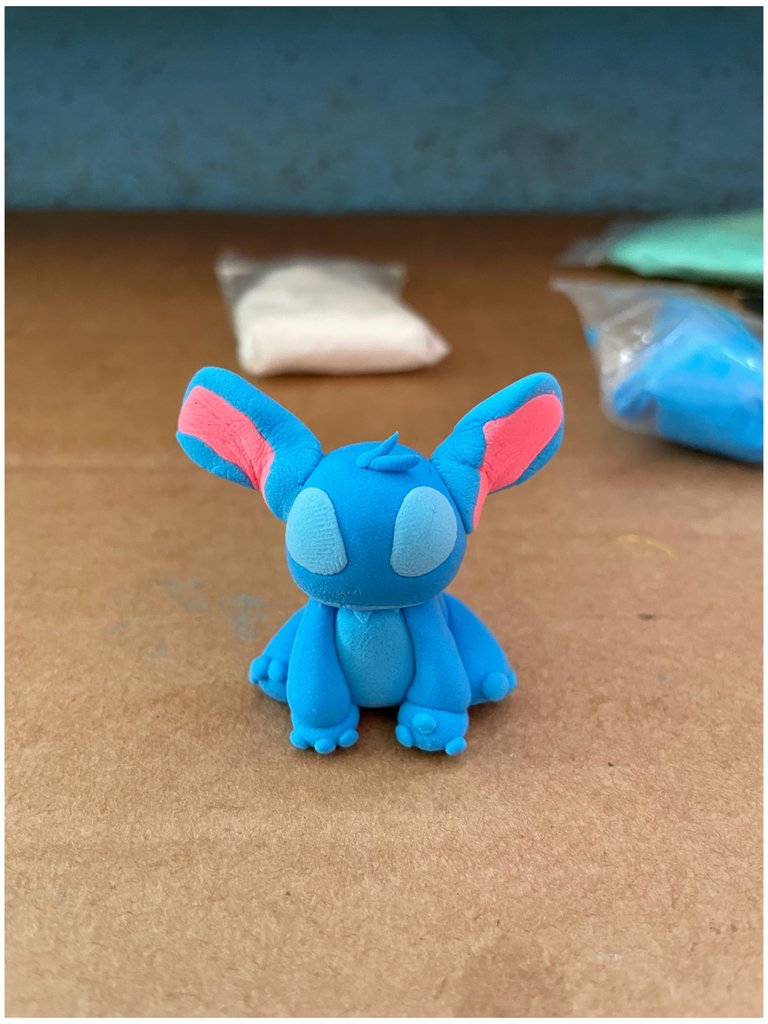
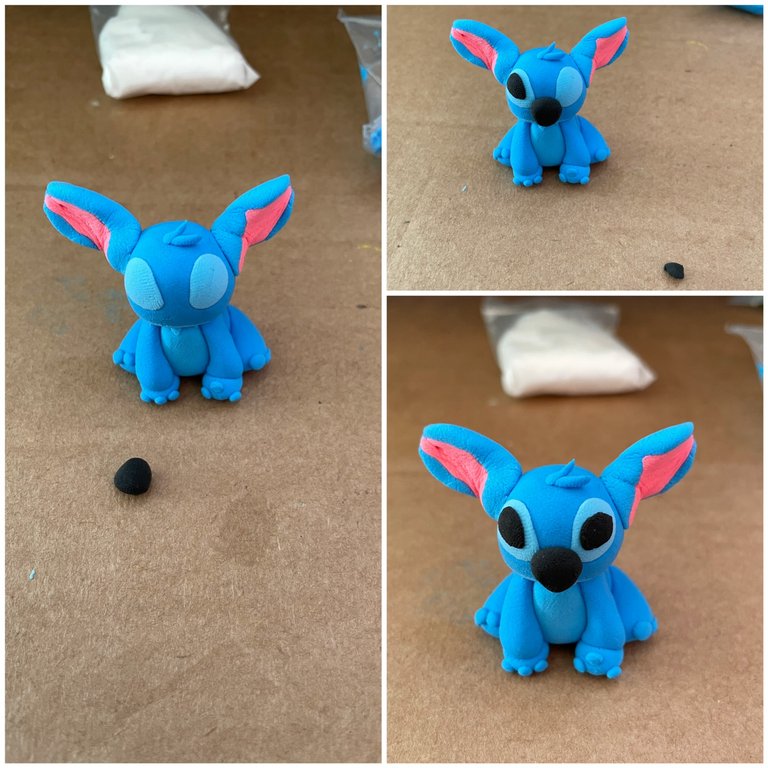
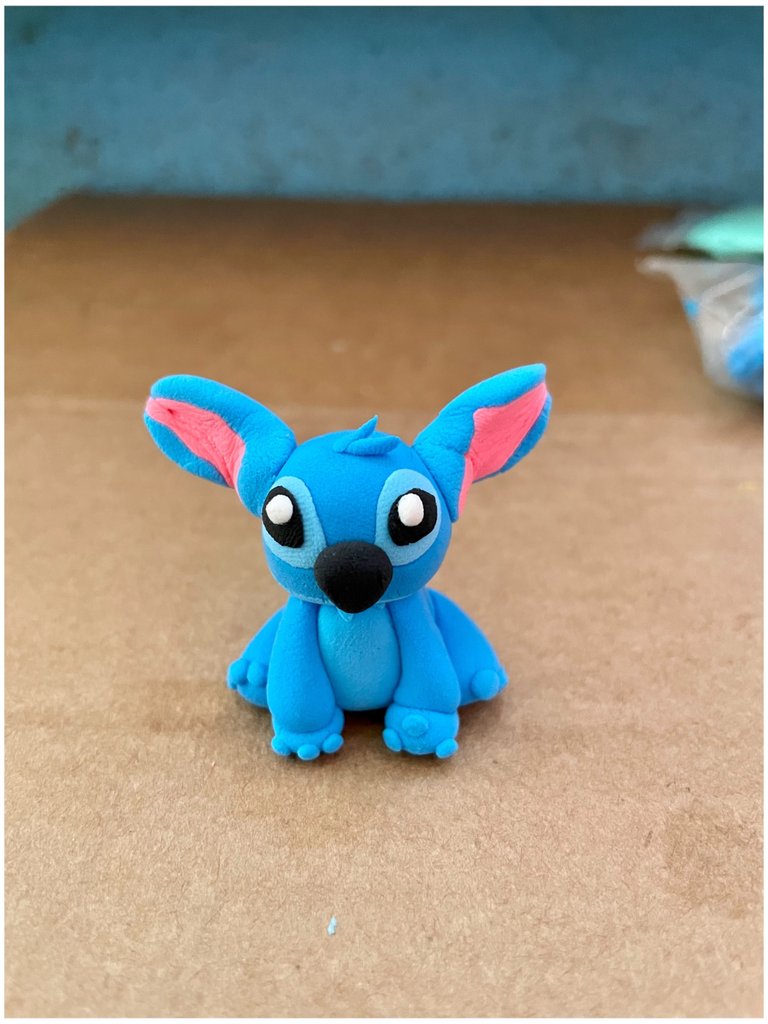
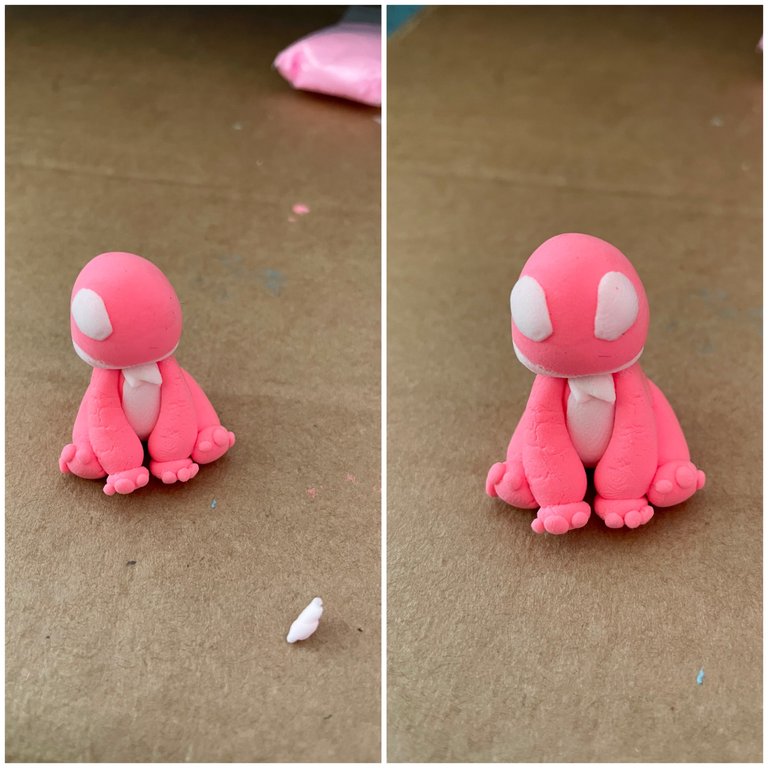
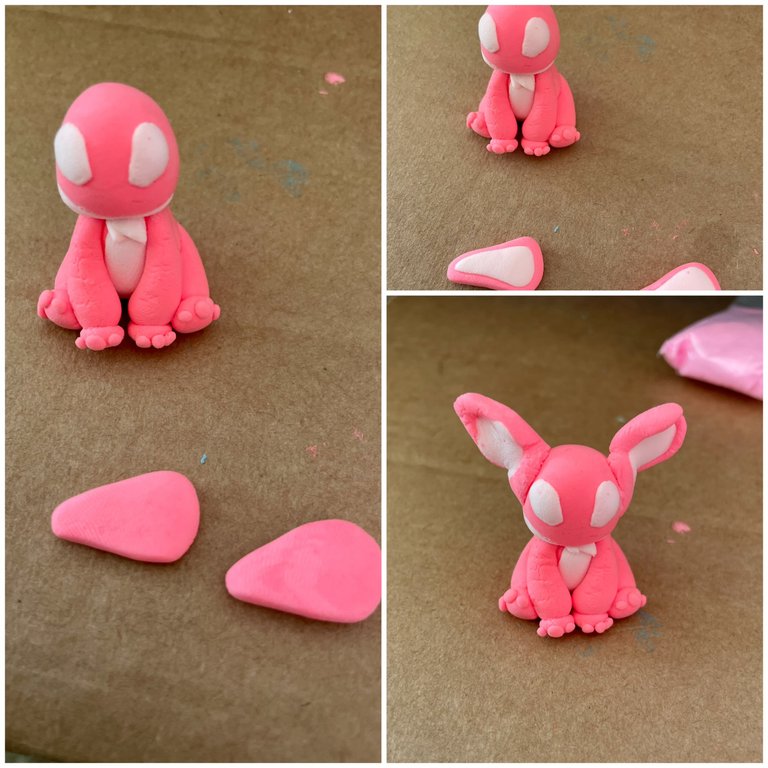
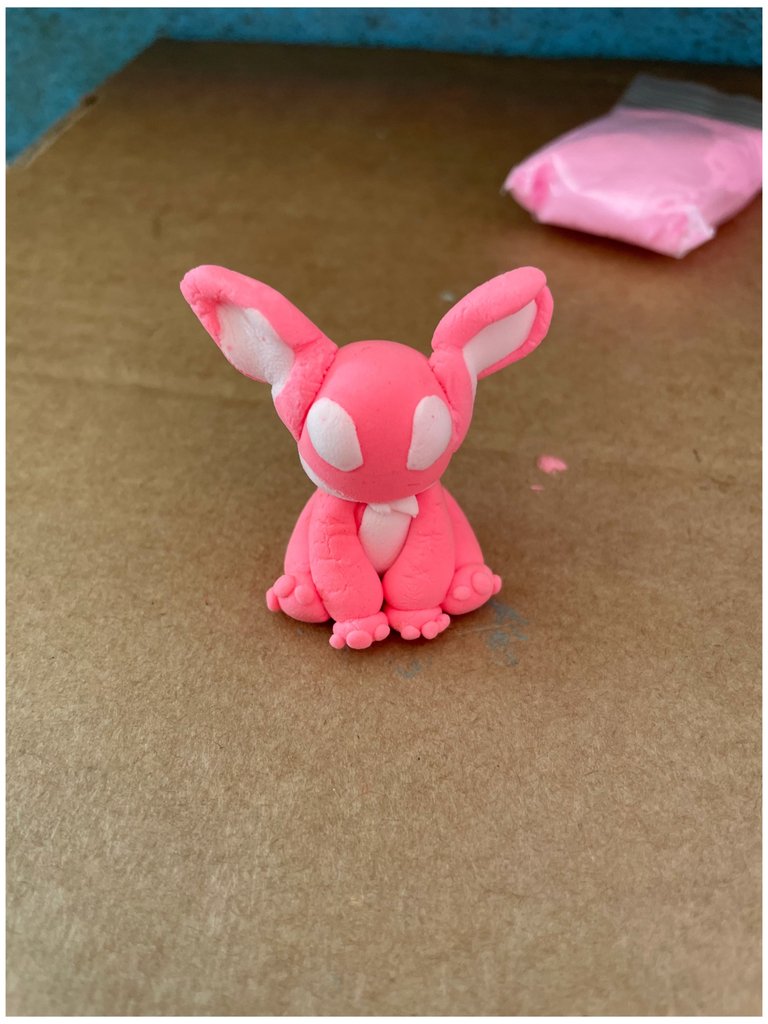
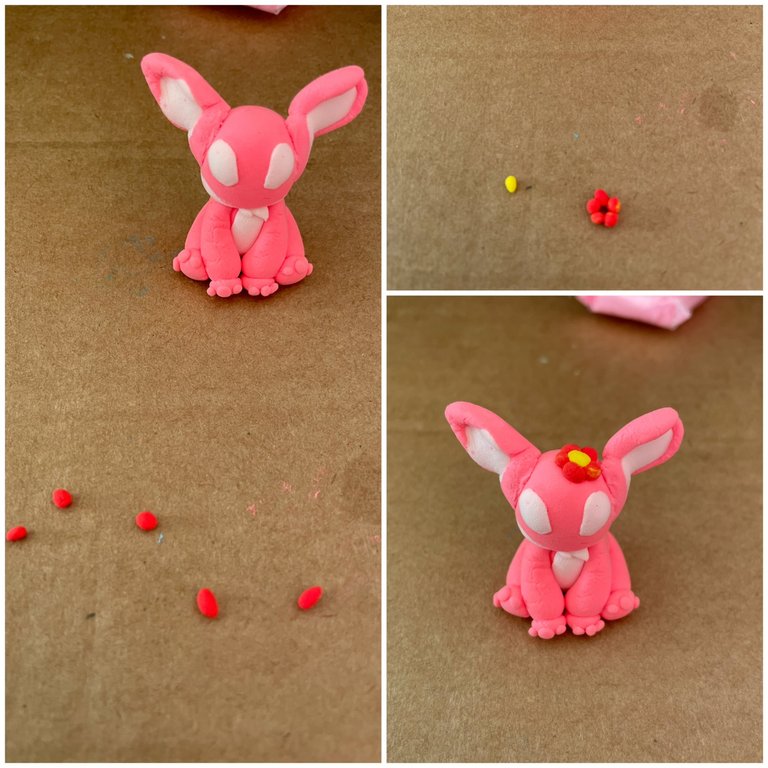
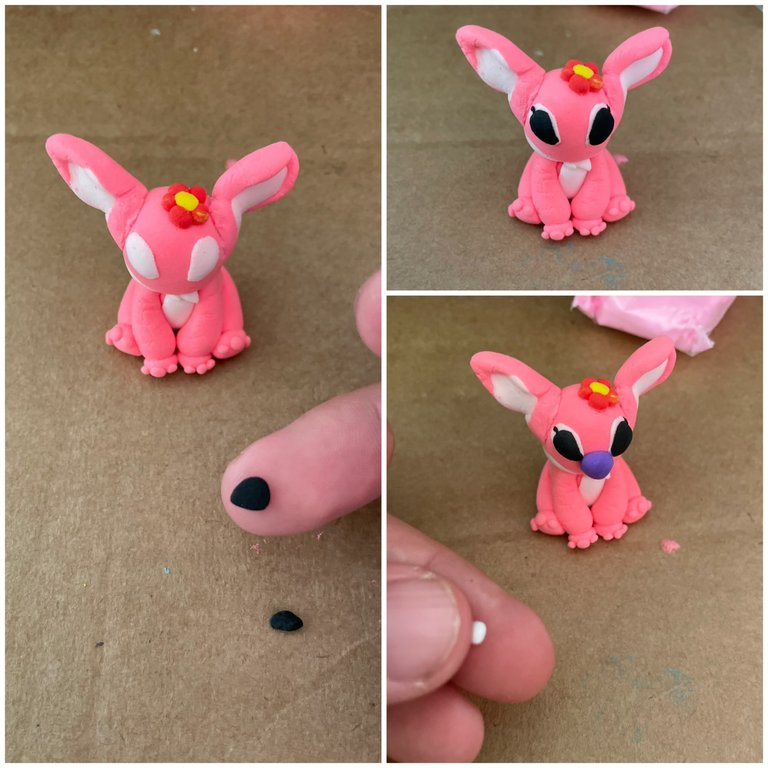
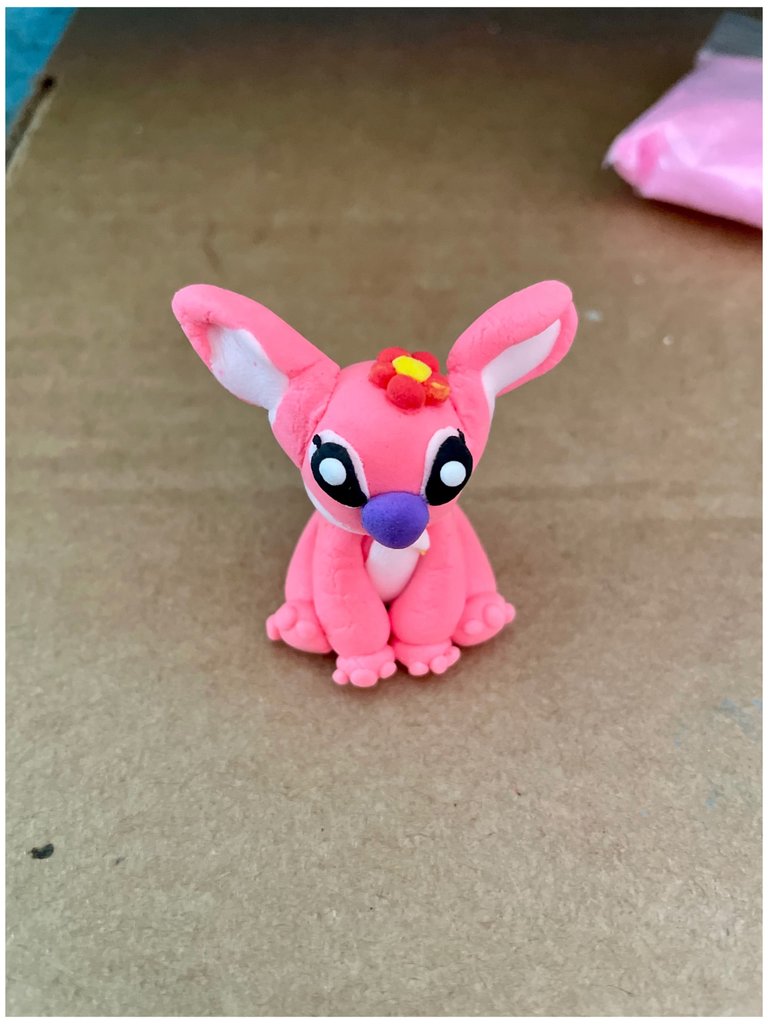
Resultado final / Final result
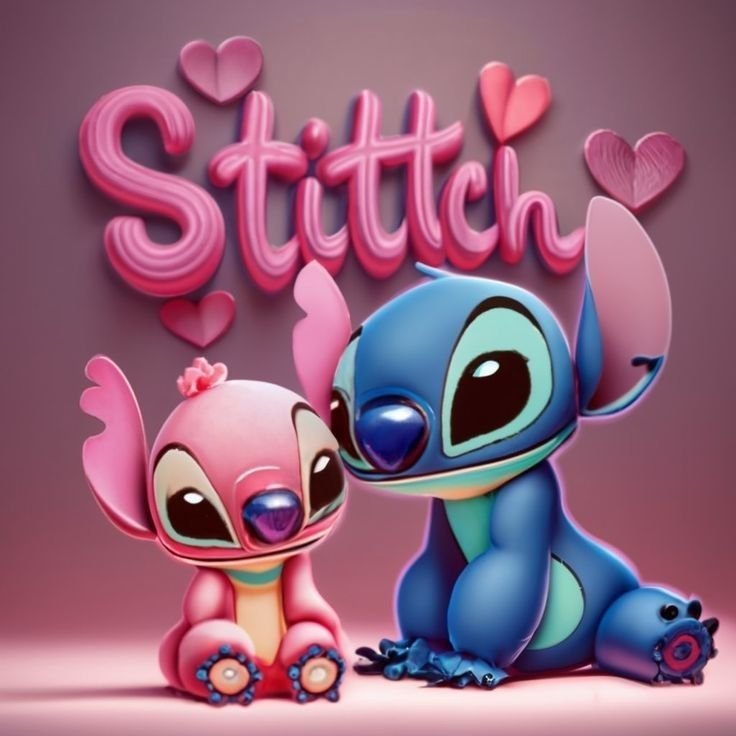
Cabe destacar que este diseño fue buscado en Pinterest; pero la realización de los animados son hechos por mí, con dedicación para que luzcan mas bonitos en el hogar 🏠 .
It should be noted that this design was searched on Pinterest; but the realization of the animated ones are made by me, with dedication to make them look more beautiful at home 🏠 .
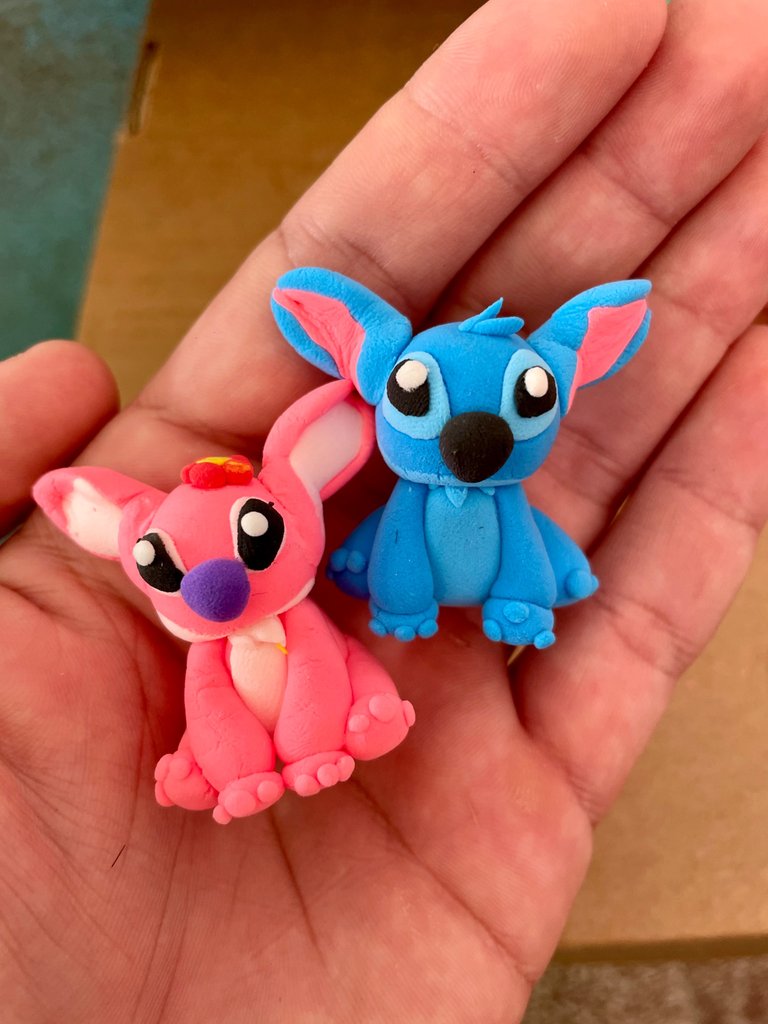
Si te ha gustado, no olvides dejar tu comentario y seguirme para próximas publicaciones. Me encantaría saber tu opinión e ideas para el siguiente. Saludos
If you liked it, don't forget to leave a comment and follow me for future posts. I'd love to know your opinion and ideas for the next one. Regards
Posted Using InLeo Alpha
0
0
0.000
Waoo que lindos quedaron estos muñecos iguales a los reales,me encanta esa masa que usaste parece muy sencilla de trabajar, gracias por tu proyecto.😉
Muchas gracias @yolimarag !!! Me alegra te te hayan gustado 😊👏, ahora no es tan tan sencillo jjjj amiga 😄. La arcilla se seca y si de casualidad te falla alguna puesta de los muñequitos sea ojos 👀 o lo que sea no hay vuelta atrás jjjj se pegan y no puedes arreglar el error!!! Pero si es relajante y entretenido 🙏🏻.
Oye no sabia, bueno saberlo amigo
Muy lindos amor. Me encantan, que cosita más tierna. Esos son mis monstruitos favoritos...
Gracias amorcito !! No son de mis favoritos pero me gustaron.
Me encanta Stitch y su parejita tambien es muy bonita, te quedaron super tiernos y lindos ❤️
Muchas gracias @elbuhito trate de hacerlo lo mejor posible 😊👏
wow amazing
Thanks you @reachdreams !!
Que lindos te quedaron amigo, de verdad que espectaculares, aparte es terapéutico por lo menos para mi lo es jaja
Muchas gracias @rlathulerie!! Que bueno saber que te gustaron, es relajante pero también se complica por el secado de la arcilla jjjjj 😊👏
¡Qué ternura! Quedaron demasiado lindos con muy buenos detalles
Muchas gracias @mandysmoon !! Que bueno saber que te gustaron 😊👏
Que bella esta parejita, me encantó como quedaron 😍😍😍
Muchas gracias Yale !! 😊👏
Congratulations @ibarra95! You have completed the following achievement on the Hive blockchain And have been rewarded with New badge(s)
Your next target is to reach 1750 replies.
You can view your badges on your board and compare yourself to others in the Ranking
If you no longer want to receive notifications, reply to this comment with the word
STOPCheck out our last posts:
Thanks you 👏😊 for the support!!!
That's great @ibarra95! We're excited to see your accomplishments on Hive! We keep cheering you on for your next goal!
BTW, we noticed we miss your support for our proposal. Mays we ask you to check it out and consider supporting it?
All you need to do is to click on the "support" button on this page: https://peakd.com/proposals/248.
Thank you!
Están súper lindos, nunca había visto ese material o quizás lo conozco por algún otro nombre jejeje me queda una duda ellos se endurecen y pueden quedar como adornitos ? Los veo súper como para hacer llaveros si esto sucediera y en caso que no con ese paso a paso tan detallado se puede uno orientar para hacerlos en masa flexible o fondant 😍 gracias por compartir ❤️
Muchas gracias 😊👏 @gelart, si el material foami clay se seca y queda un tilín más duro, ahora para llaveros hay unos líquidos que venden por pomos que creo que se llaman barniz líquido que los pone más duro como un cristal y así si te debe servir para lo que deseas. Que bueno saber que te gusto, y disfrutaste del paso a paso !! Saludos
The final result is breathtaking and flawless, bravo!
Muchas gracias @diyhub, yo subí el hace unos días uno de Mario Bros que también gusto mucho a la comunidad DIYHUB, pero no la llegaron a votar no se si es que tuvo algún problema con las reglas o no les gusto el contenido.. saludos y gracias por el apoyo a este post 👏👏😊😊☺️ Saludos
Me encantan estos muñes, quedaron geniales. Bendiciones 🤗.
Muchas gracias amiga !! 😊👏
Hermosas manualidades. Eres muy talentoso. Saludos ☺️
Muchas gracias amiga !!! 😊👏
☺️☺️☺️
@ibarra95, I paid out 0.185 HIVE and 0.039 HBD to reward 12 comments in this discussion thread.