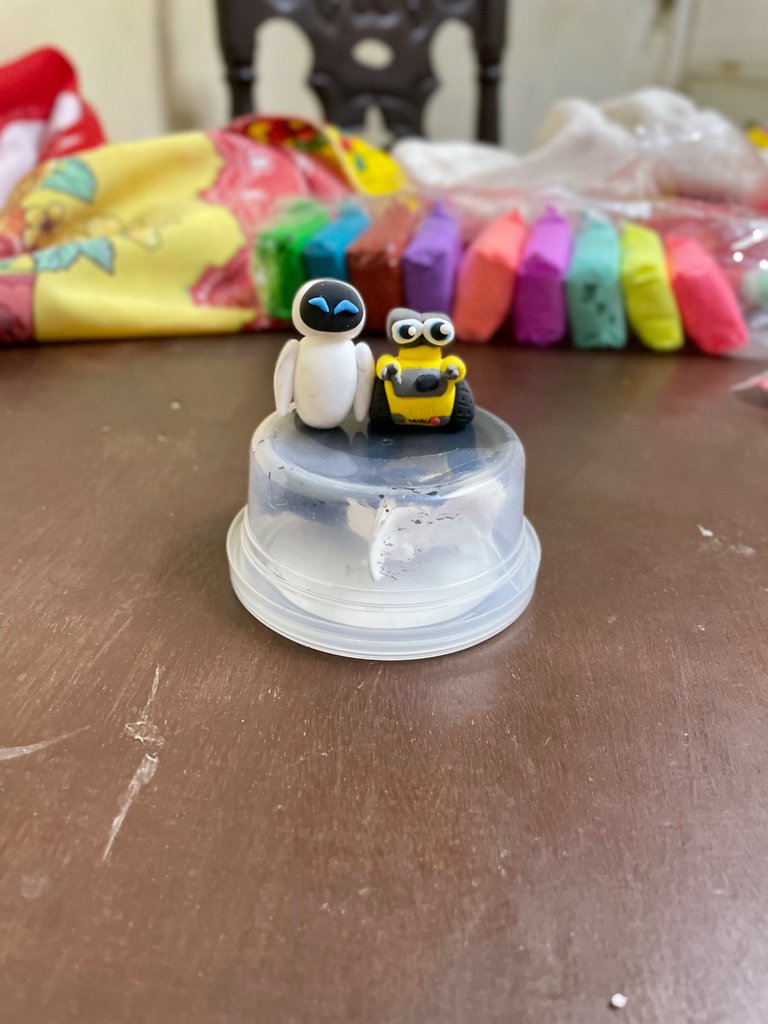
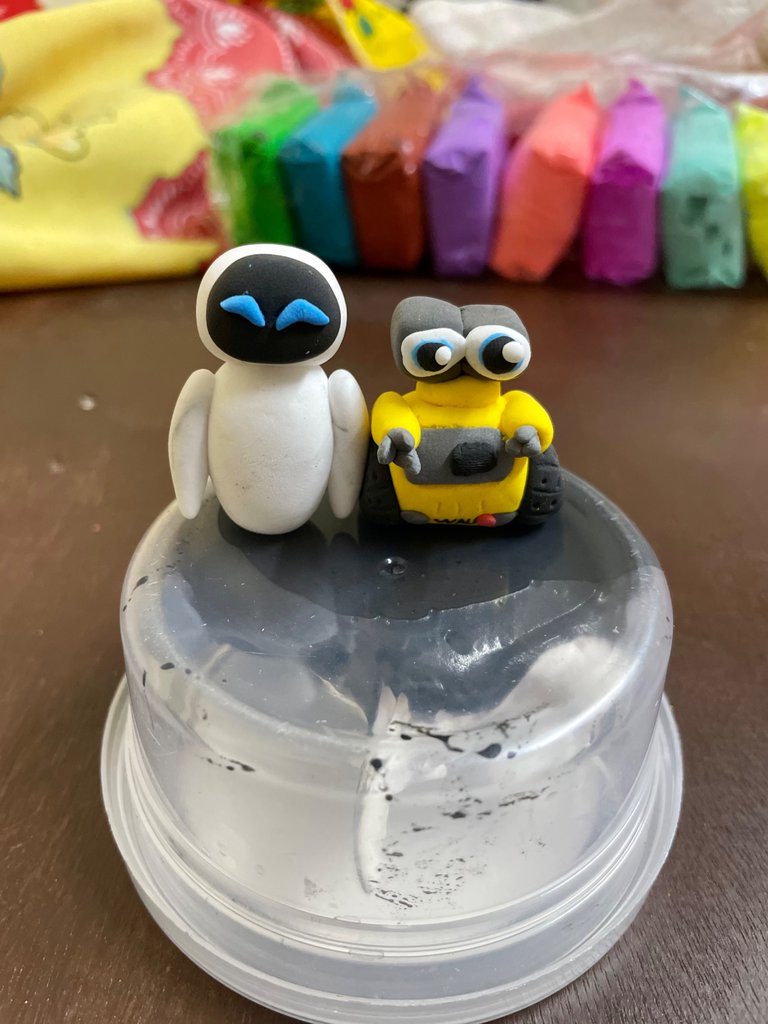
[ESP+ENG] Los adorables animados de Wall-E y Eva con Foami Moldeable / The adorable animated Wall-E and Eva with Foami Clay.
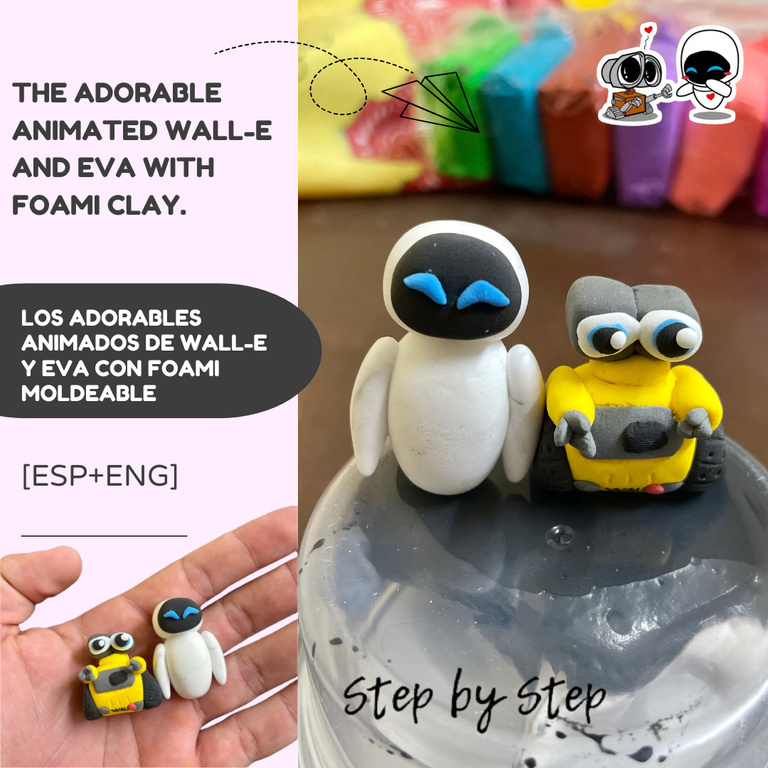
Hola!! Buenas Tardes 🌙 familia HiveDiy, amantes trabajos manuales y artesanías, el día de hoy les enseñaré a realizar los carismáticos animados Wall.E y Eva utilizando foami moldeable (foam clay). Espero les guste mucho la creación, a toda comunidad en general y yo súper contento en presentarles mi experiencia con este material flexible. ¡Acompáñame! 😊
A continuación les mostraré paso a paso la realización de mi trabajo. Para empezar, mencionaré todos los materiales utilizados:
A continuación les mostraré paso a paso la realización de mi trabajo. Para empezar, mencionaré todos los materiales utilizados:
Hello! Good afternoon 🌙 HiveDiy family, lovers of crafts and handicrafts, today I will show you how to make the charismatic animated Wall.E and Eva using moldable foami (foam clay). I hope you like the creation very much, the whole community in general and I am very happy to present you my experience with this flexible material. join me! 😊
Next I will show you step by step the realization of my work. To start with, I will mention all the materials used:
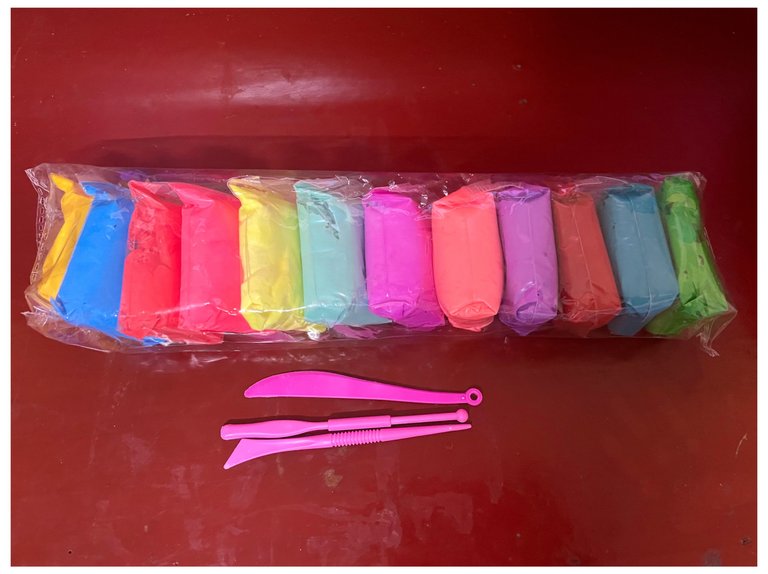
Materiales / Materials
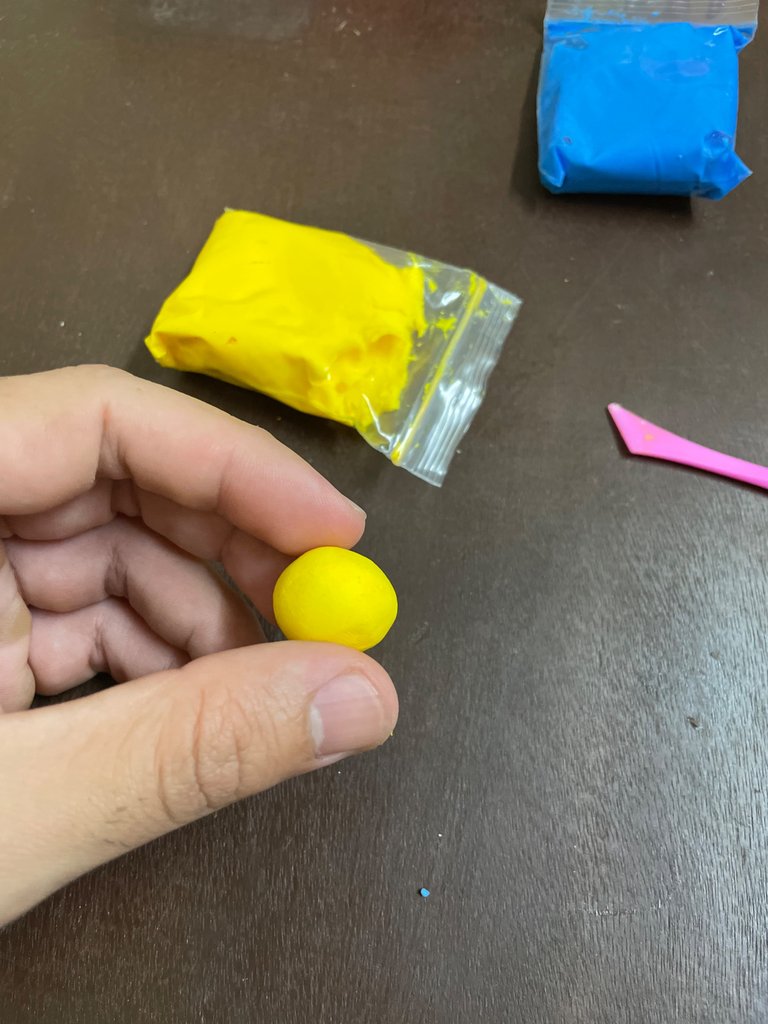
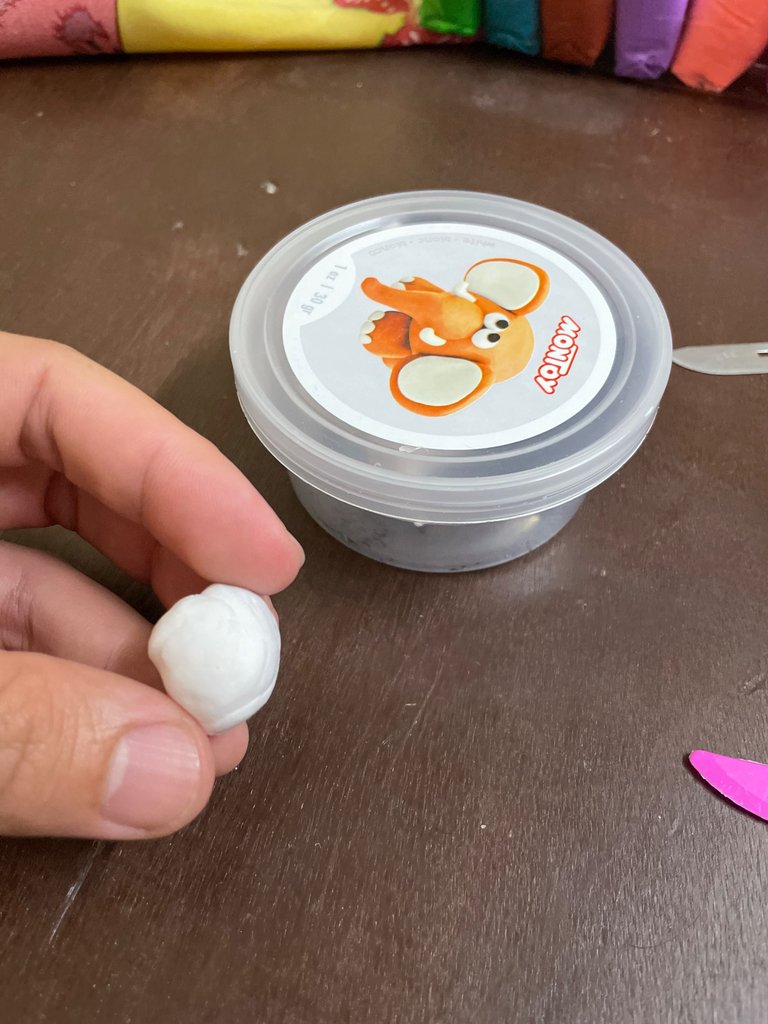
PASO/STEP 1
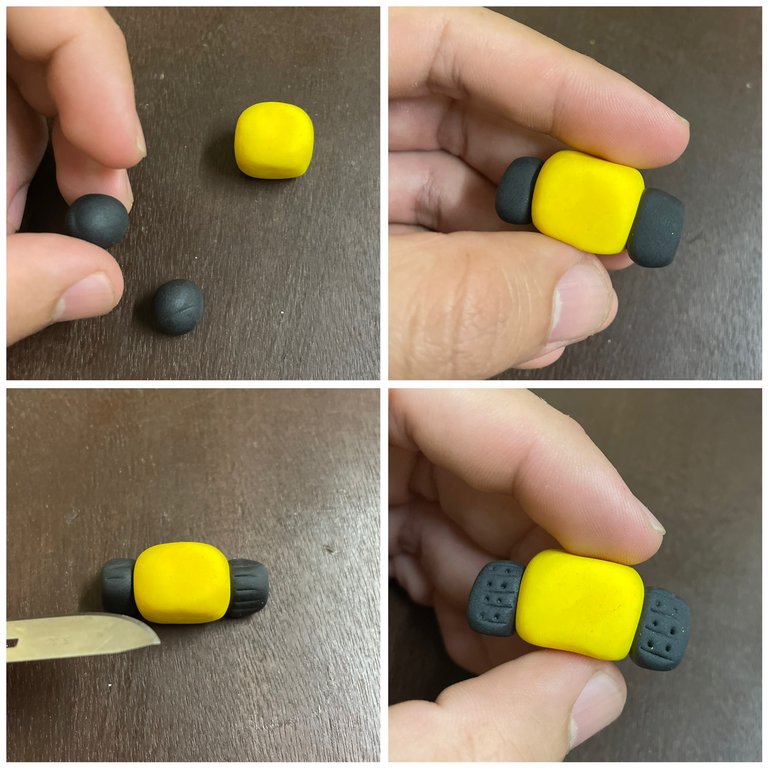
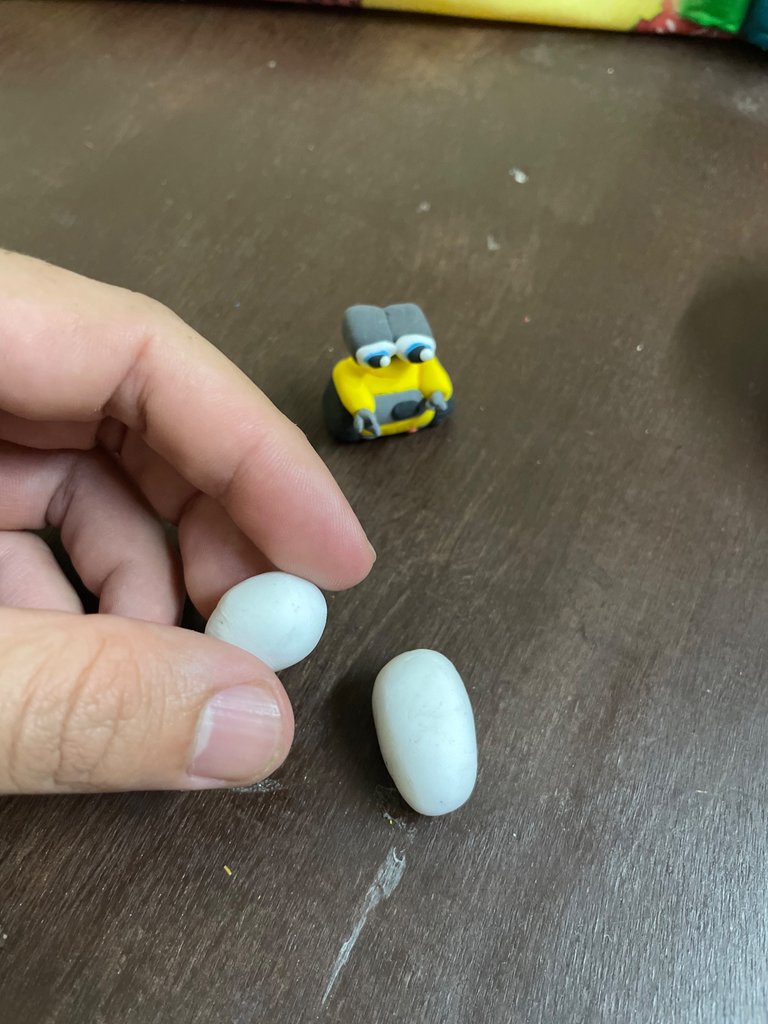
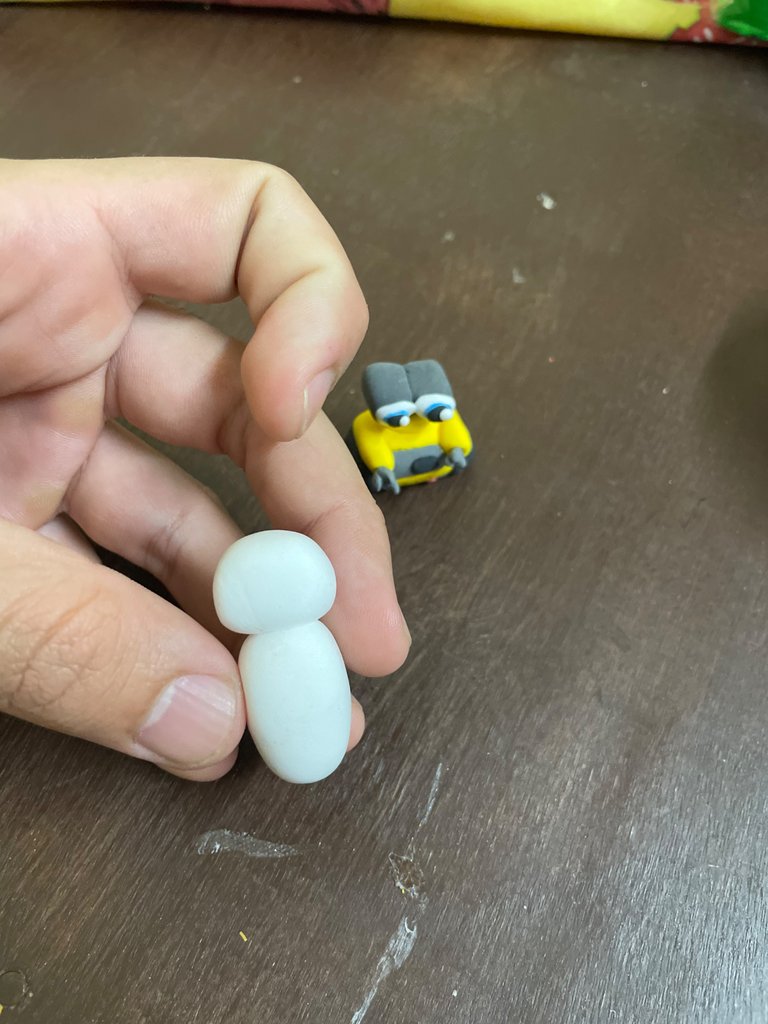
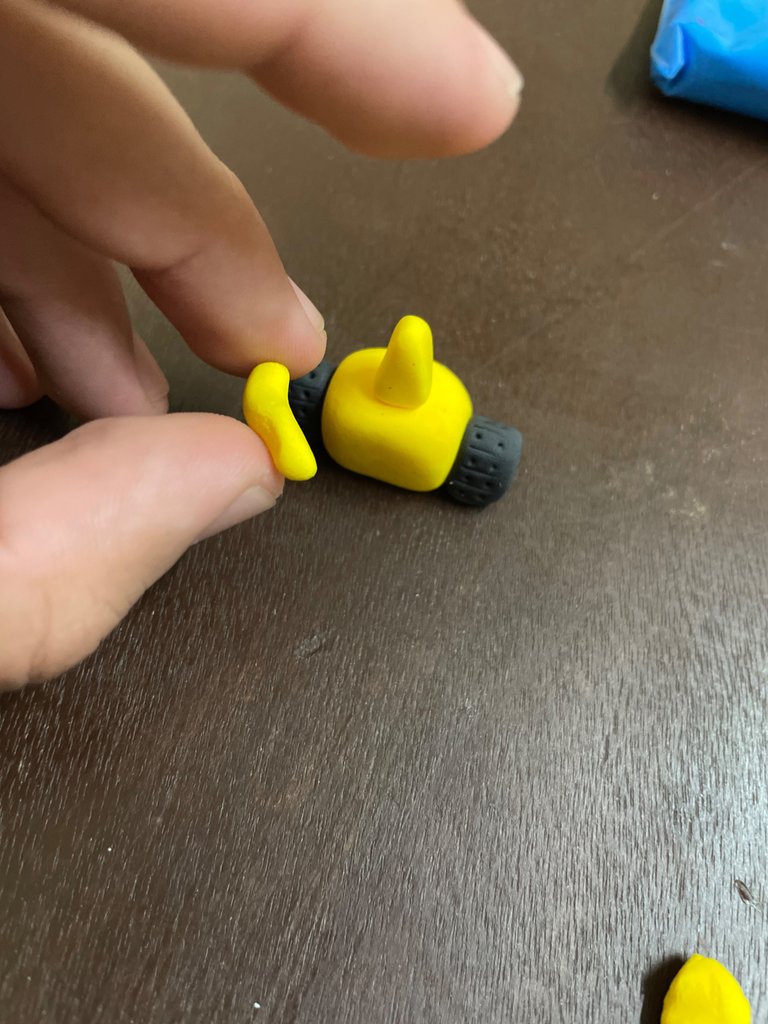
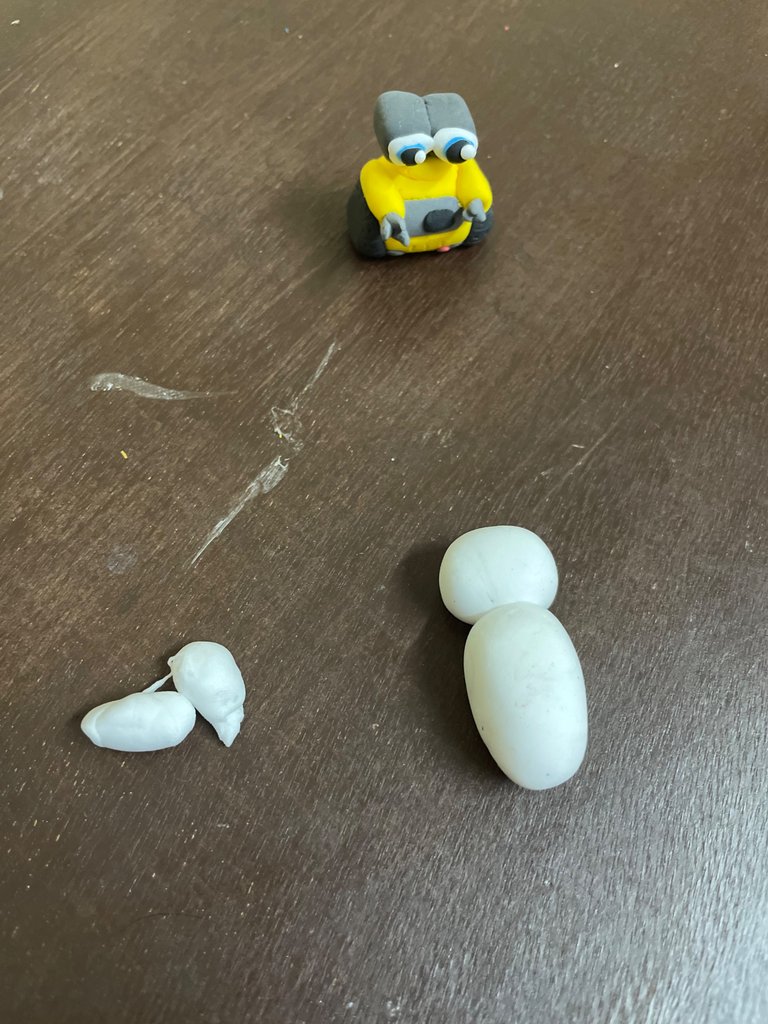
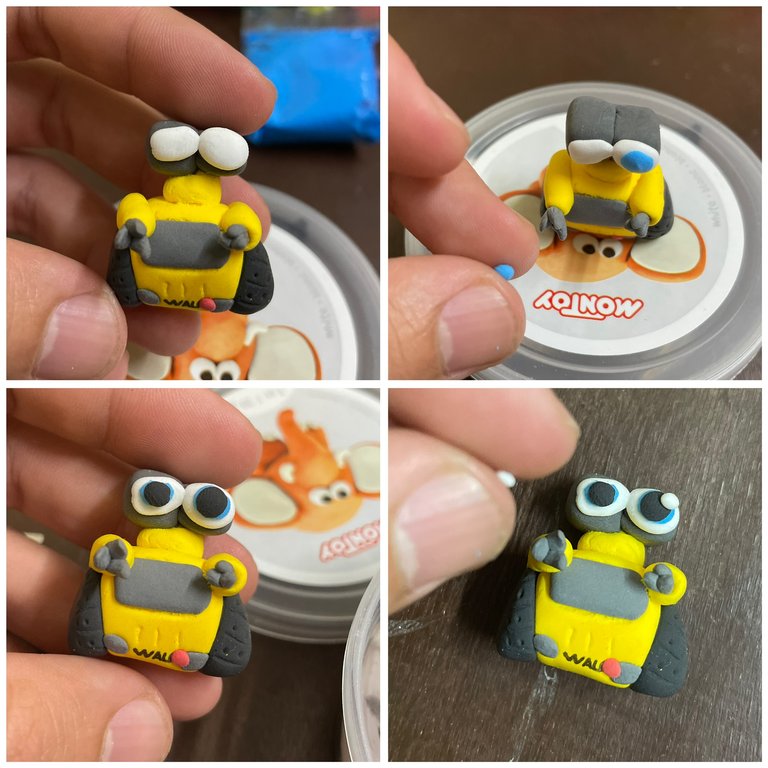
En la fase inicial, comienzo tomando una porción de arcilla en colores amarillo, Negro y blanco para la parte del cuerpo. Luego, con las manos moldeó cada tonalidad en forma de bola y cuadrada, dándoles una terminación curiosa. Utilizo la cuchilla de herramienta para ejecutar las rayas que darán el parecido a la maquinaria de Wall.E.
In the initial phase, I start by taking a portion of clay in yellow, black and white colors for the body part. Then, with my hands I molded each shade into a ball and square shape, giving them a curious finish. I use the tool blade to execute the stripes that will give the resemblance to the Wall.E. machinery.
PASO/STEP 2
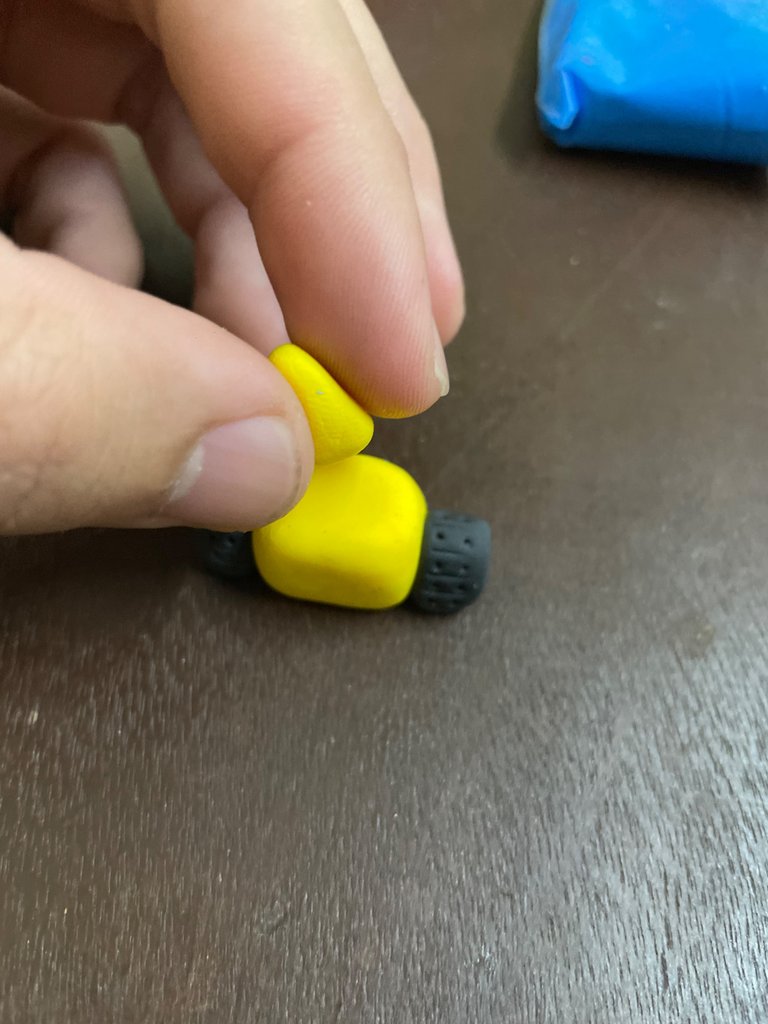
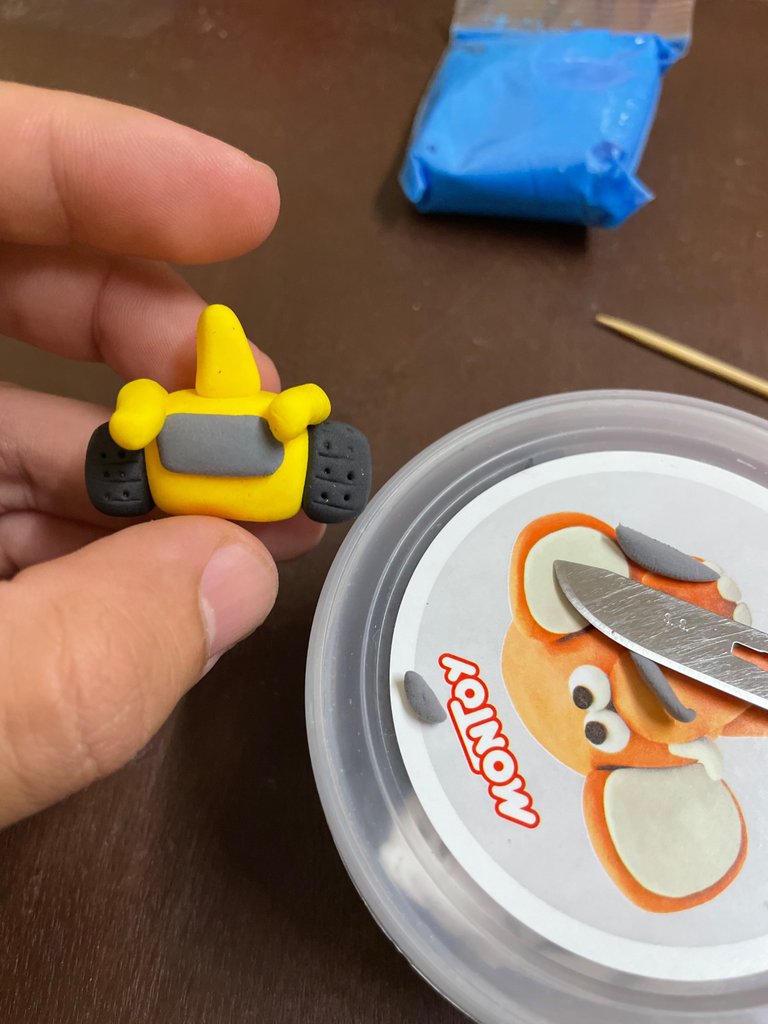
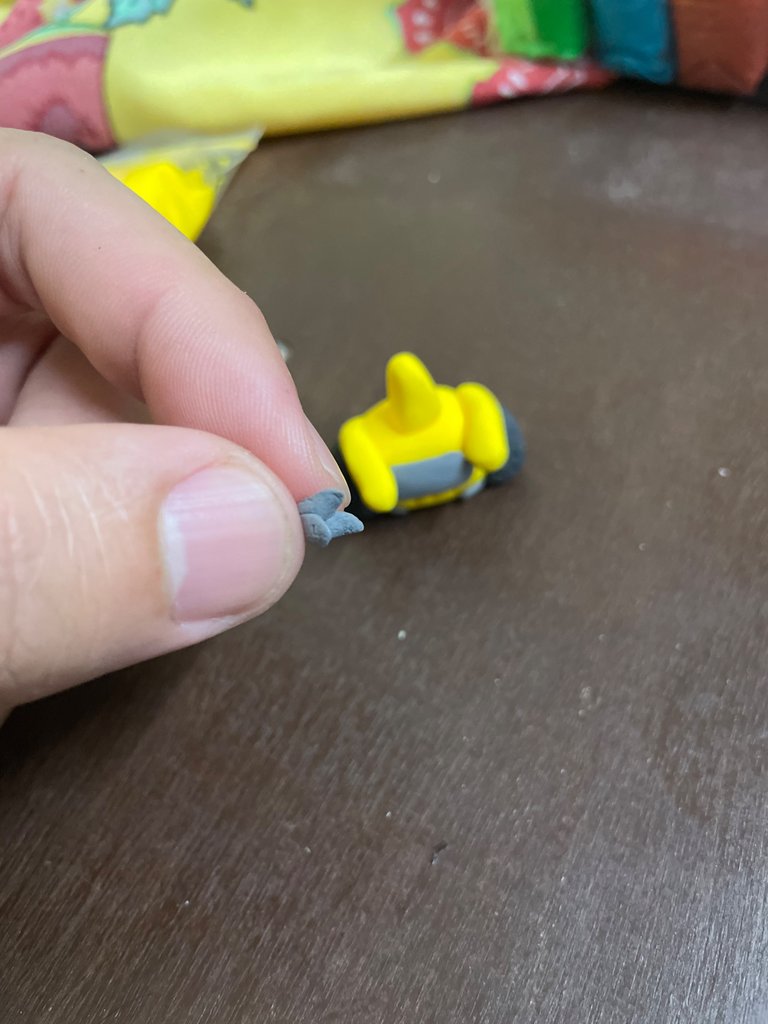
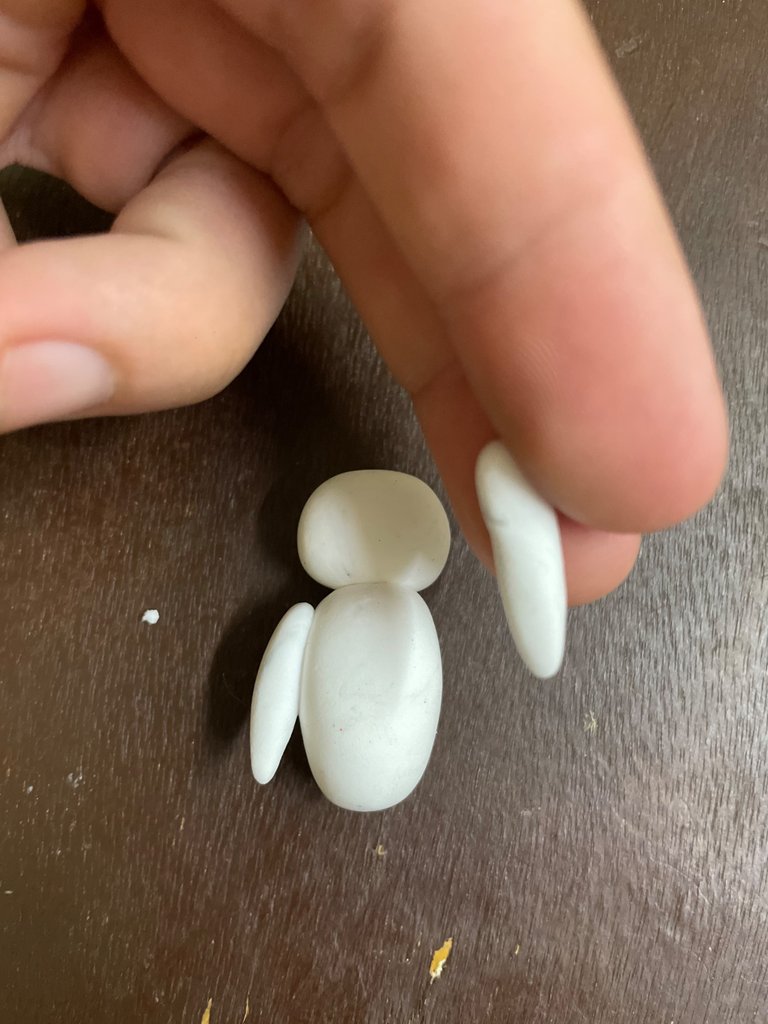
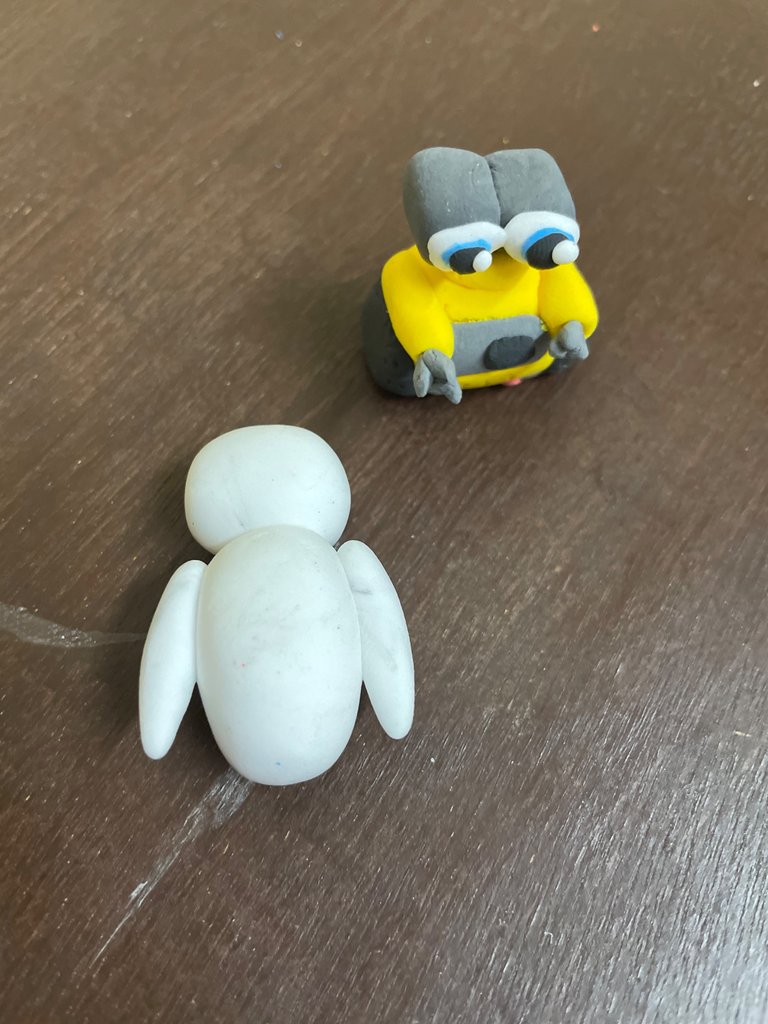
Seguidamente, desarrollo las partes del movimiento en los animados, el cuello y manos, siempre dando lo mejor de mi.
Next, I develop the parts of the movement in the animations, neck and hands, always giving the best of me.
PASO/STEP 3
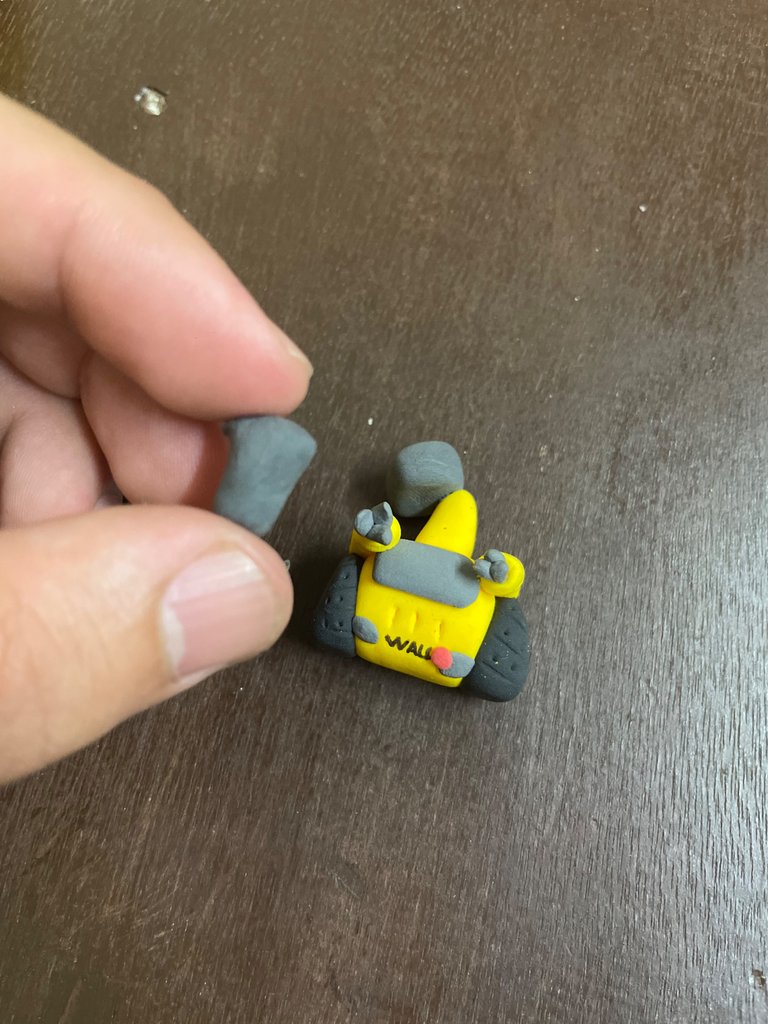
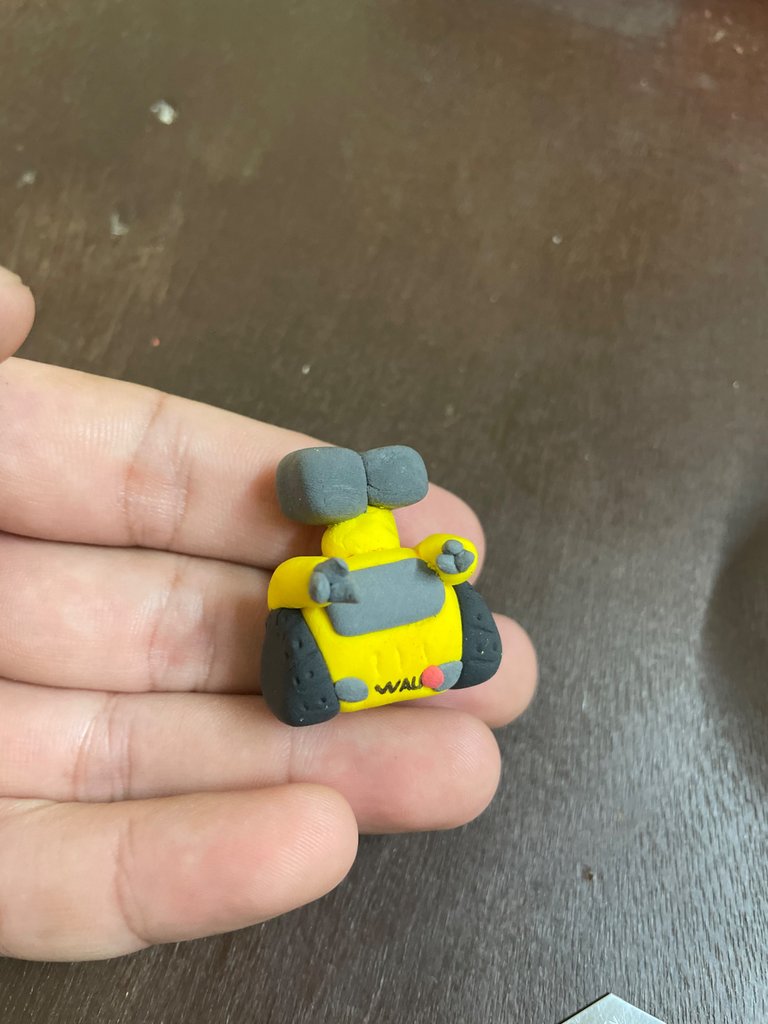
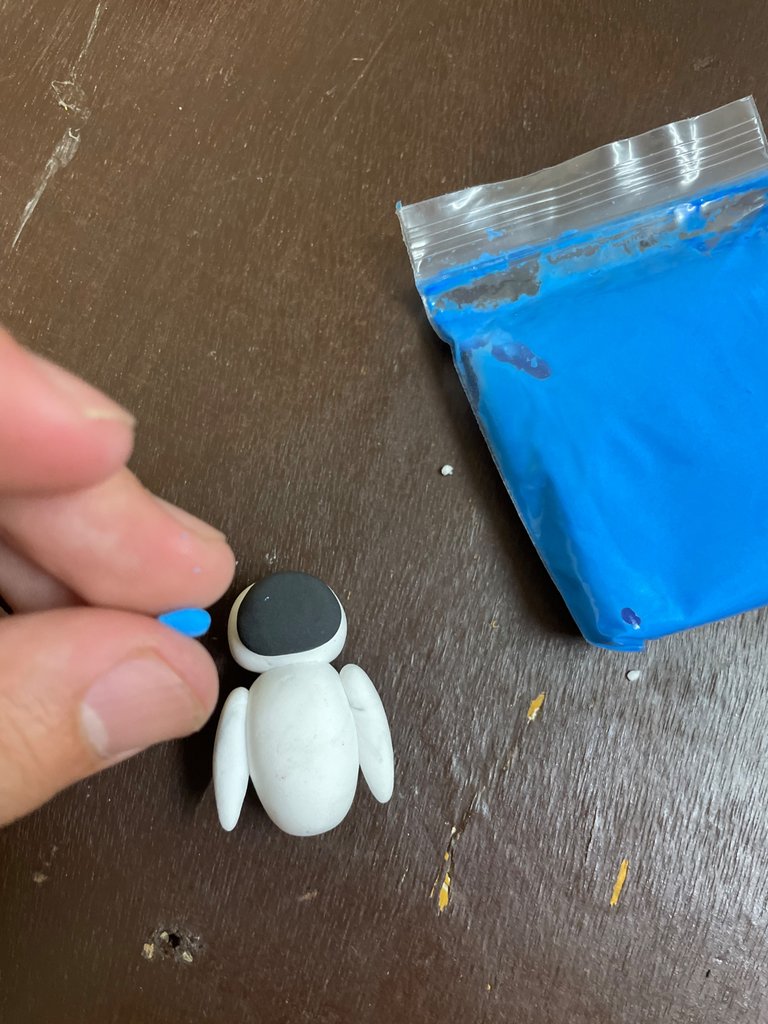
Ya por último, realizamos los ojos, utilizando los colores negro, azul y blanco para el brillo. Este diseño es un poco más complejo, pues son más pequeñas las partes a la hora de moldear.
Finally, we make the eyes, using the colors black, blue and white for the glitter. This design is a little more complex, as the parts are smaller when it comes to molding.
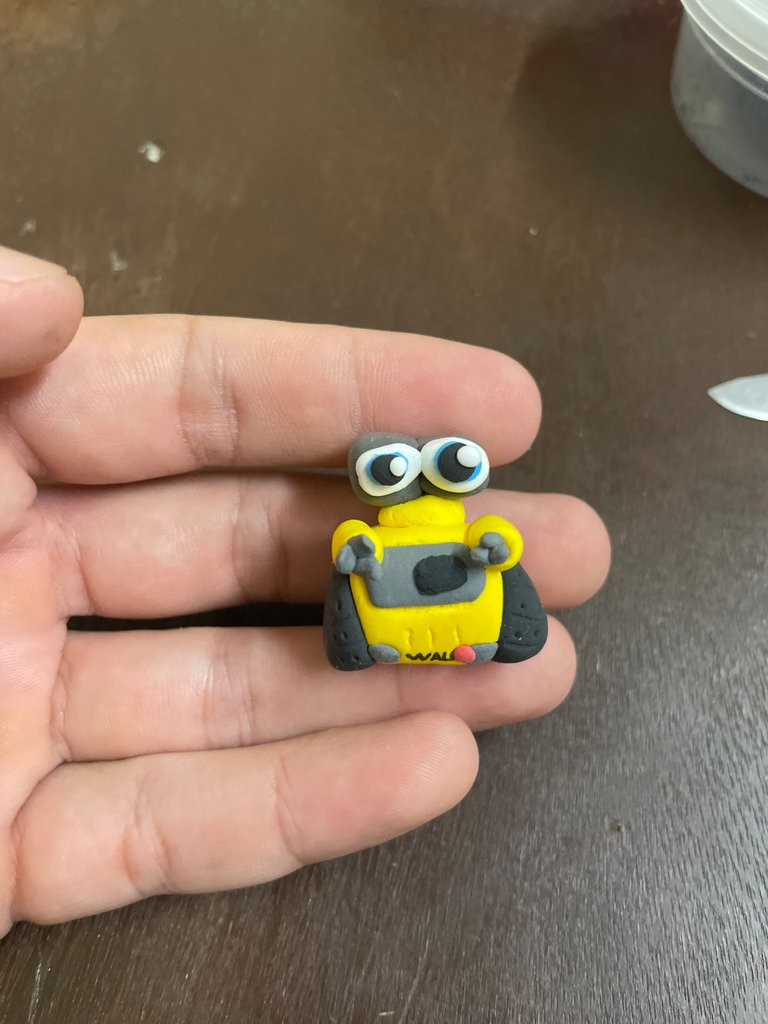
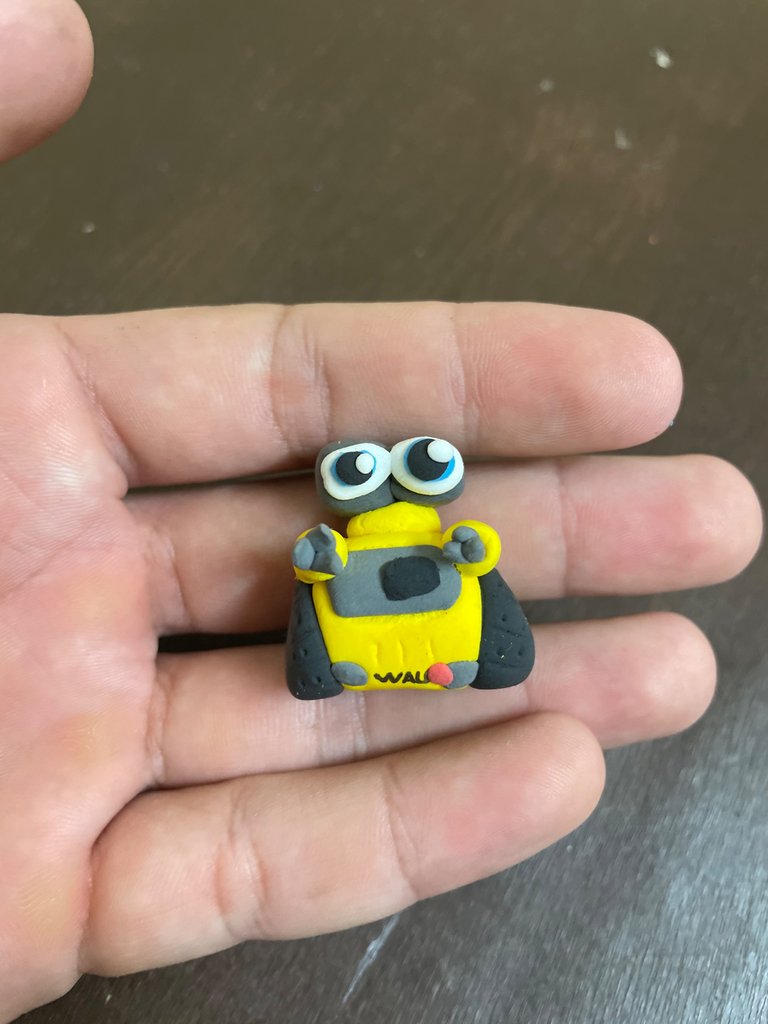
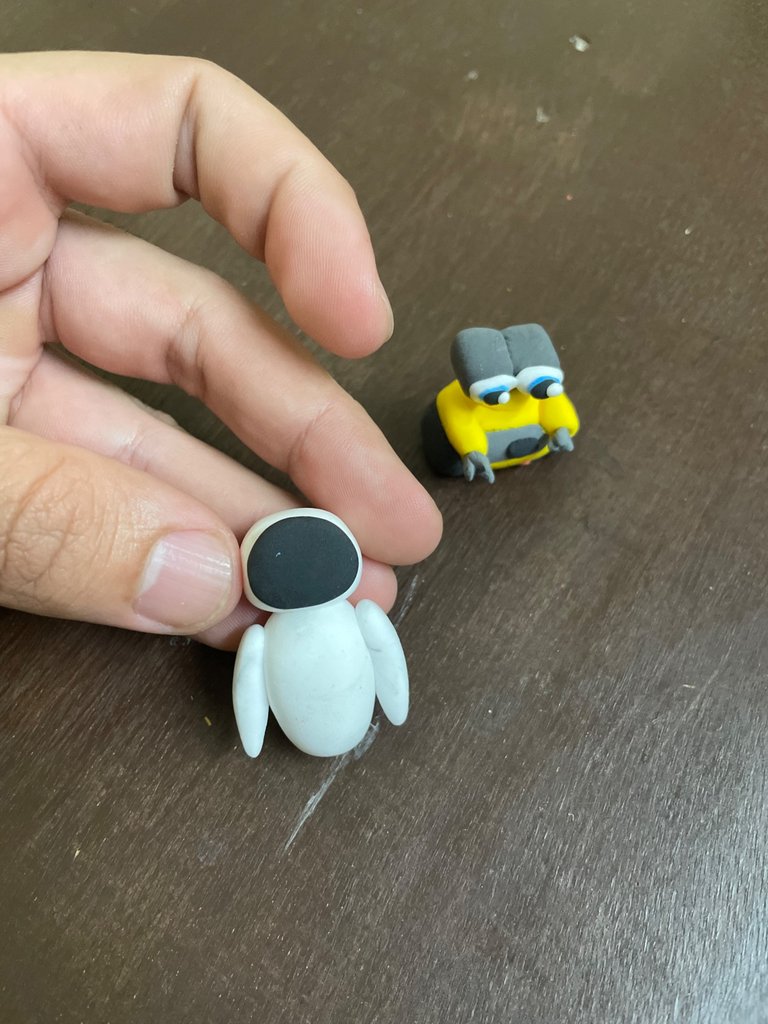
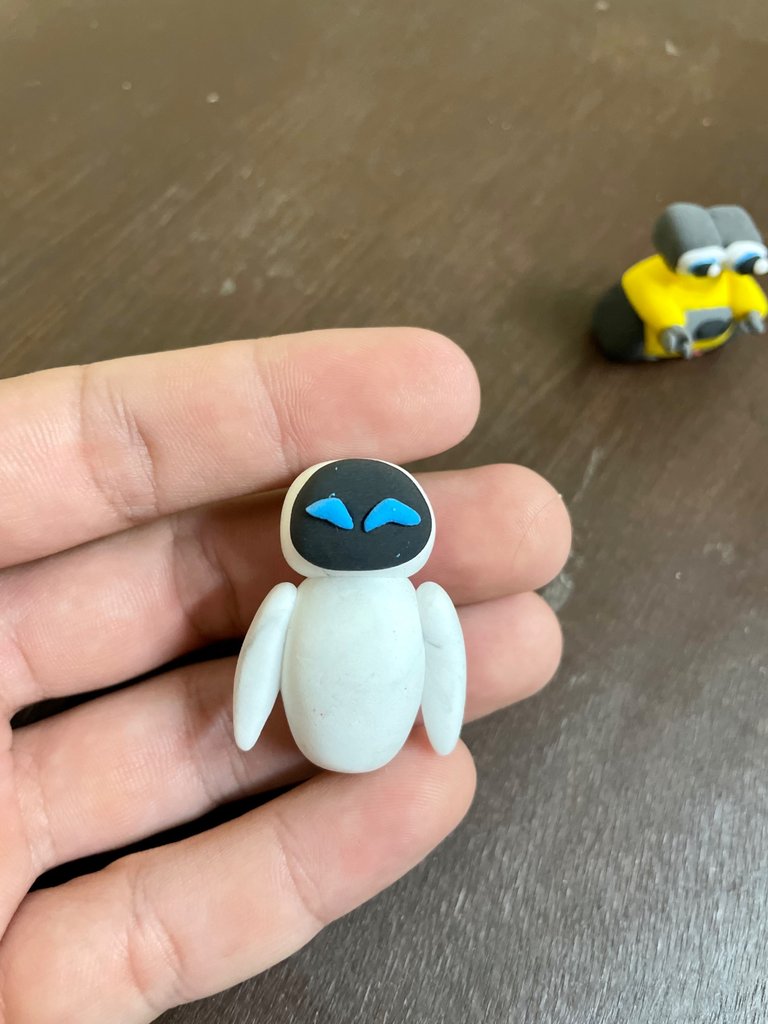
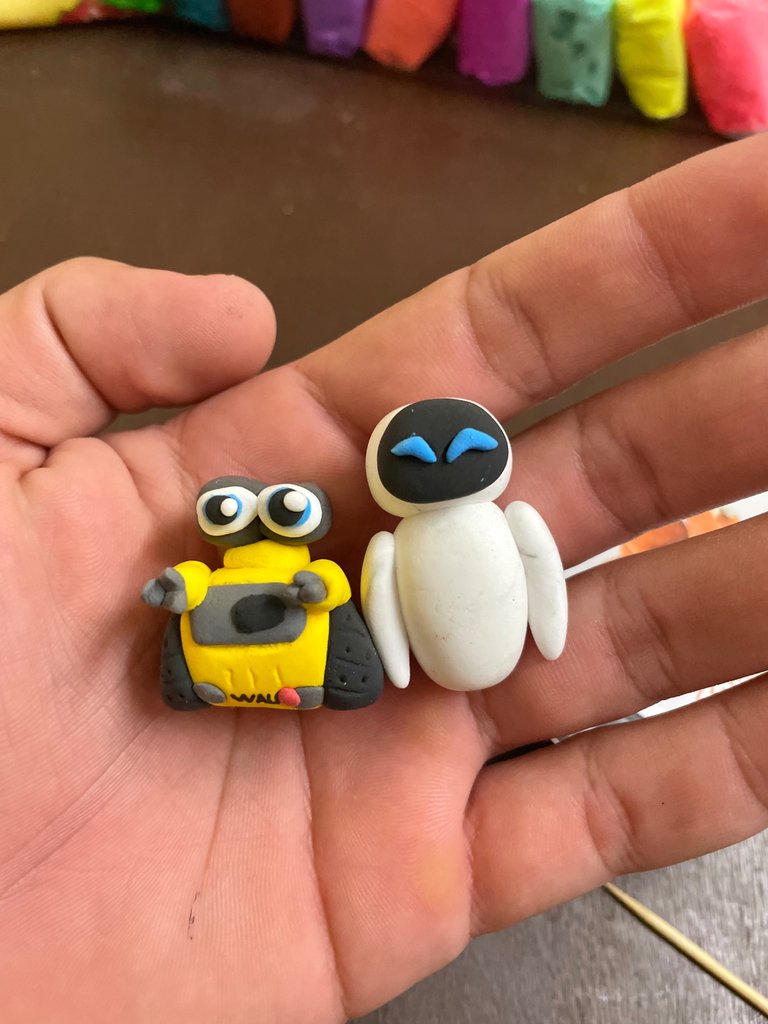
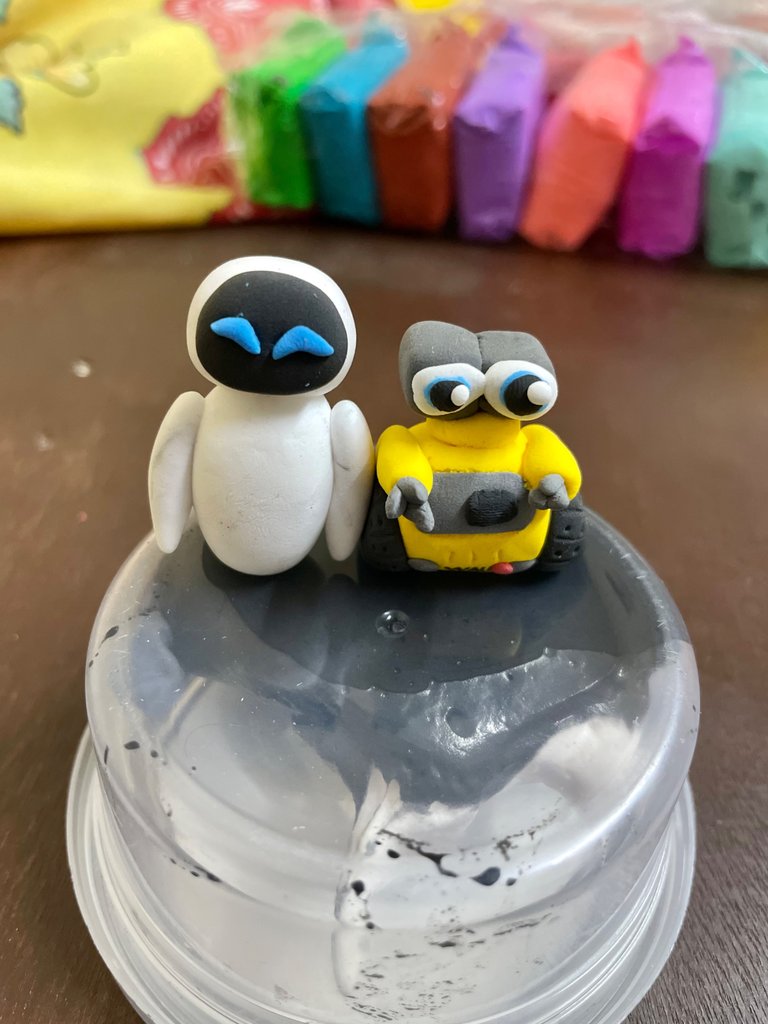
Resultado final / Final result
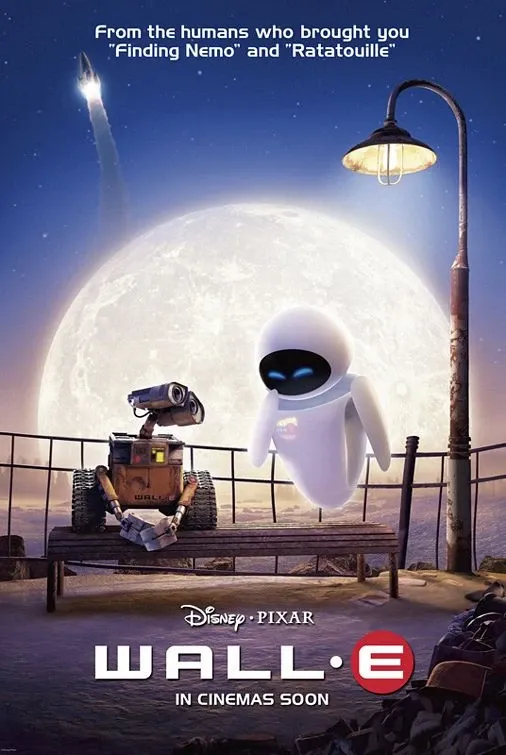
Cabe destacar que este diseño fue buscado en Pinterest; pero la realización de los animados son hechos por mí, con dedicación para que luzcan mas bonitos en el hogar 🏠 .
It should be noted that this design was searched on Pinterest; but the realization of the animated ones are made by me, with dedication to make them look more beautiful at home 🏠 .
Si te ha gustado, no olvides dejar tu comentario y seguirme para próximas publicaciones. Me encantaría saber tu opinión e ideas para el siguiente. Saludos
If you liked it, don't forget to leave a comment and follow me for future posts. I'd love to know your opinion and ideas for the next one. Regards
0
0
0.000
Your clay work is really good. It truly represents the actual movie. Well done
Thanks you very much @diyhub 😊🙏🏻
Te quedaron preciosos, hiciste un gran trabajo. Además tienen bastante detalles como el nombre en la figura de Wall-E.
!DIY
Muchas gracias 😊🙏🏻 , me fue un poco complicado esos detalles pequeños jjjj pero salieron mejor de lo q esperaba. Amiga puedes explicarme lo de balance y esas cosas de Diyhub es que en inglés y demás no entiendo mucho y aún estoy aprendiendo en hive.
Pues te quedaron muy bien. Por lo que entiendo (aún sigo aprendiendo también) los token de DIY son pequeñas recompensas que puedes recibir y dar a creadores que consideres que hacen un buen trabajo. Se activan con comandos como el que dejé en el comentario anterior y para ver tu balance utilizas ! DIYSTATS (pero todo pegado). Igual toda esa información siempre estará en inglés, así que puedes apoyarte con un traductor
@mandysmoon pero donde pongo el comando !DIYSTATS ?? Es lo que no se como revizar
@mandysmoon ?? Si puedes explícame aquí
Justamente allí lo hiciste. Puedes usar los comandos en cualquier comentario y allí te indicarán tus estadísticas. Según el comentario dice que tienes 0, probablemente ya has utilizado los que tenías @ibarra95
A vale perfecto 👌 ! Muchas gracias amiga
¡De nada!
Your granny square is really colorful. Beautiful and attractive
You can query your personal balance by
!DIYSTATSAnd where I can see the balance and so on, is that I'm still learning in Hive little by little. @diyhub @mandysmoon
!DIYSTATS
Que preciosidad, se ven tan chulos en miniatura, hiciste un excelente trabajo, me encantaron 😻
Muchas gracias Yale, fue un poco complicado por el miedo a q se secaron es la primera vez q trabajo con ese material, necesito práctica jjjj
Te quedaron geniales para estar comenzando, y si hay que andar rápido que se seca 😅
Demadre 😄
Bien hermosos amor. Tan tiernos, y con un amor bien puro y sincero. Me encanto
Gracias cosita bella, hay que realizarlos con delicadeza !! Jj
Me encantaron. Los amé 😍😍😍
Muchas gracias amiga !!! 👏
que lindoooss están demasidos hermosos, quiero jeje
how cute they are too beautiful, I want to hehehe
Jjj no tengo como hacerte lllegar amiga, muchas gracias que bueno saber que gusto !!
¡Que lindos! Hace mucho tiempo hacía figuras en porcelana fría, me recordó esa época donde tenía muchas figuras. Excelente trabajo 😊
Muchas gracias @alejandrabm1 la verdad es bastante bonito este arte del foami, un poquito complejo por el secado pero se hacen cosas lindas !!! Saludos
@ibarra95, I paid out 0.618 HIVE and 0.106 HBD to reward 8 comments in this discussion thread.