[ESP - ENG] Cintillo de foami para niñas | Foami headband for girls
once again Hive family, I want to share with you all a new content, this is a headband made with foami for our girls. Sometimes we have these materials at home and we don't know what to use them for. Follow me and I will show you how to use it.
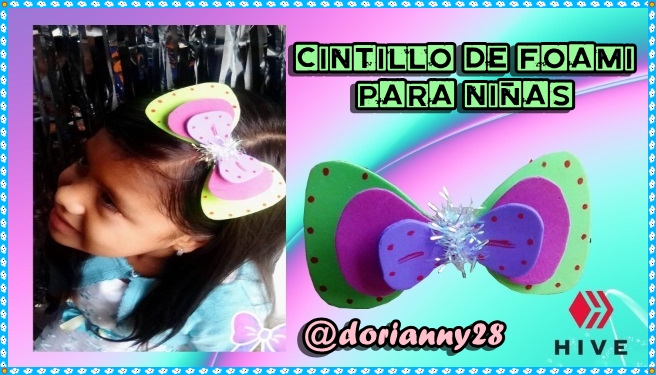
A continuación te estere explicando como realizar este hermoso cintillo de foami paso a paso.
Here I will explain how to make this beautiful foami headband step by step.

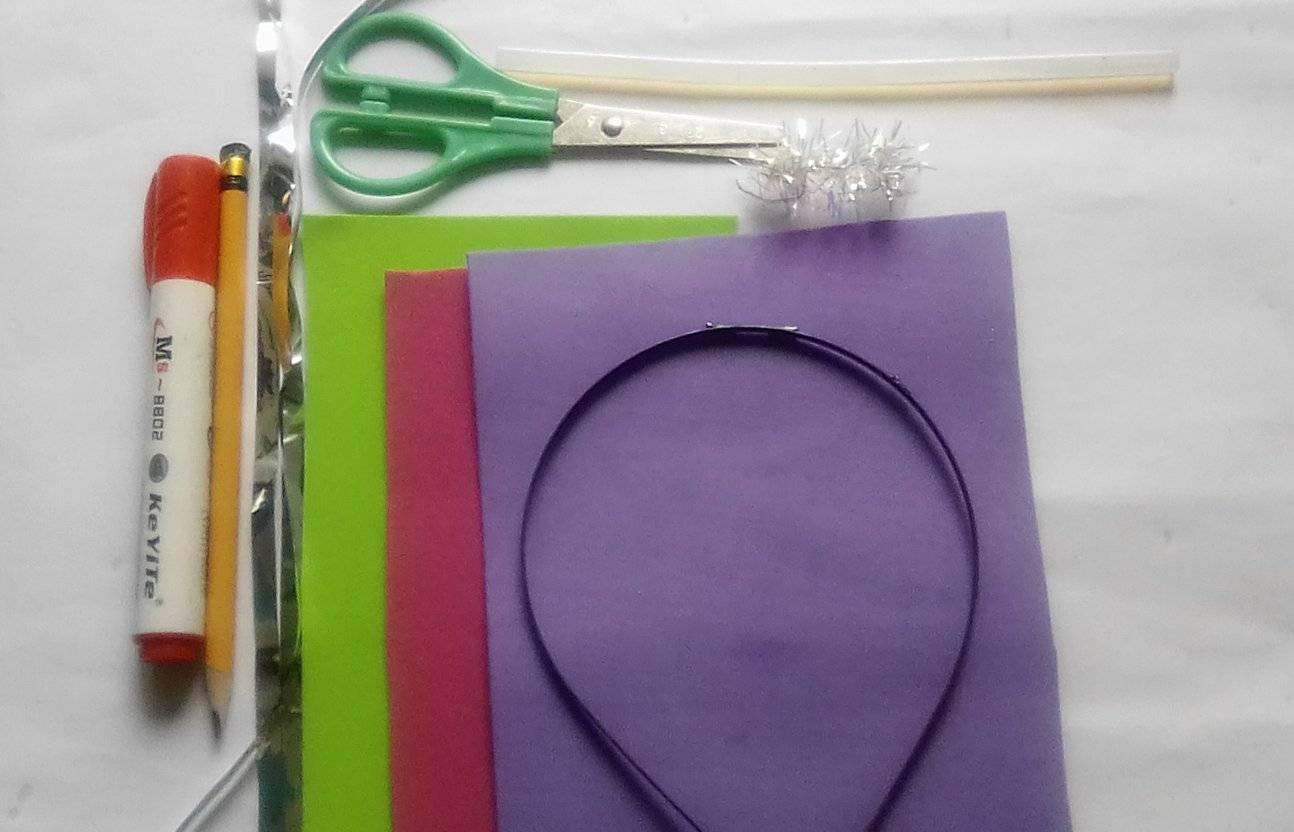
• Foami: Fucsia, Verde, Morado.
• Cintillo de plástico o metal.
• Cinta decorativa brillante
• Cinta decorativa platinada
• Silicón en barra
• Tijera
• Marcador Rojo
• Lápiz crayón
•Foami: Fuchsia, Green, Purple.
•Plastic or metal headband.
• Decorative shiny ribbon
• Platinum decorative ribbon
• Silicone stick
• Scissors
• Red marker
• Crayon pencil

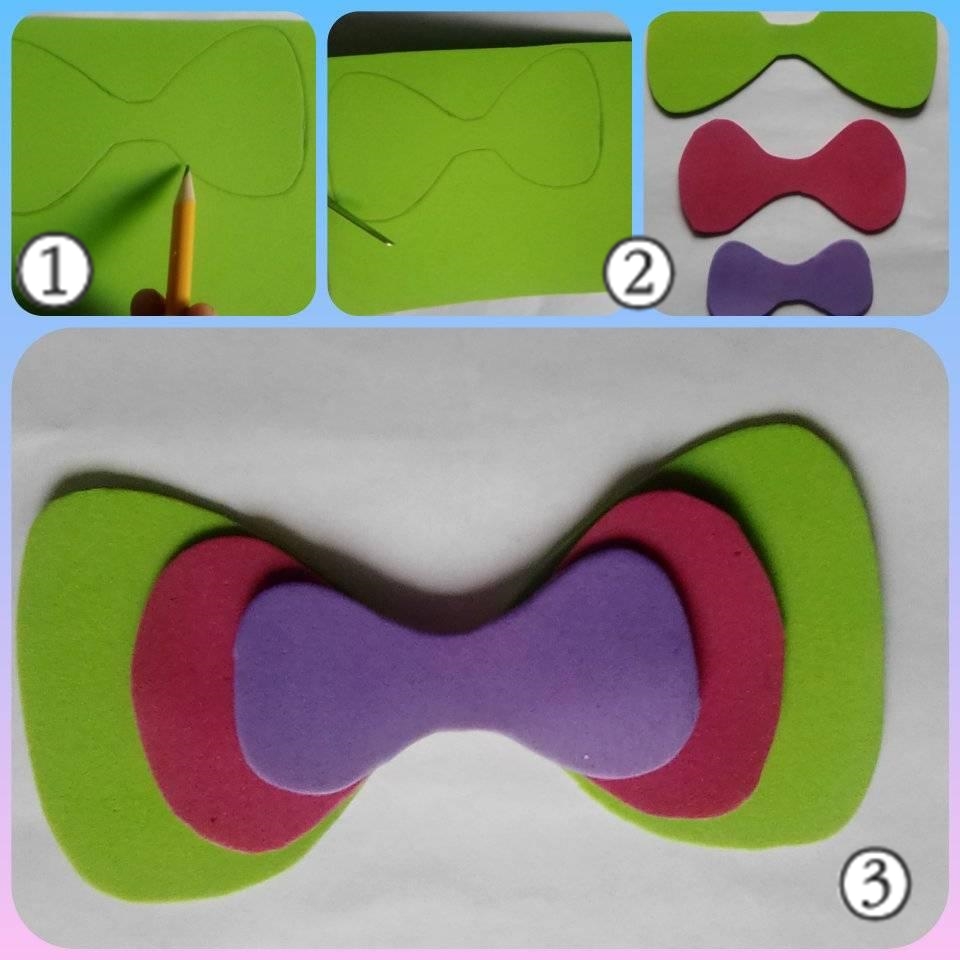
•Paso 1: Dibujar en el foami la forma de nuestro lazo, cada uno más pequeño que el otro.
•Paso 2: Luego procedemos a recortar.
•Paso 3: Unir el foami ya recortado desde el más grande hasta el más pequeño uno encima de otro.
•Step 1: Draw on the foami the shape of our bow, each one smaller than the other.
•Step 2: Then we proceed to cut out.
•Step 3: Join the foami already cut out from the largest to the smallest one on top of the other.
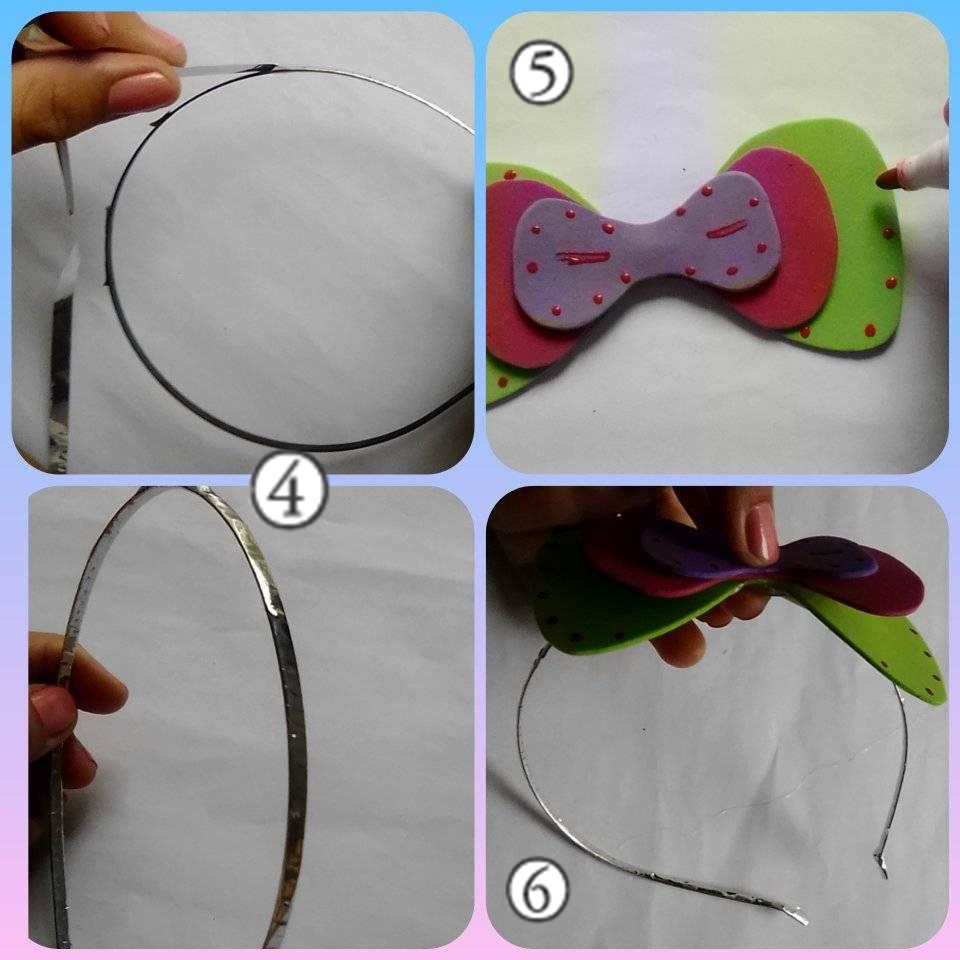
•Paso 4: Enrollar y Pegar con silicón en el cintillo cinta decorativa platinada.
•Paso 5: Pintar con marcador rojo puntos alrededor de nuestro lazo.
•Paso 6: Pegar nuestro lazo ya listo con la cinta decorativa brillante al cintillo.
• Step 4: Roll and glue with silicone on the headband platinum decorative ribbon.
• Step 5: Paint with red marker dots around our bow.
• Step 6: Glue our ready-made bow with the shiny decorative ribbon to the headband.


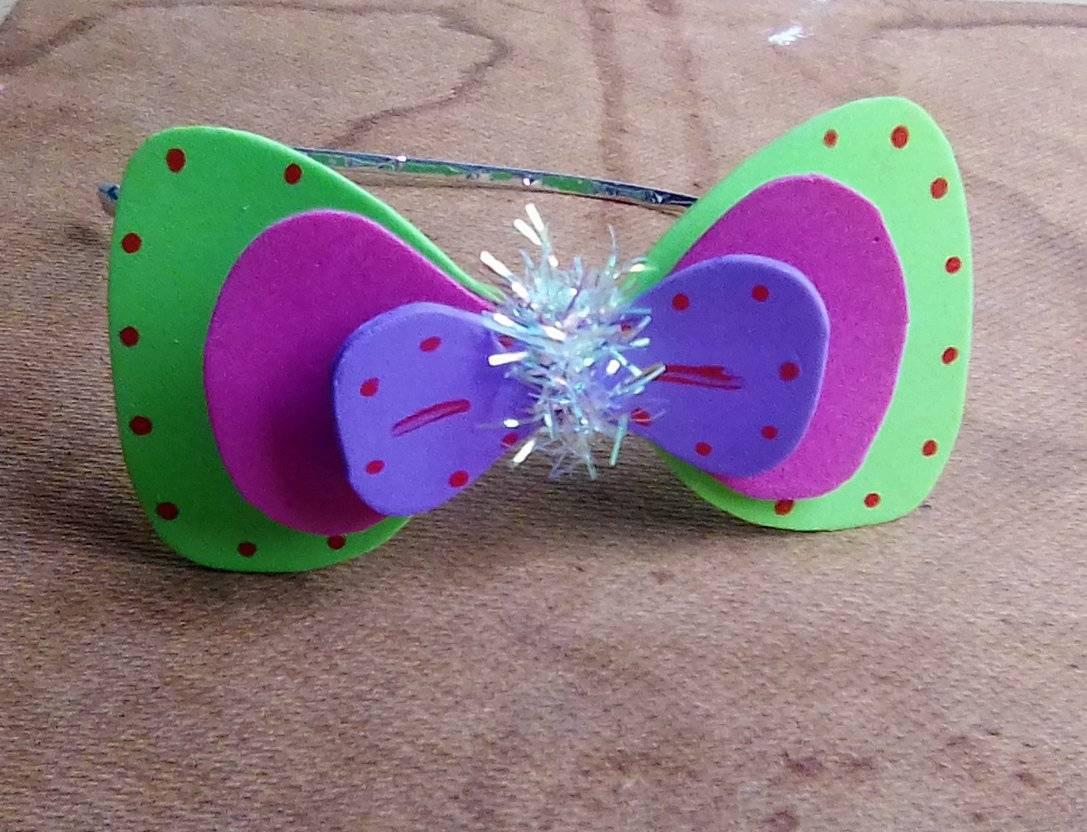
All photos are my own / Edited with Photoshop CS5/ The model used in the photo is my Daughter.

0
0
0.000
0 comments