Tutorial on Remodeling an Oversized Men's Shirt
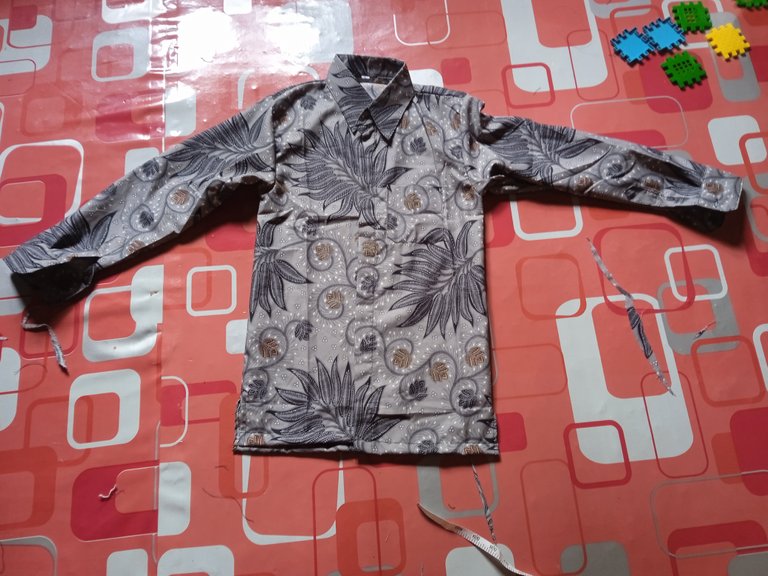
To remodel or remake a shirt that is ready to wear is more difficult than sewing from scratch, easier to sew from scratch than to remake and remodel clothes, but the cost of changing clothes or remodeling is not worth the cost of having the clothes sewn from scratch, more expensive, the cost of sewing clothes from scratch rather than makeovers even though the difficulty is more difficult to remodel or change clothes than sewing clothes from scratch.
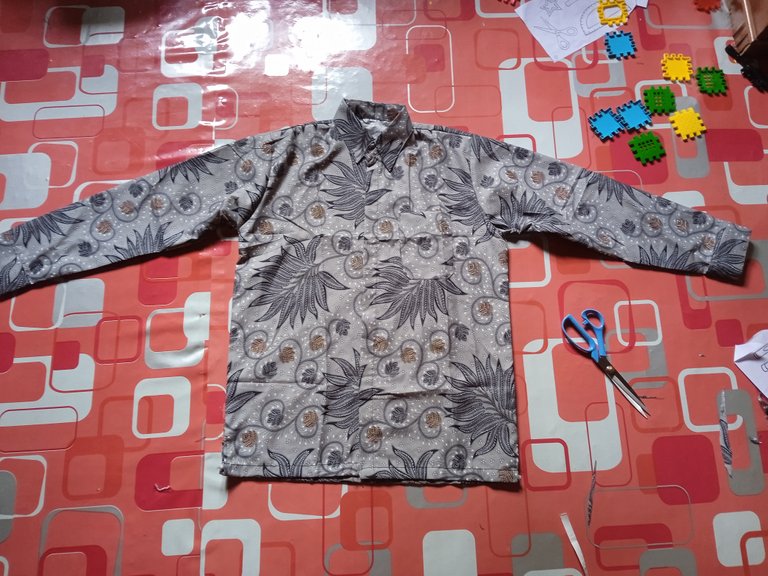
The clothes brought by the customer I want to wear to a party So I have to rush to remodel it because it doesn't last long with the day of the party, the only time I have is a day with the number of overhauled clothes, namely 4 pairs of adult men's shirts but all of that doesn't really matter to me because as long as my child wants to play with his friends and older siblings I don't bother too much with the number of clothes and even then there are two more pairs of women's clothes that will be worn on the same day as my customer who brought the shirts So I have to do the sewing at night so that my customer can wear it on the day that is highly anticipated.
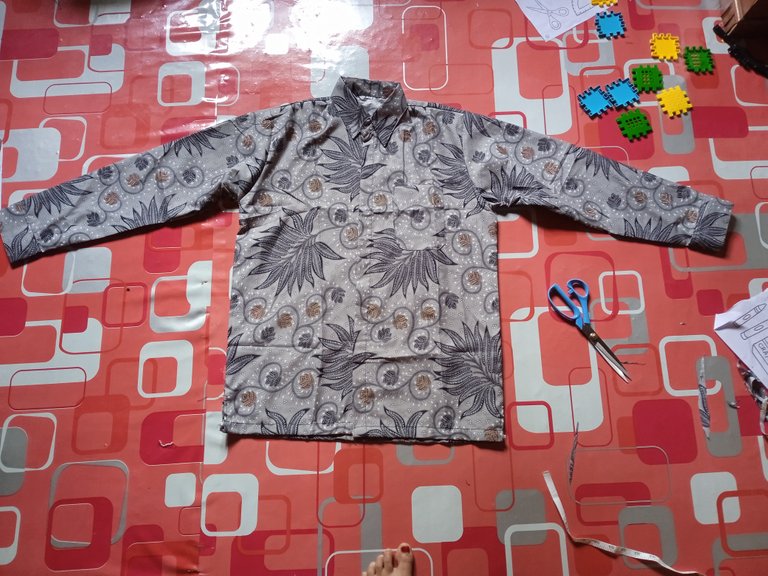
When remodeling a shirt, the first stitches must be opened before remodeling and making a new pattern on the removal of the first stitch, which is difficult and tiring because you have to open the main stitches first. If you don't open the main stitches first, then the clothes you want to remodel with the existing sizes will not be able to.
So here I have 4 customer clothes that need to be overhauled, namely adult men's shirts that are the same size and have to be overhauled according to the size of each customer, some are not too difficult to overhaul because the customer's body size and clothes are not too different that's an advantage for me but the size is too small from the clothes my customer brings, this is where you need to open a lot of the main seams and it drains your energy.
First of all I have to turn the shirt inside out and then I measure it like the picture I show below.
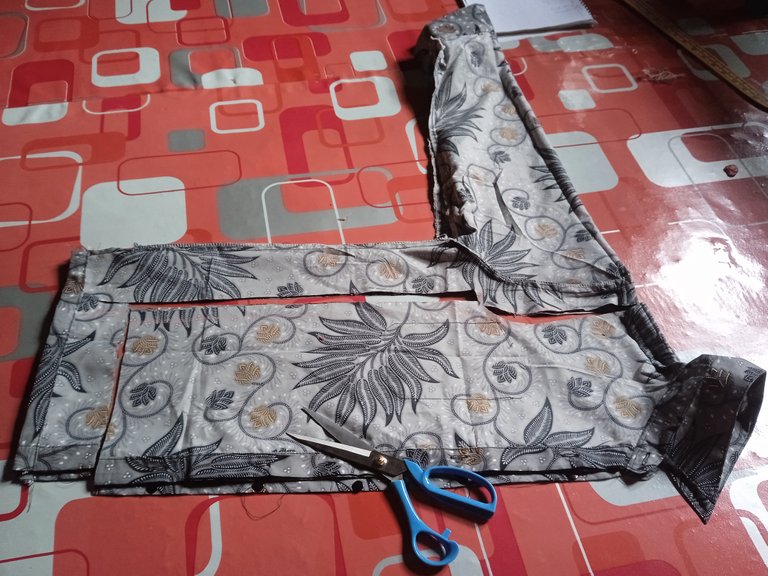
Then after I measure my customer's body I want to remodel it from the body first and then down to the arms.
After I cut the body parts to the right size and also the armpits, I also had to repair them because they were too big and I also remodeled the lower part of the arms.
So I opened the main seam for the forearm first and I reduced it to the size of my customer.
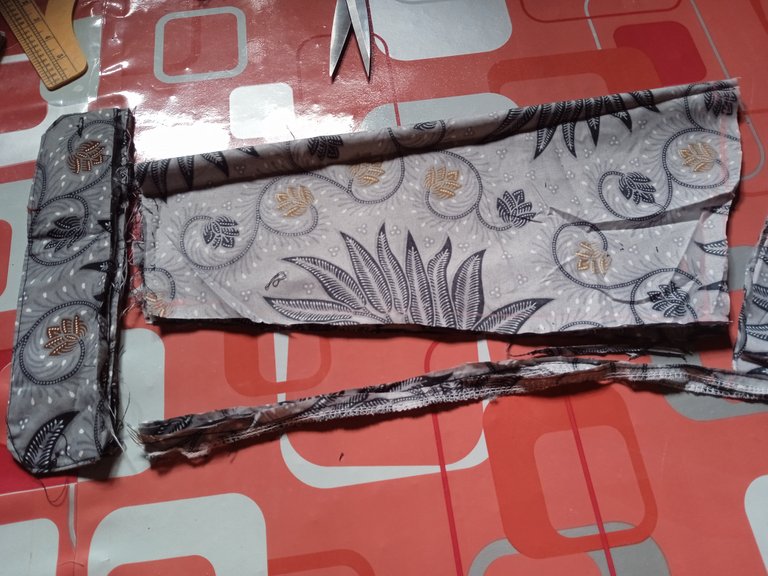
After all the sizes were right and I had cut them according to the new size I sewed like the main stitch
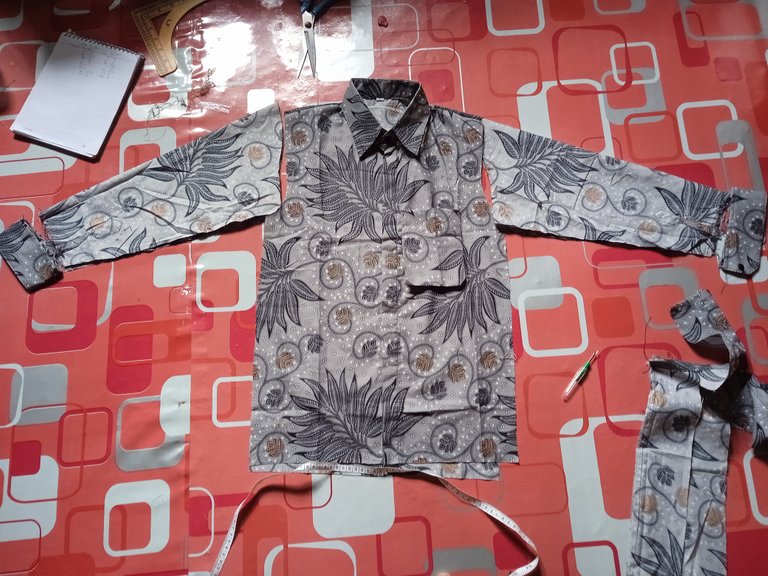
Finally, this is the result of changing clothes that are very large in size with the right size for my customers to wear. With this shirt, I hope that my customers are satisfied with the results of my repair and sewing and can be proud of themselves in front of many people.

Thank you for reading and listening to the tutorial that I made, see you in my next post.
Wow this look so beautiful. I love it. Keep it up a good job
Thank you.
To remodel clothes is not easy or though is easy but it takes some time weldone
Congratulations @honeyflow! You have completed the following achievement on the Hive blockchain And have been rewarded with New badge(s)
Your next target is to reach 2750 upvotes.
You can view your badges on your board and compare yourself to others in the Ranking
If you no longer want to receive notifications, reply to this comment with the word
STOPCheck out our last posts:
Support the HiveBuzz project. Vote for our proposal!
Thank you for sharing this post in the DIYHUB Community!
Your content got selected by our fellow curator ashikstd & you just received a little thank you upvote from us for your great work! Your post will be featured in one of our recurring compilations which are aiming to offer you a stage to widen your audience within the DIY scene of Hive. Stay creative & HIVE ON!
Please vote for our hive witness <3
https://twitter.com/1453422906373926917/status/1616160540589686784
The rewards earned on this comment will go directly to the people( @neoseven ) sharing the post on Twitter as long as they are registered with @poshtoken. Sign up at https://hiveposh.com.