Creation shoulder bag, make with me 💃💃💃/// Creación bolso bandolera, confecciona conmigo 💃💃💃
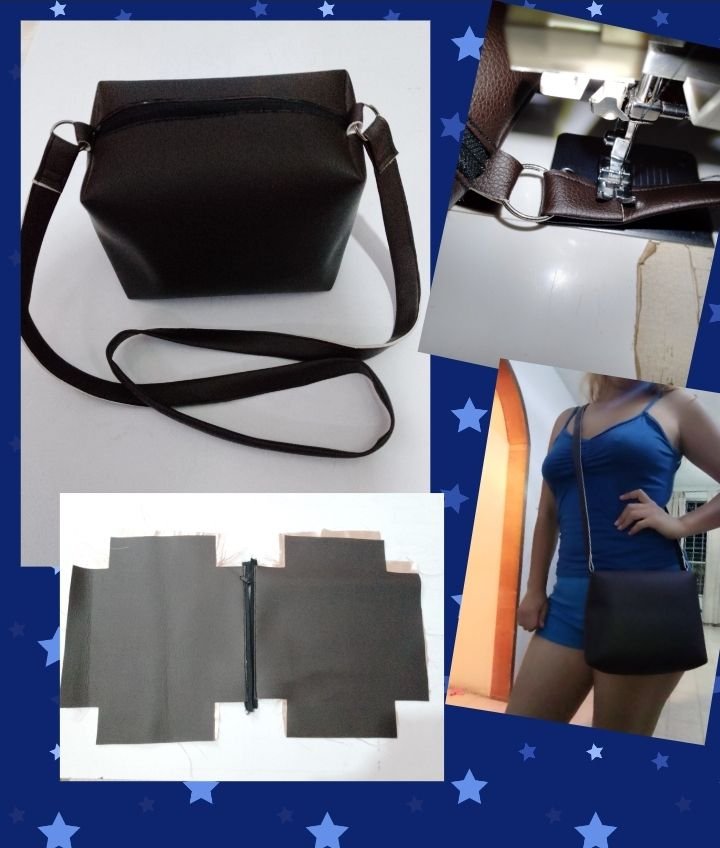
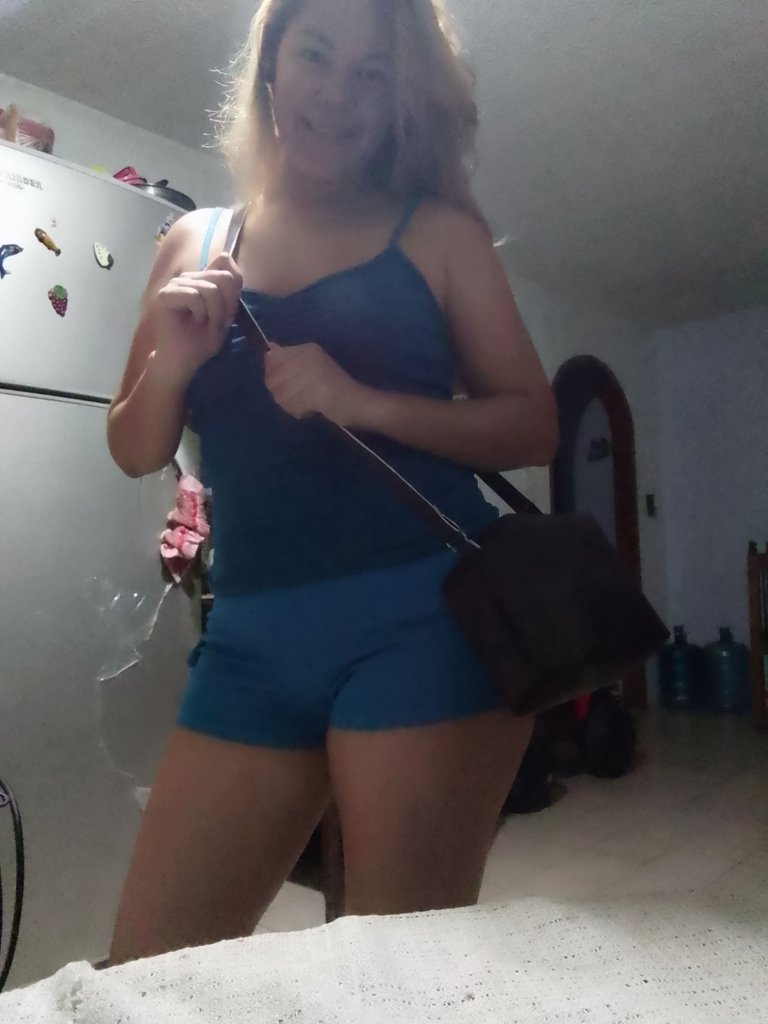
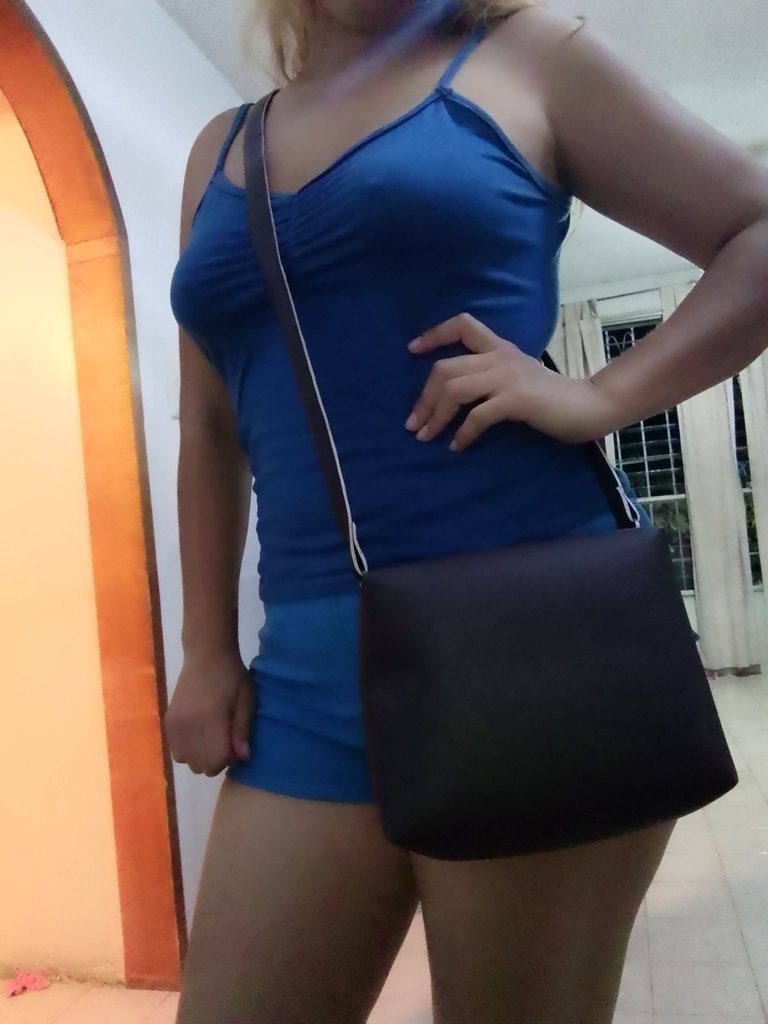
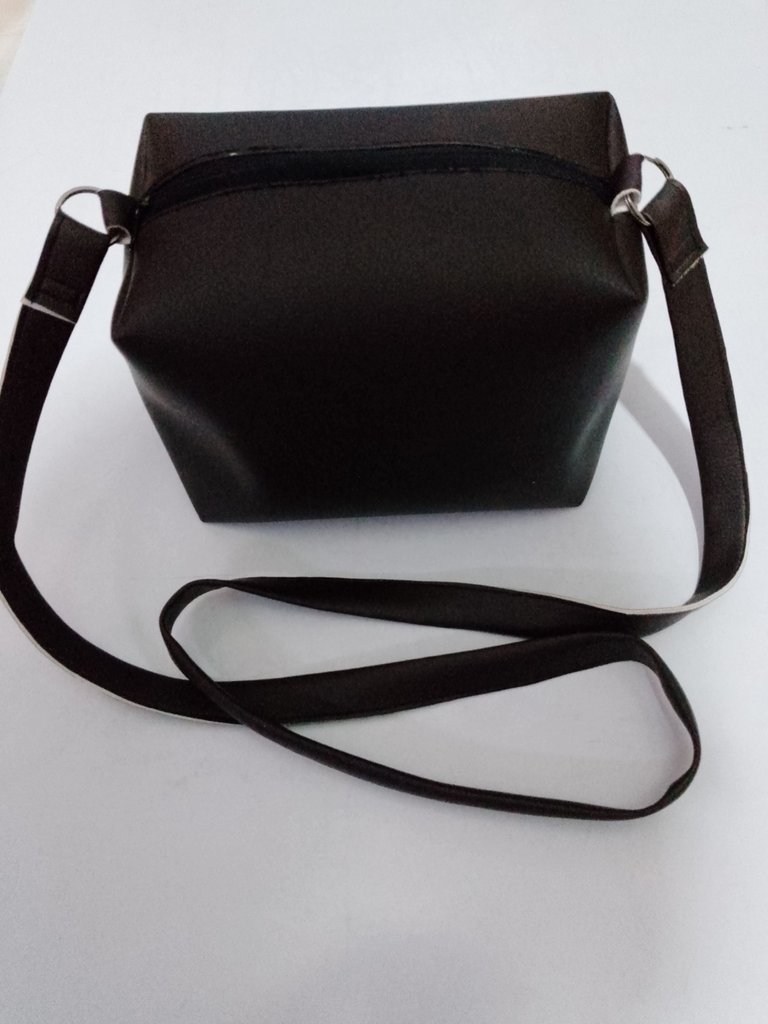
Good night my beautiful people, today with you again and I want to share a shoulder bag as they call it around here, they are one of those that are crossed and look spectacular, for this I used brown leatherette and silk fabric for the lining, let me tell you that the results were better than I expected, it turned out great I hope you like it 💃💃💃
Materials:
*Brown leatherette fabric
*Cream silk fabric
*20CM closure
*Key rings
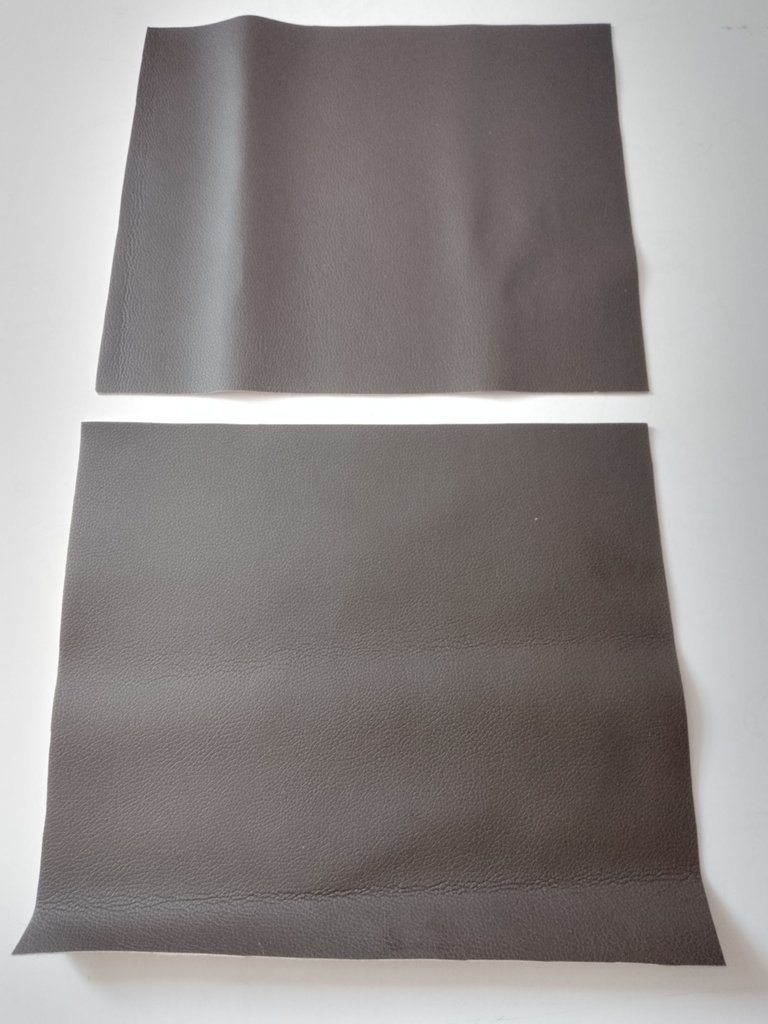
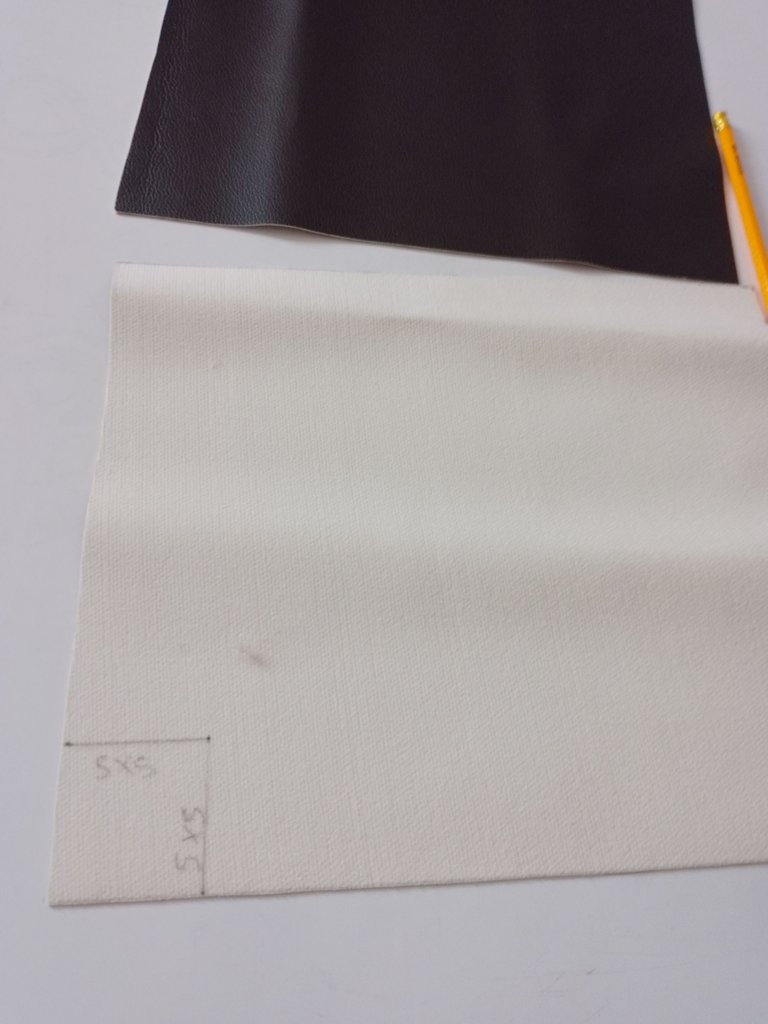
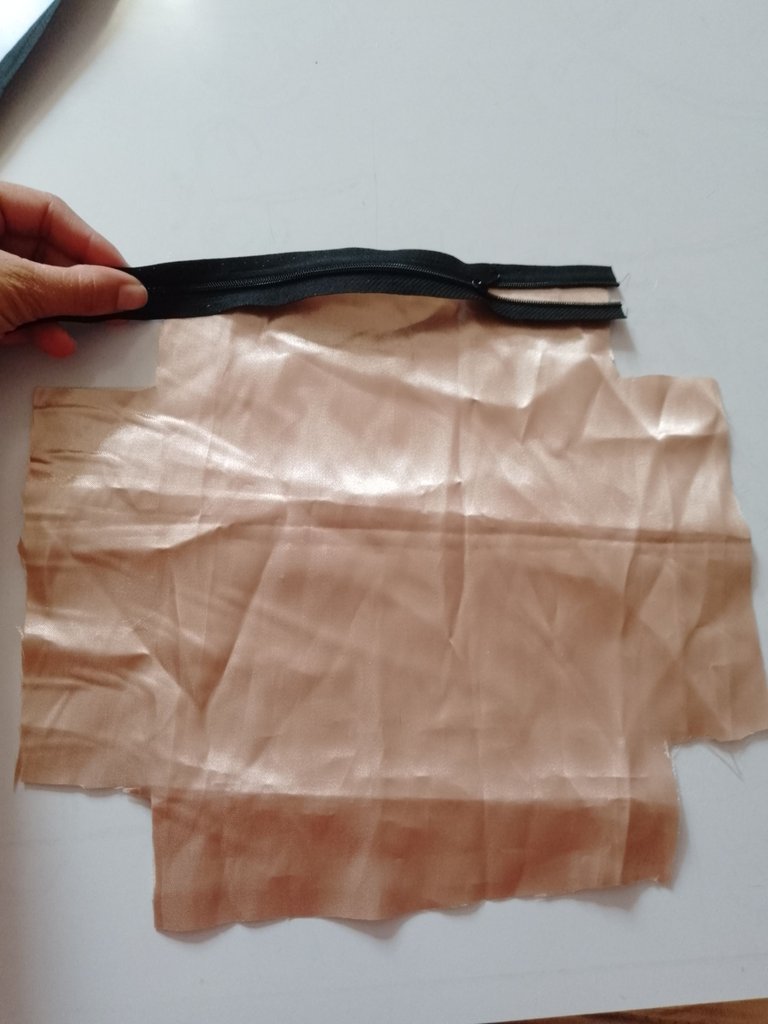
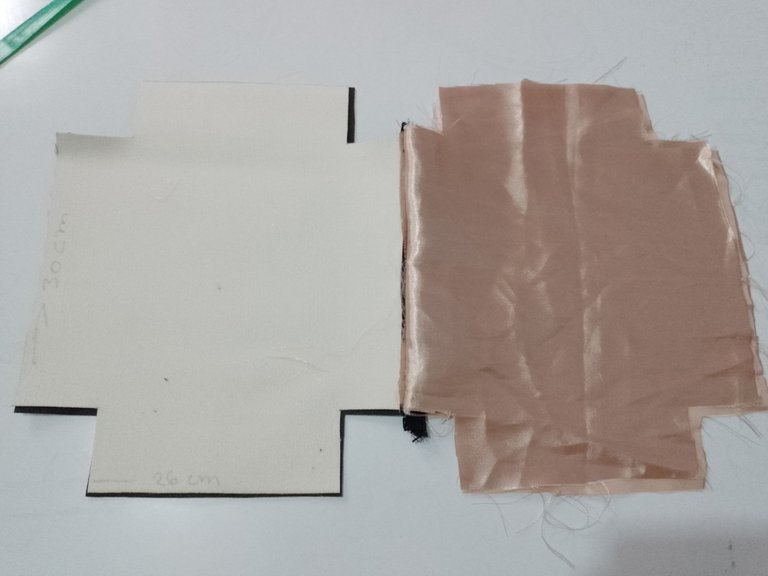
I started by cutting two pieces of 30CM by 26CM, these two pieces were also cut out of the silk fabric and in the corners I cut a 5CM by 5CM square on each end of the pieces as you will see in the photos
Buenas noche mi gente bonita, hoy nuevamente con ustedes y quiero compartir un bolso tipo bandolera cómo la llaman por aquí, son de esas que van cruzadas y se ven espectaculares, para esto utilice cuerina marrón y tela de seda para en forro, déjenme decirles que los resultados fueron mejores denlo que yo esperaba, quedó genial espero les guste 💃💃💃
Materiales:
*Tela cuerina marrón
*Tela de seda color crema
*Cierre de 20 CM
*Argollas de llaves
Comencé cortando dos piezas de 30CM por 26CM estás dos piezas también las saque en la tela de seda y en las esquinas recorte en cada punta de los piezas un cuadro de 5CM por 5CM como lo verán en las fotos
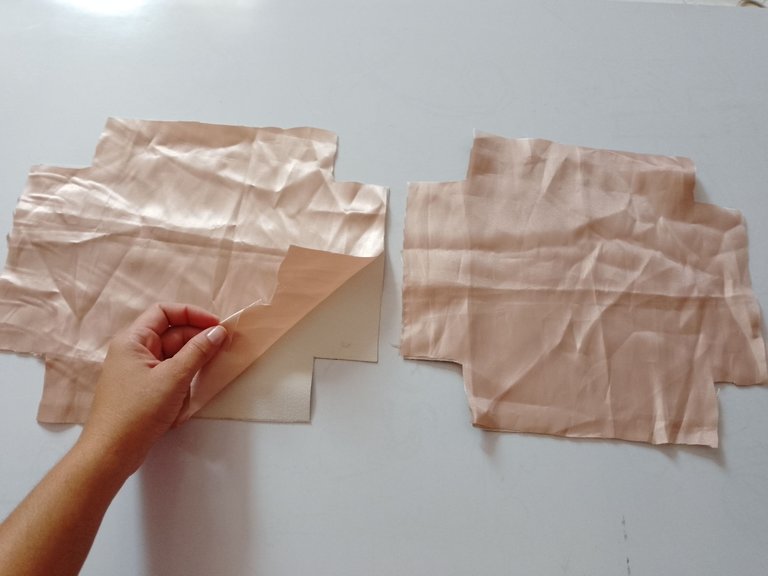
In the next step, with the cut pieces, we are going to place the closure, for this we will make a kind of sandwich so that the seam is saved and not seen
En el siguiente paso ya con las piezas cortadas vamos a pasar a colocar el cierre para esto aremos una especie de sandwich para que la costura quede guardada y no se vea
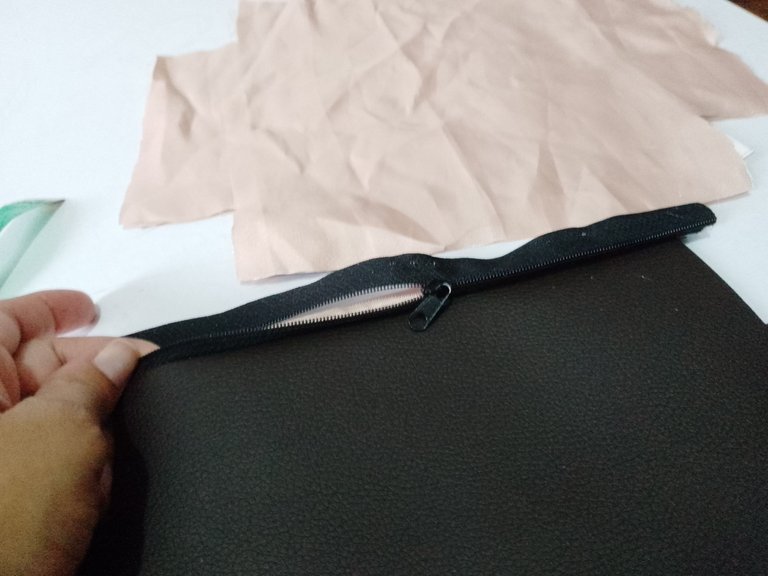
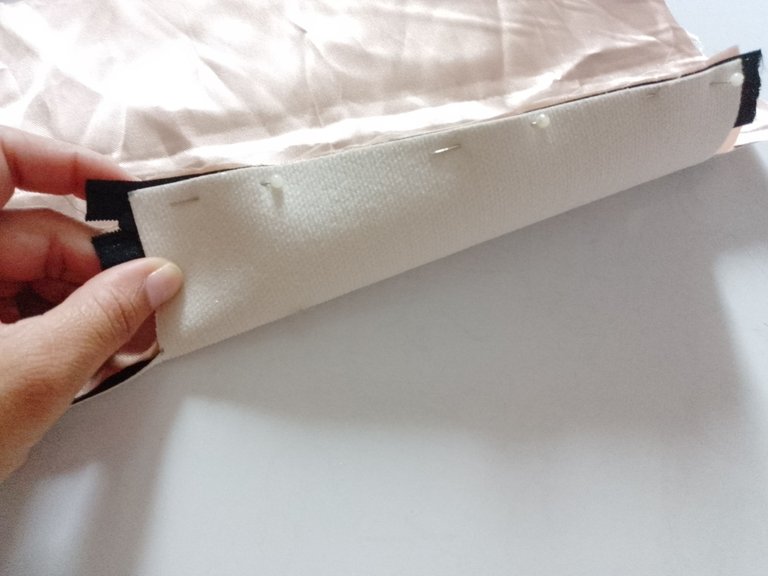
Here we see it with the closure ready now we are going to sew open and with the right sides facing each other we are going to leave more than half open in the closure so that once the seam is done we can flip through that hole
Aquí ya lo vemos con el cierre ya listo ahora vamos a coser abierto y con los derechos enfrentados vamos a dejar en cierre abierto más de la mitad para una vez hecho la costura podremos voltear por ese hueco
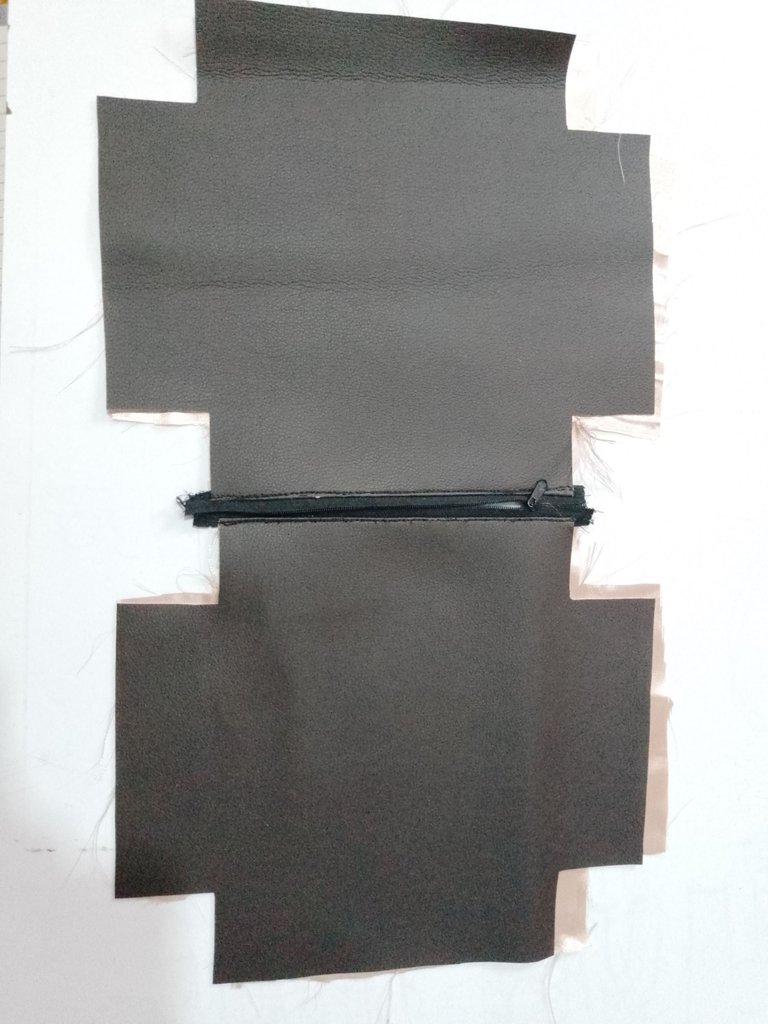
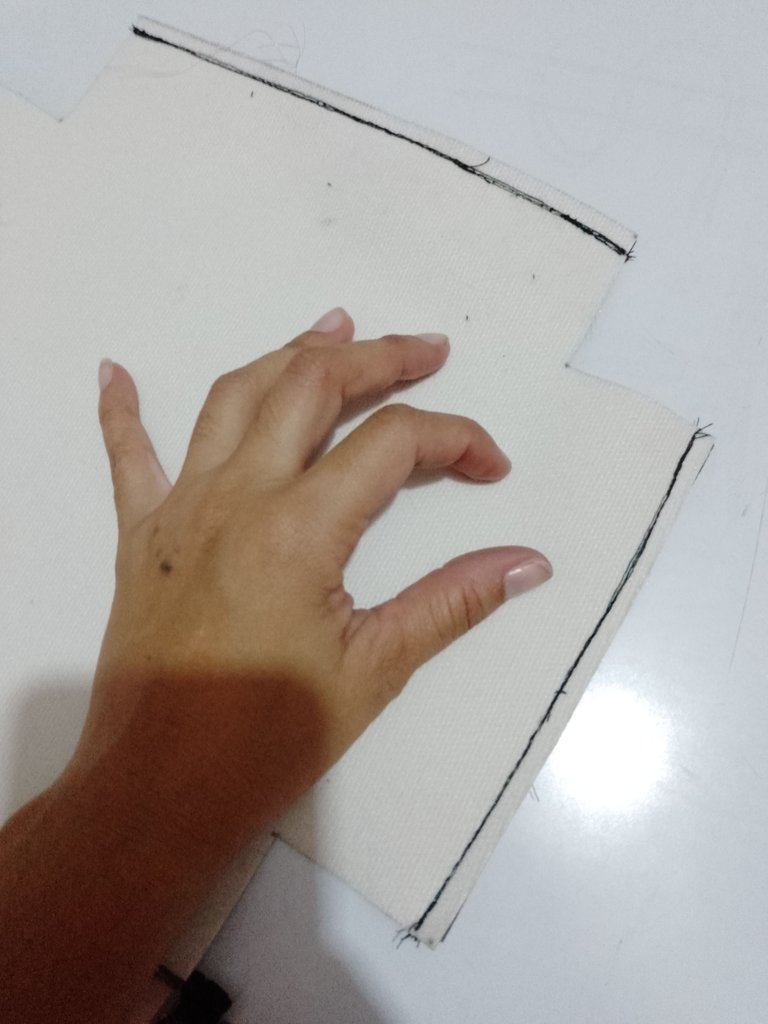
At the time of sewing the corners, place a folded band-aid on each side so that it has some ears and to be able to place the strap on it.
Al momento de coser las esquinas le coloque una tirita doblada por cada lado para que tenga unas orejitas y poder colocarle el tirante
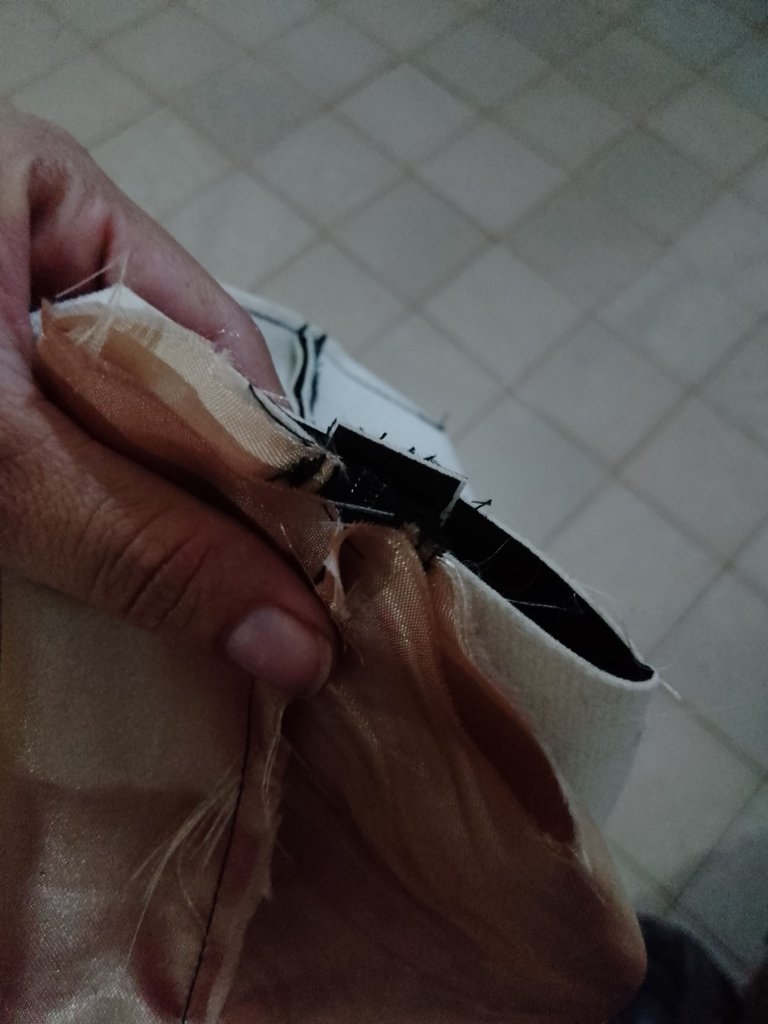
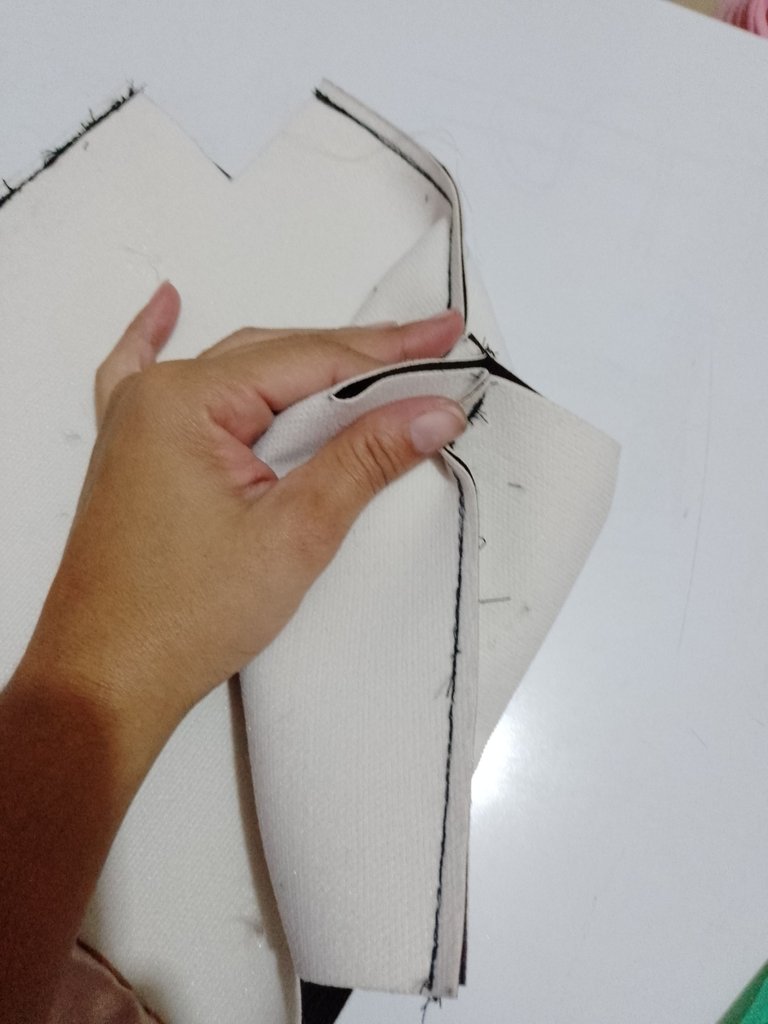
Once the seam is ready, we turn and that is when we are going to sew the little hole that we had left to be able to turn.
Ya lista la costura pasamos a voltear y es ahí cuando vamos a coser el huequito que habíamos dejado para poder voltear
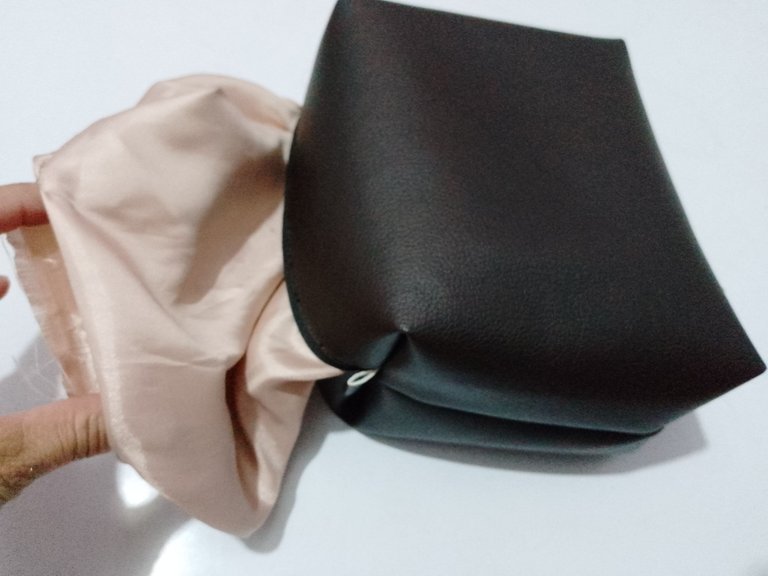
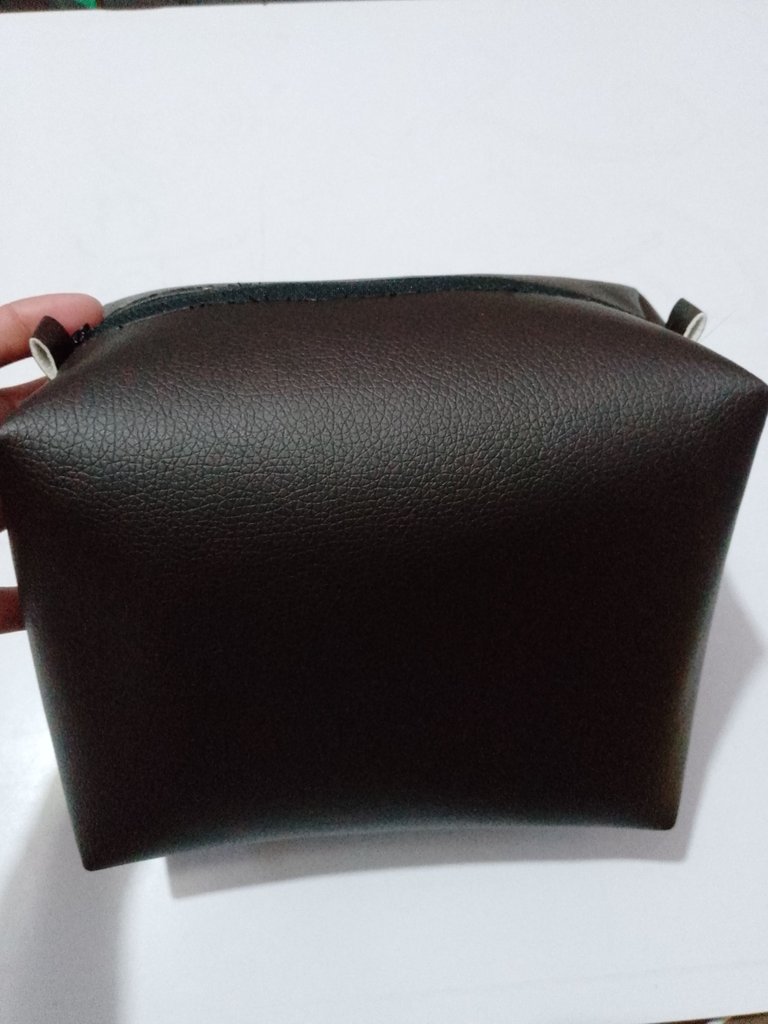
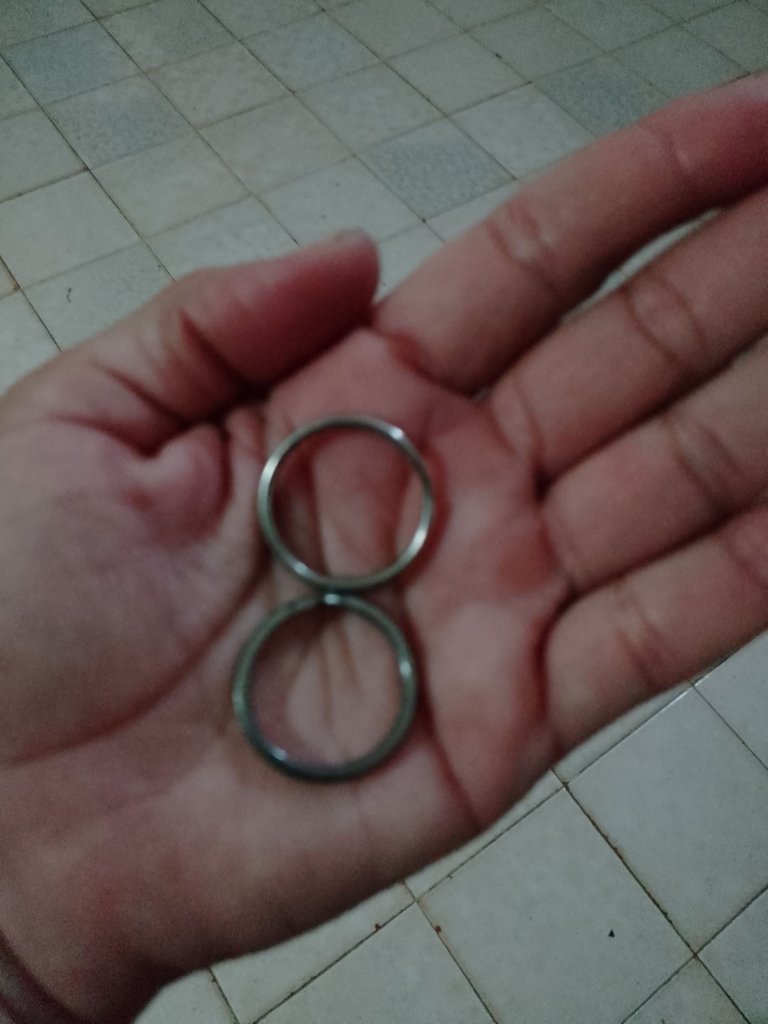
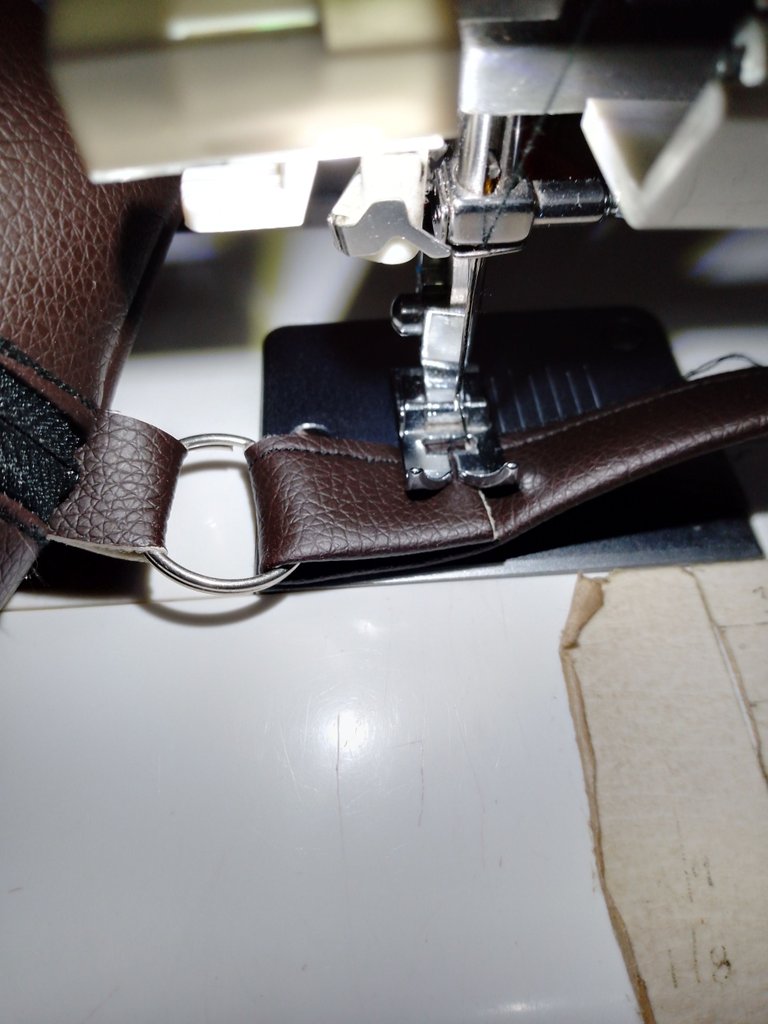
I got some key rings and that's what I put on his ears 🤣🤣🤣 that helped me a lot because I didn't know what to put on him until those rings crossed my mind 🤣🤣🤣
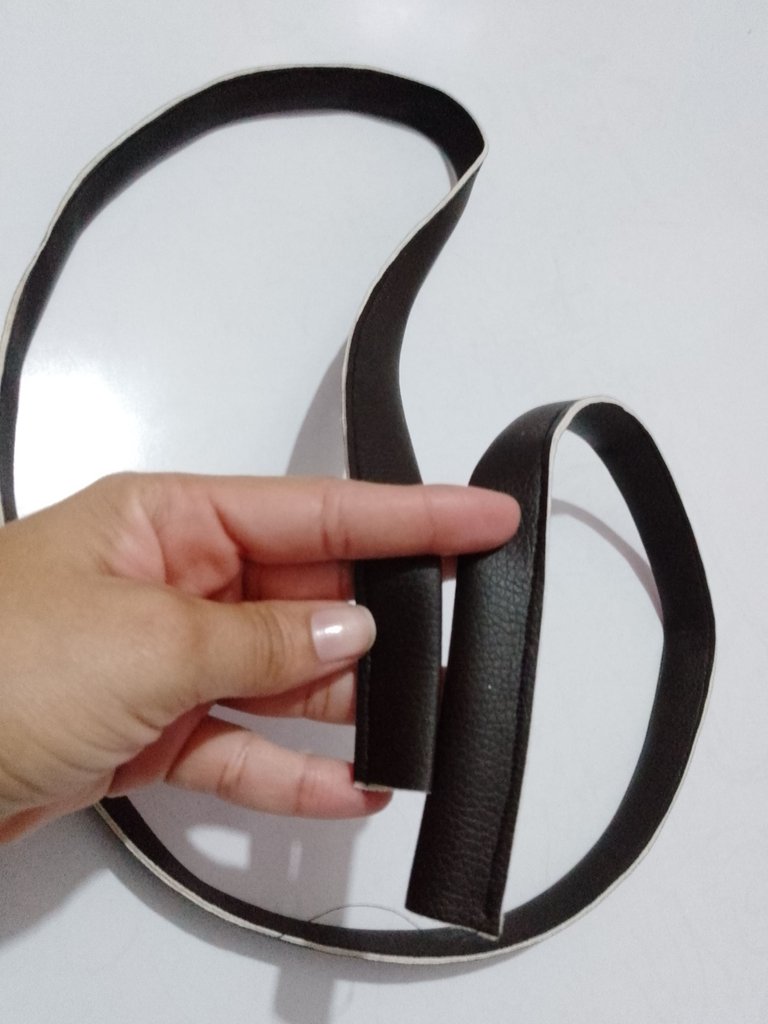
And finally I took out a long strip 4CM wide and the desired length was the one I attached to the rings and I already had my new shoulder bag ready in a few minutes 💃💃💃
Me conseguí unas argollas de llaves y fue lo que le coloque en las orejitas 🤣🤣🤣 eso me ayudó mucho porque no sabía que colocarle hasta que se me pasó por la mente esas argollas 🤣🤣🤣
Y finalmente saque una tira larga de 4CM de ancho y el largo deseado está fue la que uni a las argollas y ya tenía liste mi cartera bandolera nueva en pocos minutos 💃💃💃
I hope you like it thanks for being ❤️
Espero les guste gracias por estar ❤️

Espectacular, me encanta. Excelente trabajo saludos.
Very impressive and well detailed @heidy17 doing great job thanks for sharing @heidy17
This is very detailed tutorial and a lovely bag dear @heidy17.
It is very portable and handy, trust me I like this one...
Le quedo muy lindo, me parece un bolso muy sencillo de hacer y el resultado es muy parecido a los que venden, me gusto mucho su explicación no se saltó ningún detalle a explicar, espero poder realizarlo un dia de estos. Saludos!!!<3
Hola amiga @heidy17 💞
Que belloooo te quedó!!! Me encanta el material de cuerina, se ve tan lindo 😻 Mi máquina creo que no la cose pues es doméstica. No se si solo se podría coser con una industrial o por lo menos una que sea más fuerte.
Gracias a todos, yo feliz de que les guste, yo lo hice con mi maquina casera, tuve complicaciones porque la maquina no me quería coser bien pero me puse a desarmarla y tenia un nudo de hilos atorados en el resorte donde se controla la tensión osea debido a eso no me funcionaba la tensión y después comenzó a coser muy bien, claro hay que ayudarla un poco a jalar la tela mientras la maquina esta en funcionamiento porque esa tela cuerina tiende a quedarse pegada, pero lo logre salio muy bien jejeje gracias
Congratulations @heidy17! You have completed the following achievement on the Hive blockchain and have been rewarded with new badge(s):
Your next target is to reach 500 upvotes.
You can view your badges on your board and compare yourself to others in the Ranking
If you no longer want to receive notifications, reply to this comment with the word
STOPTo support your work, I also upvoted your post!
Support the HiveBuzz project. Vote for our proposal!
How brilliant, @heidy17 ! Beautiful style and finishing 🌞🌈
Thank you for sharing this post on HIVE!
Your content got selected by our fellow curator rezoanulvibes & you received a little thank you upvote from our non-profit curation initiative. Your post will be featured in one of our recurring curation compilations which is aiming to offer you a stage to widen your audience within the DIY scene of Hive.
Next time make sure to post / cross-post your creation within the DIYHub community on HIVE and you will receive a higher upvote!
Stay creative & hive on!
Beautiful hand bag, I will give a try to this
Que buena creación, además me gusta tu manera de explicar pondré en práctica la forma de colocar el cierra, es algo que siempre me ha costado, gracias por compartir.