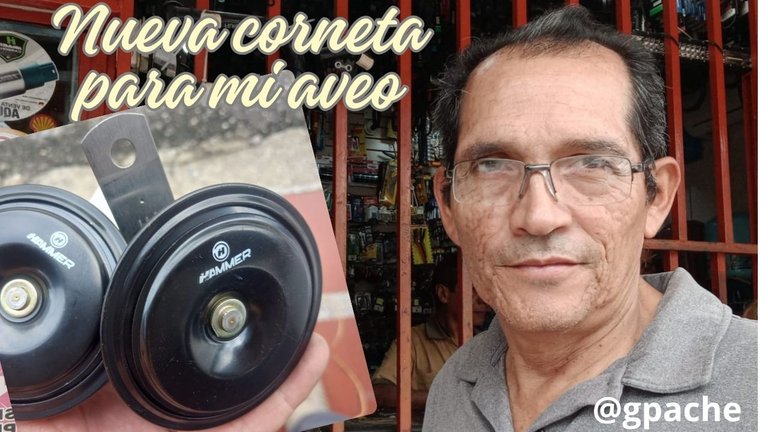
New horn for my aveo / Nueva corneta para mi aveo [ENG]/[ESP]
New horn for my aveo / Nueva corneta para mi aveo [ENG]/[ESP]
Greetings my people of @hivemotors, I hope you are excellent this weekend. I had not posted for a while because the cars had behaved well and had not given major failures.
Today I share with you the replacement of the bugle of the car that my daughter uses, which had been working with problems for quite some time, until last Friday my daughter told me to buy a bugle because she was not going to move it like that.
She is very cautious when driving and always likes to honk the horn at corners and when there are careless people crossing the road. Without a horn she feels too insecure and prefers to leave the car and ride in line or as a passenger.
Yesterday, Saturday, I took my daughter to the hospital very early because she had to be on duty and I decided to buy the bugle to install it myself. I confess I had never done it before but there is nothing hidden to google and I followed a youtube tutorial to guide me.
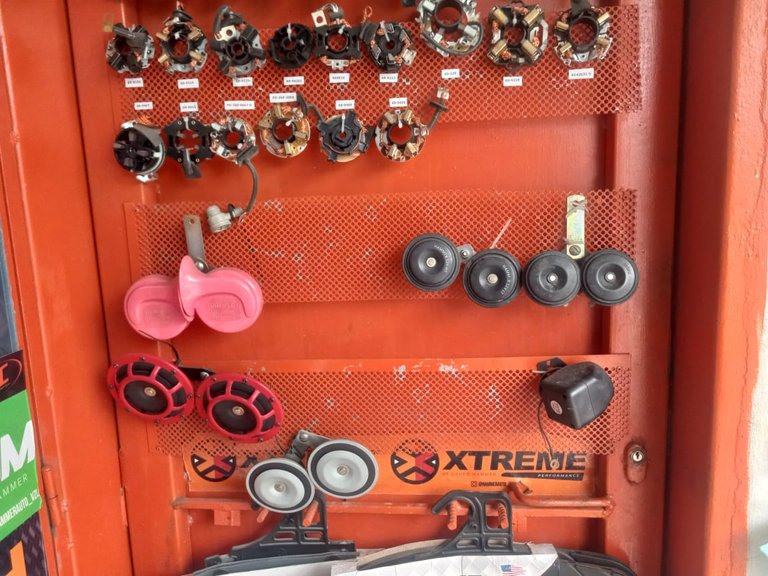
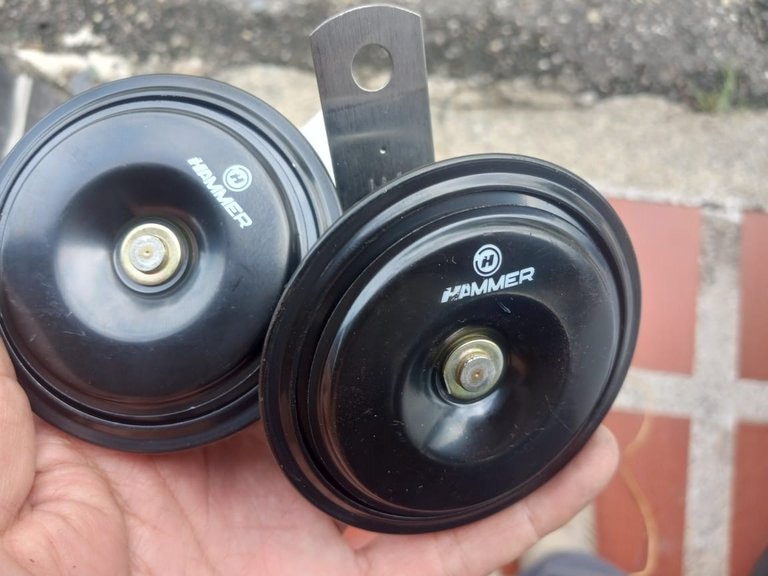
I got them for 400 bolivars and also bought some connectors to replace the old ones.
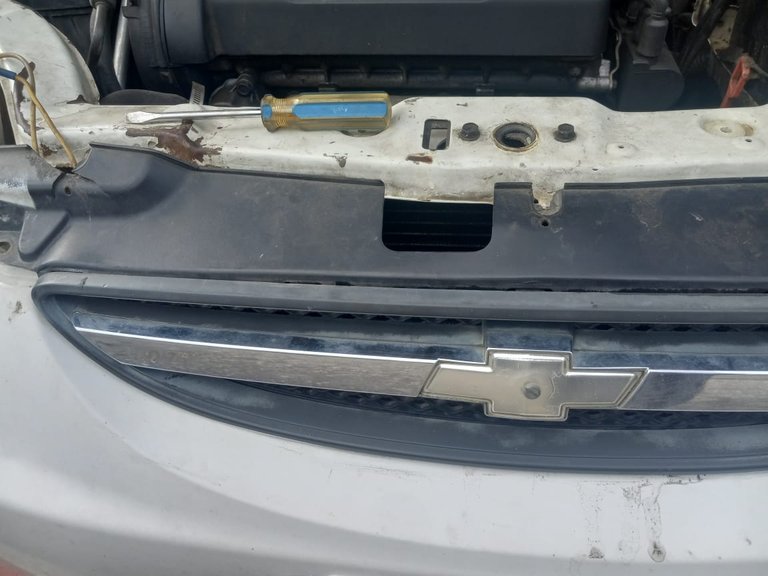
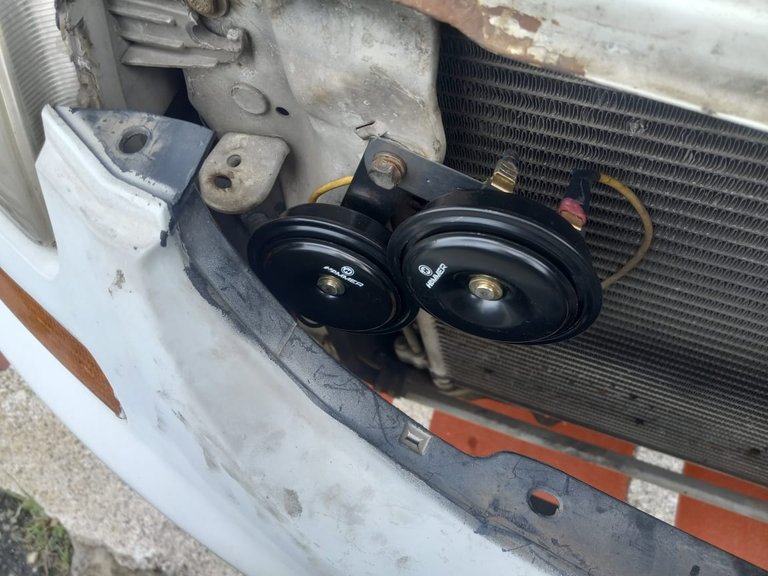
For the installation, the thing did not look more difficult, the aveo's horns are located on the left side of the front. What you have to do is to remove the screws that hold it and the horns are exposed. In this case the front is quite deteriorated and only had one screw and the other side was tied with wire.
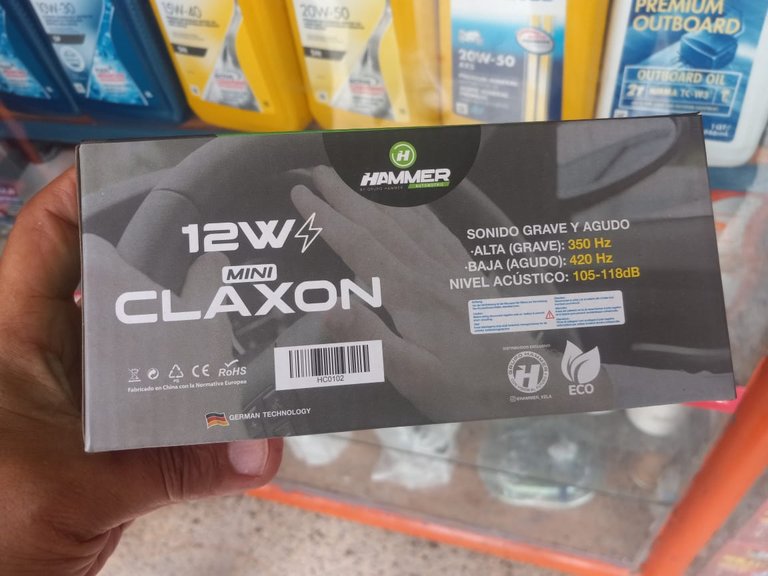
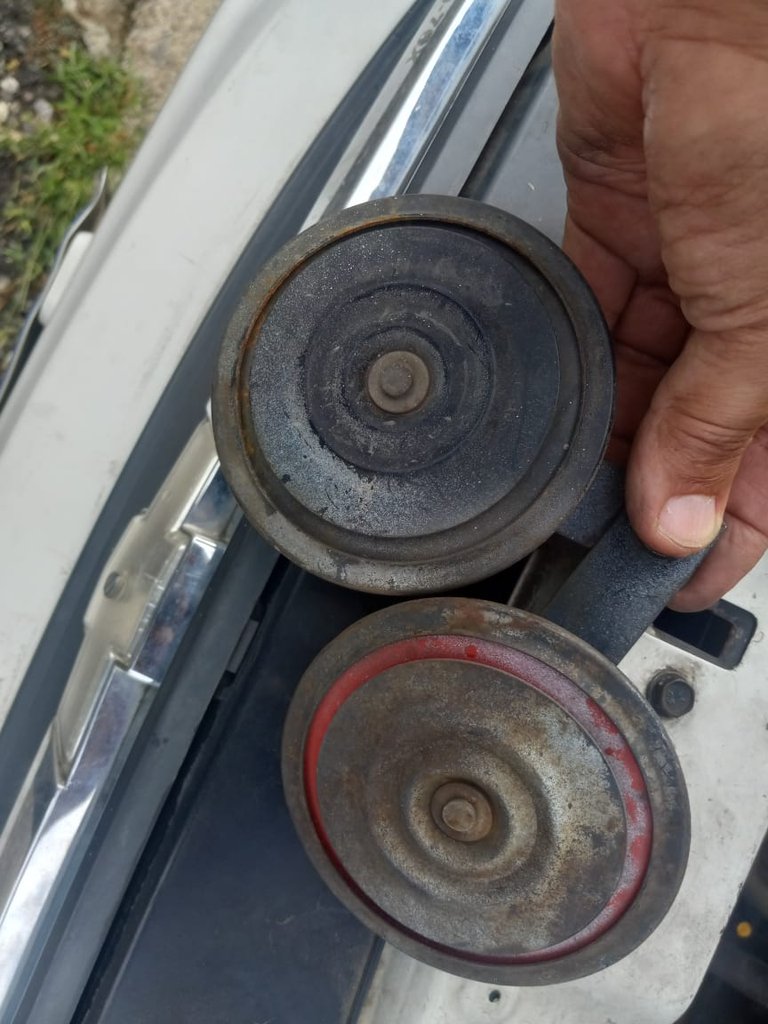
There was only one bugle connected because the other one was burned. The aveos use two bugles connected in parallel, one with a higher pitched bell than the other. This is so that the resulting horn tone is heard with more power.
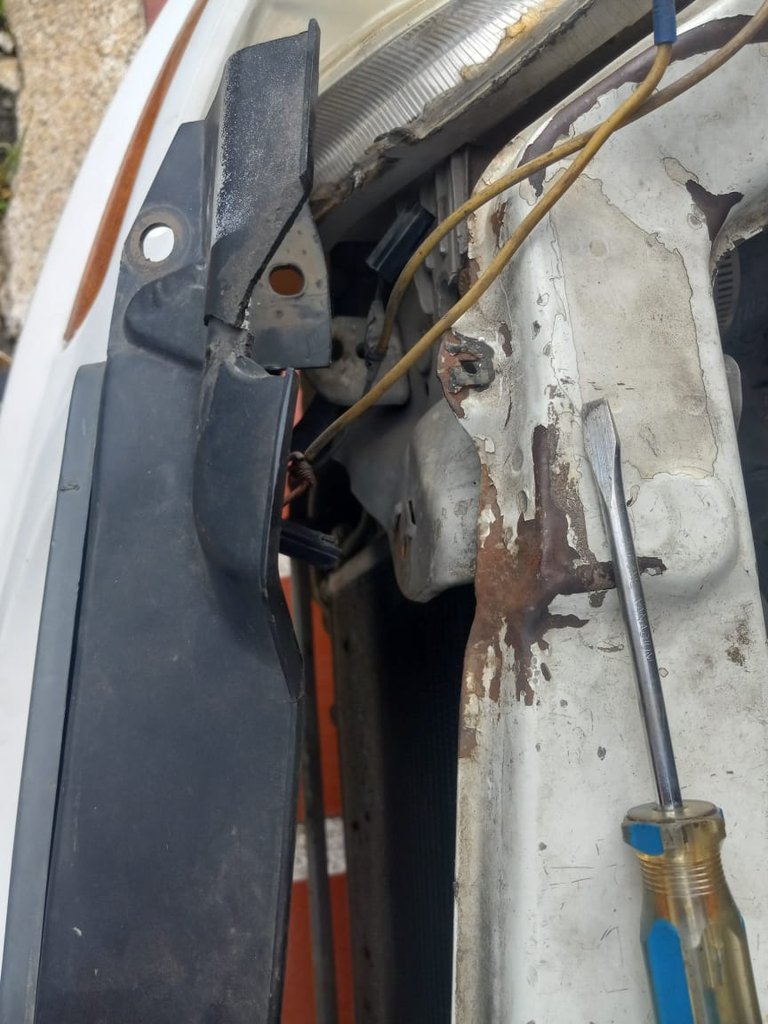
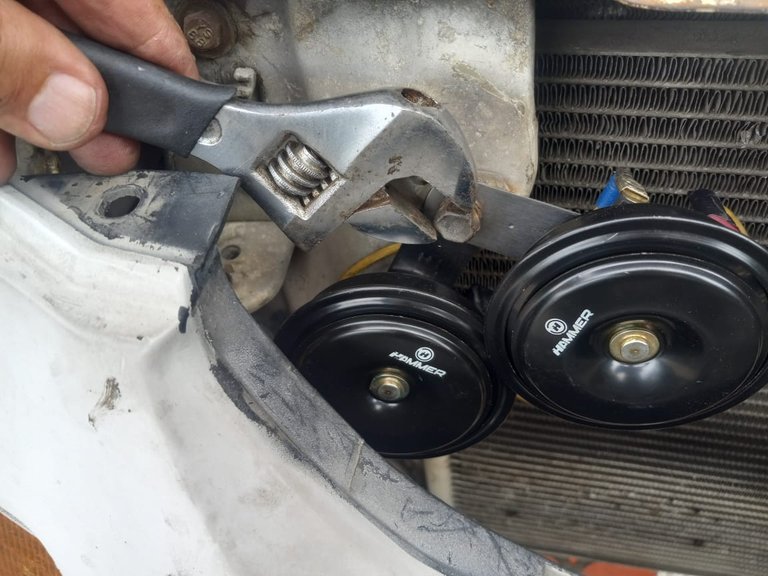
Both horns are fixed to the body with a thick screw. By removing it you can free the damaged horns. I proceeded to change the connectors that were very damaged and then I followed the connection of the same wires to make the installation of the new horns.
At first I didn't know how to connect the horns in parallel, but youtube videos helped me. The power cable coming from the battery must have two shunts, one for each bugle. Likewise the ground wire is derived for each of them.
The first time I installed them, they sounded but very faintly, I tightened the connectors again and then both bugles sounded.
Everything was going great but when I was ready to fix the horns with the screw, Uff! it fell through the engine. Has it ever happened to you?
There began the search on the floor and in every corner of the parking lot but nothing. I wasted more than half an hour until it occurred to me to look inside the engine to see if it had been trapped and so it was, I got it trapped between the wires.
Finally I fixed the bugles, tested them and that was it. Mission accomplished. I think I saved some money on the installation. Too bad I couldn't take many pictures because I was alone and I couldn't hold the phone much with my hands full of grease.
It's all about getting things done and if we get stuck we have youtube which is always a good ally.
I say goodbye until next time.
Blessings to all.

Images taken with Samsung Galaxy A12.
Text translator used: Deepl
Cover designed with Canva
Version en Español
Saludos mi gente de @hivemotors, espero que se encuentren excelente en este fin de semana. no había publicado desde hace un tiempo porque los carros se habían portado bien y no habian dado fallas importantes.
El día de hoy les comparto el reemplazo de la corneta del carro que usa mi hija, que ya hacia bastante tiempo venia funcionando con problemas, hasta que el pasado viernes mi hija me dijo que le comprara una corneta porque ella no lo iba a mover así.
Ella es muy precavida al conducir y siempre le gusta tocar la corneta en las esquinas y cuando existen personas descuidadas que atraviesan la vía. Sin corneta se siente demasiado insegura y prefiere dejar el carro y viajar en cola o de pasajera.
Ayer sábado llevé a mi hija al hospital muy temprano porque le tocaba guardia y me dispuse a comprar la corneta para instalársela yo mismo. Les confieso que nunca lo había hecho pero no hay nada oculto para google y seguí un tutorial de youtube para guiarme.
Las conseguí en 400 bolívares y compré también algunos conectores para cambiar los antiguos.
Para la instalación, la cosa no pintaba mayor dificultad, las cornetas del aveo están ubicadas del lado izquierdo del frontal. Lo que hay que hacer es quitar los tornillos que lo sujetan y quedan al descubierto las cornetas. En este caso el frontal está bastante deteriorado y solo tenia un tornillo y el otro lado estaba amarrado con alambre.
Solo había una corneta conectada porque la otra estaba quemada. Los aveos usan dos cornetas conectadas en paralelo, una con un timbre mas agudo que la otra . Esto es para que el tono resultante de la bocina se escuche con mayor potencia.
Ambas cornetas están fijadas a la carrocería con un tornillo grueso. Al sacarlo puede liberar las cornetas dañadas. Procedí a cambiarle los conectores que estaban muy dañados y luego seguí la conección de los mismos cables para hacer la instalación de las nuevas cornetas.
Al principio no sabía como conectar las cornetas en paralelo, pero me ayudaron los videos de youtube. El cable de corriente que viene de la batería debe tener dos derivaciones, una para cada corneta. Igualmente el cable de tierra se deriva para cada una de ellas.
La primera vez que las instalé sonaban pero muy levemente, volví a apretar los conectores y ahi si sonaron las dos cornetas.
Todo iba de maravilla pero cuando me dispuse a fijar las cornetas con el tornillo, Uff!! se me cayó a través del motor. ¿Les ha pasado?.
Alli comenzó la búsqueda por el piso y por cada rincón del estacionamiento pero nada. En eso perdí mas de media hora hasta que se me ocurrió buscar dentro del motor a ver si se había quedado atrapado y así fue, lo conseguí atrapado entre los cables.
Al fin fijé las corneta, las probé y listo. Misión cumplida. Creo que me ahorré un dinero por la instalación. Lastima que no pude tomar muchas fotos porque estaba solo y no podía agarrar mucho el teléfono con las manos llenas de grasa.
Todo es disponerse a hacer las cosas y si nos trancamos tenemos a youtube que siempre es buen aliado.
Me despido hasta una próxima oportunidad.
Bendiciones para todos.
Imágenes tomadas con Samsung Galaxy A12
Traductor de texto usado: Deepl
Portada diseñada con Canva
Posted Using InLeo Alpha
Saludos @gpache las cornetas antiguas estaban bien gastadas e incluso se aprecia algo de óxido. Que bueno que tú hija puede contar contigo y hacer estos pequeños pero necesarios arreglos en su vehículo.
Me tocó aplicarme a montarlas, aunque nunca lo había hecho no me pareció muy complicado. Gracias por tu apreciación amigo @josuemonterola
Es algo bueno que tenemos, podemos hacer cosas aún sin haberlo hecho antes.
Saludos @gpache Ciertamente te ahorraste algo por la instalación y te sirvio para aprender algo nuevo.
Tienes razón, haciendo las cosas uno mismo, no solo te ahorras la mano de obra sino que nunca mas vas a pagar por ello porque ya lo sabes hacer. Gracias por el aporte
Mi esposa también es así con la corneta,es muy precavida y estoy seguro que tampoco sale si no le funciona.
Que bueno que pudiste resolverlo tu y que el tornillo apareció.
Saludos amigo