DIY// I made a sunny-coloured peplum blouse and trouser
Hello creative hivers
Welcome to my blog, I'm always grateful to have you stop by and share in my sewing projects, I hope you are all having a good day wherever you are.
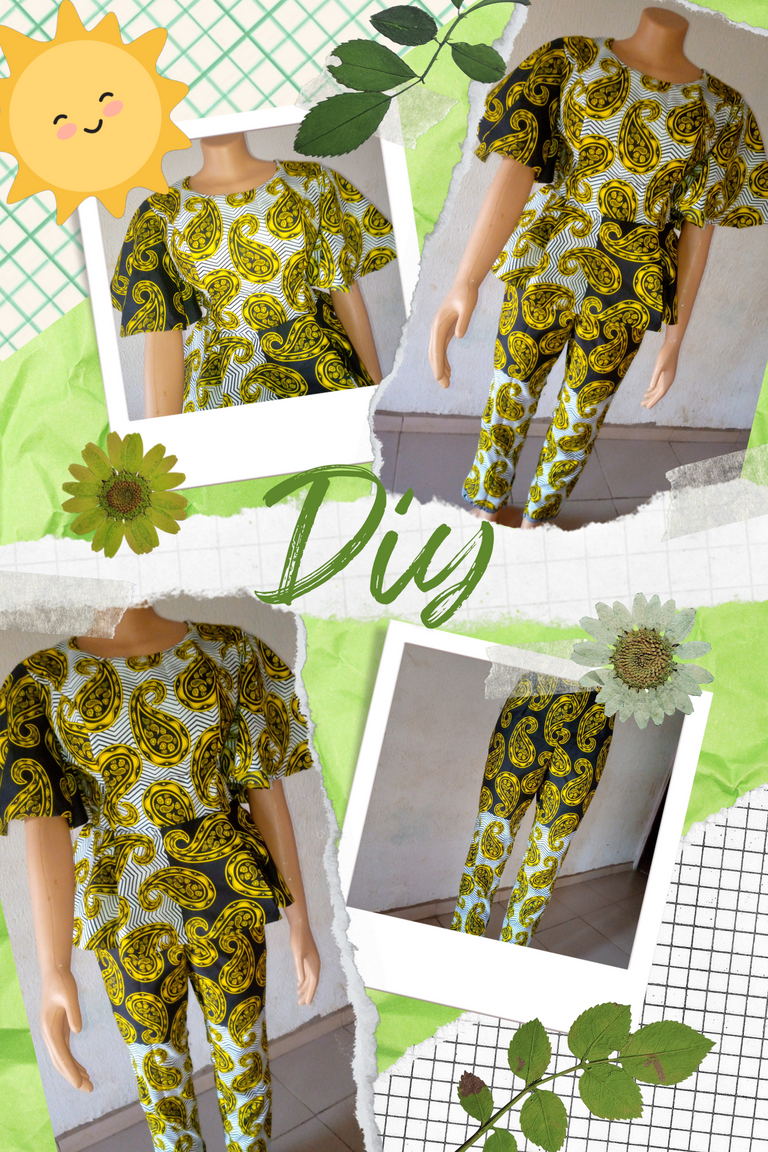 image designed by me using canva
This project is one I'm just rounding up and so excited to share with you guys, starting with what really attracted me to get this fabric, its sunny colour, so radiant and bright, the ying yang kind of symbol used as the design also attracted me to get this fabric as I already had my style preference in mind, which is a peplum or flared blouse with pant instead of a skirt underneath, forming a two-piece outfit which I can easily rock to hang out with my girls, church, a date, etc.
The sun is a very important part of our planet and galaxy at large, so centering the month's contest around the sun ☀️ is just perfect.

Without further ado, let's get right into the making of this sunny-colored outfit.
Materials used
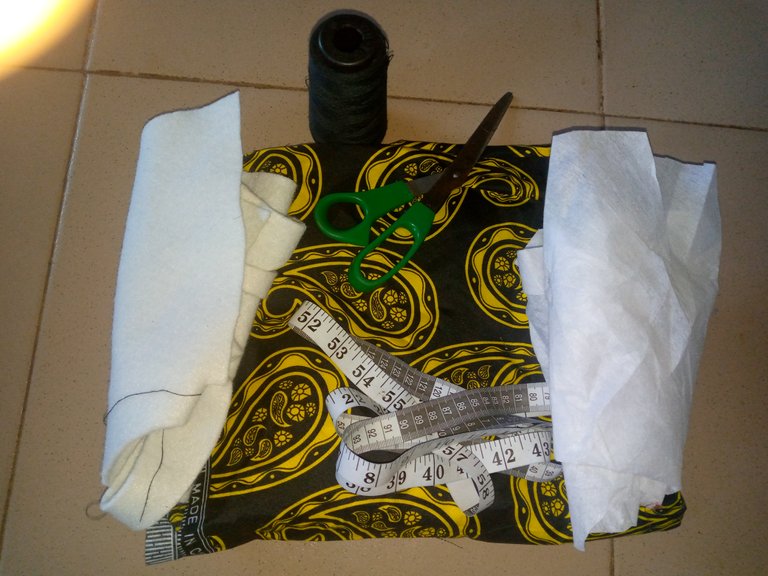
- Ankara fabric
- cotton lining
- peplum stay
- warden
- zipper
- Thread
Scissors, tape rule, and a sewing machine.
Cutting and Sewing Process
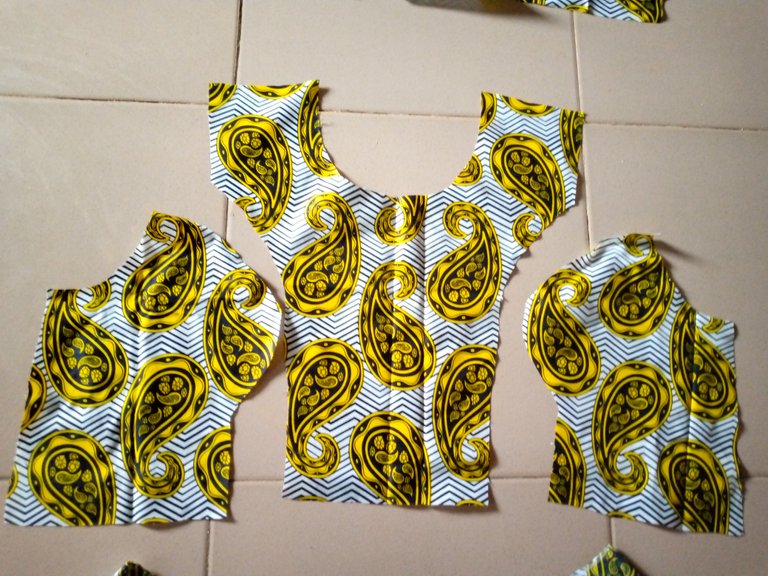
- I started by drafting the front pattern, using a princess bustier pattern, which stops at the waist because the flare will be attached to the waist to complete the close length.
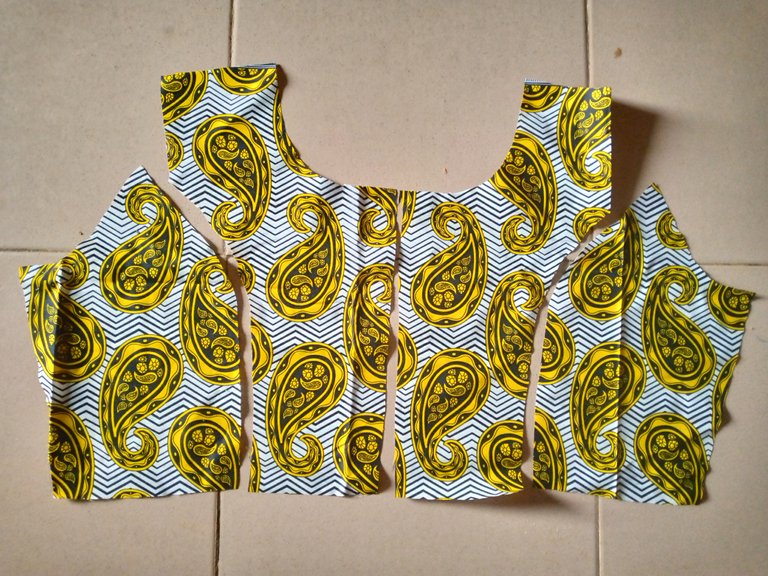
- Next the back pattern, also stopping at the waist
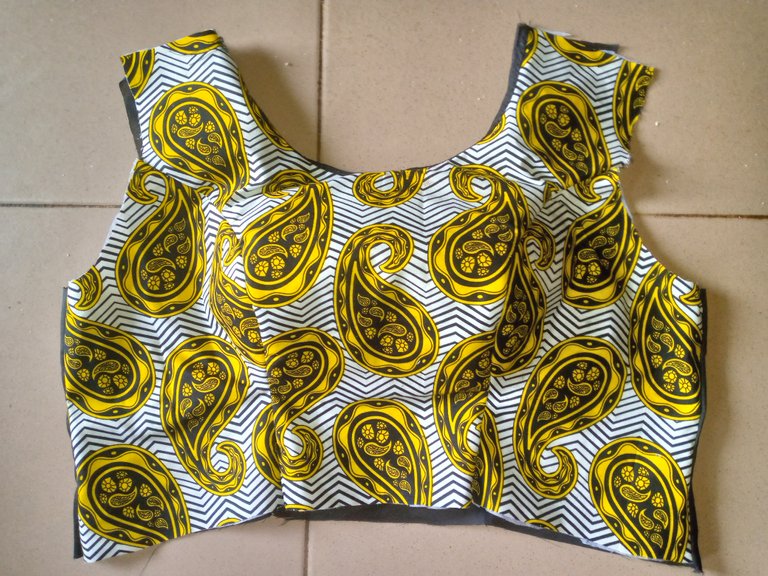
- I joined the front pattern pieces together, and also turned it with its lining piece, not forgetting to add warden to the bust area for more structure.
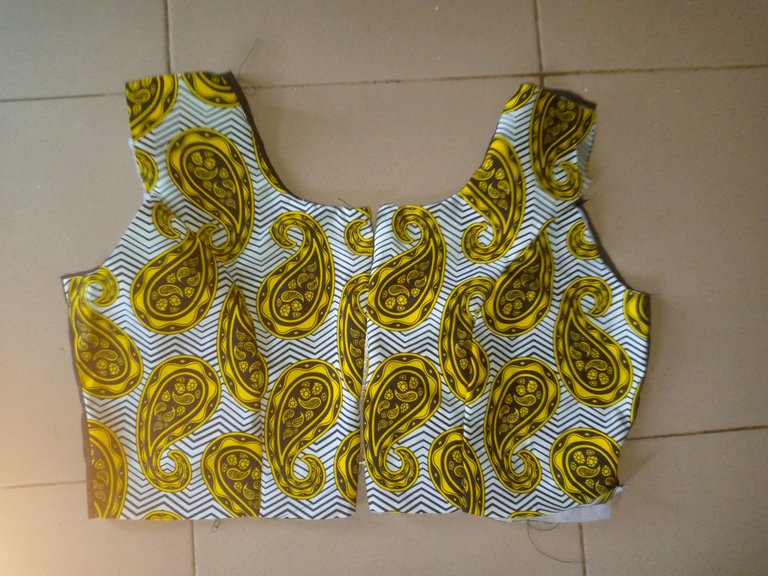
- I also joined the back pattern pieces and turned its lining too.
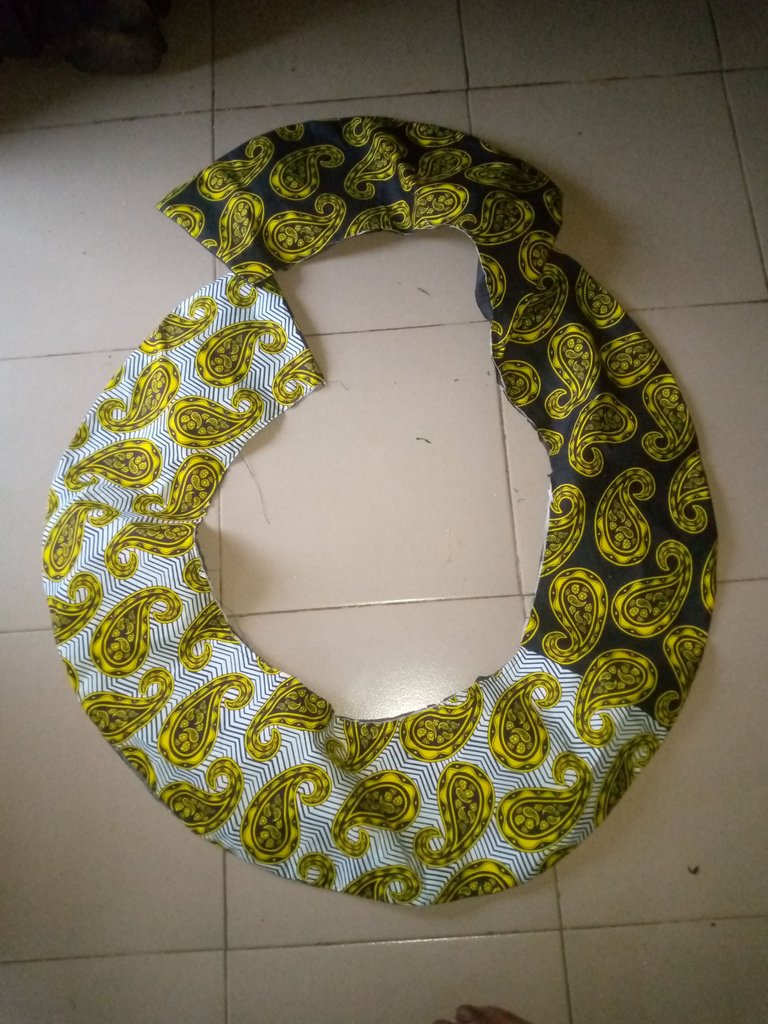
I cut out a flare/ circle, using the waist measurement as the radius of the circle
To give the flat more structure, I ironed a stay at the wrong side of the fabric and turned it with its lining.
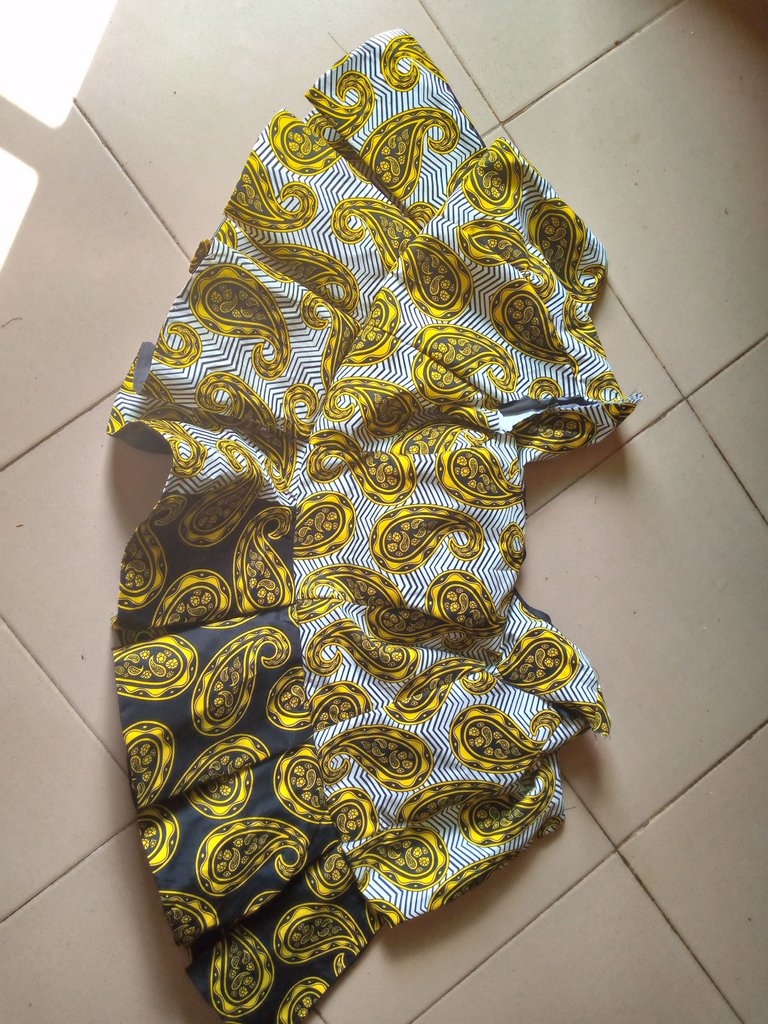
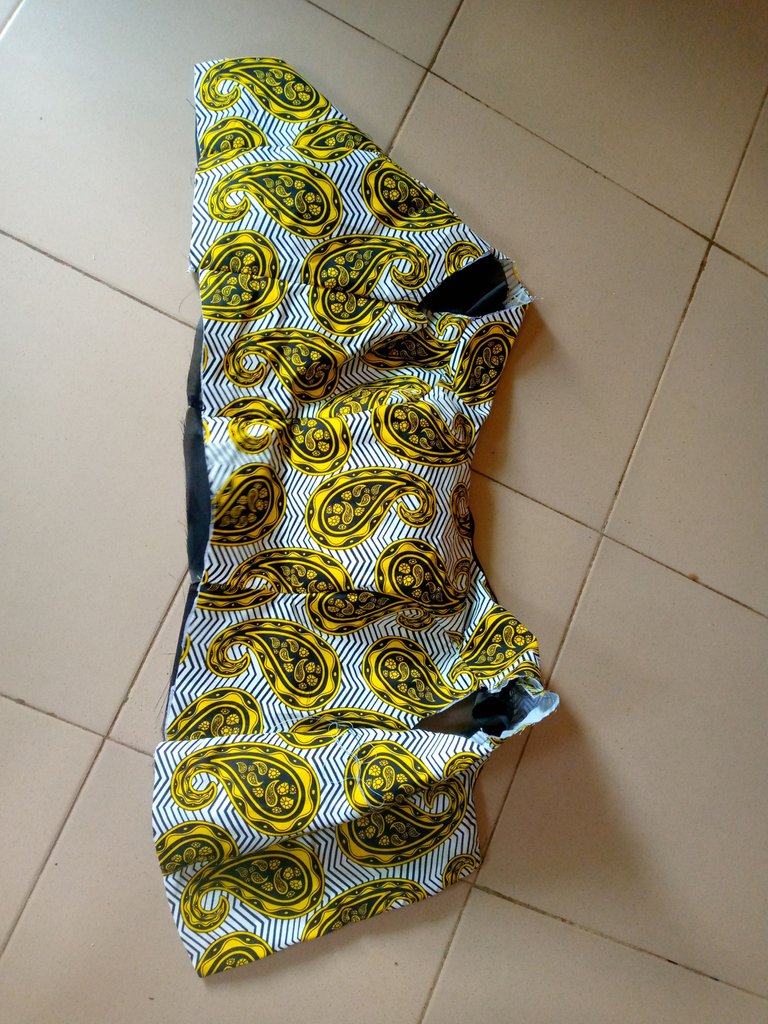
- Continuing, I joined the flare to the upper side of the blouse (the front and back have been joined together)
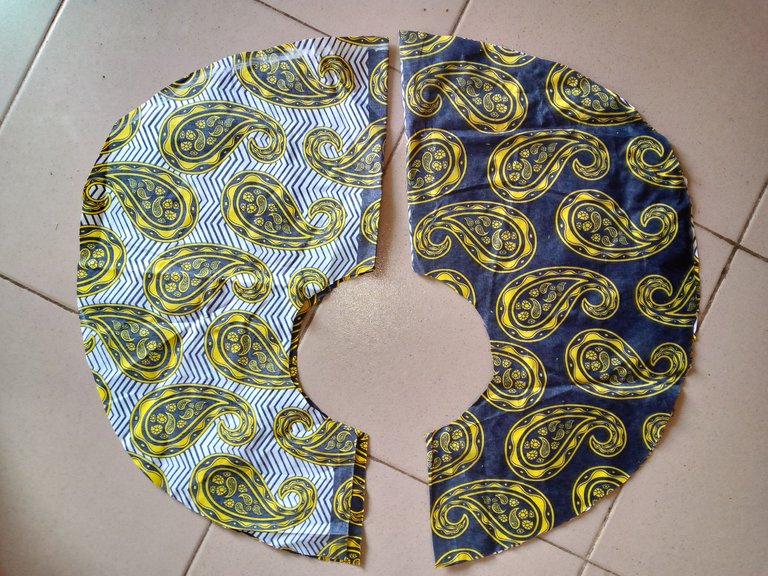
- For the sleeves, it's also cut as flare, using the armhole measurement as its radius.
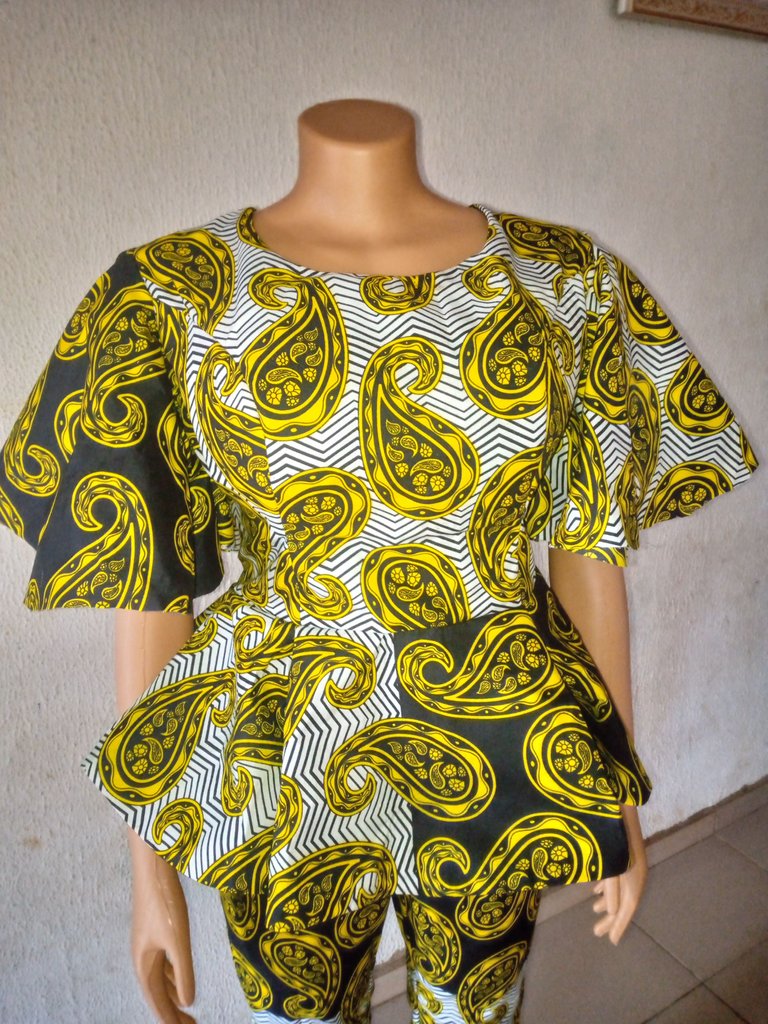
- Finishing up the blouse, I attached the sleeves and also a zipper at the back, and my peplum blouse is ready! ✨
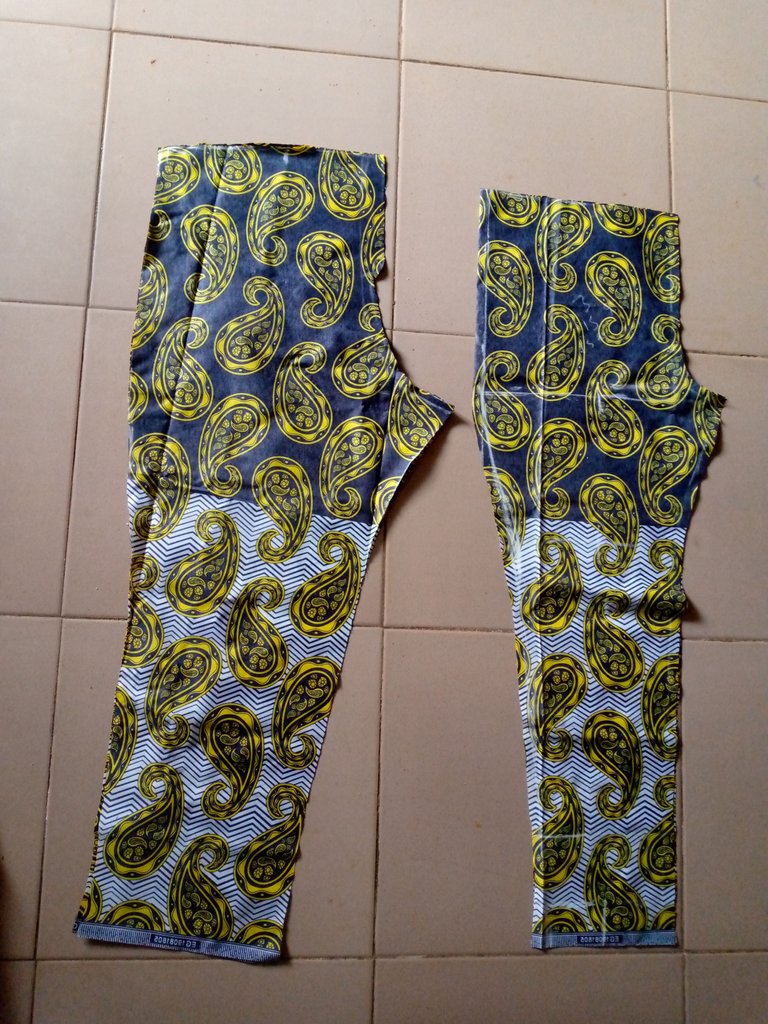
- Here is my trouser pattern, I added its pocket and joined all pieces together, also adding a waistband.
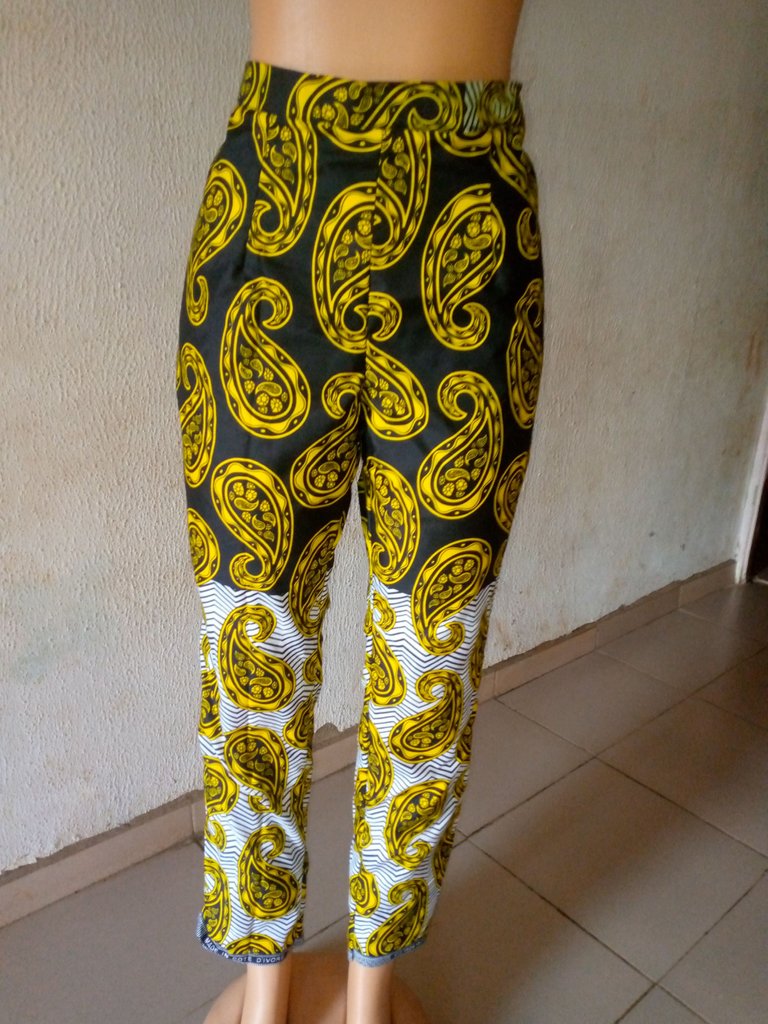
My complete outfit is ready now ✨ ✨ 😍
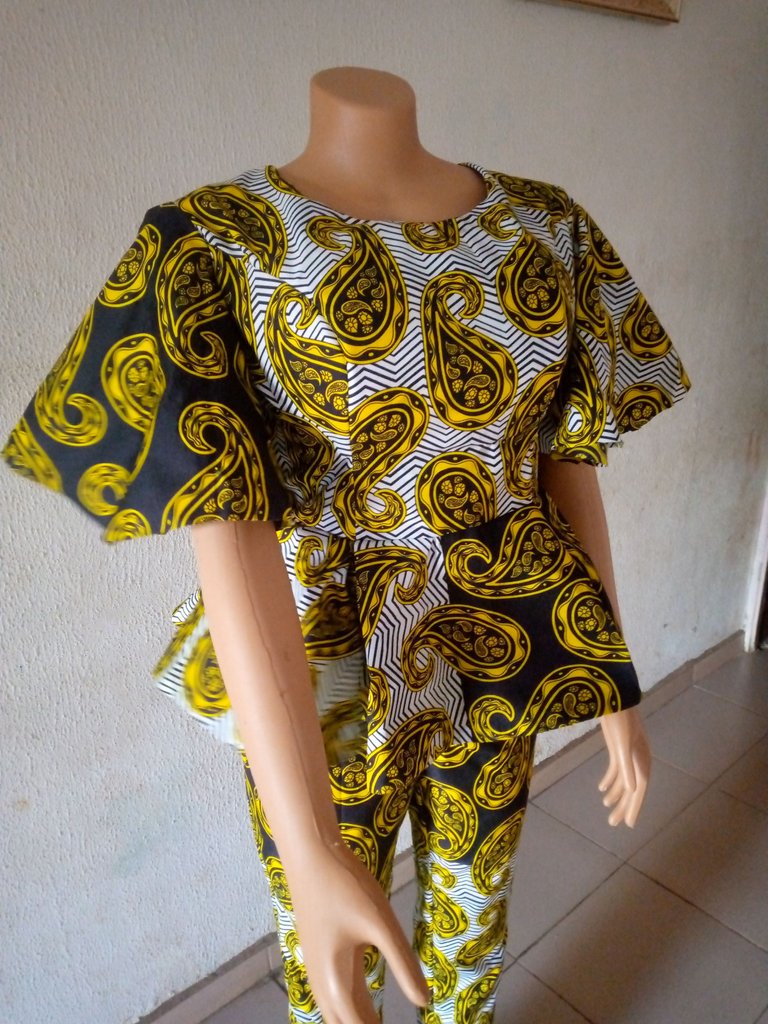
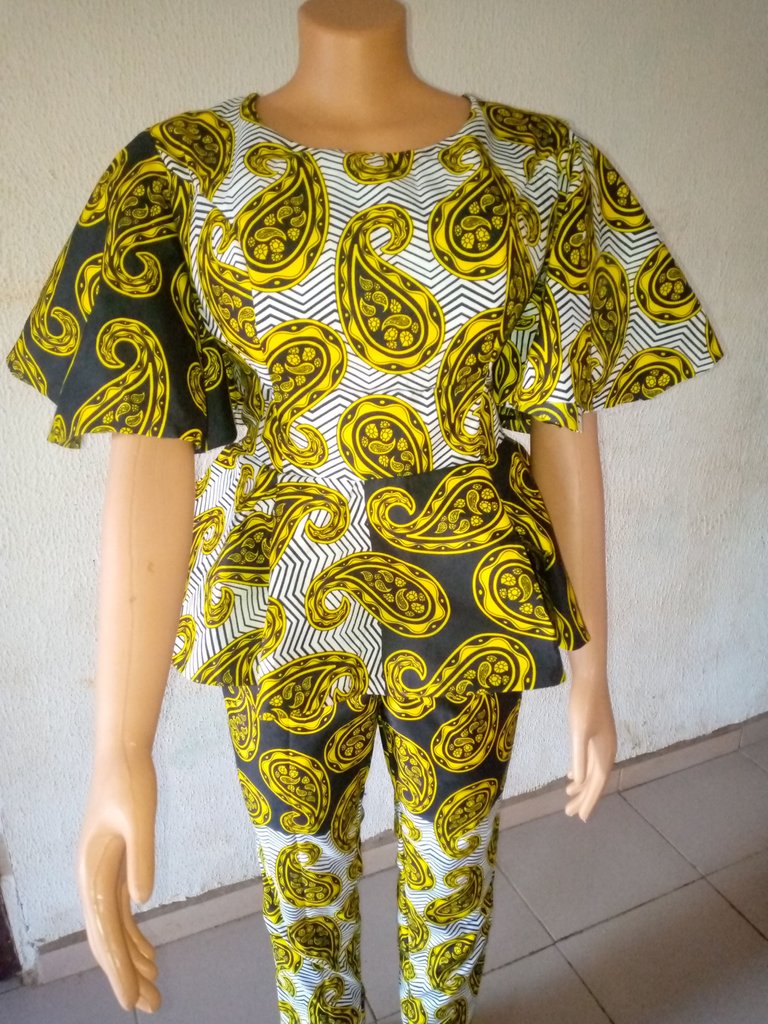
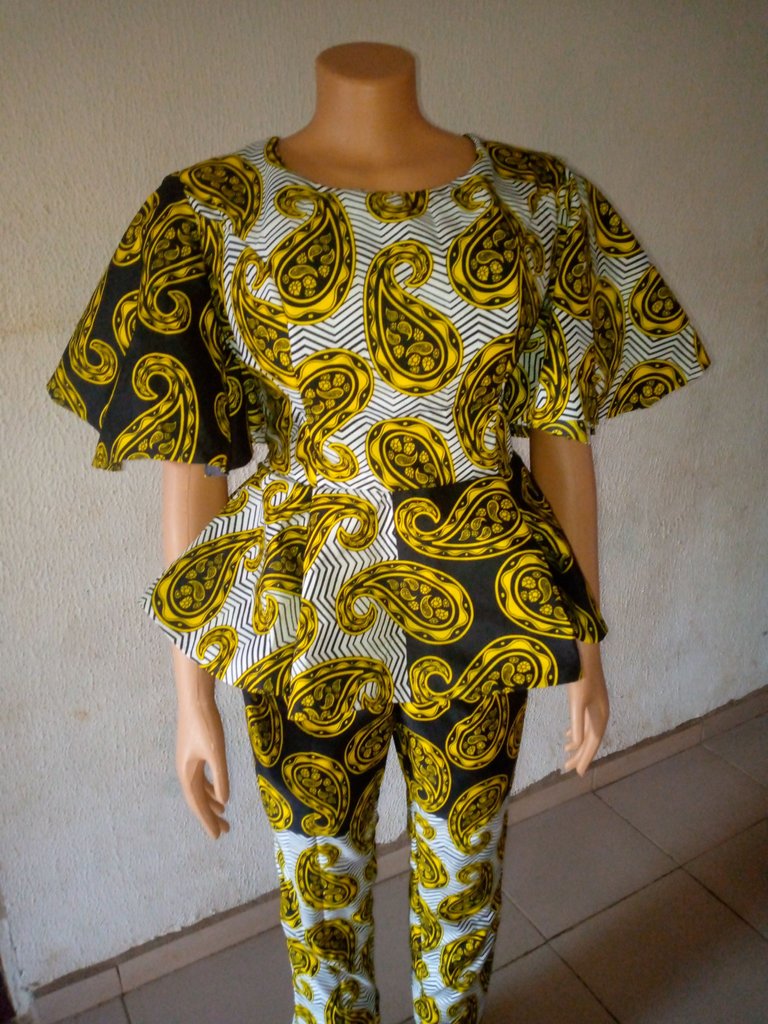
Please note, images used in this post are mine.
I love this peplum blouse and trouser you made. It's beautiful .!DIY
Thank you @ladyfoth, I'm glad you love it.
You're most welcome.
This post has been manually curated by @bhattg from Indiaunited community. Join us on our Discord Server.
Do you know that you can earn a passive income by delegating to @indiaunited. We share more than 100 % of the curation rewards with the delegators in the form of IUC tokens. HP delegators and IUC token holders also get upto 20% additional vote weight.
Here are some handy links for delegations: 100HP, 250HP, 500HP, 1000HP.
100% of the rewards from this comment goes to the curator for their manual curation efforts. Please encourage the curator @bhattg by upvoting this comment and support the community by voting the posts made by @indiaunited.
This is so nice, I love the way you the pattern of the fabric, the combination gave it a beautiful outcome, thanks for sharing @glorydee.
Good luck with the contest.
@sagarkothari88 reward 50 points
I have sent 50 Ecency Points to you (@glorydee) as suggested by @lazybug for @glorydee/diy-i-made-a-sunny-coloured-peplum-blouse-and-trouser
How to use these Ecency Points?
Click here to do return gesture if you wish to
I support following communities & recommend joining