Making a mini beaded bag with a unique handle.
Good morning everyone,
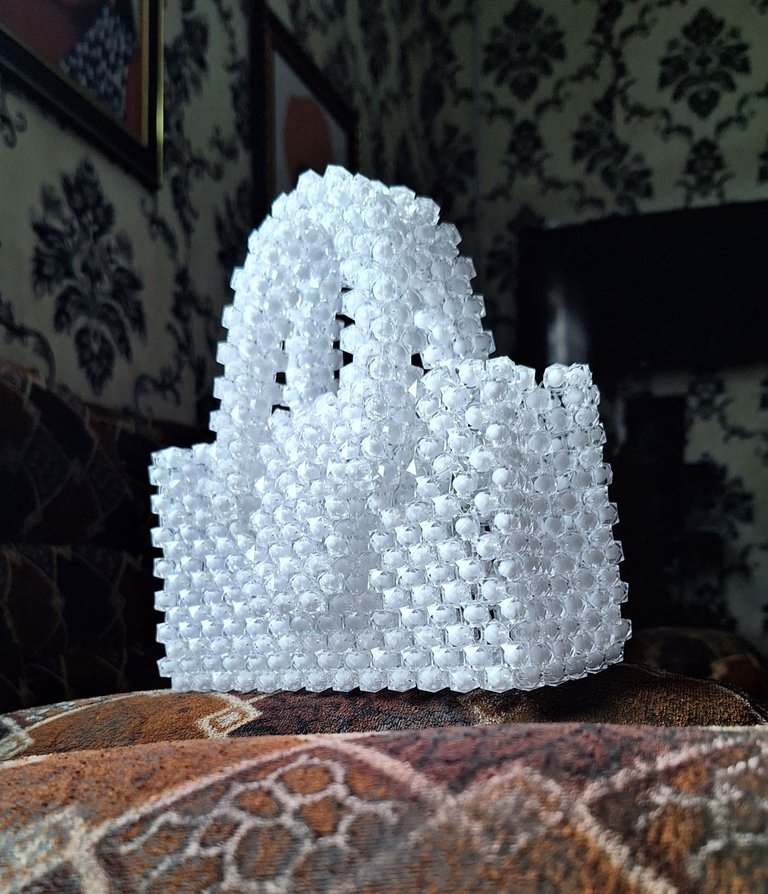
Happy new week to you all. I'm happy to be here today to share with us my latest bead bag design which I recently completed. By recent, I meant last might. Lol. I made sure I finished the bag in the midnight before I sleep. This bag is the second design I've made since I started my beaded bag making journey. This design entails lot of work compared to the last one I made. This was because the beads are smaller and the style is a little bit complex compared to the last design. What makes this particular bag unique is it’s handle.
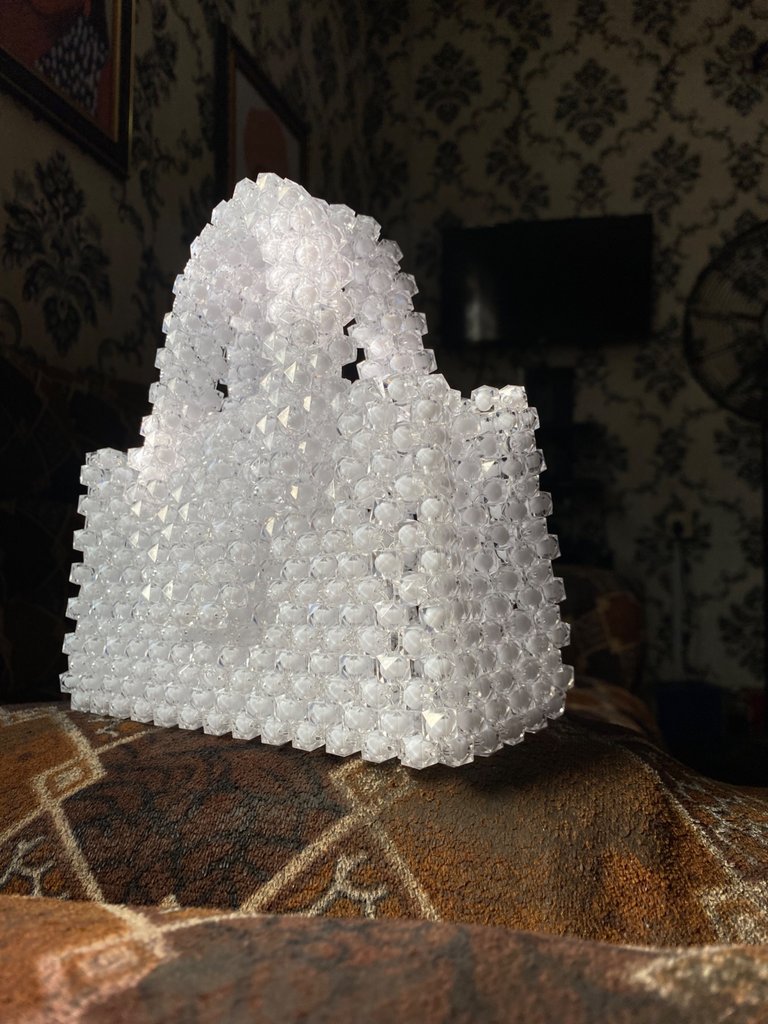
Most beaded bag handle comes from the side or is an extension of the bag from the front and back but this particular bag’s handle was attached to it from the front and back. It’s not an extension like most back. It's an attachment. That was what attracted me to the design. I’ve been learning so far watching YouTube videos and I’m happy those videos are quite detailed. I still have a lot to learn and explore and I just can’t wait.

Materials needed
- 10mm square shaped sugar beads
- 0.7mm Fishing line (Bead rope)
- A sharp scissors
PROCESS
- Firsly, I cut the fishing line rope I’d be using which was 30rolls of my palm. Though that wasn’t enough, had to use like 30 more rolls afterwards. For the width of the bag, I used 14 beads and for the length, I used 20 beads.
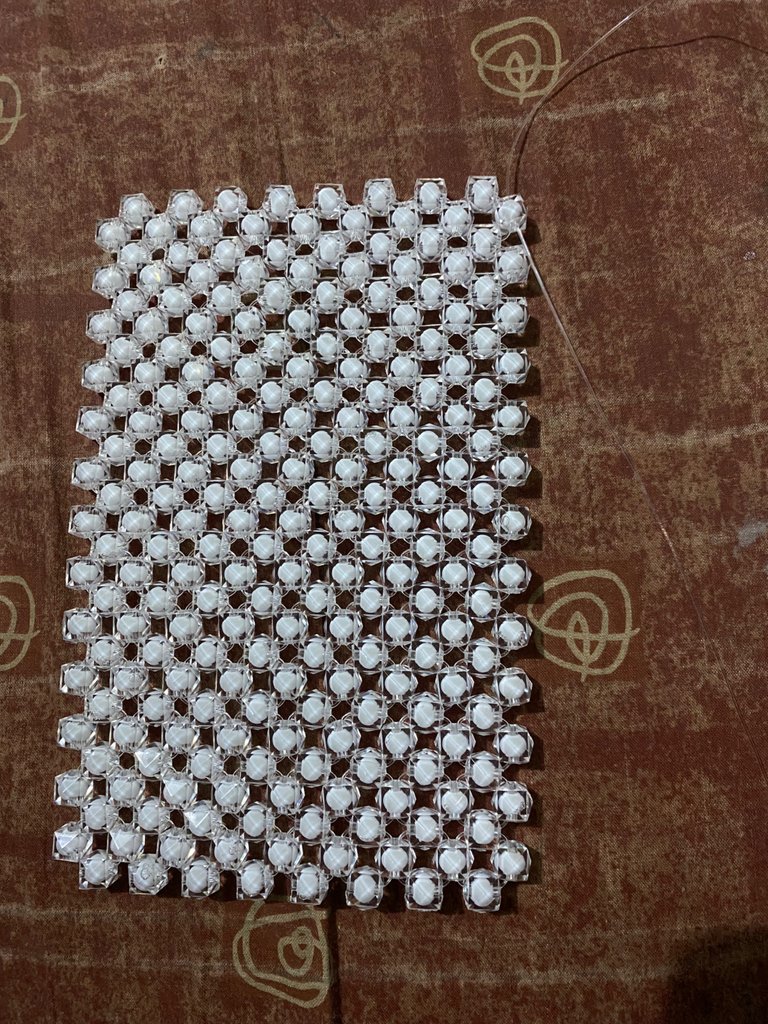
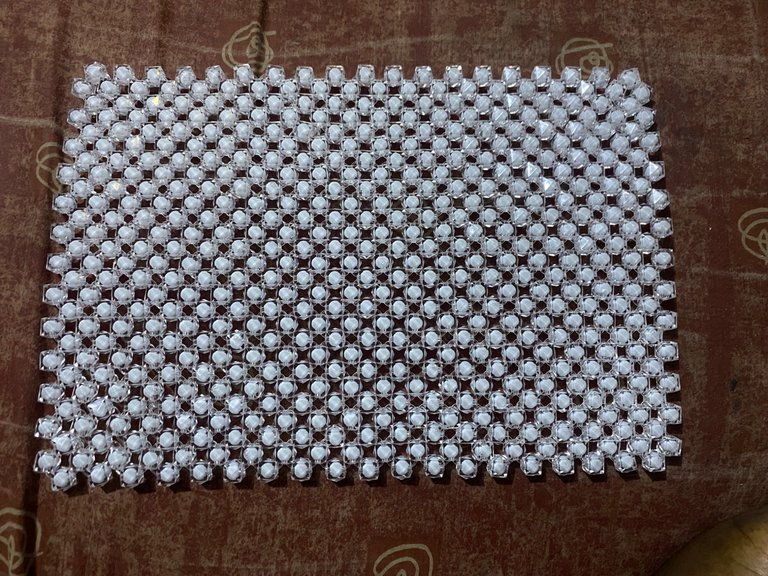
- Next I counted 8 bead roll(to form either the front or back), bend it, 4 bead roll(to form the base) bend it and the remains 8 beads for the front or back.
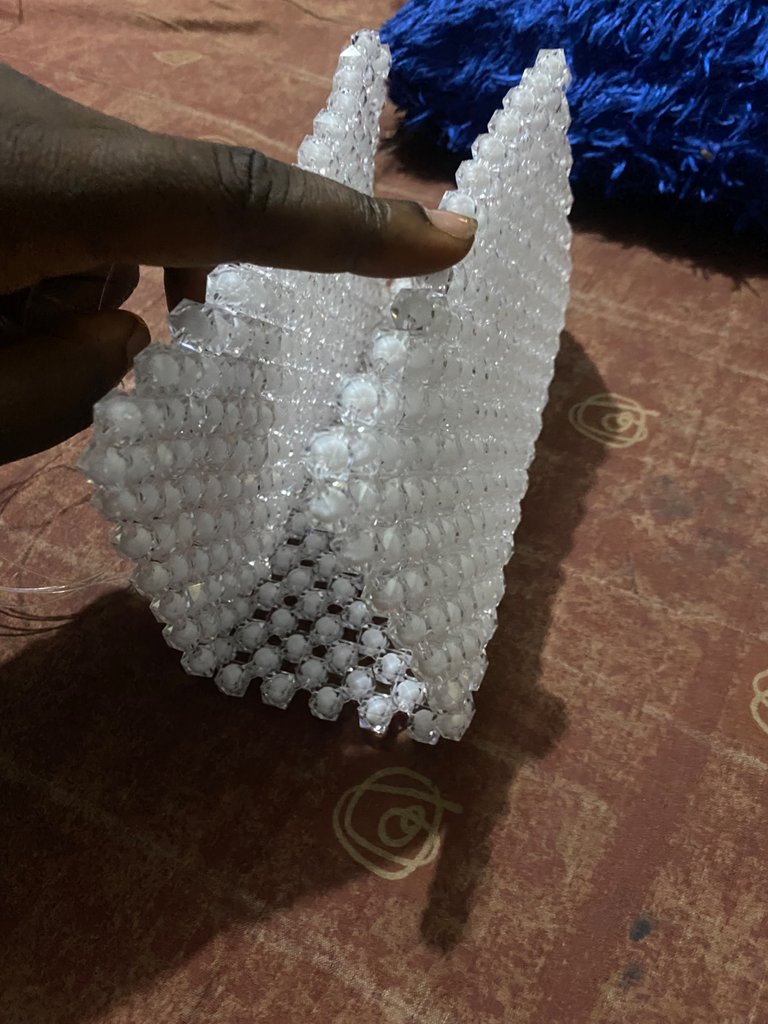
- After that, I started working on the side as seen below till I reached the top.
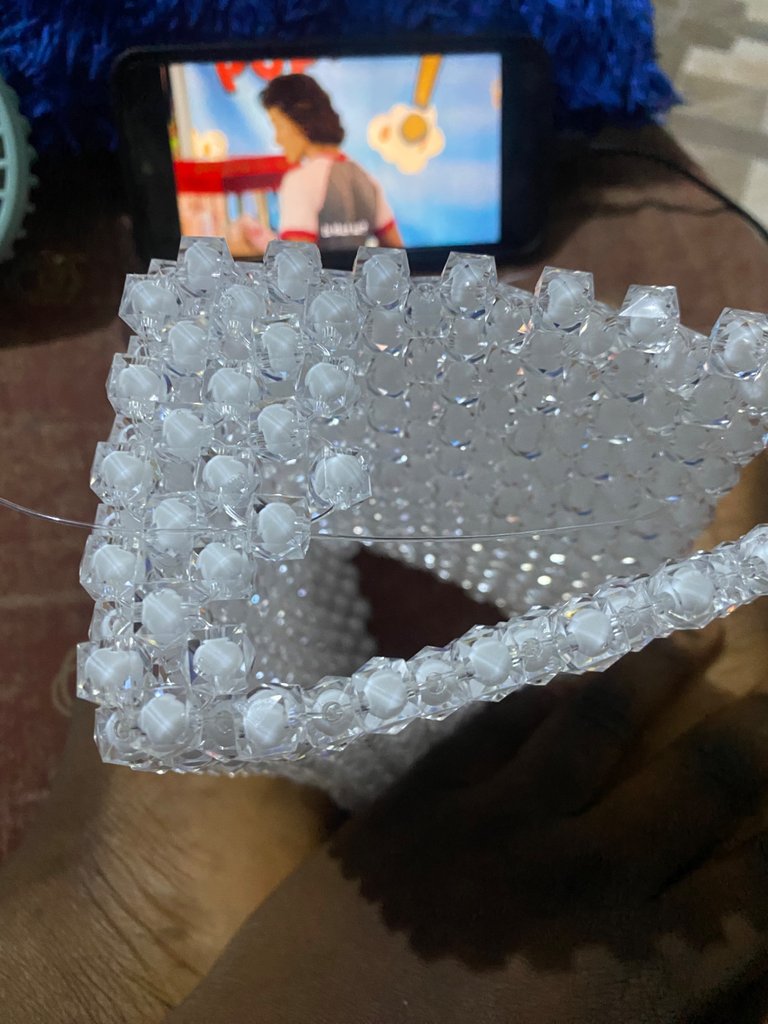
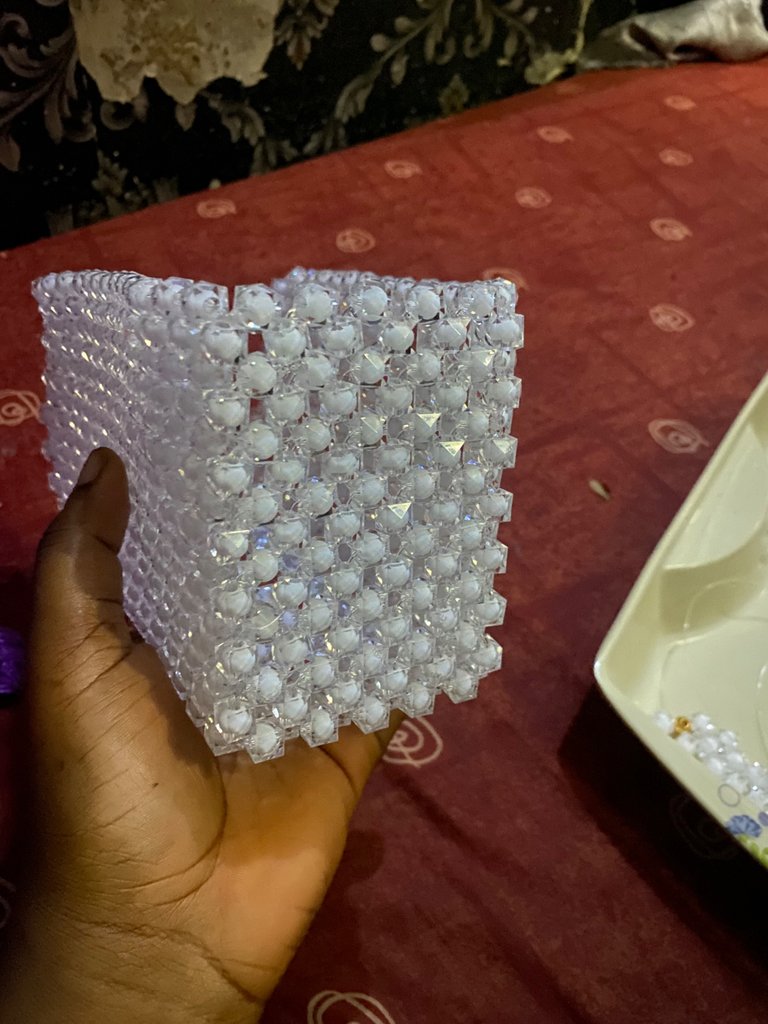
- Then I worked on the second side too till I reached the top.
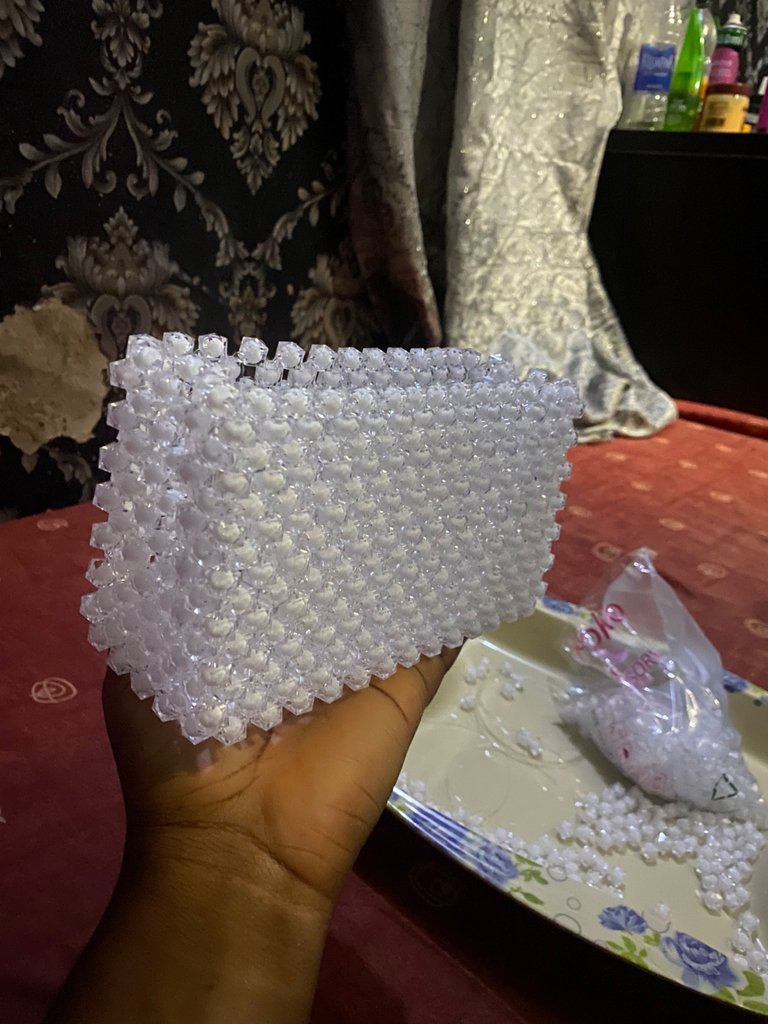
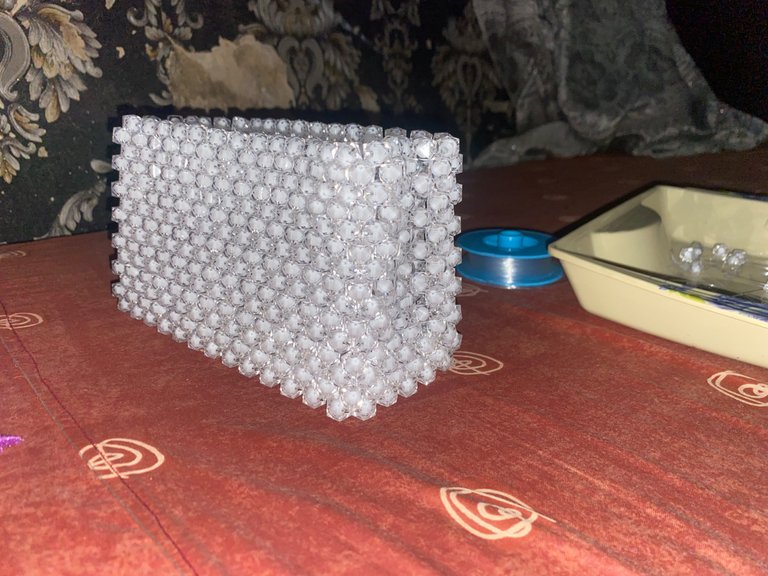
- Once the sides were complete, I started working on the handle. I worked my way up on the 4th bead by the right side of the bag to form a triangular box
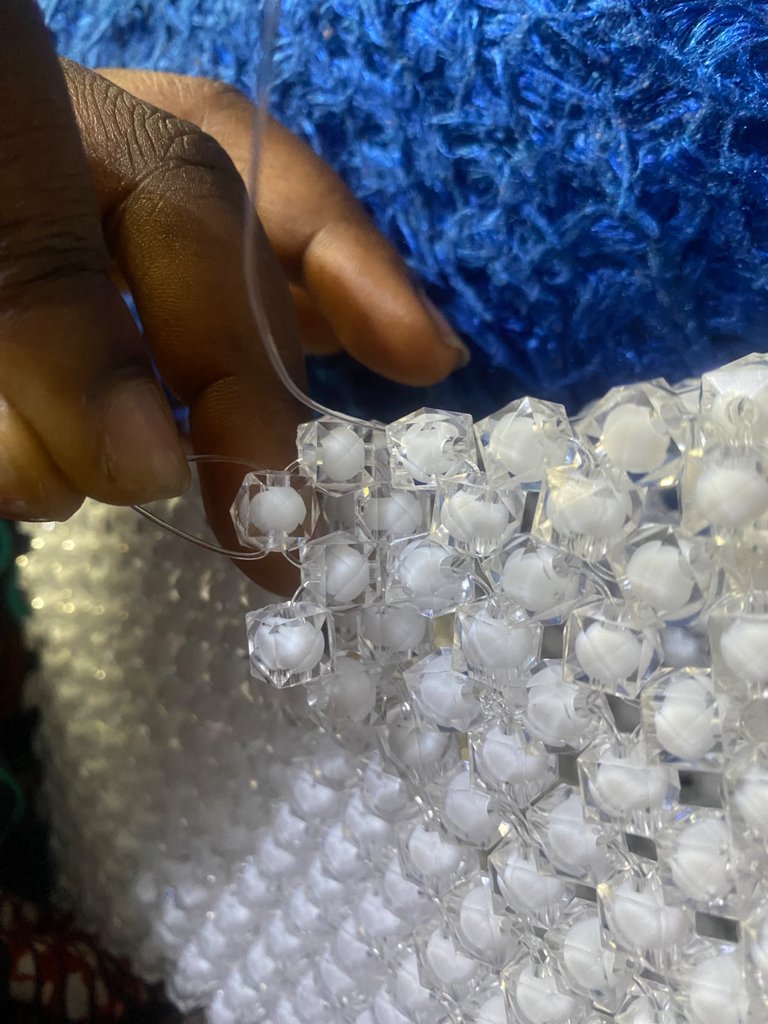
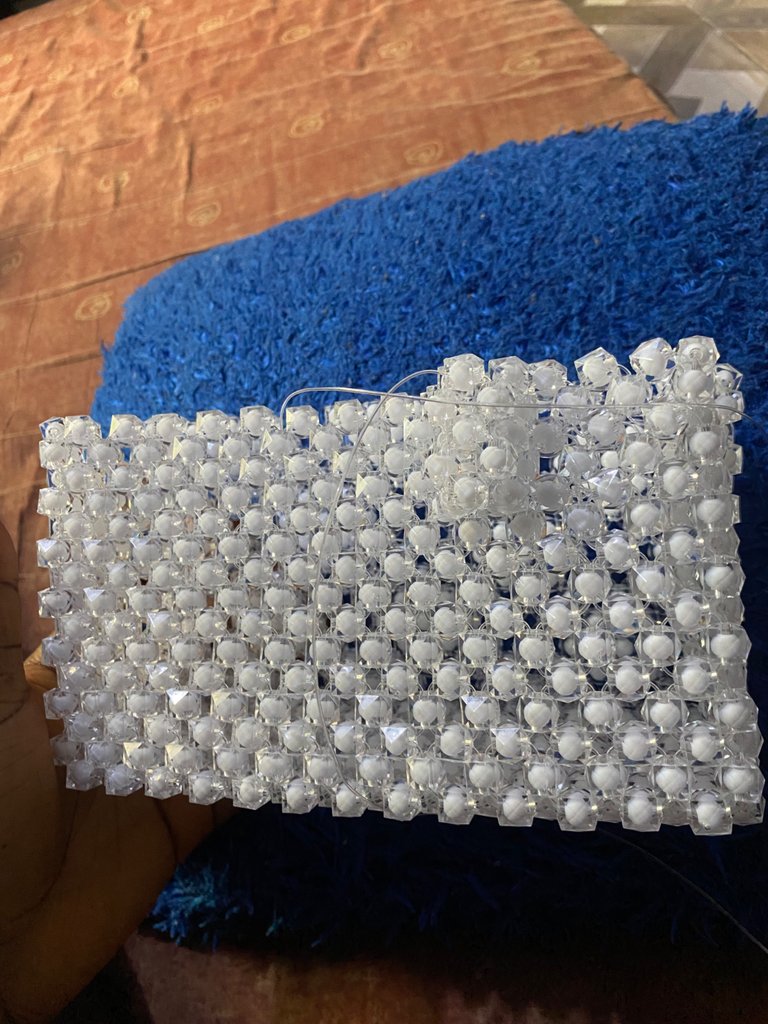
- After that. I started layering on the box until I reached the desired length which was 14 rolls.
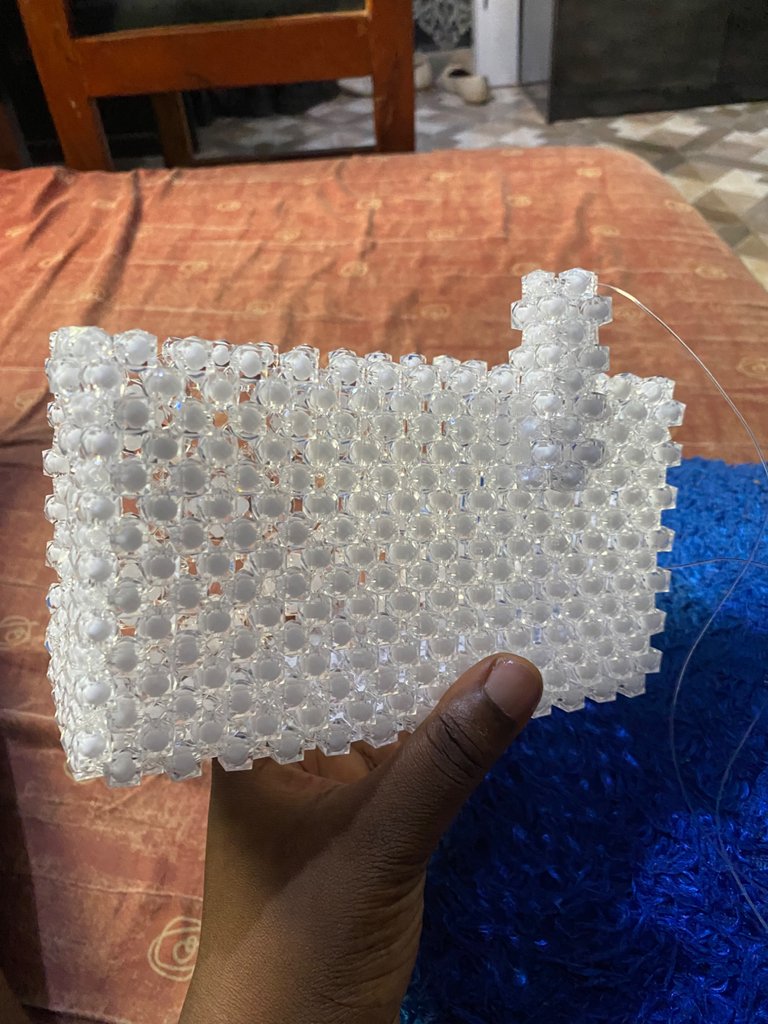
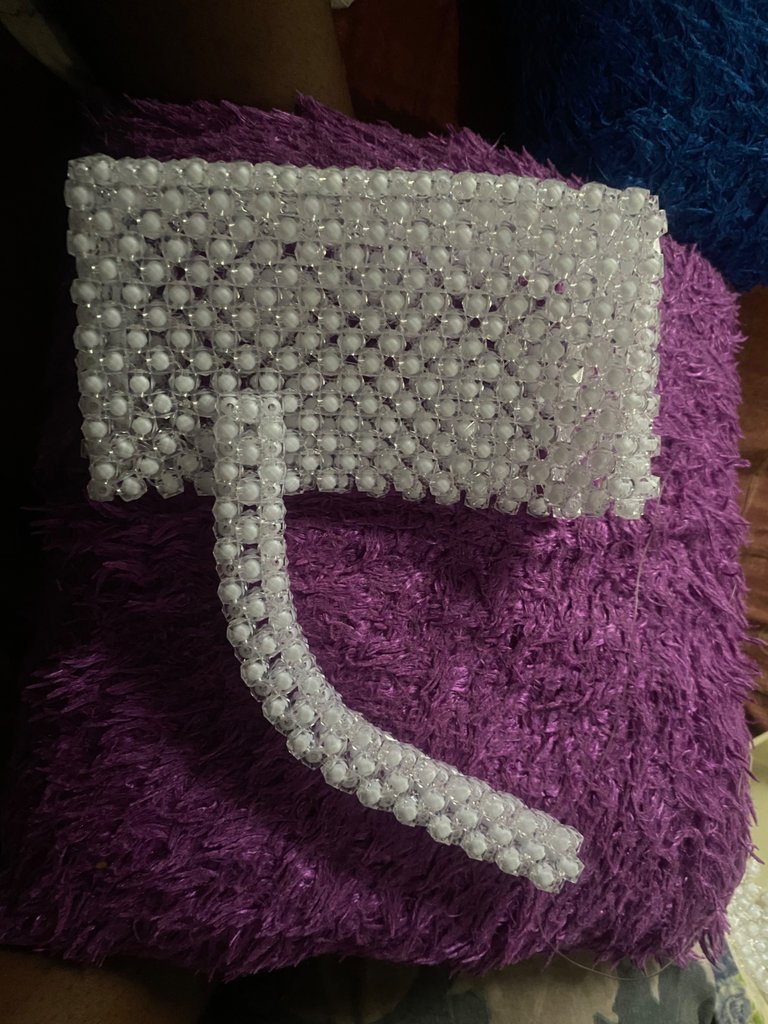
- Next, I attached the second end of the box handle to the bag just the way I attached it the first end.
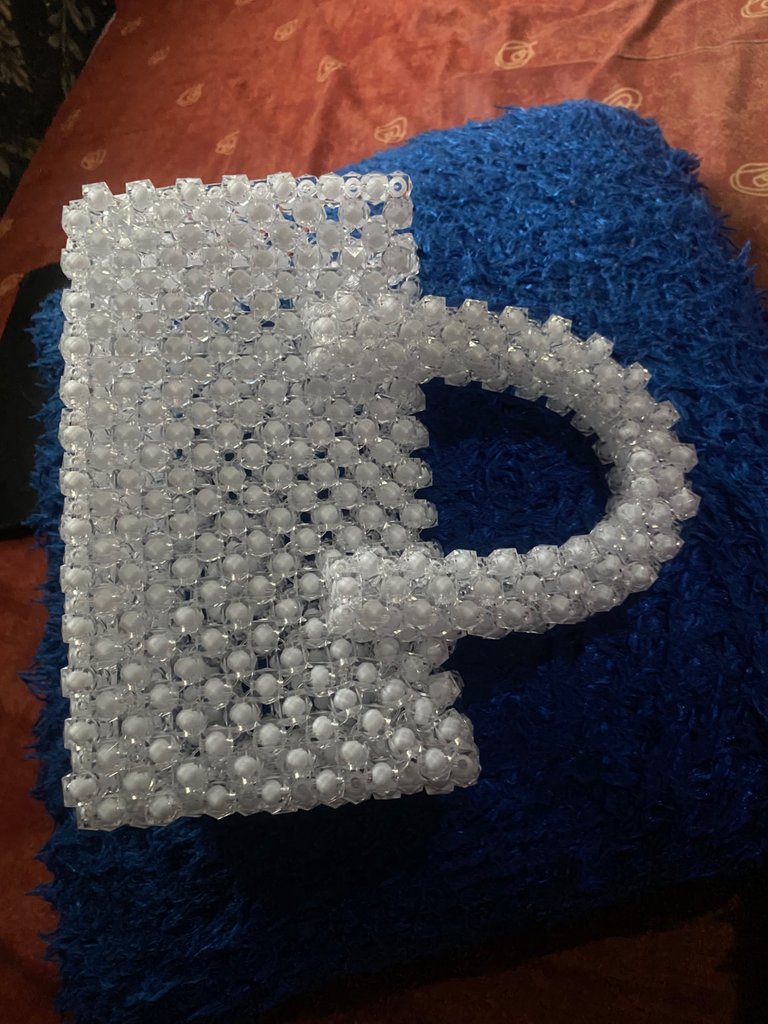
- Then I repeated the same process for the second handle.
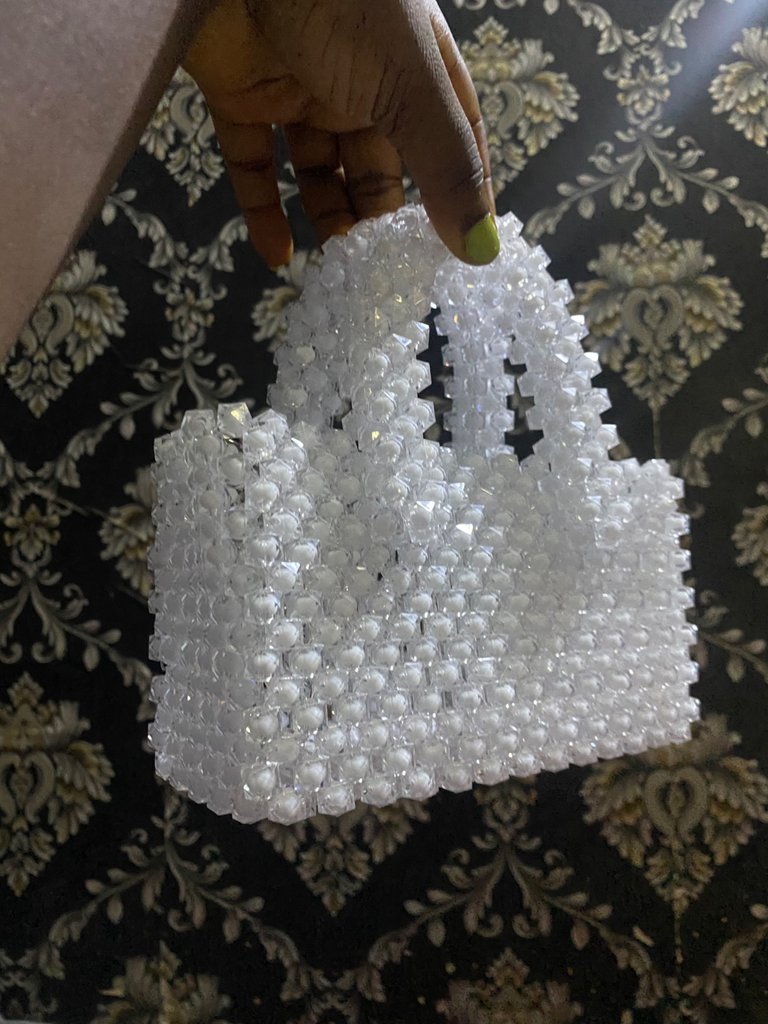

- I wanted to stop here but then I decided to add a small cover to the bag. In the future if I’m making this design, I’d make sure to add a magnet to it. I couldn’t now because I don’t have it at hand. I’d make sure to buy it when next I go to the market.

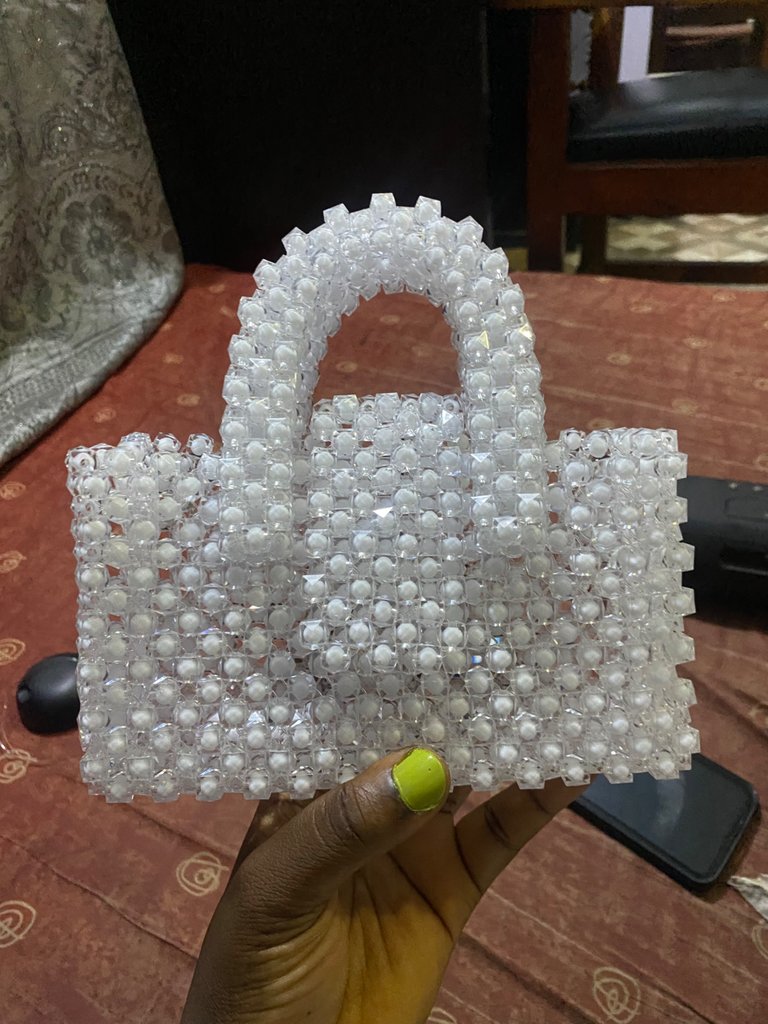
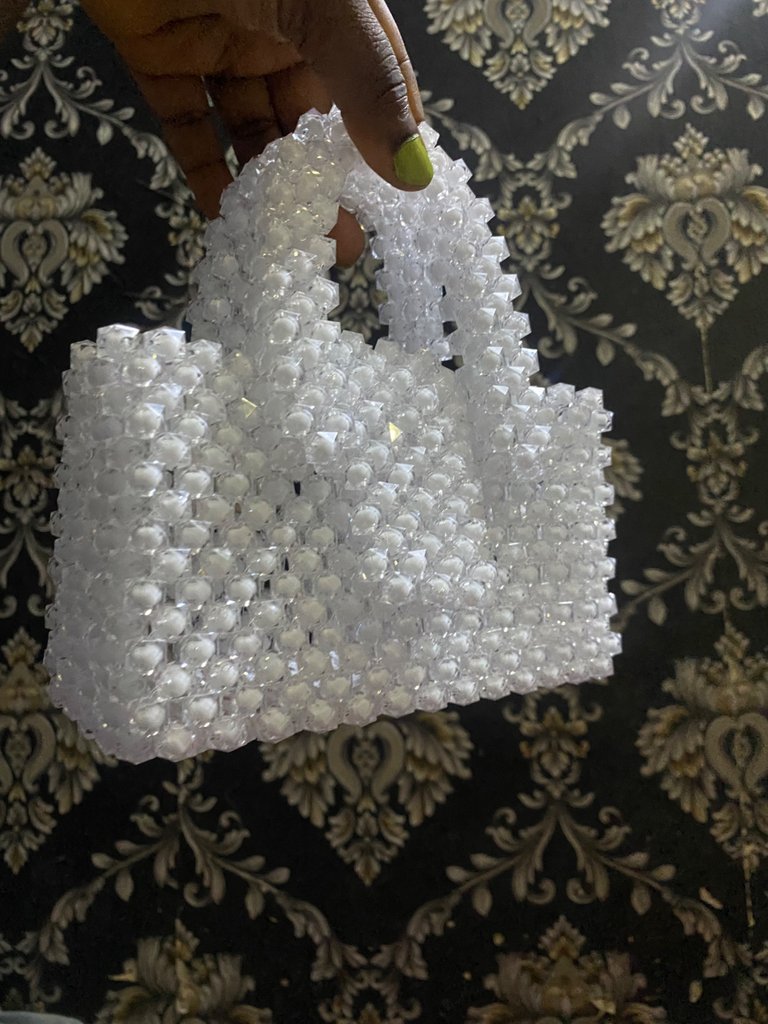

FINAL LOOK
Iphone shots

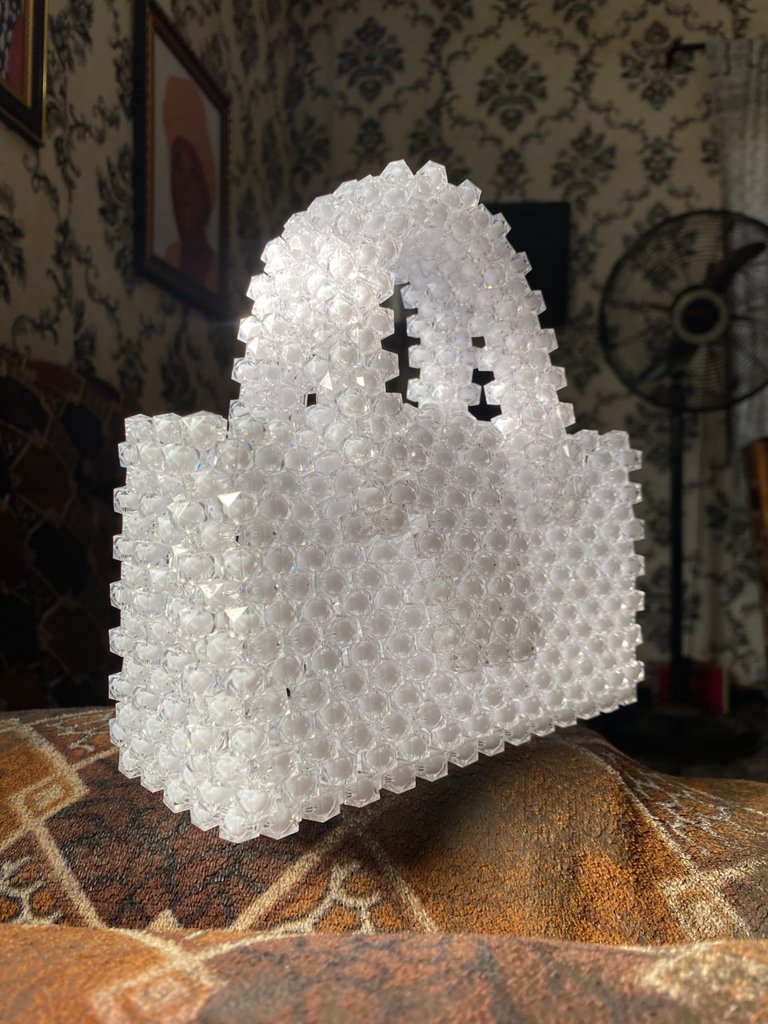
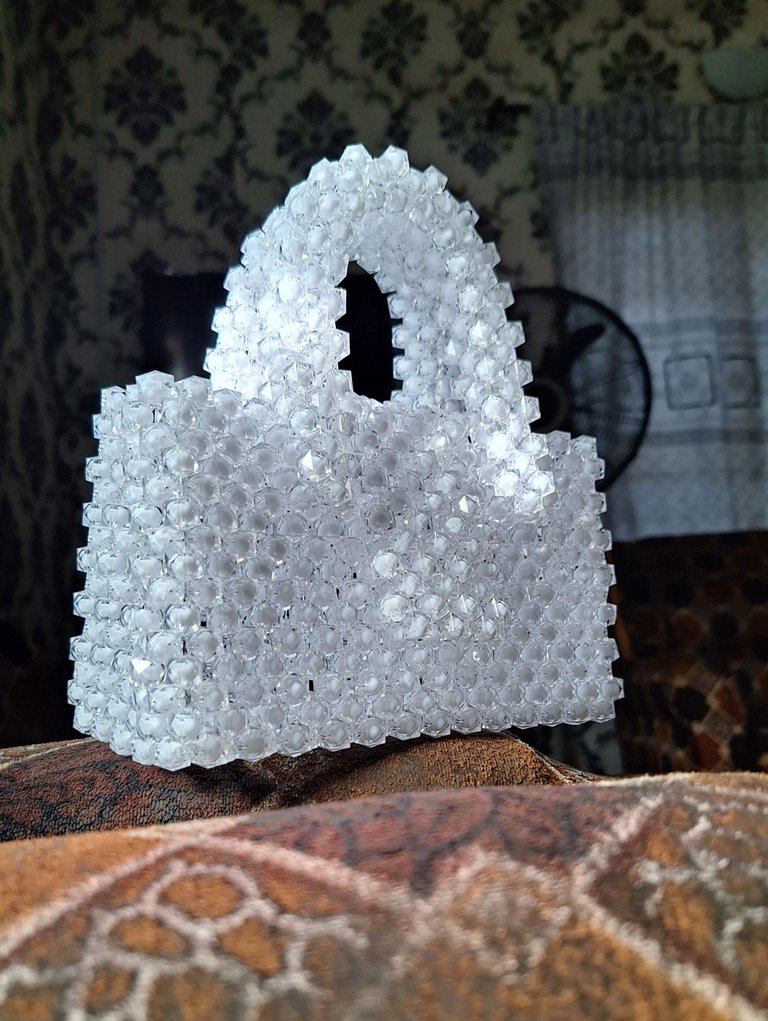
Andrioid shots




This is stunning🔥🔥
Thank you Sweetheart 🥰.
Hey there!
That took some dedication and effort. Well, done 👏
I think it's pretty unique too, and what I like about it is that one could pair it with a designer gown and people who assume that it's made of gemstones and expensive material 😆
... and I particularly like that it looks like bubble wrap from afar.😅
My lovely friend, thank you so much for your lovely comment. I was just smiling as I was reading and I had to even go back to get a closer look to it. It's true, it looks like gemstones bubble wrap from afar, lol.
Hopefully in the nearest future, I'd get to make one for you.🥰🥰
Do have a wonderful day.✨️✨️✨️
Thank you 😊
You're very welcome too.
Have a great week ahead:)))
Wow this is fantastic!! Way to go girl!!
This is lovely and beautiful dear.
How many days did it take you to finish the bag?
woho, what a talent. It was very nice and fashionable
Whaooo what a beautiful handwork and idea I love the color of the beads and the bag is so beautiful 🤗
Vaya, esta espectacular. Quiero hacerla. Gracias por este paso a paso genial.