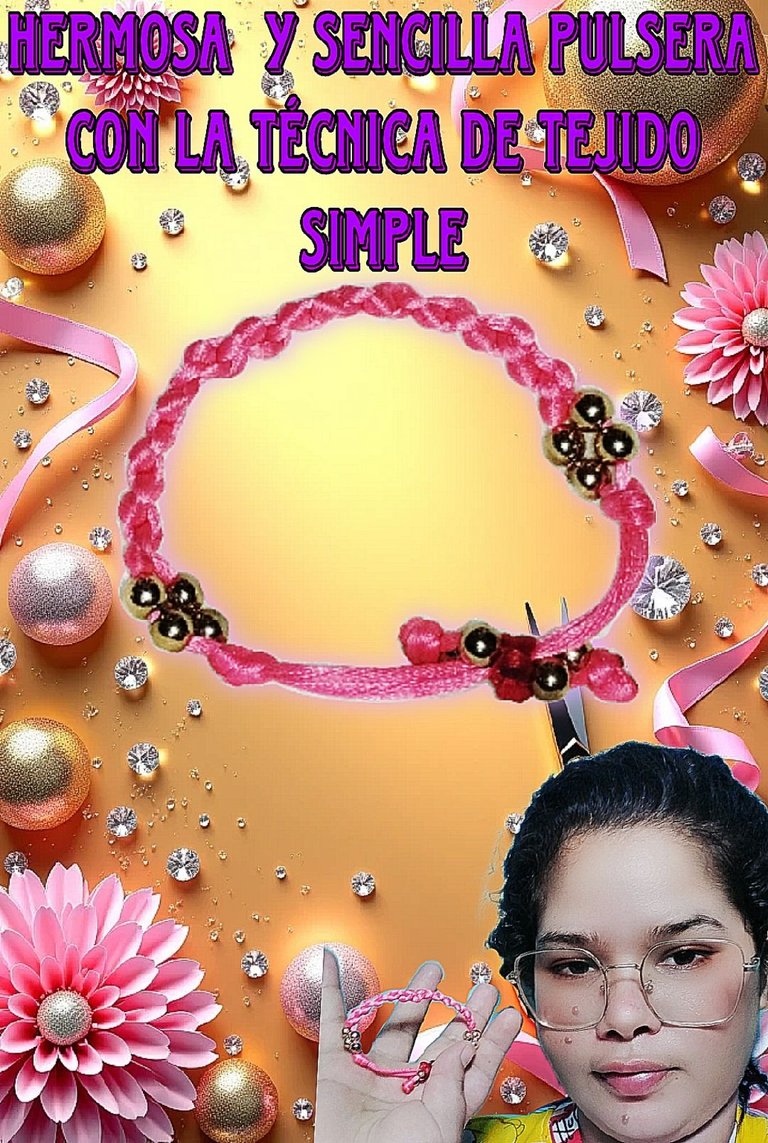
(ESP/ENG) TUTORIAL| HERMOSA Y SENCILLA PULSERA TEJIDA CON LA TÉCNICA DEL NUDO SIMPLE/TUTORIAL| BEAUTIFUL AND SIMPLE BRACELET WOVEN WITH THE SIMPLE KNOT TECHNIQUE


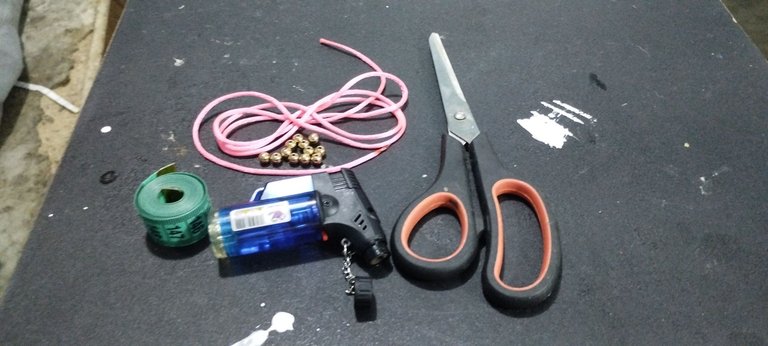
Materiales:
150 cm de hilo rabo de ratón.
Tijeras.
Encendedor.
Perlas número 6.
Cinta métrica.
Materials:
150 cm of mouse tail thread.
Scissors.
Lighter.
Number 6 beads.
Measuring tape.
Pasos a seguir:
Steps to be taken:
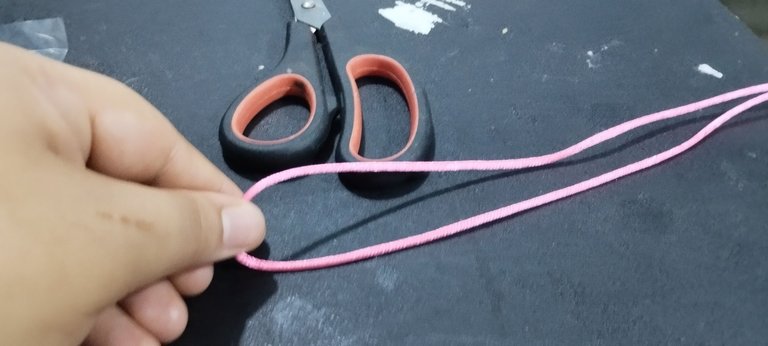
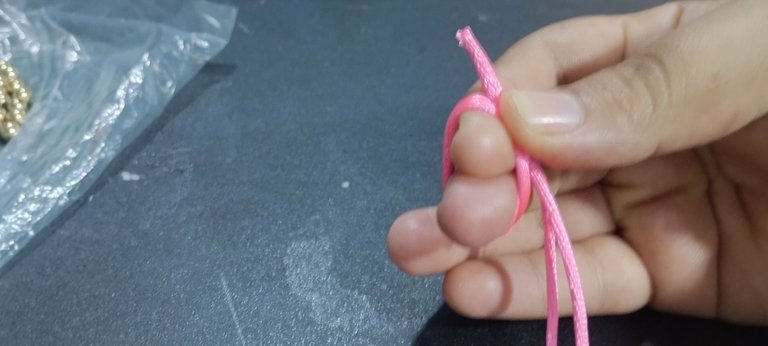
Paso 1:
Empezamos doblando a la mitad el hilo, cortamos. Tomamos las puntas de un extremo de los hilos y hacemos un nudo, las otras puntas con ayuda de un encendedor las quemamos y con los dos dedos se lo pasamos hacia arriba.
Step 1:
Start by folding the yarn in half, cut it. We take the ends of one end of the threads and make a knot, the other ends with the help of a lighter we burn them and with two fingers we pass it upwards.


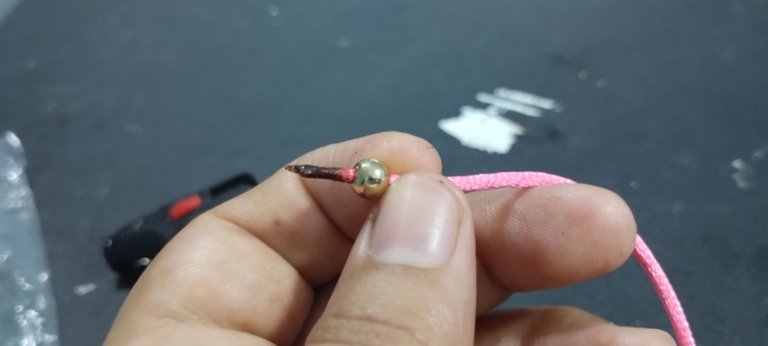
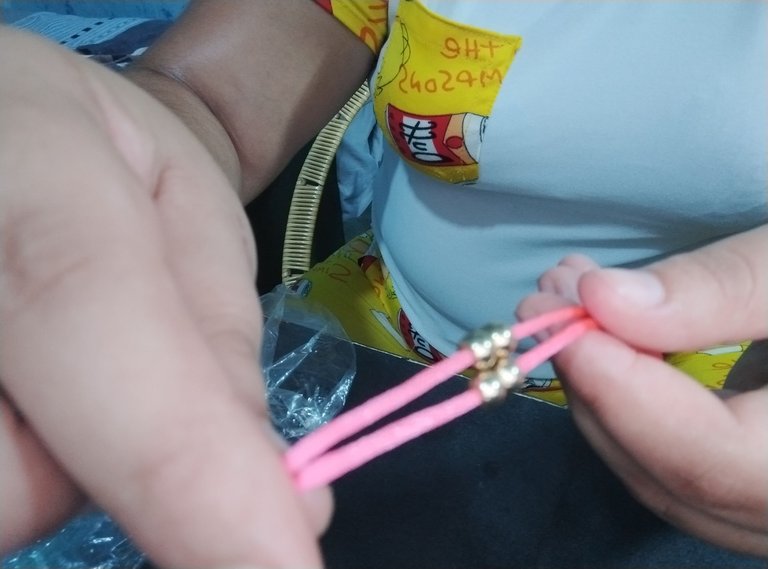
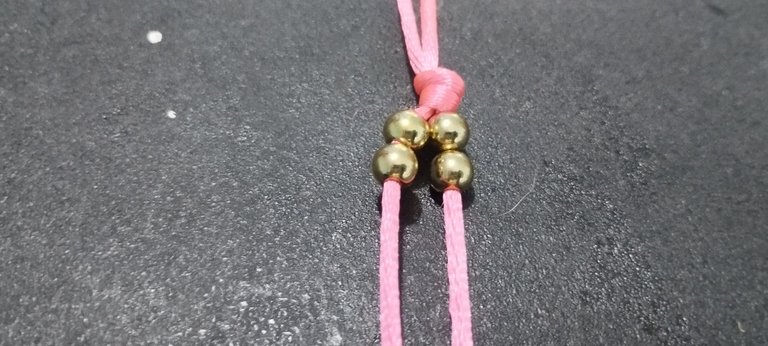
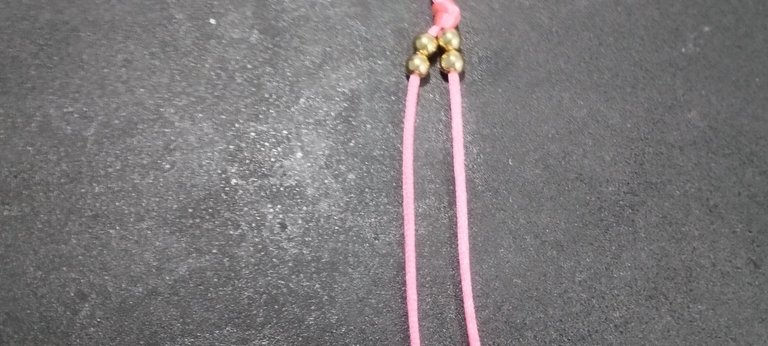
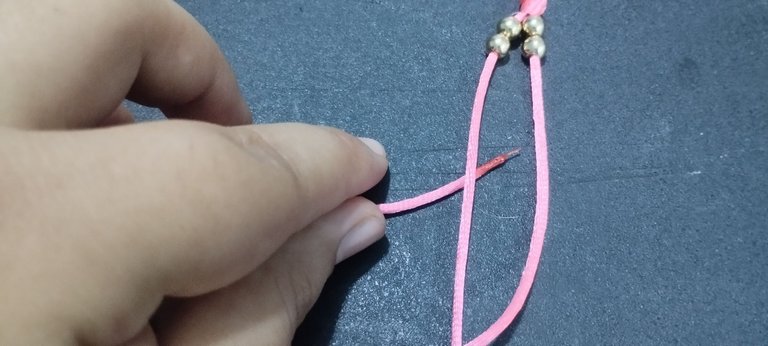
Paso 2:
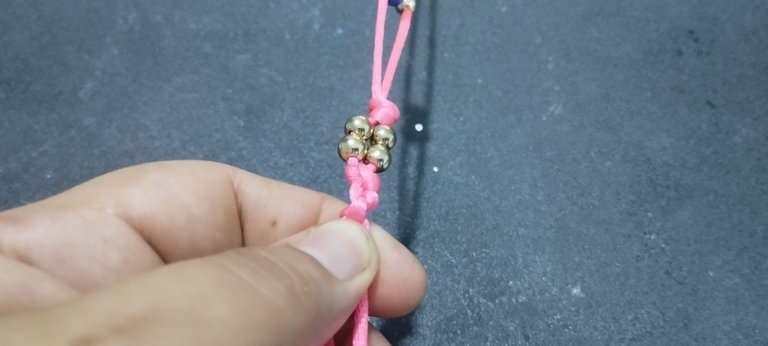
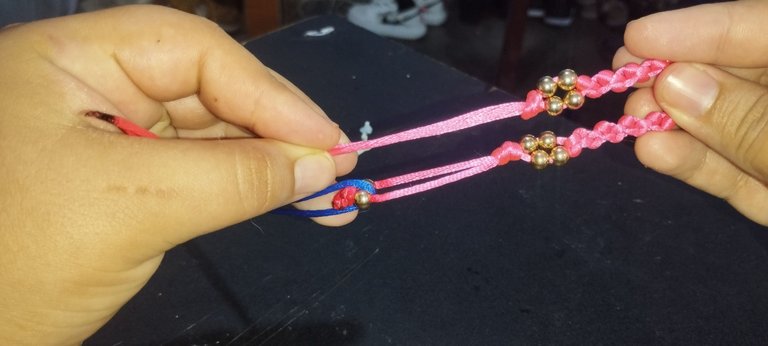
Por las puntas que quemamos vamos a meter por cada hilo una perla y la llevamos hasta el nudo que hicimos al inicio, con ayuda de la cinta métrica vamos a dejar 5 centímetros contando desde las perlas y volvemos a hacer otro nudo, volvemos a tomar las puntas quemadas y metemos 2 perlas por cada hilo.
Step 2:
Through the ends that we burned we are going to put a pearl for each thread and we take it to the knot that we made at the beginning, with the help of the tape measure we are going to leave 5 centimeters counting from the pearls and we return to make another knot, we return to take the burned ends and we put 2 pearls for each thread.
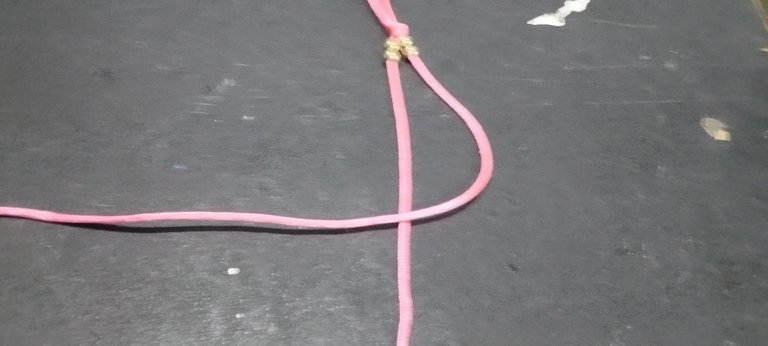
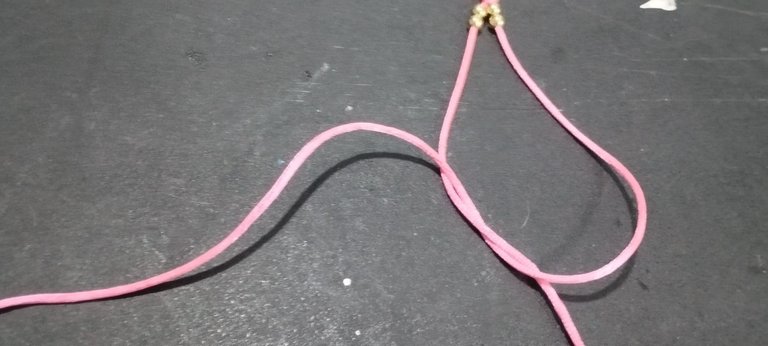
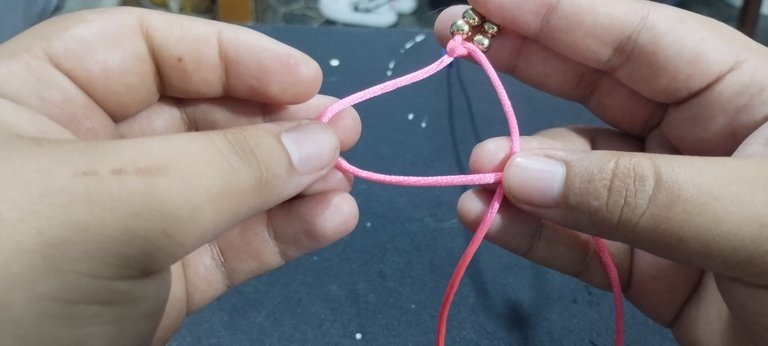
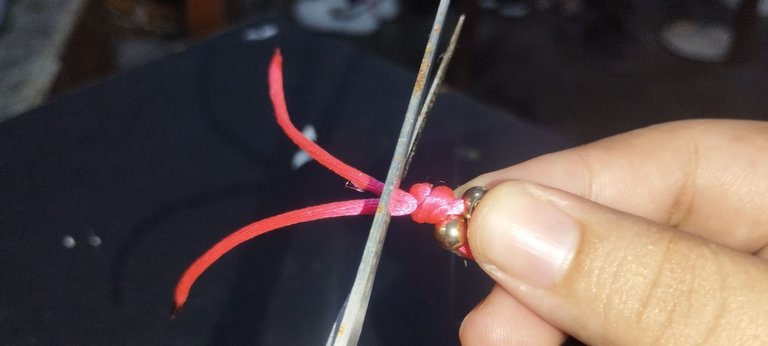
Paso 3:
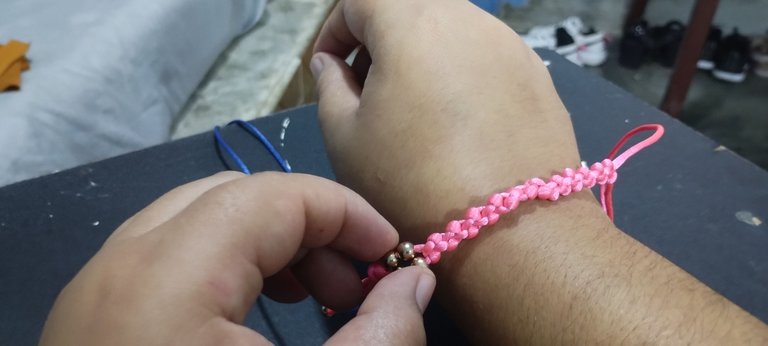
Ahora vamos a tomar el hilo del lado derecho y lo doblamos por arriba del otro hilo formando una "P" y de allí lo devolvemos por la parte de abajo del hilo izquierdo y subiendo antes de llegar al otro hilo y jalamos. Ese mismo procedimiento lo hacemos pero ahora al revés es decir: el hilo izquierdo lo doblamos por arriba del hilo del otro extremo y lo devolvemos pasando por debajo del hilo y lo subimos jalando muy bien.
Step 3:
Now we are going to take the thread on the right side and fold it over the other thread forming a "P" and from there we return it through the bottom of the left thread and up before reaching the other thread and pull. We do the same procedure but now the other way around, that is to say: we fold the left yarn over the other end of the yarn and we return it passing under the yarn and we pull it up pulling it very well.
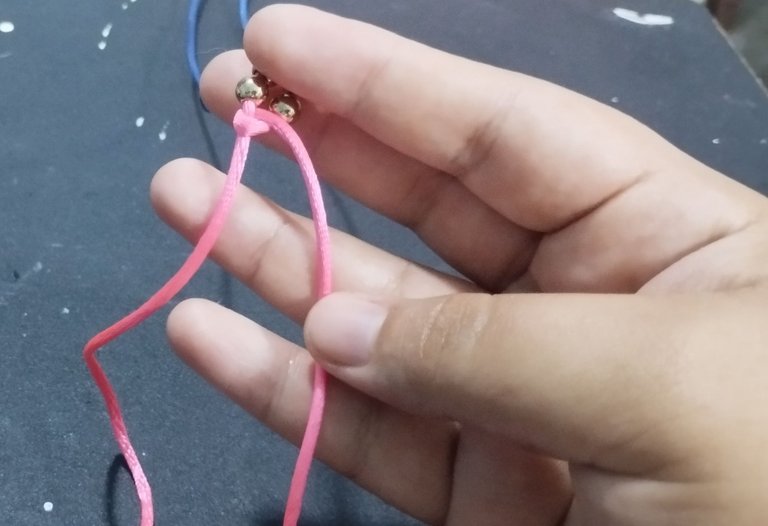

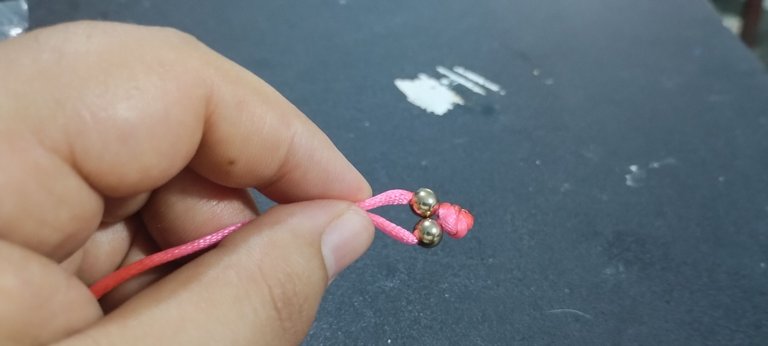
Paso 4:
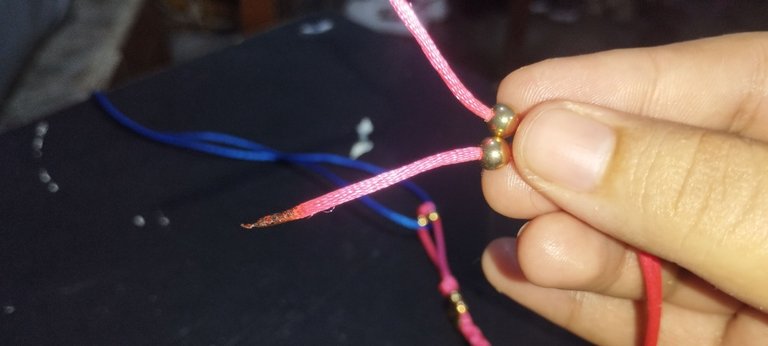
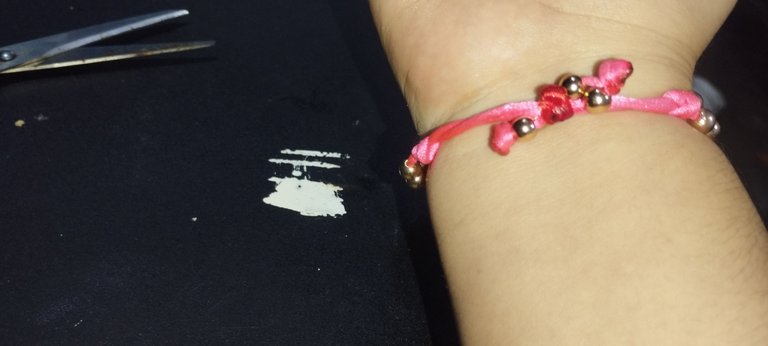
Esa mismo técnica de nudo lo seguimos haciendo hasta que cubramos la parte superior de la muñeca, una vez conseguido eso, metemos por las puntas quemadas dos perlas por cada hilo y volvemos a hacer un nudo normal que quede muy pegadas a las perlas.
Step 4:
That same knot technique we continue doing it until we cover the upper part of the wrist, once that is achieved, we put two beads for each thread through the burnt ends and we make a normal knot that is very close to the beads.

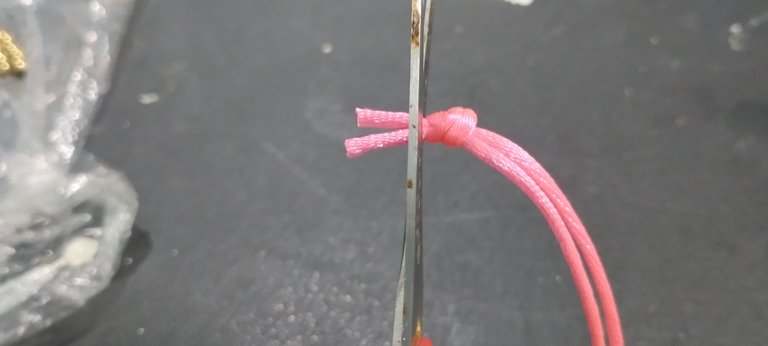
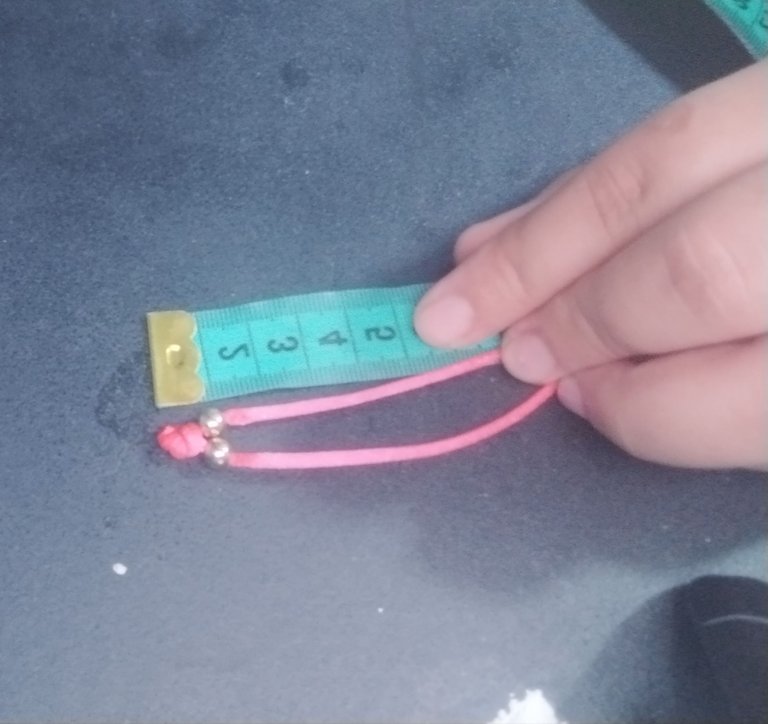
Paso 5:
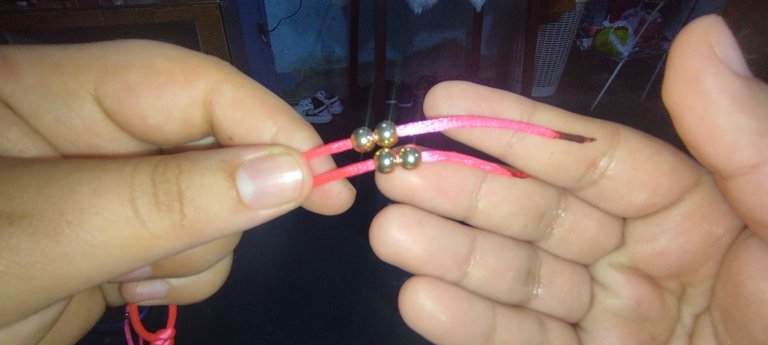
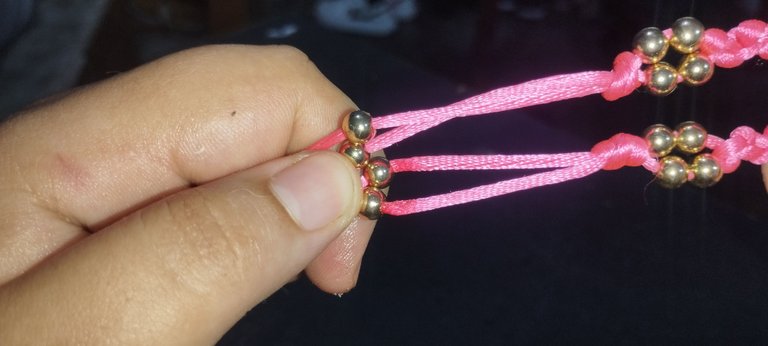
Hecho esto vamos meter una perla por cada hilo pero tratamos de medir para que sea la misma distancia del otro extremo y hacemos un nudo, cortamos y quemamos el exceso.
Step 5:
Once this is done, we are going to put a bead on each thread but try to measure so that it is the same distance from the other end and make a knot, cut and burn the excess.
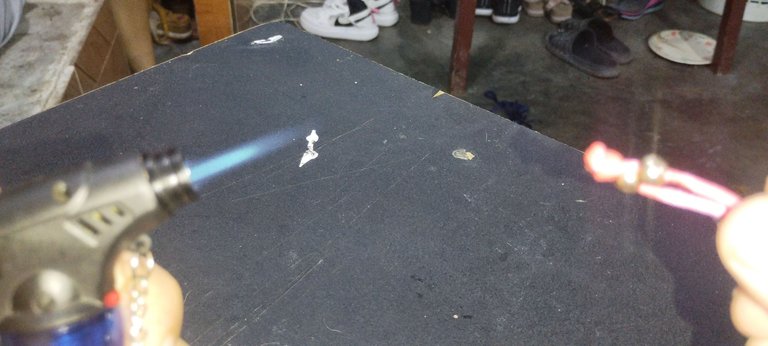
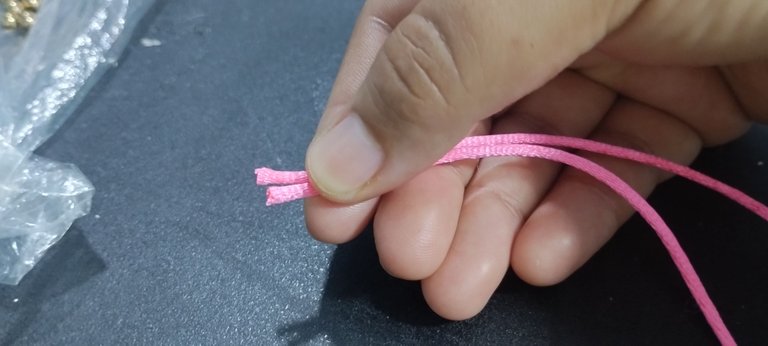
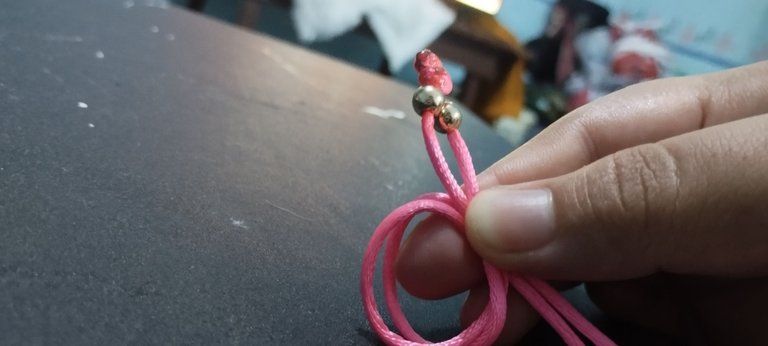
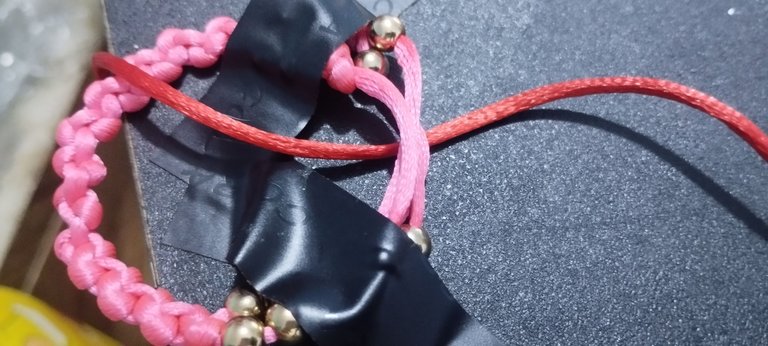
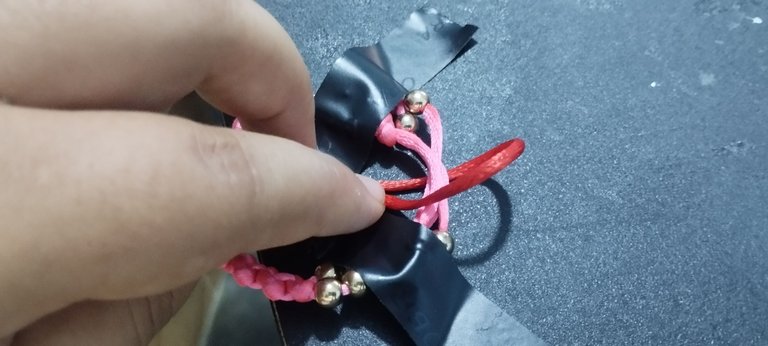
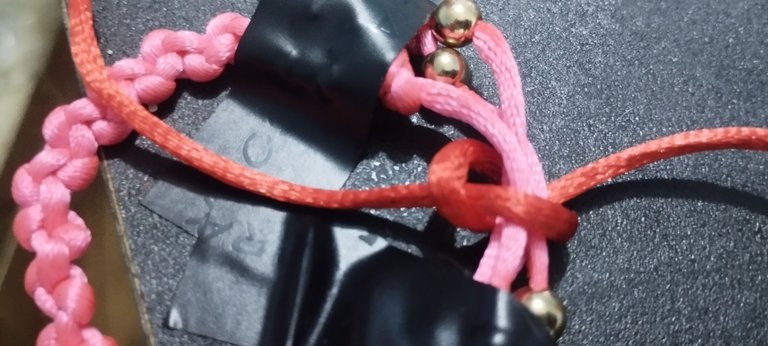
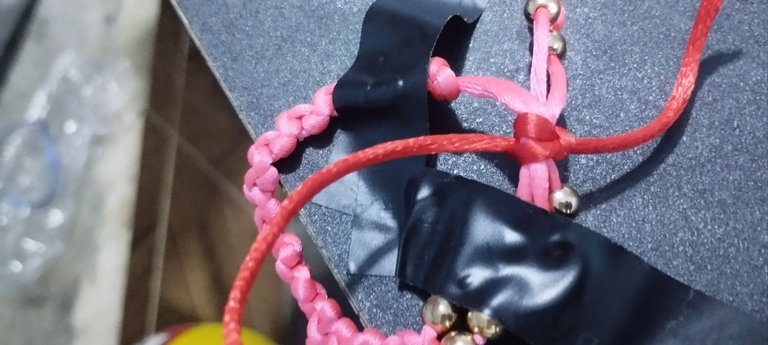
Paso final:
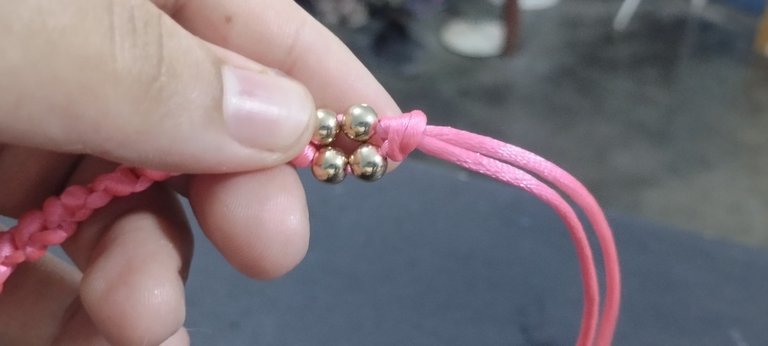
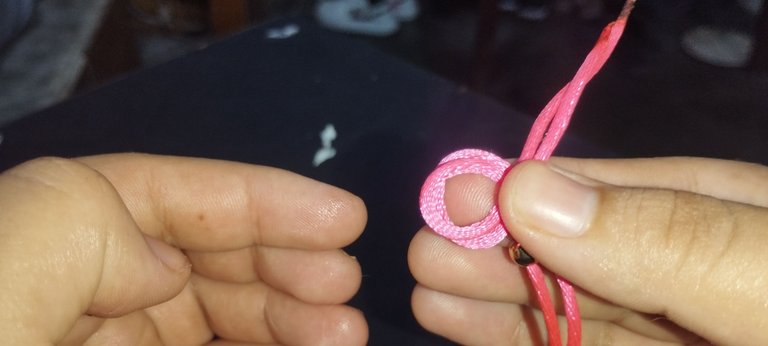
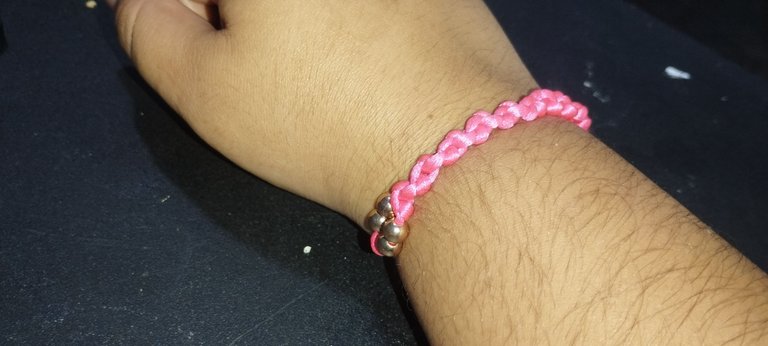
Para terminar con ayuda de una cinta adhesiva vamos a pegar la parte extrema, como si fuera a formar un círculo y con un hilo de 15 centímetros del mismo color lo pasamos a la mitad de los hilos guia, y va a quedar en forta de "t". El extremo del lado derecho lo pasamos hacia el otro lado pero por arriba, del otro lado va a quedar en forma de "x" el hilo que ya habíamos pasado lo devolvemos pero por abajo de todos los hilos guia jalamos y listo este nudo lo podemos hacer otras veces más ya es dependiendo del gusto de cada quien.
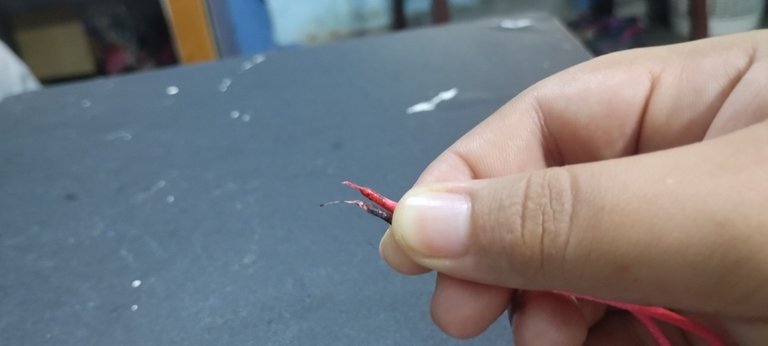
Recuerda cortar y quemar el hilo que nos sobró.

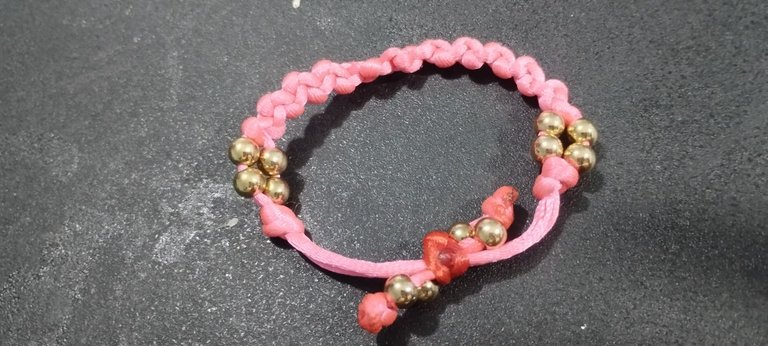
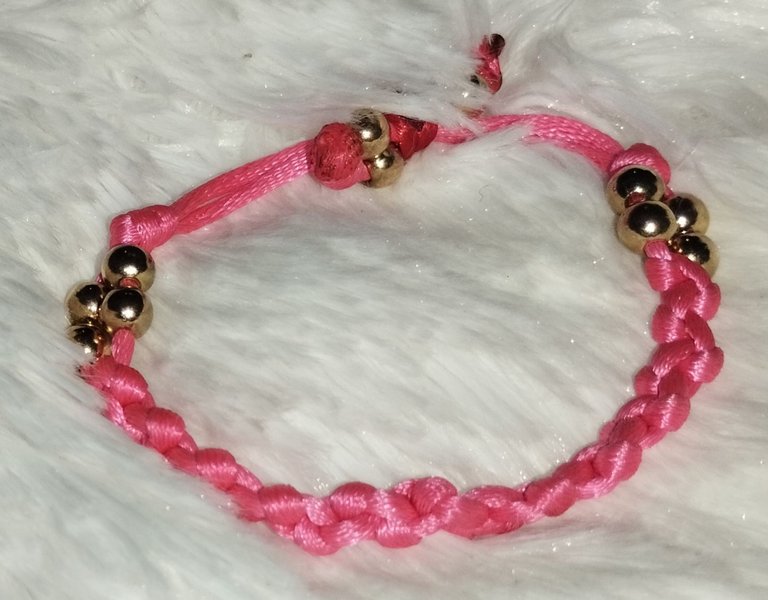
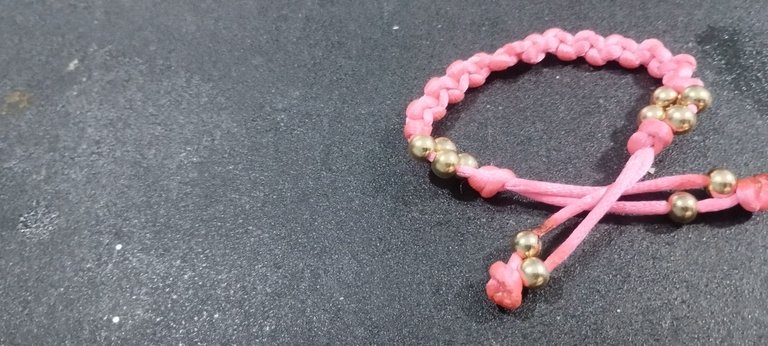
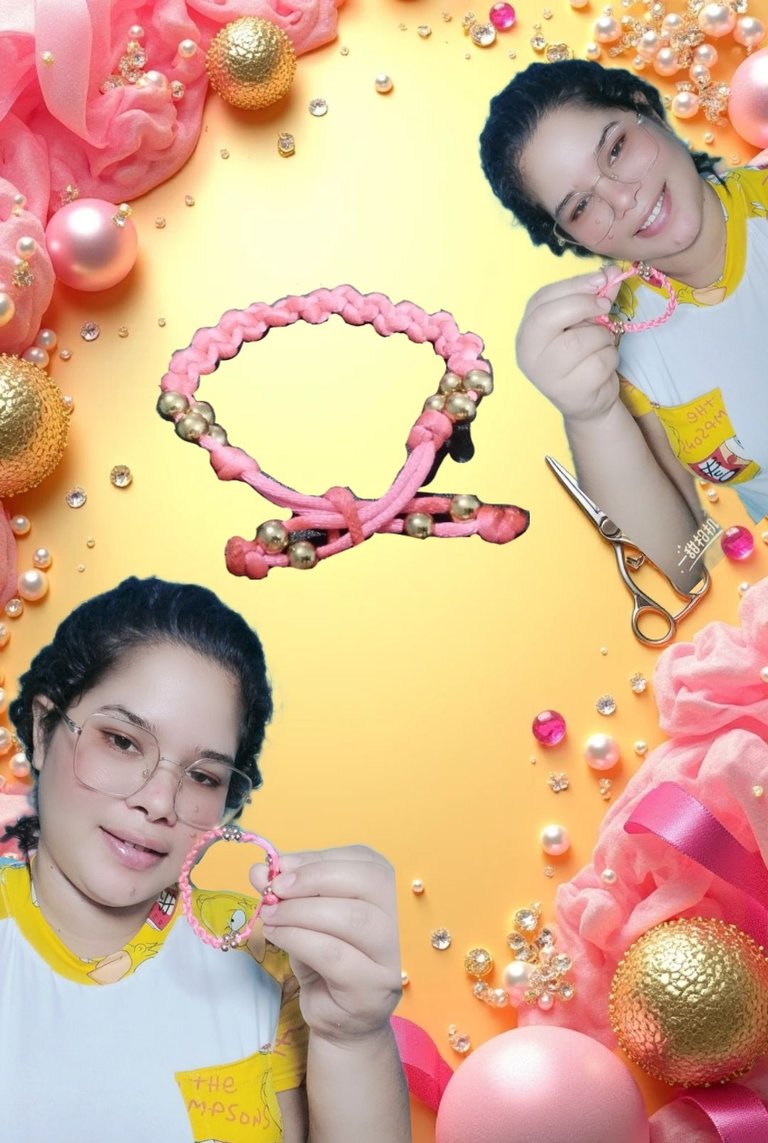
Por aquí les dejo el resultado final
Here you have the final result
Fotos tomadas desde mi celular Redmi note 11 y editadas desde la app de PicsArt.
Traducción con nuestro amigo de confianza Deepl.com.
Gracias por quedarte conmigo hasta aquí.
Saludos y bendiciones.
Photos taken from my Redmi note 11 cell phone and edited from the PicsArt app.
Translation with our trusted friend Deepl.com.
Thanks for sticking with me this far.
Greetings and blessings.
As simple as this bracelet looks, it took a lot of work to make it.
Bueno dependiendo, porque trate de hacer un paso a paso para que puedan hacerlo ustedes querido @ashirabdullah
Your bracelet looks nice, great colour and knot technique. Great job and thanks for sharing.
Muchas gracias por... Y un placer compartir mis ideas en esta increíble comunidad
Está muy bonita esta pulsera, podrás titularla como sencilla, pero entre la sencillez tiene muchos detalles que denotan elegancia.
Asi es, en lo sencillo está la delicadeza y elegancia..
Un diseño muy bonito✨ el rosado siempre es un color divertido y femenino y los toques de dorado le dan brillo y estilo💖
Muchas gracias, tienes razón... 💝