Drawing my cat / Dibujando a mi gata
English
For some time now I have only been sharing with you my digital drawing practices, but I also do a lot of traditional drawings. I don't always bring you this kind of content but today I would like to share with you a drawing that I really liked how it turned out.
This time it was a drawing of one of my favorite models, my cat. I share with you the result of this practice, I hope you like it.
Español
Desde hace un tiempo solo he estado compartiendo con ustedes mis prácticas de dibujo digital, pero también hago muchos dibujos en tradicional. No siempre les traigo esta clase de contenido pero hoy me gustaría compartir con ustedes un dibujo que me gustó mucho cómo quedó.
En esta ocasión fue un dibujo de una de mis modelos favoritas, mi gata. Les comparto pues, el resultado de esta práctica, espero que les guste.


Setp by Step
I do this kind of drawings as a practice, so I don't use professional materials or anything like that, just pencil and paper.
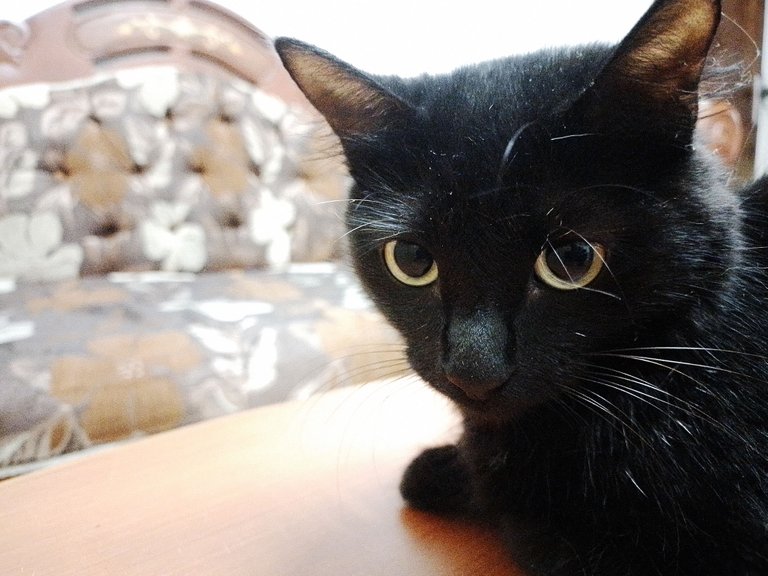
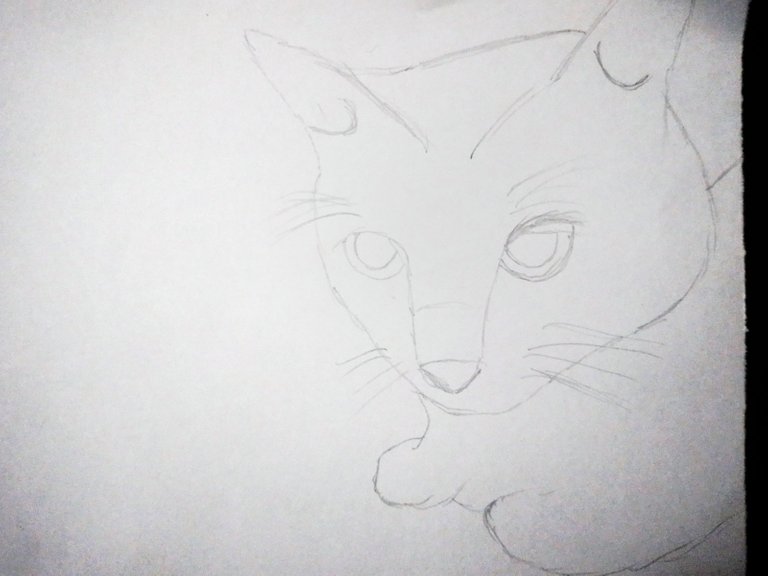
The first thing I did was to look for the photo I would base the drawing on, then I started to make the sketch I would continue working with.
Below you can see the two images side by side.
Paso a paso
Este tipo de dibujos los hago como práctica, así que no utilizo materiales profesionales ni nada por el estilo, simplemente lápiz y papel.
Lo primero que hice fue buscar la foto en la que me basaría para el dibujo, luego comencé a hacer el boceto con el que seguiría trabajando.
A continuación pueden ver las dos imágenes una al lado de la otra.
 |  |
|---|
Source (Fuente): https://peakd.com/hive-196708/@gaboamc2393/photo-session-with-my-cat

Once my sketch was ready, I started drawing.
My cat is very hairy and black, so I started drawing the little hairs, making thin lines one next to the other, line after line.
Although I did most of the drawing without much pressure, to make it clear, I did put pressure with the pencil in some parts to darken certain areas.
Una vez listo mi boceto, comencé a dibujar.
Mi gata es muy peluda y de color negro, así que comencé a hacer los pelitos, haciendo lineas delgadas una al lado de la otra, linea tras línea.
Aunque casi todo el dibujo lo hice sin mucha presión, para que quedara claro, sí hice presión con el lápiz en algunas partes para oscurecer ciertas zonas.
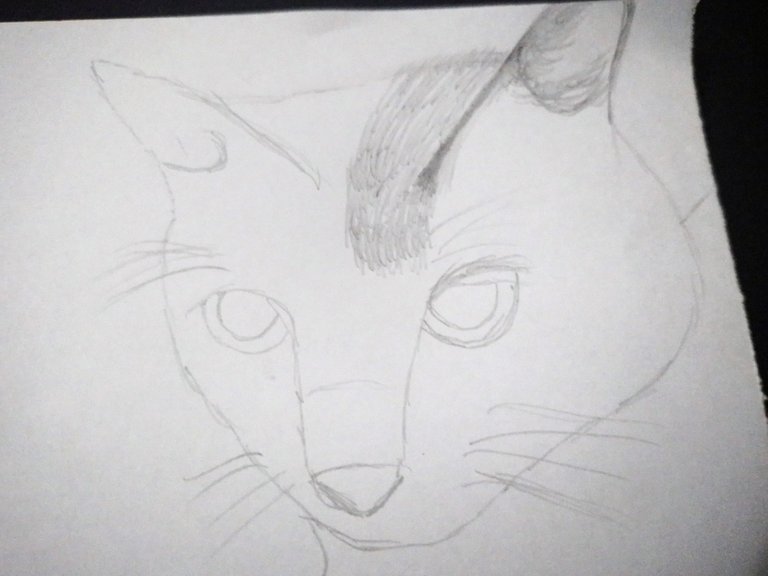
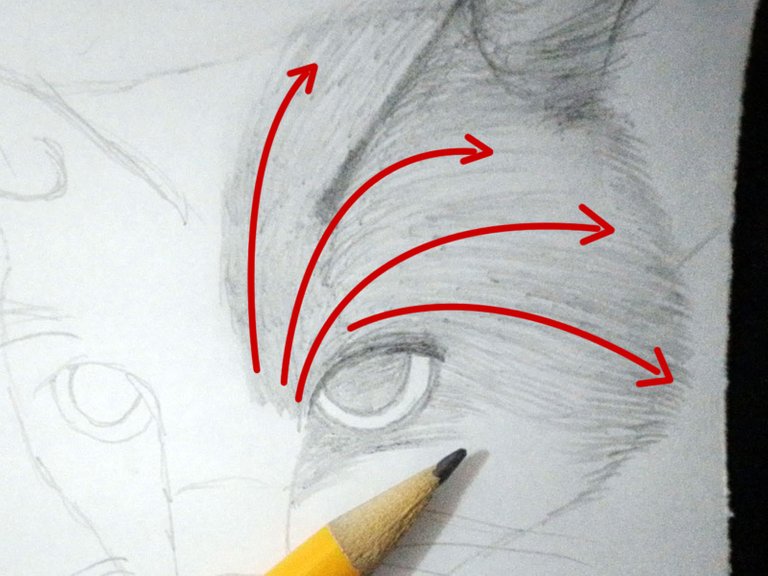
It is definitely not a job to be done quickly, it is something that should be done slowly and with a lot of symmetry, because each line should go in the same direction, trying to make them all look like part of a pattern and not like a messy pile of lines.
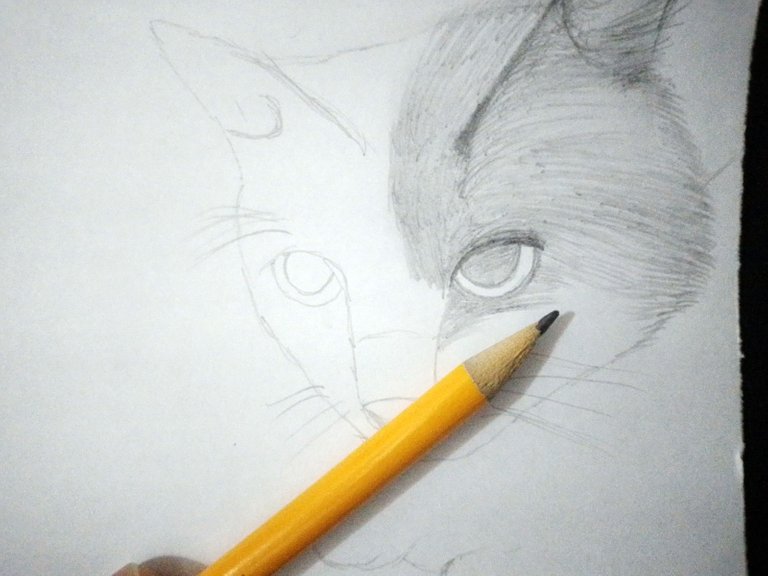
Look at the image below. I took the cat's nose as a reference. From this nose is where all the lines go out to the different directions they should follow, but they all go out from there, so it is something necessary to fix your point of reference when you are going to make this kind of drawings.
Definitivamente no es un trabajo que se haga rápido, es algo que se debe hacer lentamente y con mucha simetría, pues cada línea debe ir en la misma dirección, trantando de que todas se vean parte de un patrón y no como un montón desordenado de líneas.
Fijense en la imagen de abajo. Yo tomé como referencia la nariz de la gata. A partir de esta nariz es que salen todas las líneas hacia las diferentes direcciones que deben seguir, pero todas salen a partir de allí, así que es algo necesario que fijen su punto de referencia cuando van a hacer este tipo de dibujos.

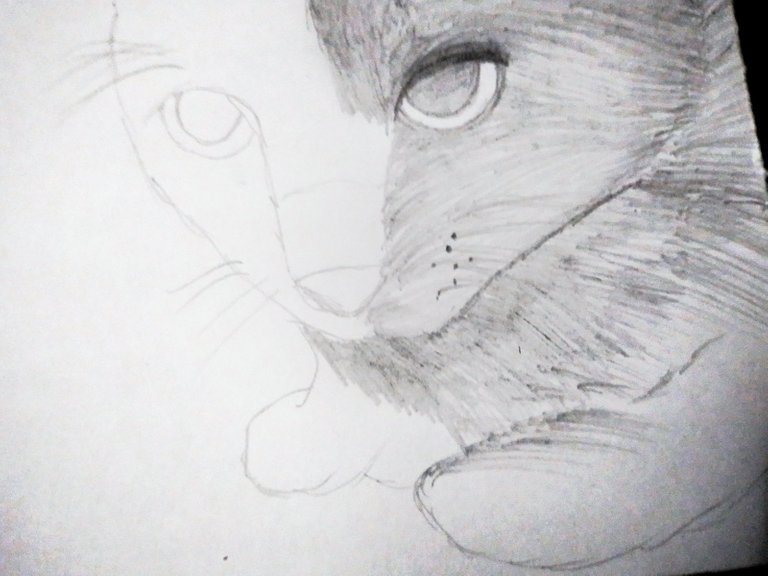
In the image below you can see better all the lines I started to make to achieve that fur-like result.
I used my own finger to smudge the graphite and I took care of some details like the eye lines, the little dots on the whiskers and the shadows on the neck area.
En la imagen de abajo se puede ver mejor todas las líneas que comencé a hacer para lograr ese resultado similar al pelaje.
Usé el propio dedo para difuminar el grafito y me ocupé de algunos detalles como las líneas de los ojos, los puntitos de los bigotes y las sombras en la zona del cuello.
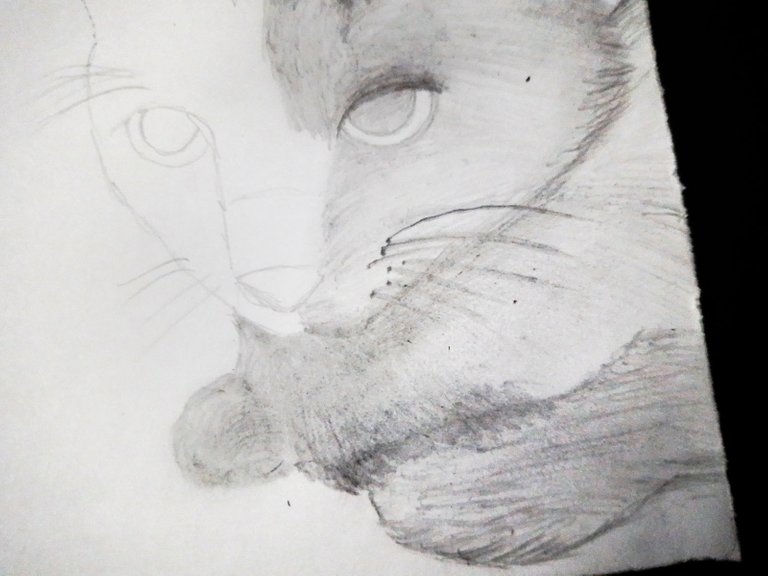
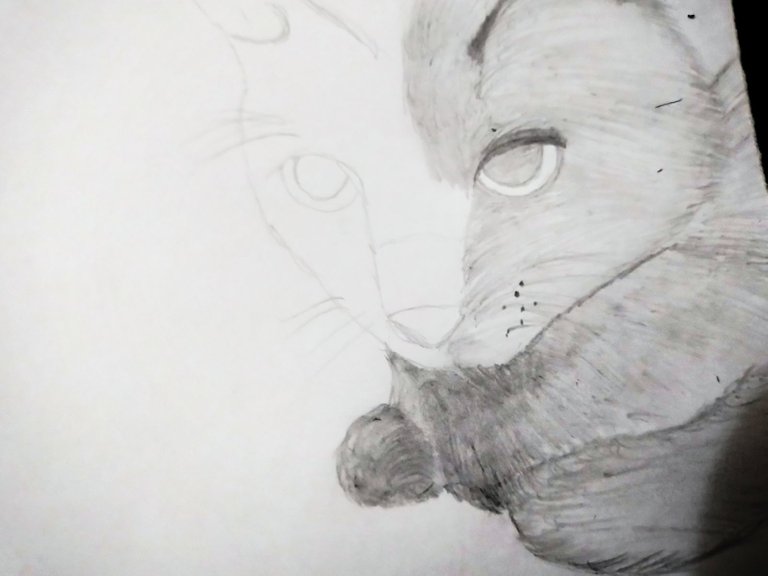
Remember that the idea is not to make a flat drawing, so you have to be very careful with the use of shadows to create depth. I did the shadows by going over the dark areas with the pencil.
I repeat that I did not use a professional pencil so you have to be careful not to go over too much to avoid damaging the sheet, the best is to paint the base layer a little light, so that when you press with the graphic or go over the pencil, you can make darker lines.
Recuerden que la idea no es hacer un dibujo plano, así que hay que cuidar muy bien el uso de sombras para crear profundidad. Yo las sombras las hice repasando el lápiz por las zonas oscuras.
Repito que no usé un lápiz profesional así que hay que tener cuidado de no repasar demasiado para no dañar la hoja, lo mejor es pintar la capa base un poco clara, para que al presionar con el grafico o repasar el lápiz, se logre hacer líneas más oscuras.
 |  |
|---|

The drawing is black and white, so there are ways to make the whiskers or the hairs above the eyes and ears stand out.
You could use a black pencil and it would make the whiskers stand out more, but I used the same pencil with a sharpened tip and made lines where I wanted to make the whiskers. I put a lot of pressure on the tip of the pencil, so each line I made for these details was quite sharp.
El dibujo es a blanco y negro, así que hay maneras de hacer resaltar los pelitos de los bigotes o los que estan encima de los ojos y las orejas.
Podrías usar un lapicero negro y esto haría que resalte más los bigotes, pero yo usé el mismo lápiz con la punta bien afilada e hice lineas en donde deseaba hacer los bigotes. Presioné bastante la punta del lápiz, por lo que cada línea que hice para estos detalles se marcaron bastante.
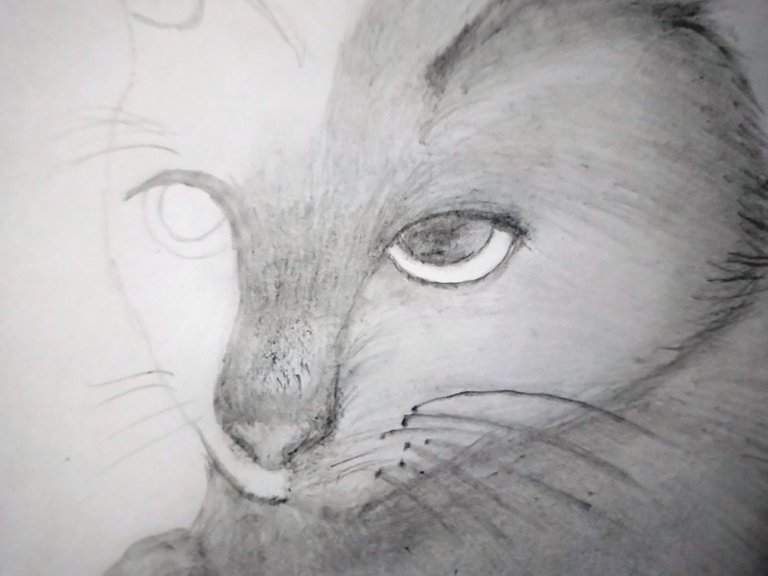
At this point I had already finished all the right side of the drawing. Notice that there are light areas and some darker areas, but in each place I tried to make the lines I already mentioned to simulate the fur.
On the nose, for example, I also lightened the area a little with the eraser and then redrew some lines, leaving certain lines a little more visible to simulate the shape that can be seen in the original photo above.
Ya en este punto había terminado todo el lado derecho del dibujo. Fíjense que hay zonas claras y unas zonas más oscuras, pero en cada lugar traté de hacer las líneas que ya les mencioné para simular el pelaje.
En la nariz, por ejemplo, también aclaré un poco la zona con el borrador y luego volví a hacer unas líneas, dejando ciertas líneas un poco más visibles para simular esa forma que se aprecia en la foto original que está más arriba.
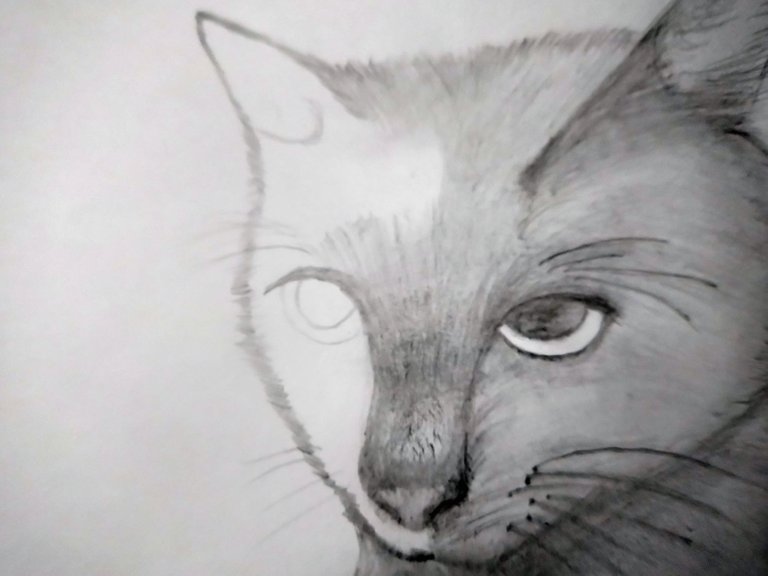

Once one side of the drawing was ready, I continued with the other side, the left side. It was relatively easy to finish as it was to repeat the same process until everything was finished.
Here I realized that I had to correct a mistake in the right eye, as I had made it too small, something that is more clearly seen when the other eye starts to darken.
I corrected this later, but below you can see how it was coming out.
Una vez listo un lado del dibujo, continué con el otro lado, el izquierdo. Fue relativamente fácil de terminar ya que era repetir el mismo proceso hasta que todo quedase terminado.
Aquí me di cuenta que tuve que corregir un error en el ojo derecho, pues lo había hecho muy pequeño, algo que se ve más claramente cuando se comienza a oscurecer el otro ojo.
Esto lo corregí más adelante, pero a continuación pueden ver cómo iba quedando.
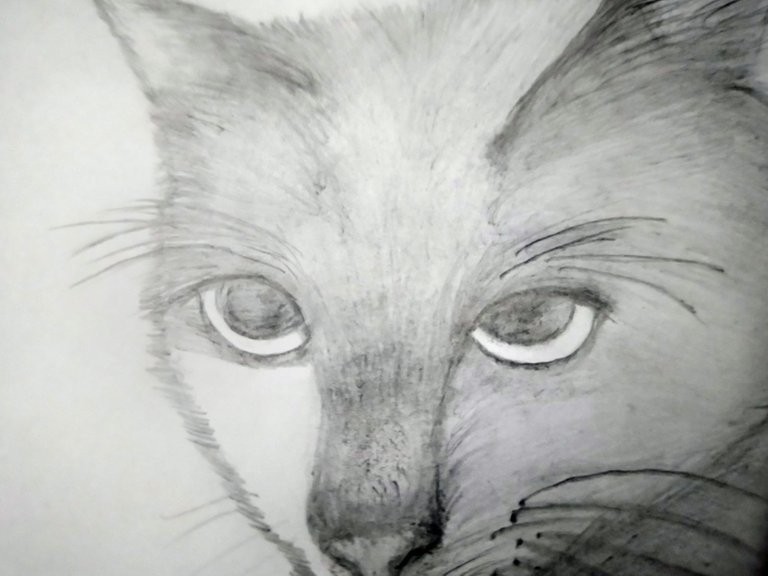
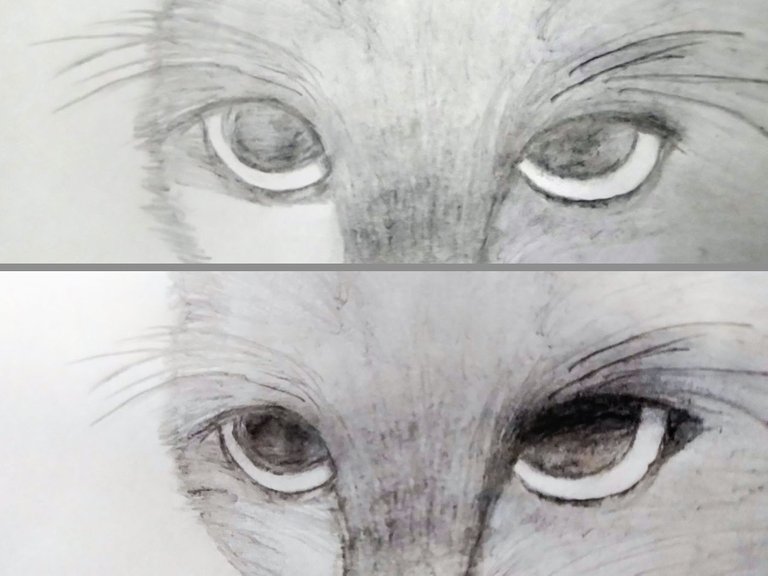
I told you that I was going to correct the eye later, well, to do so I took the eraser and erased a little in the upper area, so that the right eye would be bigger than the left one, since it is the eye that is closer.
Look how it looks like before and after making the eye a little bigger
Les dije que iba a corregir lo del ojo más adelante, pues bien, para hacerlo tomé el borrador y borré un poco en el área de arriba, para que quedase más grande el ojo derecho que el izquierdo, pues es el ojo que está más cerca.
Fíjense cómo se ve un antes y un después de hacer el ojo un poco más grande:

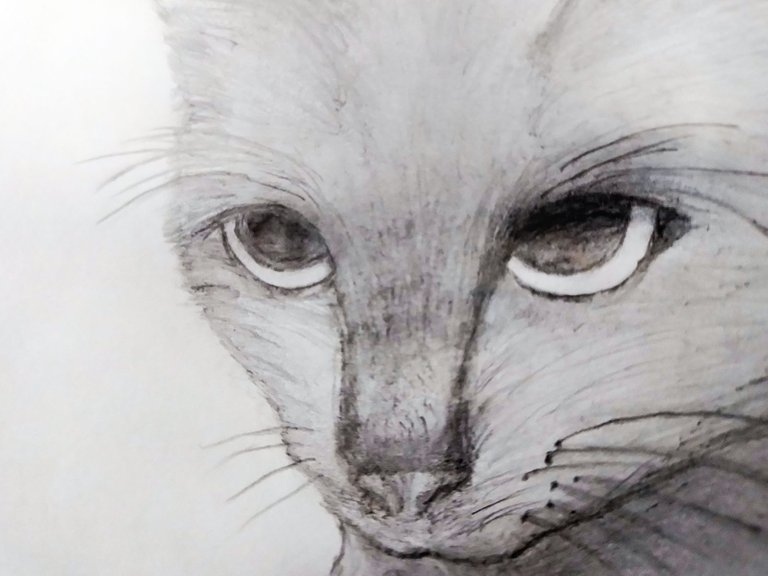
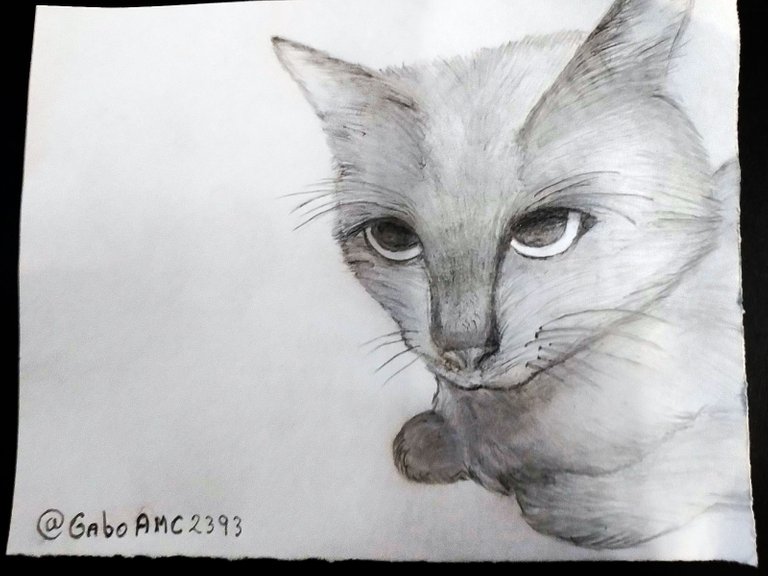
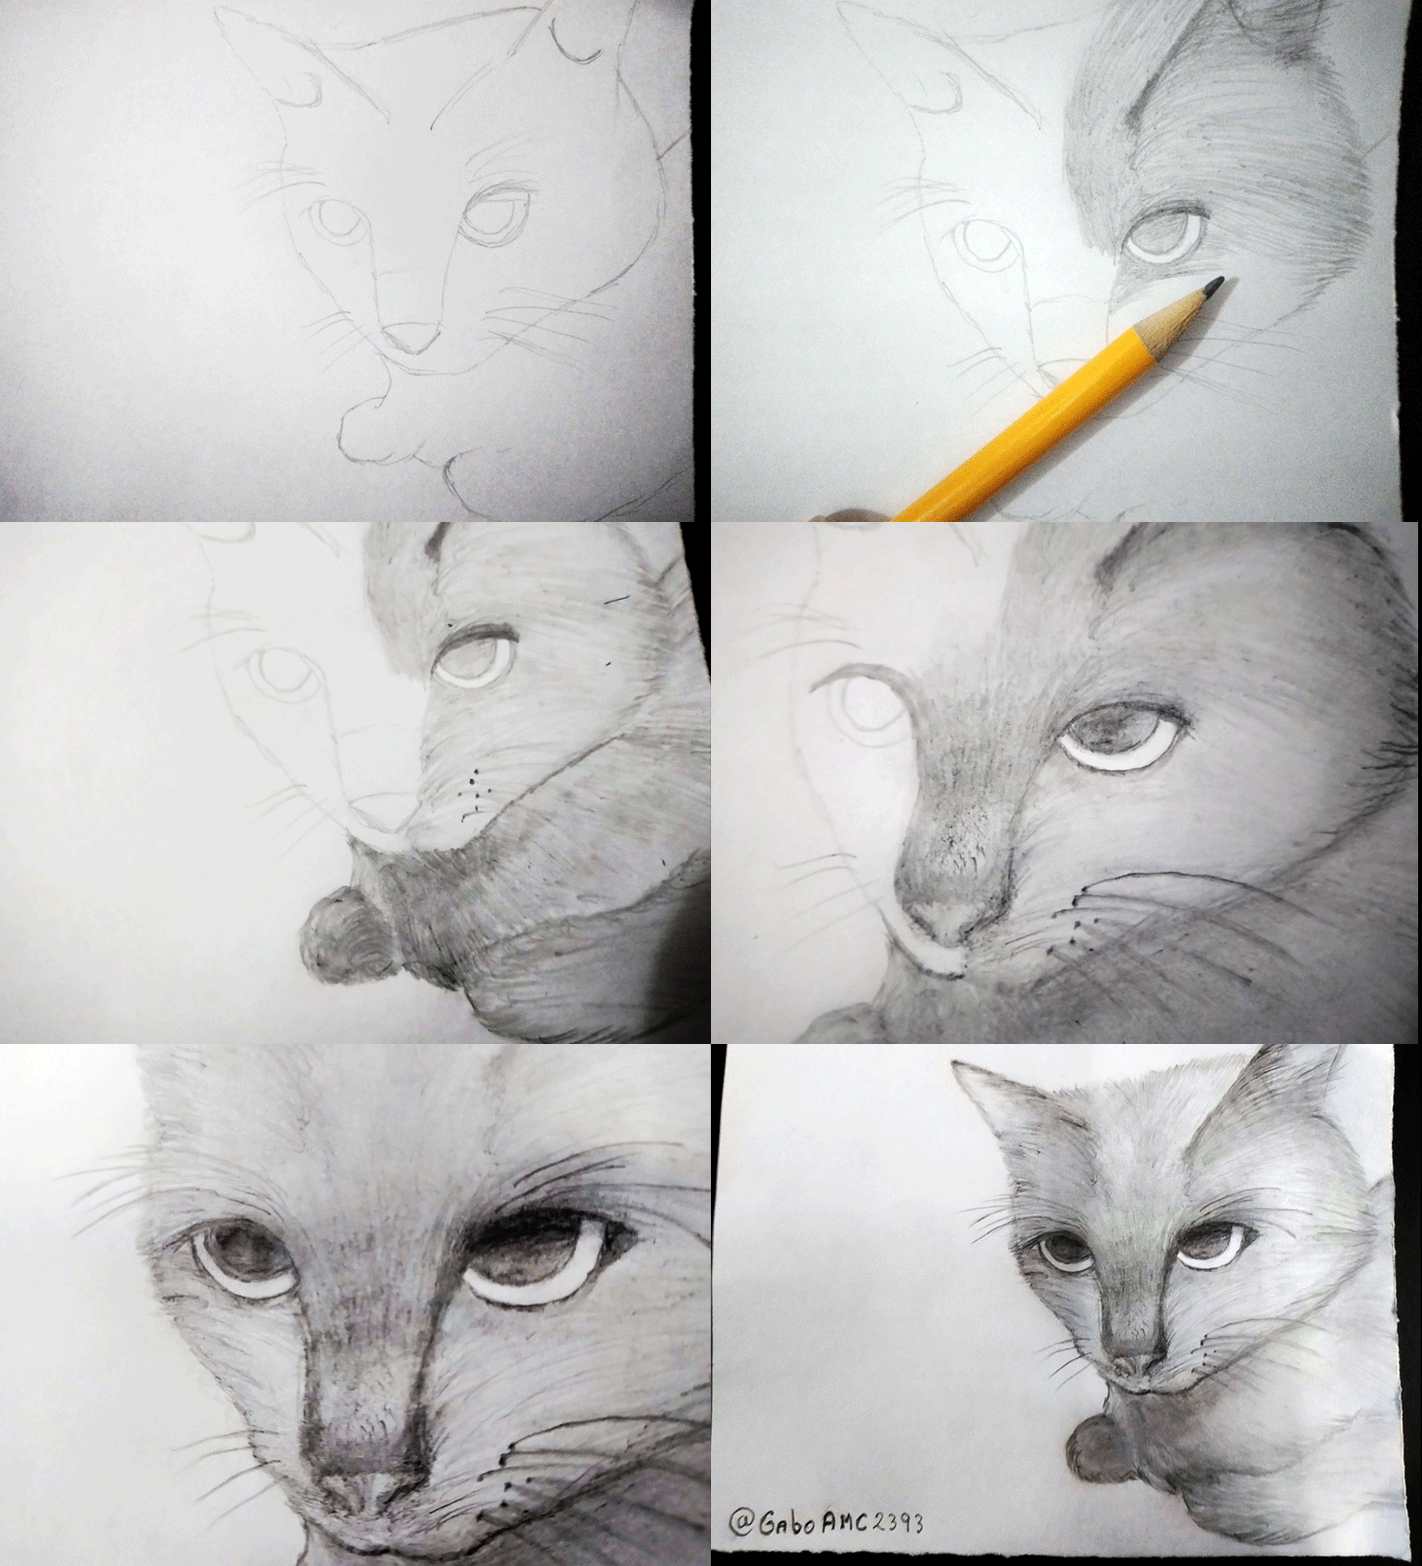
Finally the drawing was finished, with all its shadows, whiskers, eyebrows, everything.
Below I share with you the images of the final result and an animated GIF of the whole drawing process.
Finalmente el dibujo quedó terminado, con todas sus sombras, bigotes, cejas, todo.
A continuación les comparto las imágenes del resultado final y un GIF animado de todo el proceso del dibujo.

Well friends, this has been all. I hope you liked my drawing, if so I invite you to leave your opinions below in the comments, as always I will be happy to read them.
I thank you very much for reading, without more to add, I say goodbye then...
See you next time!
Bien amigos, esto ha sido todo. Espero que mi dibujo les haya gustado, si ha sido asi los invito a dejar sus opiniones abajo en los comentarios, como siempre estaré encantado de leerlos.
Agradezco mucho la lectura, sin más que agregar, me despido entonces...¡Hasta la próxima!

Beautiful drawing.
Ainsss ñio mío. Esa gatita si esta hermosa. Que cuchitura que hayas hecho a tu chiquita. Muero de amor... 😺🐾💕
https://twitter.com/1484281013413023756/status/1634774699820367872
https://twitter.com/1241409678543904770/status/1634821356628975616
The rewards earned on this comment will go directly to the people( @dayadam, @gaboamc2393 ) sharing the post on Twitter as long as they are registered with @poshtoken. Sign up at https://hiveposh.com.
https://leofinance.io/threads/@dayadam/re-leothreads-2pfhujwkn
The rewards earned on this comment will go directly to the people ( dayadam ) sharing the post on LeoThreads,LikeTu,dBuzz.
Gatita consentida 💜😘.... La misma mirada sería la plasmas en el dibujo, me gustó mucho.
🎆🎇🎉🎊🌧️💐✨🌾🌱🌹🌙🌿🍃🥀⚡🌺☘️🍀🌈🌷⭐🪴🌵🌸🌟💮🌴🌳💫☀️💮☔🌲🌳🌍🌌🌠☄️🏵️🐝🌻🌼🍄🐞🦋💙☕💜🍍🎆🎇🎉🎊
!PIZZA
PIZZA Holders sent $PIZZA tips in this post's comments:
@chacald.dcymt(1/5) tipped @gaboamc2393 (x1)
Learn more at https://hive.pizza.
Te quedó excelente, amigo. A mí también me gusta dibujar, es una actividad muy relajante. Eres muy talentoso. Saludos.