Top / blusa juvenil [ESP - ENG]
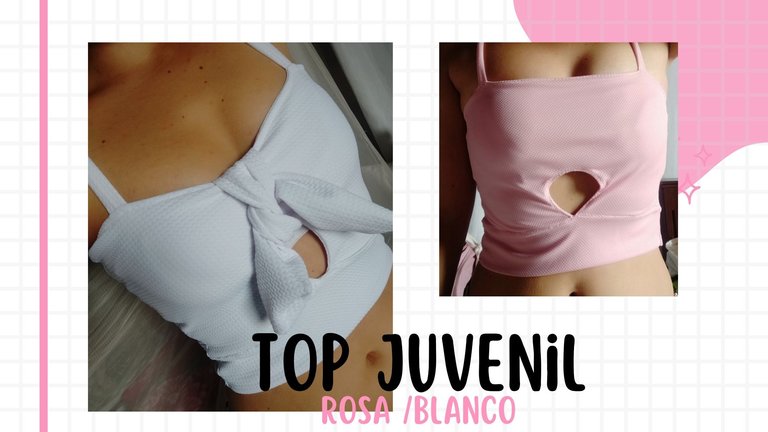

Feliz martes mis queridos amigos de Hive y amantes de la costura, el día de hoy quiero compartirles el paso a paso de como elaborar una bella blusa de dama con un pequeño lazo o nudo delantero. Debo decir que este tipo de prenda me gusta mucho, son esas blusas que puedo usar a diario en un día caluroso o con una chaqueta y tacones queda bien para salir de noche, por lo tanto es muy versátil.

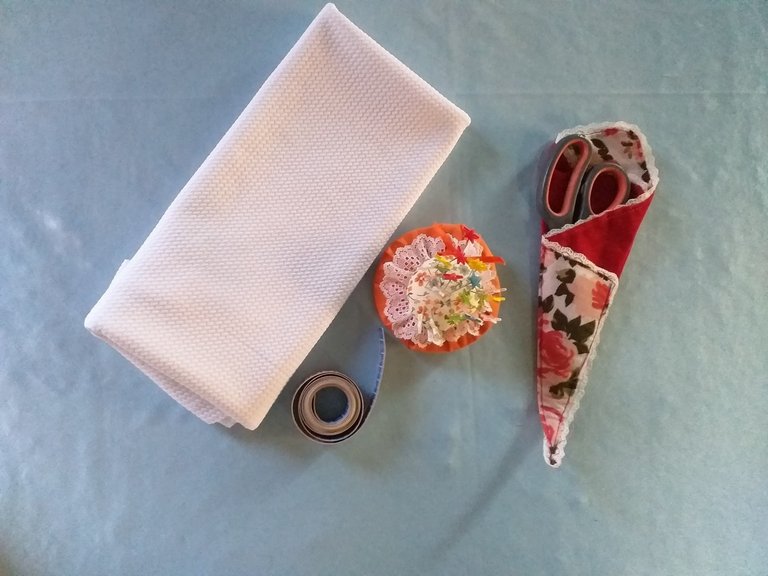
- Tela elástica.
- Moldes.
- Alfileres.
- Hilo.
-Tijeras. - Agujas.

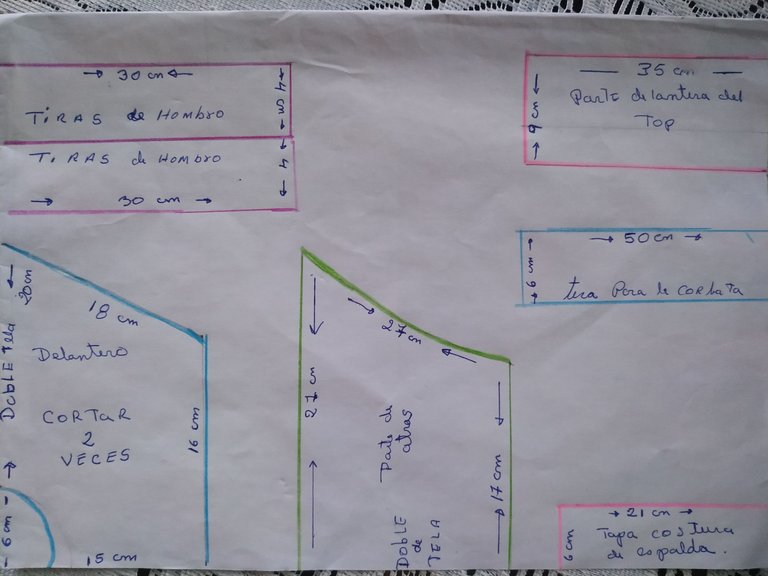
Para comenzar a hacer nuestra blusa debemos cortar las piezas de acuerdo a las medidas dadas en la foto. Podemos usar telas como licra, licra algodón, micro durazno.
Las medias varían según la talla en este caso es talla S , pero para tallas mas grandes se le coloca 2 centímetros en lo ancho delantero y trasero, al igual se aumenta en la tira de la blusa. Este aumento será para cada talla.
Esta son las piezas que sacaremos.
De la parte delantera se corta dos partes siguiendo la elongación de la tela o sea a lo ancho o por donde más estire la misma.
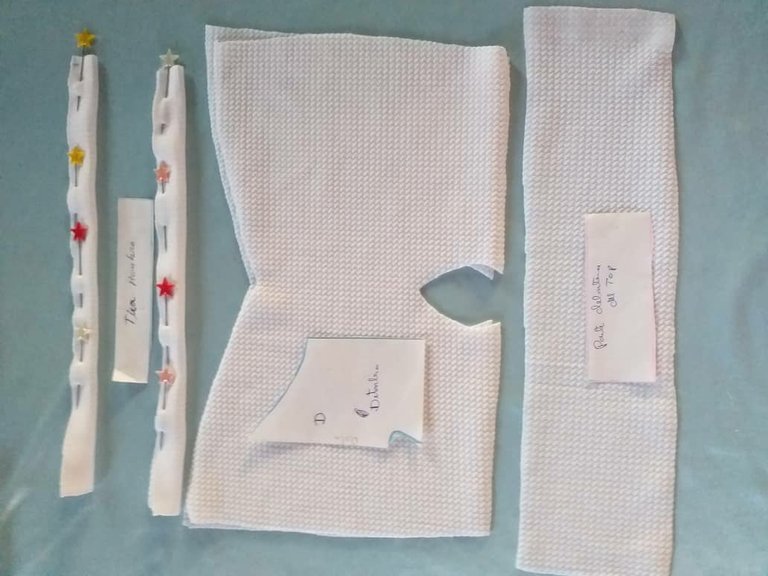
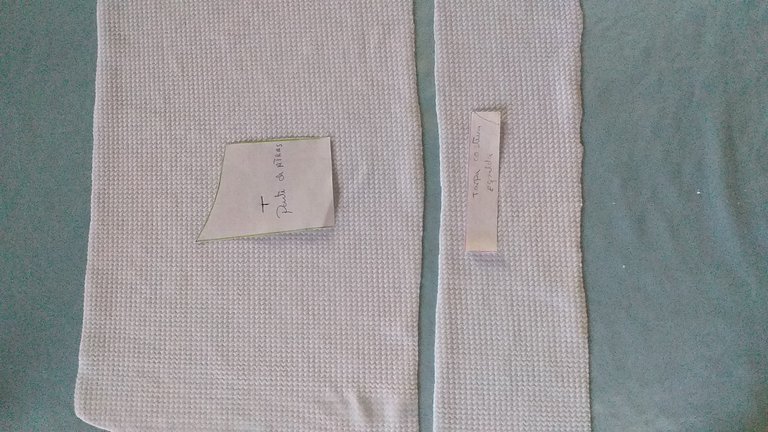
También vamos a cortar las tiras de la blusa y se procede a pasar costura.
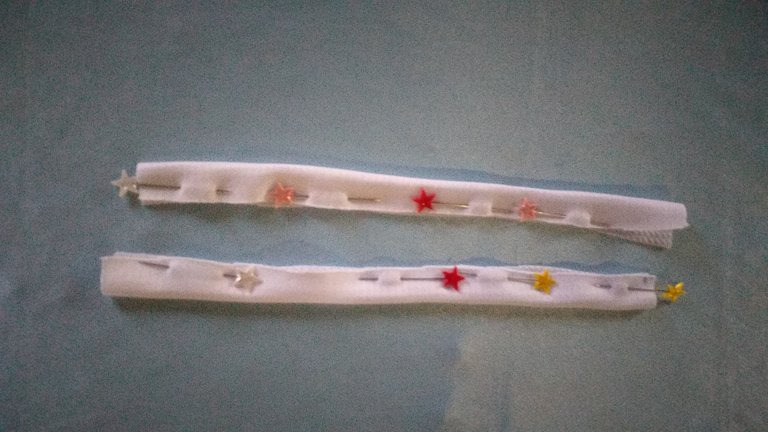
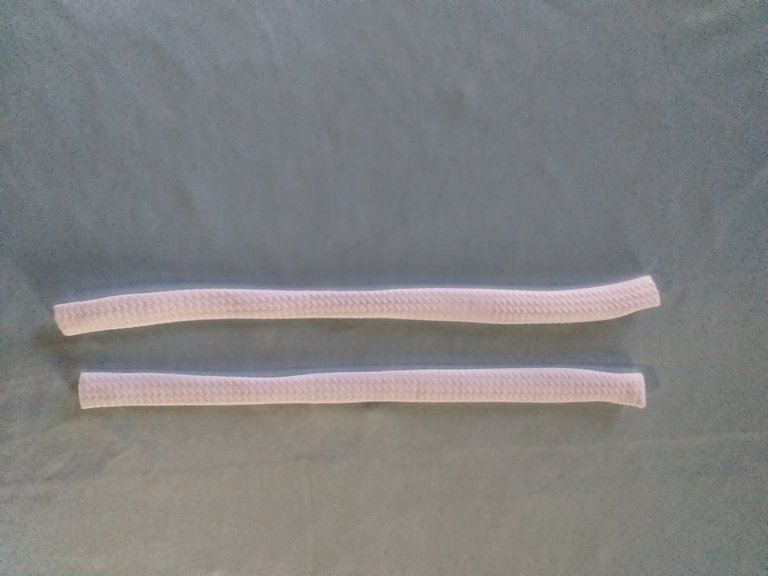
Tomamos la parte delantera y la doblamos a la mitad, luego se dobla otra ves y en la medida que nos quede será el lugar donde se deben colocar y coser las tiras de top.
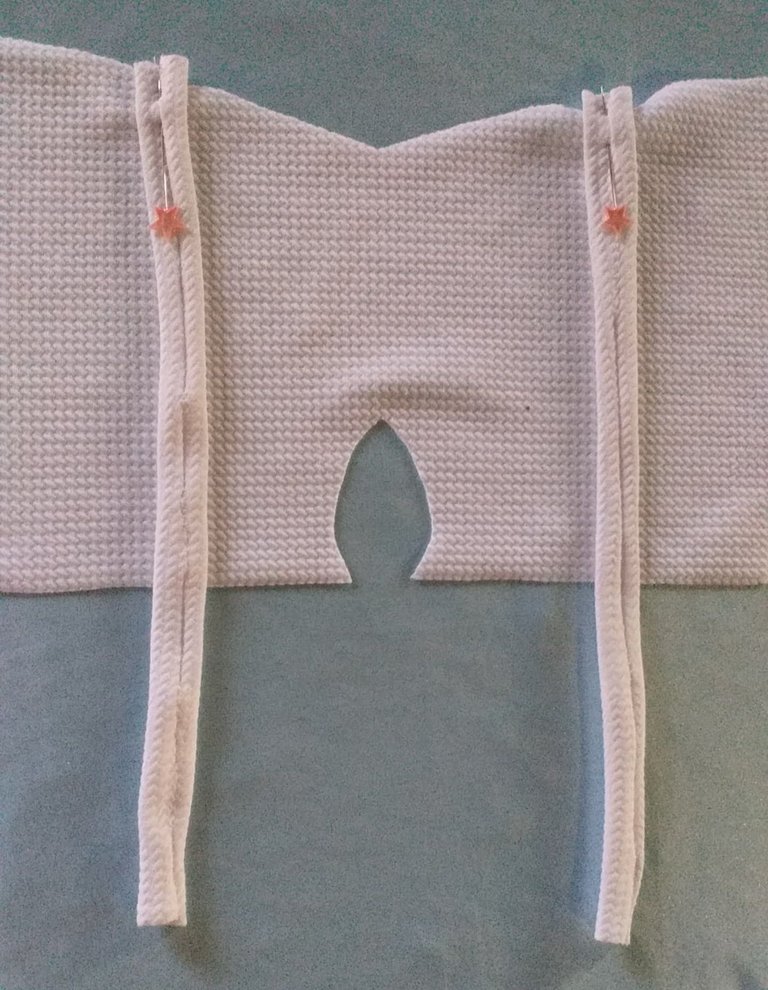
Se enfrentan o colocan los derechos del delantero y se coloca las tiras, luego se pasa costura por el orillo de busto cociendo todo alrededor. También cosemos en la parte donde está el circulo de la prenda.
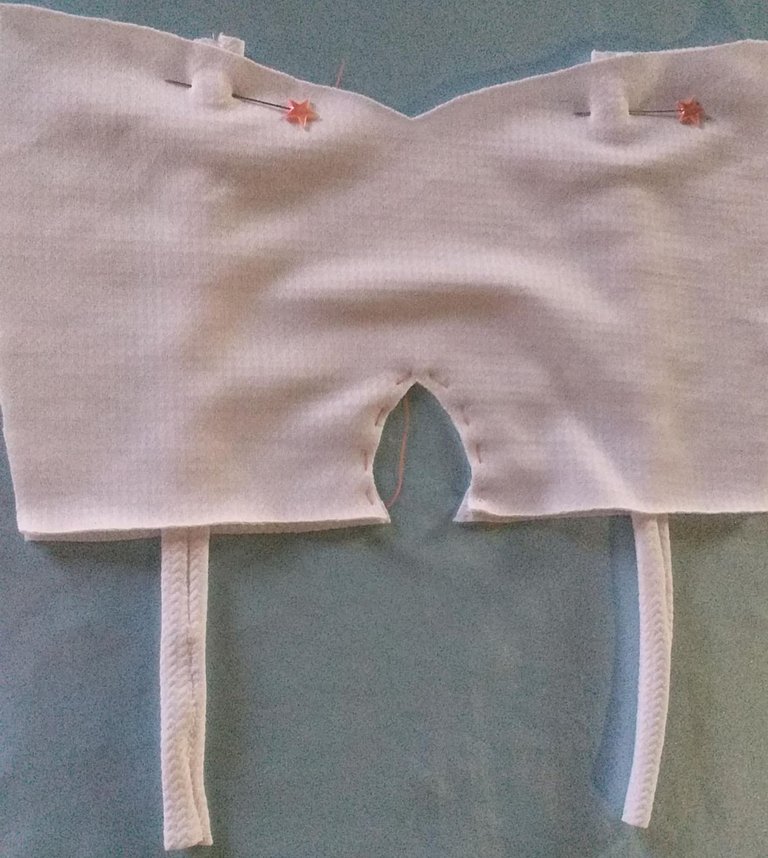
Volteamos y queda el delantero con sus respectivas tiras y las costuras quedan guardadas o escondidas. Luego la parte de la cintura del top lo unimos al parte frontal y cosemos de nuevo.
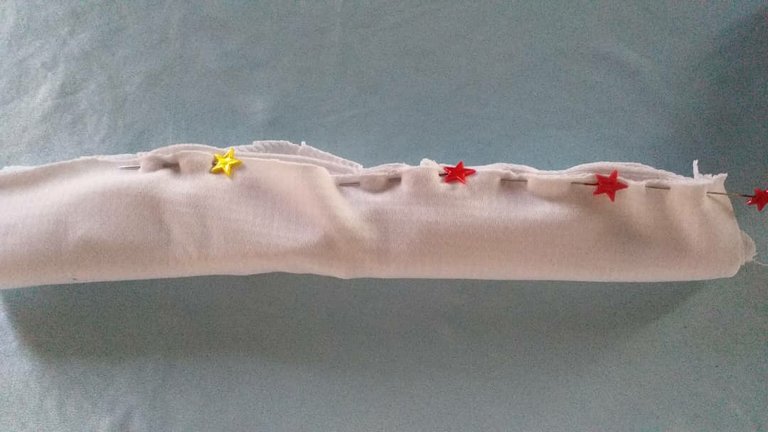
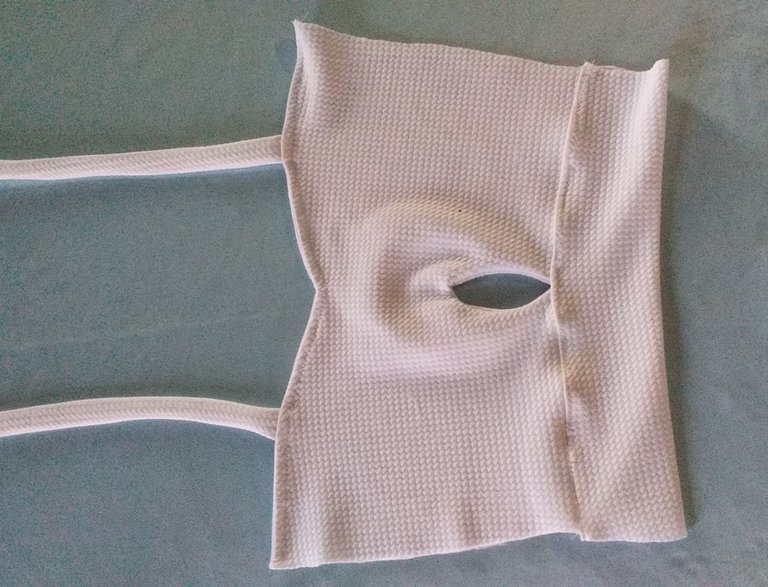
La parte trasera le colocamos las tiras que vienen del delantero de la blusa y colocamos la parte que va a guardar la costura de las tiras y la parte superior de la espalda.
Después cerramos los costados o laterales.
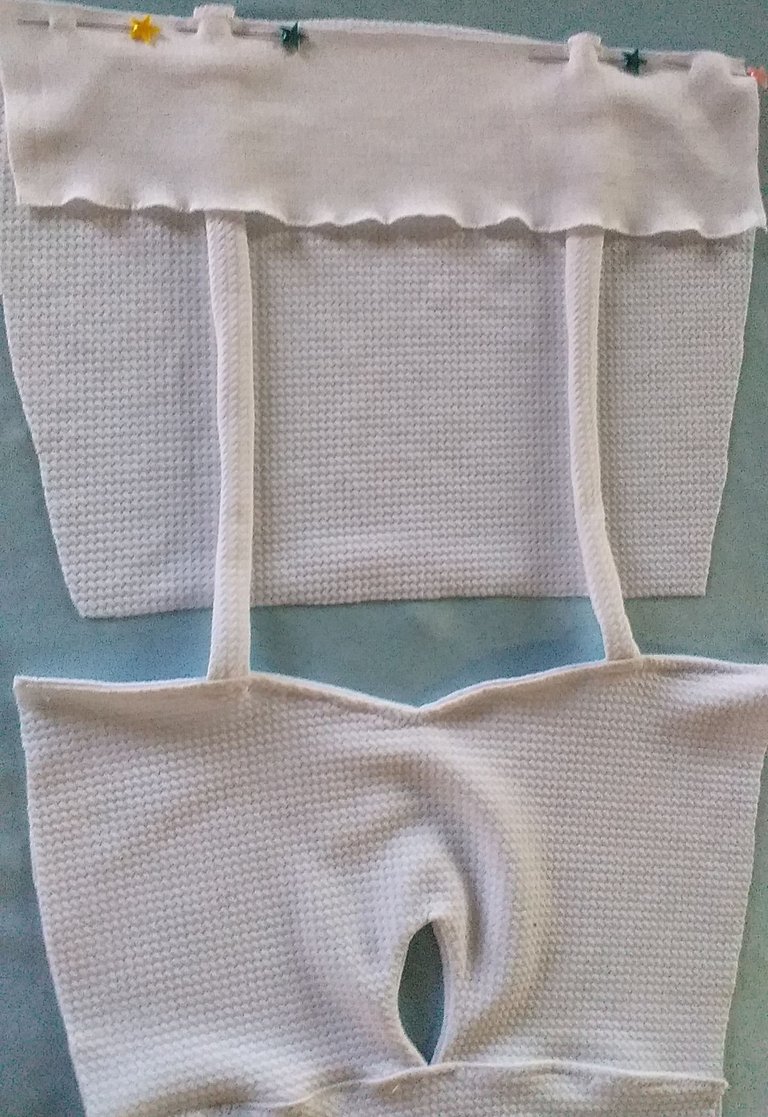
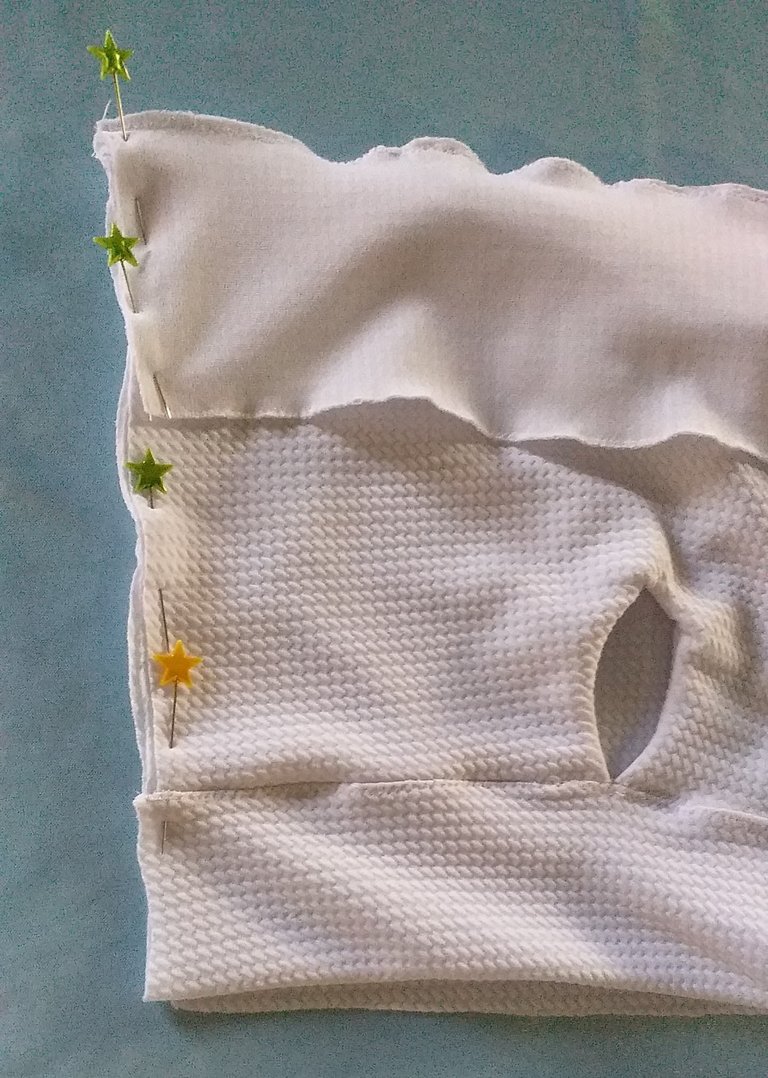
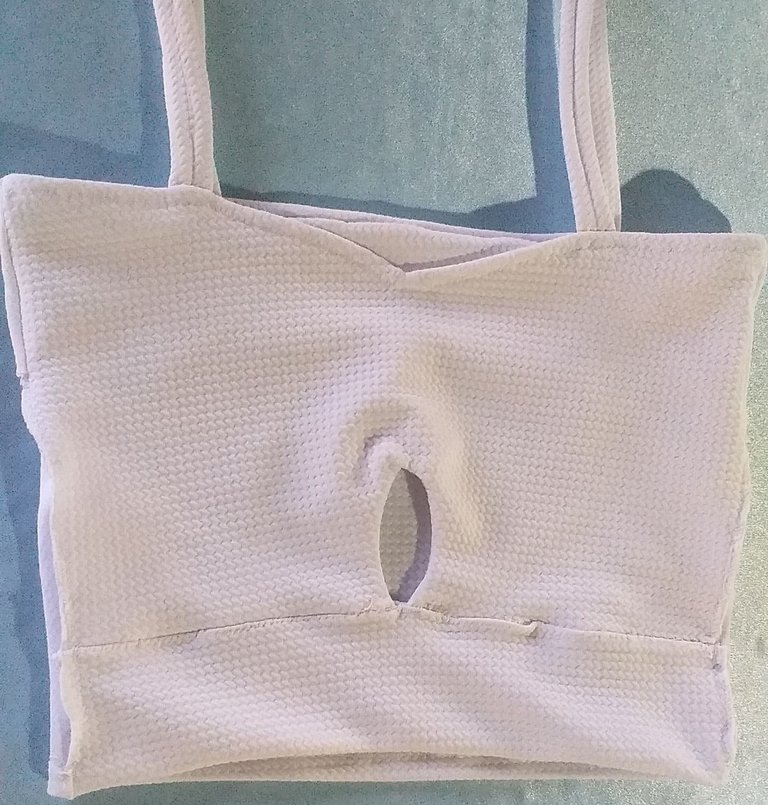
Posteriormente cortamos la parte de tela para hacer la corbata o lazo delantero, esté será del tamaño deseado. Pasamos costura por el revés, se parte por la mitad y le hacemos un pequeño agujero y es por allí donde vamos a voltear la tira. Luego la introducimos en la abertura del top y anudamos o hacemos el lazo.
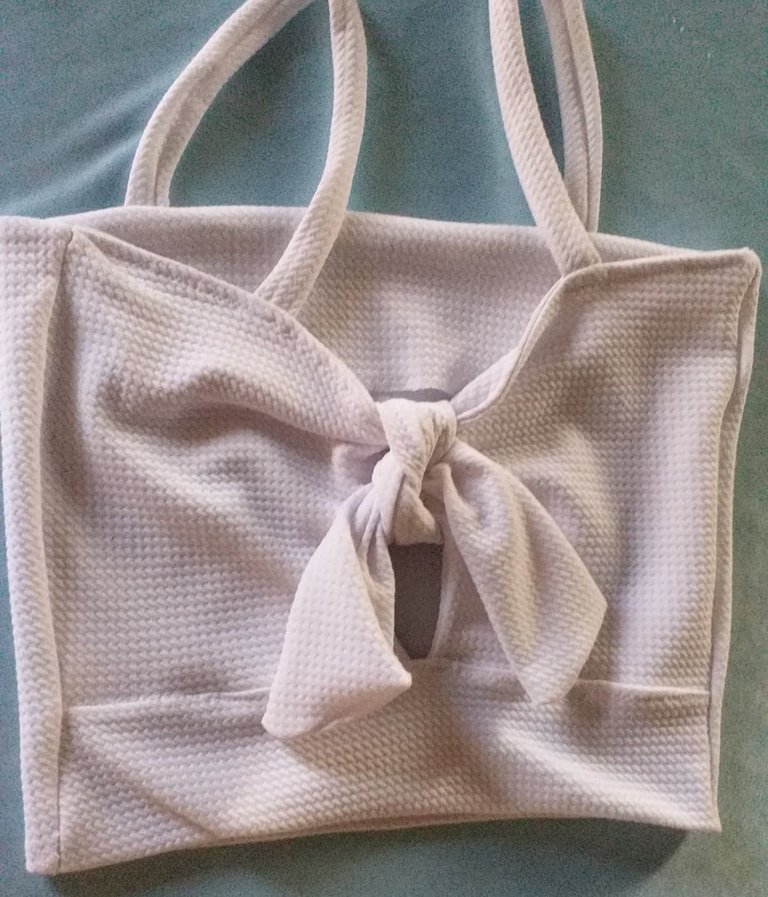
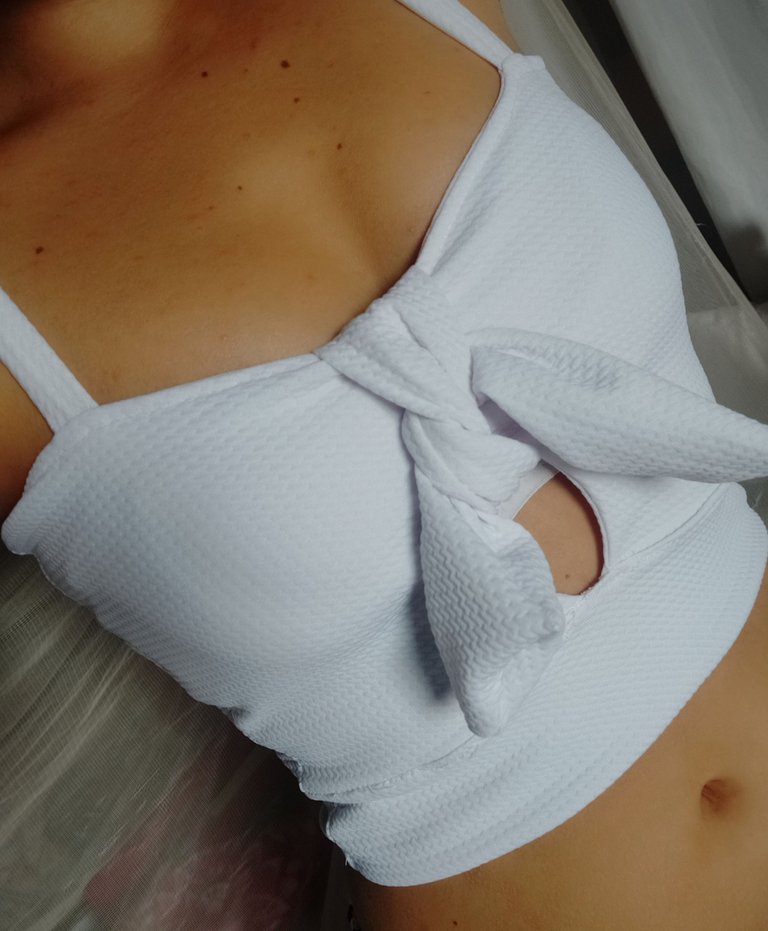
Ya con esto tendremos listo este bello proyecto.
Como ven es una prenda que lleva varios moles pero que al ejecutar es mucho más sencillo de lo que parece.
Este top se hizo en color rosado y me gustó mucho el resultado.
Espero les haya gustado la publicación del día de hoy, les deseo un buen inicio de semana. Que tengan un feliz día y noche.

Happy Tuesday my dear friends of Hive and sewing lovers, today I want to share with you the step by step of how to make a beautiful lady blouse with a small bow or front knot. I must say that I like this type of garment very much, they are those blouses that I can use daily on a hot day or with a jacket and heels is good for a night out, so it is very versatile.

- Elastic fabric.
- Molds.
- Pins.
- Thread.
-Scissors. - Needles.


To start making our blouse we must cut the pieces according to the measurements given in the photo. We can use fabrics such as lycra, lycra cotton, micro peach.
The stockings vary according to the size in this case is size S, but for larger sizes is placed 2 centimeters in the front and back width, the same is increased in the strip of the blouse. This increase will be for each size.

These are the pieces that we will take out.
From the front part we cut two parts following the elongation of the fabric, that is to say, in the width or where it stretches the most.


We will also cut the strips of the blouse and proceed to sewing.


We take the front part and fold it in half, then fold it again and in the measure that we have left will be the place where the top strips should be placed and sewn.

We face or place the right sides of the front and place the strips, then we sew along the edge of the bust, sewing all around. We also sew in the part where the circle of the garment is.

We flip the front with its respective straps and the seams are hidden. Then we join the waist part of the top to the front part and sew it again.


The back part we place the strips that come from the front of the blouse and we place the part that will keep the seam of the strips and the upper part of the back.
Then we close the sides.


Then we cut the part of fabric to make the tie or front bow, this will be the desired size. We sew the seam on the back side, cut it in half and make a small hole and it is there where we are going to turn the strip. Then we introduce it into the opening of the top and knot or tie the bow.


With this we will have this beautiful project ready.
As you can see, it is a garment that takes a lot of work, but it is much simpler than it seems.
This top was made in pink and I really liked the result.
I hope you liked today's publication, I wish you a good start of the week. Have a happy day and night.

Fotos tomadas de mi teléfono Xiaomi Redmi Note 6 Pro || Photos taken from my Xiaomi Redmi Note 6 Pro phone.
Fuente del editor de imágenes || Image editor source
Hola ,que hermosa blusa. gracias por compartir, trataré de hacerla a mi sobrina , saludos.
Hola, muchas gracias. Espero te sirva el tutorial y ademas que te quede muy bien el top para tu sobrina. Saludos y feliz miércoles
Es una prenda muy bonita y a la moda la que nos presentas hoy. Gracias por compartir todo el proceso creativo. Saludos!
Hola Katty, me gustó mucho porque está a la moda como dices. Gracias y feliz día