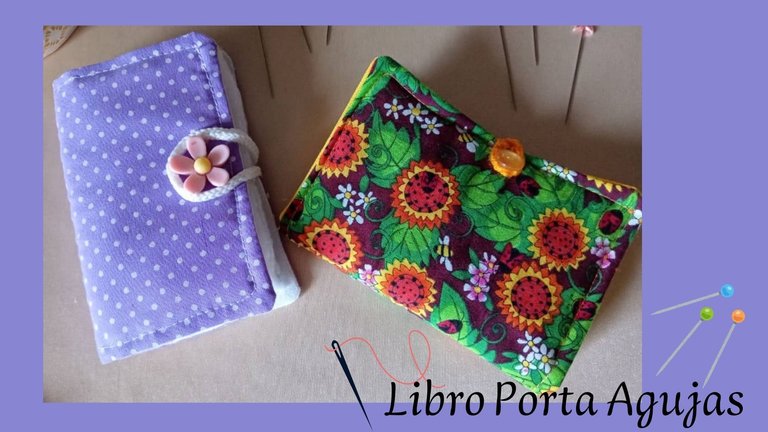
Libro porta agujas [ESP - ENG]

¡Feliz martes mis queridos amigos de Hive!
Para la publicación de hoy quiero compartir con ustedes el proceso de la elaboración de un libro porta agujas - alfileres, un implemento bastante útil para toda costurera.
La creación de este instrumento requiere de muy pocos materiales y la construcción del mismo es bastante sencilla para que cualquiera pueda hacerlo. Espero se animen a elaborarlo, y sin más, les dejo el paso a paso.

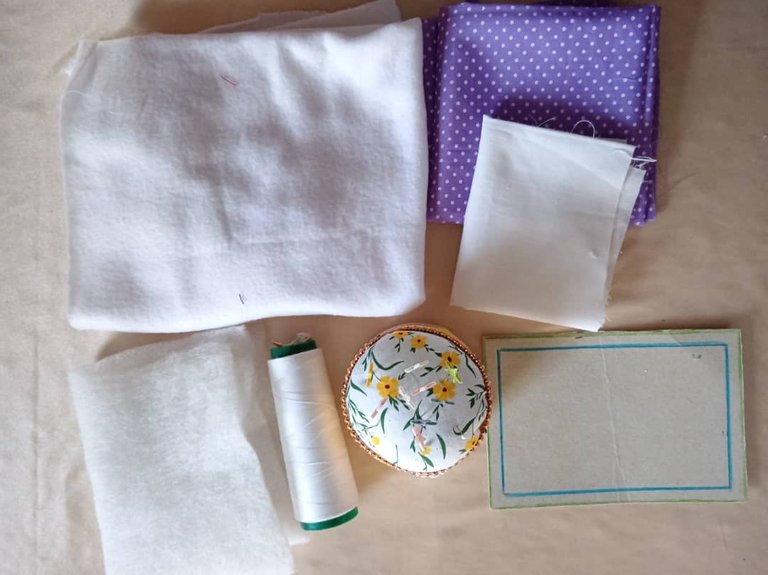
- Molde (parte externa , con la guata y forro de 16 cm ancho y 11 de largo en tela rígida).
- Parte interna (fieltro o tela polar, de 14 cm de ancho y 9 cm de largo).
- Hilo.
- Aguja
- Cordón.
- Tijeras.

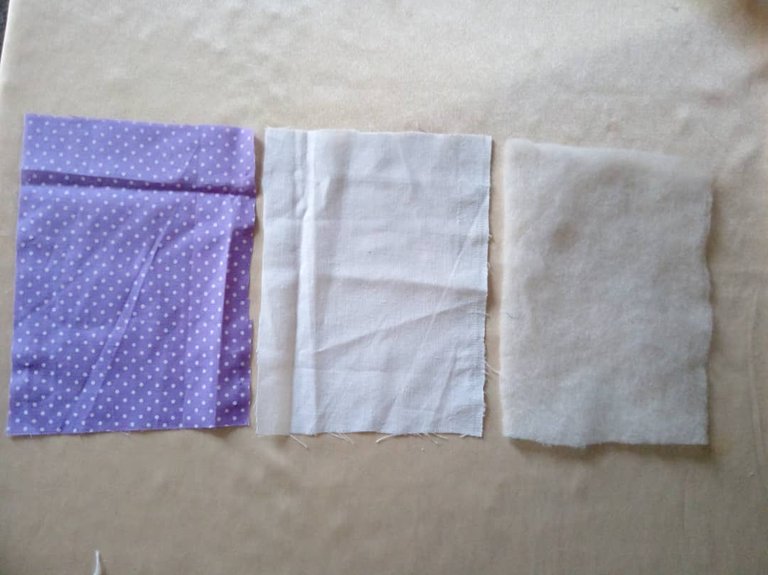
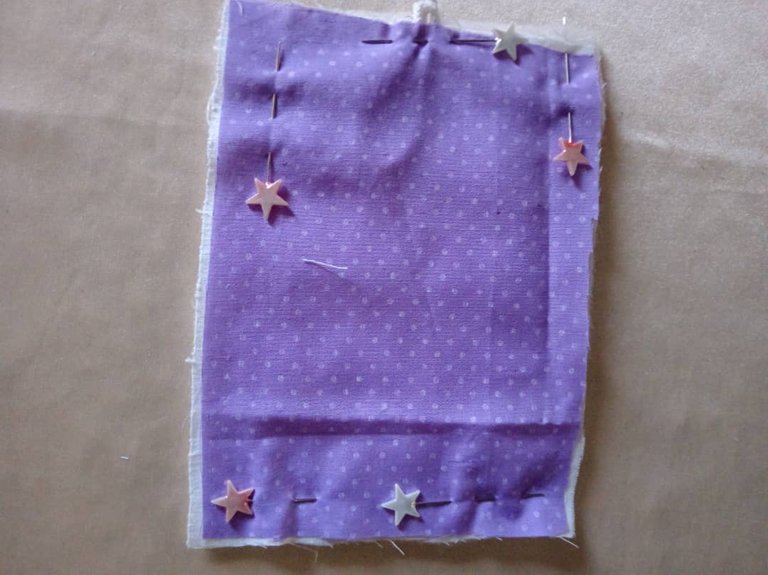
Como primer paso debemos cortar la parte externa, la guata y el forro con las medidas de 16 centímetros de ancho y 11 centímetros de largo.
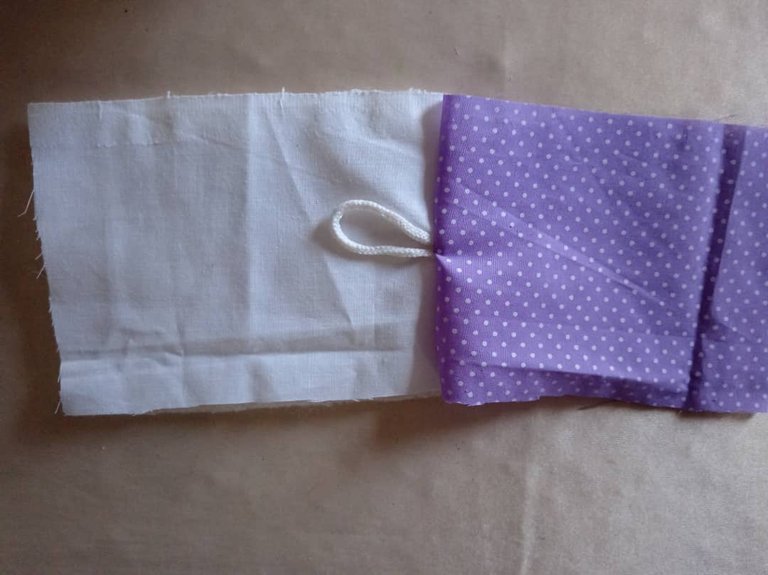
Colocamos las telas y medio de ambas debemos colocar la guata, procedemos a coser por todo el contorno de la pieza por la parte de revés, dejando tres centímetros sin coser para poder darle vuelta.
Cortamos las esquinas y excedentes de tela y volteamos al lado derecho.
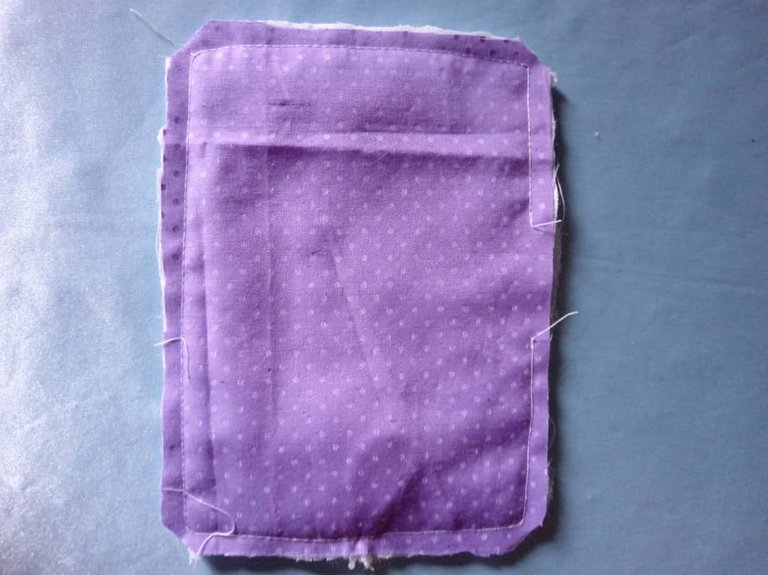
Planchamos y pasamos costura por todo el orillo dejando un centímetro, luego marcamos la mitad con alfileres.
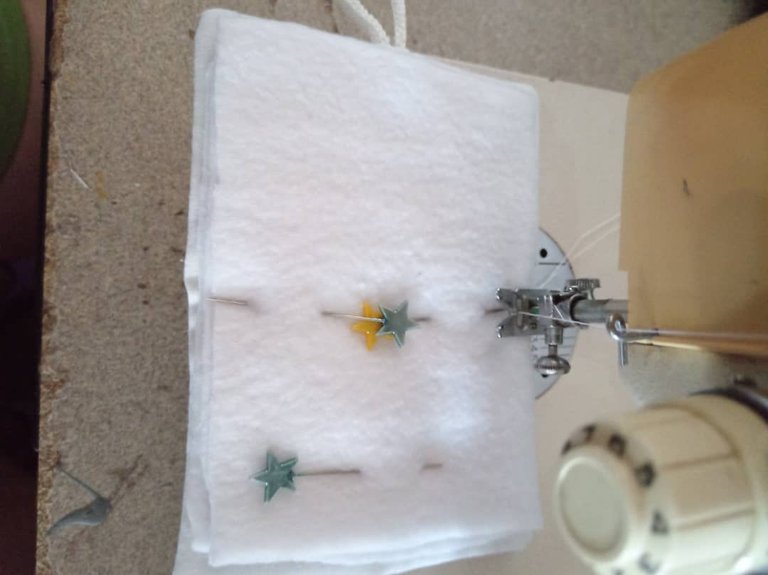
Para la parte interna que es como las hojas del libro, cortamos tela con las siguientes medidas: 14 centímetros ancho por 9 centímetros de largo, de manera que sea fácil de colocar agujas; En este caso utilicé tela polar pero también sirve usar fieltro u otra tela.
Se debe de cortar tres rectángulos
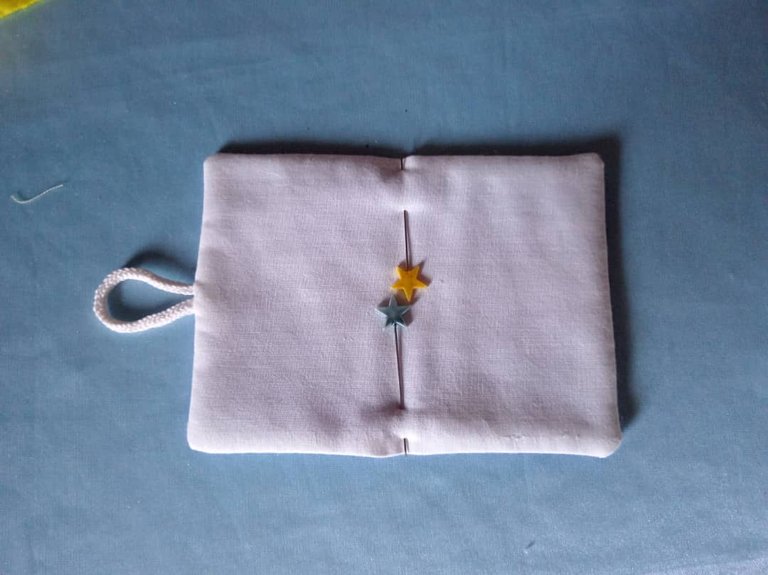
Pase otra costura por toda la mitad de la división y en la parte externa le coloque un botón que sirve para cerrar el libro porta agujas.
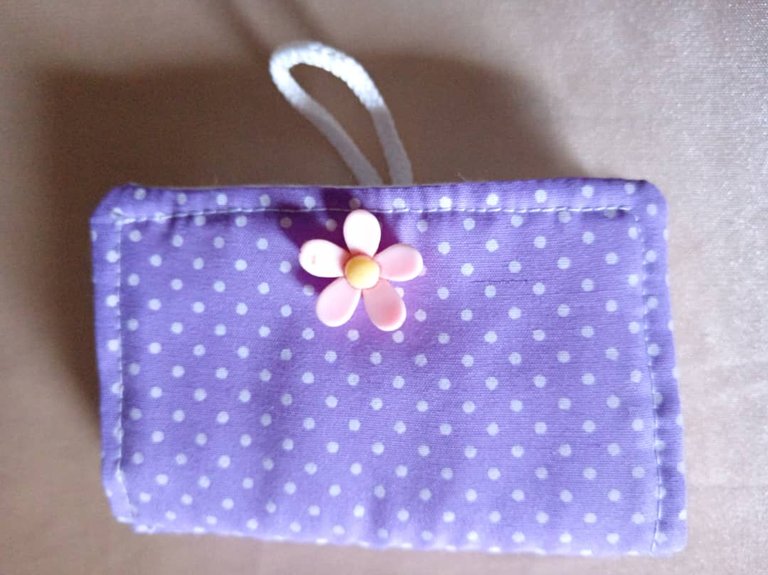
Con esto ya tendríamos listo el proyecto.
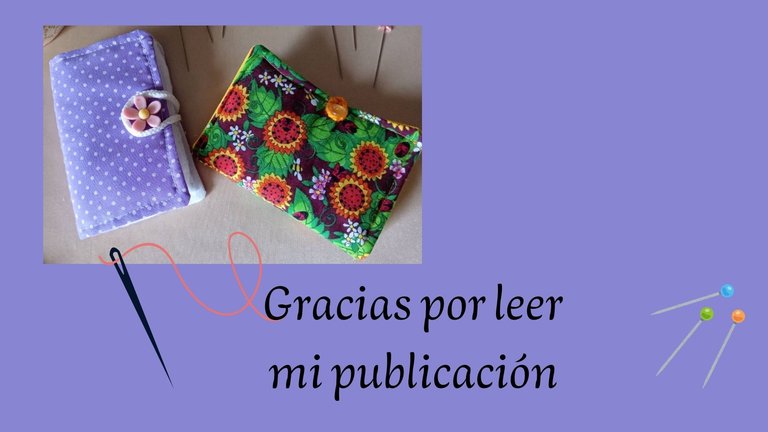
Esta manualidad me es muy útil porque permite que haya un orden en las agujas y alfileres y de esta manera no se pierden, podemos trasladarlas de manera ordenada y segura, además, es fácil de hacer y al decorarlo a nuestro gusto podemos obtener un muy bello estuche.
Gracias por leer mi blog y llegar hasta aquí, que tengan un feliz día y noche.

Happy Tuesday my dear friends of Hive!
For today's post I want to share with you the process of making a needle - pin book, a very useful tool for every seamstress.
The creation of this instrument requires very few materials and the construction of it is quite simple so that anyone can do it. I hope you are encouraged to make it, and without further ado, I leave you the step by step.
- Mold (external part, with wadding and lining, 16 cm wide and 11 cm long in rigid fabric).
- Inner part (felt or fleece, 14 cm wide and 9 cm long).
- Thread.
- Needle
- Cord.
- Scissors.
As a first step we must cut the external part, the wadding and the lining with the measures of 16 centimeters wide and 11 centimeters long.
We place the fabrics and in the middle of both we must place the wadding, we proceed to sew around the contour of the piece on the back side, leaving three centimeters without sewing to be able to turn it over.
Cut the corners and excess fabric and turn it right side out.
We iron and stitch along the entire selvedge leaving one centimeter, then we mark the middle with pins.
For the inner part, which is like the pages of the book, we cut fabric with the following measurements: 14 centimeters wide by 9 centimeters long, so that it is easy to place needles; in this case I used polar fleece fabric but it is also useful to use felt or other fabric.
Three rectangles should be cut.
Sew another seam all along the middle of the division and place a button on the outside, which is used to close the needle book.
With this we would have the project ready.
This craft is very useful because it allows me to have an order in the needles and pins and in this way they are not lost, we can move them in an orderly and safe way, in addition, it is easy to do and by decorating it to our taste we can get a very beautiful case.
Thank you for reading my blog and getting this far, have a nice day and night.
Fotos tomadas de mi teléfono Xiaomi Redmi Note 6 Pro y mi teléfono Honor X8a || Photos taken from my Xiaomi Redmi Note 6 Pro phone and from my Hobor X8a phone.
Fuente del editor de imágenes || Image editor source
Wow, this is interesting, I've never thought of this, I've always kept one on plastic containers, would sure give this a try, thanks for sharing the process with us.
Thank you very much for your comment.
Greetings ❤️
This will be really useful. And it lovely, thanks for sharing the tutorial with us.
Oye que bonito proyecto, me parece espectacular opción para guardar y llevar las agujas de forma segura. Gracias por compartir. Saludos 🤗
Si es una idea muy buena para organizar los alfileres.
Gracias y saludos Katty
This is so creative and cute too. You did a nice work
This is so nice and useful project, thanks for sharing.