Cojín cilíndrico [ESP - ENG]
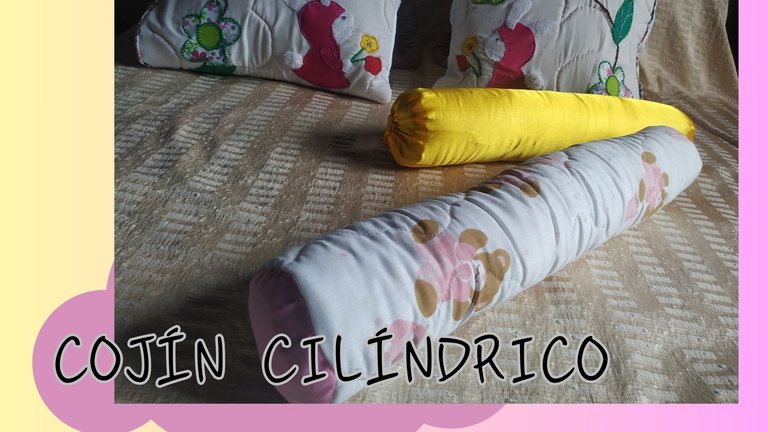

¡Hola mis queridos amigos de Hive! El día de hoy quiero compartir con ustedes un tutorial rápido pero muy interesante y se trata de la elaboración de un cojín cilíndrico.
Entre algunos de los beneficios de este tipo de cojín se incluye:
Ofrece versatilidad para ser usado en varias partes del cuerpo, ideal para la espalda baja y zona lumbar.
Sirve como soporte para minimizar dolor.
Permite la alineación del cuello con el resto del cuerpo lo que provoca que podamos dormir mejor.
El uso de este tipo de cojines tiene muchos más beneficios de los antes nombrados, pero quise recalcar los más importantes; Por otra parte, puede que al querer conseguir o comprar uno se salga de nuestro presupuesto, y utilizando materiales que tengas en tu casa vas a poder reducir costos.

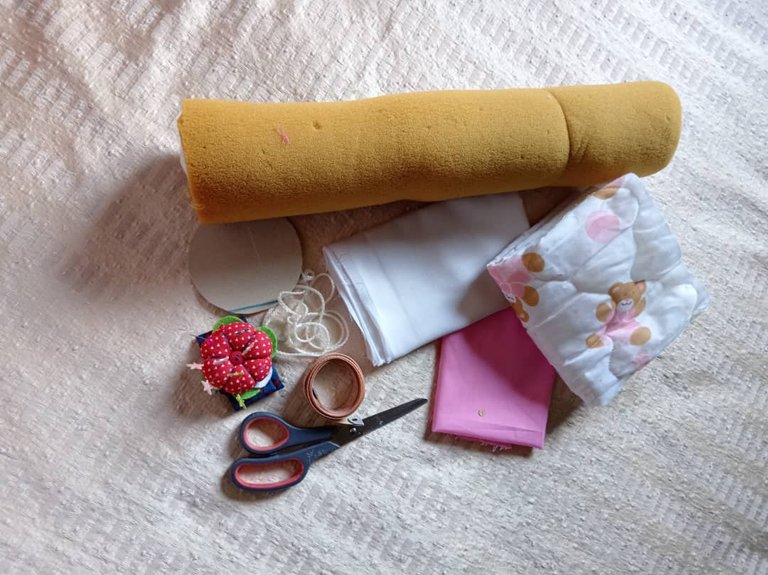
- Goma espuma o guata.
- Tela para forro.
- Tela para la parte externa.
- Hilo, aguja, tijeras.

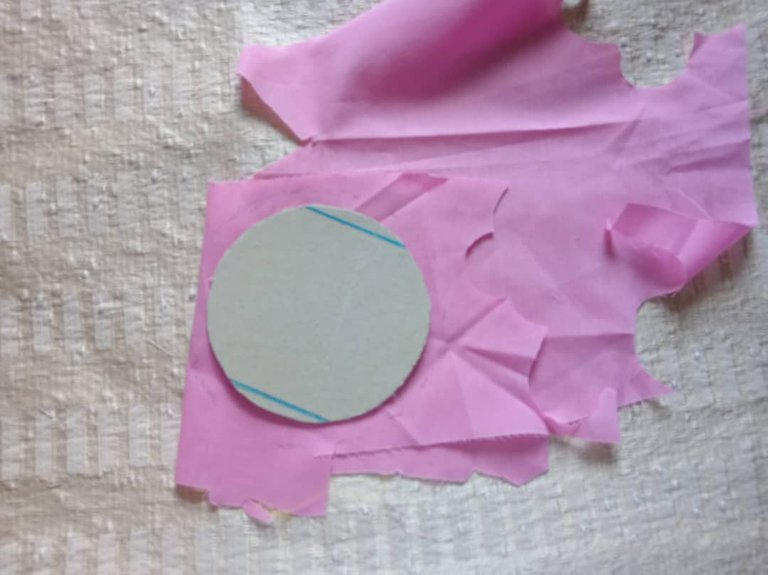
Como primer paso debemos cortar dos círculos más o menos de 15 centímetros de diámetro. Podemos hacerlo en una pieza de cartón y luego en las telas correspondientes.
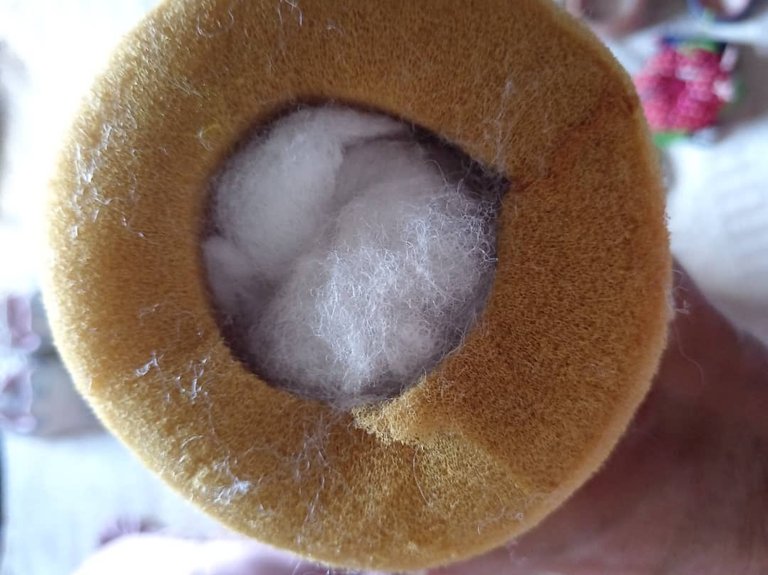
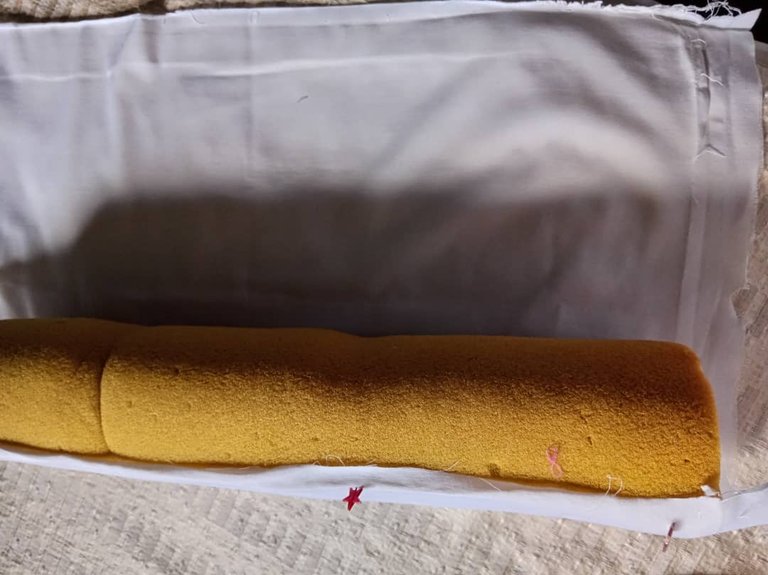
También vamos a cortar la guata y la goma espuma de 28 centímetros de ancho.
Si lo quieren más grueso se puede enrollar guata a la goma espuma y se hace más alto, tomando en cuenta que varían las medidas de los círculos que van en los laterales.
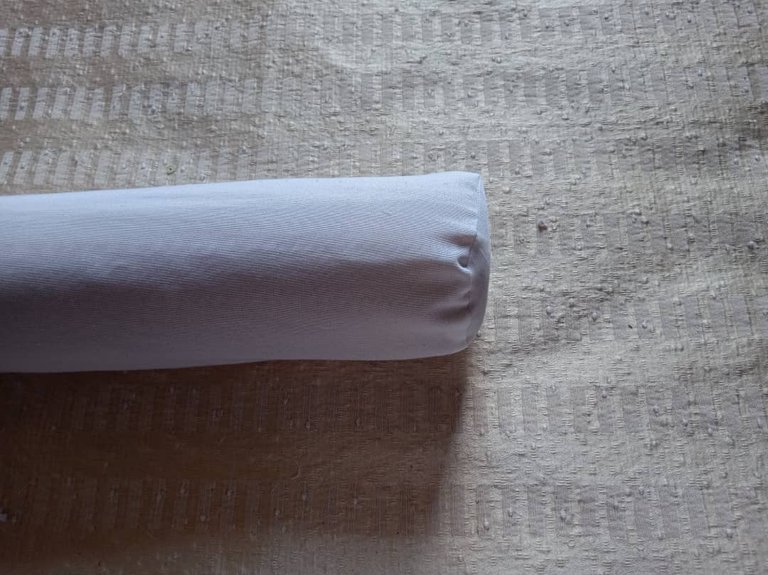
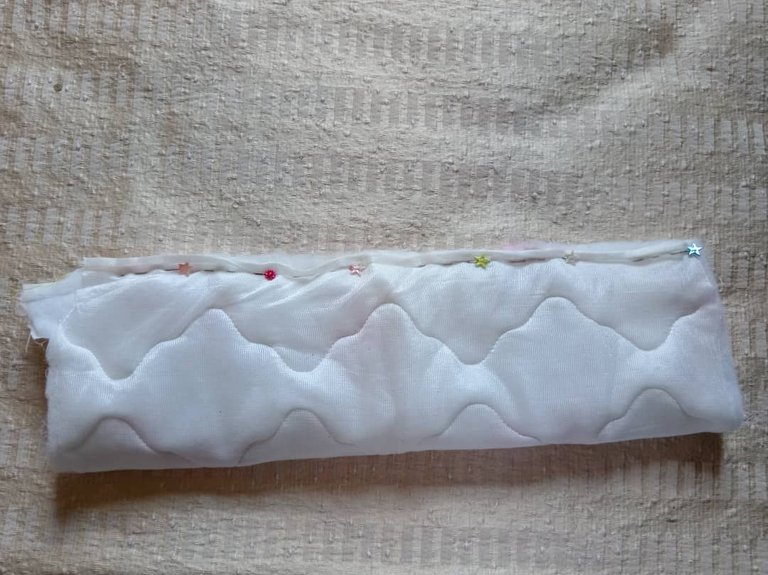
De la misma medida se hace el forro que es donde se introduce la guata o goma espuma en mi caso.
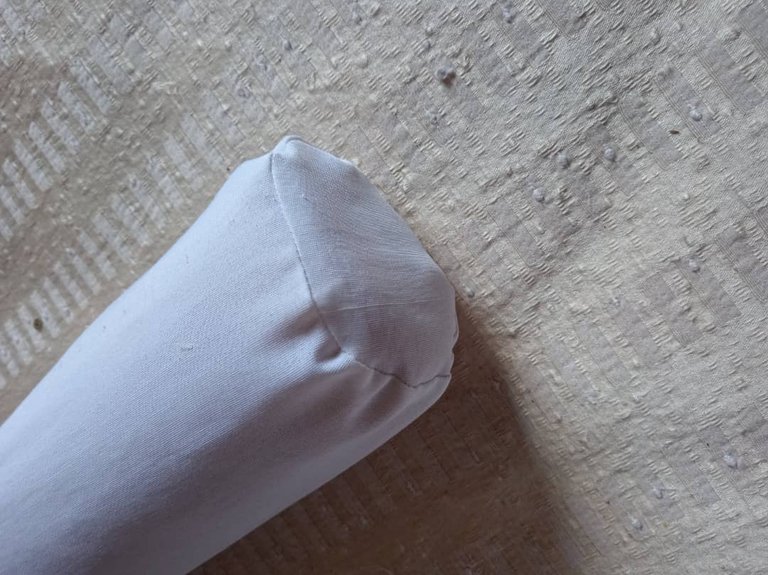
Procedemos a coser los largos o laterales del forro y luego de esto procedemos a unir a las partes circulares de los laterales para que quede forrado el cojín.
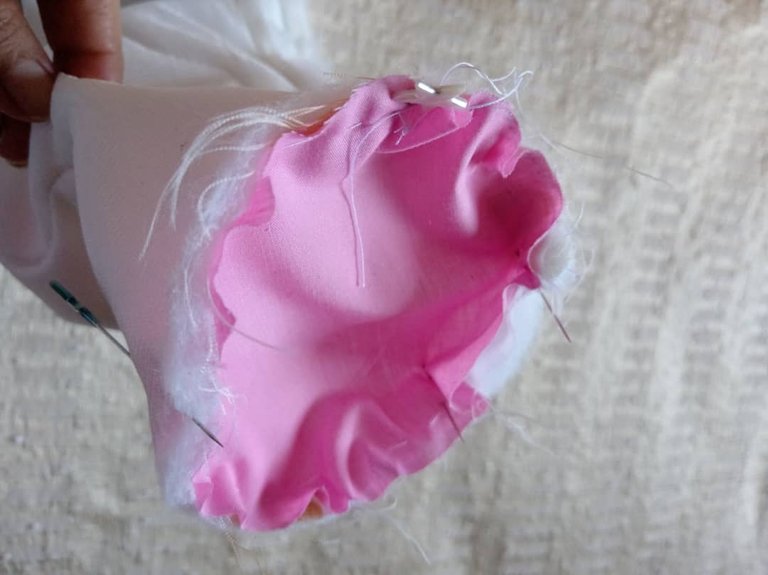
El mismo procedimiento se hace para la parte exterior que es la tela estampada, en este caso, cosí los laterales y también los círculos a los mismos. Le dejé una abertura para introducir el cojín que está en el forro.
Como otra opción, se le puede colocar un cierre y así es más fácil para poderlo lavar.
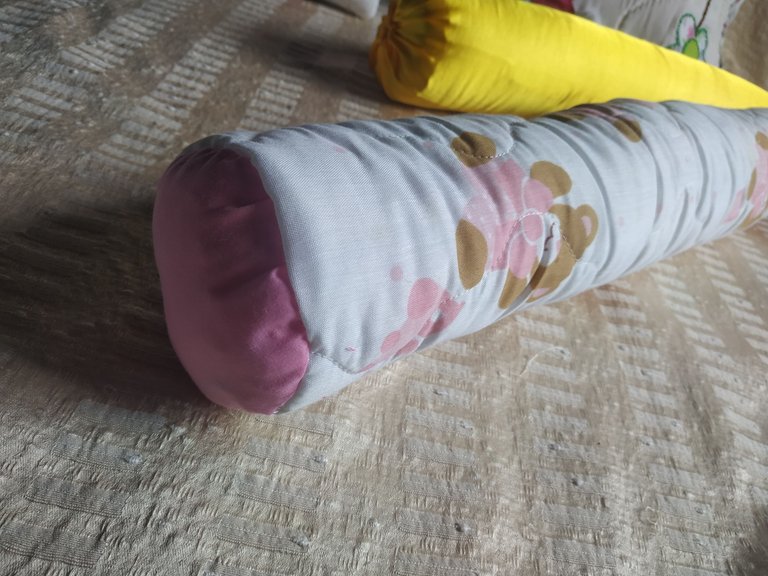
Con esto ya tendríamos listo el proyecto.
Este tipo de cojín lo envían los traumatólogos para descansar la cervical, para colocarlo en la cintura al acostarse y así descansa la parte adolorida, también entre las piernas para que no queden unidas las rodillas y se pueda alinear con la cadera con la finalidad de tener un mejor descanso y no amanecer adolorido.
El tamaño del cojín es a gusto de cada quien. Realicé uno más grande y puedo poner mis pies para el descanso.
Gracias por leer mi publicación y llegar hasta aquí. Que tengan un feliz día y noche.

Hello my dear friends of Hive! Today I want to share with you a quick but very interesting tutorial and it is about making a cylindrical cushion.
Some of the benefits of this type of cushion include:
It offers versatility to be used on various parts of the body, ideal for the lower back and lumbar area.
Serves as a support to minimize pain.
Allows alignment of the neck with the rest of the body which causes us to sleep better.
The use of this type of cushions has many more benefits than those mentioned above, but I wanted to emphasize the most important ones; on the other hand, it may be out of our budget when we want to get or buy one, and using materials that you have at home you will be able to reduce costs.
- Foam rubber or wadding.
- Fabric for lining.
- Fabric for the outside.
- Thread, needle, scissors.
As a first step we must cut two circles of about 15 centimeters in diameter. We can do it on a piece of cardboard and then on the corresponding fabrics.
We will also cut the wadding and foam rubber 28 centimeters wide.
If you want it thicker, you can roll the wadding to the foam rubber and make it taller, taking into account that the size of the circles that go on the sides vary.
The lining is made of the same size, which is where the wadding or foam rubber is inserted in my case.
We proceed to sew the lengths or sides of the lining and then we proceed to join the circular parts of the sides so that the cushion is lined.
El mismo procedimiento se hace para la parte exterior que es la tela estampada, en este caso, cosí los laterales y también los círculos a los mismos. Le dejé una abertura para introducir el cojín que está en el forro.
Como otra opción, se le puede colocar un cierre y así es más fácil para poderlo lavar.
With this we would have the project ready.
This type of cushion is sent by traumatologists to rest the cervical, to place it on the waist when lying down and thus rests the sore part, also between the legs so that the knees are not joined and can be aligned with the hip in order to have a better rest and not wake up sore.
The size of the cushion is up to each person's taste. I made a larger one and I can put my feet on it to rest.
Thank you for reading my post and getting this far. Have a happy day and night.

Fotos tomadas de mi teléfono Xiaomi Redmi Note 6 Pro y mi teléfono Honor X8a || Photos taken from my Xiaomi Redmi Note 6 Pro phone and from my Hobor X8a phone.
Fuente del editor de imágenes || Image editor source
Hola @gabimramirez, particularmente me encantan este tipo de cojines para reposar el cuello, son fantásticos. Te quedaron muy lindos, gracias por compartir. Saludos.
Hola Katty, tienes razón, son muy buenos para descansar el cuello. Gracias y saludos 😊
Excelente idea de cojín, tiene muchos beneficios importantes. Gracias por esta idea tan útil que podemos hacer con pocos materiales. Buen trabajo. Saludos.
Hola Mariela. Hace días que estaba con la idea de hacer un cojín de este tipo, me alegra que te sirva este tutorial.
Saludos y feliz día.
It can be used for babies as well. Thanks for sharing
It a nice and beautiful material that can be used in a special way with a beautiful style, I love it, thank you
This is a very useful project with lots of benefits, and the good thing is that it is easy to make. Thanks for sharing.
Wow!! This is amazing, who would have thought that cushions could be made by following these simple steps.
Excelente para descansa mis piernas por las noches, gracias por compartir