Beaded Basket Bag || From Passion To A New Side Hustle 😊
Greetings everyone 👏, welcome back to my blog.
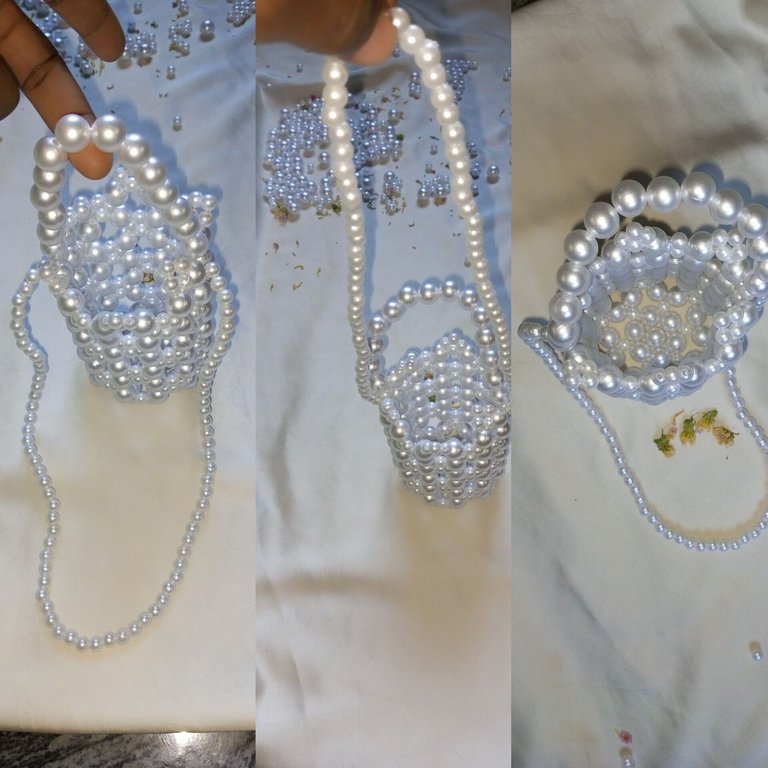
Is there anything better than doing something you are so passionate about and getting paid for it? Maybe there are a hundred things, but right now, all that I can think of is the fact that I'm getting clients for my beadwork.
So Come along, dear friends, while I share with you my latest project, which I'm super excited about. Guess who got her first major client? Yes, me. I'm creating a new side hustle from my passion for bead-making.
Four weeks ago, my friend's sister asked me to make her this beaded basket bag. She is my first major client, and this makes me very excited 😊, and so I get to work by putting my heart into beading her this basket bag for an affordable price hehe.

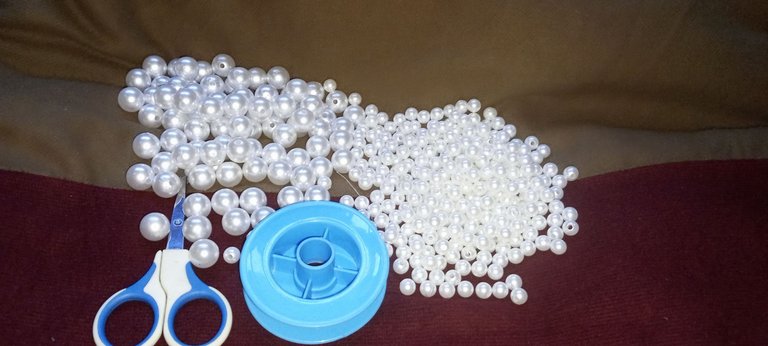
Materials used:
✓ Pearl beads, size 14, half pack
✓ Pearl beads size 8, half pack
✓ fishline size 0.60
✓ fishline size 0.50
✓scissor
Step-by-step process;
Step 1:
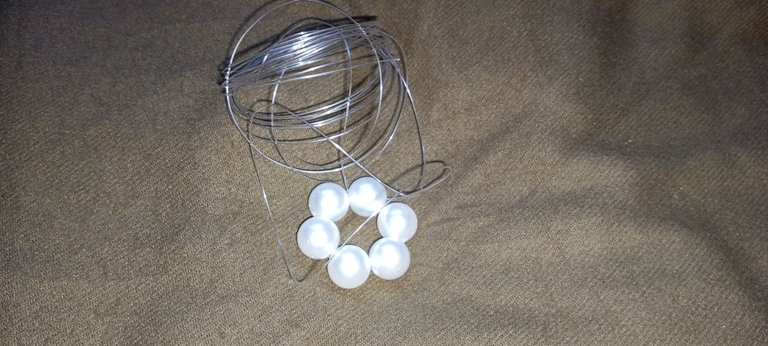
To make the base of the bag, first, I cut a 240 cm fishline and put six sizes 14 pearl beads into it; then I tied the knot to make it stay firm.
Step 2:
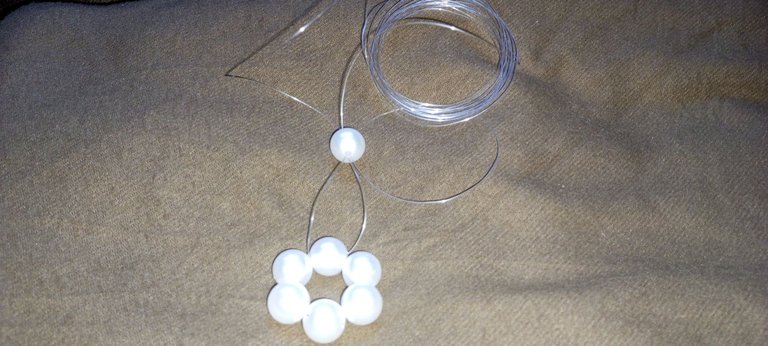
Here, I simply put one size 14 bead into the two fishlines at once, pull the bead inside the circle, and then use the bead ahead of it to cross both lines.
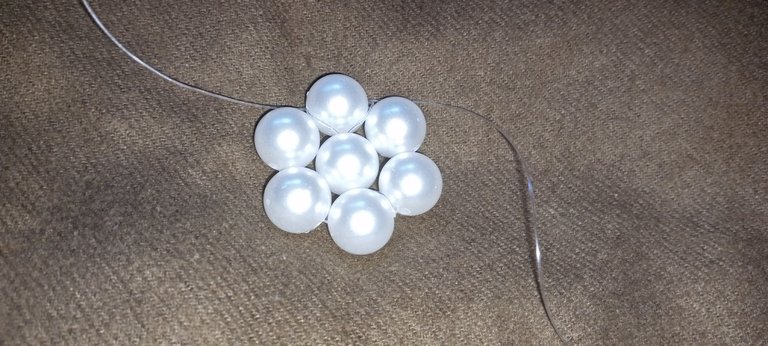
Just look at how beautiful it is.

Step 3:
Here, I put one size 8 bead, one size 14 bead, followed by another size 8 and one size 14 and size 8 bead, then crossed both lines with the last size 8 bead on the left fishline.
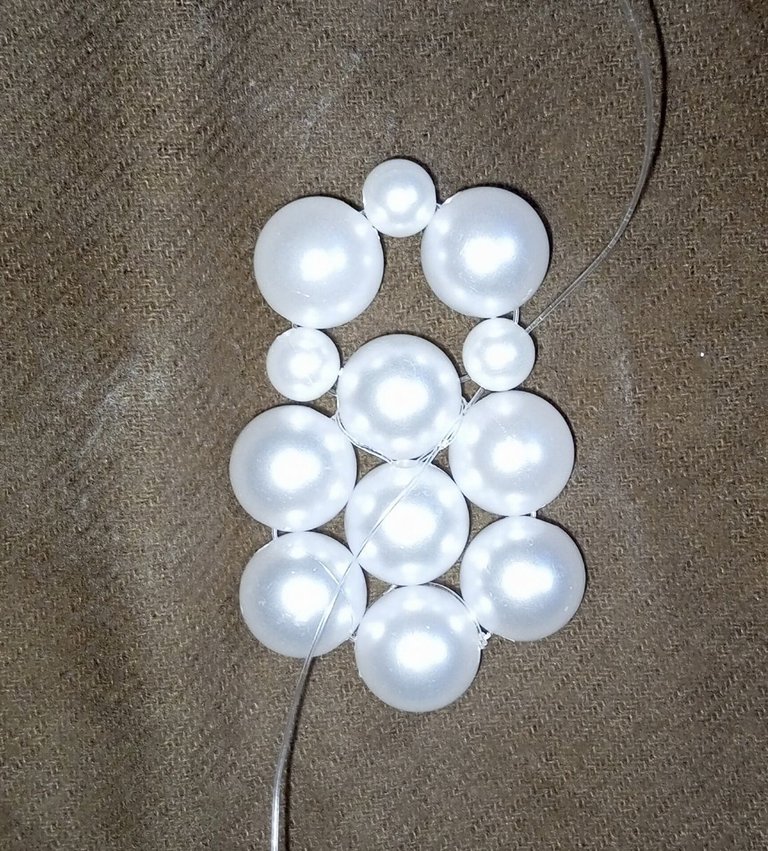
Step 4:
I passed my right fishline to the next size 14 bead, then put size 14, size 8, and size 14, respectively, into my left fishline, then crossed both lines with the size 8 bead.
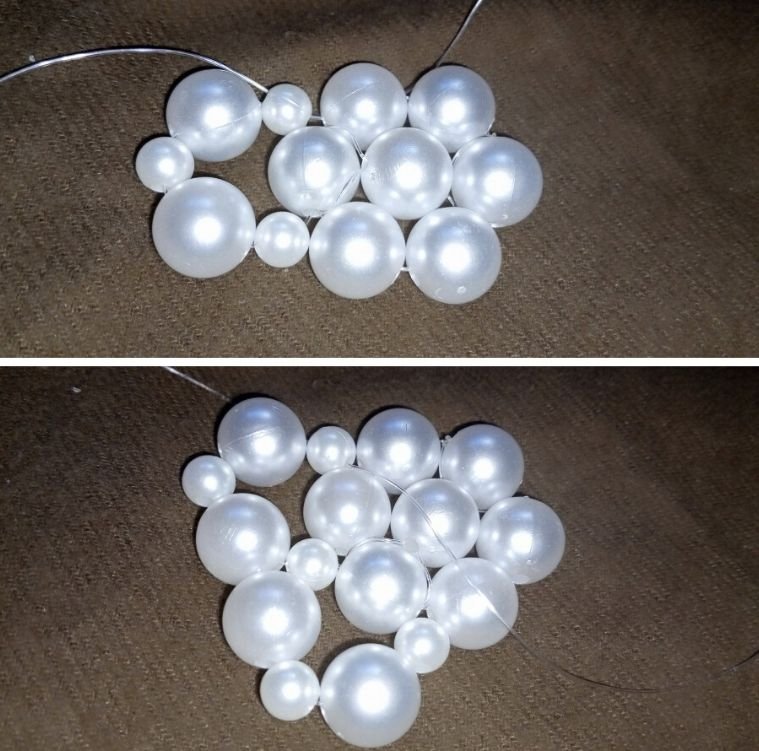
Step 5:
I continue to repeat the above step until I get to the last part of this circle.
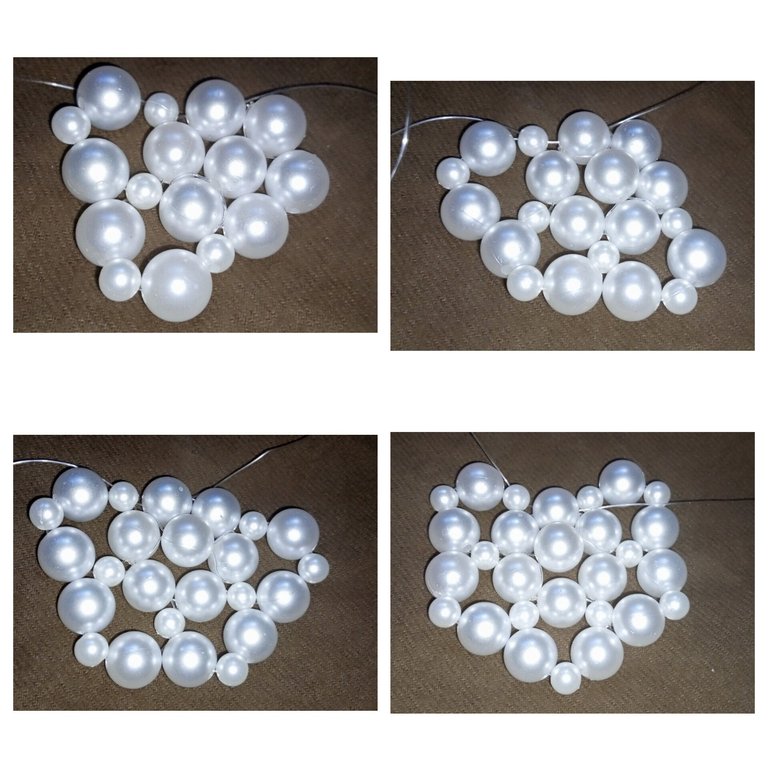
Step 6:
To complete this circle, I passed my right-hand side fishline until it came out on the last size 8 bead. I then put size 14 on my left fishline and size 14 on my right fishline and crossed both fishlines with size 8.
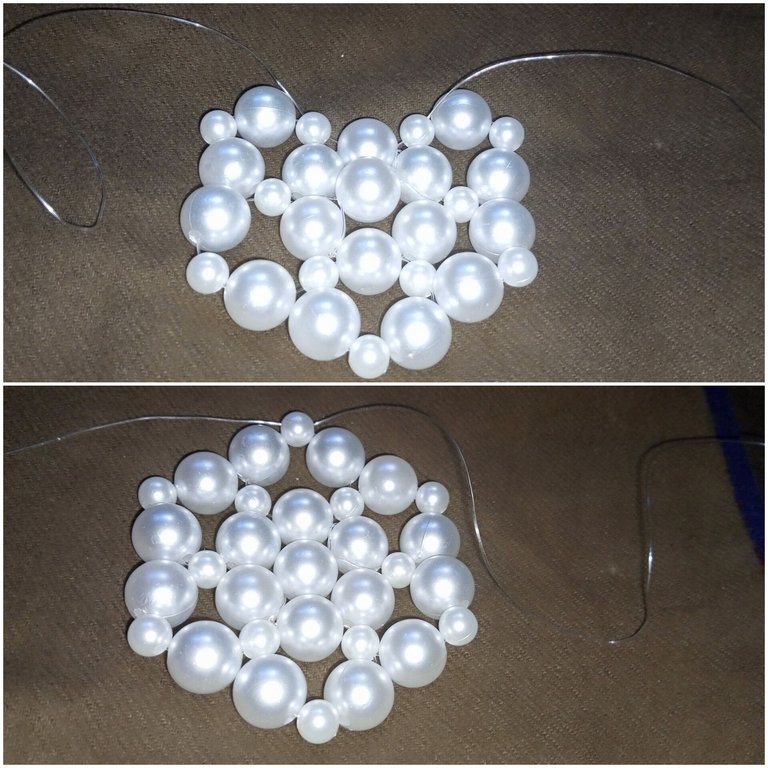
Step 7
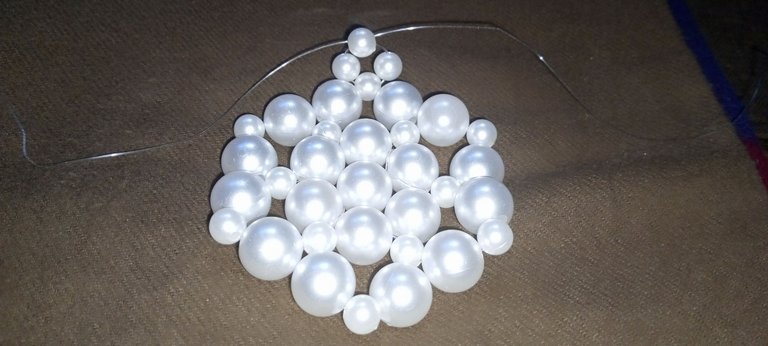
Here, I started to make the body of the bag by putting one size 8 on my left and right fishline, then crossed the lines with one size 8 bead. This forms a flower shape.
Step 8:
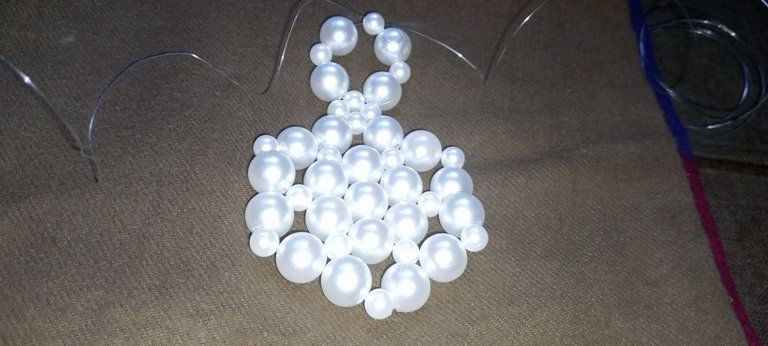
I put size 14, 8, 14 on my left fishline, then size 14, 8, 14 on my right fishline, and then crossed both fishlines with size 8.
Step 9:
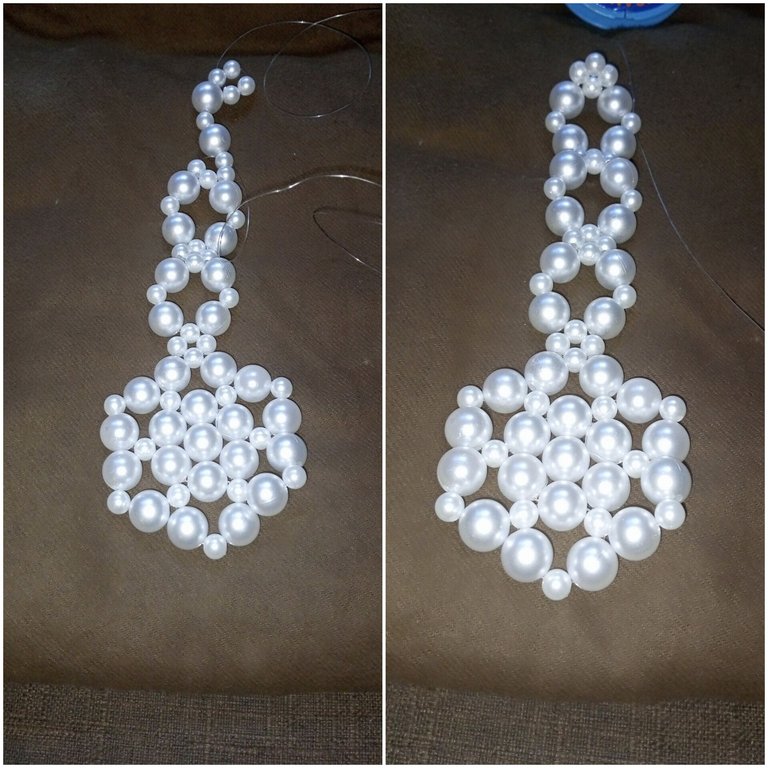
Here, I repeated steps 7 and 8 above. After that, I put one size 14 and four size 8 beads on my left fishline, then passed my left fishline through the fourth size 8 bead on the same line. I then put a size 14 bead on my left fishline and a size 14 bead on my right fishline and crossed both fishlines with a size 8 bead. This completes the height of the bag.
Step 10:
I put two size 8 on the left fishline and then crossed both fishiness with size 8 beads.
Step 11:
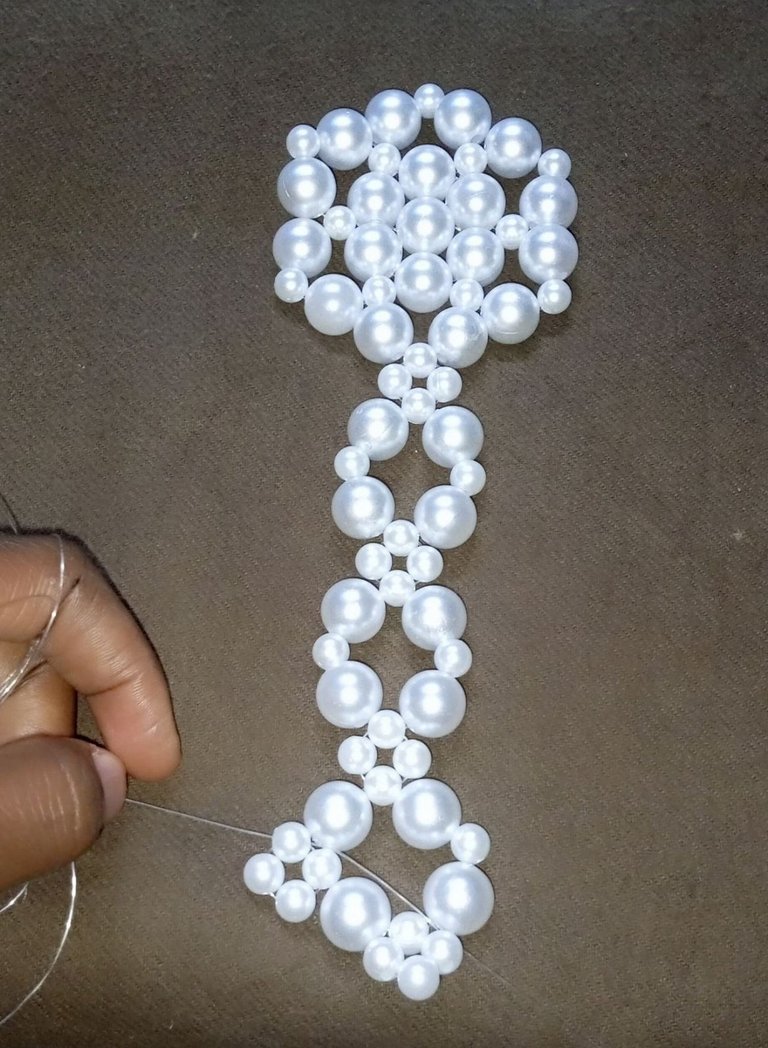
I passed my fishline through the next size 14,8 and 14 beads; I then put sizes 14,8,14 on my left fishline and crossed both lines with one size 8 bead.
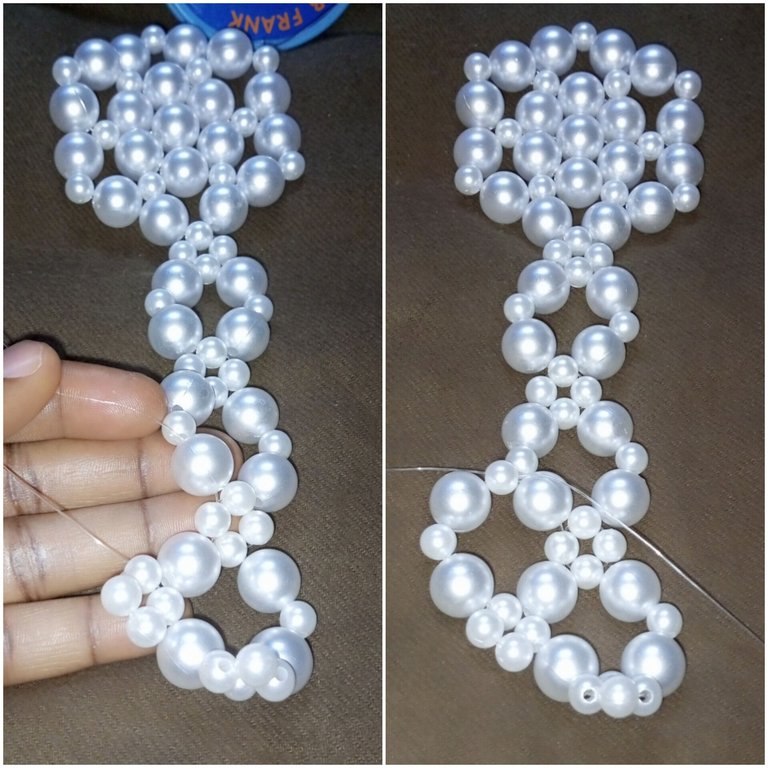
Step 12:
I passed my right fishline to the next size 8 bead, put one size 8 on my left fishline, and then crossed both fishlines with size 8 beads.
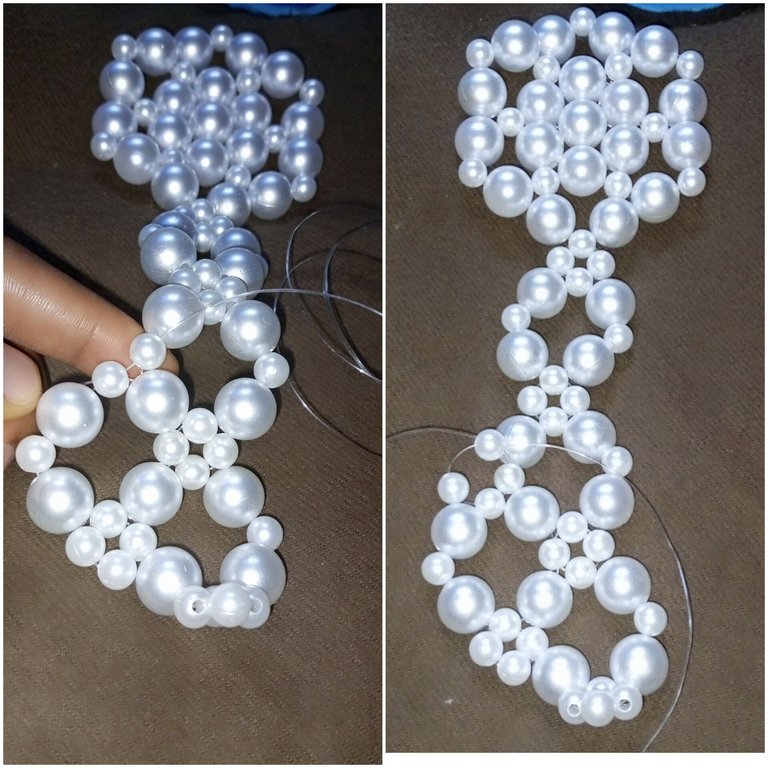
Step 13:
I repeated steps 11 and 12 above, respectively.
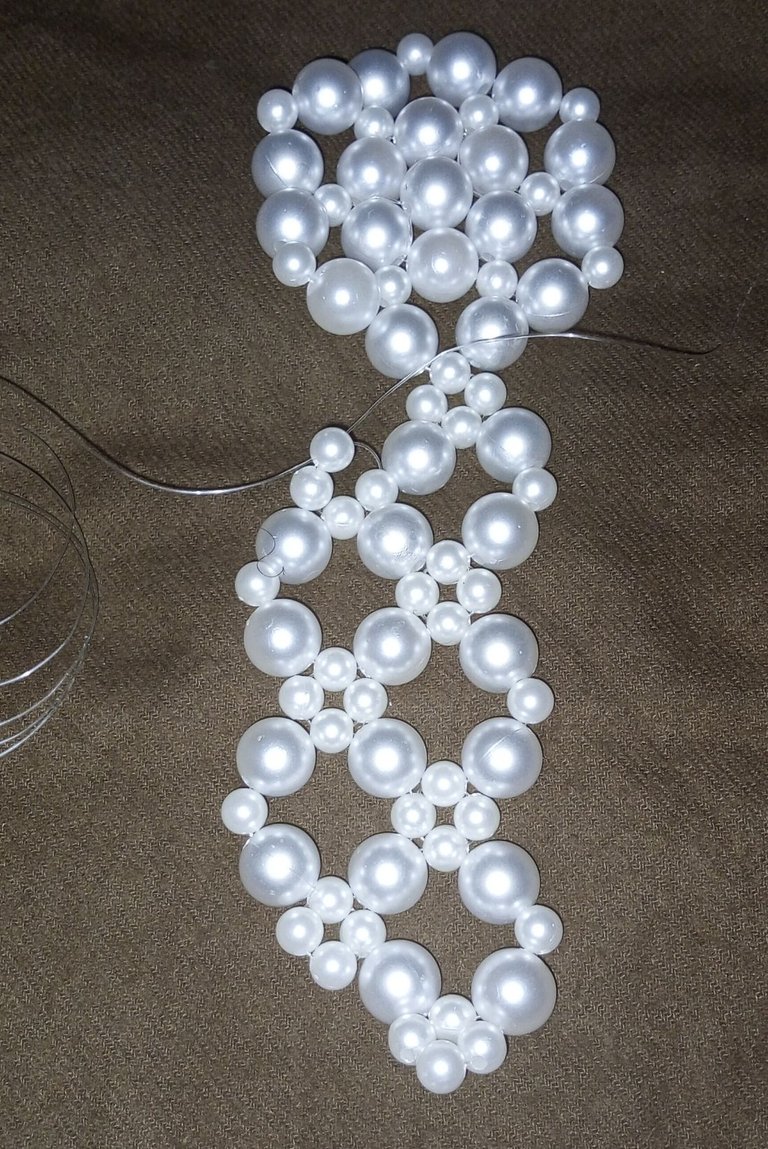
Step 14:
I passed my right fishline through the next size 14,8,14,14 then put size 14 into my left fishline and crossed both fishlines with size 8 bead. 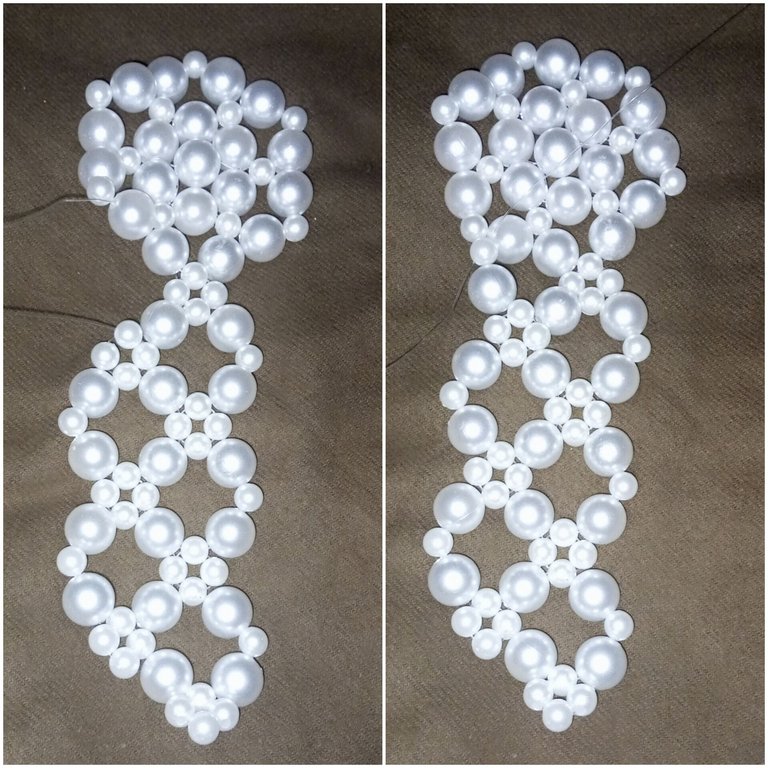
Step 15:
Now it's time to make a turn and start another line. So, I passed my left fishline into the next size 8 bead, put one size 8 bead into my right fishline, and then crossed both fishlines with size 8 bead. Step 16: I continue to repeat steps 10 to 15 above until I make six lines.
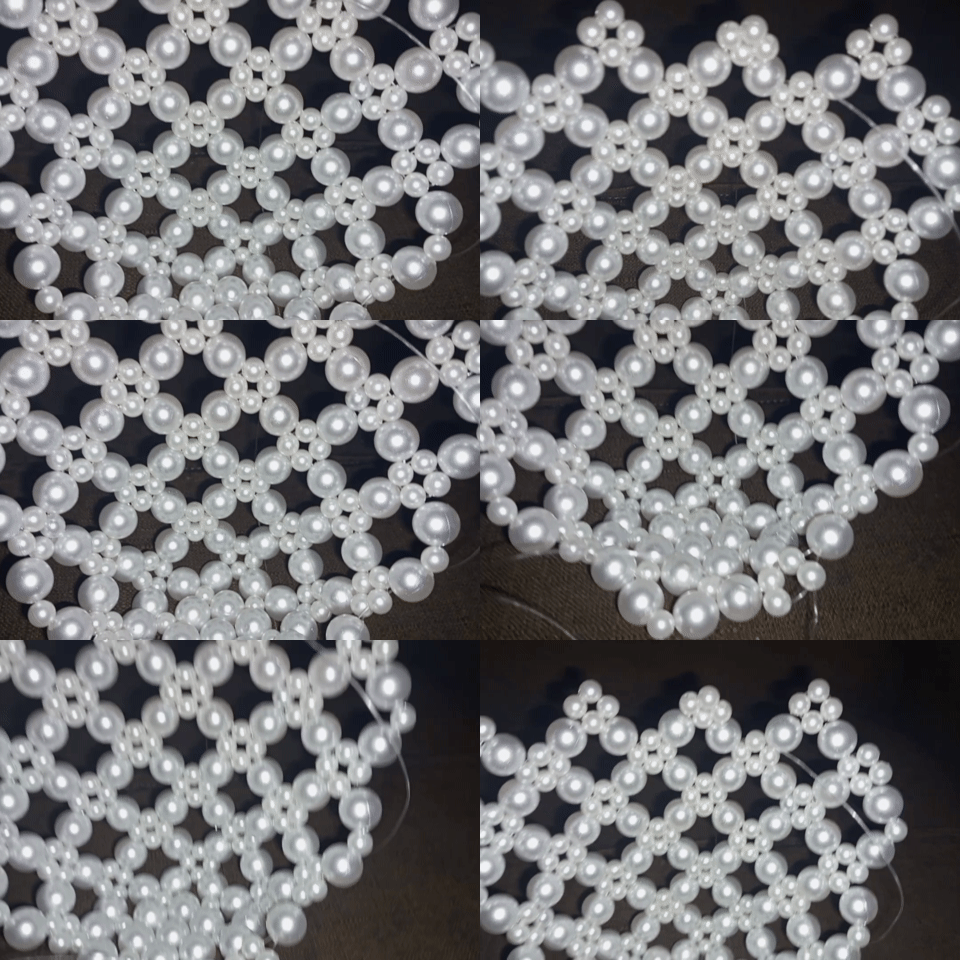
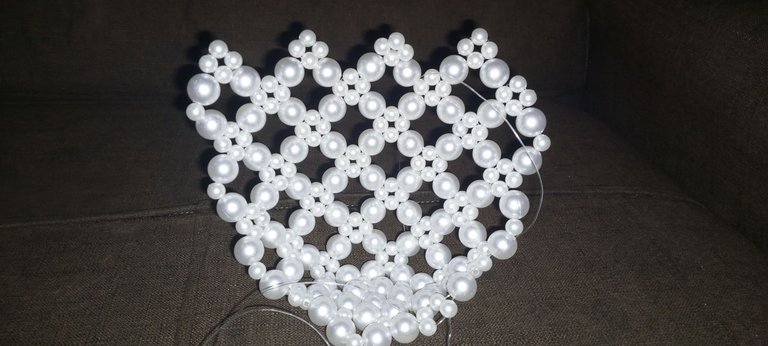
Step 17:
Here, I have the complete size of the bag, and it is time to close the design. 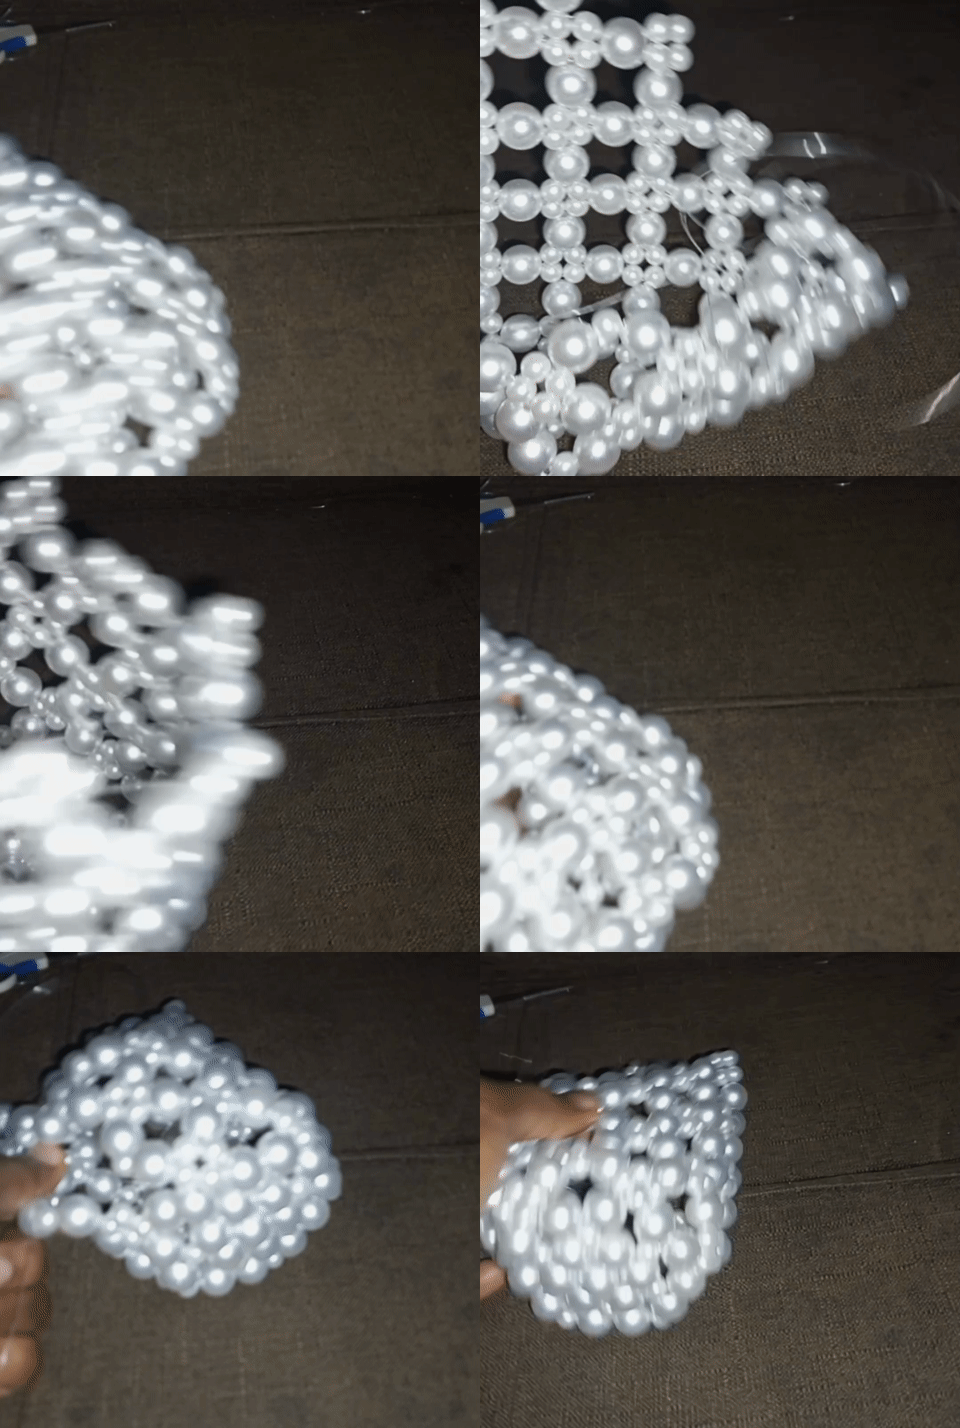
I put one size 8 bead on my right fishline and then passed the fishline through the corresponding size 8 bead on the other side of the design
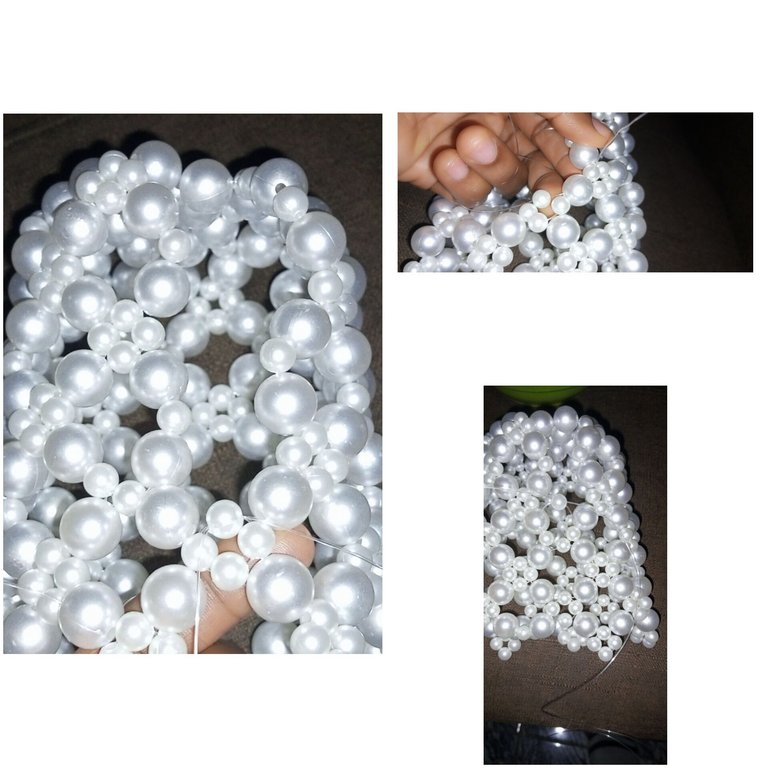 I continue this process until the design is completely closed.
Without the handles, I think it will make a perfect flower vase.
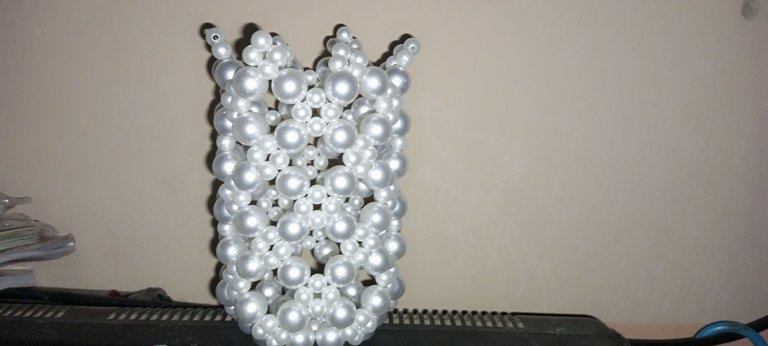
Step 18:
It's time to put a small handle on the bag. I cut a 15 cm fishline from the 0.60 fishline, put 14 size 14 beads on it, and then attached it to both sides of the bag.
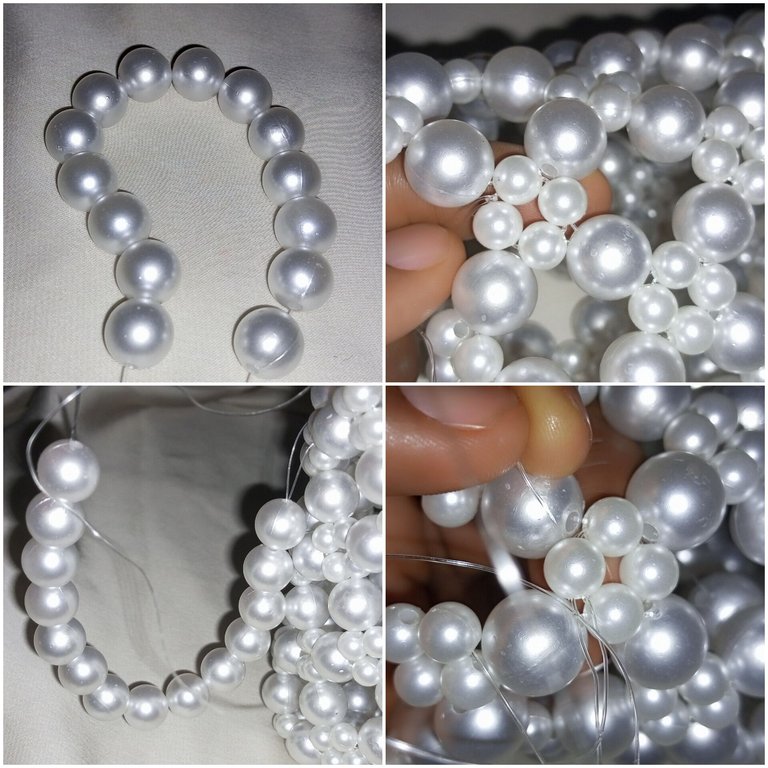
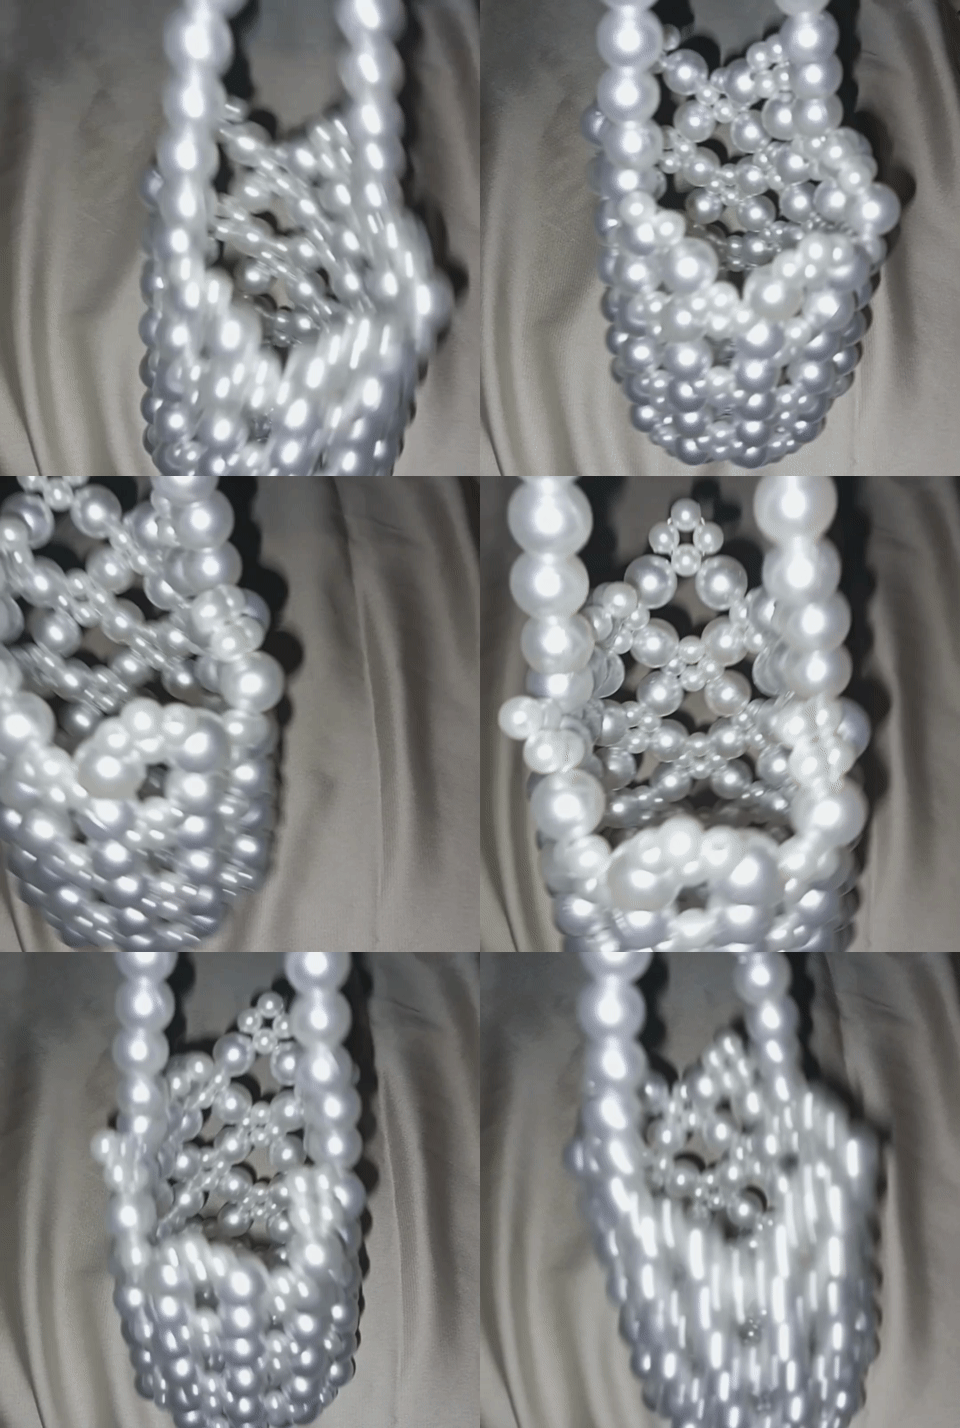
Step 19:
This is the last step of the bag. Here, I put the long hand on the bag by cutting a 20 cm long from the 0.50 fishline, putting 80 size 8 beads on it, and attaching it to the bag. I make sure to tie a strong knot, pass around the excess fishlines, and cut them off.
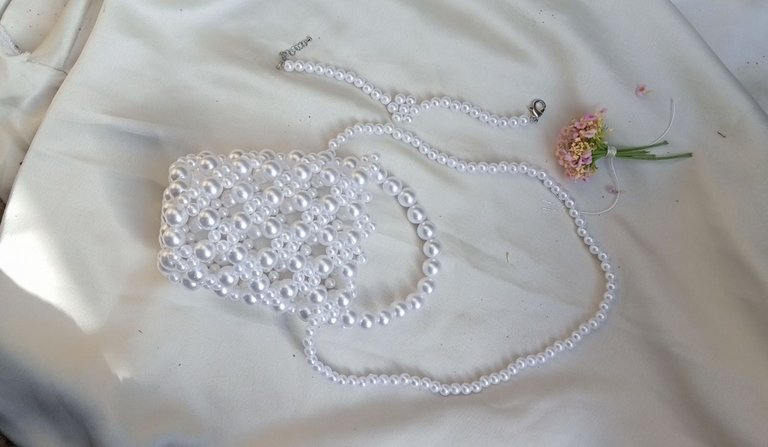
 I made this bracelet to compliment the bag for her.
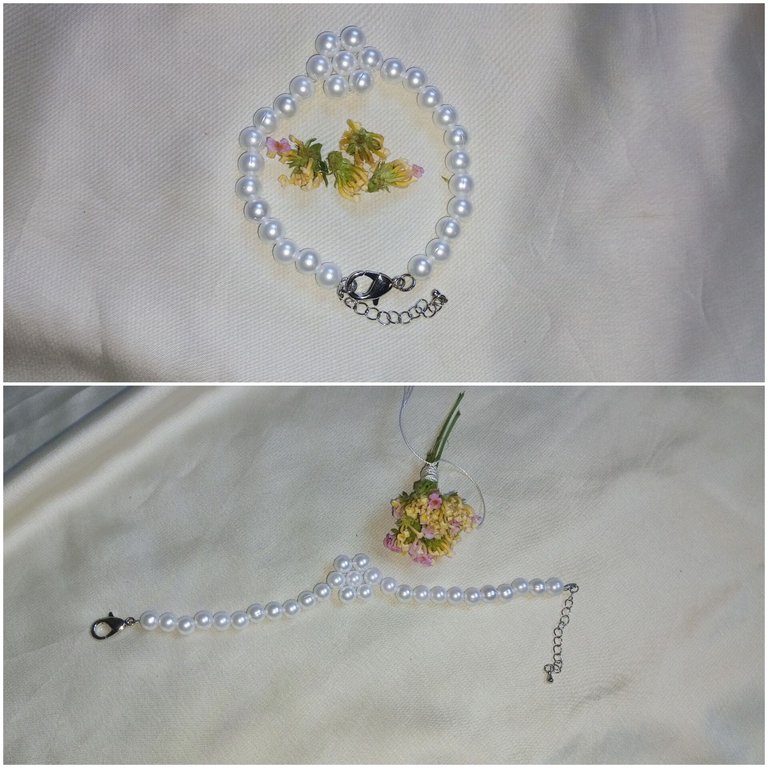
The process is quite simple. To make this, I used 29 size 8 beads, size 0.5 fishline, and bracelet hook and wire.
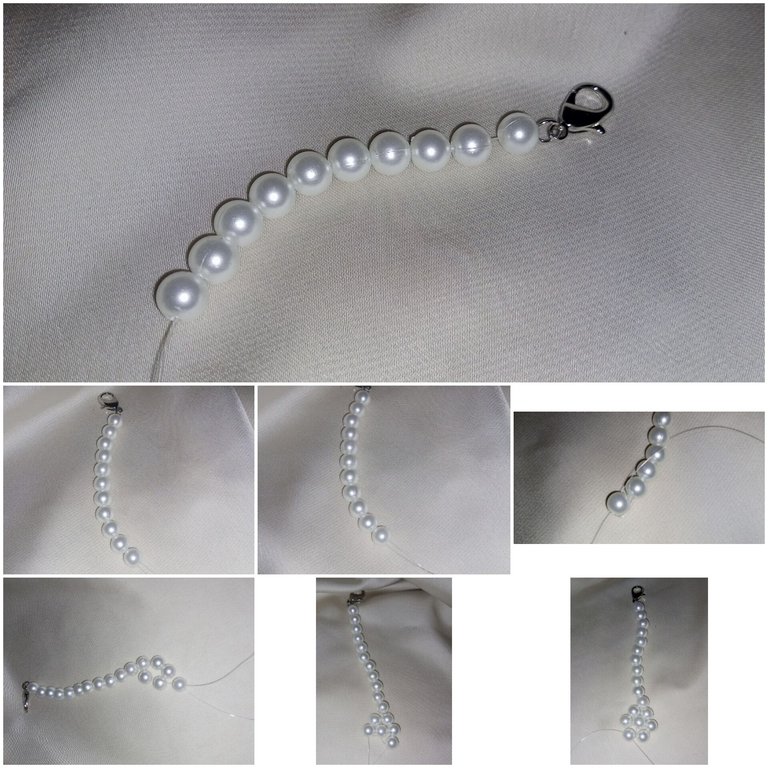
Step 1:
I cut a 15 cm long size 0.50 fishline put my hook on the fishline, and tied the knots; I brought the two fishlines together and put ten beads on it.
Step 2:
I put one bead on my left fishline, then cross it with my right fishline.
Step 3:
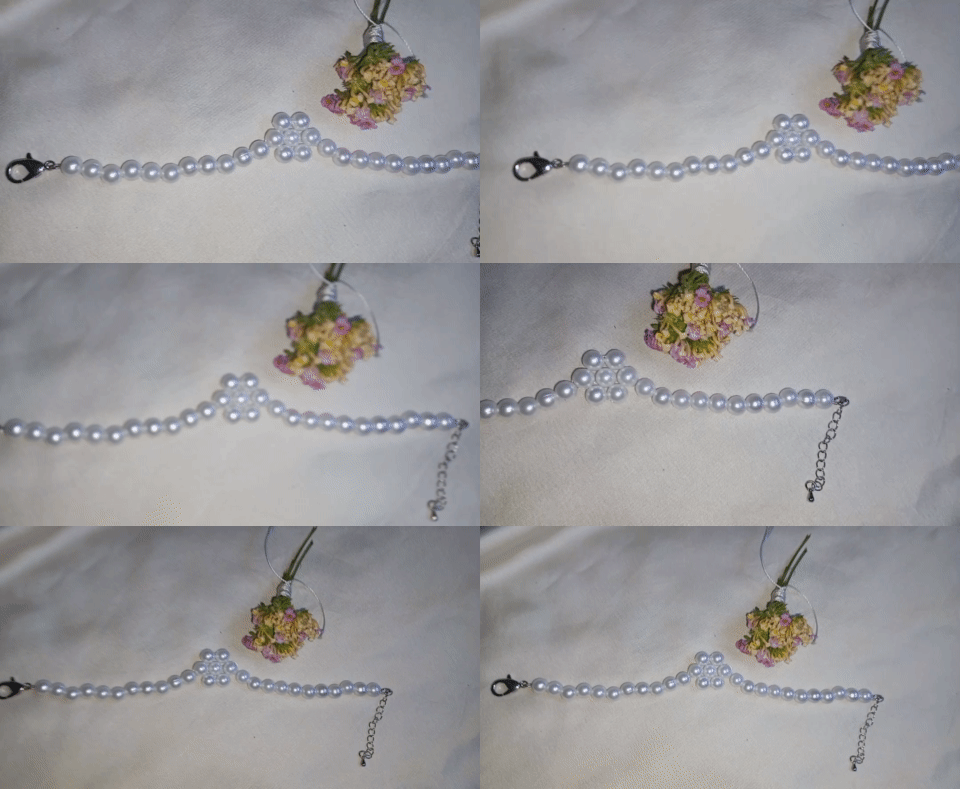
I put two beads on the left fishline and two beads on the right fishline, then brought the two fishlines together, put one bead on it, then passed each fishline through the previous two beads on each side, respectively. This creates the flower shape, as you can see in the picture.
Step 4:
I brought the two fishlines together, put ten beads into it, added my clasps, and then tied the knots. And my bracelet is ready.

Thank you so much for your time and support.
All Images are mine.
Sending Love and Ecency Curation Vote!
 Follow Eceny's curation trail to earn better APR on your own HP. : )
Thank you very much !LUV
@untilwelearn, @funshee(3/5) sent you LUV. | tools | discord | community | HiveWiki | <>< daily
Wow!! You took your beading game to another level and that’s impressive friend, well done and keep the fire burning.
Thank you so much for your encouraging words. 🙏😊
I will continue to do my best.
Wow such a wonderful work you have done, I can't believe you managed to create such an impressive bead work like this, nice job and keep it up
Thank you very much, for your words.🙏😊 !LUV
@eberechi01, @funshee(1/5) sent you LUV. | tools | discord | community | HiveWiki | <>< daily
This is amazing Funshee! The fact that we both got our first major clients around the same time is a sign😂.
I love LOVE this bag and the beads you used to make it.
!LUV
@funshee, @wongi(4/4) sent you LUV. | tools | discord | community | HiveWiki | <>< daily
Aww 🥰 I'm so happy for you, too, dear Wongi; our effort is finally paying off in a new direction.
Thank you very much, I love the bag myself, and if I continue to work hard, I might make one for myself hehe
!LUV
@wongi, @funshee(3/5) sent you LUV. | tools | discord | community | HiveWiki | <>< daily
I'm proud of us😊
Cheers 🥂🥰
Congratulations @funshee! You have completed the following achievement on the Hive blockchain And have been rewarded with New badge(s)
Your next target is to reach 12500 replies.
You can view your badges on your board and compare yourself to others in the Ranking
If you no longer want to receive notifications, reply to this comment with the word
STOPCheck out our last posts:
This is really lovely. I love the outcome, I've always been a fan of beaded bags.
Thank you very much Tari, I'm glad you love the bag. !LUV
@young-tari, @funshee(1/5) sent you LUV. | tools | discord | community | HiveWiki | <>< daily
Yeah I do
This bag is so stunning, think I will have to start learning from you
Thank you very much, Lecia; it will be nice if you start beading again.😊
I will definitely, you are my inspiration
Aw 😍 that is so sweet to hear.
Thank you! And i will be here to cheer you on.
If you need any tip just ask.