2da participación- Lámpara de noche con cartón//2nd participation- Night lamp with cardboard
Hola hola! Hoy otra vez por aquí, pero quiero hacer otra entrada al concurso, con está genial idea de una lámpara de noche,un poco mas complicado porqué debemos trabajar con corriente, te enseño el pasó a pasó de cómo la fui realizando
Hello hello! I'm back here again today, but I want to make another entry to the contest, with this great idea of a night lamp, a little more complicated because we have to work with electricity, I'll show you the step by step of how I made it.

Primeramente los materiales fueron
Firstly the materials were
| Column1 | Column2 |
|---|---|
| Cartón | Text |
| Papel crepe | Text |
| Foamis | Text |
| Socates y conector de corriente | Text |
| Cable de corriente | Text |
| Tijeras y Silicon | Text |
| Bombillo | Text |
| Teipe | Text |
| Pinturas | Text |
Tutorial
Tutorial
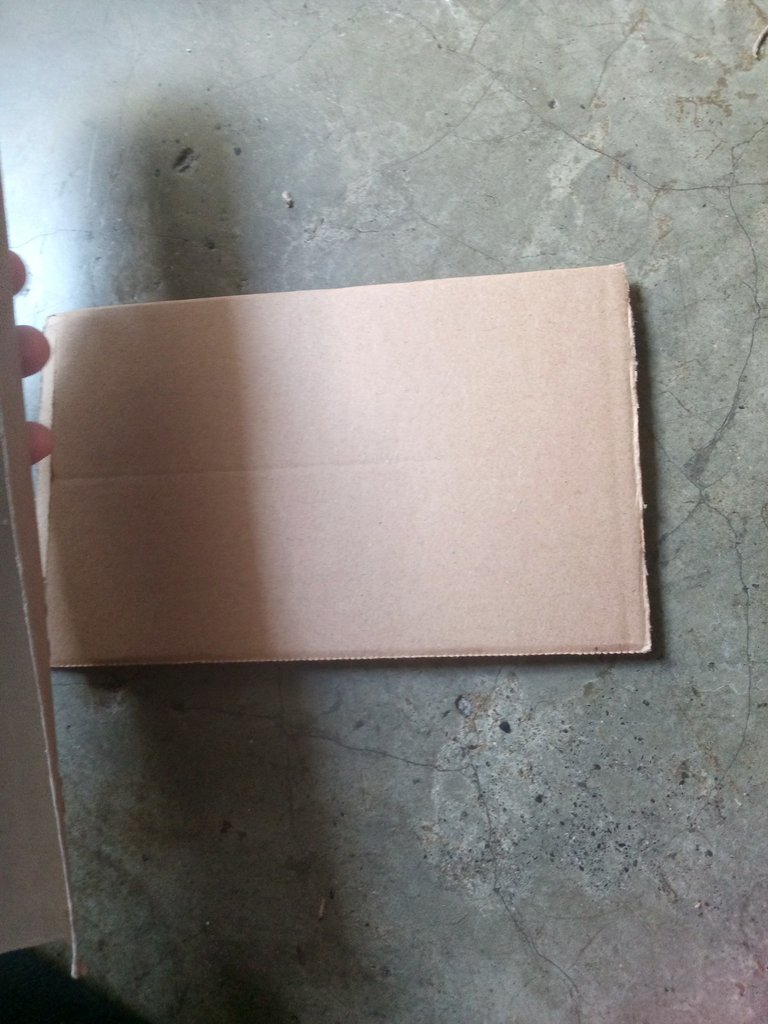
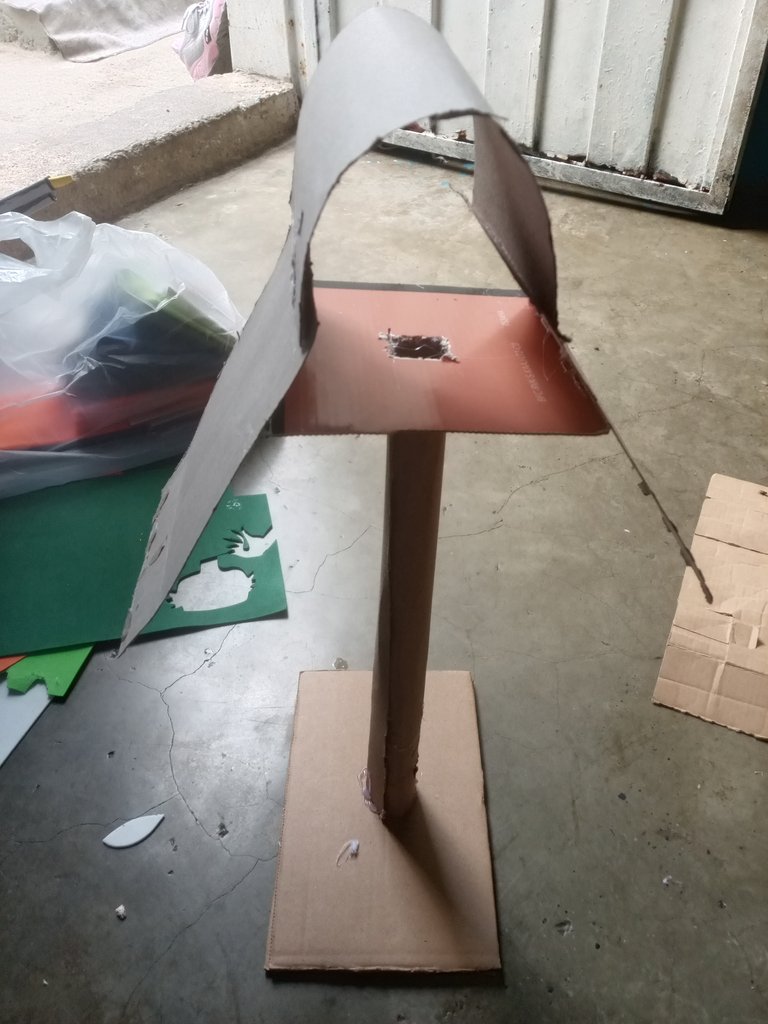
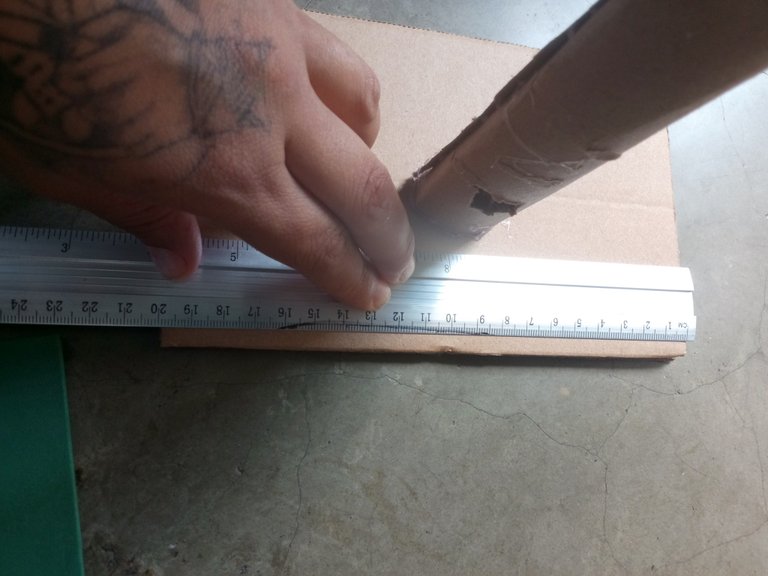
- Lo primero es tomar las medidas de dos cartones para dar una basé resistente, así qué se deben de pegar
The first thing is to take the measurements of two cardboards to give a resistant base, so they should be glued together
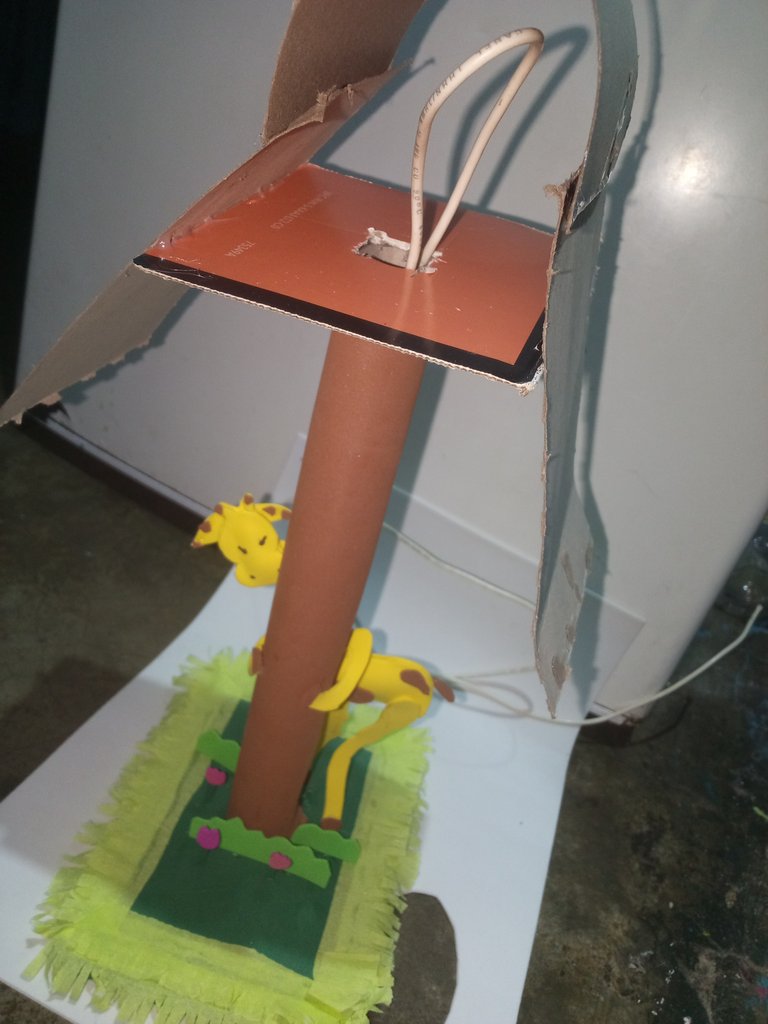
- Con otro cartón más alargado vamos hacer un tubo que iría en el centro de la basé para facilitar el procesó de meter el cable de corriente se le abrirá un hueco por la zona baja
With another longer cardboard we will make a tube that would go in the center of the base to facilitate the process of inserting the power cable, a hole will be opened in the lower area.
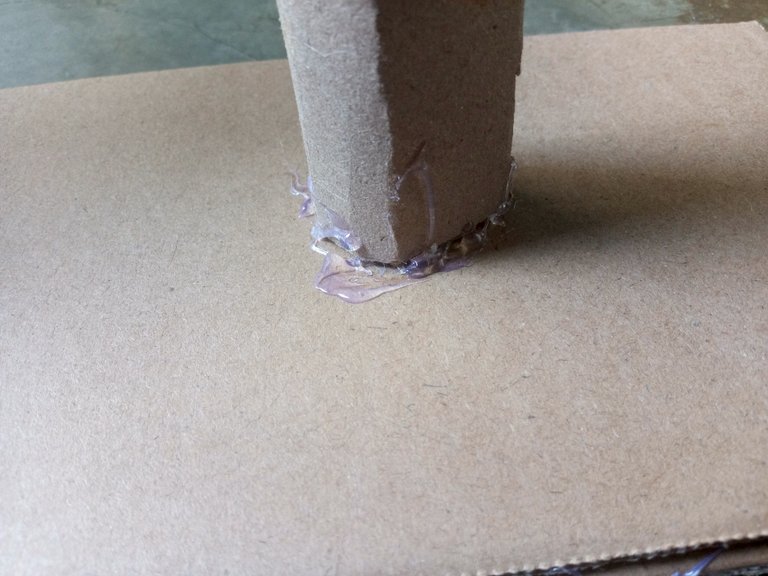
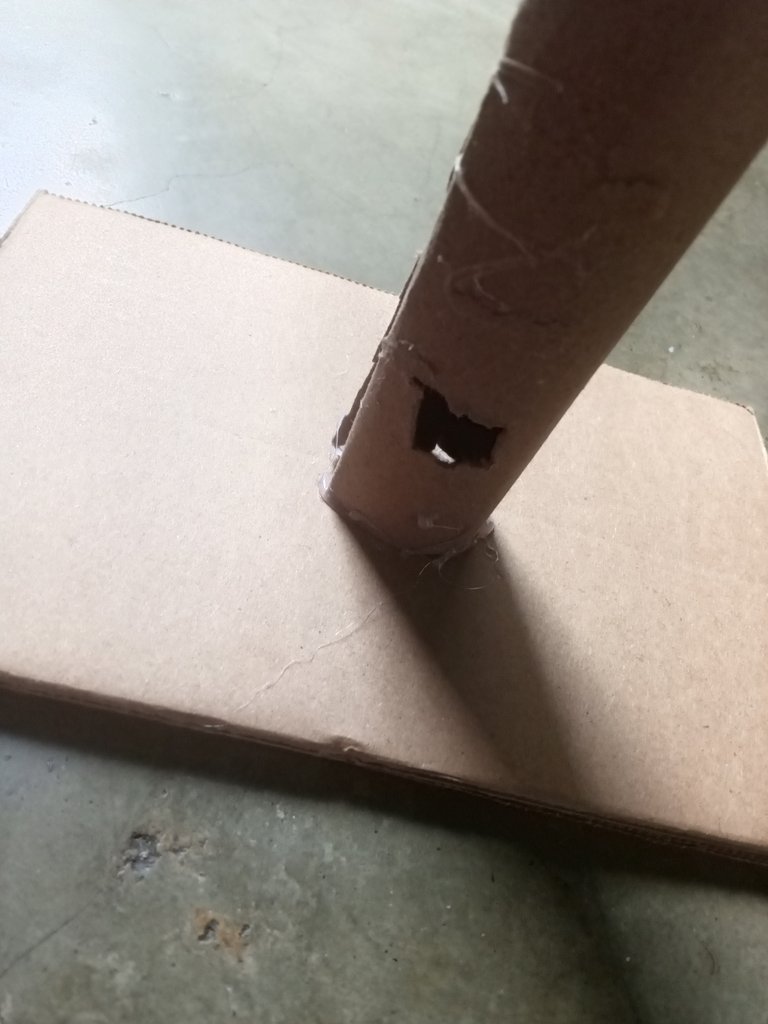
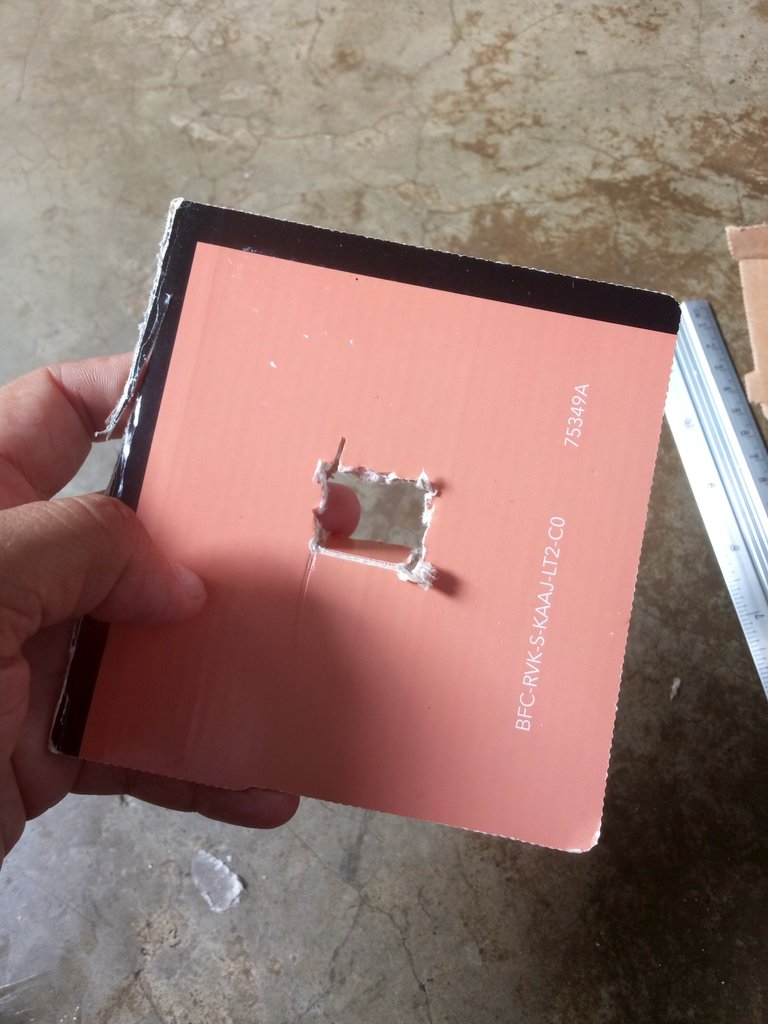
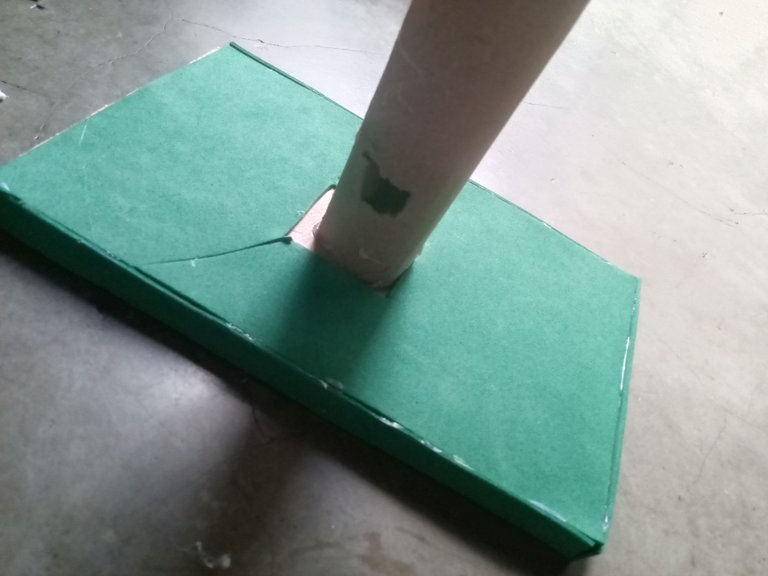
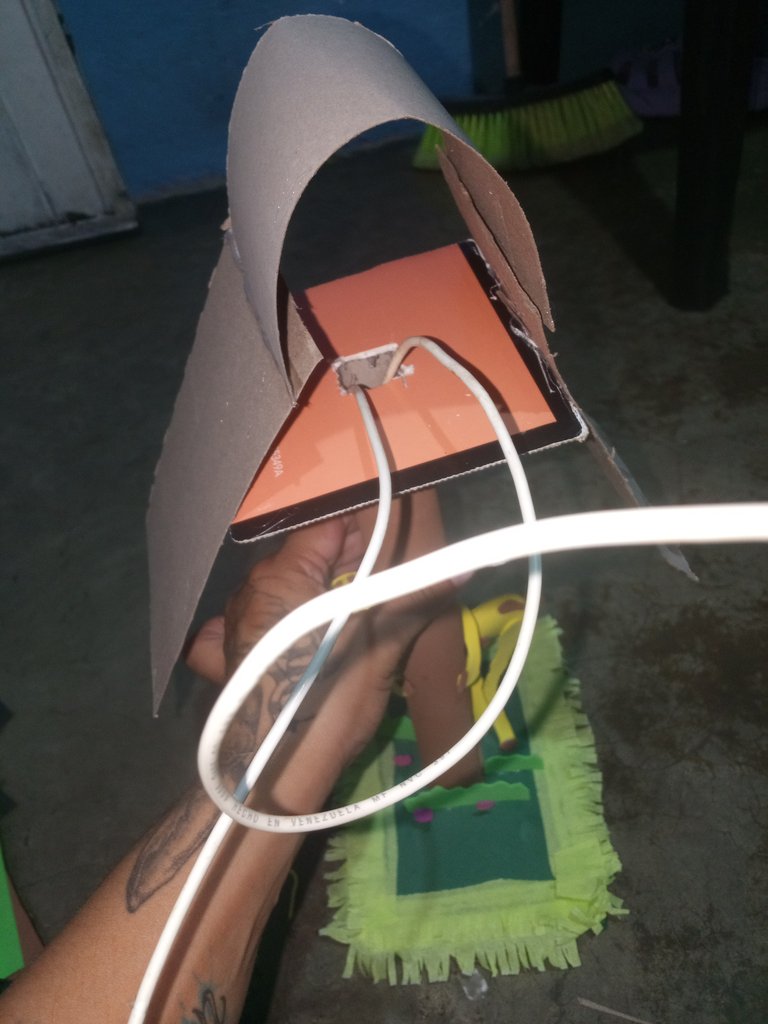
- Por la zona superior tomaremos otro cartón le abriremos un orificio y colocaremos por encima del tubo de esta manera
From the top we will take another cardboard, make a hole in it and place it on top of the tube like this
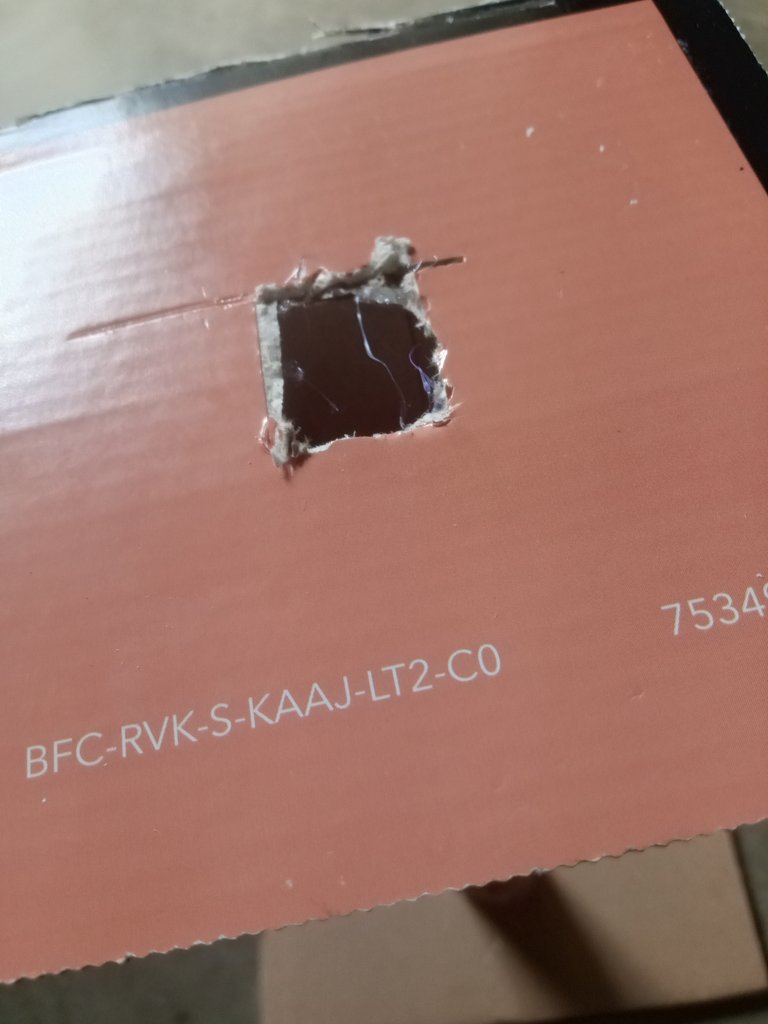
Lo qué le hice por encima, sera la basé de dónde me apoye para forrar la lámpara eso lo verás imágenes mas abajo 🤗por ahora explicó cómo forré y realicé la jirafa
What I did above will be the base where I leaned to cover the lamp, you will see that in the images below 🤗for now I will explain how I covered and made the giraffe
- Con un foami verde tomé las medidas del rectángulo de la basé
With a green foam I took the measurements of the rectangle of the base
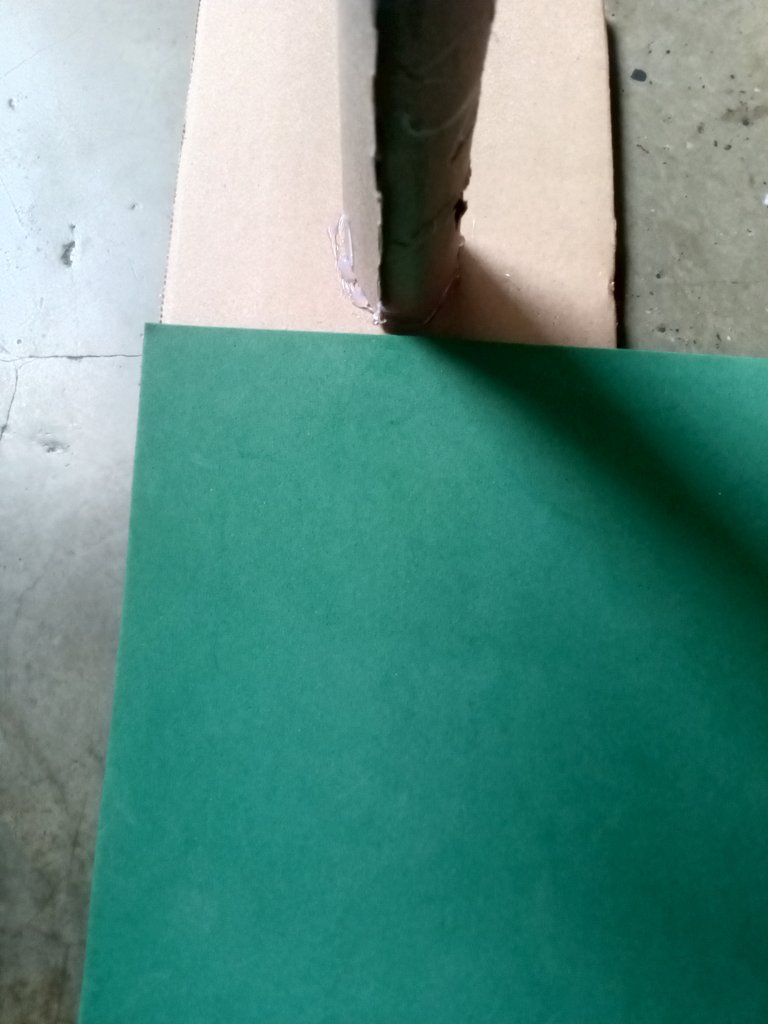
Y plasme en el foami para asi luego recortarla,para adentrar el foami solo basta contar una esquina y meterlo
And I put it on the foam so that I could cut it out later. To insert the foam, just count one corner and insert it.
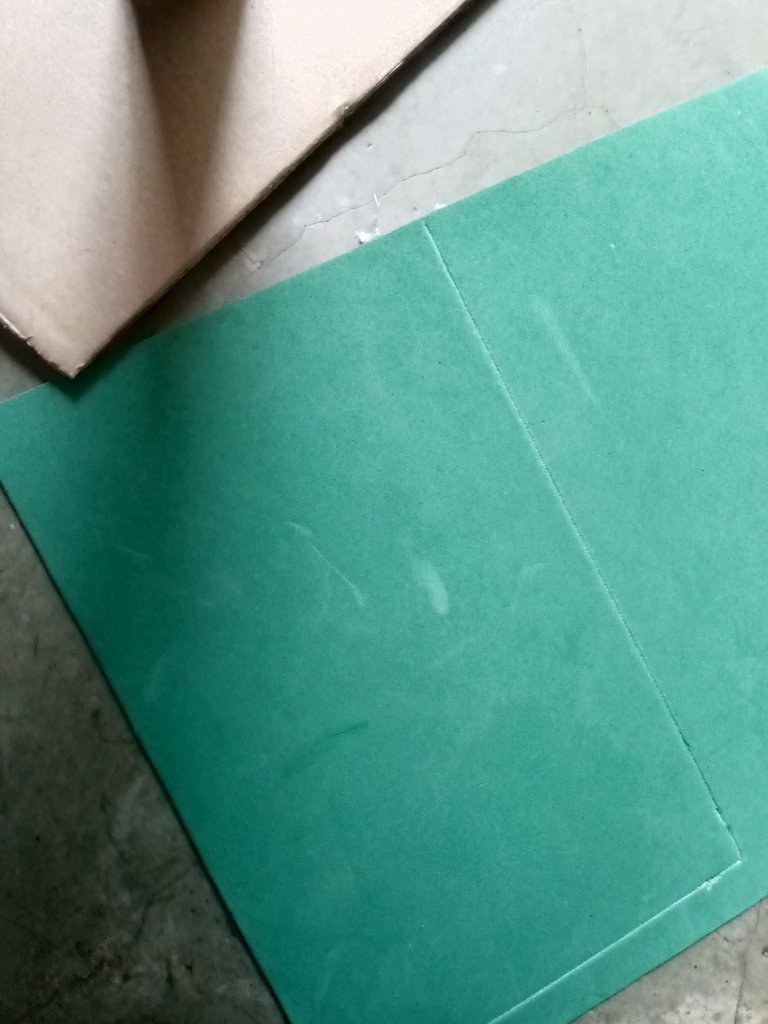
Aqui pueden ver la raya por donde corté
Here you can see the line where I cut
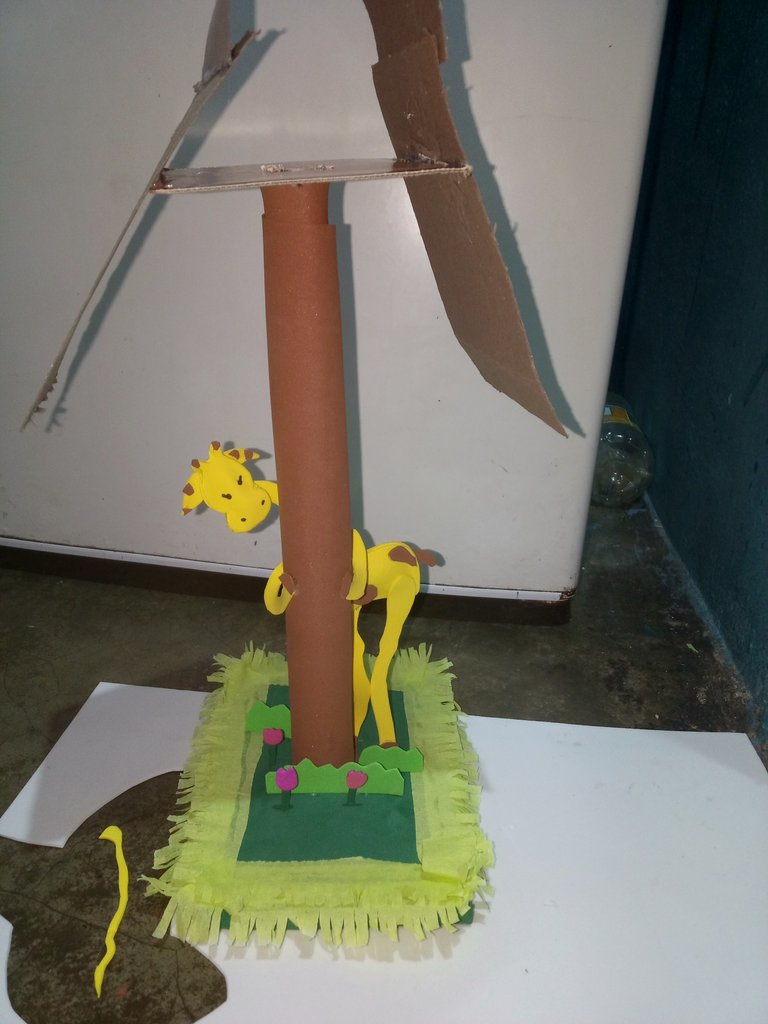
- Para lo qué es tronco corre el tubo con foami marrón
For what is trunk, run the tube with brown foam
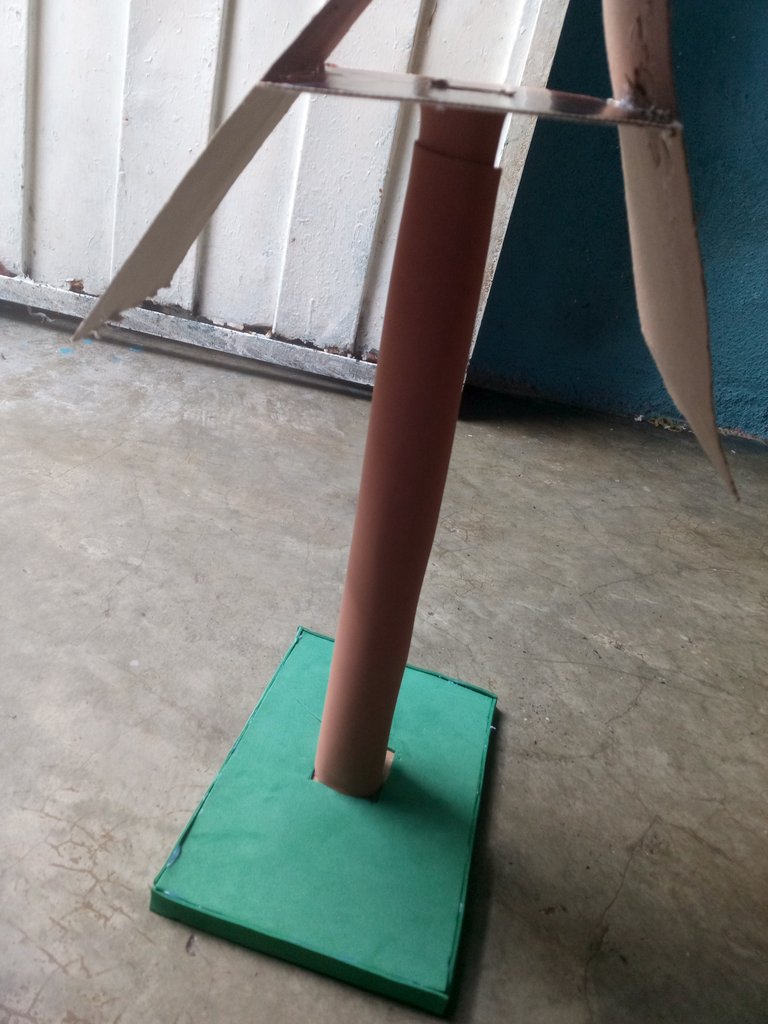
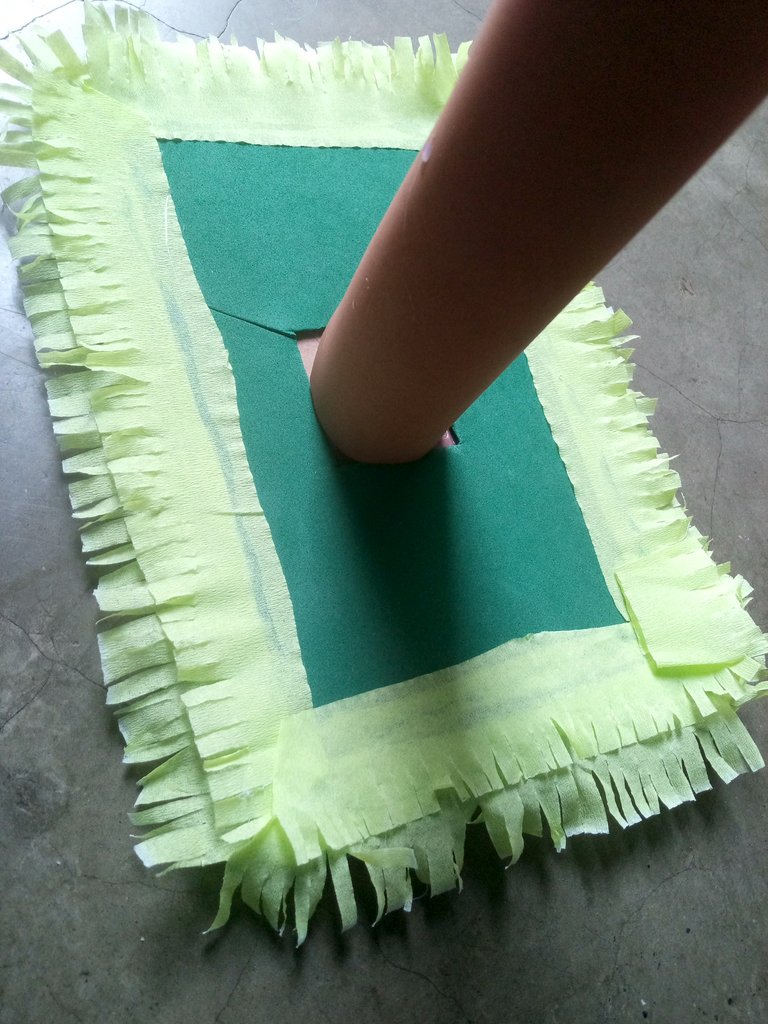
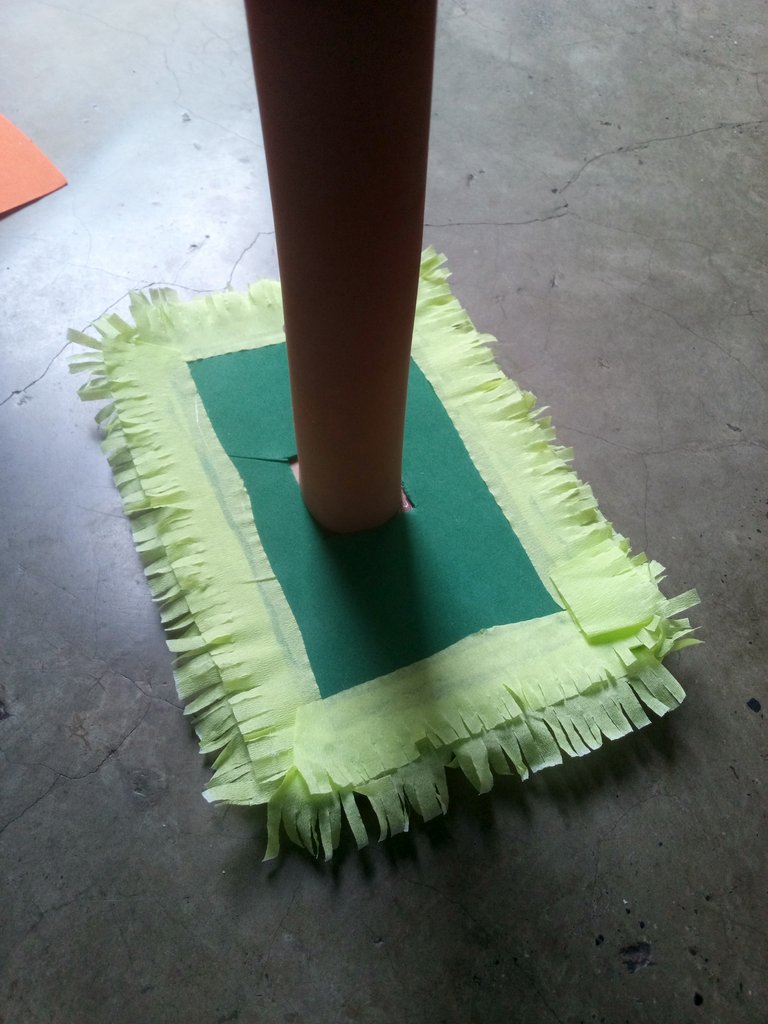
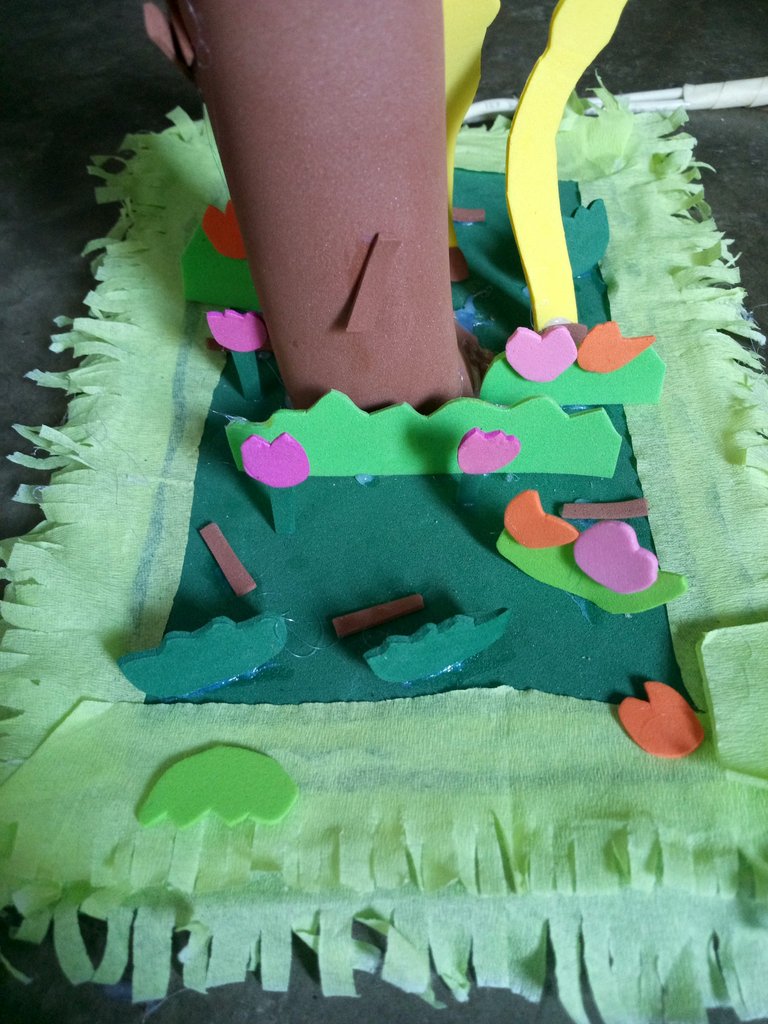
- Y con la ilusión fel césped,hice un corté con papel crepe verde y forre el alrededor
And with the illusion of grass, I made a cut with green crepe paper and lined the surroundings
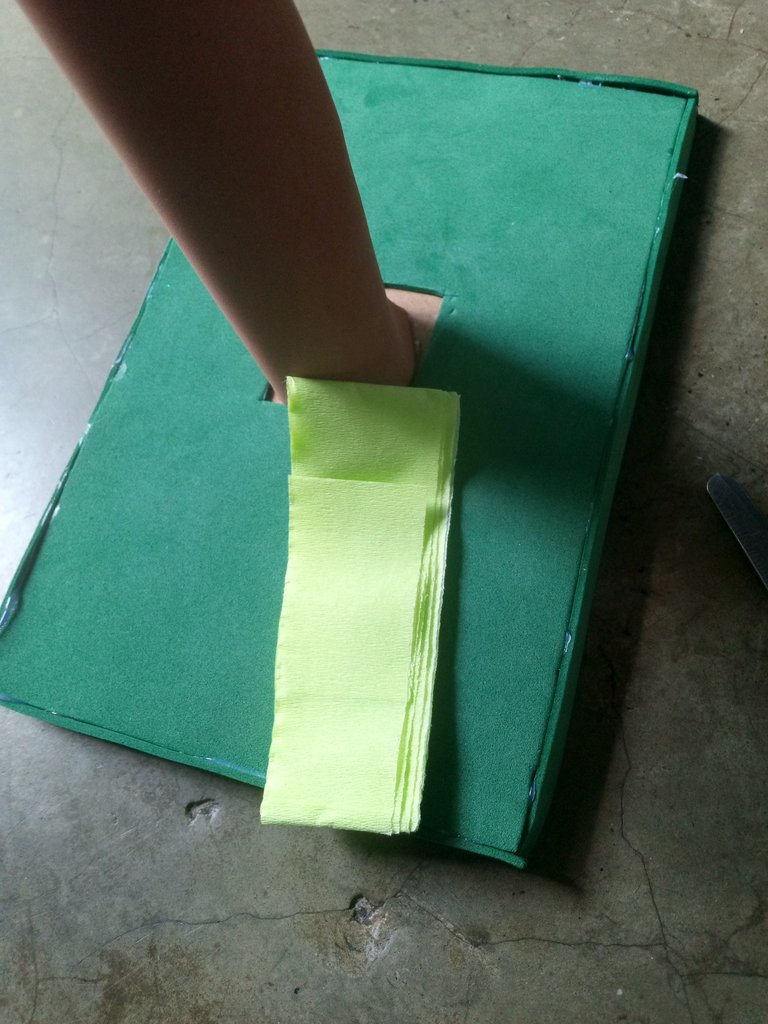
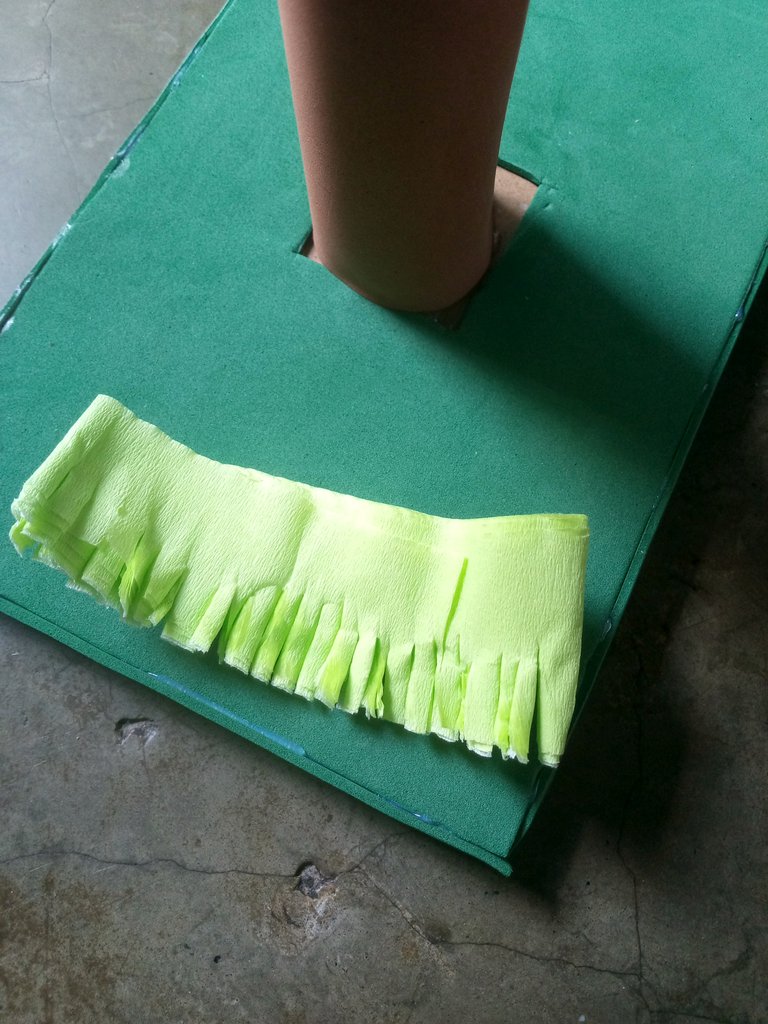
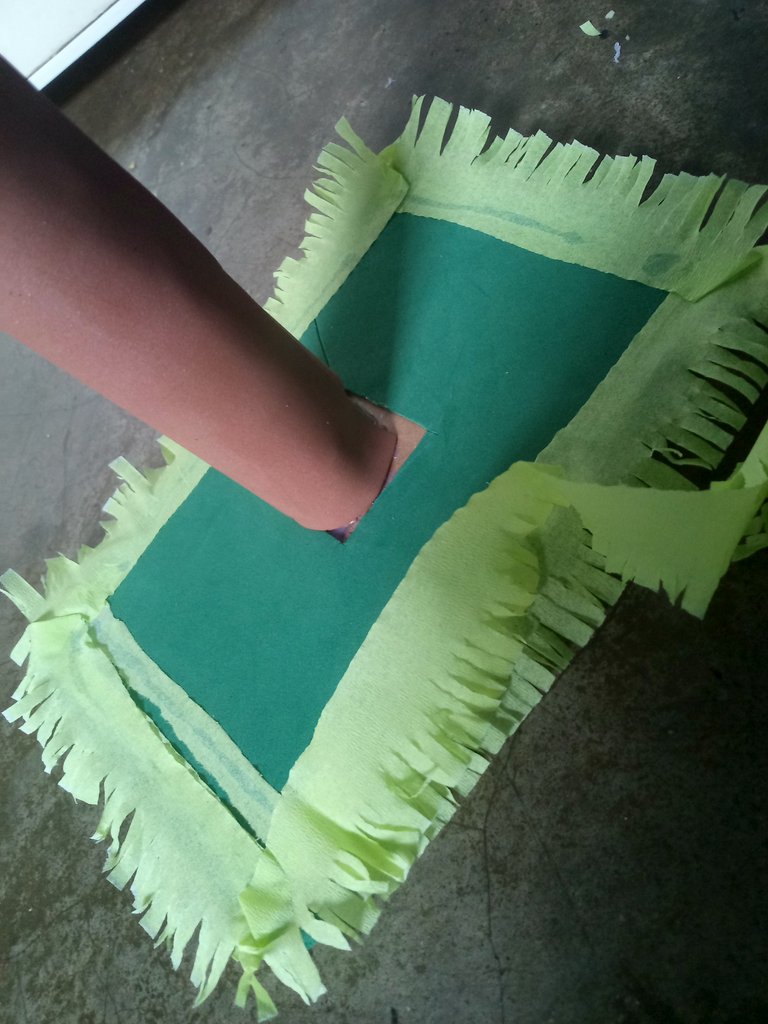
Le realicé dos vueltas
I did two laps
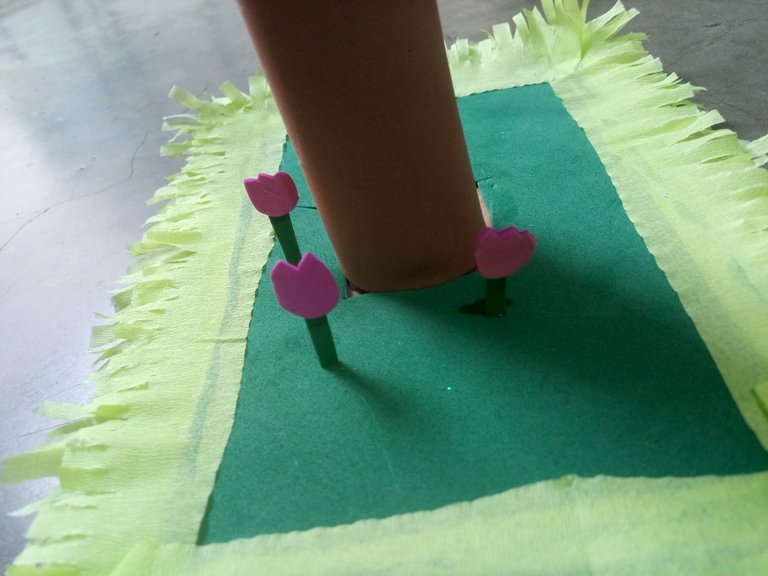
- Aqui les enseñó dos cortes para las flores con foami verde y rosa
Here I show you two cuts for the flowers with green and pink foam.
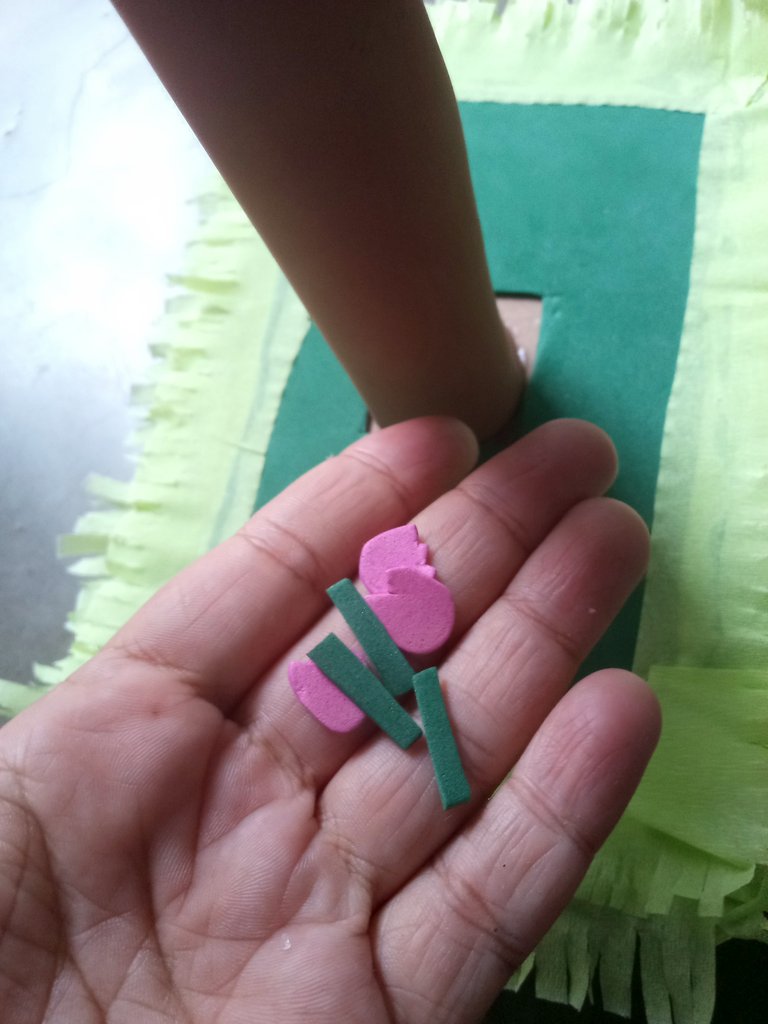
Y así me Iban quedando
And so I was left
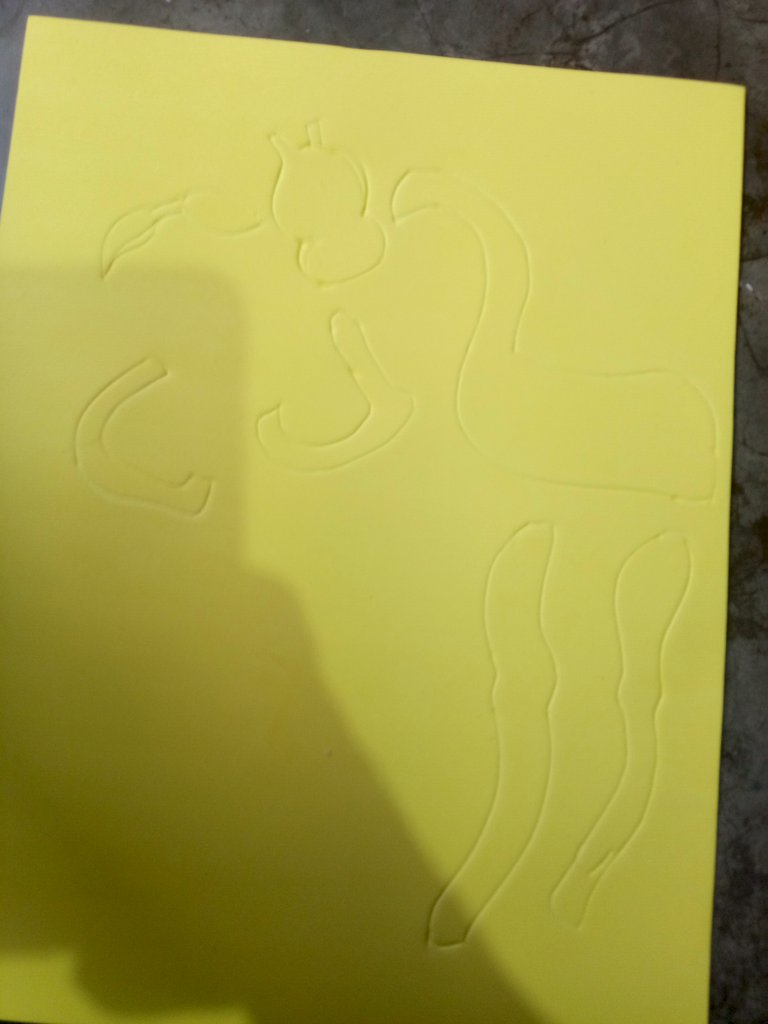
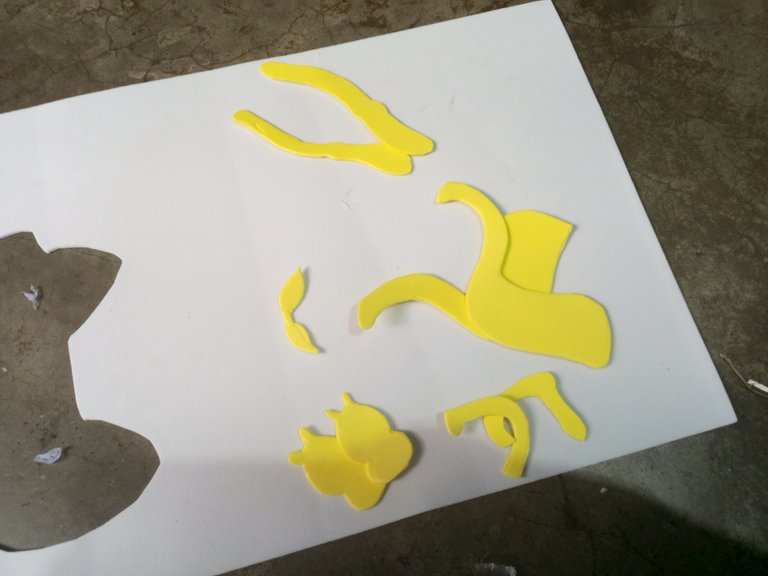
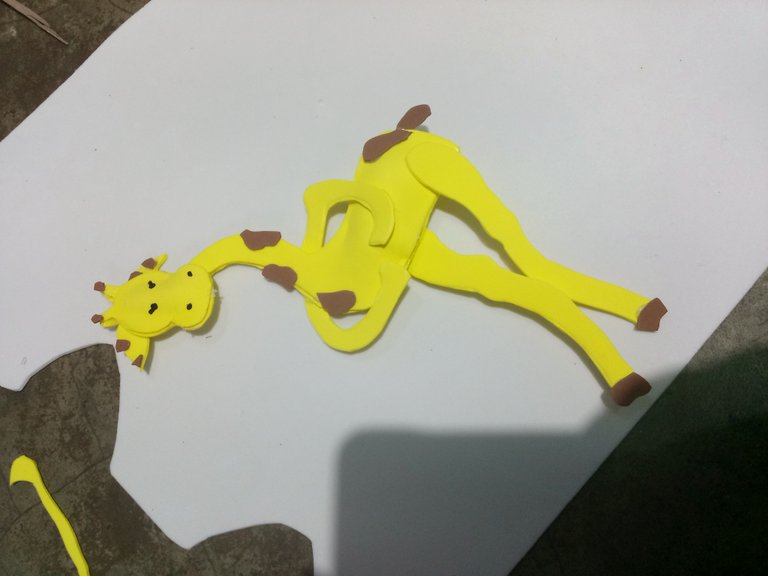
- El cuerpo de la jirafa,lo primero qué hice fue dibujar el molde sobre el foami amarillo y recorté
The body of the giraffe, the first thing I did was draw the mold on the yellow foam and cut it out
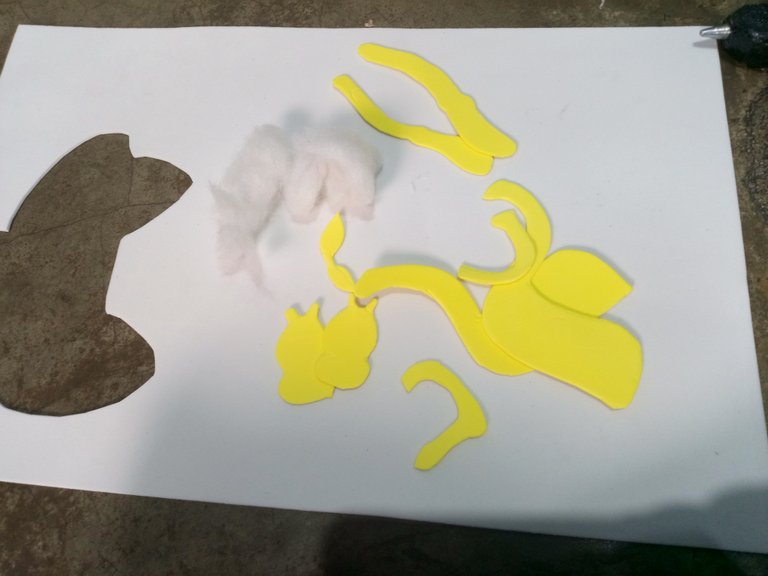
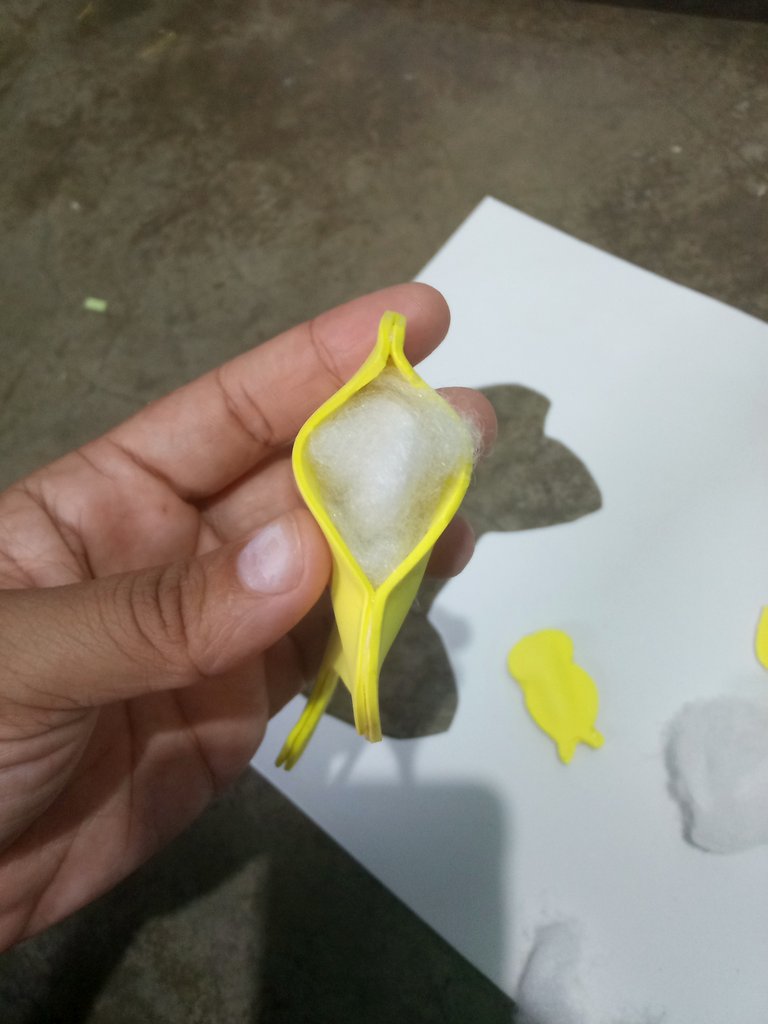
- Con rellenos (opcional) para darle un efecto más esponjoso, rellené el cuerpo y la cara
With fillers (optional) to give it a more fluffy effect, I filled the body and face
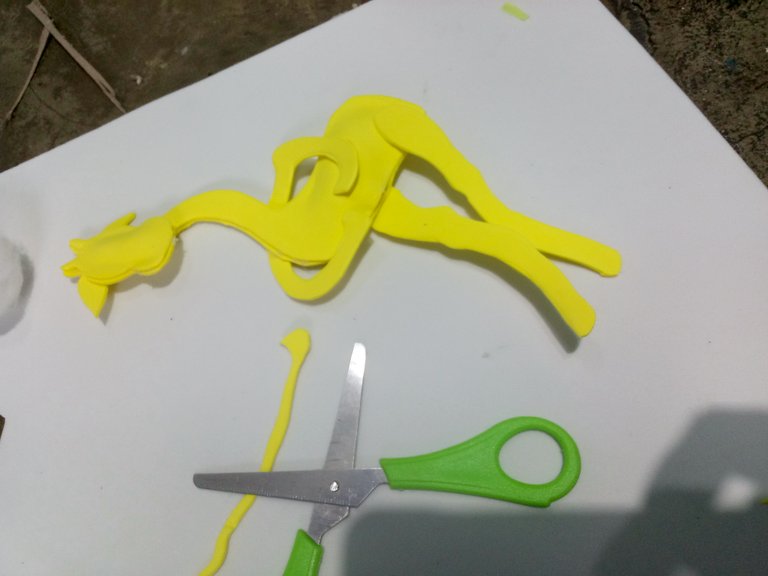
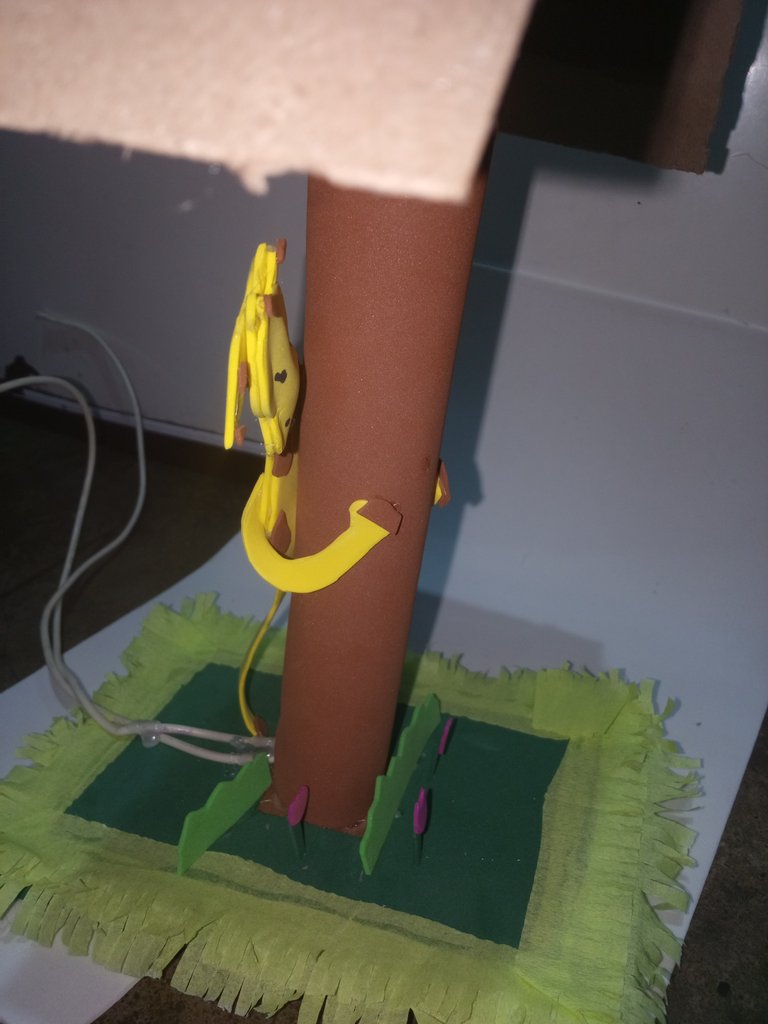
- Fuí pegando cada una de sus partes en la fotografías pueden notar cómo fue quedando y con foami marron realicé lo qué serían sus manchas
I was gluing each of its parts in the photographs you can see how it was turning out and with brown foam I made what would be its spots
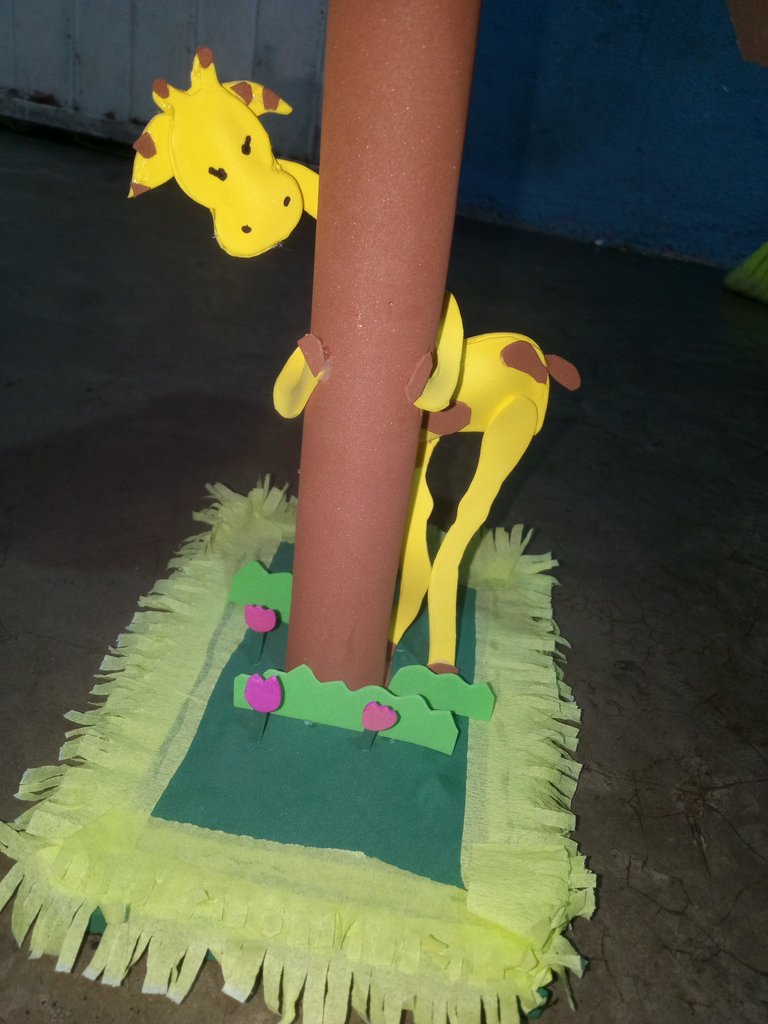
- Y pegué en la parte trasera del tronco
And I glued it to the back of the trunk
- Ahora vamos con lo qué es el cableado
Now let's go with what wiring is
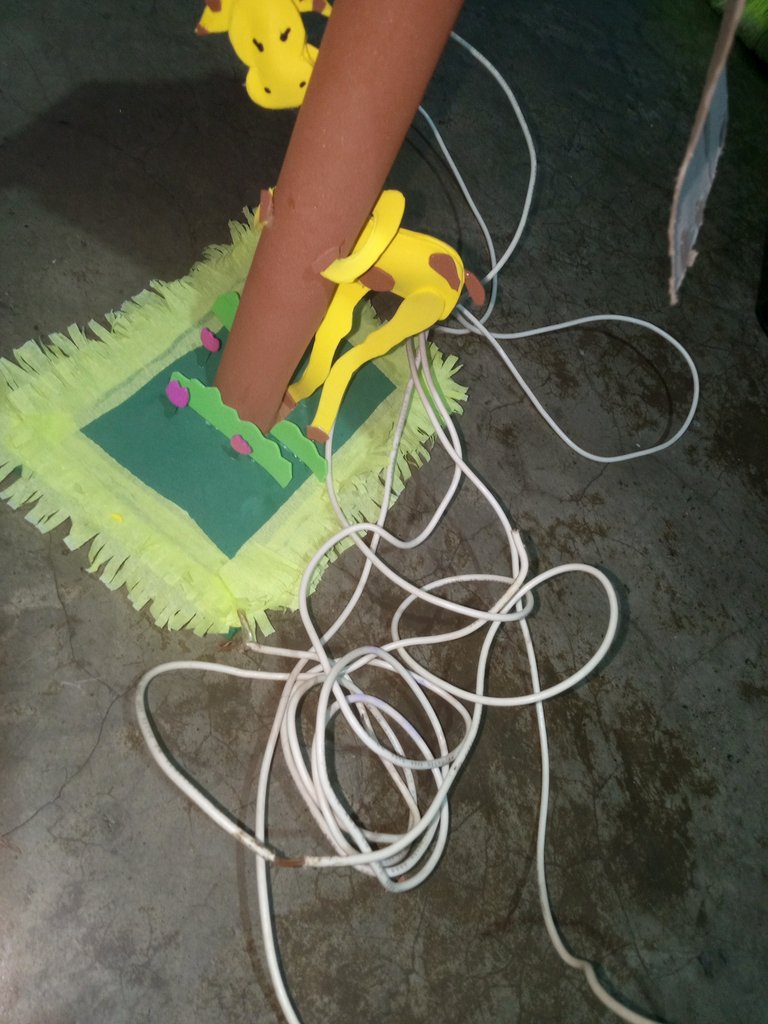
- Medimos y cortamos la cantidad necesaria desde el inico del tubo y lo largó qué se querría para él conector
We measured and cut the necessary amount from the beginning of the tube and lengthened it to what would be wanted for the connector.

- Por abajo al fonde de la base, para qué el cable no se mueva es recomendable pegarlo y asi quedaría dándole mas sostenibilidad
Below the bottom of the base, so that the cable does not move, it is advisable to glue it and thus it would be more sustainable.
La diferencia de realización de la lámpara es de un dia ,por eso se puede notar un poco él cambio de luz
The difference in the realization of the lamp is one day, that is why the change in light can be noticed a little.
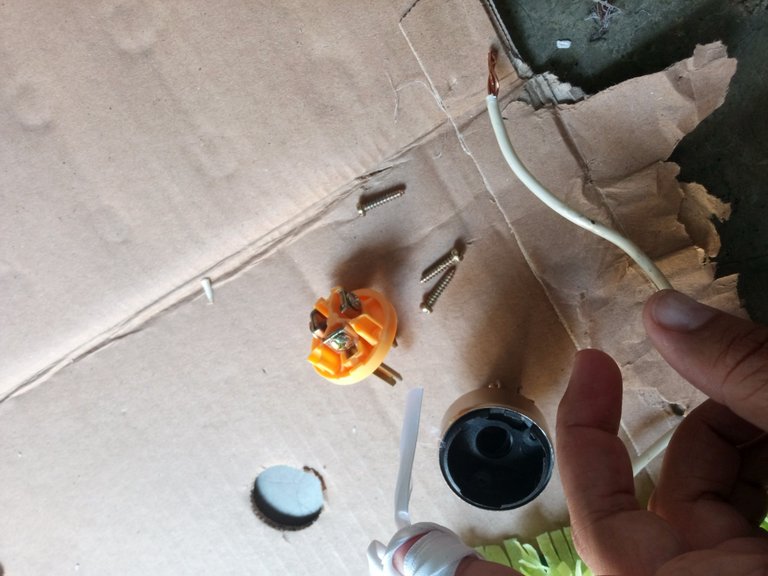
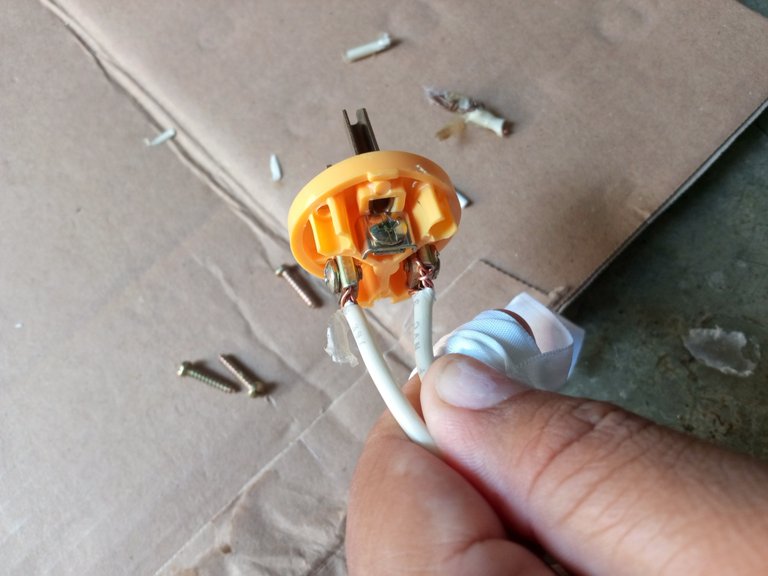
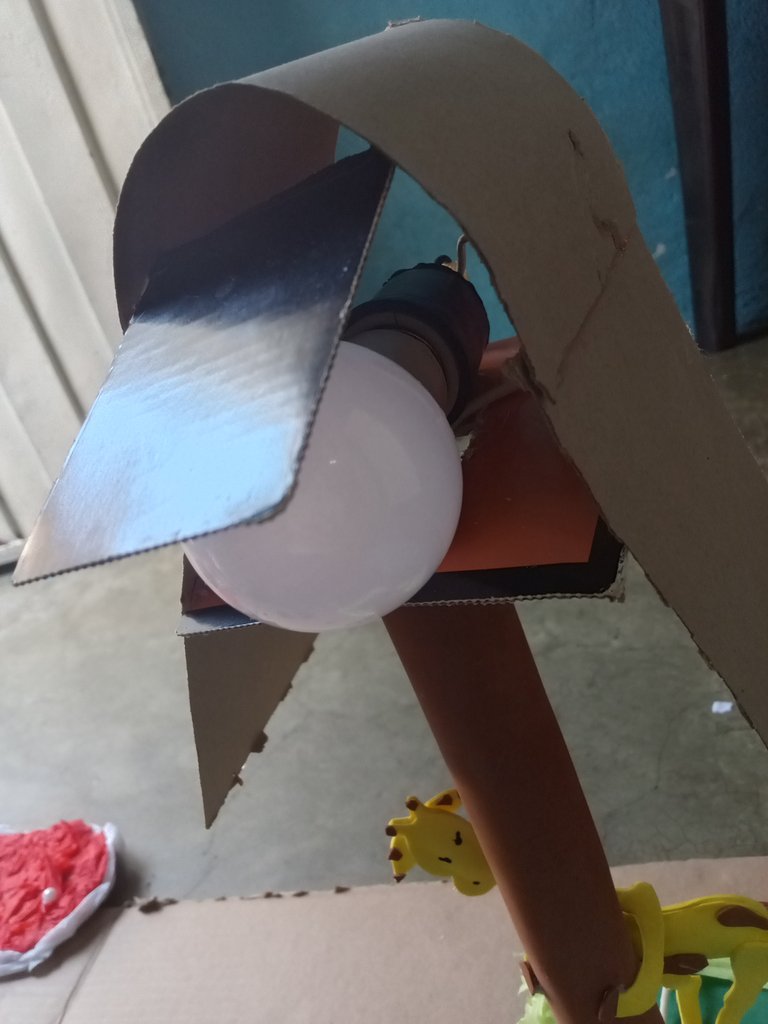
- Empezamos con la colocación del socates y el conector de corriente
We start with the placement of the sockets and the power connector
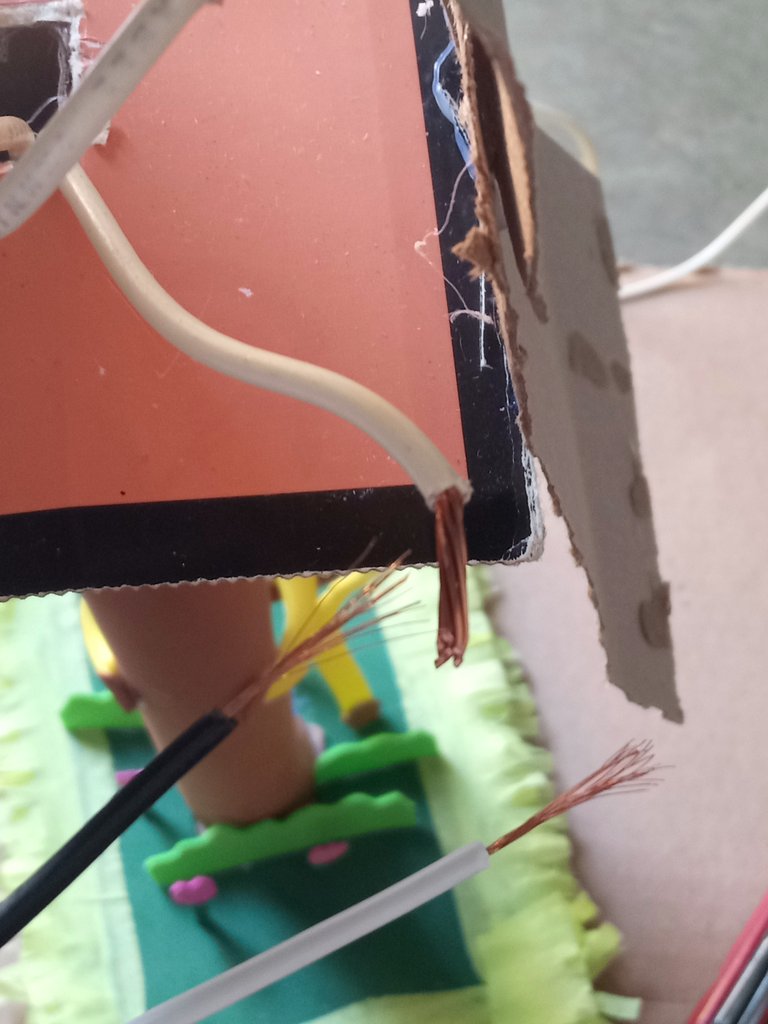
Picamos los cables y empezamos la unión recordando qué los cables deben mantener una distancia pará qué no choquén y tengan un cortó circuito
We cut the cables and begin the union, remembering that the cables must maintain a distance so that they do not collide and have a short circuit.
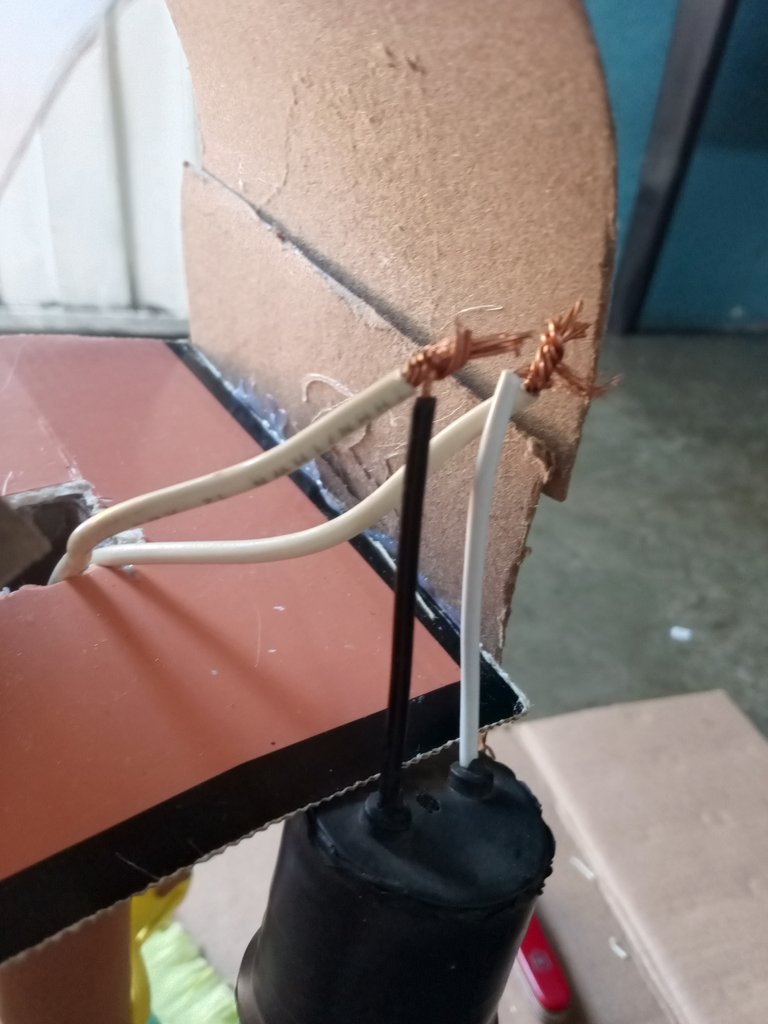
Esta fue la conexión del socates, con el teipe deben de taparse los cables para tener mas seguridad
This was the connection of the sockets, the cables must be covered with tape for greater security.
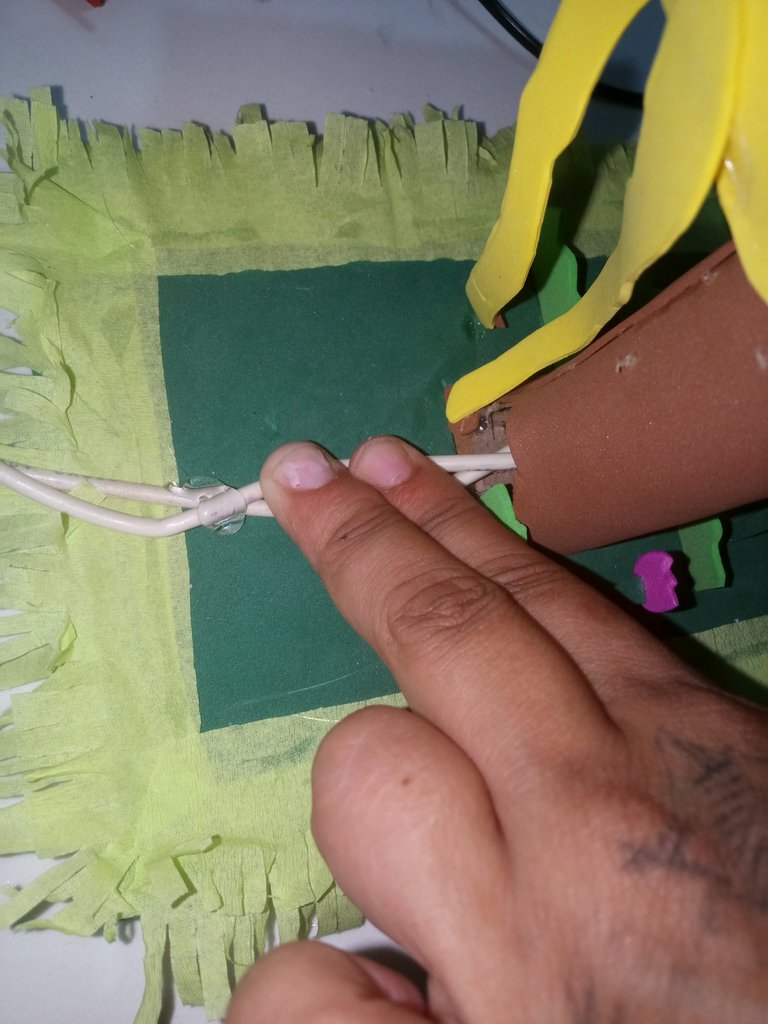
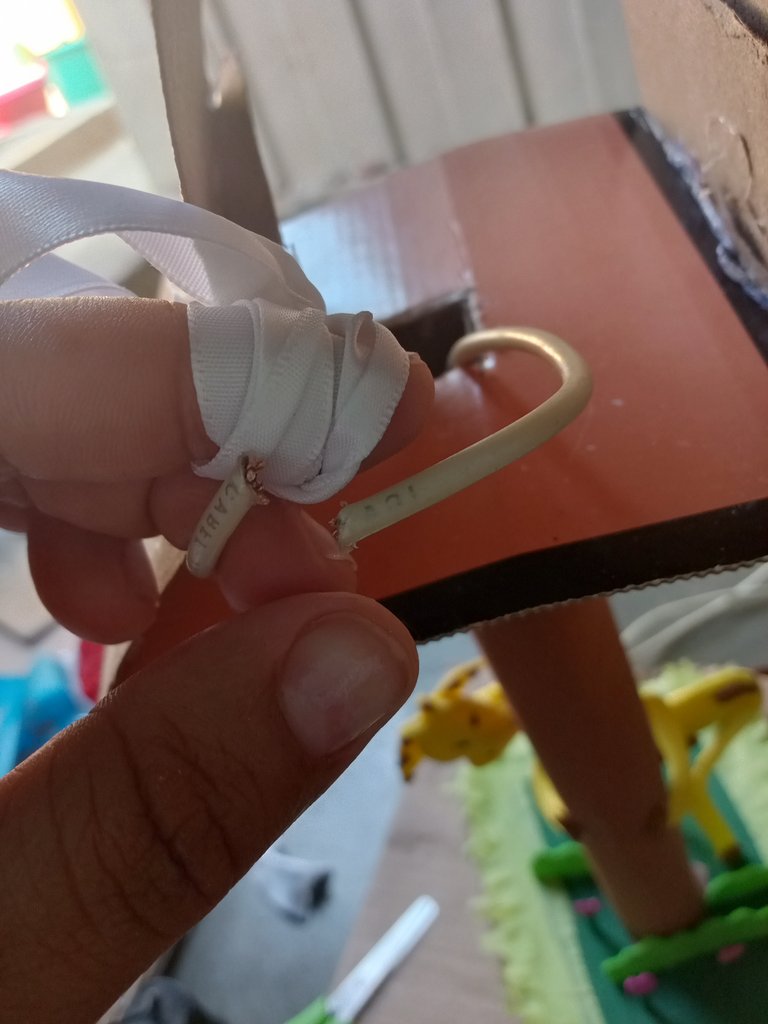
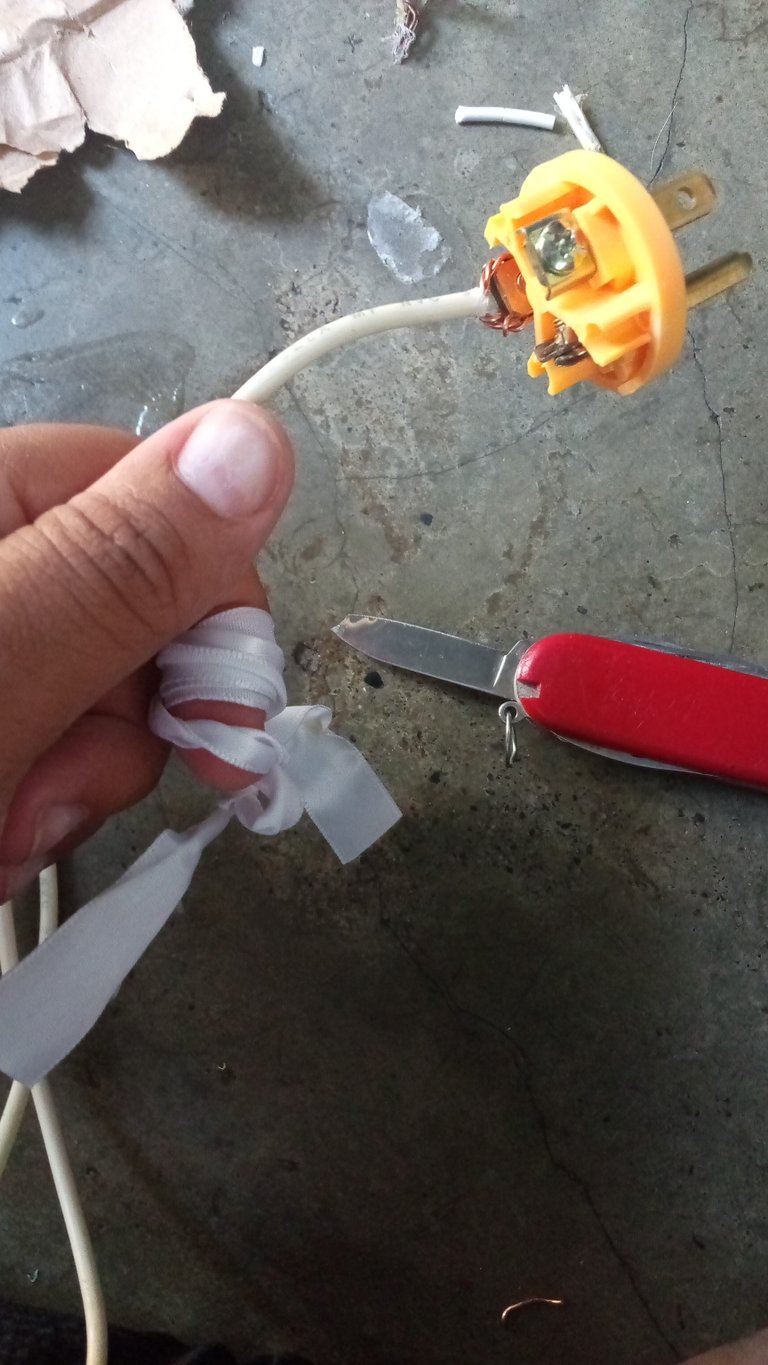
Y estás siguientes imágenes son la conexión del conector de corriente , hacer esto tiene su cuidado cómo pueden observar en mi dedo hehe yo me corté
And these next images are the connection of the power connector, doing this takes care as you can see on my finger hehe I cut myself
Y hacemos la prueba de conexión con el bombillo
And we do the connection test with the light bulb
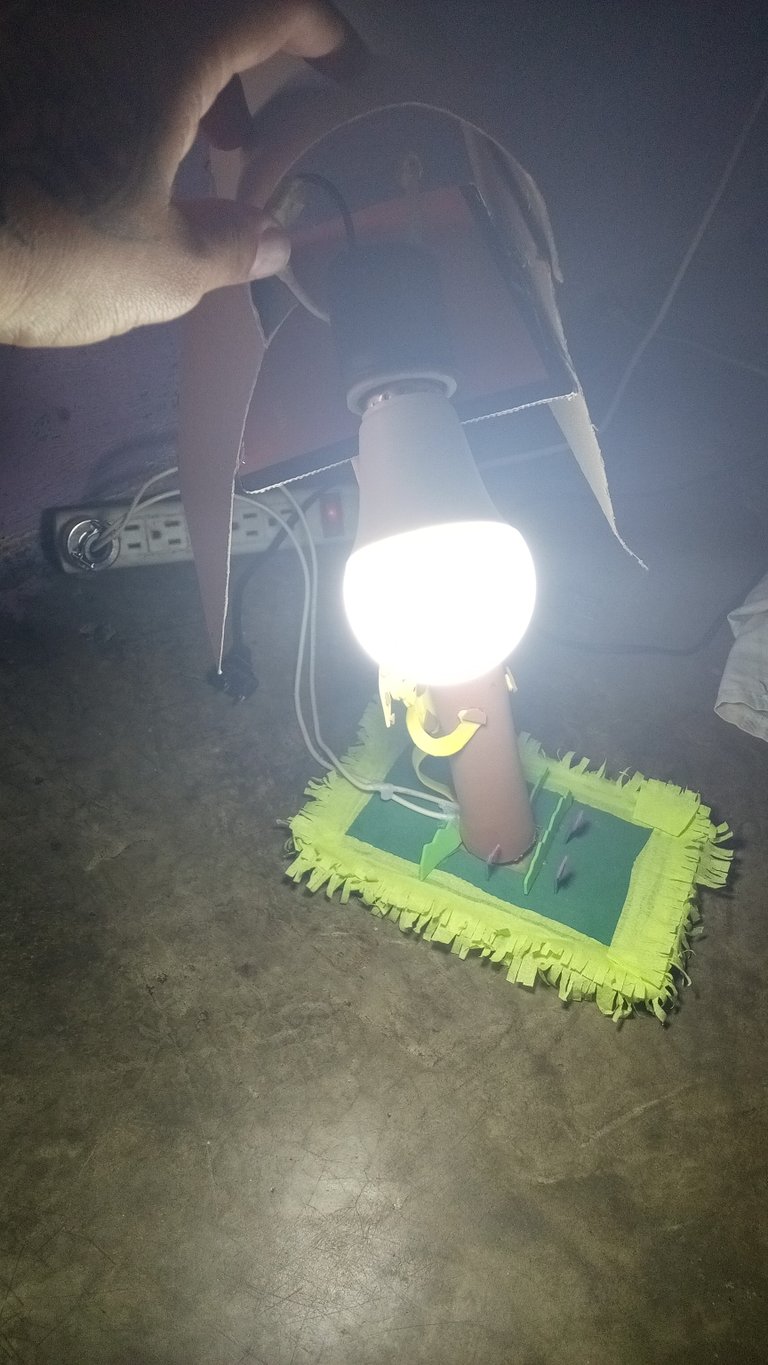
Al ver qué todo esta bien pegamos con Silicon el bombillo y los cables a la base quedando asi
Seeing that everything is fine, we glue the bulb and the cables to the base with Silicon, leaving it like this.
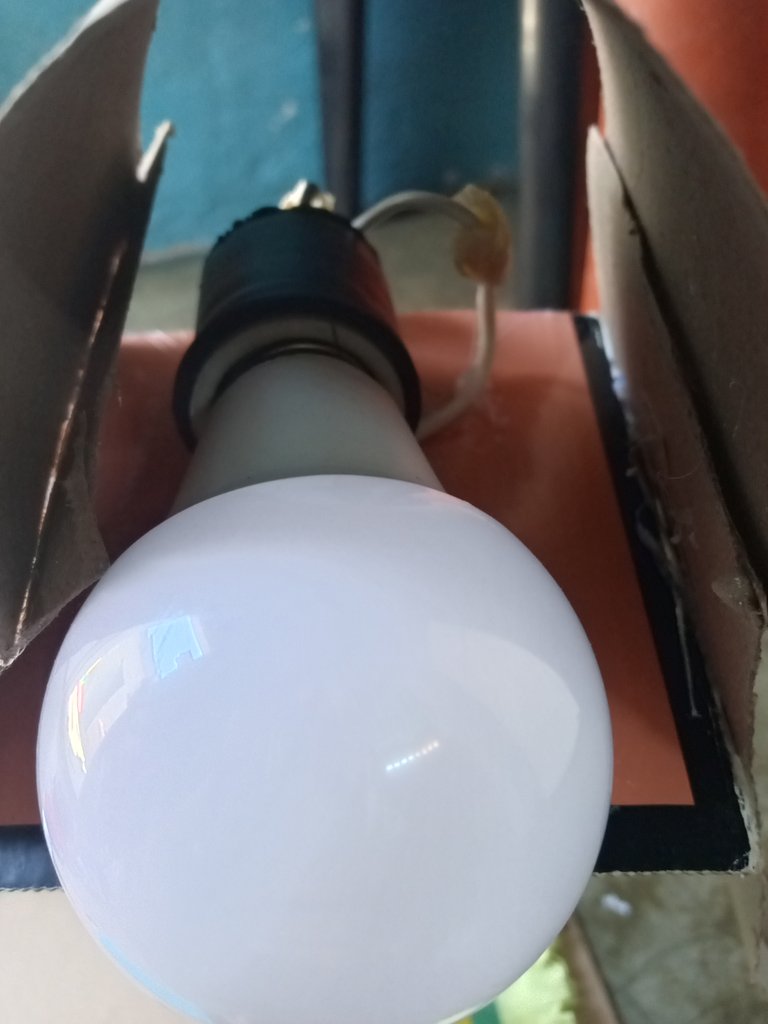
Este trozo de cartón que le coloqué por encima es para facilitar el momento en que iba a forrar con el papel crepe
This piece of cardboard that I placed on top is to make it easier when I was going to cover it with crepe paper.
De está manera qué enseño aqui
This is how I teach here


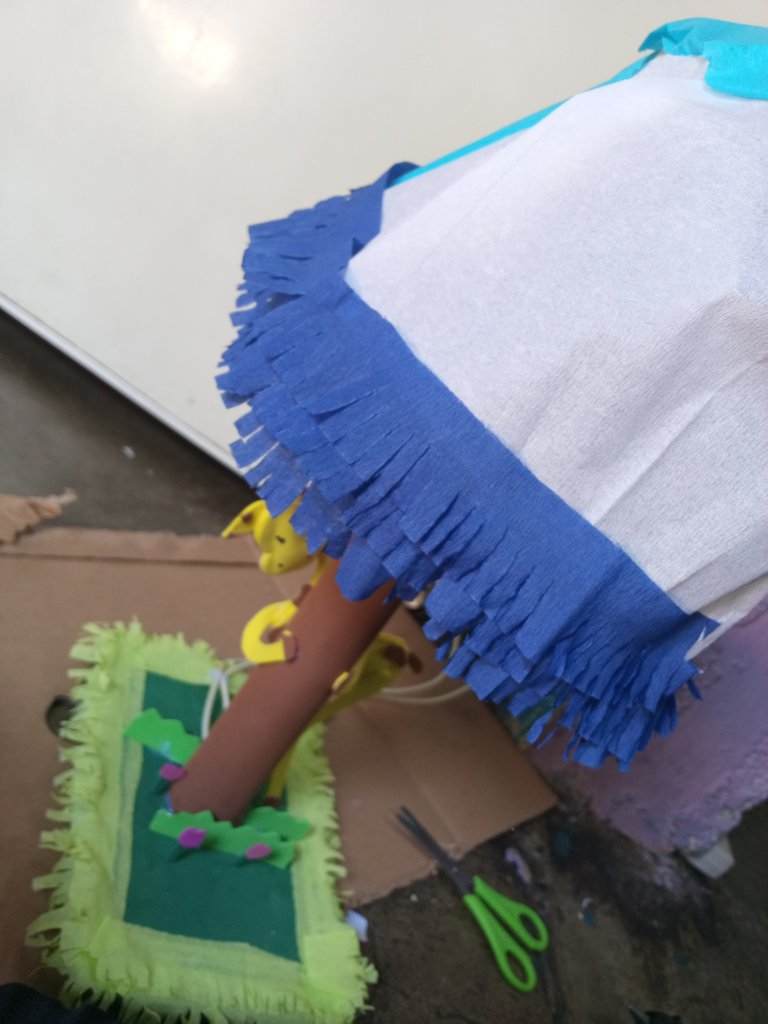
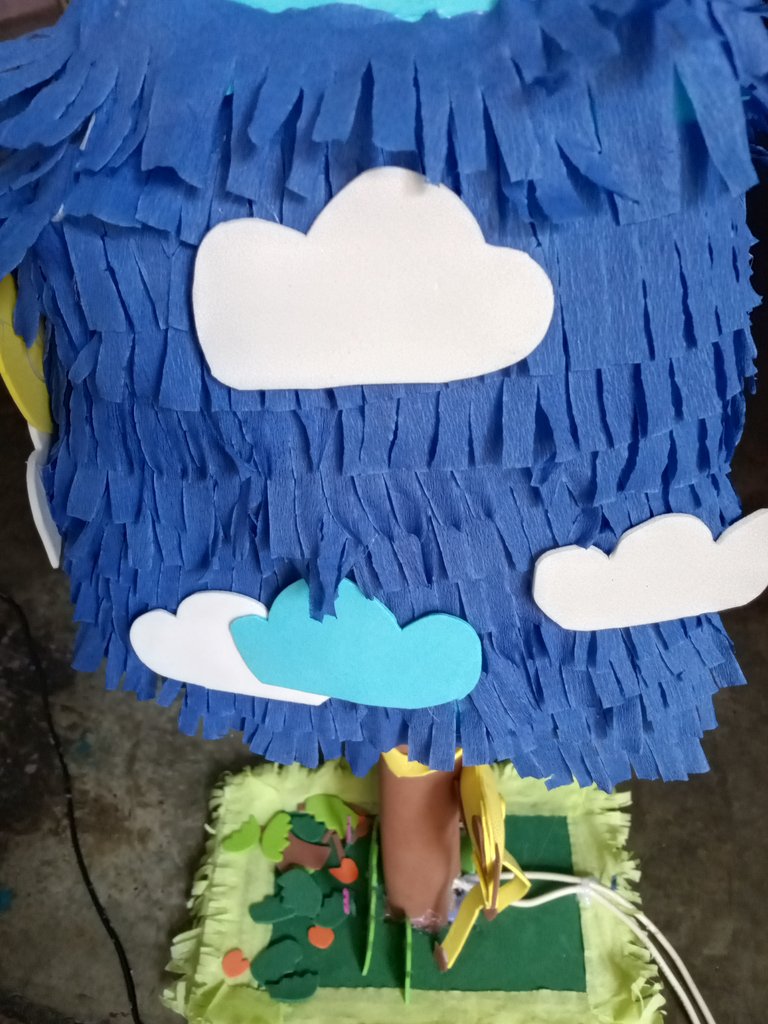
- Ya con un papel crepe Azul oscuro empecé a darle más detalles al acampanado por asi decirlo
Now with a dark blue crepe paper I began to give more details to the flare so to speak.
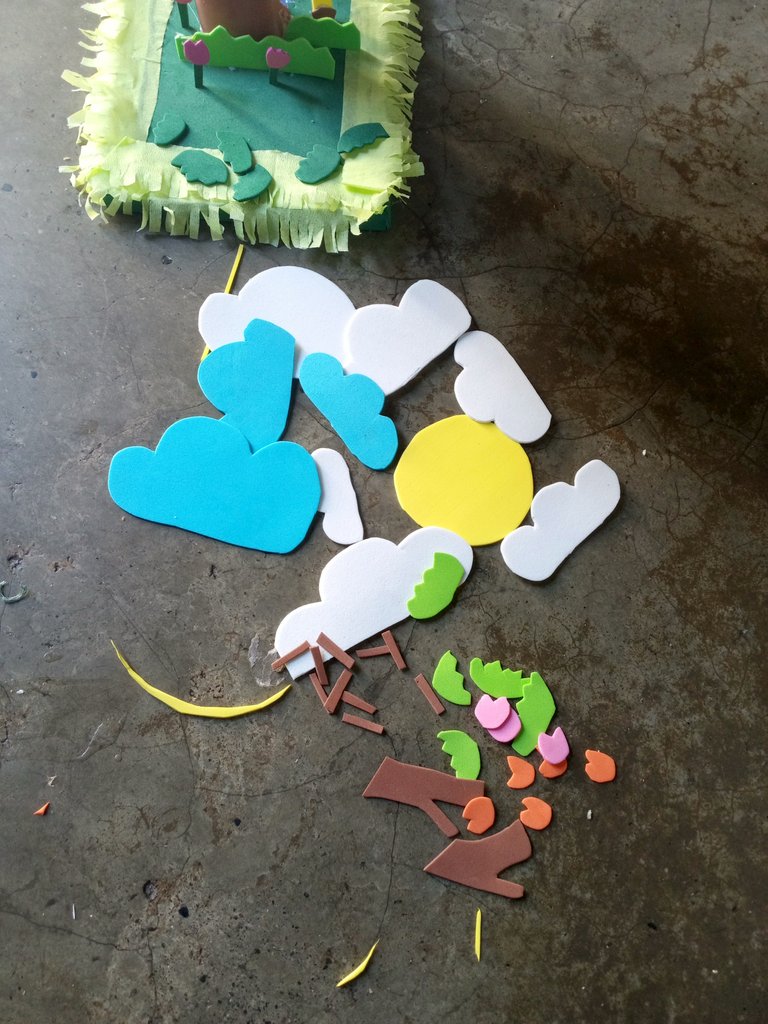
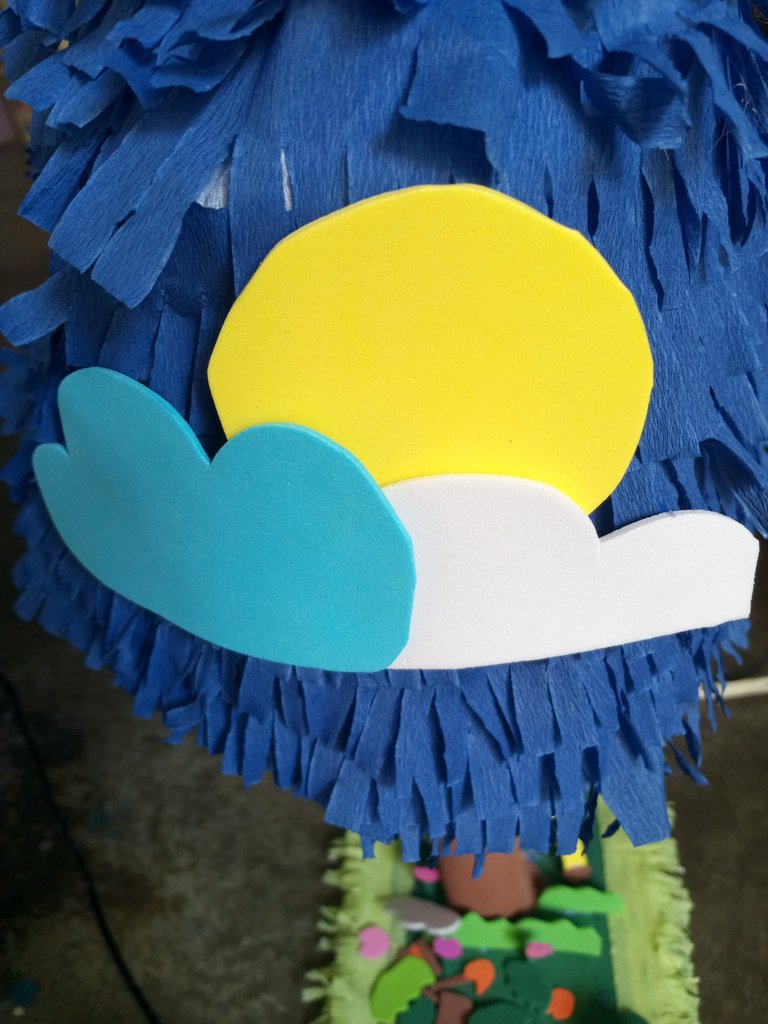
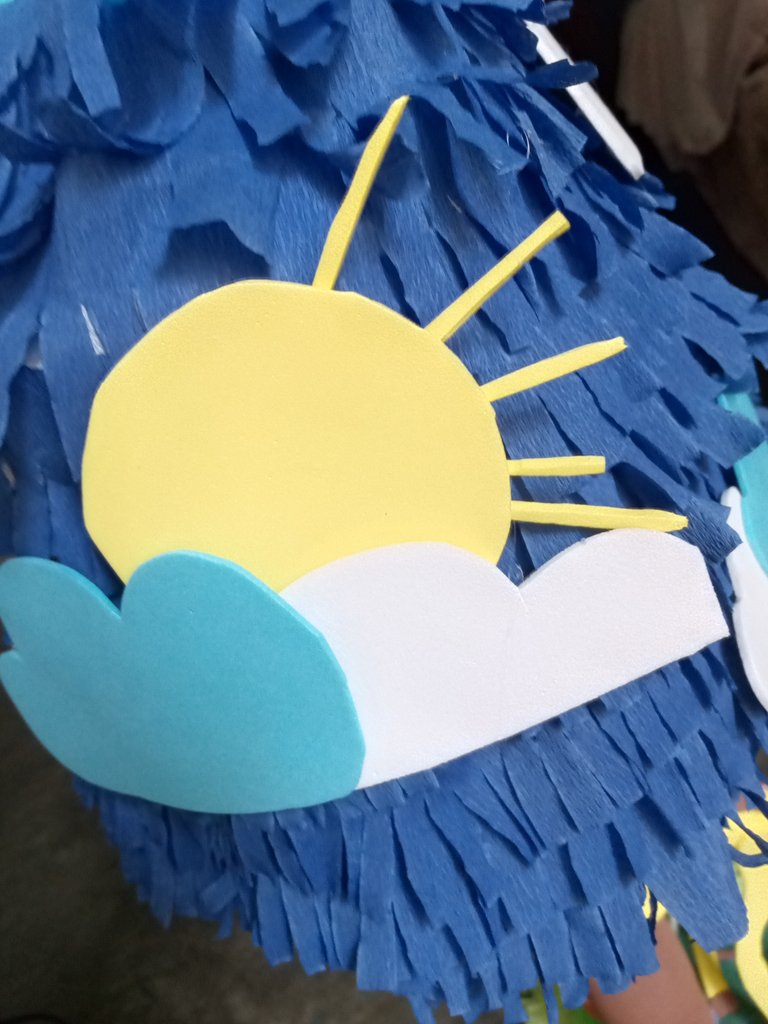
- En está fotografía les enseñó ,lo que son los detalles que coloqué, nubes, troncos, césped en fomai,ramitas, flores y el sol
In this photograph I show you what the details are that I placed, clouds, trunks, grass in shape, twigs, flowers and the sun.
- Y de esta manera fuí pegando y decorando para obtenerlo mi resultado final
And this is how I glued and decorated to get my final result.
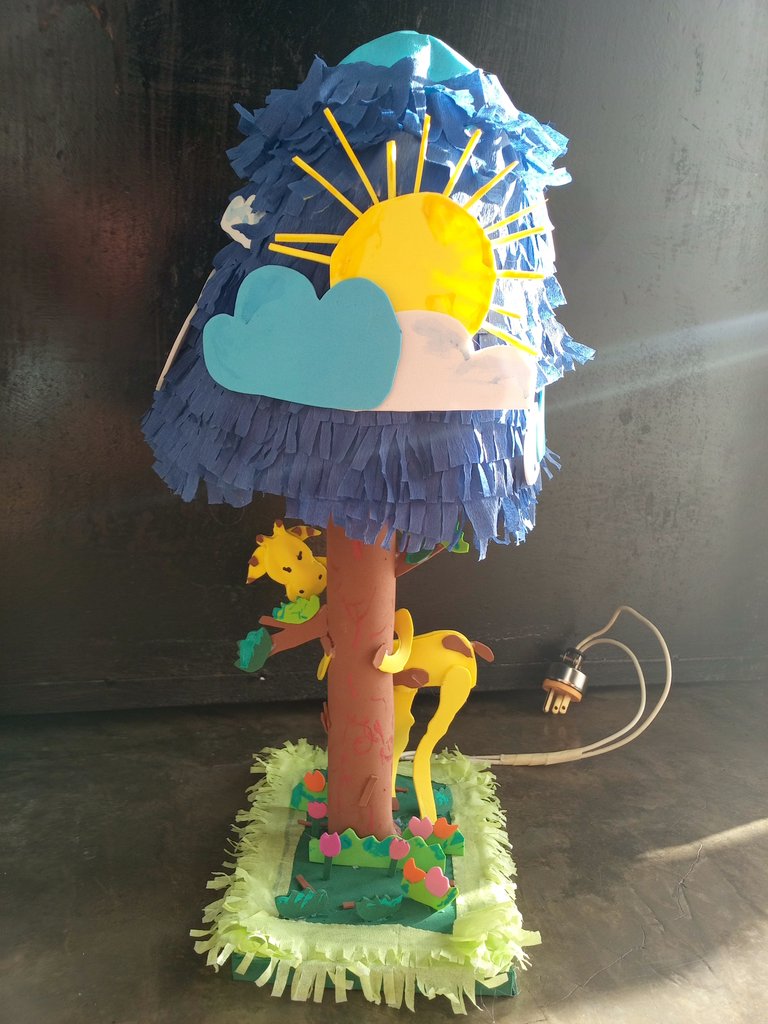
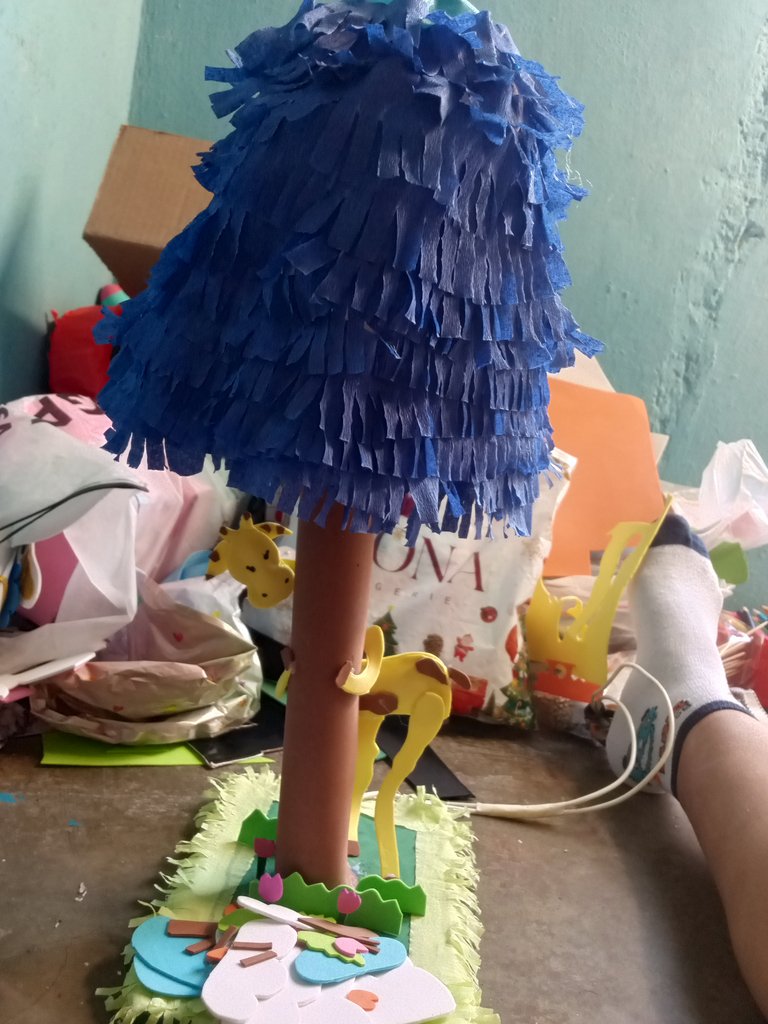
Qué sería éste mi resultado final
What would this be my final result?
Un extra con las pinturas mencionadas al inicio lo qué hice fue darles pequeños retoques al césped, a las nubes y al tronco
An extra with the paintings mentioned at the beginning what I did was give small touches to the grass, the clouds and the trunk
Photos taken by my Infinix smart 9
applications used for editing, PicsArt, Gif marker, Google translator
The work you are doing is really admirable Freijspace, and the best thing is that you are enjoying it. Happy to coincide with your publication, I wish you a great weekend!...
Thank you very much for your comment, I really love the craft and I am going to improve little by little
Wow, what a great job, so many details to consider and you have done everything right, plus this wonderful post where we can appreciate the step by step. Congratulations and thank you very much for giving the best of you and show it in DIYHub.
Thank you very much, it was a bit complicated to be able to explain, but I am glad to see it echo well 🥳
Very very nice 👍
thank you very much 🥰
This is AMazing
Ay thanks 🥹🤍
Esto es muy creativo! La jirafa es lo que más me gustó✨ gracias por compartirlo con nosotros☺️
Gracias por tu comentario querida 🎉
Congratulations, you have received support from Ecency through curator @reachdreams
Thanks for your support 🎉🎉
You're welcome
beautiful night light, very creative
thanks for your attention 🤍
Congratulations @freijspace! You have completed the following achievement on the Hive blockchain And have been rewarded with New badge(s)
Your next target is to reach 1000 upvotes.
You can view your badges on your board and compare yourself to others in the Ranking
If you no longer want to receive notifications, reply to this comment with the word
STOP