Elegant makeup for the day of love - Step by step | Maquillaje elegante para el día del amor - Paso a paso [ENG/ESP]
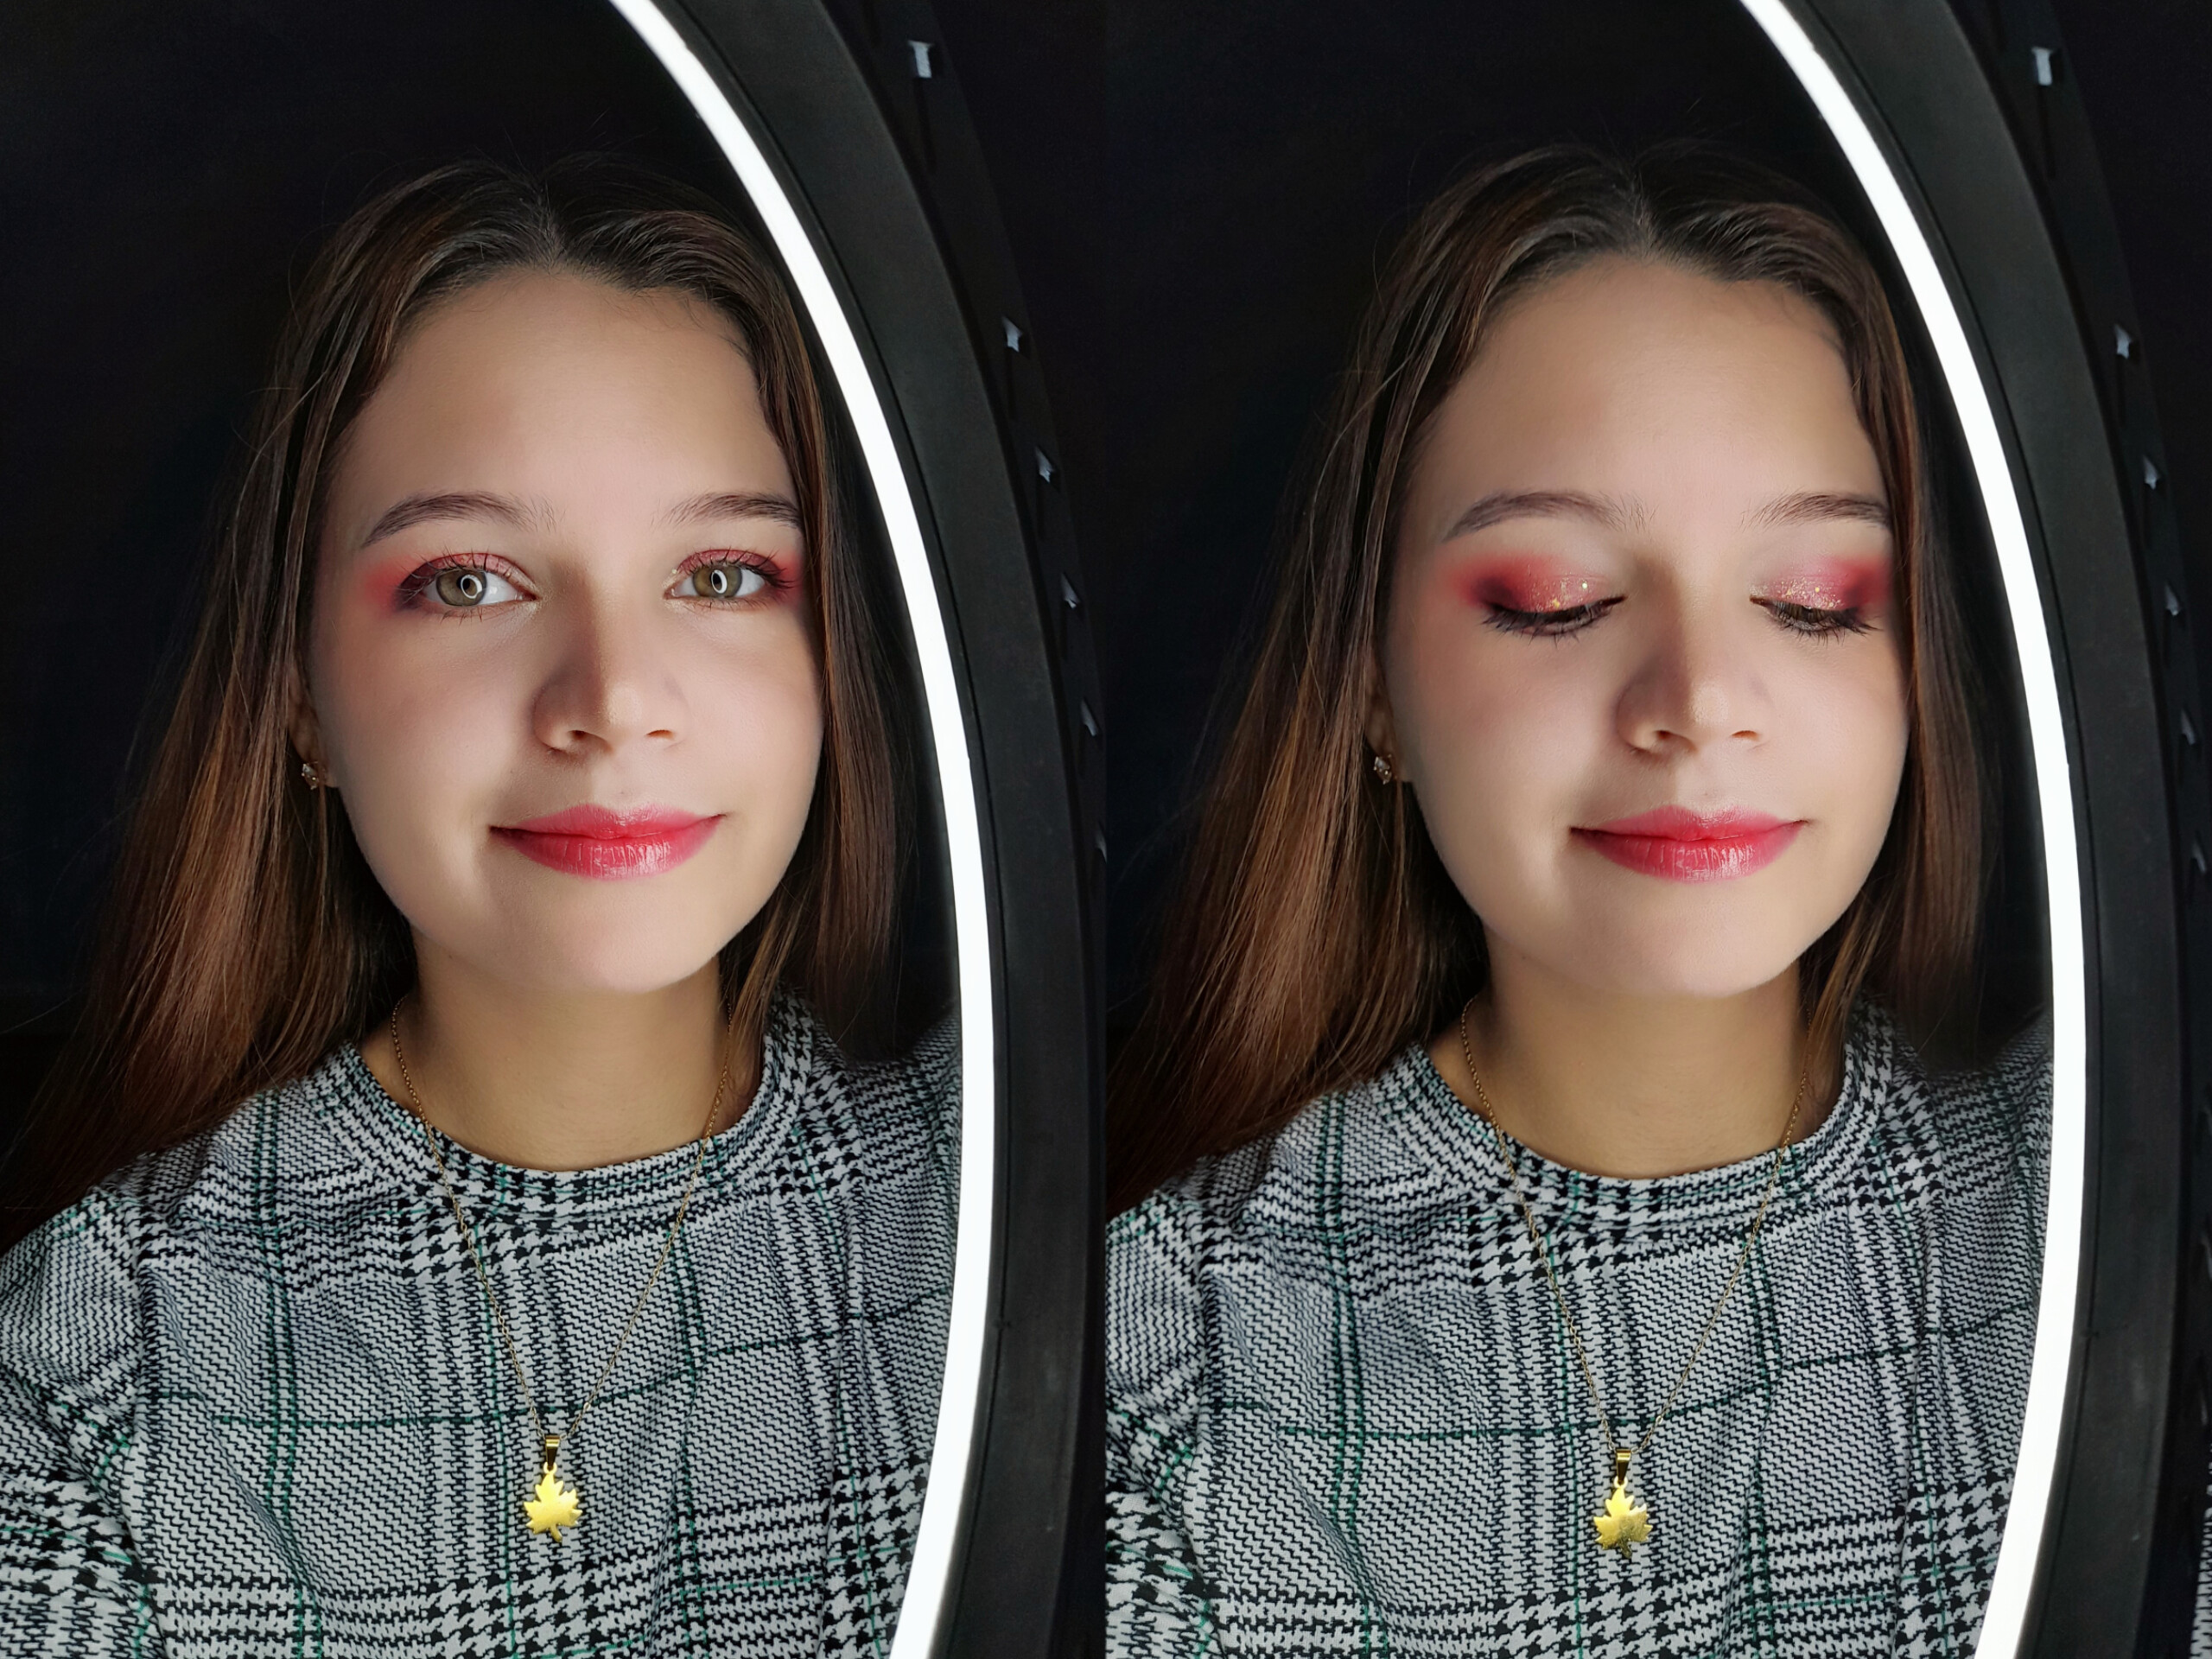
Hello to the entire Makeup Power community, welcome to my blog! After several months without posting content here, today I wanted to continue in the community with a makeup inspired by the day of love, which I consider one of my favorite days of the month of February, as I have always been publishing within the community, I try as much as possible that every makeup I can make is used for any occasion, so if you want to do it, it will take between 20 to 30 minutes. Without further ado, the cosmetics to use and step by step.
¡Hola a toda la comunidad de Makeup Power! ¡Bienvenidos a mi blog! Después de varios meses sin publicar contenido por aquí, hoy quise continuar en la comunidad con un maquillaje inspirado en el día del amor, lo cual, considero uno de mis días favoritos del mes de febrero, como siempre he venido publicando dentro de la comunidad, trato en lo posible de que cada maquillaje que pueda realizar sea utilizado para cualquier ocasión, por ello, si deseas realizarlo, demorarás entre 20 a 30 minutos. Sin más que decir, los cosméticos a utilizar y paso a paso.

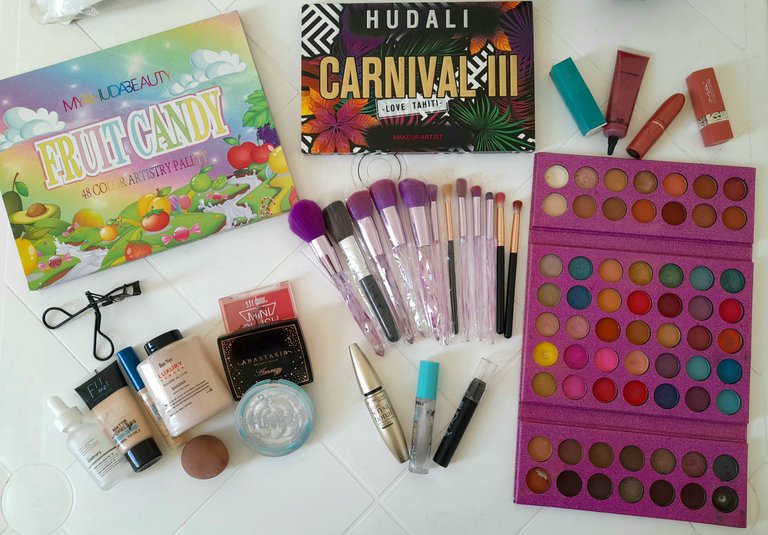
Cosmetics to be used
| - Proofreader | - Corrector de Maybelline | |
|---|---|---|
| -Pink, fuchsia, black, light brown and satin shadows | -Sombras rosado, fucsia, negro, marrón claro y satinado | |
| - Brushes | - Brochas | |
| - Maybelline Mascara | - Máscara de pestañas Maybelline | |
| - Maybelline foundation | - Base de Maybelline | |
| - Ben Nye Banana Powder | - Polvo banana de Ben Nye | |
| - Cream Contour | - Contorno en crema | |
| - Silver illuminator | - Iluminador plateado | |
| - Gloss, pink and red lipstick | - Brillo, labial rosa y rojo |

STEP BY STEP
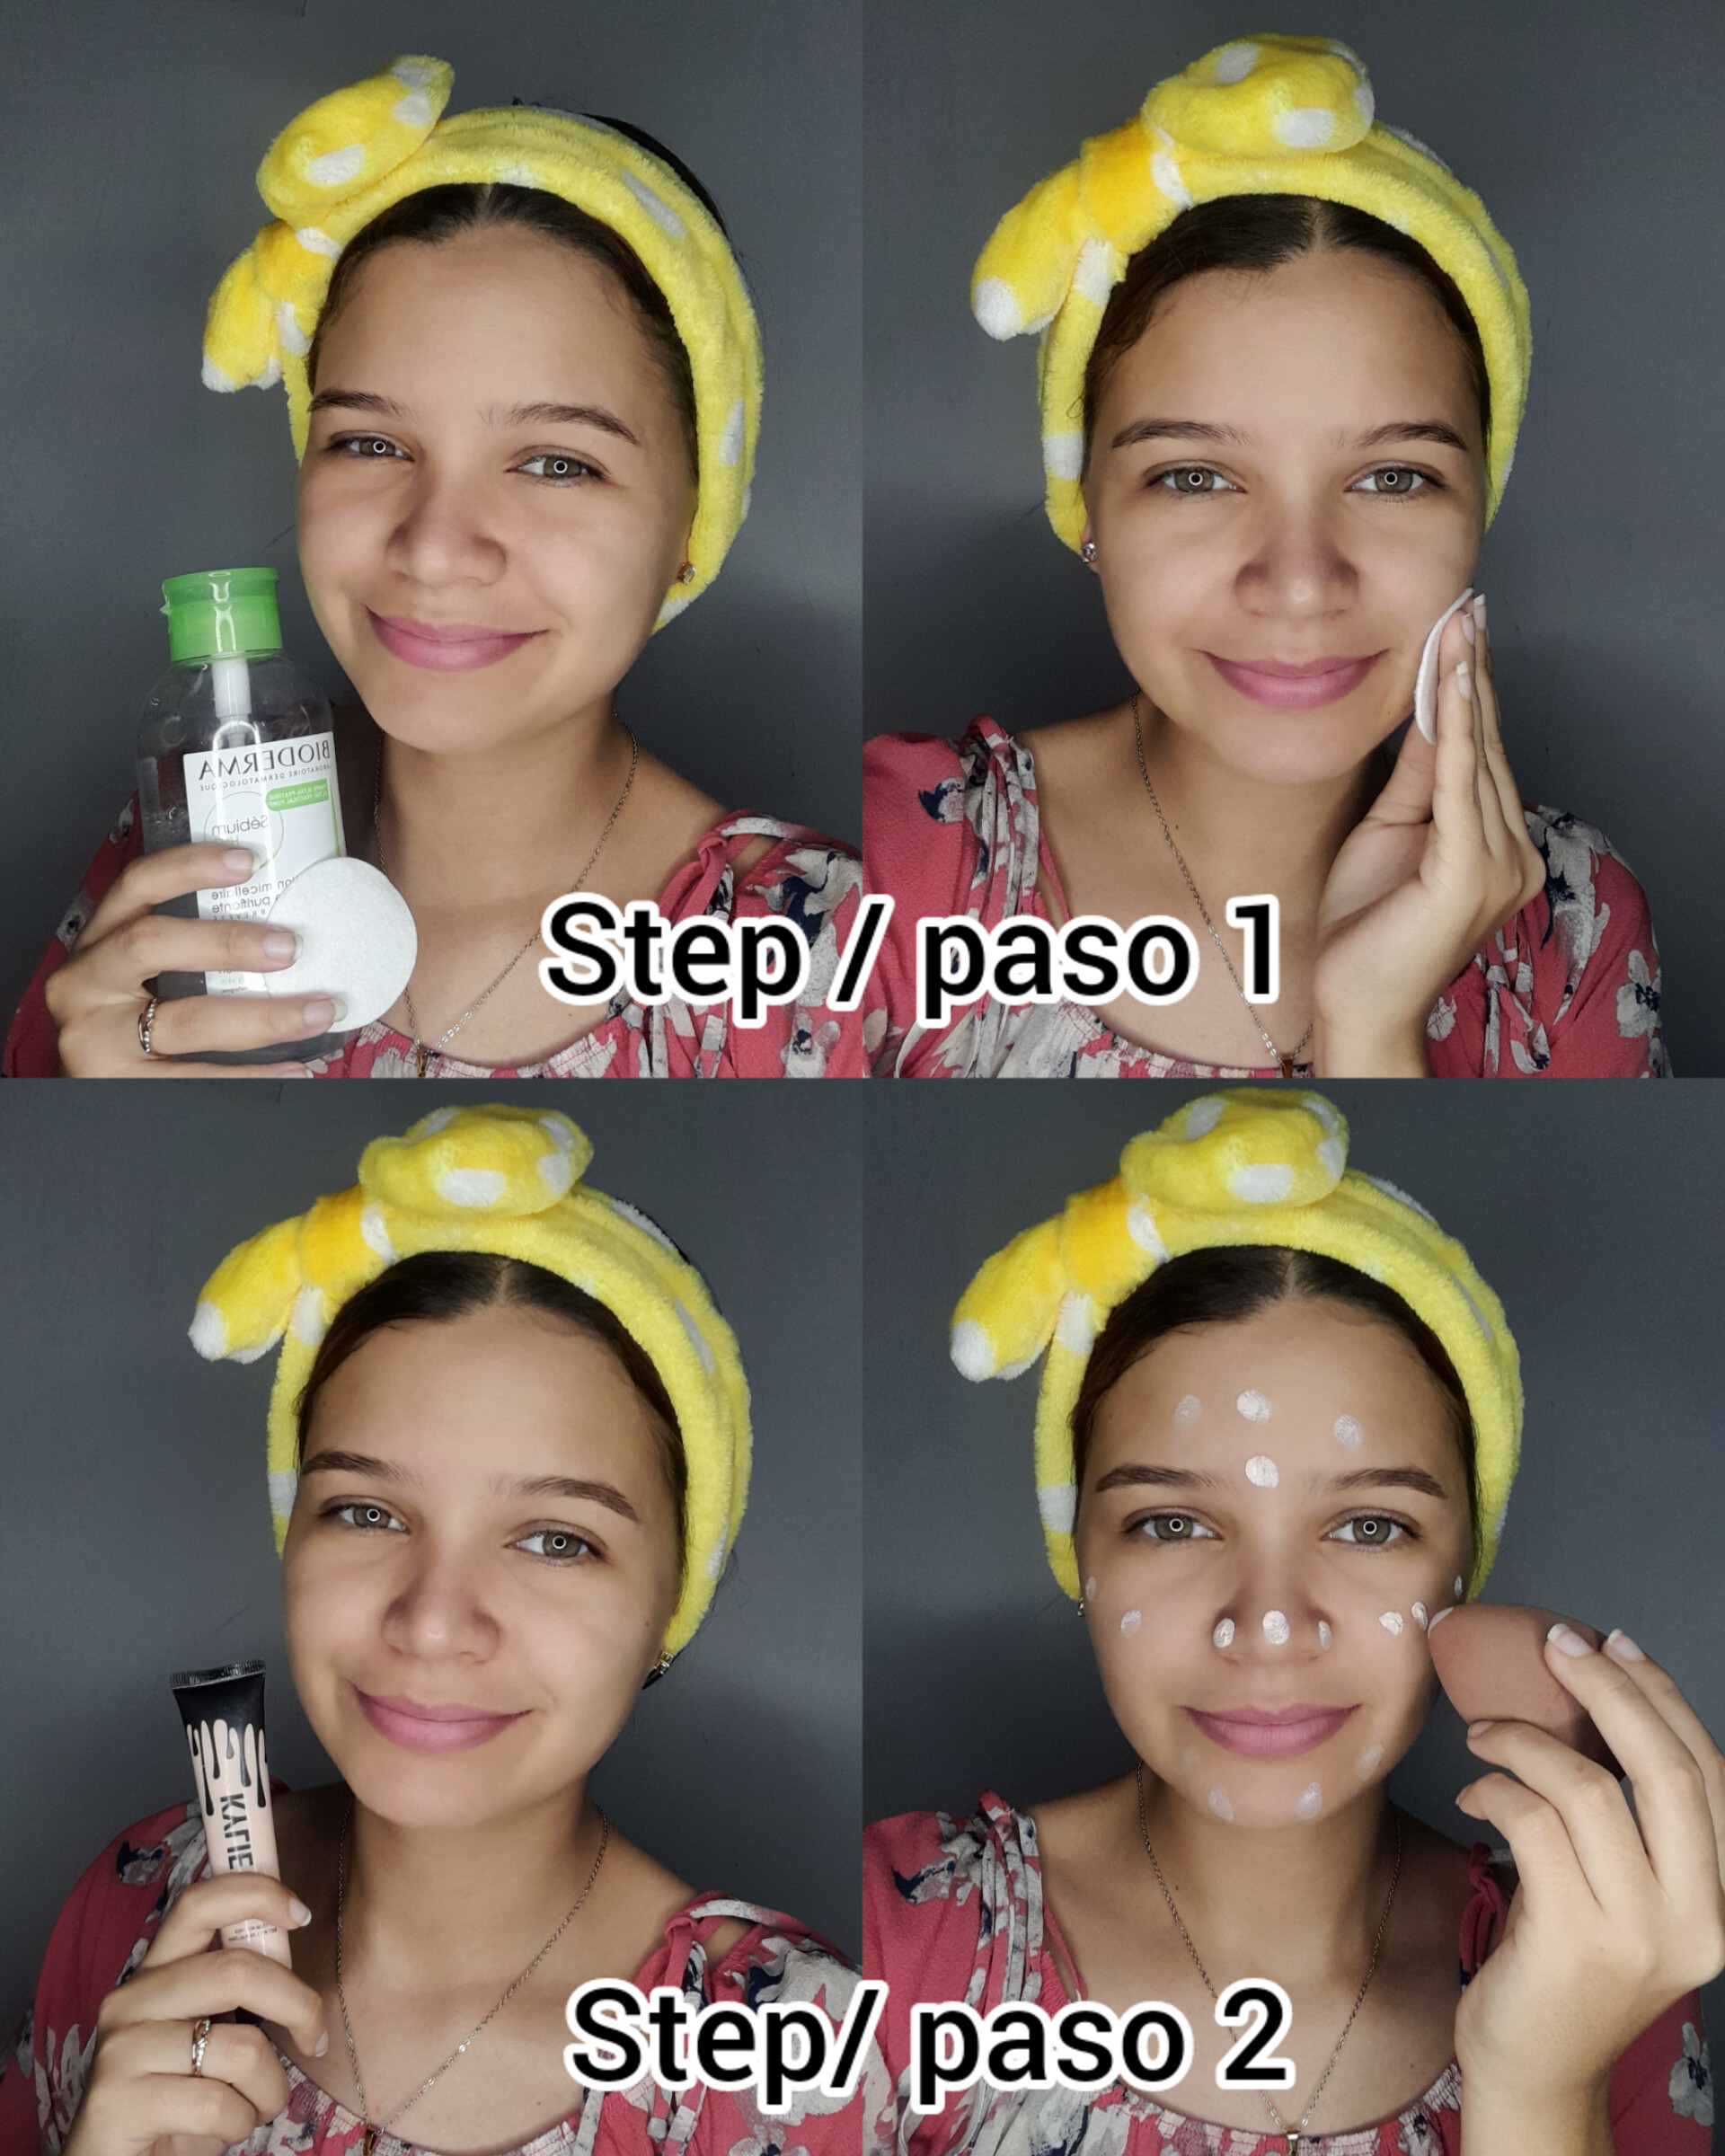
📌 Before starting the makeup, I cleaned my face with some micellar water for a deep cleansing, then, I proceeded to apply my foundation, so I could blend it with a damp sponge.
📌 Antes de iniciar el maquillaje, limpié mi rostro con un poco de agua micelar para una limpieza profunda, luego, procedí a aplicar mi base, para así difuminarlo con una esponjita húmeda.
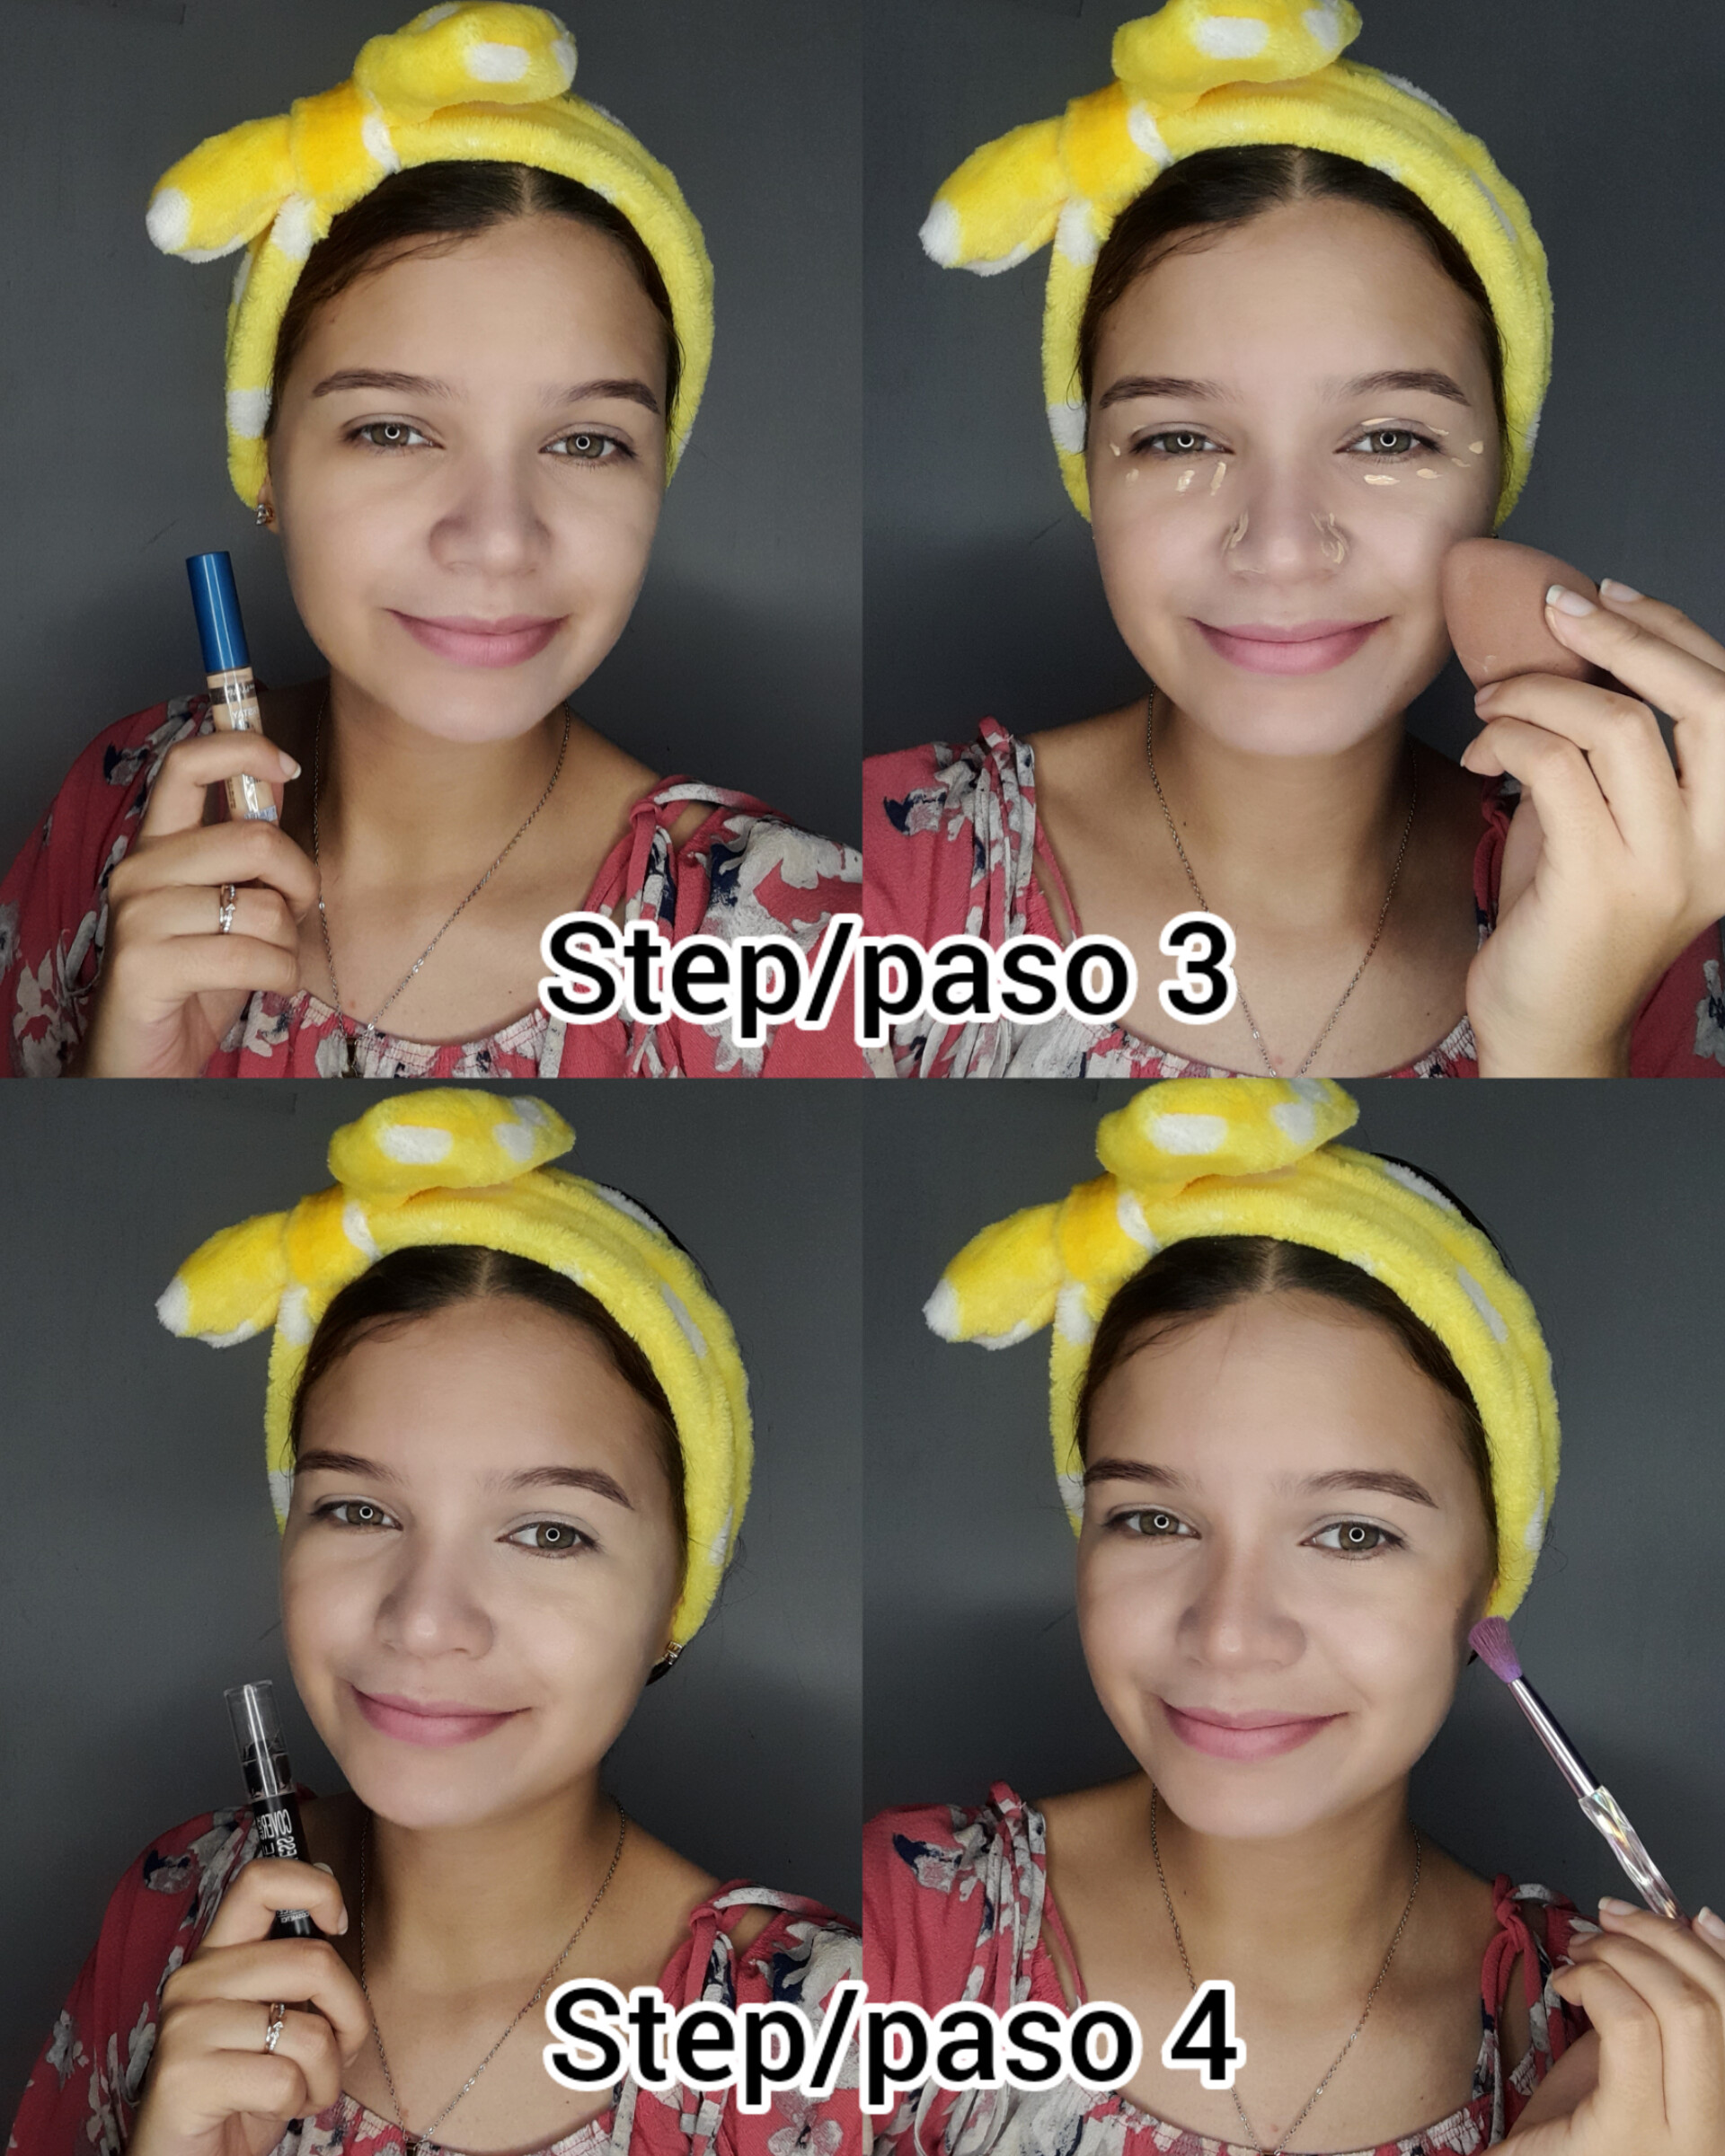
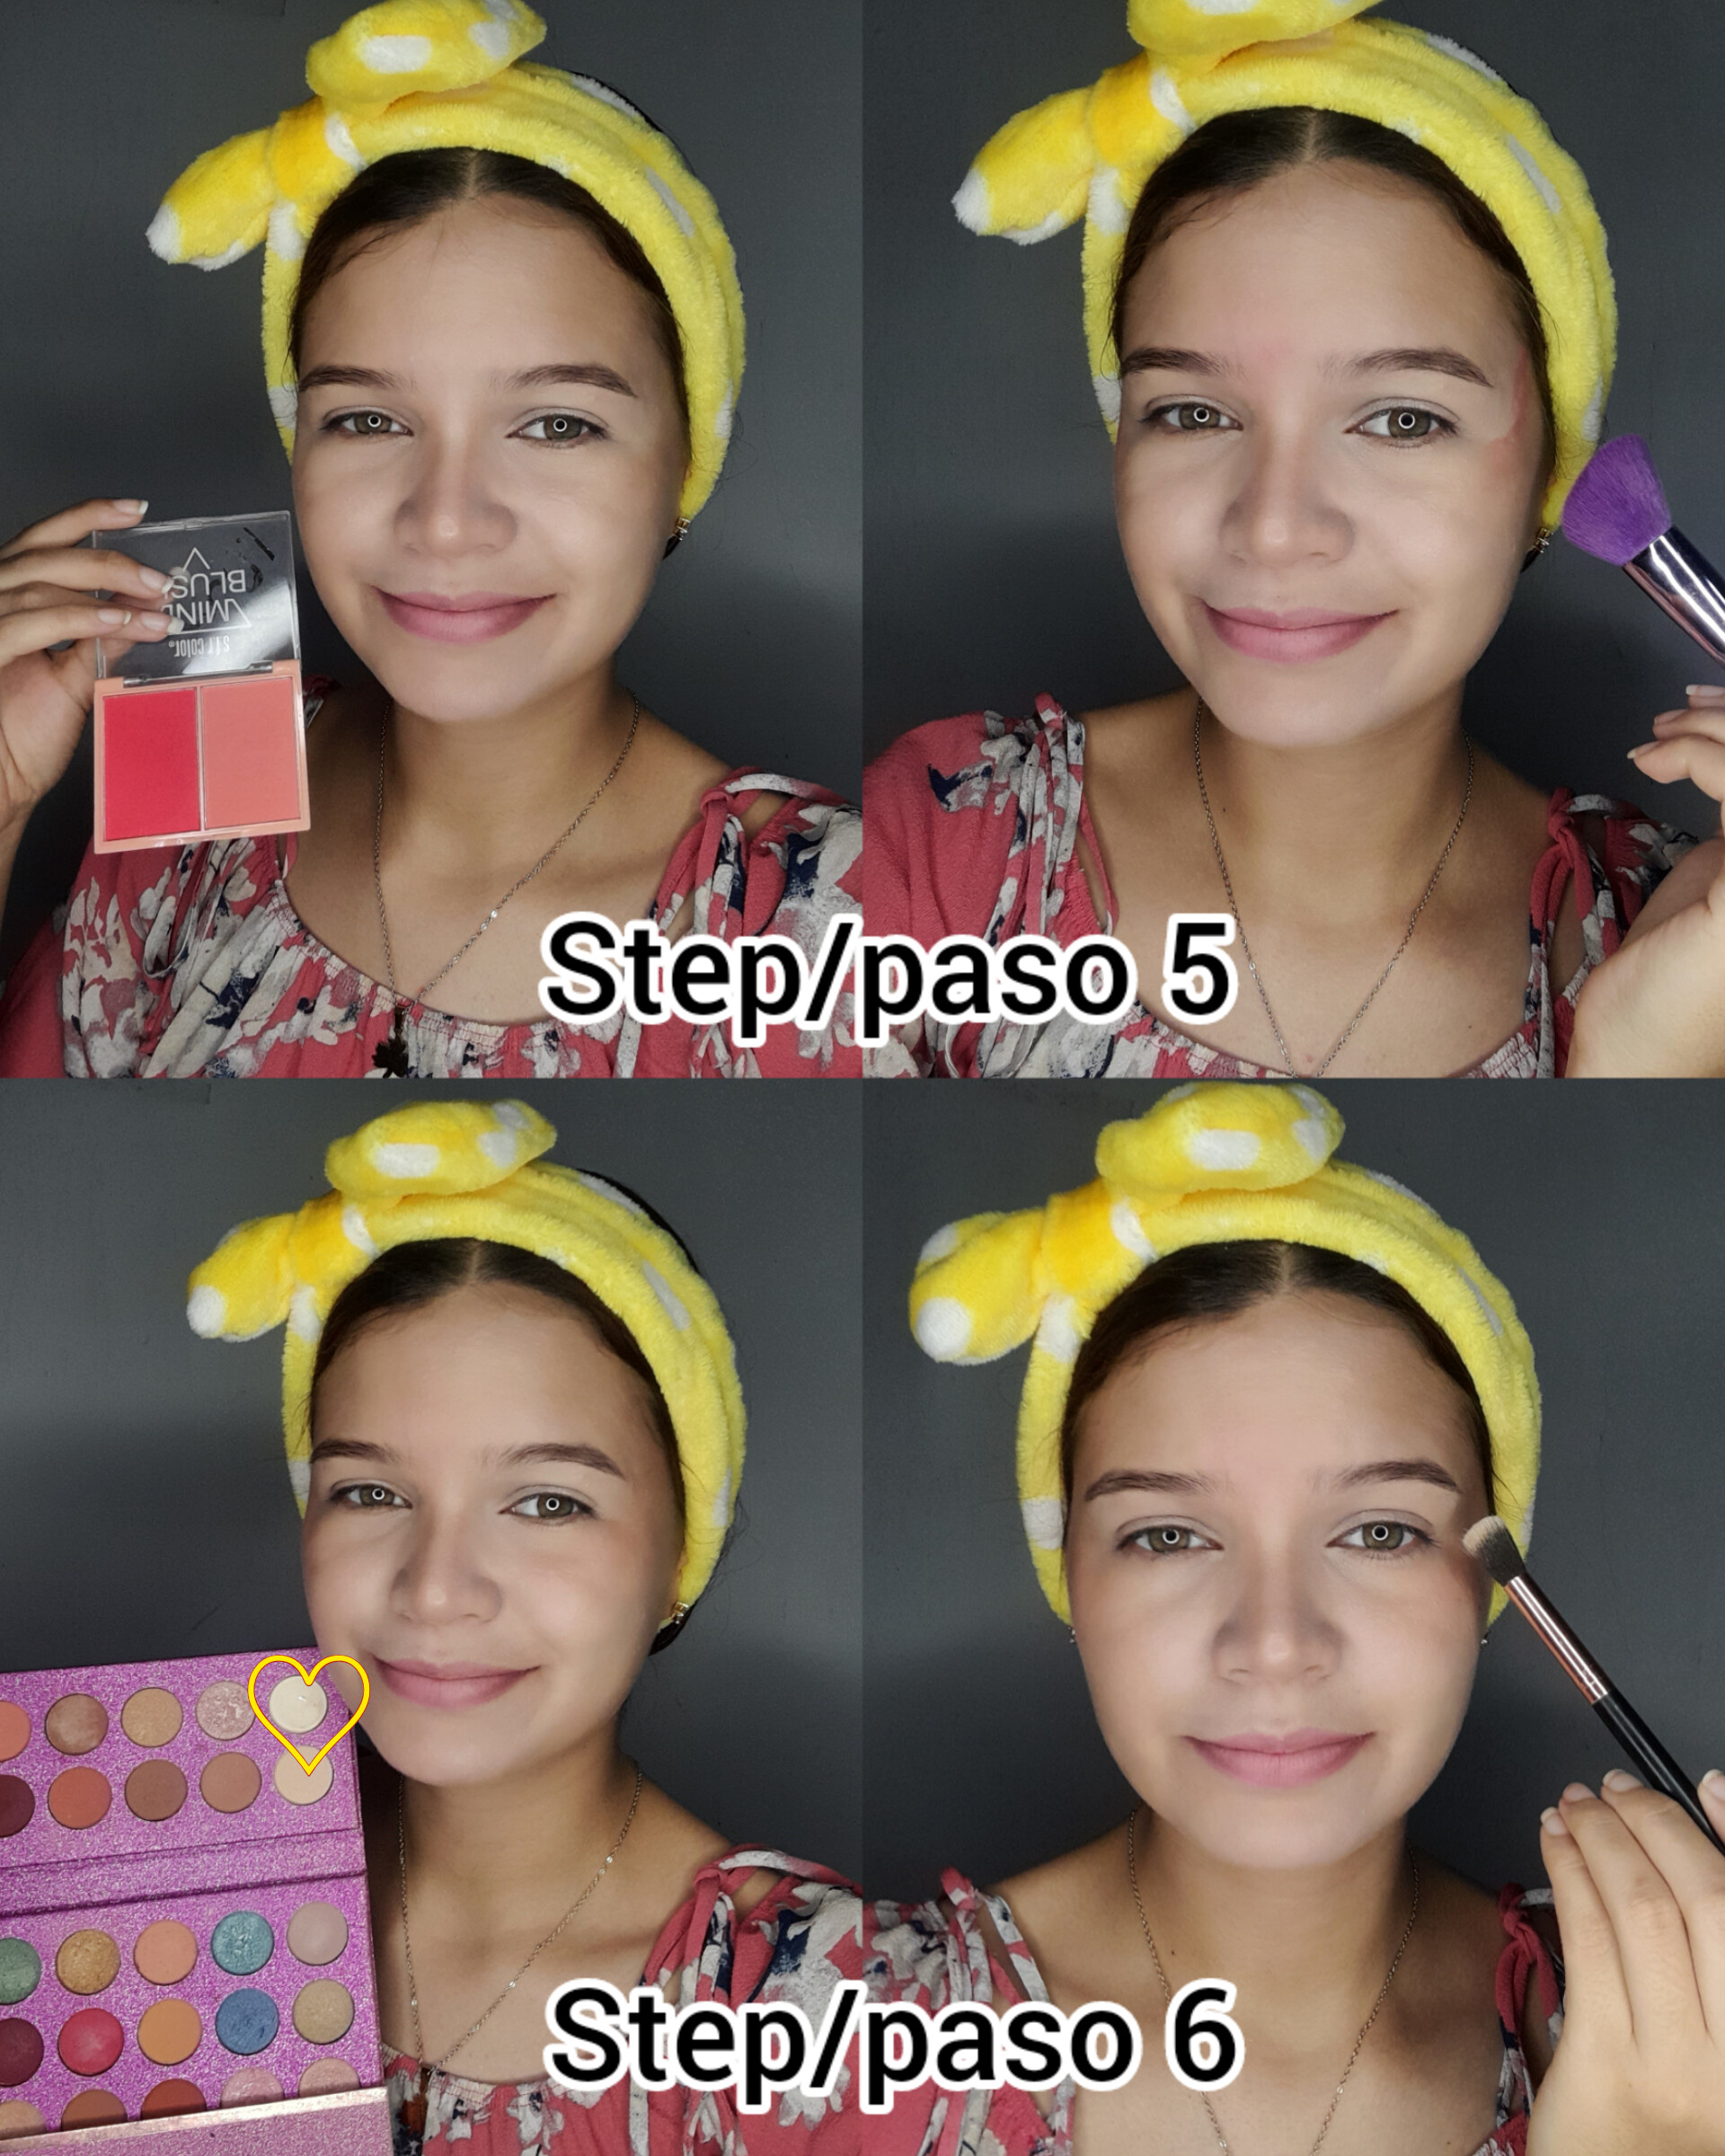
📌 Next, I applied concealer to my under-eye circles and the entire eyelid, so I repeated the sponge step again to blend all the product. This time, I wanted to prepare the face first, so I continued with the contouring and powder blush application. For the eyelids, I blended the previously applied concealer with a white shadow.
📌 Seguidamente, deposité corrector en mis ojeras y todo el párpado móvil, por lo que, repetí nuevamente el paso de la esponjita para difuminar todo el producto. Esta vez, quise preparar el rostro primero, así que, continué con la aplicación del contorno y rubor en polvo. Para la parte de los párpados cellé el corrector antes aplicado con una sombra blanca.
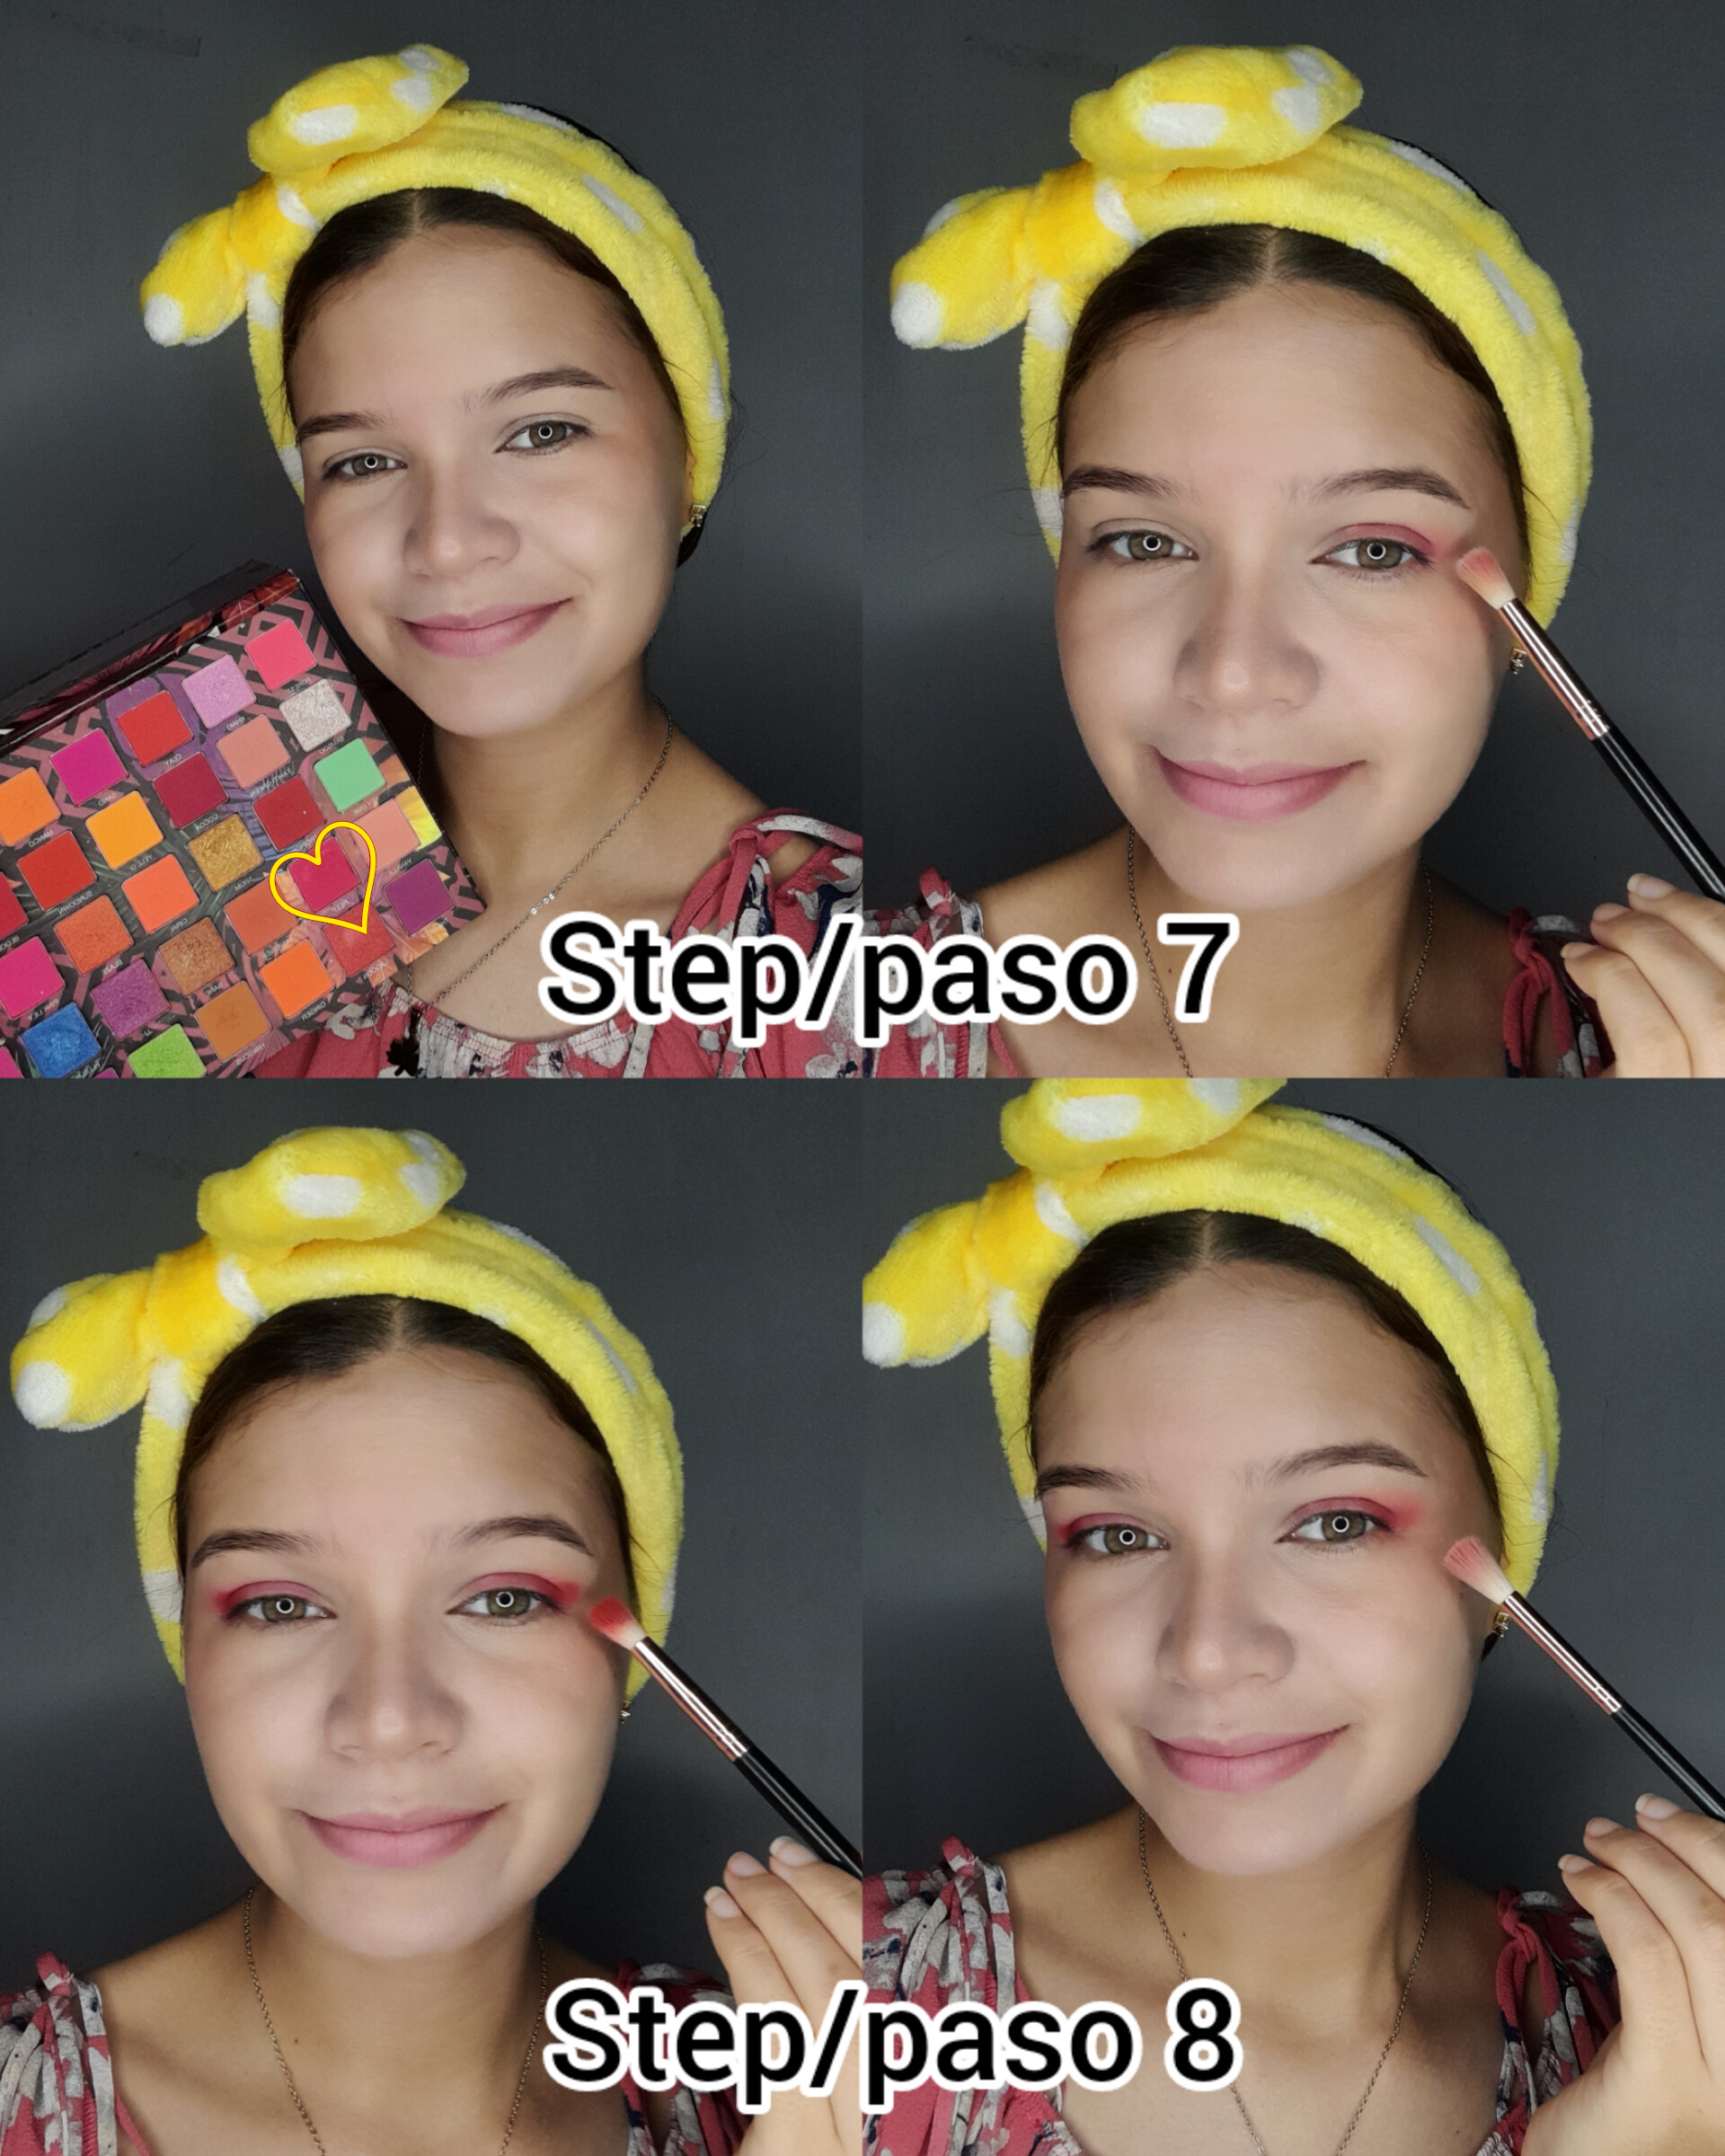
📌 Next is the application of shadows on our eyelid. I started with the application of pink shadow on the inner part of the eyelid in order to blend towards the outer part of the eye. Once this step is done, we proceed to deposit fuchsia shadow on the v part and blend until we get the desired result.
📌 Lo siguiente será la aplicación de sombras en nuestro párpado. Empecé con la aplicación de la sombra rosada en la parte interna del párpado para así difuminar hacia la parte externa del ojo. Realizado este paso, procedemos a depositar sombra sombra fucsia en la parte v y difuminamos hasta obtener el resultado deseado.
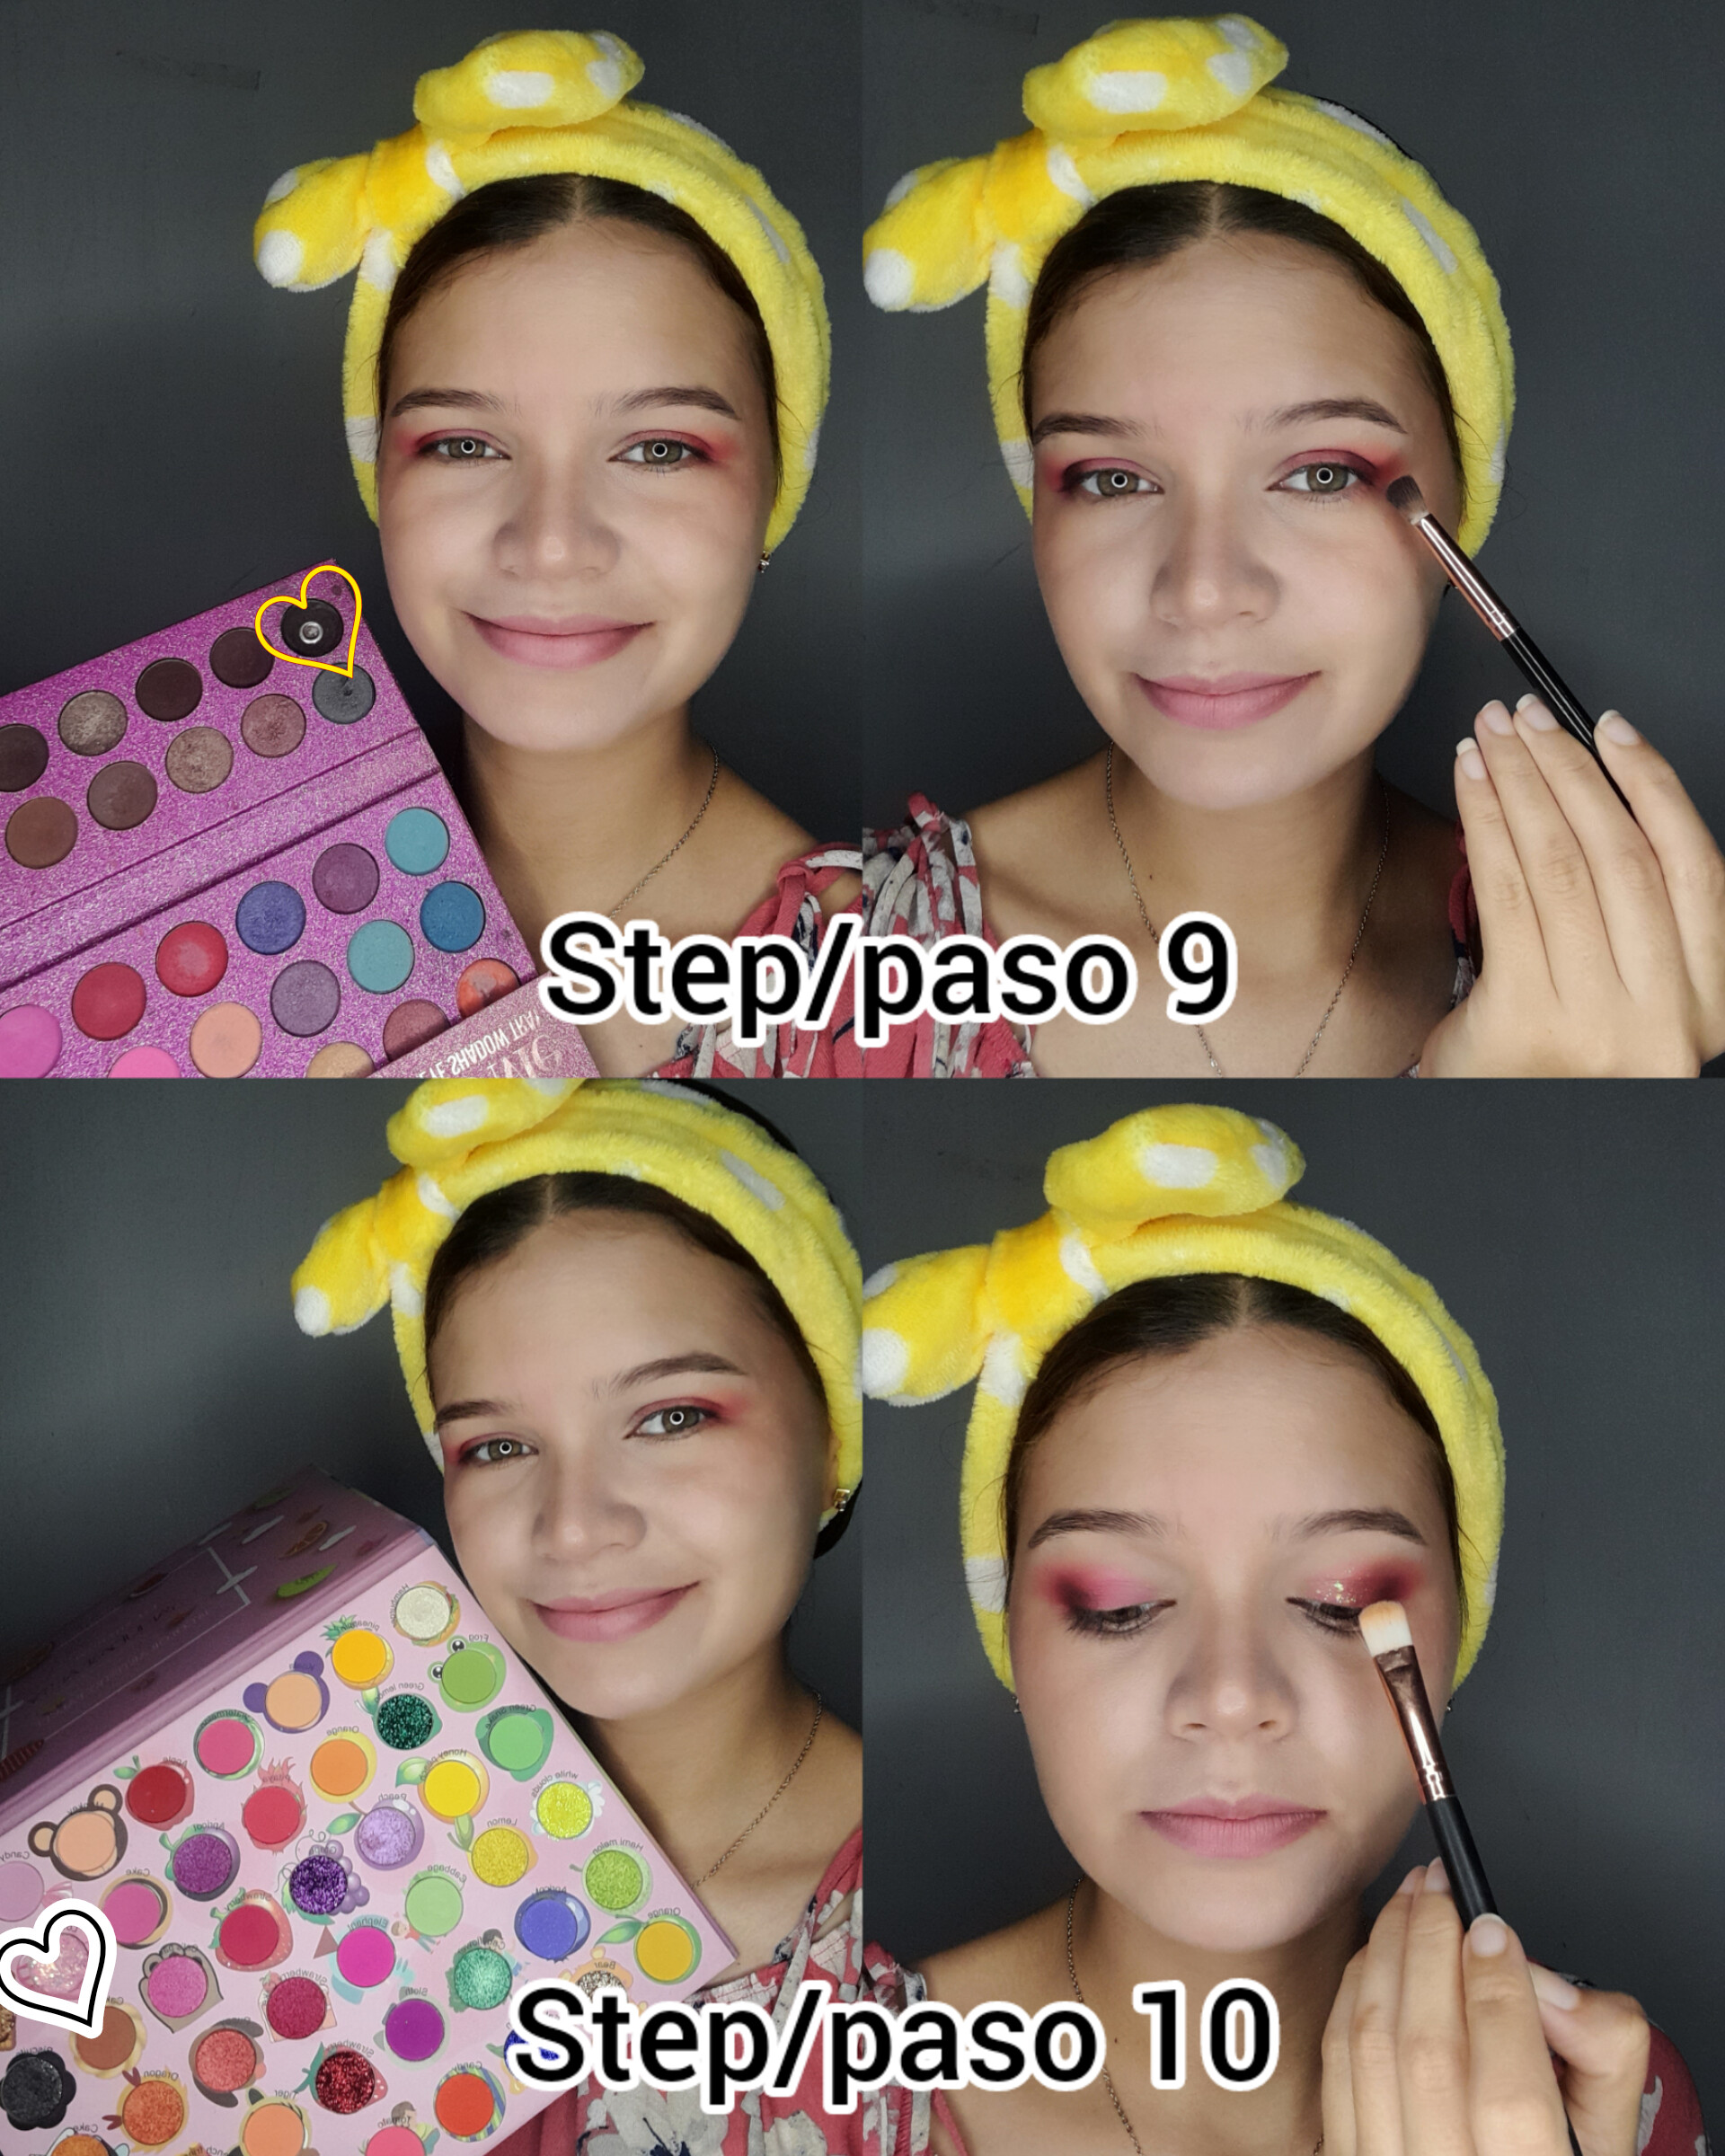
📌 To give depth, I applied a little black shadow on the v part and smudged just a little, for the inner part I deposited satin shadow, as it is, as seen in the picture. For the lower part of my eyes I used a brown shadow and applied it also on the lower water line. To close with the eye area, we curled our lashes and used mascara.
📌 Para dar profundidad, apliqué un poco de sombra negra en la parte v y difuminé solo un poco, para la parte interna deposité sombra satinada, tal cual, como se observa en la fotografía. Para la parte inferior de mis ojos hice uso de un café y apliqué también en la línea de agua inferior. Para cerrar con la zona de los ojos, rizamos nuestras pestañas y usamos el rimel.
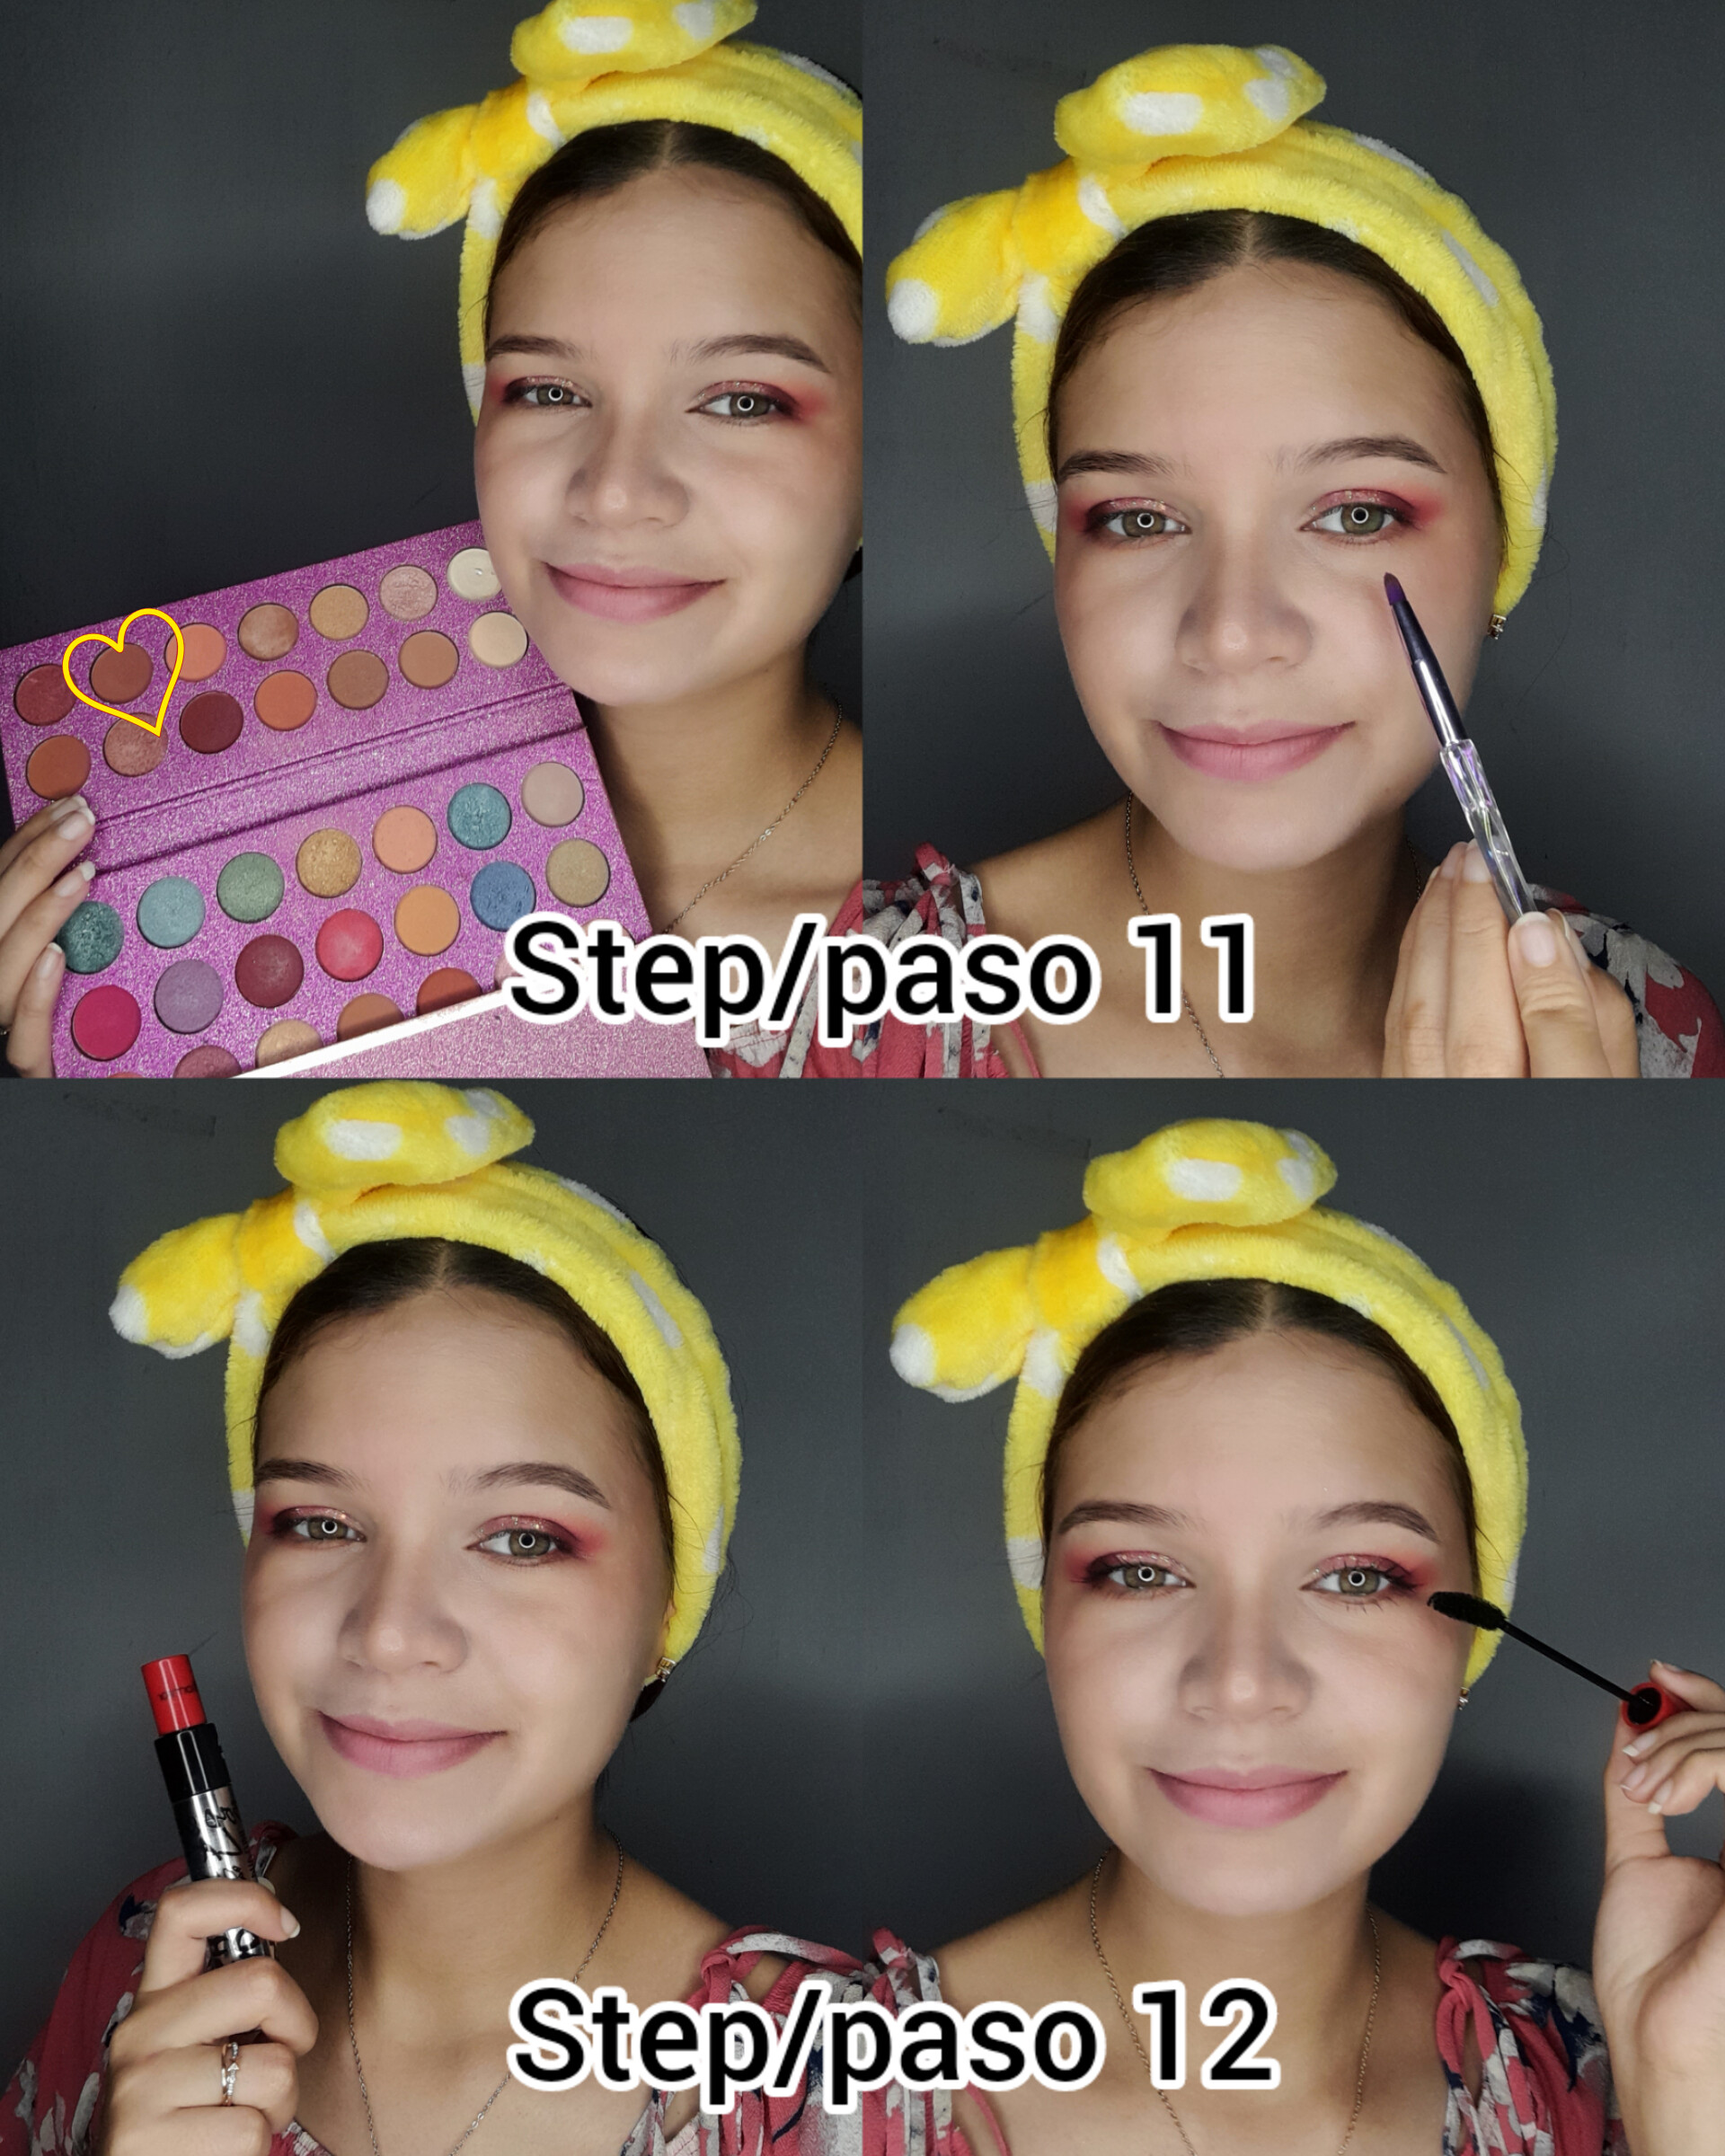
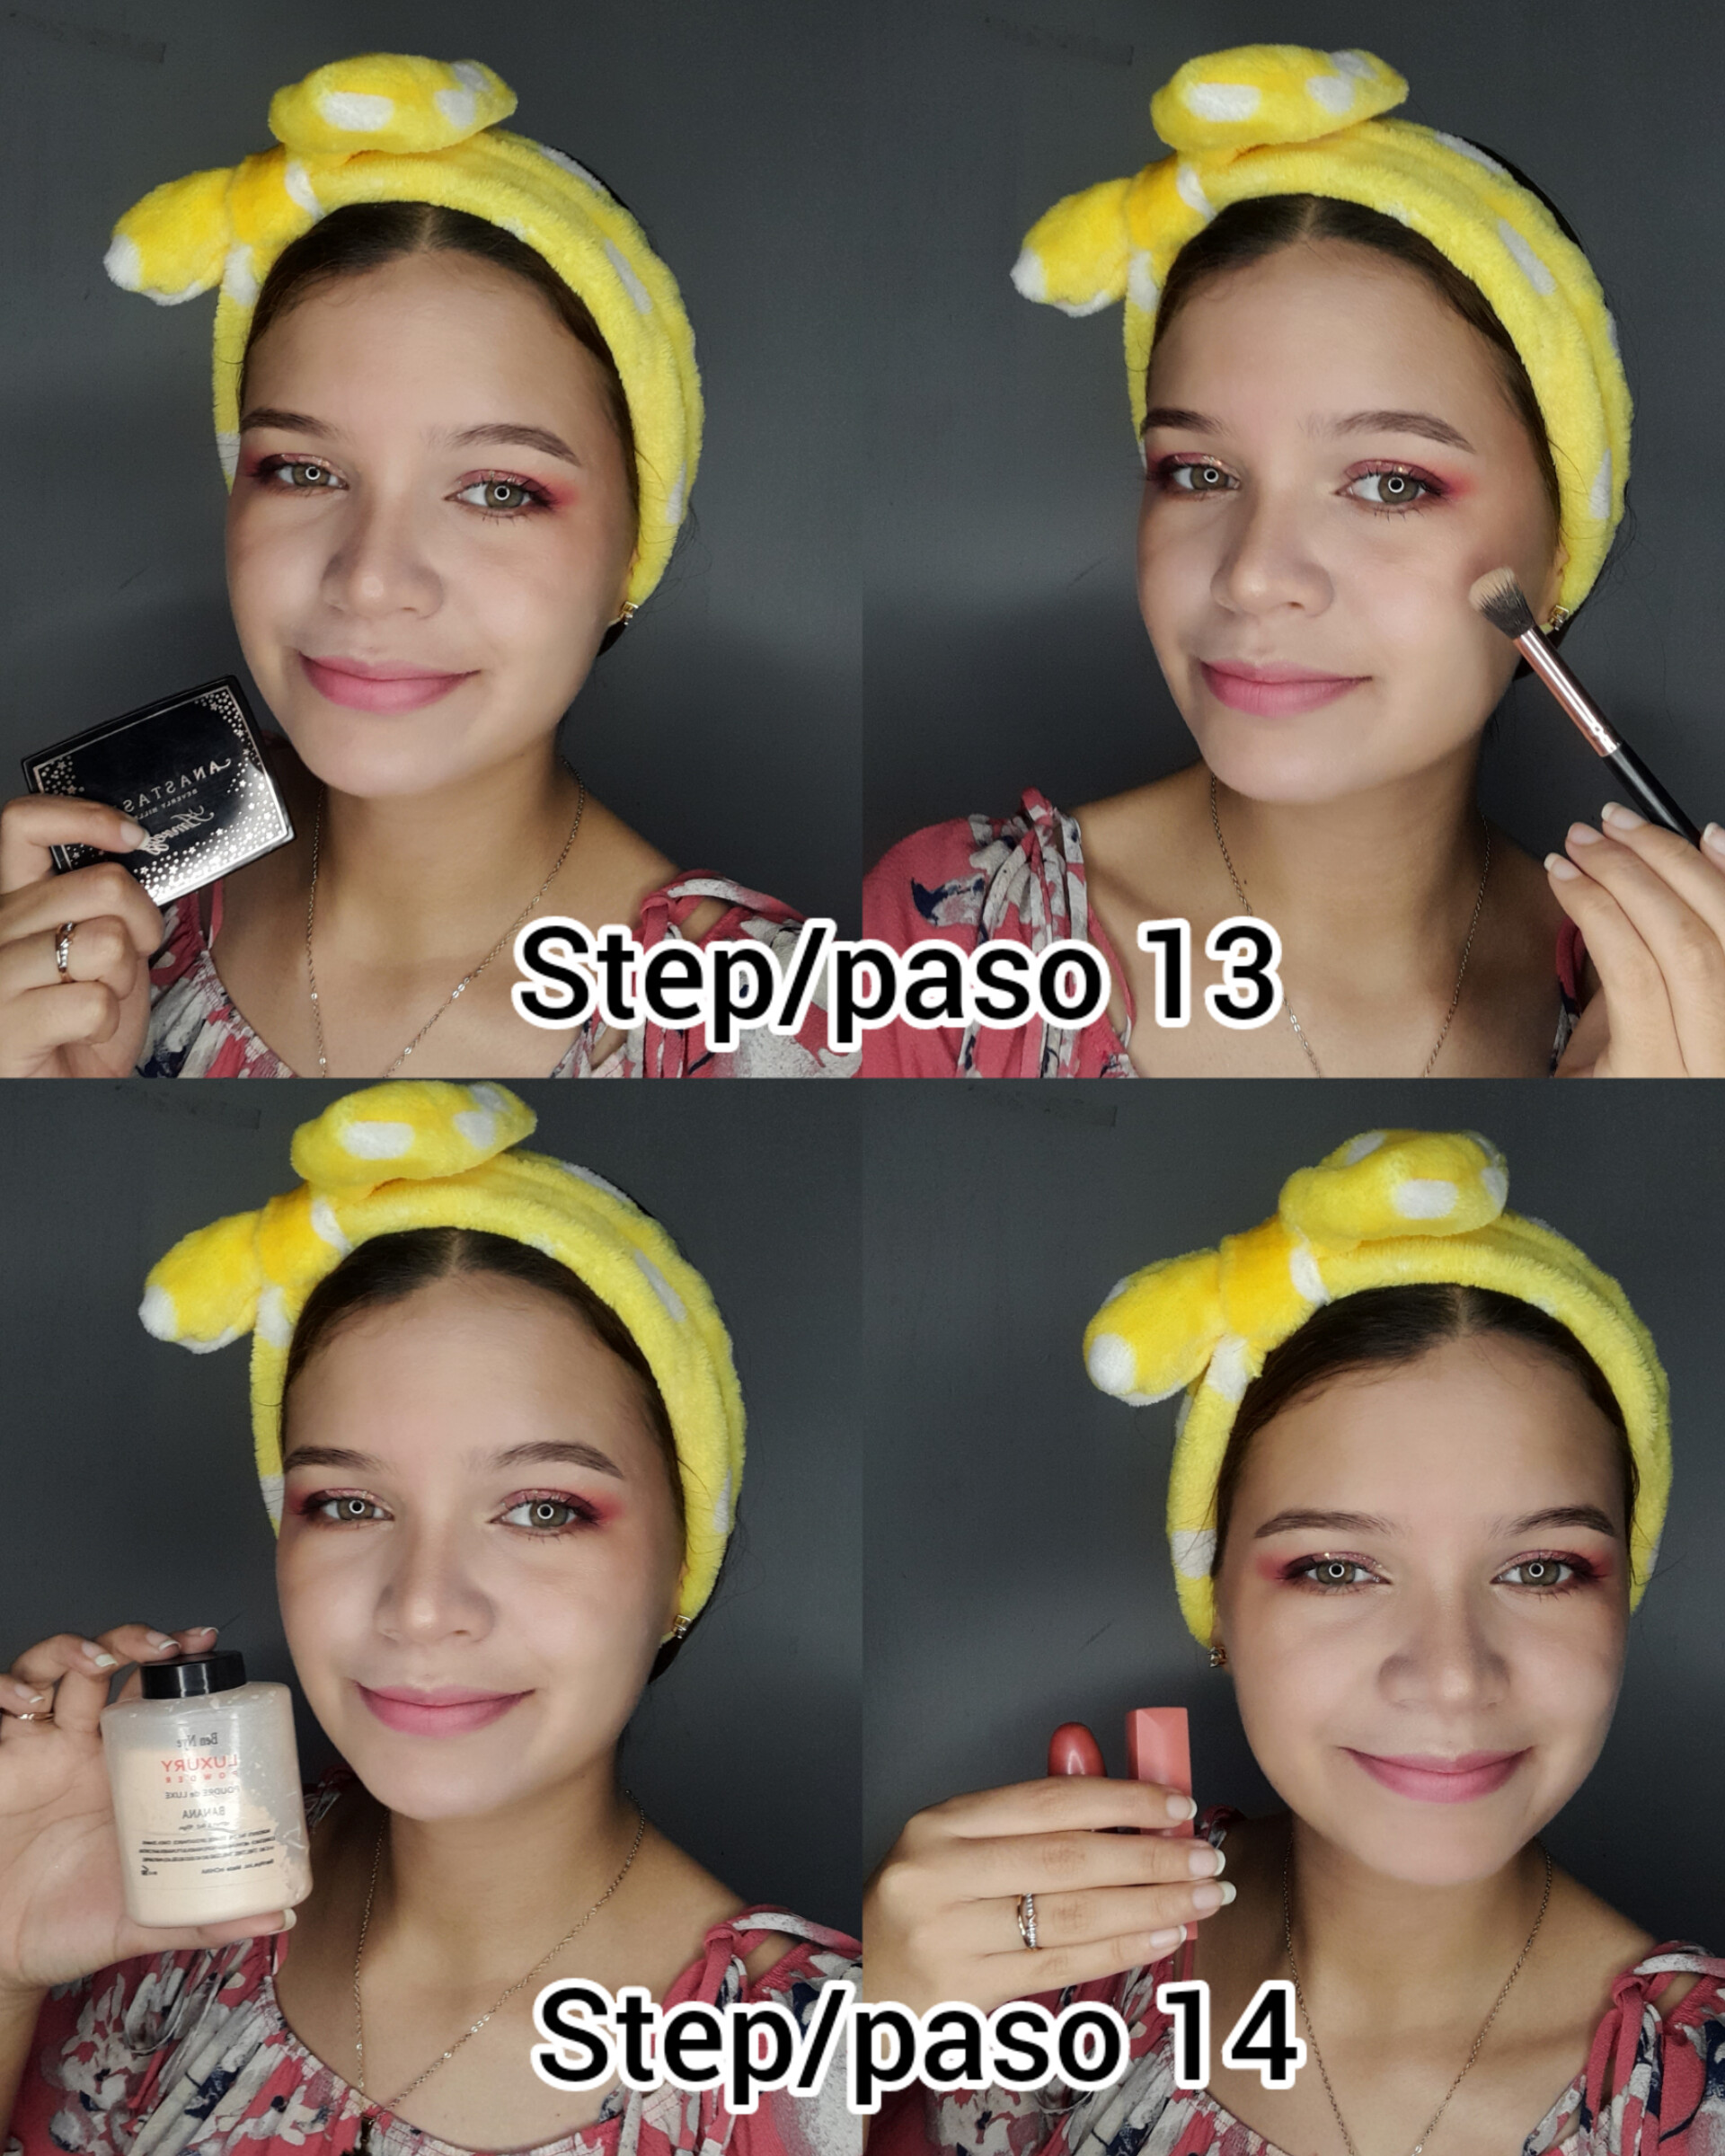
📌 Finally, we illuminate our face, celling all the work done before with loose powder. Lastly, I made use of my red lipstick on the inner part, then pink all over my lips and then gloss. ready, you now have a makeup for that special date!
📌 Finalmente, iluminamos nuestro rostro, cellamos todo el trabajo realizado anteriormente con polvo suelto. Por último, hice uso de mi labial rojo en la parte interna, luego el rosa en todo mis labios y después el brillo. ¡Listo, ya tienes un maquillaje para esa fecha especial!

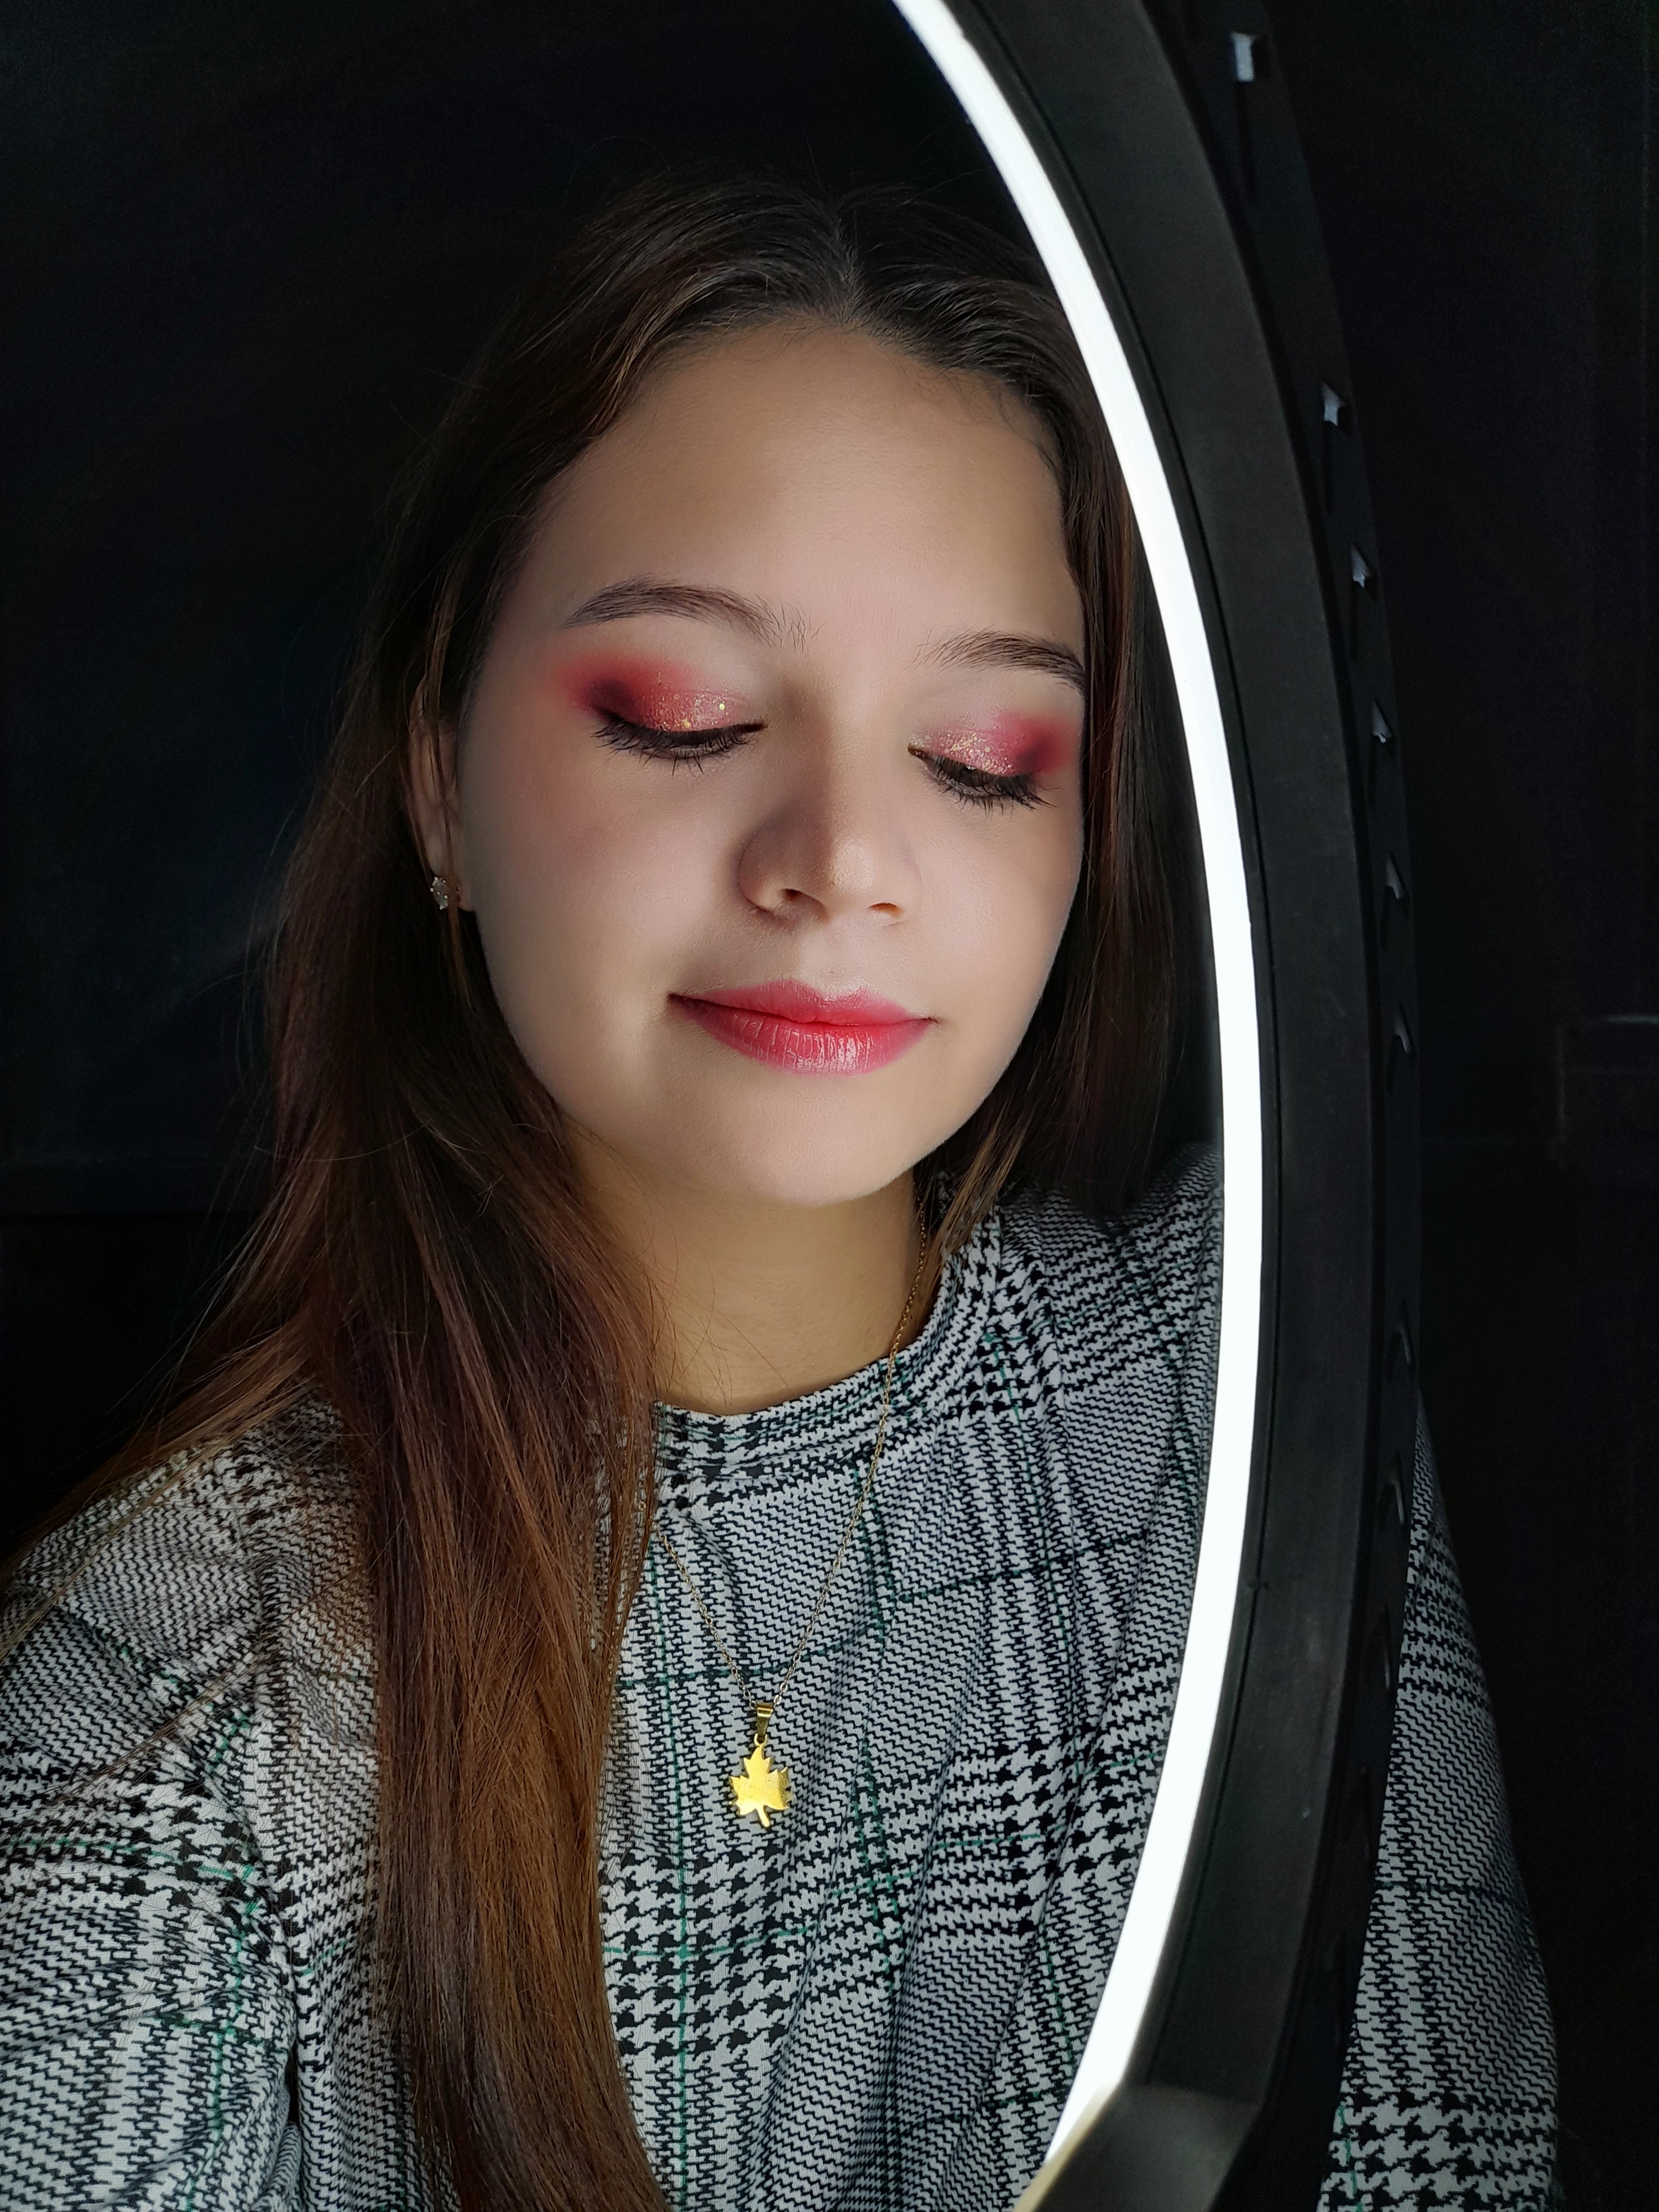
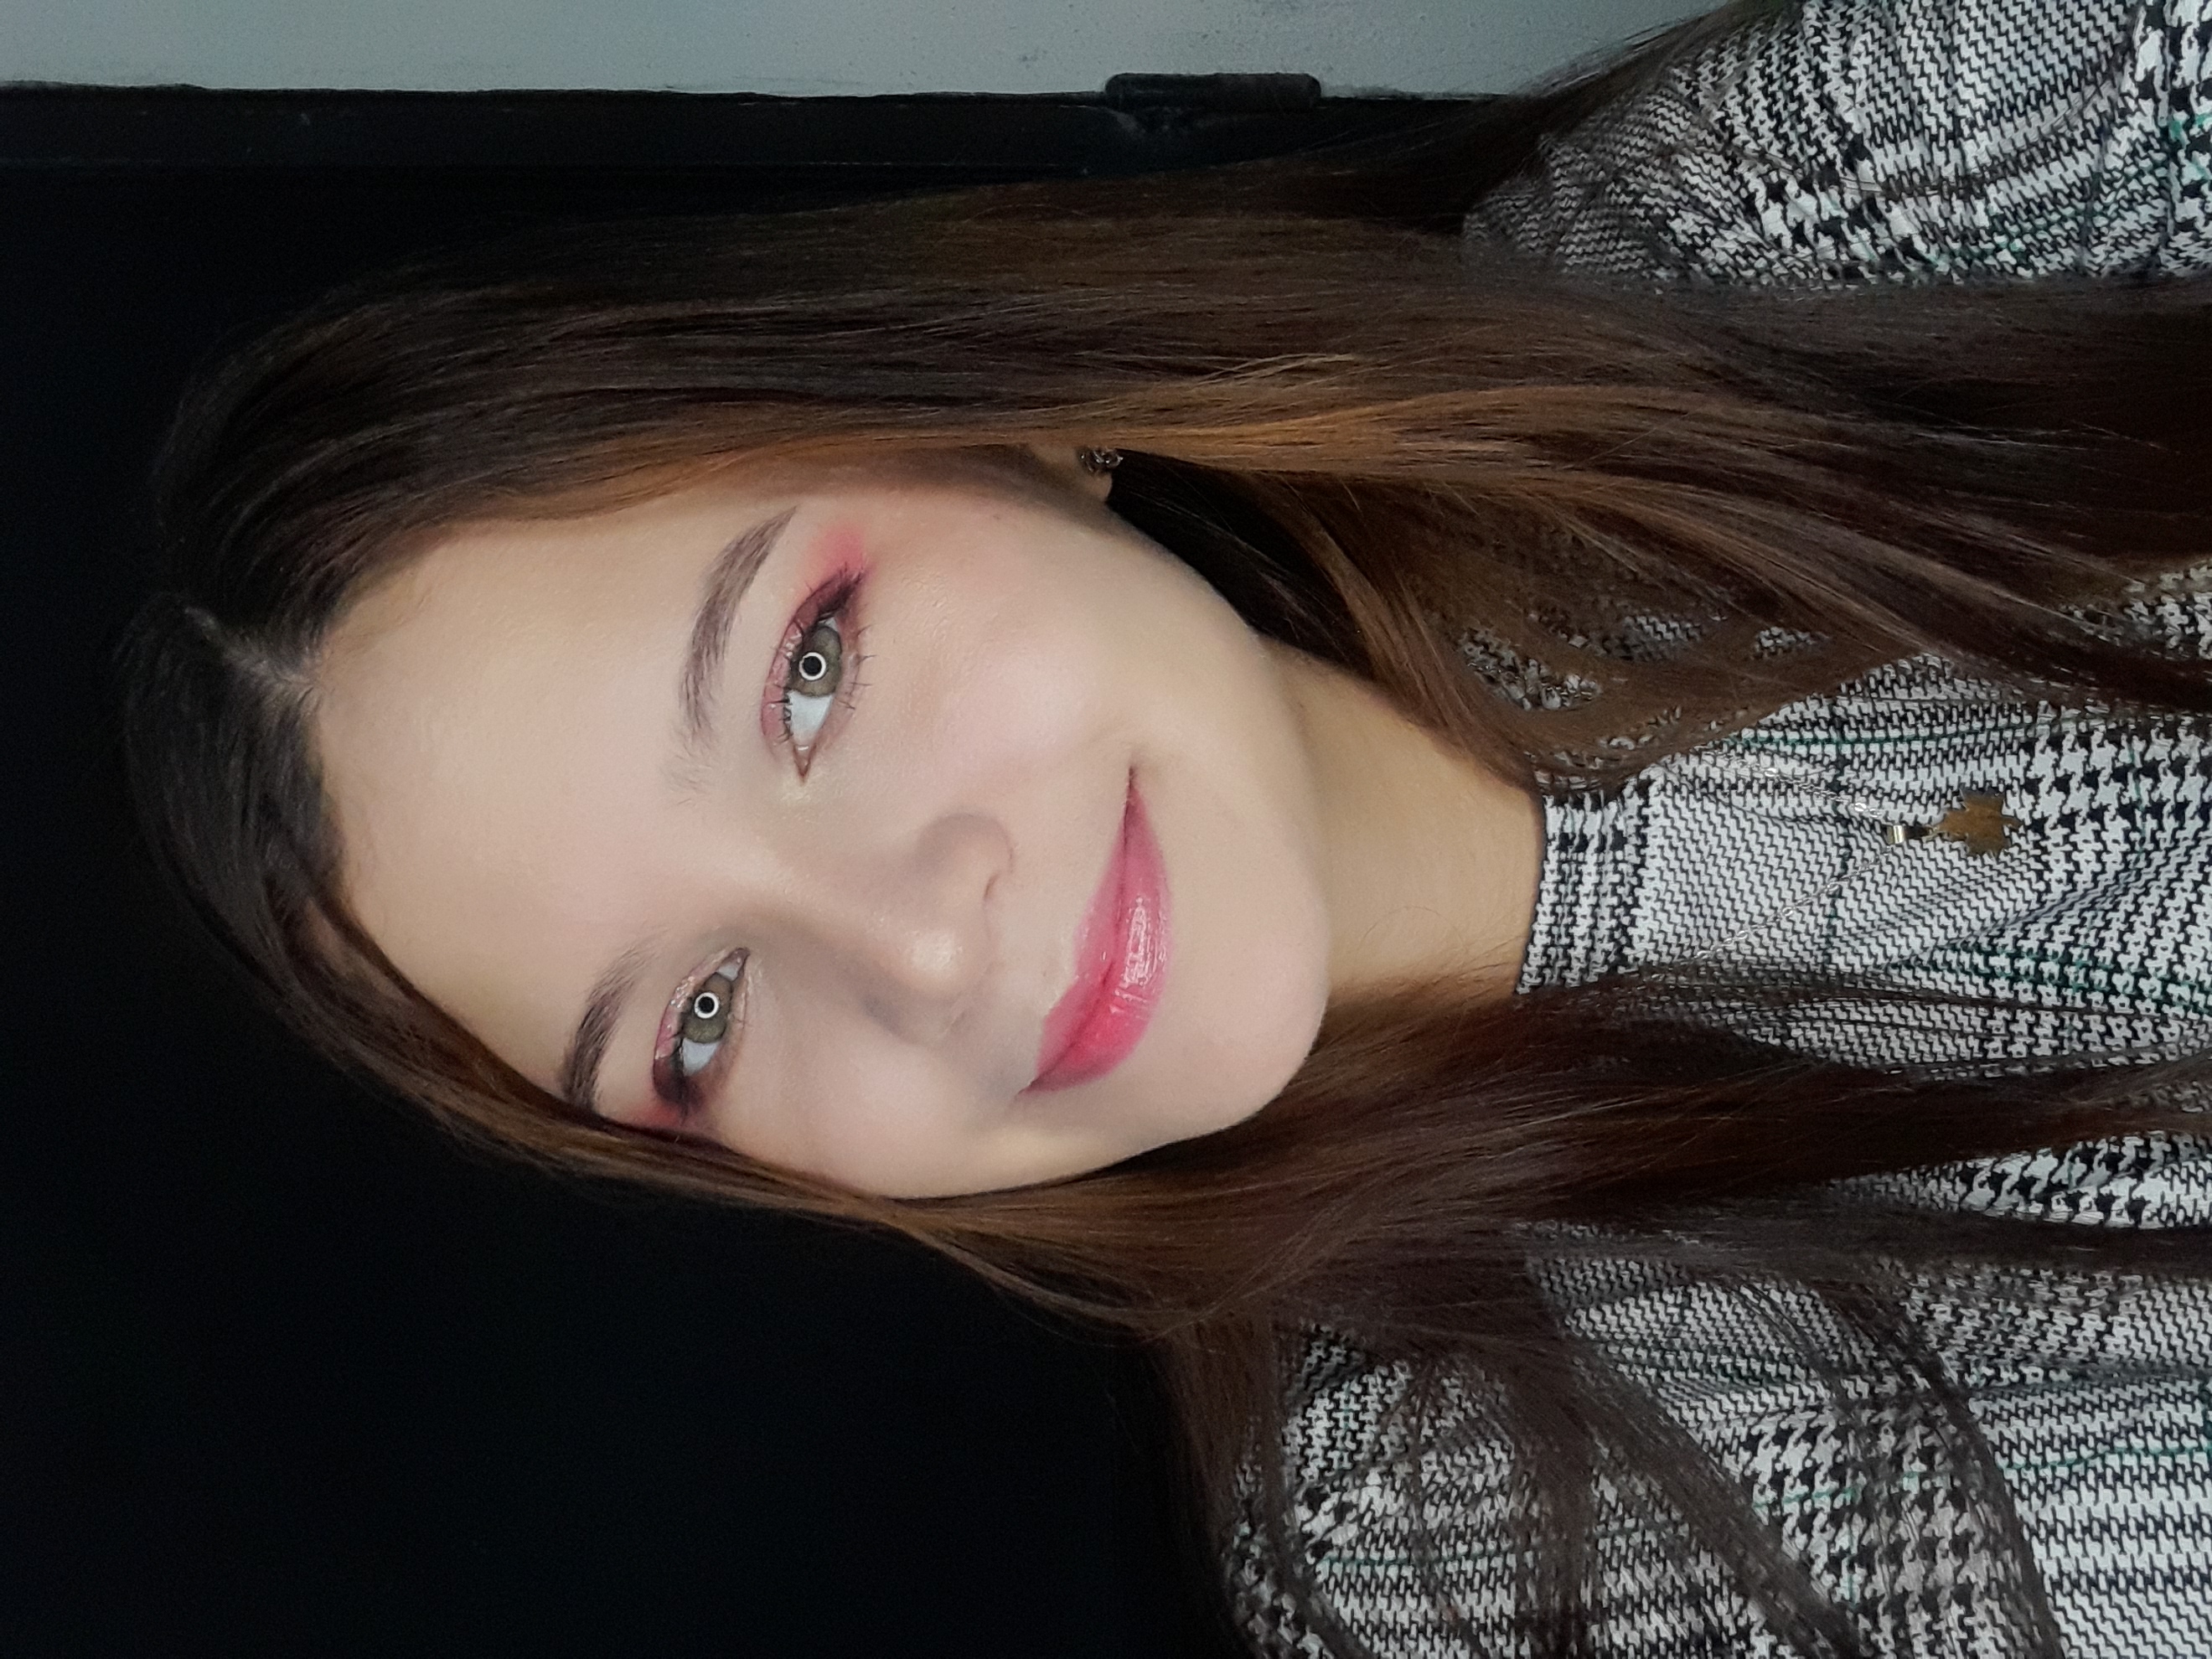
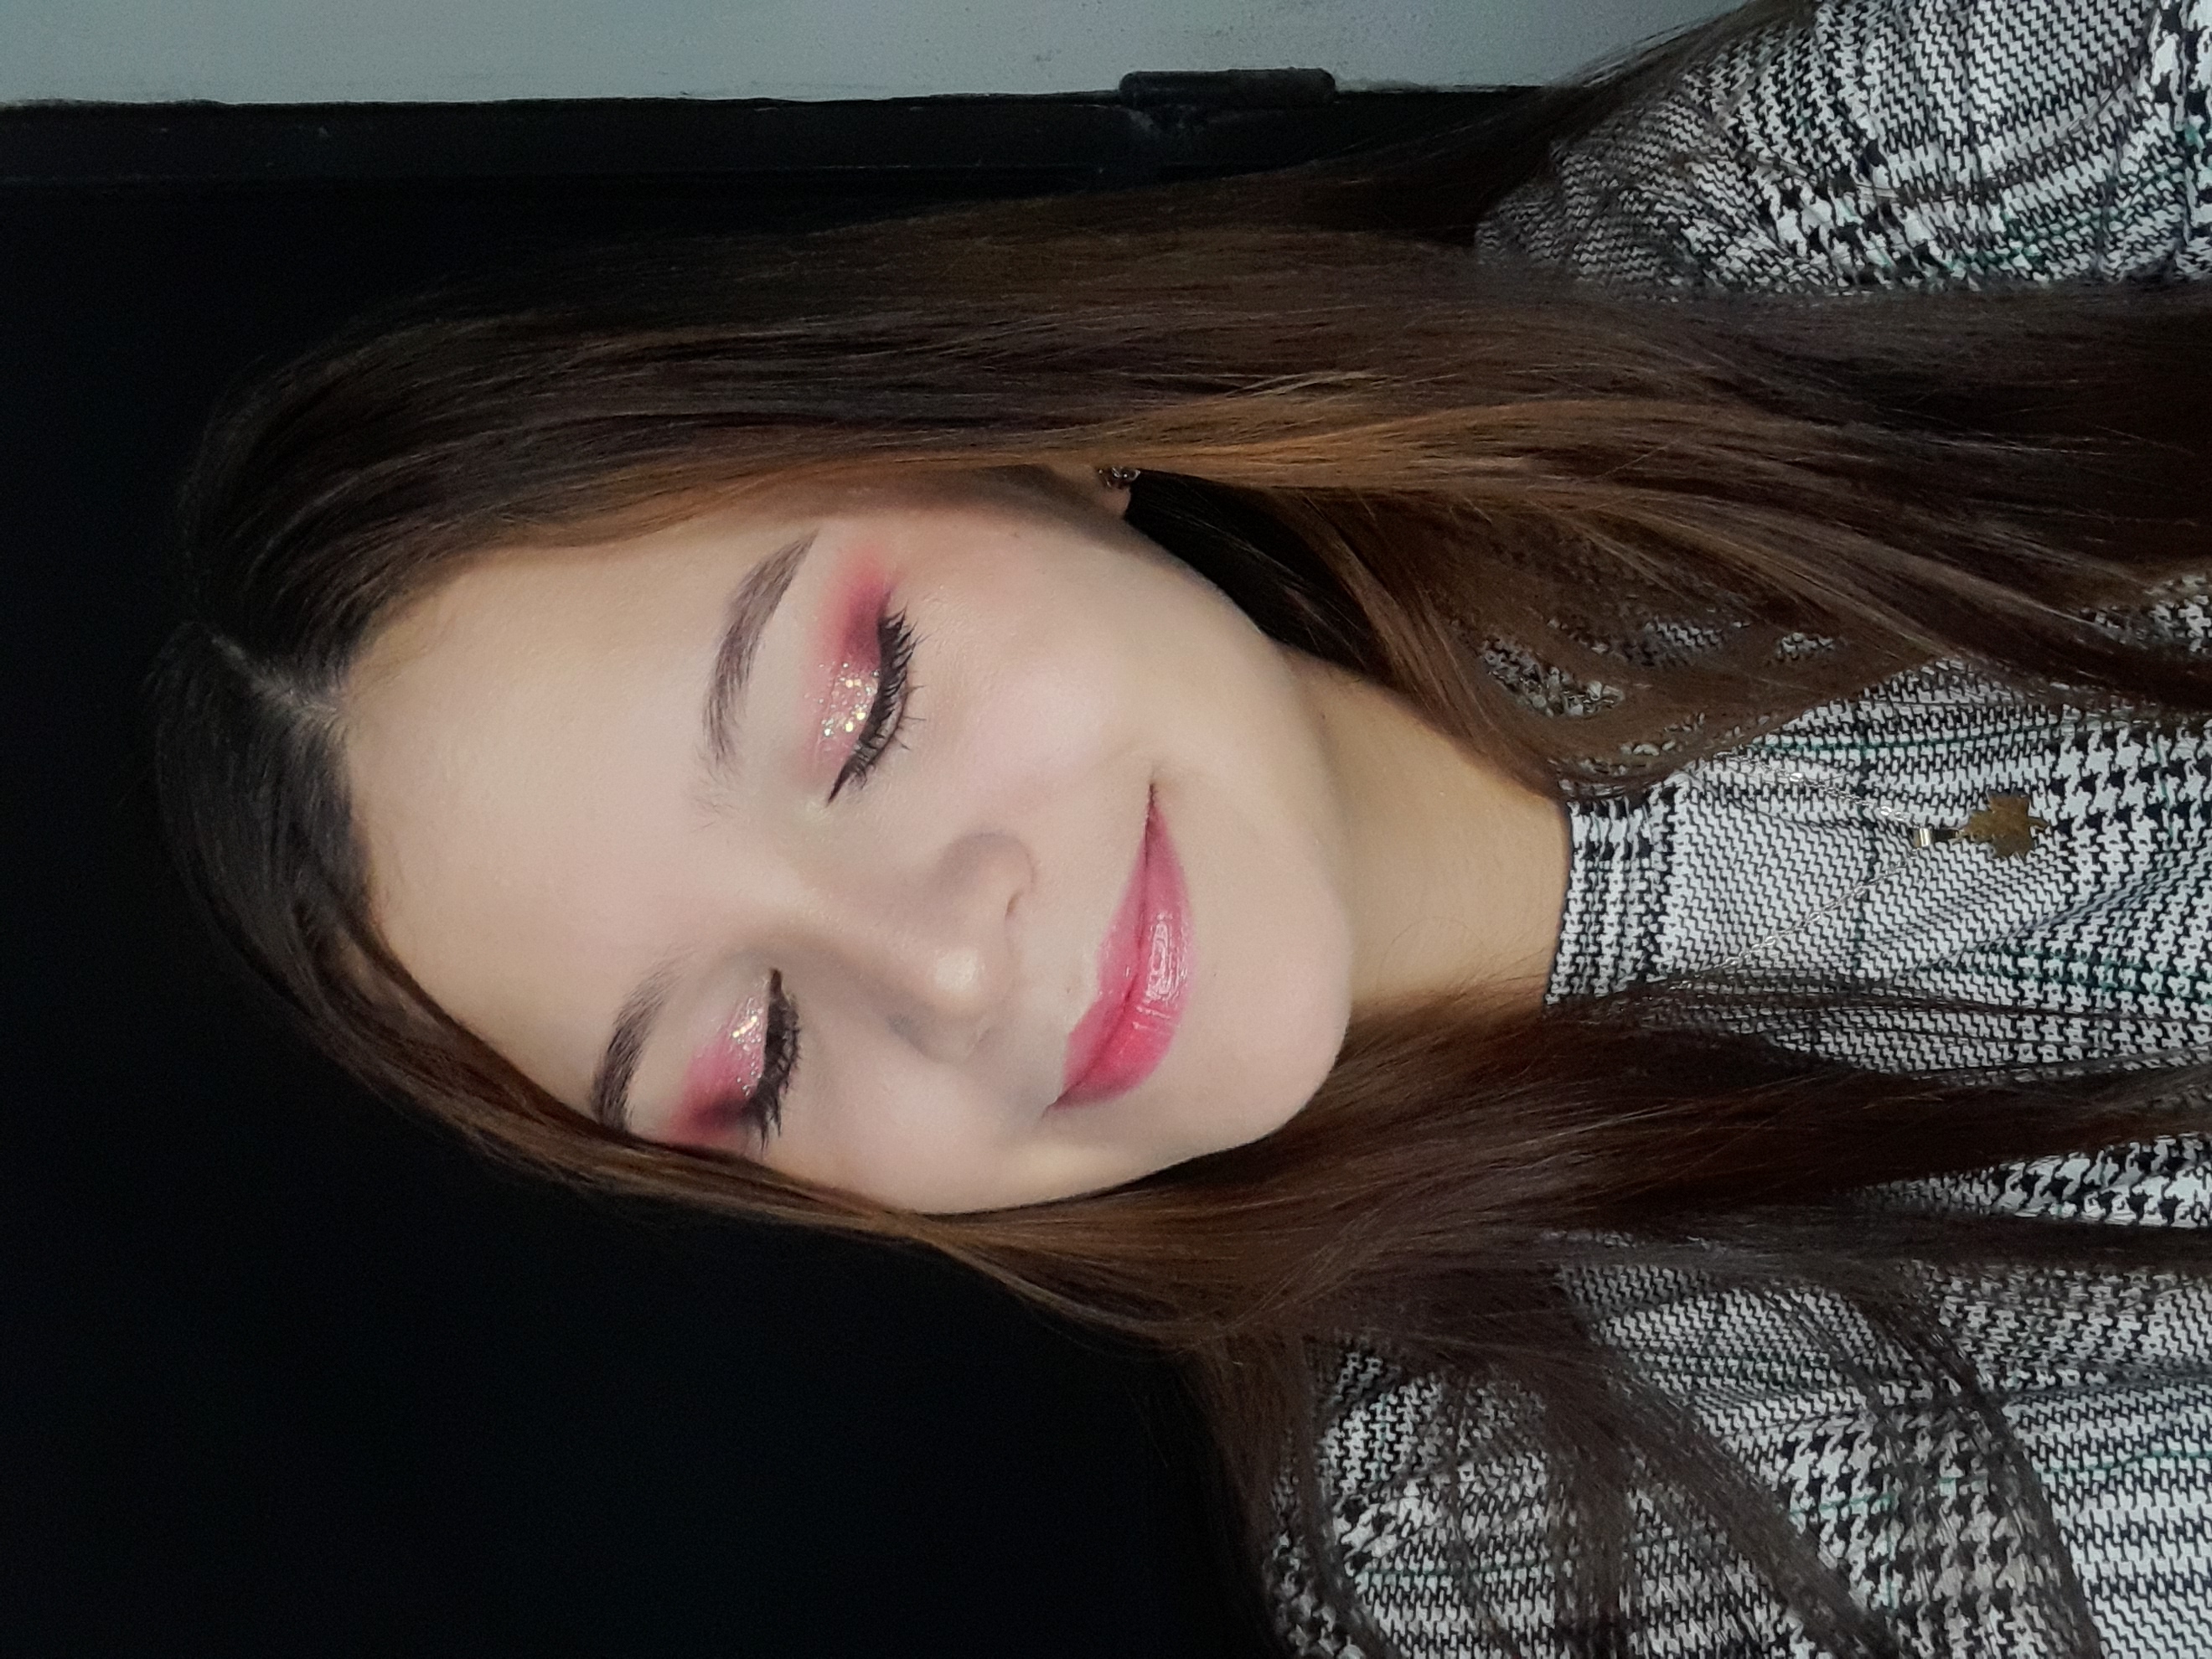
Make-up result / Resultado del maquillaje

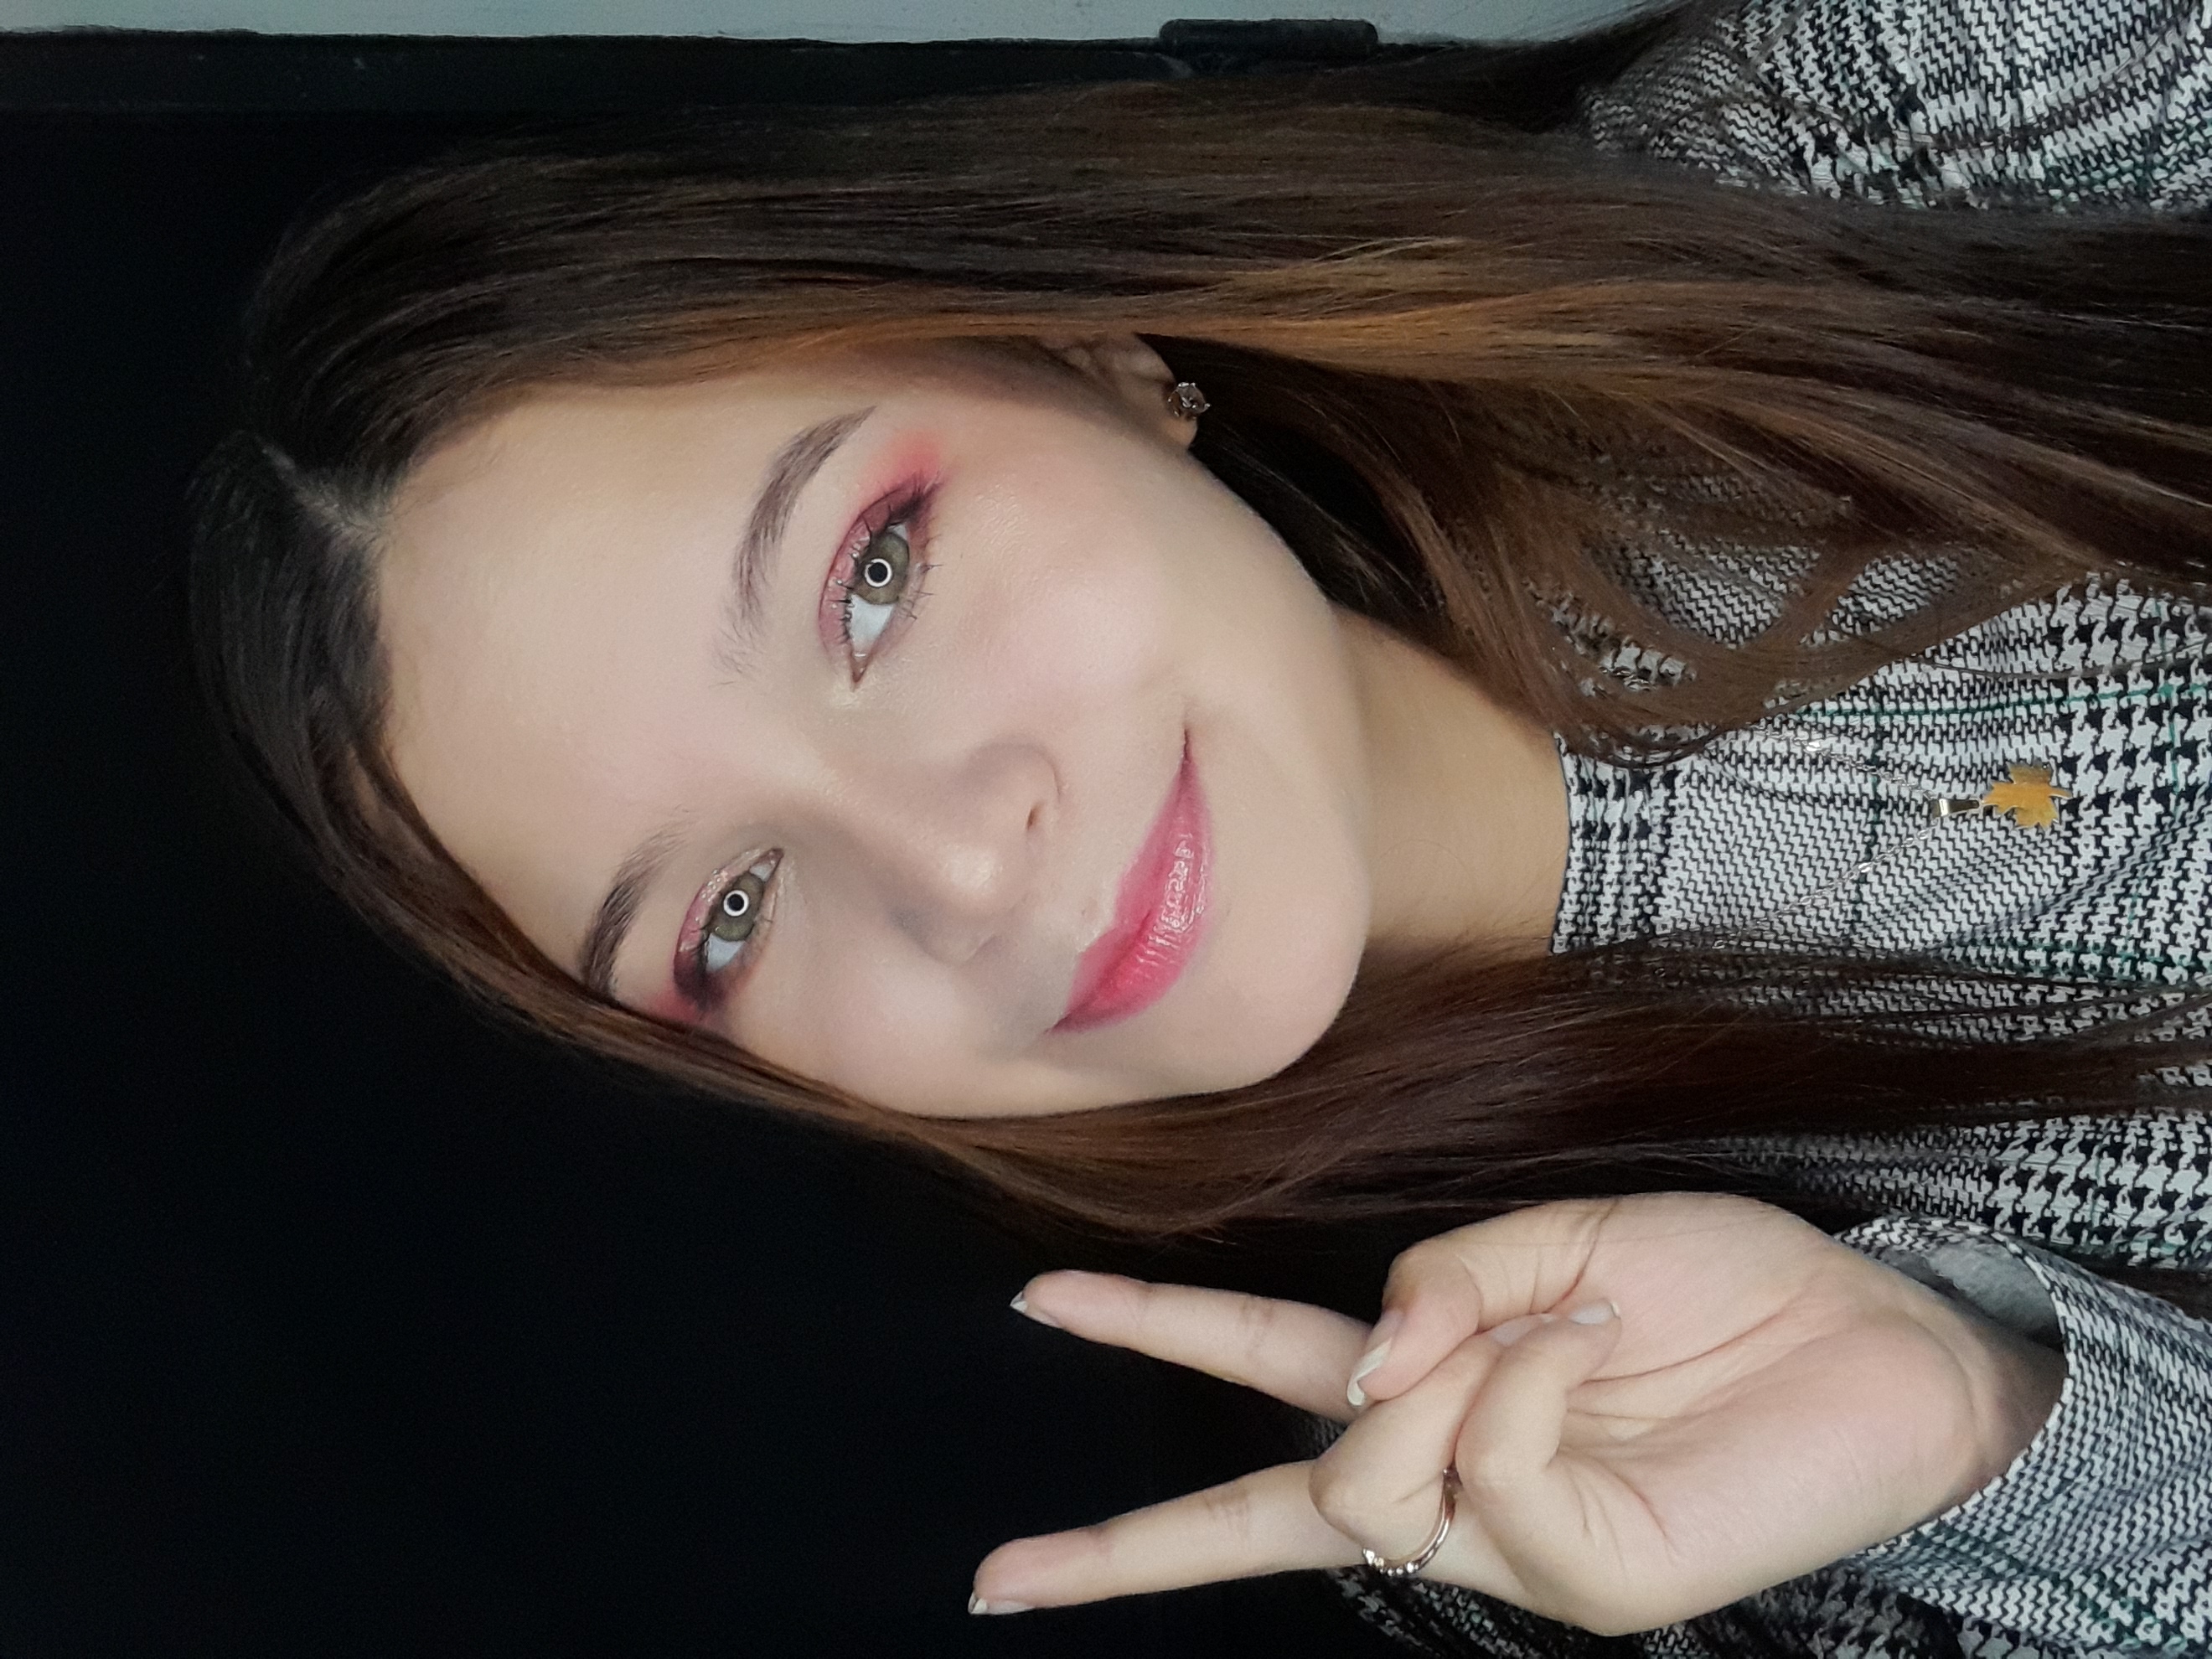

Todas las fotografías fueron tomadas con mi télefono Samsung Galaxy A12 📲
0
0
0.000
¡Muchas gracias por el apoyo!
Thank you for sharing this post on HIVE!
Your content got selected by our fellow curator semarekha & you just received a little thank you upvote from us for your great work! Your post will be featured in one of our recurring compilations which are aiming to offer you a stage to widen your audience within the DIY scene of Hive. Stay creative & HIVE ON!
Please vote for our hive witness <3
Thank you very much, best regards!
The application of eyelid shadow is my favorite of your make up post. This pink color really looks so good with your eyes which also much to the lip and the whole make up process. At the end after this application, you turn out amazing.
Thank you very much for leaving your amazing comment, thank you for appreciating my content, very welcome your words. Every day improving and giving the best of me, a hug We are reading!
Looking beautiful 💘
Thank you very much, best regards!