The Eye of Horus, Wood Carved Necklace - El Ojo de Horus, Collar Tallado en Madera [ENG-ESP]
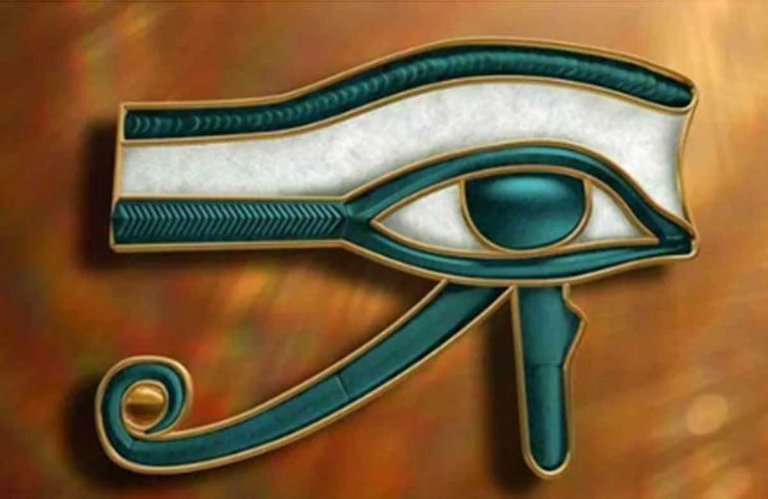
Hello friends of Jewelry, I hope you are all well and sharing your beautiful creations, on this occasion I want to show a necklace that I made in a small piece of carved wood, it is the famous Eye of the powerful Egyptian god Horus. This ancient symbol was carved in ancient temples and has many applications. In ancient times it was given certain powers, as an amulet of protection against the forces of evil and chaos, since Horus represents order. So knowing a little about what this great ancient symbol treasures, I think it is the best figure that could be made to wear on a necklace. Here I briefly explain the step by step to be able to do it.
Hola amigos de Jewelry espero que todos se encuentren bien y compartiendo sus hermosas creaciones, en sta oportunidad quiero mostrar un collar que hice en una pequeña pieza de madera talla, se trata del famoso Ojo del poderoso dios egipcio Horus. Esté símbolo antiguo fue tallado en templos antiguos y tiene muchas aplicaciones, en los tiempos antiguos se le otorgaba ciertos poderes, como amuleto de protección contra las fuerzas del mal y del caos, ya que Horus representa al orden. De manera que conociendo un poco de lo que atesora este gran símbolo milenario, creo que es la mejor figura que se podria hacer para lucir en collar. Aquí explico brevemente el paso a paso para poder realizarlo.

 |  | |
|---|---|---|
 | 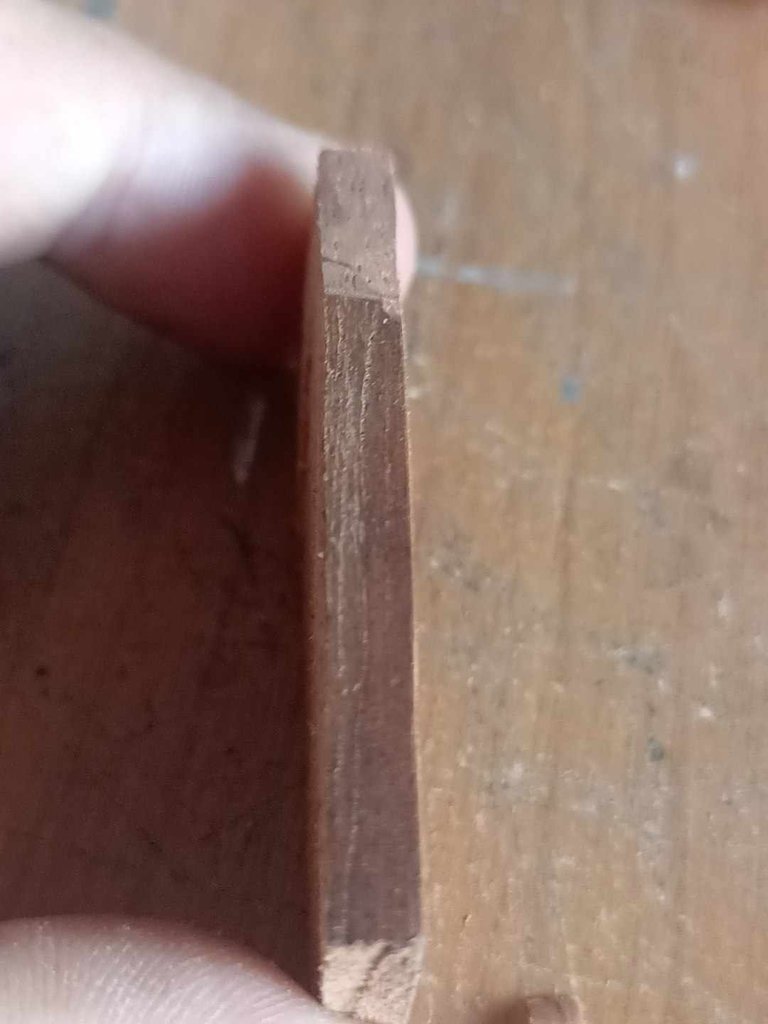 |
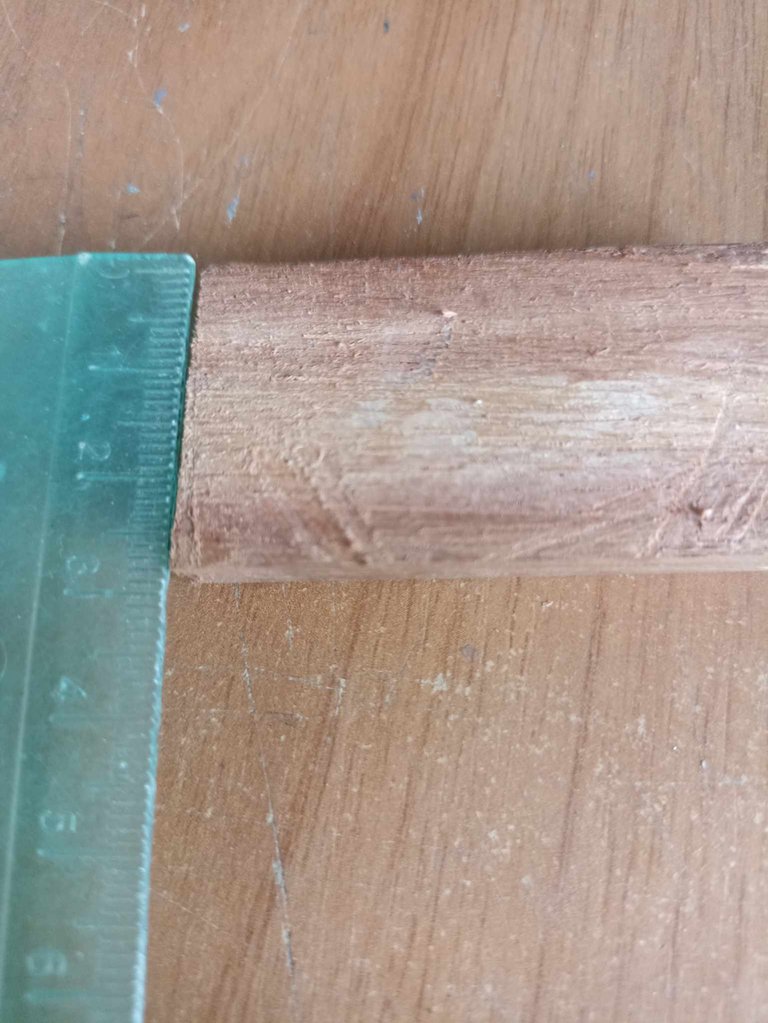
I used a piece of wood that was 5 centimeters wide by 3 centimeters high and 5 millimeters long. I have used this wood before because it is the softest, I tried one called Pine, but it was horrible, it looked like a concrete block, maybe because it didn't have the right blades, but I felt like they lied to me when they told me it was good However, I saved it for another time.
Utilicé un trozo de madera que tenia 5 centímetros de ancho por 3 centímetros de alto y 5 milímetros de largo. Esta madera la he usado anteriormente porque es la más suave, intenté con una que se llama Pino, pero fue horrible, parecía un bloque de concreto, tal vez porque no tenía las cuchillas adecuadas, pero sentí que me mintieron cuando me dijeron que era buena, sin embargo la dejé guardada para otra ocasión.
 |  | |
|---|---|---|
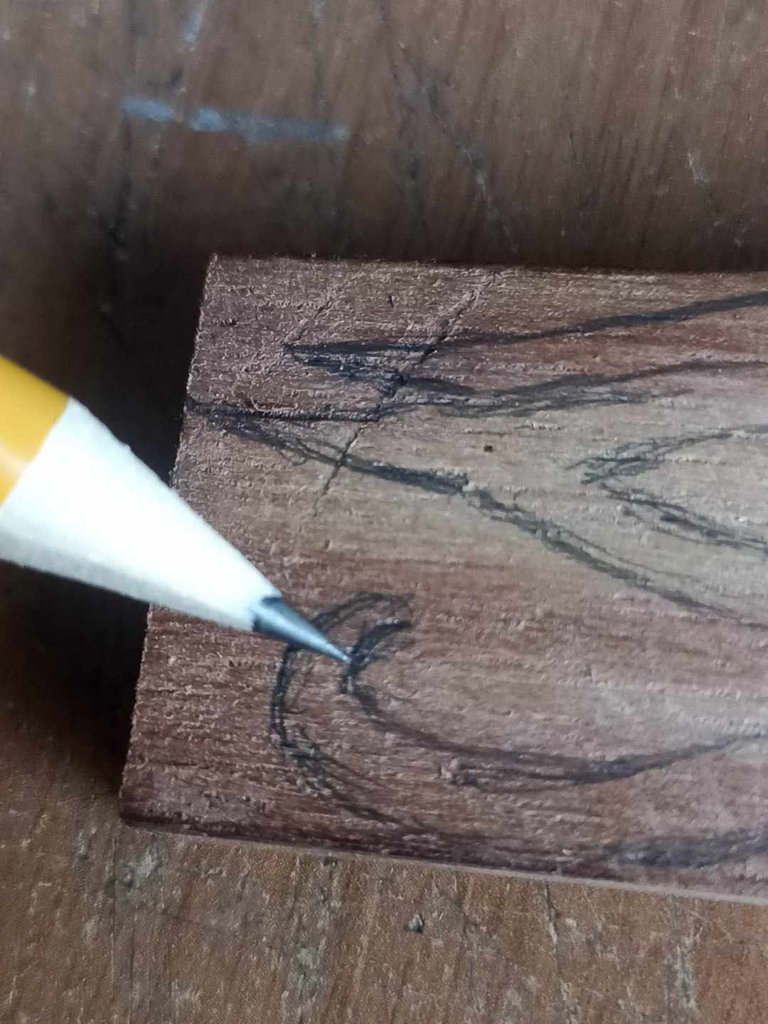 |  |
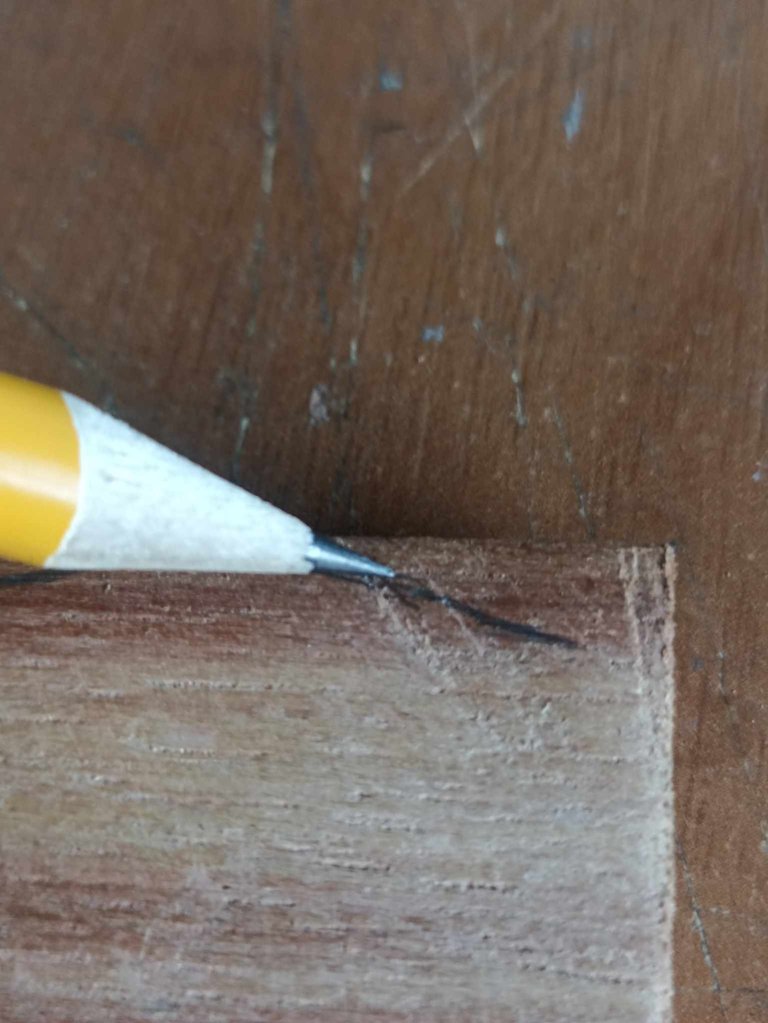
After sanding the wood a little since it was somewhat rustic, I made the surface smooth to be able to draw the silhouette of the Eye of Horus, I did it with the most minimalist style so that later when doing the carving it would not be so complicated for my tools.
Luego de lijar un poco la madera ya que estaba algo rústica, dejé la superficie suave para poder dibujar la silueta del Ojo de Horus, lo hice con el estilo más minimalista para que luego al hacer el tallado no fuera tan complicado para mis herramientas.
 |  | |
|---|---|---|
 |  |
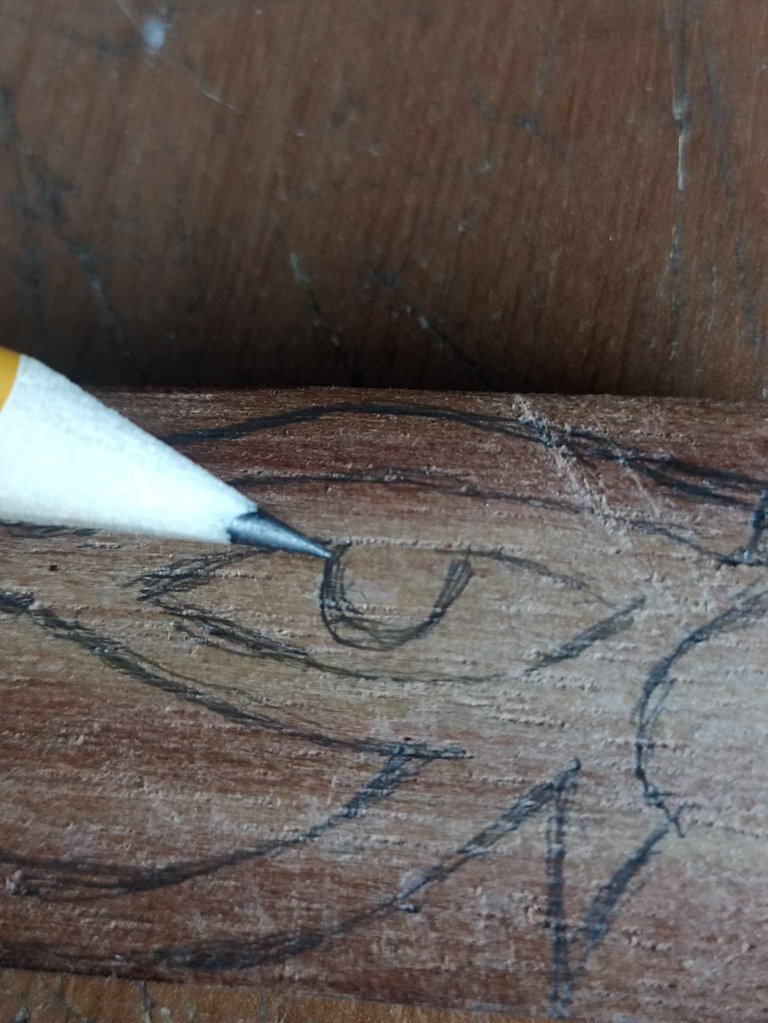
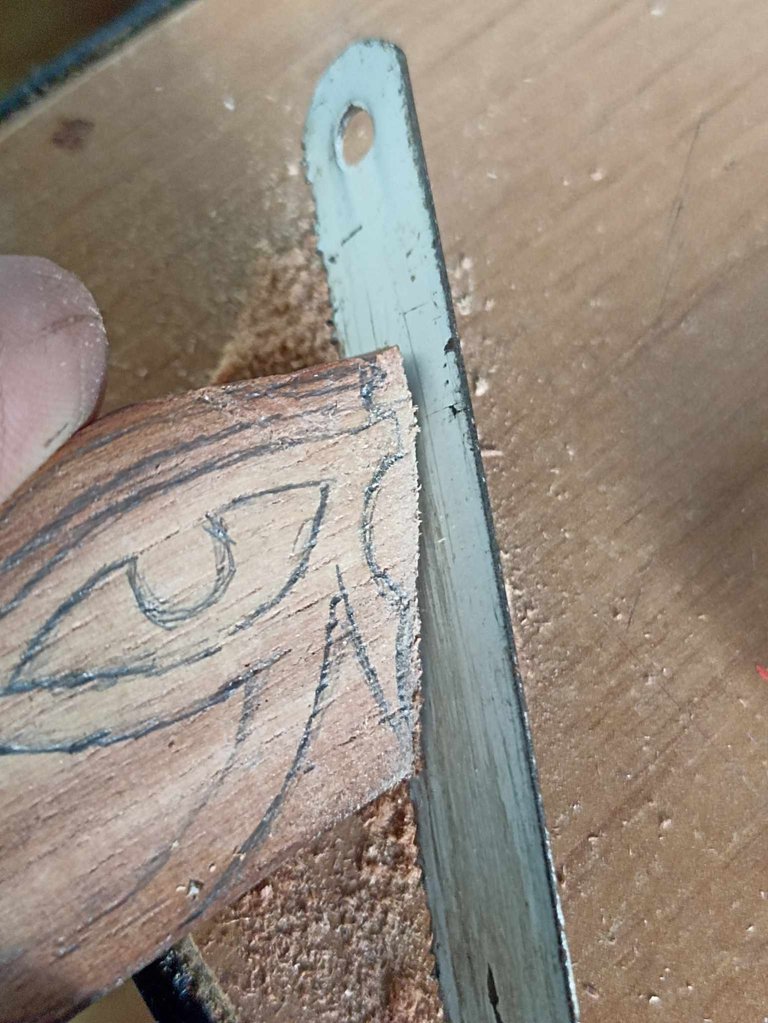
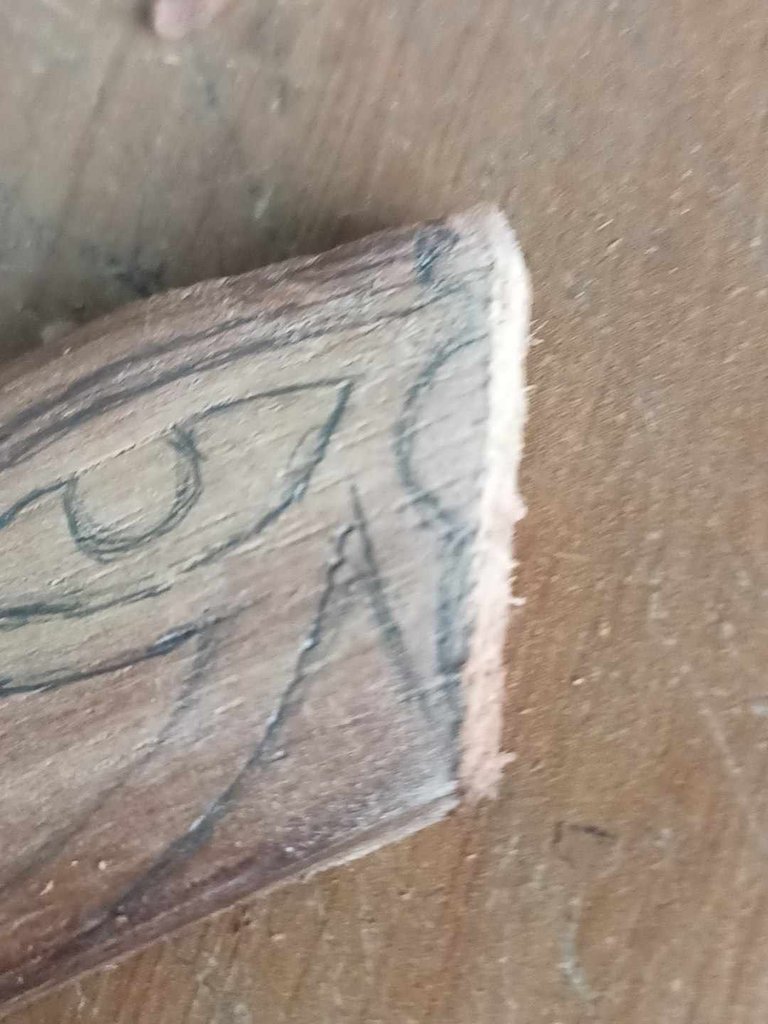
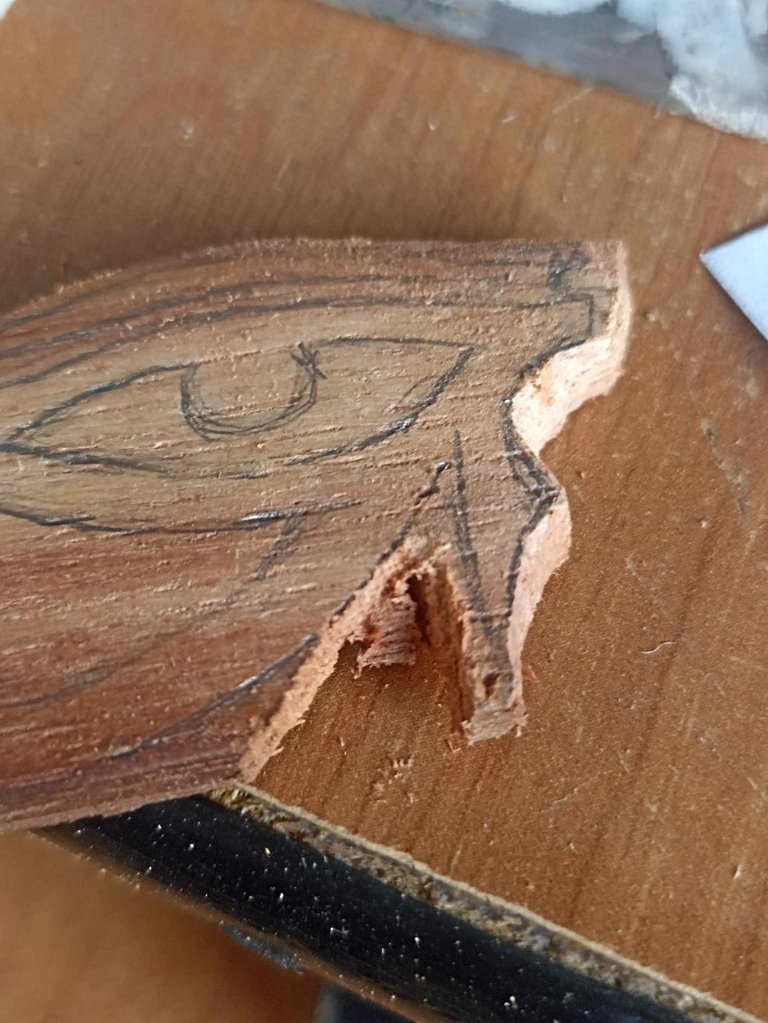
Then I made some extra cuts with the saw to reduce the size on the edges, once done I started carving with the knife.
Despué shice algunos cortes extras con la sierra para reducir el tamaño en los bordes, una vez hechos comencé a tallar con la navaja.
 |  | |
|---|---|---|
 |  |
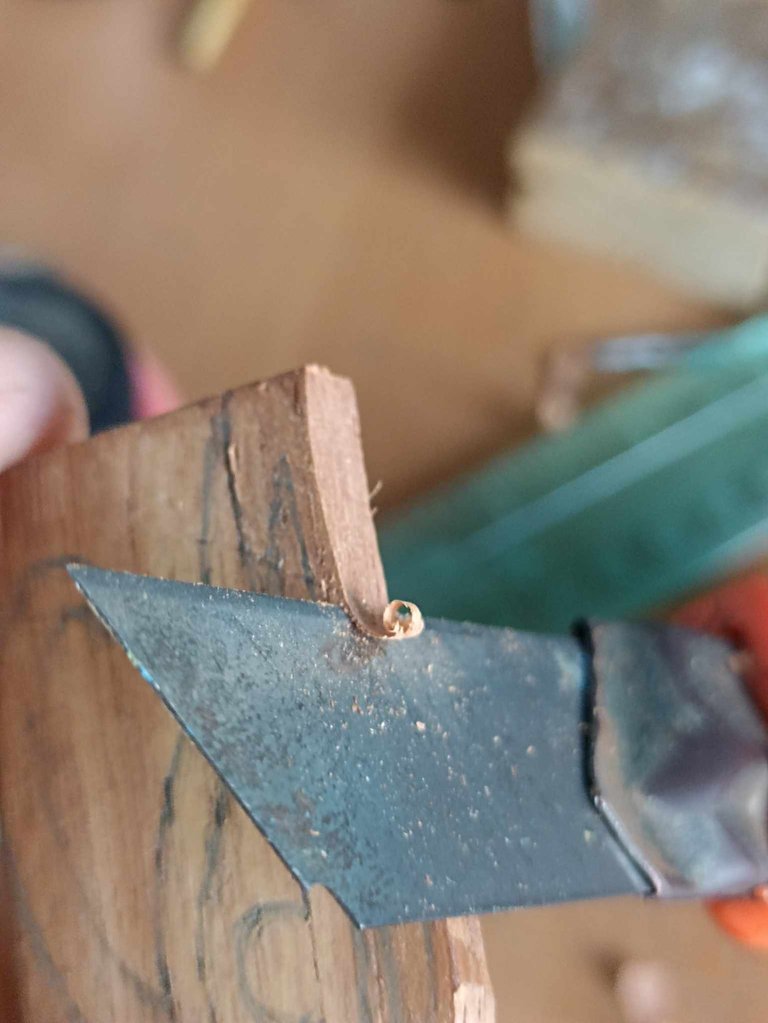
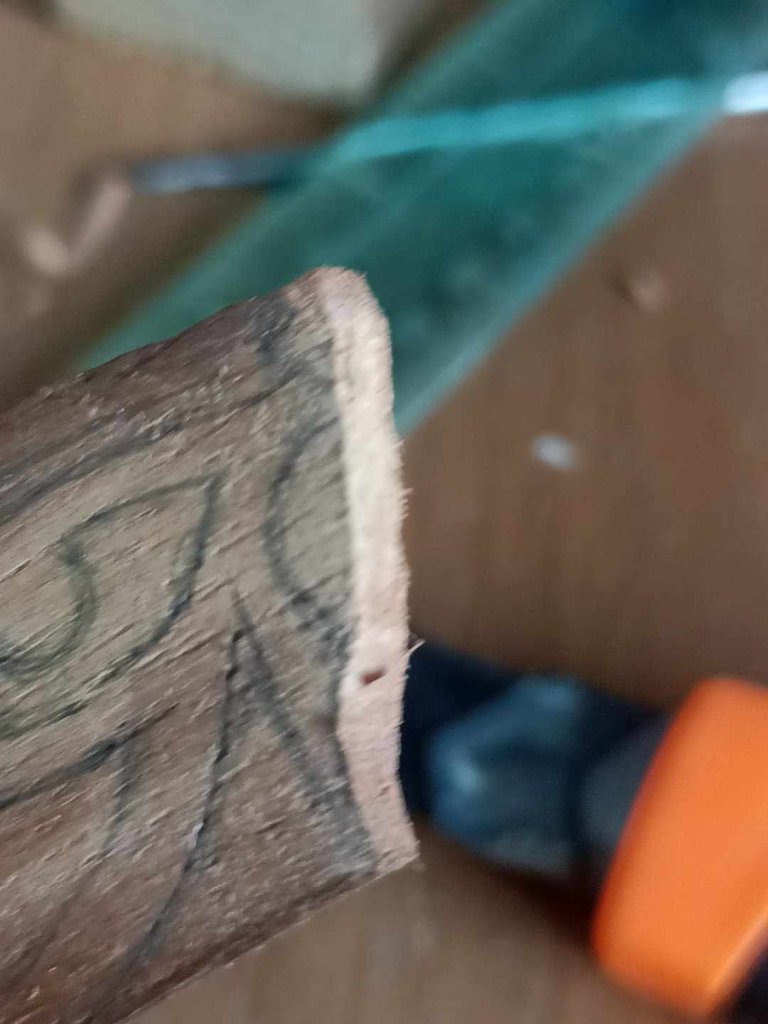
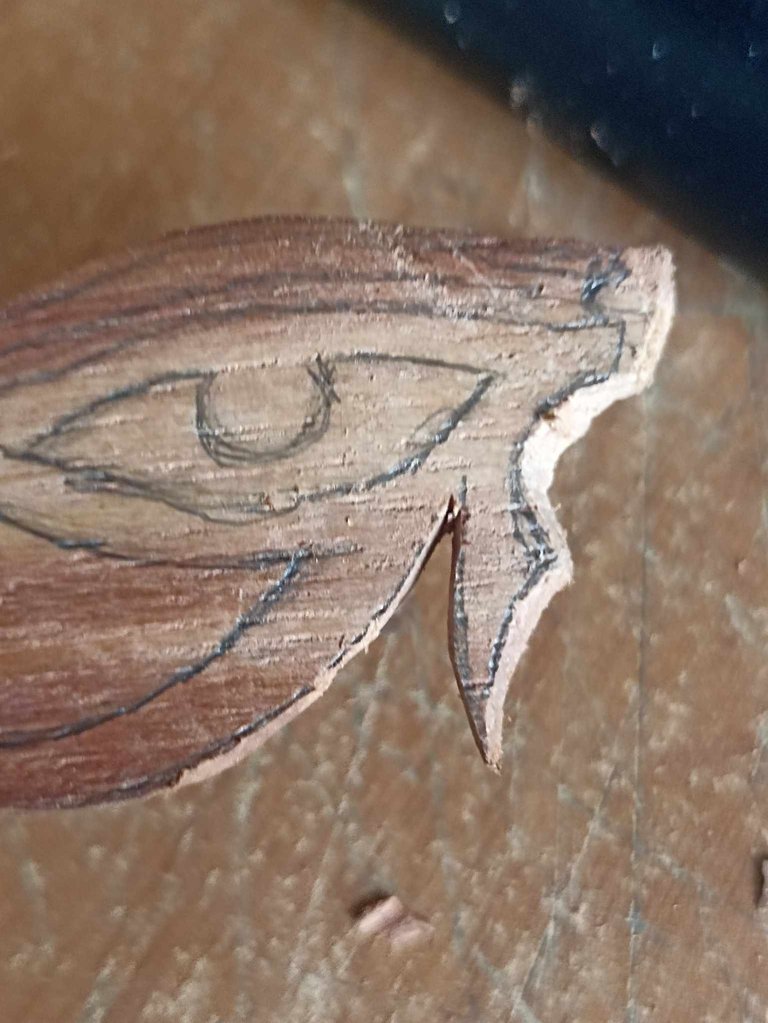
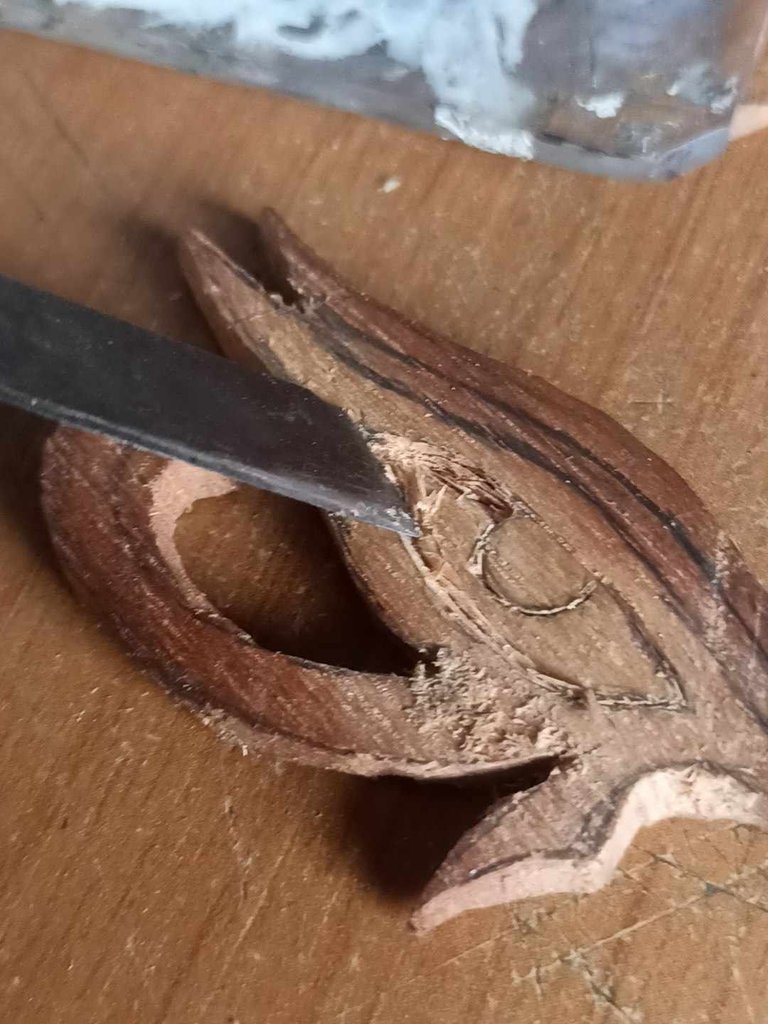
Next I went with the knife carving and cutting the lower edges of the eye, here I was very careful, since in the design there was a kind of curved tail, little by little I carved it so as not to damage the wood, if I plunged the knife very hard it could break easily. I did this until I was able to extract all the wood from that area, and also in the upper part of the eye, I was very happy when I saw that it was taking a good shape although I was still halfway to finishing.
Seguidamente fui con la navaja tallando y cortando los bordes inferiores del ojo, aquí fui muy cuidadoso, ya que en el diseño qued acomo una especie de cola curva, poco a poco la fui tallando para no dañar la madera, si hundía muy fuerte la navaja se podía romper con facilidad. Así fui haciendo hasta que pude extraer toda la madera de esa zona, y así también en la parte superior del ojo, me alegré mucho cuando vi que iba tomando una buena forma aunque aún estaba a medio camino para terminar.
 |  |  |
|---|---|---|
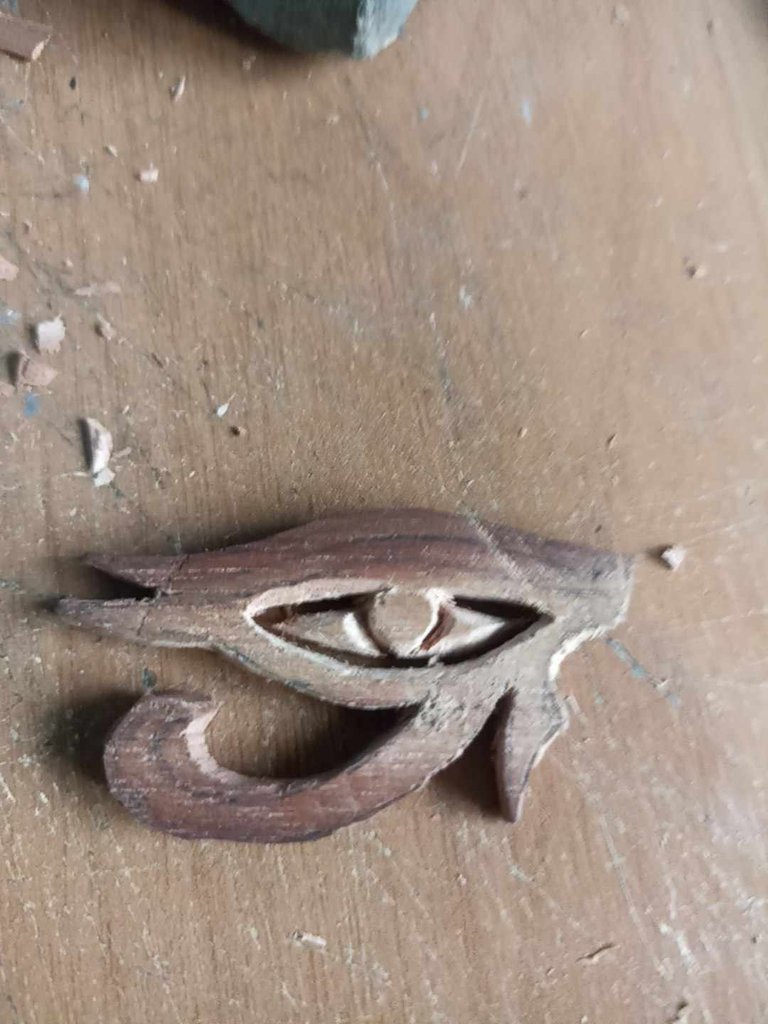 | 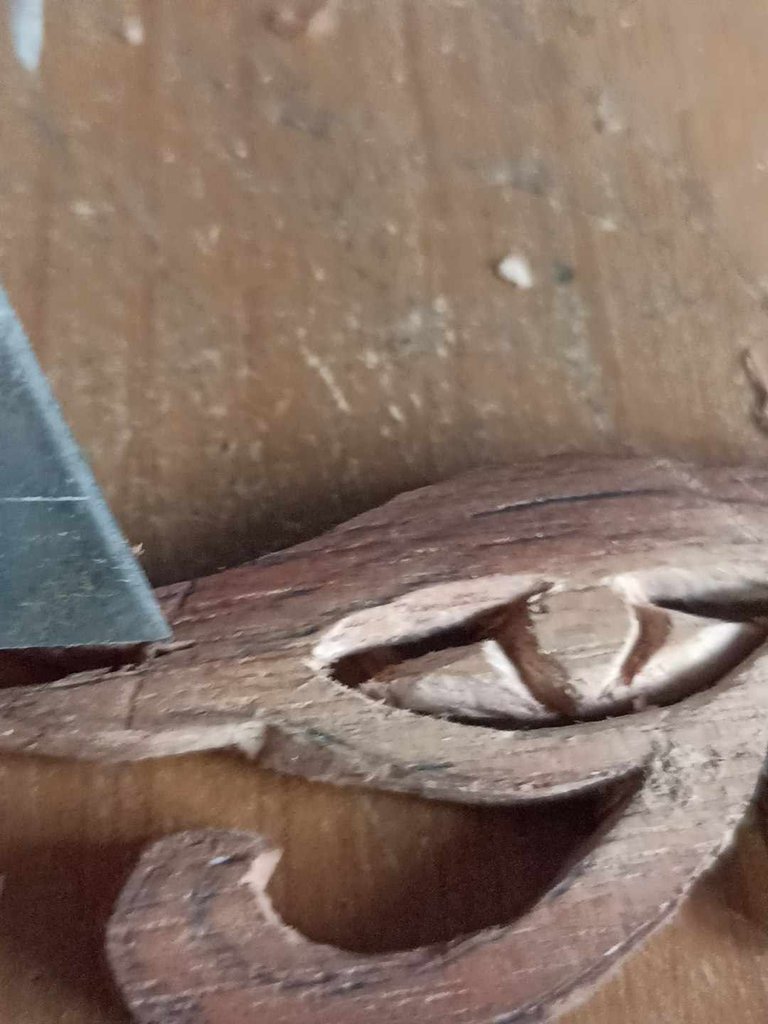 | 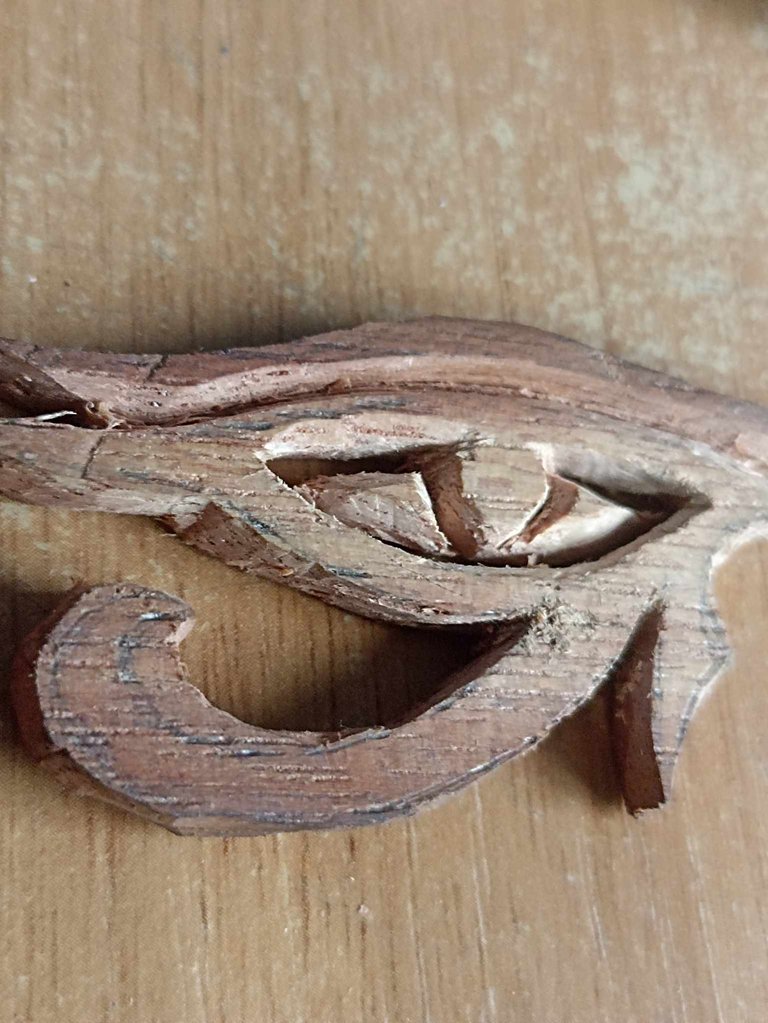 |
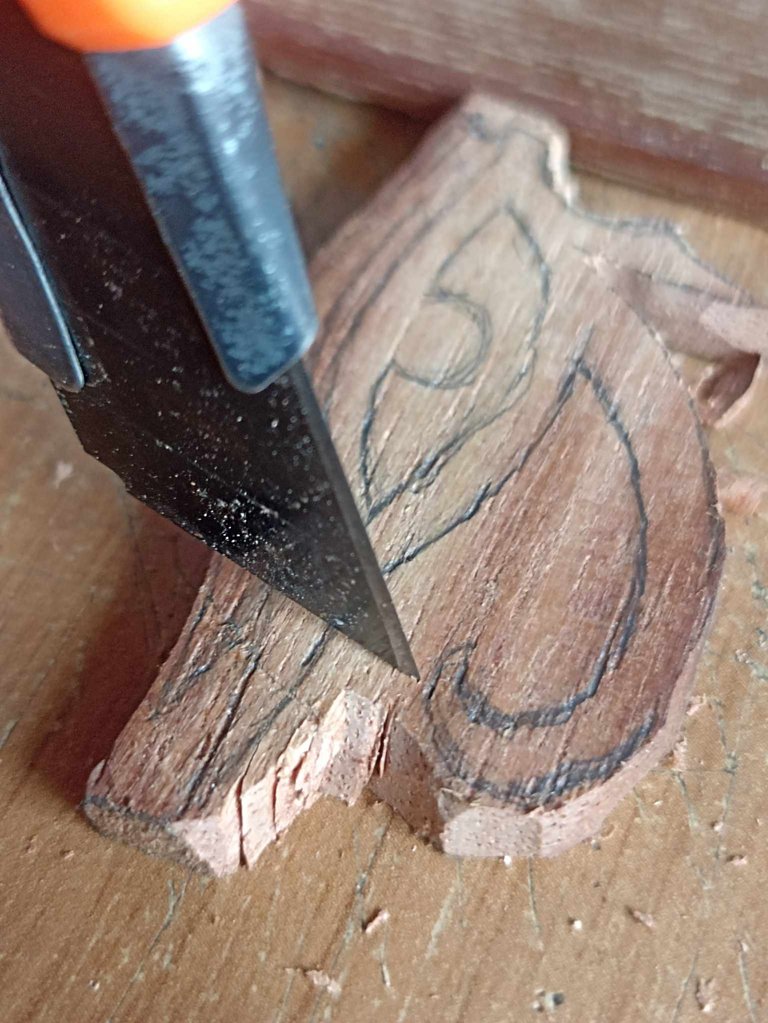
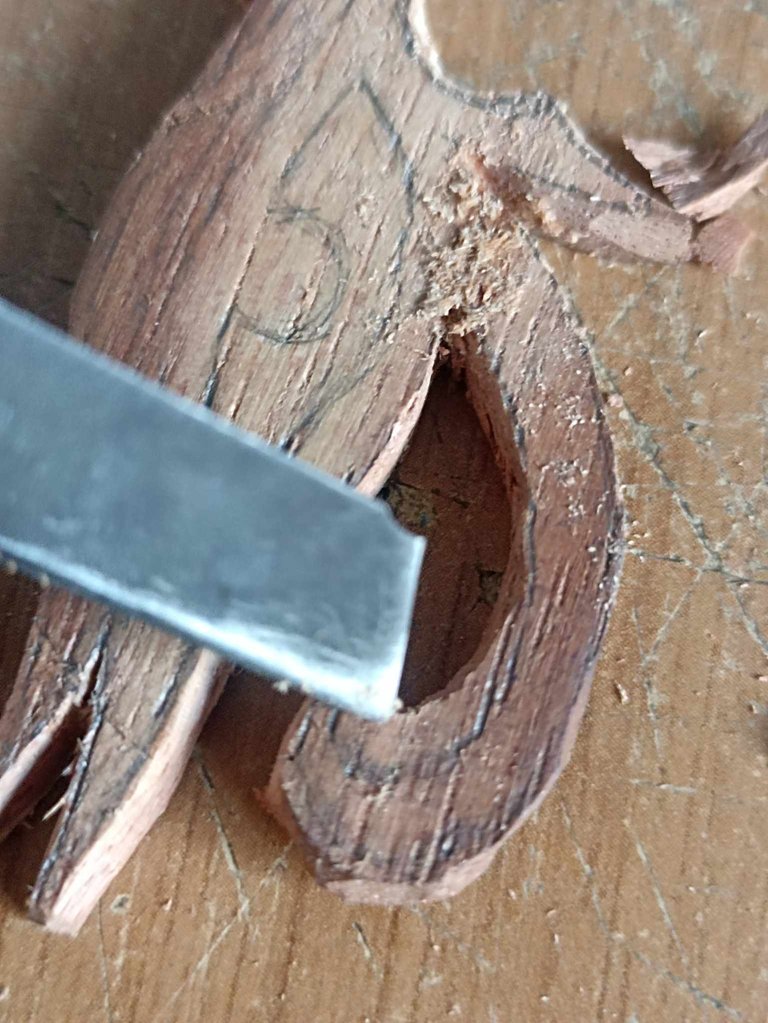
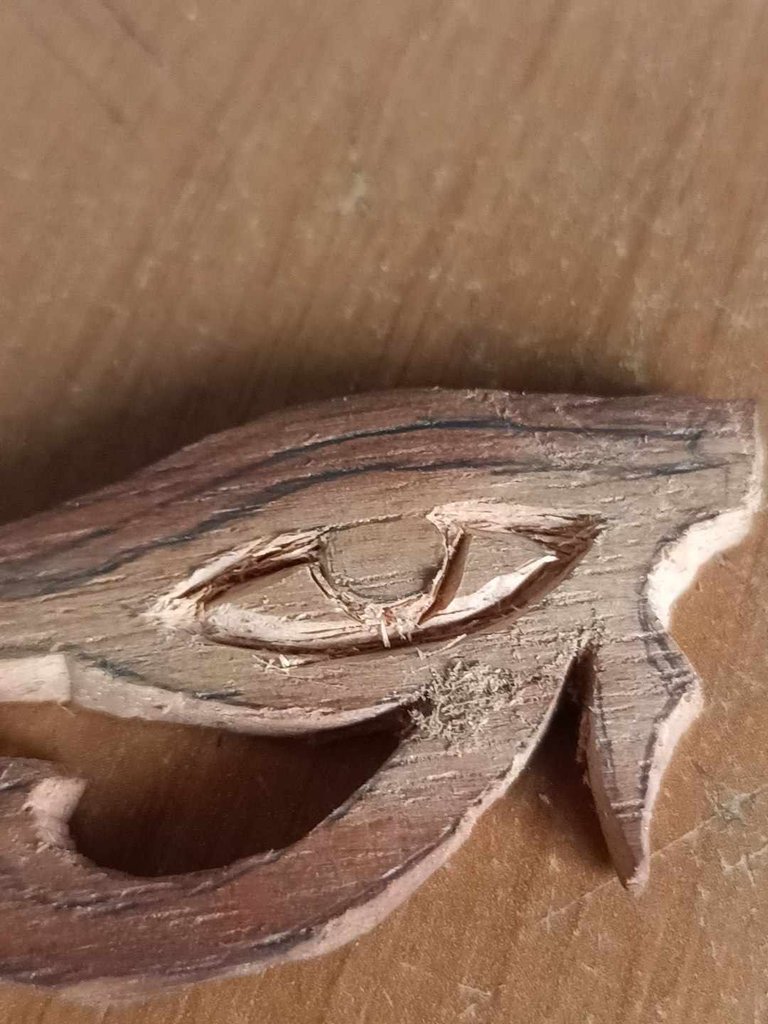
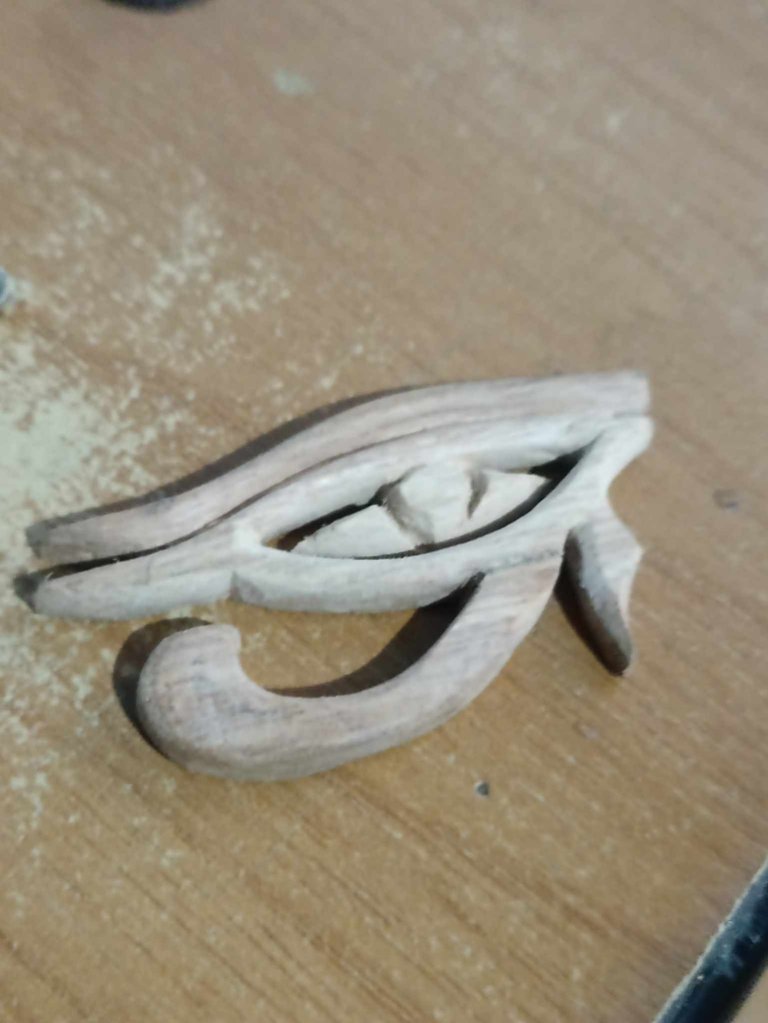
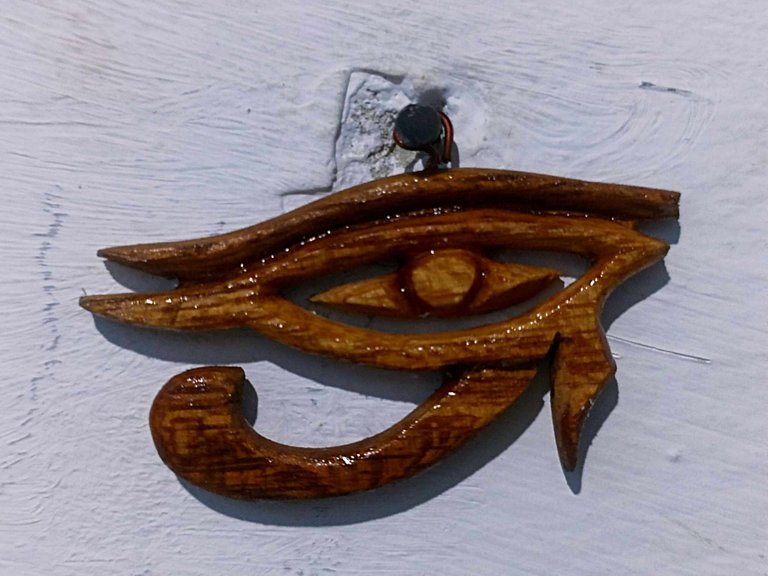
The next step was the most difficult for me, since it involved carving inside the eye, so little by little with the knife I made cuts like digging in the ground, these cuts were first to make the marks. of the stroke, then with the tip of the knife he pulled the wood upwards and thus the inner part of the eye appeared, such as the retina and the cornea, leaving the entire shape well cut so that it could be seen through it. Finally I made the other division which is a curved line at the top so that you can see the eyebrows.
El siguiente paso fue el más dificl para mi, ya que se trataba de tallar en el interior del ojo, de manera que poco a poco con la navaja fui haciendo cortes como escarvandp en la tierra, estos cortes eran en primer lugar para hacer las marcas del trazo, después con la punta de la navaja iba sacando hacia arriba la madera y así fue apareciendo la parte interna del ojo como la retina y la cornea, dejando a su vez toda la forma bien cortada para que pudiera verse a través de él. Por último hice la otra división que es una línea curva en la parte de arriba para que pueda apreciarse las cejas.
 |  |  |
|---|---|---|
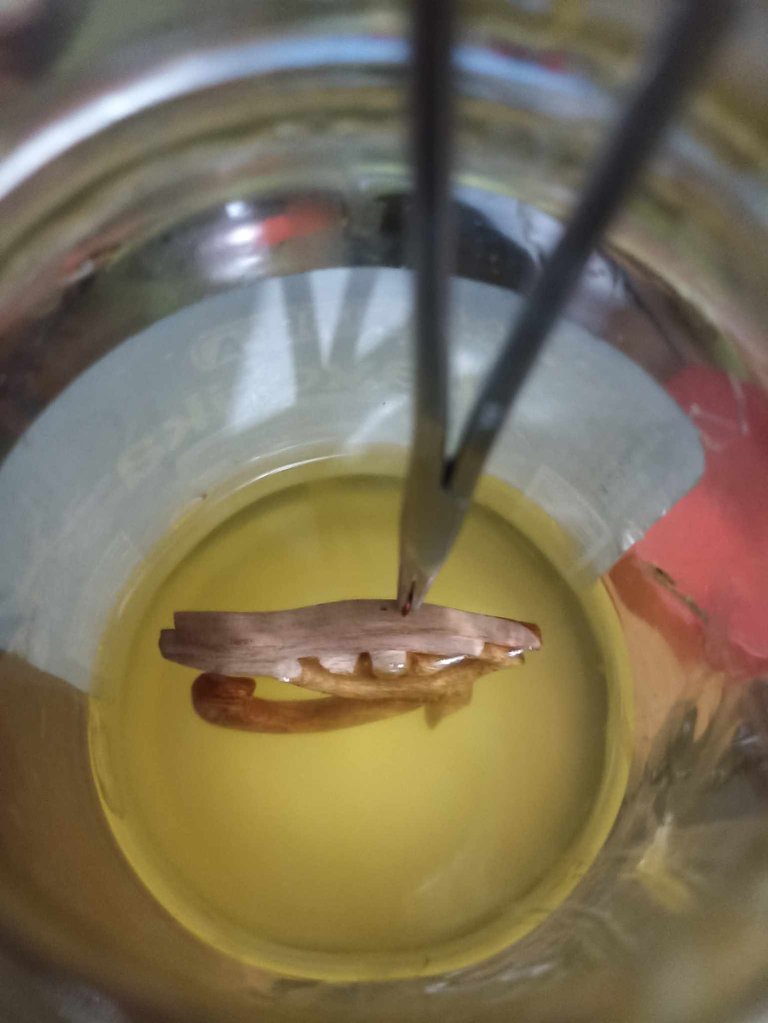 | 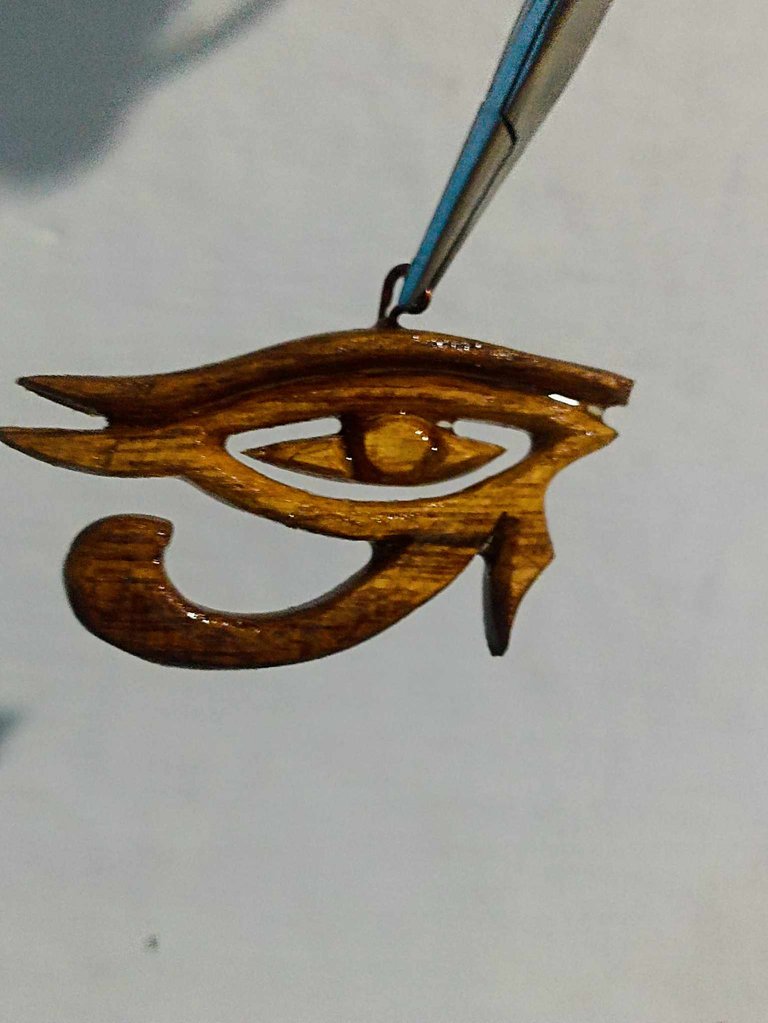 | 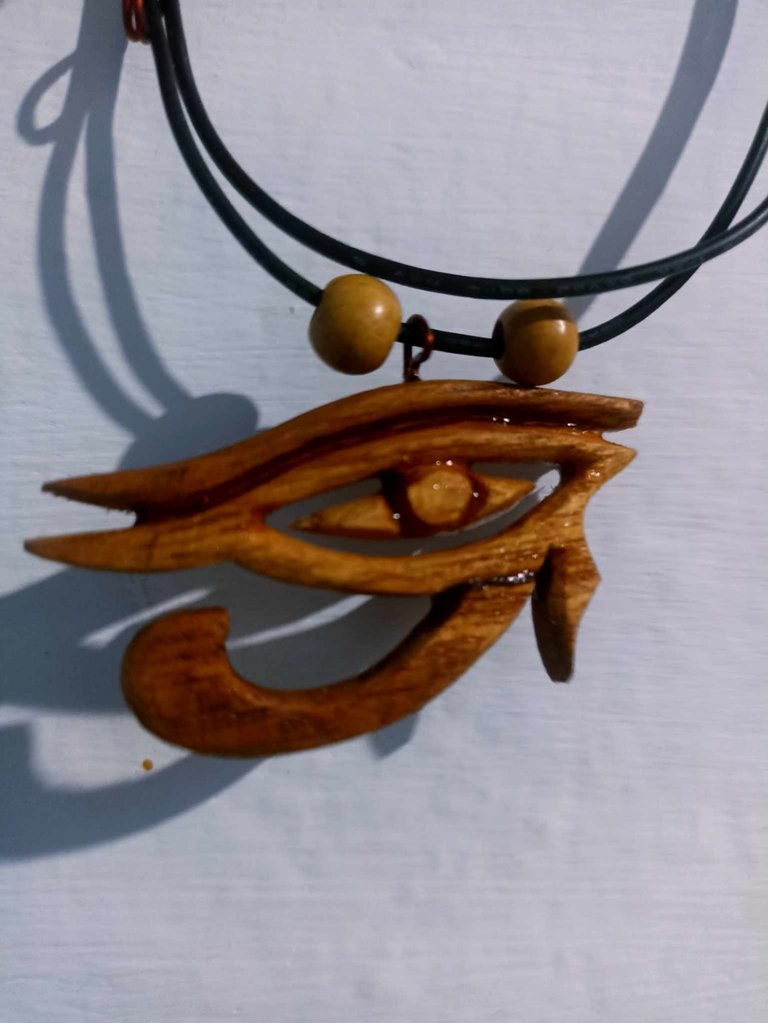 |
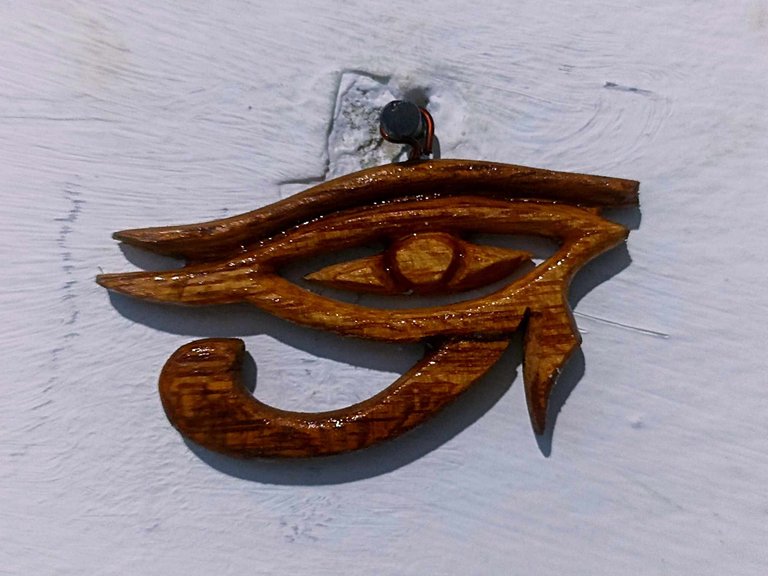
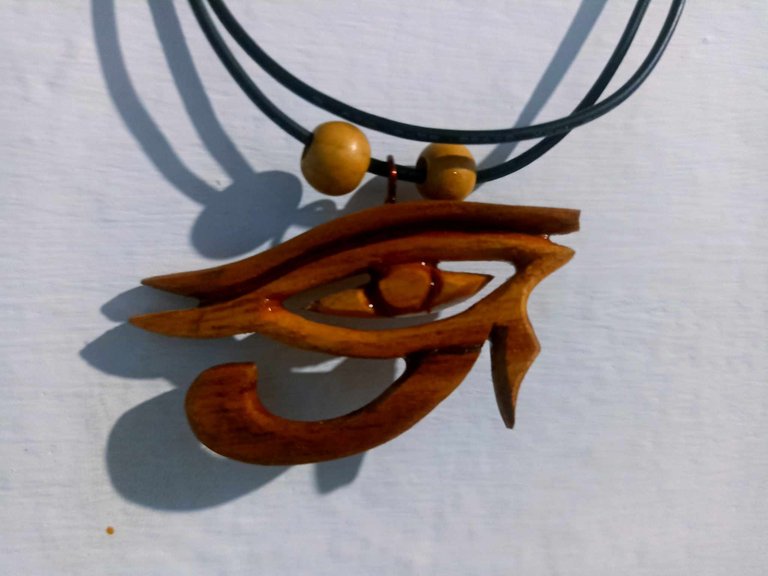
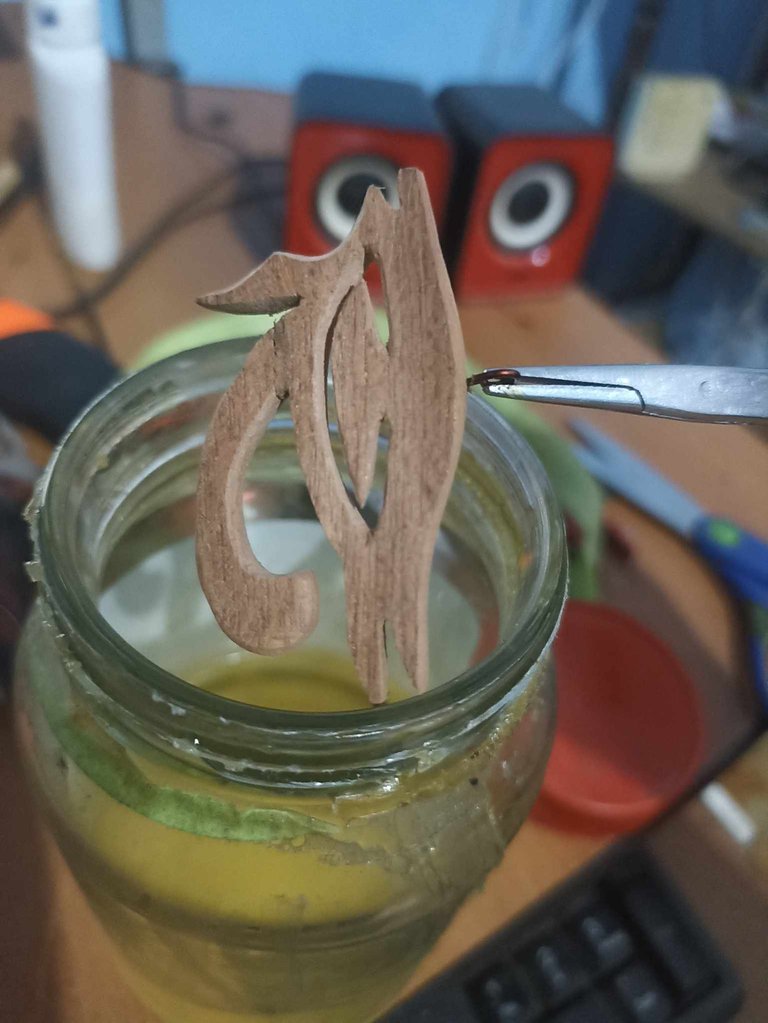
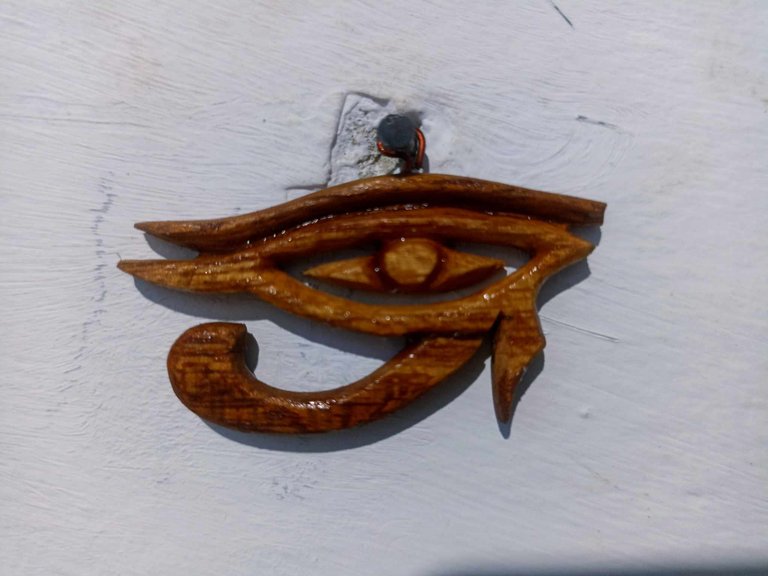
After finishing the carving of the figure of the eye of Horus I began to sand the entire piece to leave it smooth and without imperfections, then I gave it a good bath of transparent varnish, after drying I sanded again with finer sandpaper and again I went back to put varnish on it. After I let it dry for a long time, I added the necklace with two wooden spheres and that's how it was finished.
Después de terminar el tallado de la figura del ojo de Horus comencé alijar toda la pieza para dejarla suave y sin imperfecciones, luego le di un buen baño de barniz transparente, luego de secar volví a lijar con una lija más fina y de nuevo volví a echarle barníz. Despues que dejé secar por un largo tiempo, le puse el collar con dos esferas de madera y así quedó finalizado.
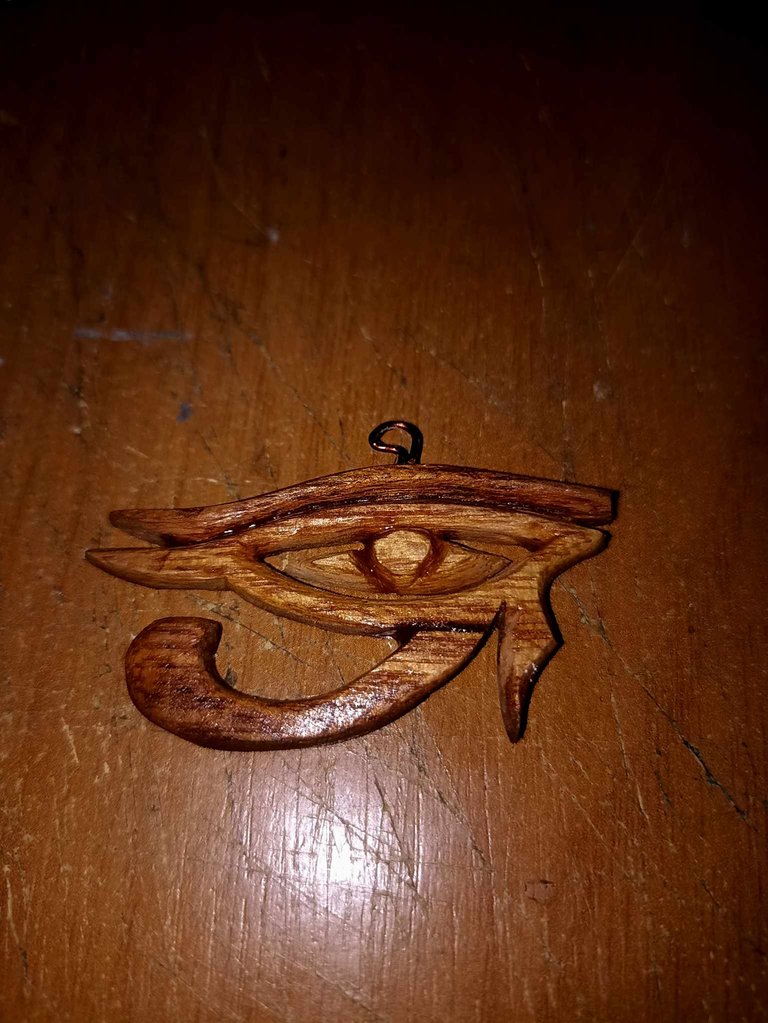
What did you think of the result? I was very pleased, since it is the first time I have carved in the center of the figure and I think it turned out very well for the first time. I hope to soon have better tools since I feel very excited to continue experimenting and creating, and thus advance further in this fine art. I hope you liked it, don't forget to leave your comments, they are very important to me, I'll say goodbye soon.
Qué les ha parecido el resultado? quedé muy complacido, ya que es primera vez que hago tallado en el centro de la figura y pienso que me salió muy bien para ser la primera vez. Yo espero contar pronto con mejores herramientas ya que me siento muy emocionado por seguir experimentado y creando, y así avanzar más en este fino arte. Espero que le shaya gustado, no olviden dejar sus comentarios, para mi son muy importantes, me despido hasta pronto.
Bueno lo hicistes todo con cuchilla y dió buen resultado... Yo en estos días hice una daga a ver si la publicó pronto, le modele el mango de madera usando el Dremel
Oye estaría genial ver eso. Aun no tengo los recursos para adquirir y dremel, pero ya esta en mis proyectos.. Creo que con uno las posibilidades aumentarán.
Thanks for the support
Realmente este es un trabajo espectacular. Cada día me sorprendes más. Me encanta.
Gracias por compartir tu maravilloso trabajo. Felicidades...
!discovery 40
Y apenas estoy empezando ejeje voy por mas
This post was shared and voted inside the discord by the curators team of discovery-it
Join our Community and follow our Curation Trail
Discovery-it is also a Witness, vote for us here
Delegate to us for passive income. Check our 80% fee-back Program
Muchísimas gracias por su apoyo!
El resultado esta muy bonito, me sorprendió como tallaste la madera con una cuchilla. Un collar muy bonito y especial.
Saludos
Es un poco engorroso, porque la hojilla es muy gruesa para detalles finos, pero con paciencia se puede lograr.
No puedo imaginar hasta donde puede llegar cuando tenga más herramientas, amigo.
Había una extensión para el taladro, una especie de guaya con un mandril pequeño en la punta, para usar el taladro a modo de un dremel, es un accesorio que puede servir para aprovechar el taladro y trabajar como si puede un dremel.
Pues, mucho ánimo y que siga usted progresando.
Love the concept and the material you choose for your work, best of luck for you, regards....