RAIN DROP DRAWING WITH COLORED PENCILS [ENG-ESP]
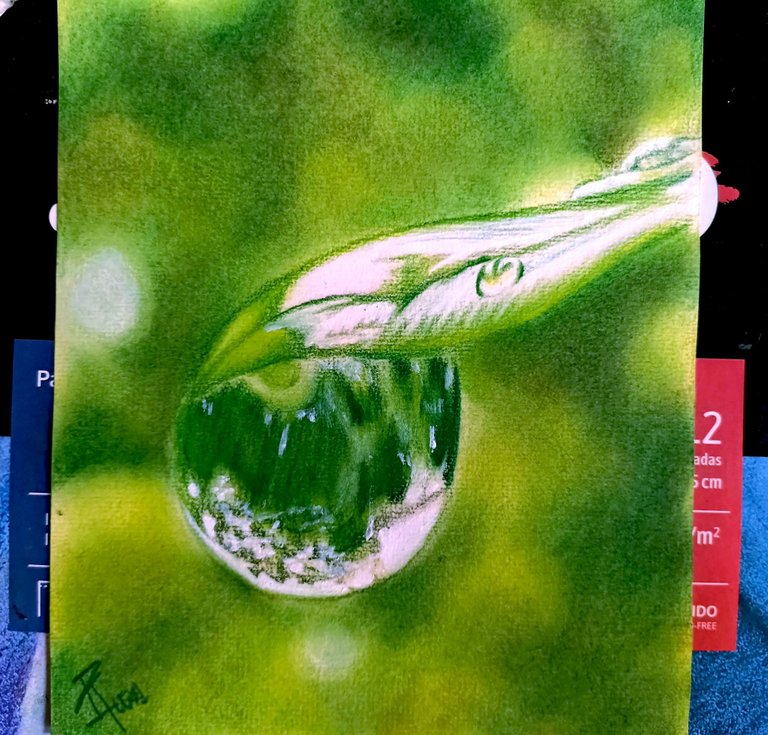
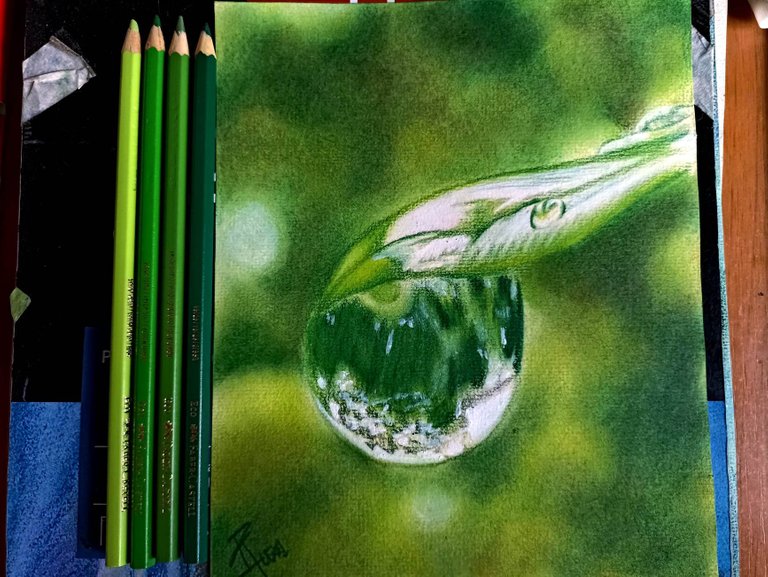
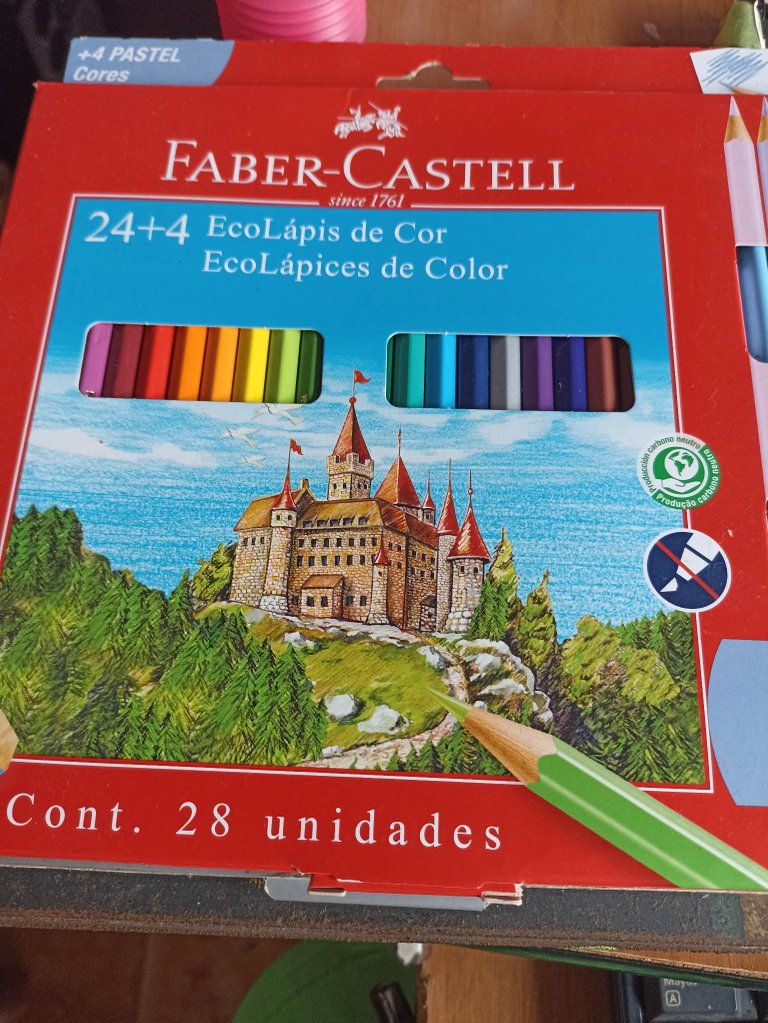
Hello friends, I recently received a gift from Argentina, a box of Faber Castell school colors, it is a presentation of 28 colors in total including 4 soft pastel colors. I wanted to test them doing a very detailed work in terms of drawing, I have made a drop on a sheet, the objective this time is to make a contrast between the object and the background and how through both a photorealistic effect is achieved. Also to prove that great jobs can be done with school colors and higher range colors are not needed. Faber Castell has always been a very classic brand and its school version, although the quality drops a lot, with a lot of practice and patience you can achieve a lot. Let's get started!
Hola amigos, recientemente recibí un regalo desde Argentina, una caja de colores Faber Castell escolares, es una presentación de 28 colores en total incluye 4 colores pastel suave. Quise probarlos haciendo un trabajo muy detallado en cuanto al dibujo, he realizado una gota en una hoja, el objetivo en esta oportunidad es hacer un contraste entre el objeto y el fondo y como a través de ambos se logra un efecto fotorrealista. También para probar que con colores escolare se pueden hacer grandes trabajos y no se necesita de colores de una gama más alta. Faber Castell siempre ha sido una marca muy clásica y su versión escolar, si bien baja mucho la calidad, con mucha práctica y paciencia se puede lograr mucho. Comencemos!

 |  | |
|---|---|---|
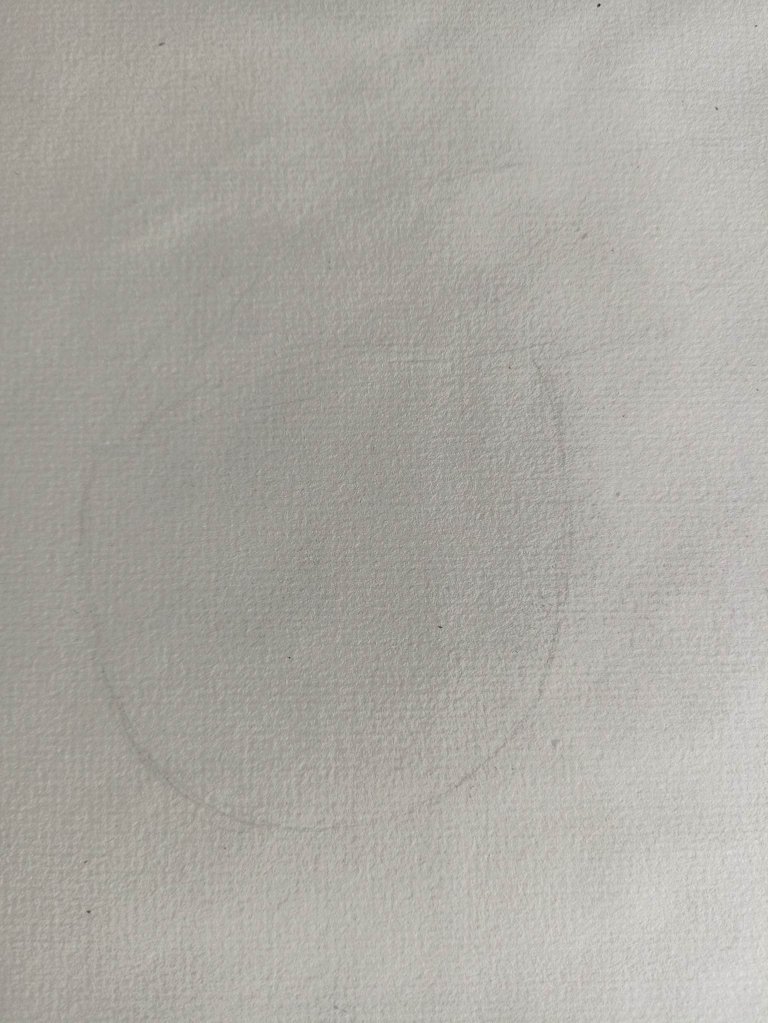 | 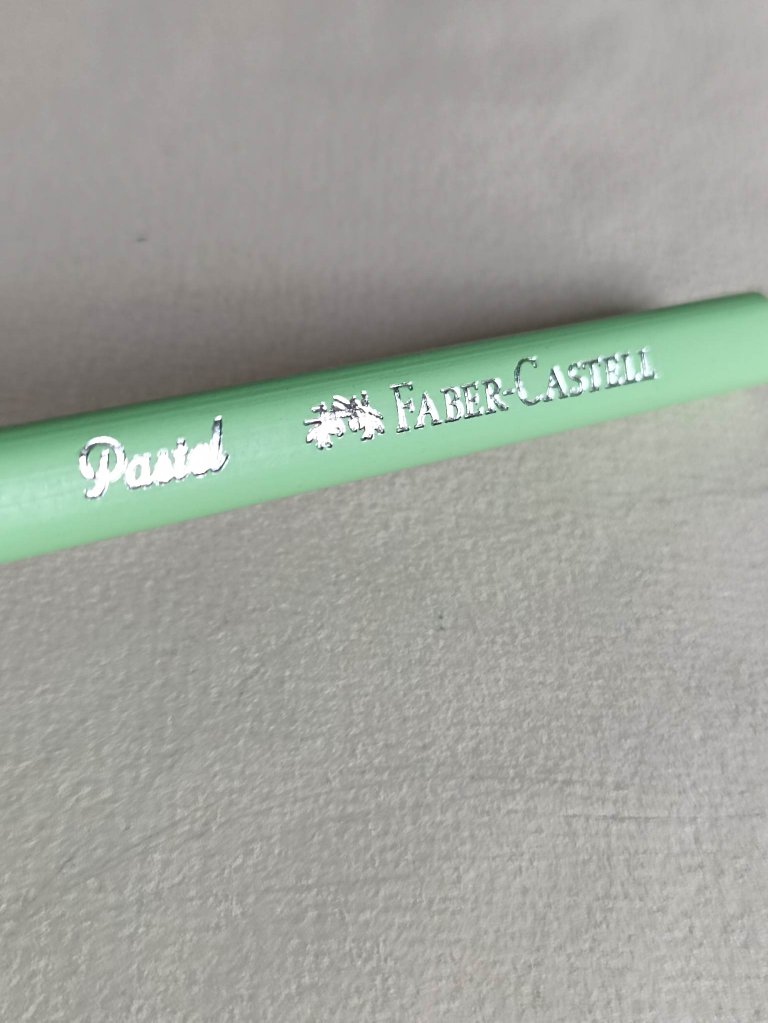 |
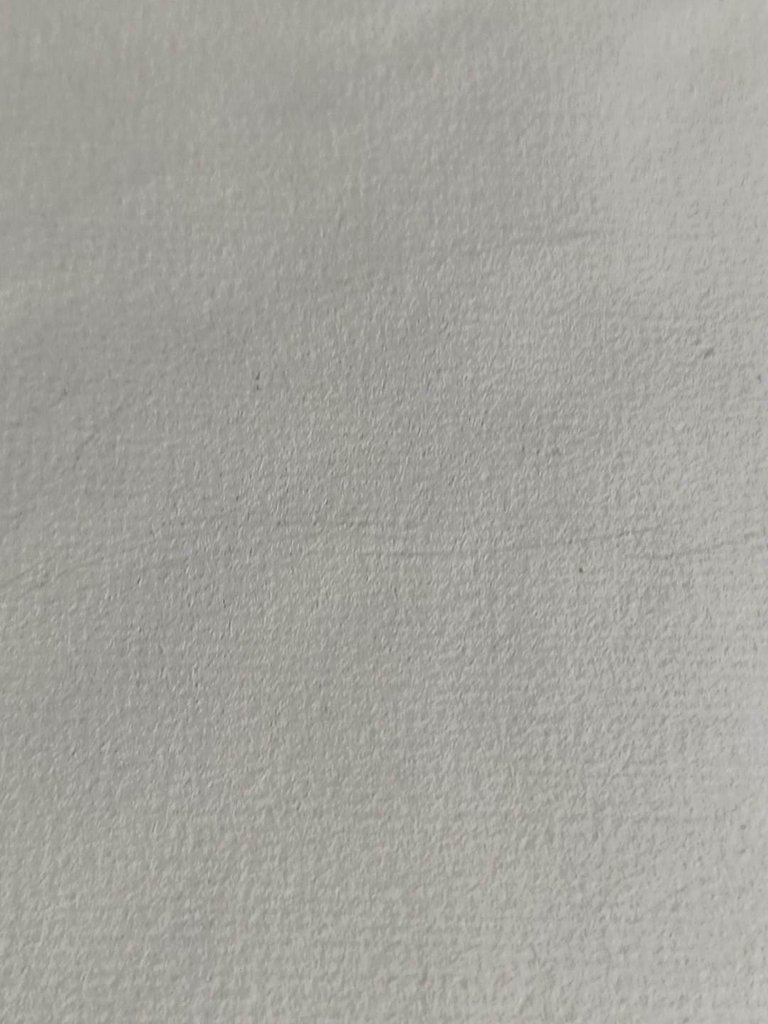
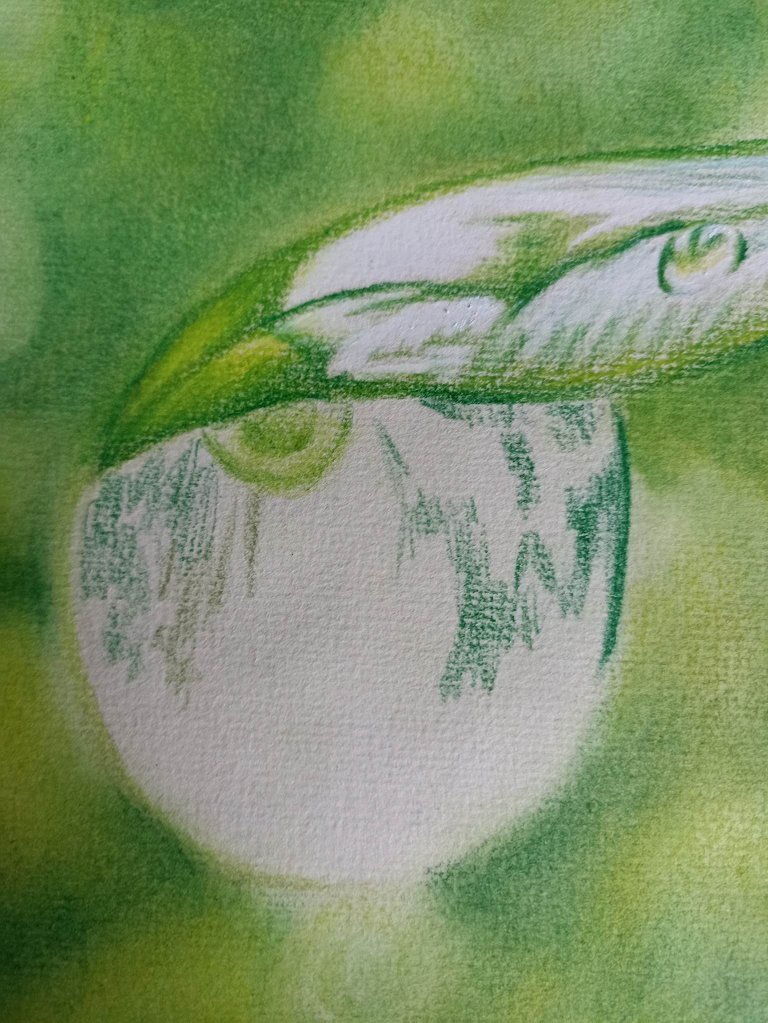
I used Fabriano paper, the best for these drawings due to its porous surface. Here I uncover the box for the first time, and I use the range of green colors that in total are 4 colors, I will only do the drawing with those. And the drawing I make a circle and a leaf at the top, the goal is to make a raindrop at the tip of a leaf.
Utilicé el papel fabriano, de lo mejor para estos dibujos por su superficie porosa. Aqui destapo por primera vez la caja, y utilizo la gama de colores verdes que en total son 4 colores, solamente con esos haré el dibujo. Y el dibujo hago un circulo y una hoja en la parte superior, el objetivo es hacer una gota de lluvia en la punta de una hoja.

 |  | |
|---|---|---|
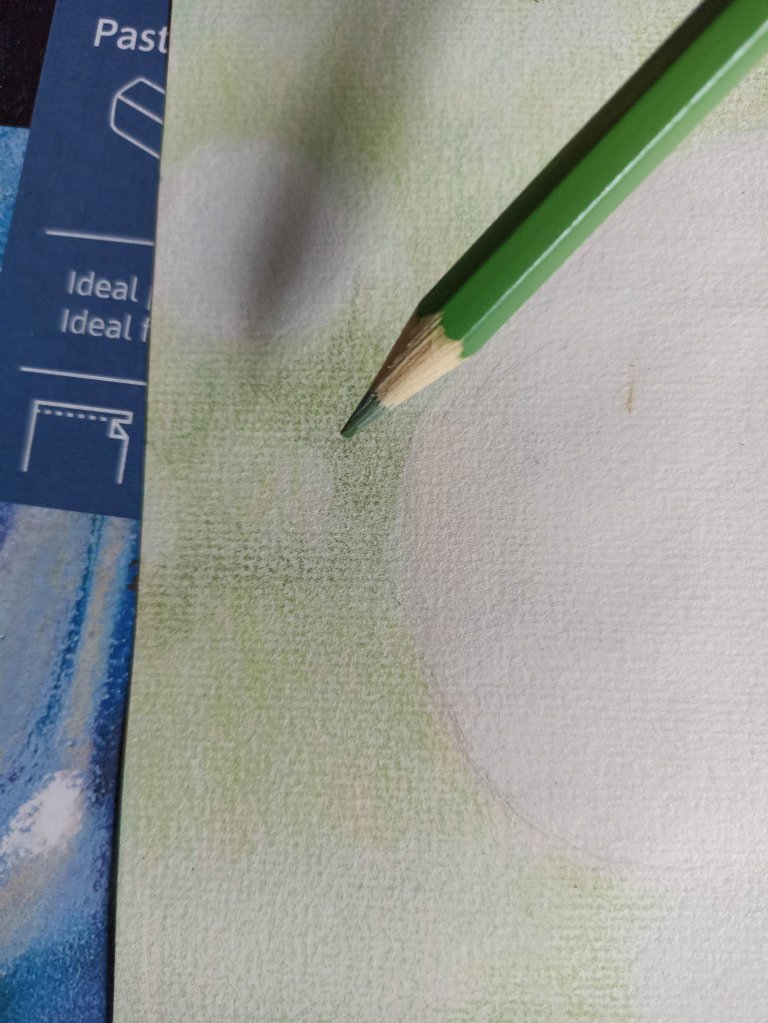 | 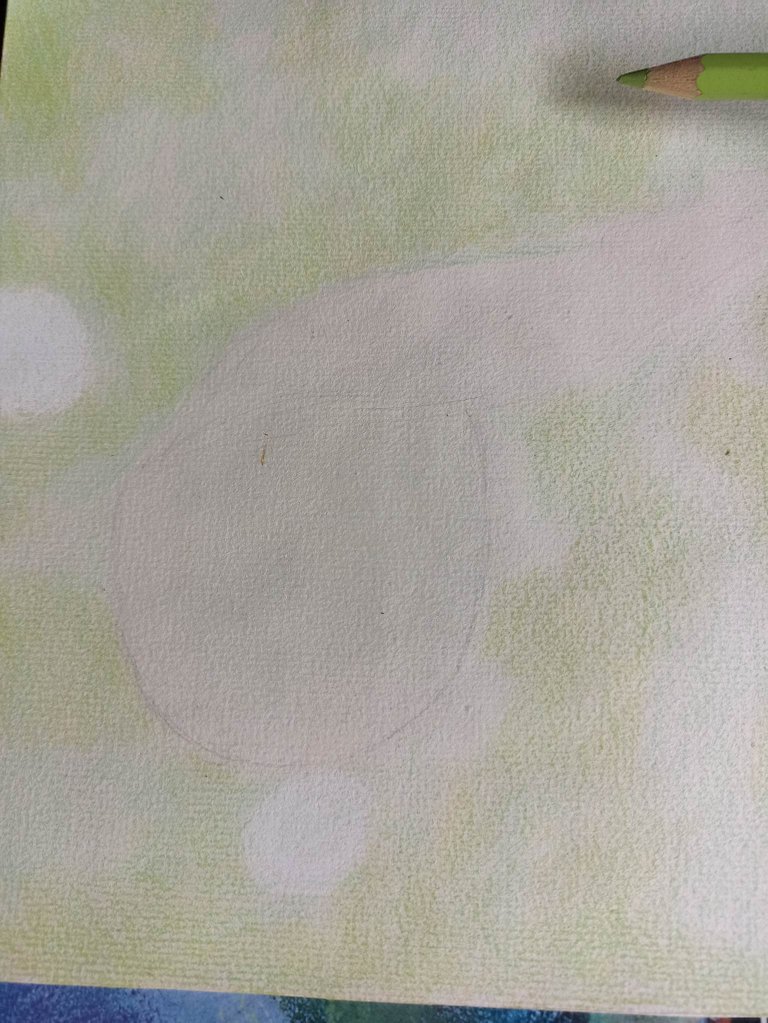 |
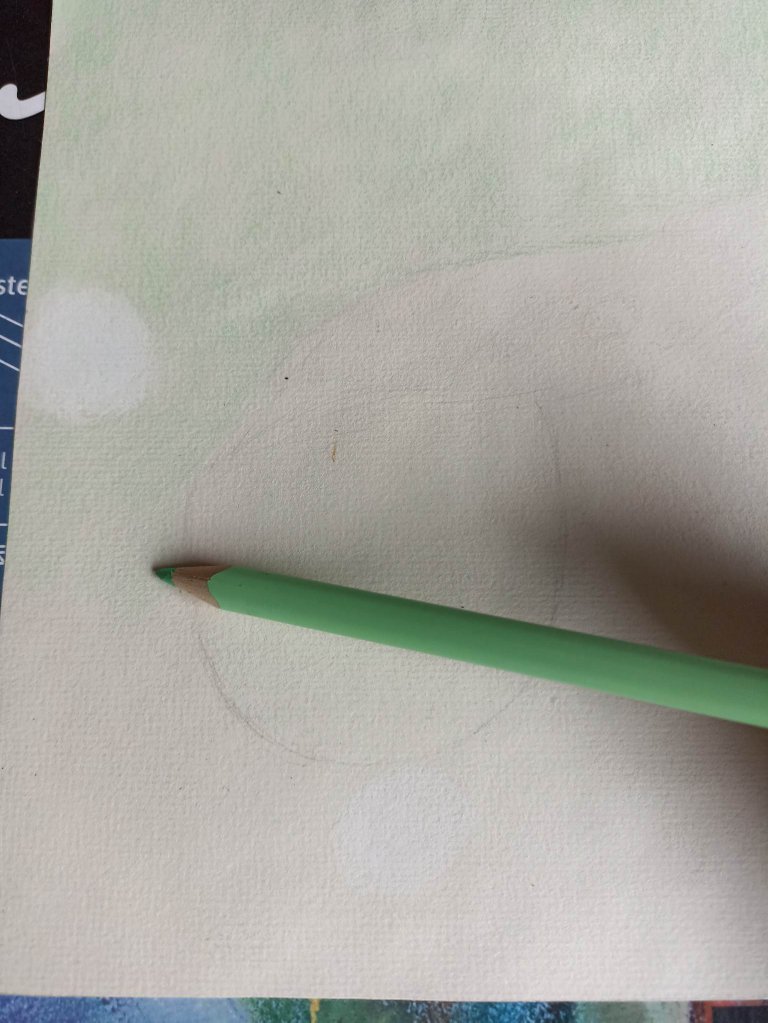
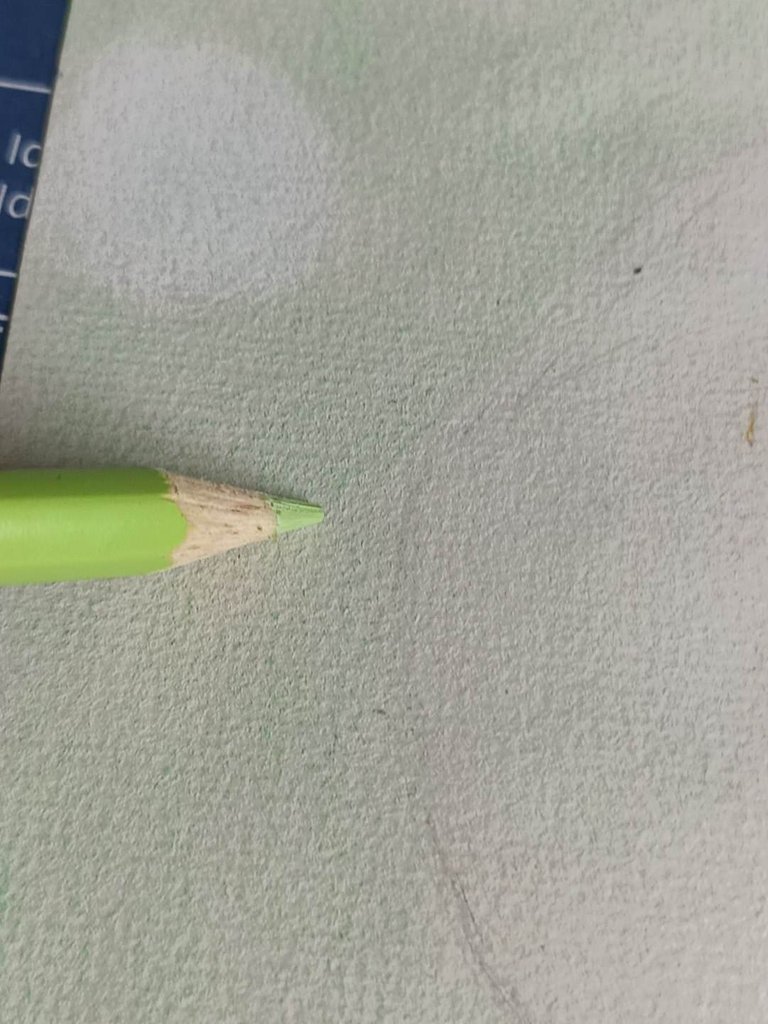
In photography, when the lens is macro, the background is always blurred, so there is a background of lights and shadows crossed between them with a lot of blur and opacity. To achieve this effect in the drawing, the first thing is to use the light colors of the blurred background, like a drop on a leaf, the entire background is green so we use the lightest colors for the first areas, and then we mix with the darkest ones.
En la fotografía, cuando el objetivo es macro, el fondo siempre se desenfoca, así que queda un fondo de luces y sobras cruzadas entre ellas con mucho desenfoque y opacidad. Para lograr este efecto en el dibujo lo primero es utilizar los colores claros del fondo desenfocado, como e suna gota en una hoja, todo el fondo es verde así que usamos los colores más claro para las primeras zonas, y luego mezclamos con los más oscuros.

 |  | |
|---|---|---|
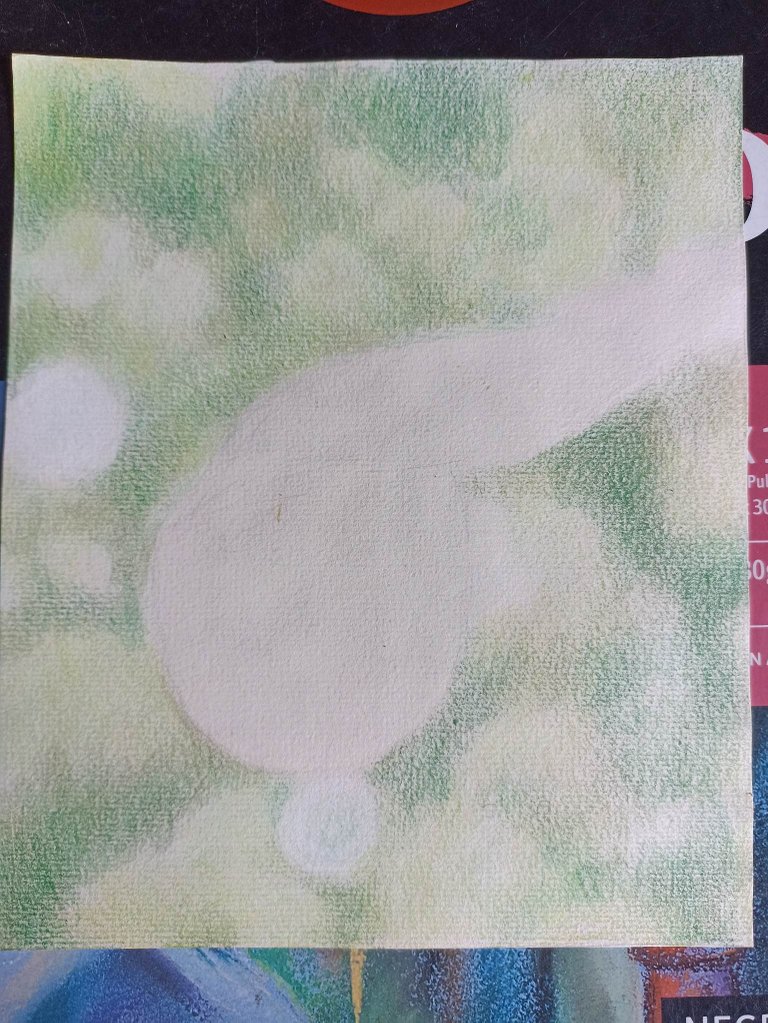 | 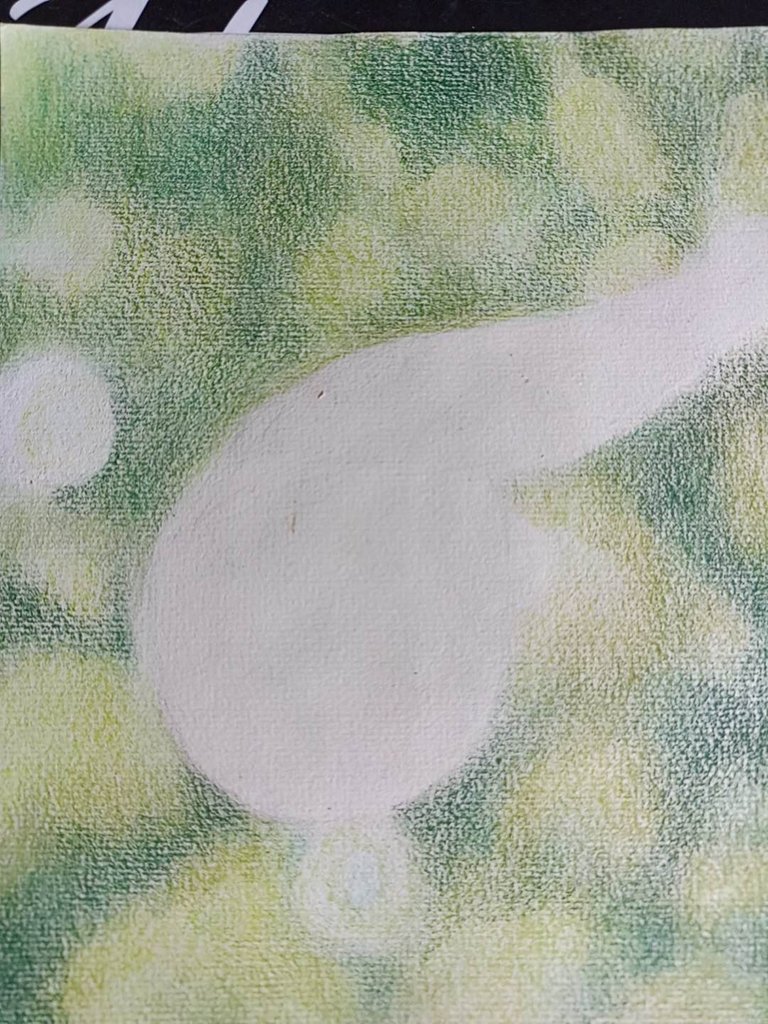 |
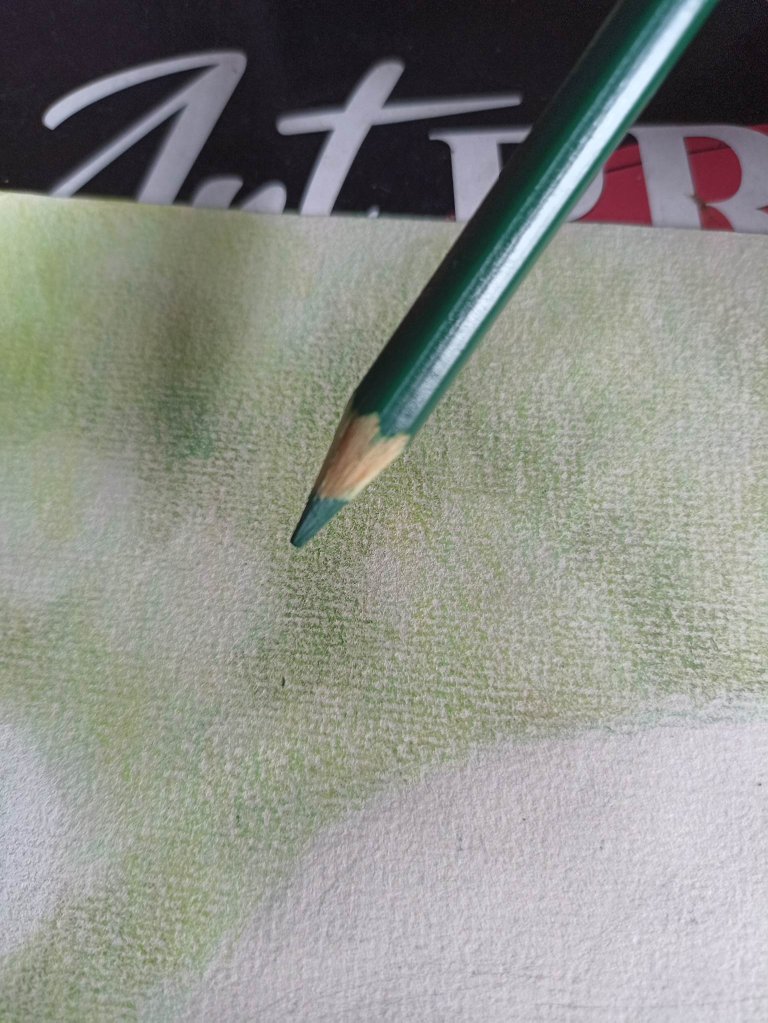
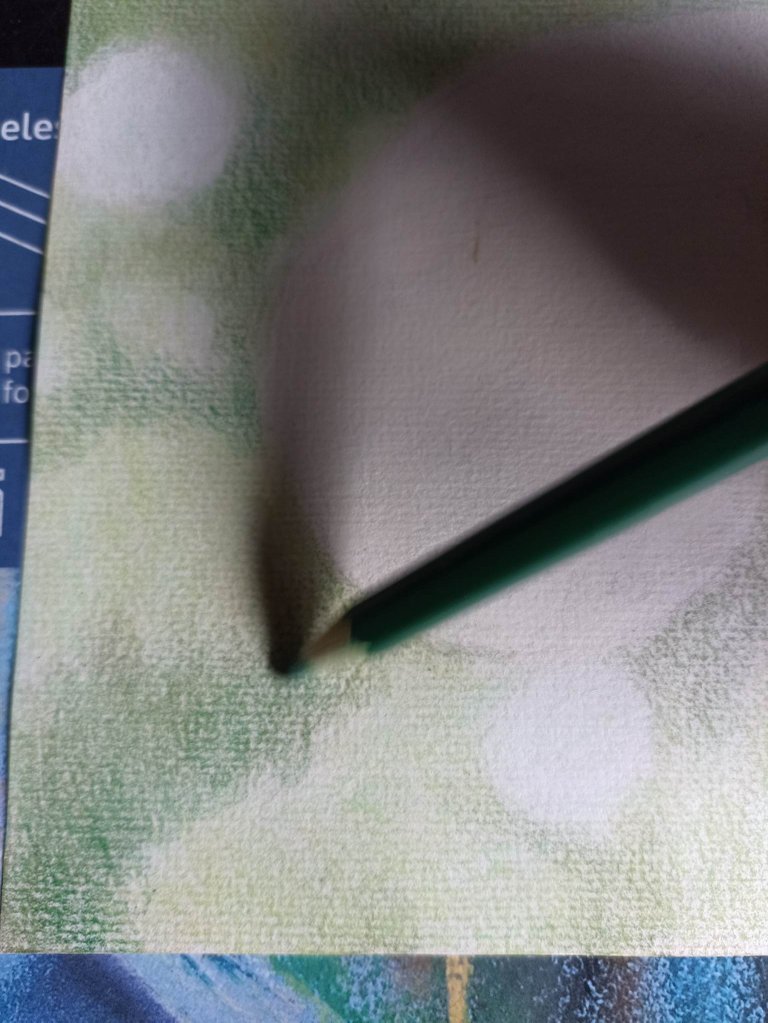
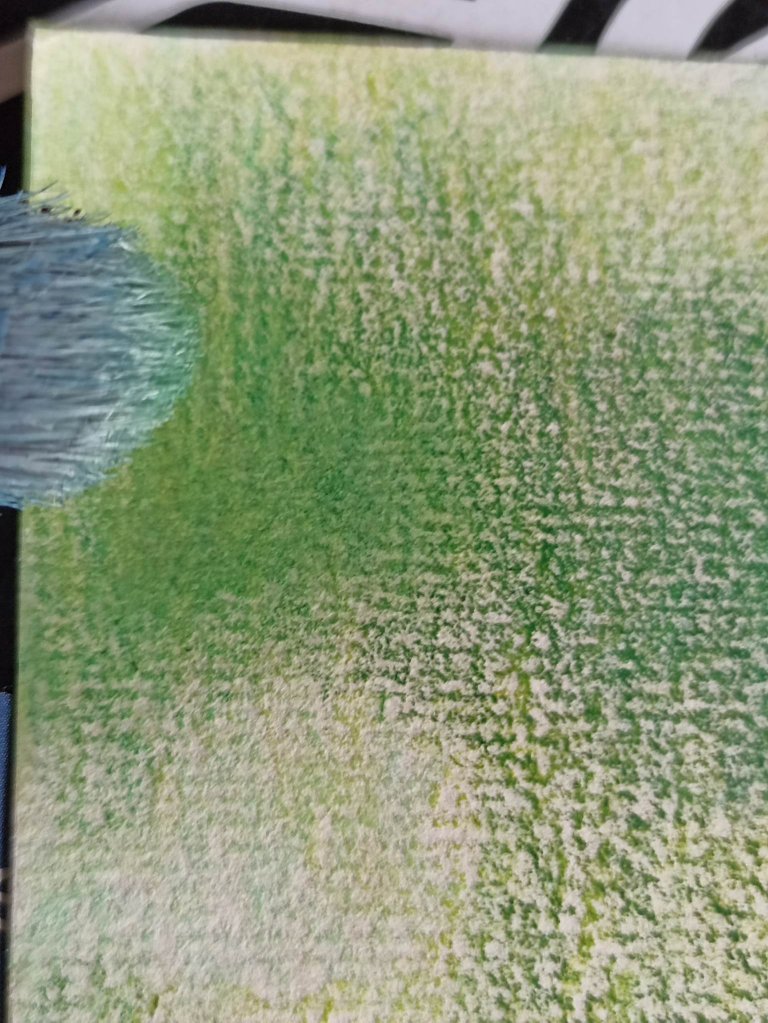
Taking into account the previous considerations, the second step in terms of color is to apply the darker tones, as you can see I start with the areas that allow me to maintain the contrast between light and dark, and those areas where I need more darkness there. I apply more the green color of a dark tone.
Teniendo en cuenta las consideraciones anteriores, el segundo paso en cuanto al color es aplicar los tonos más oscuros, como pueden observar voy comenzando por las zonas que me permitan mantener el contraste entro lo claro y lo oscuro, y aquellas zonas donde necesite más oscuridad ahí aplico más el color verde de tono oscuro.

 |  | |
|---|---|---|
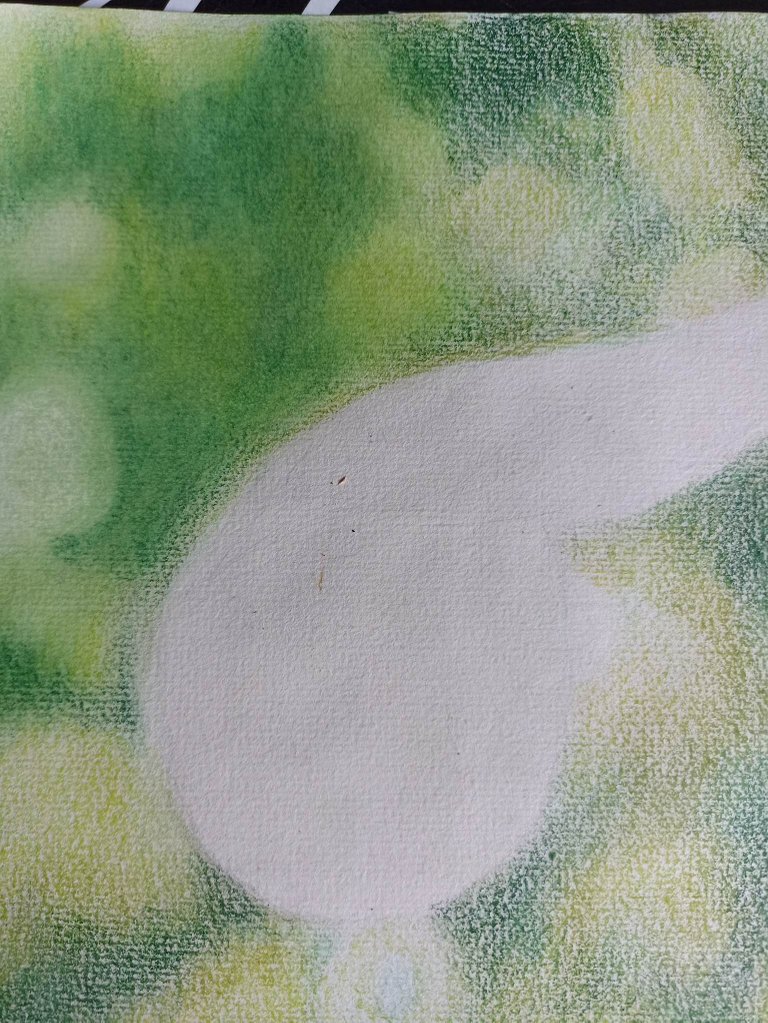 | 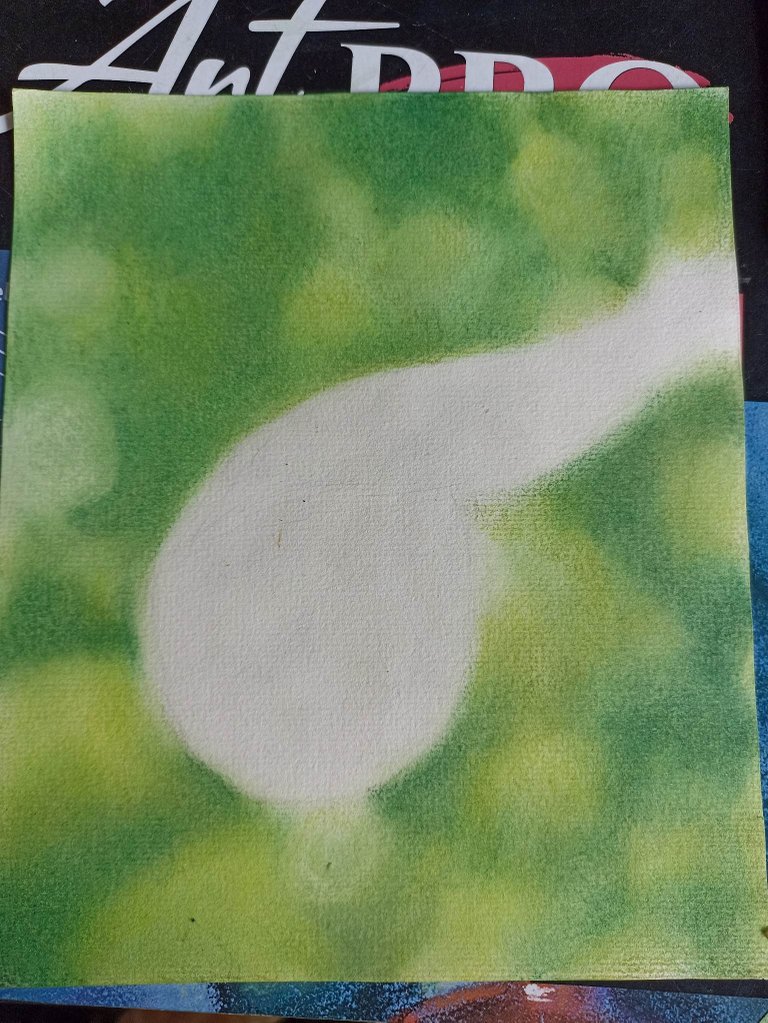 |
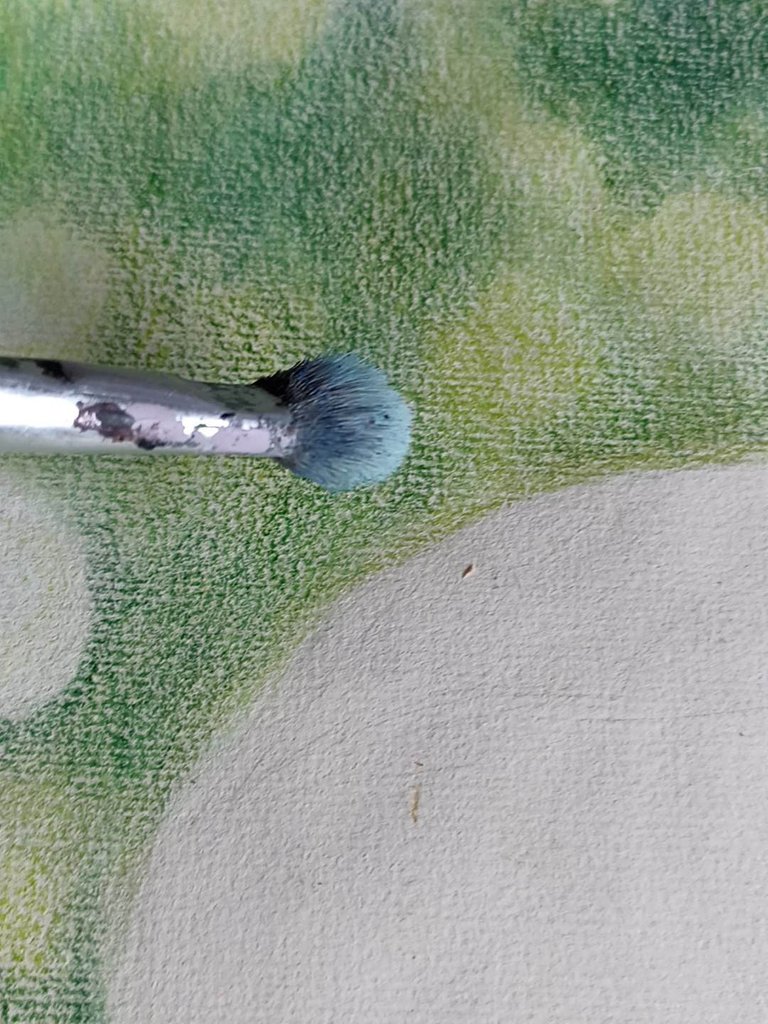
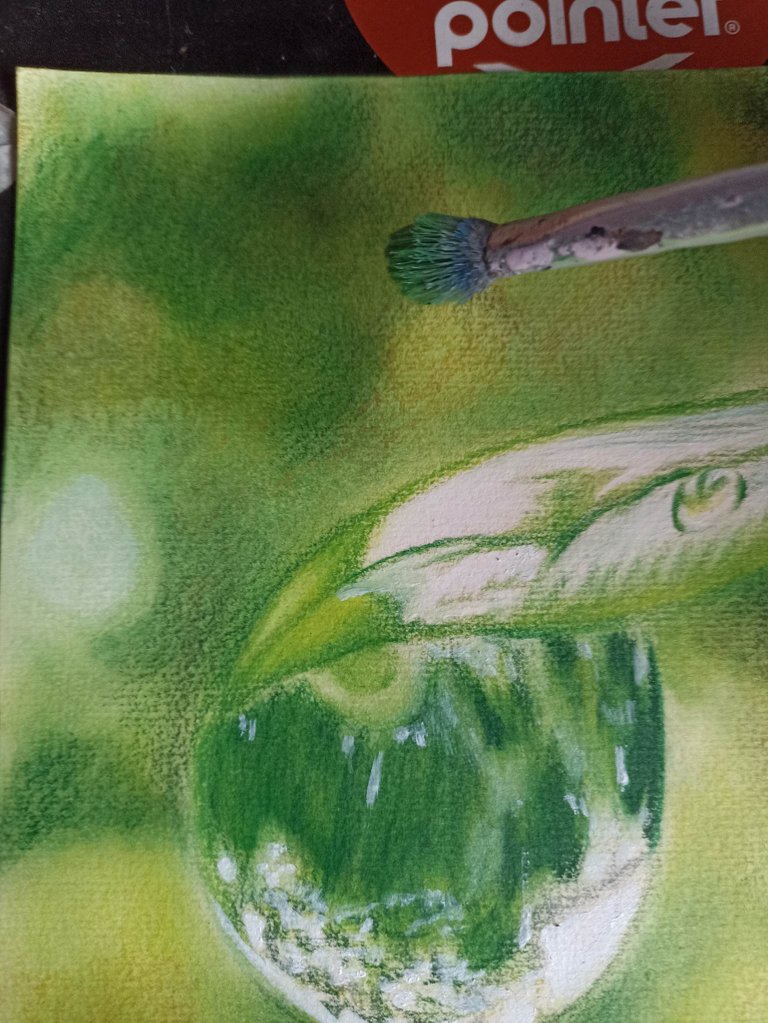
Now comes my first act of magic: the soft brush. With this brush I am going to blur all the strokes and thus all the green tones will be mixed. The goal is to make the background look blurry, and the contrast between light and dark will help us with this. The background should look like spots, so you can also see the shape of the leaf and the drop, which, unlike the background, will have another kind of line so that you can see the difference!
Ahora viene mi primer acto de magia: el pincel suave. Con este pincel voy a difuminar todos los trazos y así se mezclaran todos los tonos de color verde. El objetivo es que el fondo se vea desenfocado, y el contraste entre claro y oscuro nos ayudará con esto. El fondo debe verse como manchas, así también se puede ver la forma de la hoja y la gota, que al contrario del fondo tendrán otra clase de trazo para que se pueda apreciar la diferencia!

 |  |  |
|---|---|---|
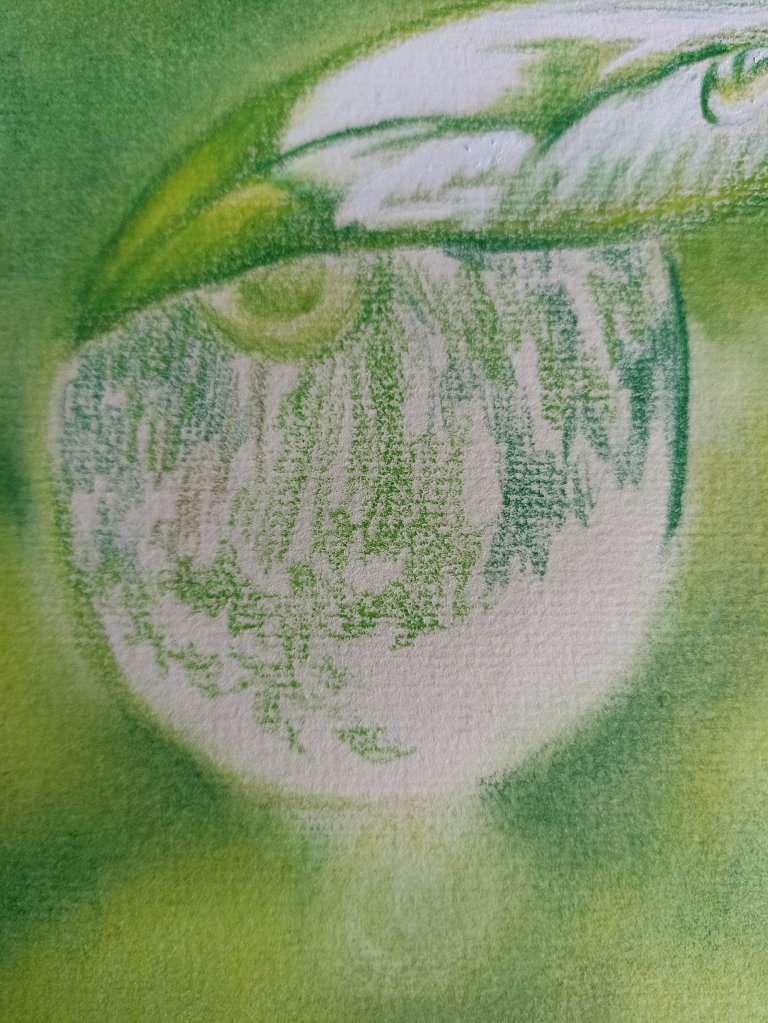 |  | 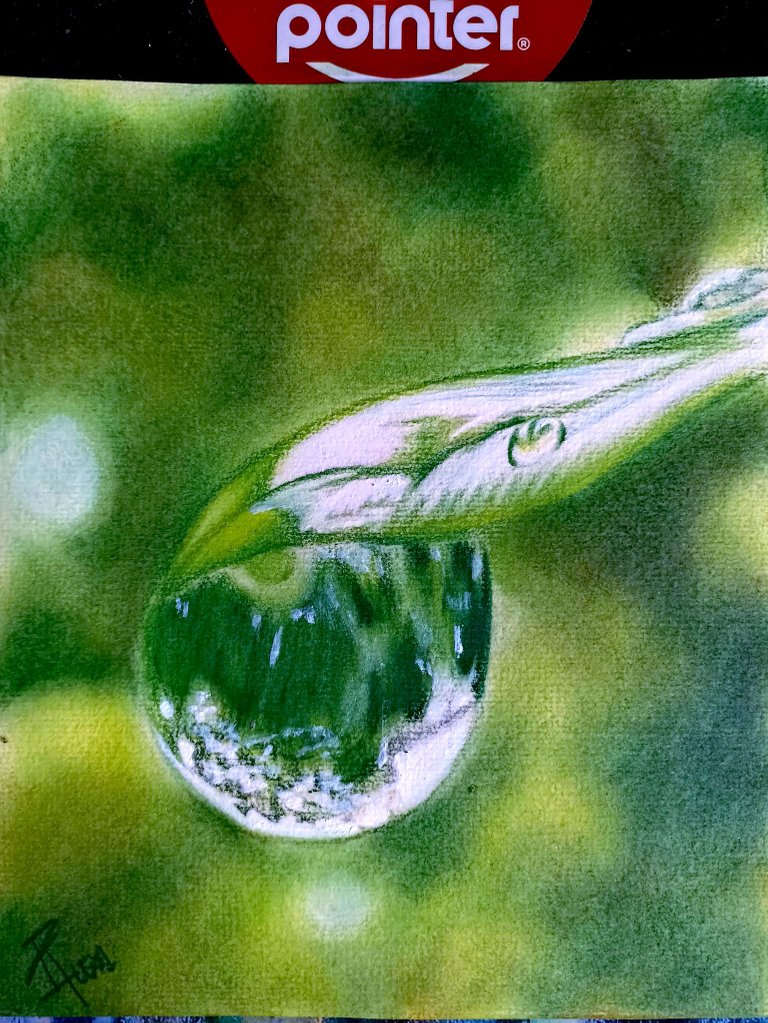 |
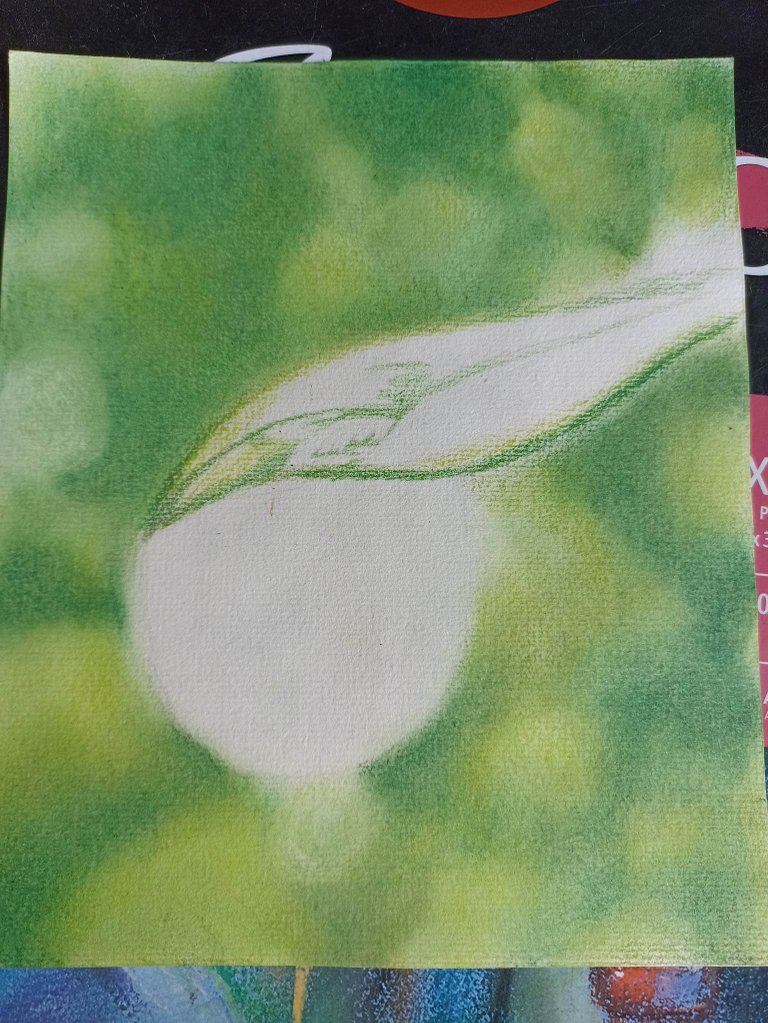
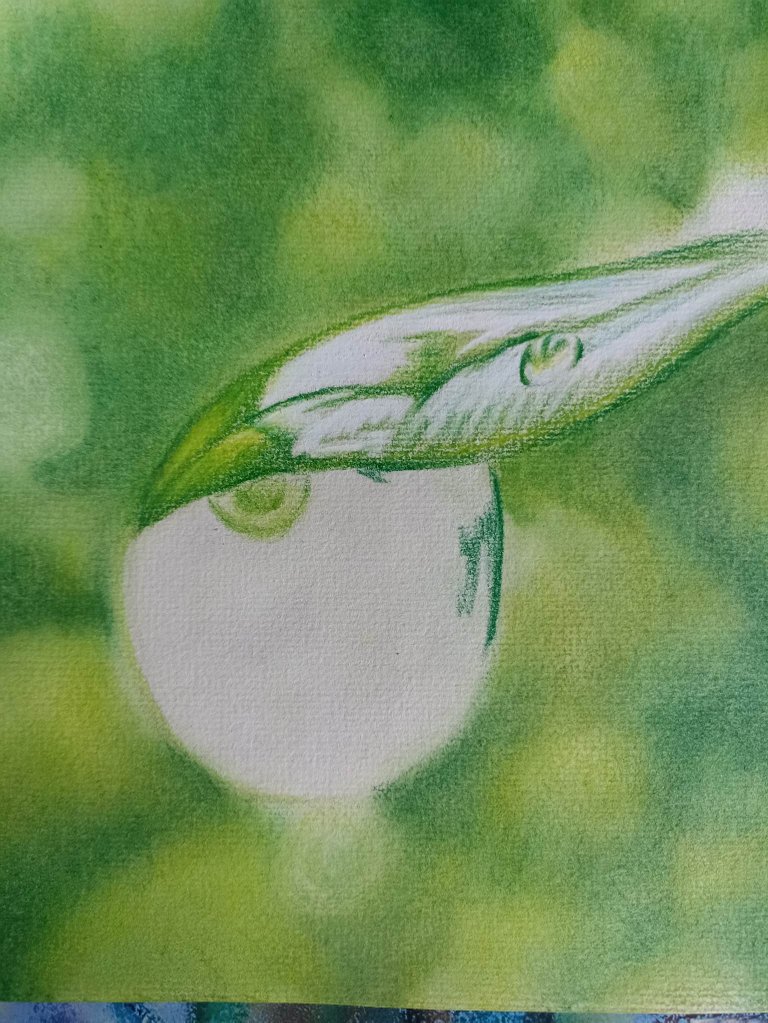
Then I start to paint the leaf, with some illuminated areas, these are more intense because the surface is moist, just like I draw other smaller drops. Then I focus on the main drop, this together with the background represent the perfect framing of the contrast between background and shape. Inside the drop I draw with a refractory effect, to find out how it works we can try looking through the glass at a lot of trees, what you see is what I am drawing with small spots, and the lower part is the light passing through the water, here I use the color white. To finish I make some last drawings and so the drawing has been finished
Luego comienzo ma pintar la hoja, con algunas zonas iluminadas, estás son más intensas porque esta humedecida la superficie, al igual que dibujo otras gotas más pequeñas. Después me concentro en la gota principal, esta junto con el fondo representan el encuadre perfecto del contraste entre fondo y forma. Dentro de la gota dibujo con efecto refractario, para saber como funciona podemos probar viendo a traves del cristal un montón de árboles, eso que se ve es lo que voy dibujando con pequeñas manchas, y la parte inferior es la luz atravesando el agua, aquí utilizo el color blanco. Para finalizar hago unos últimos dibuminados y así ha quedado finalizado el dibujo


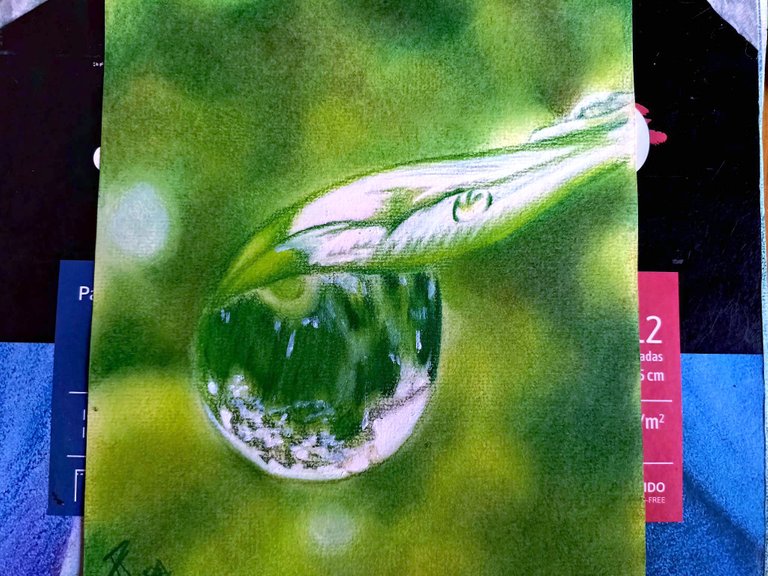
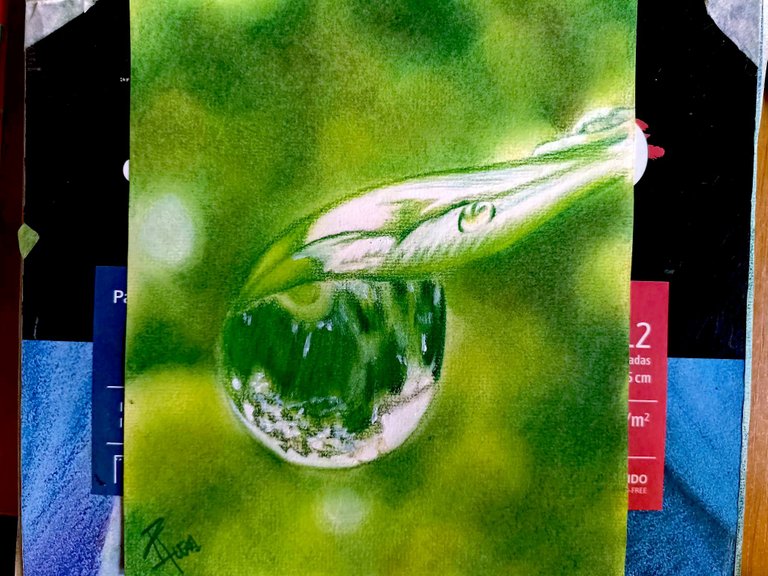
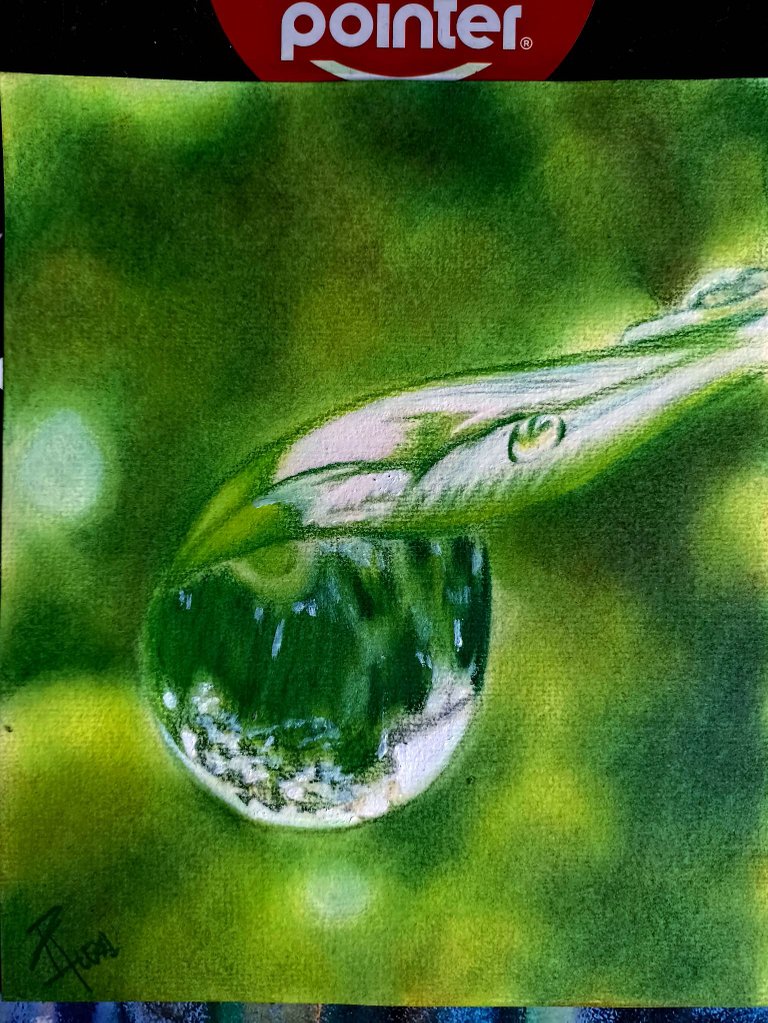
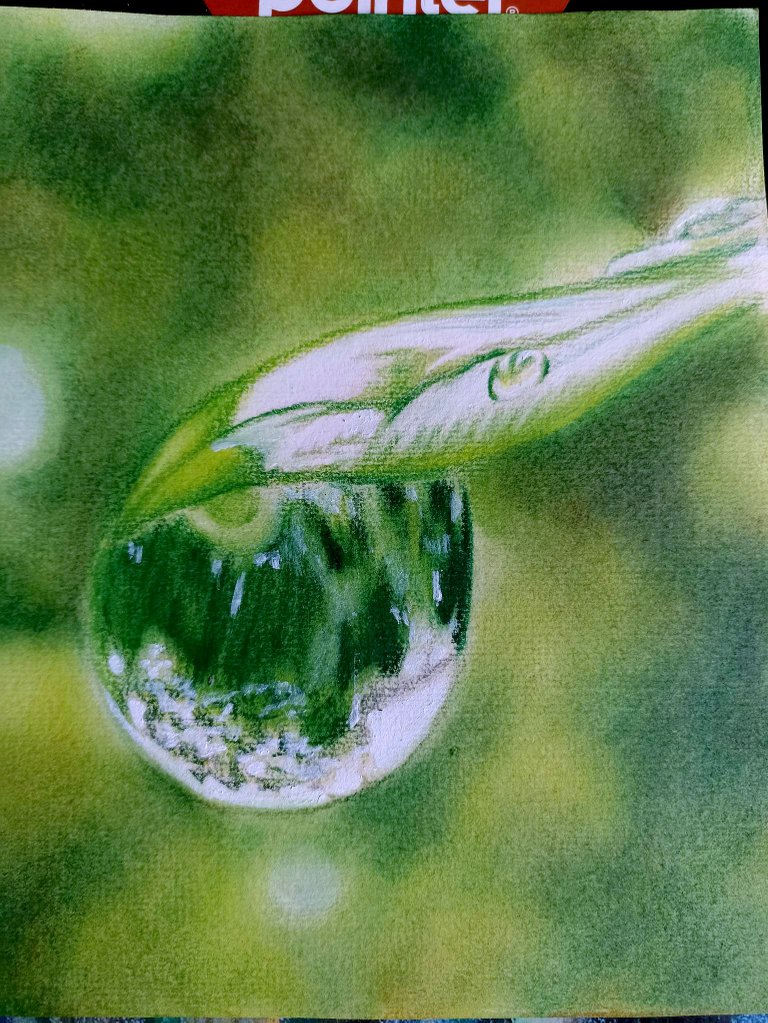
This is how the drawing of this drop of water turned out, I was thinking of making a barbed wire also on a blurred background, or some small insect, but I have already drawn many insects hehe. I was able to achieve the effect of photography with school colors, this is so that we can understand that by practicing non-stop we will achieve what we want regardless of the instrument. I hope you liked it and that my way of drawing serves you. I say goodbye until a new opportunity!
Así es como quedó el dibujo de esta gota de agua, yo pensaba hacer un alambre de púa también en un fondo desenfocado, o algún insecto pequeño, pero ya he dibujado muchos insectos jeje. Pude lograr el efecto de fotografía con colores escolares, esto es para que podamos entender que practicando sin parar lograremos lo que deseamos sin importar el instrumento. Espero que les haya gustado y que les sirva mi forma de dibujar. Me despido hasta una nueva oportunidad!
Congratulations @fixie! You have completed the following achievement on the Hive blockchain And have been rewarded with New badge(s)
Your next target is to reach 550 posts.
You can view your badges on your board and compare yourself to others in the Ranking
If you no longer want to receive notifications, reply to this comment with the word
STOPTo support your work, I also upvoted your post!
😮😮 Eres muy talentoso. Seguro que has practicado mucho en todo este tiempo. Me encantó el resultado, @fixie. Lograste representar muy bien el efecto ❤️❤️❤️
Bueno si tengo mucho tiempo practicando, es la única forma de mejorar las habilidades. Me alegra que te haya gustado como quedó.
Dibujo muy bien logrado con esos lápices, donde lograste, aparte de una visual agradable con estos colores pasteles, una interesante propuesta de delicada transparencia. Saludos, @fixie.
Muchas gracias por apoyarme con su voto. Lo hice con todo el gusto de compartir un poco de lo que he aprendido..