BATMAN KEYCHAIN MADE FROM SODA CAN - LLAVERO DE BATMAN HECHO DE LATA DE SODA [ENG-ESP]
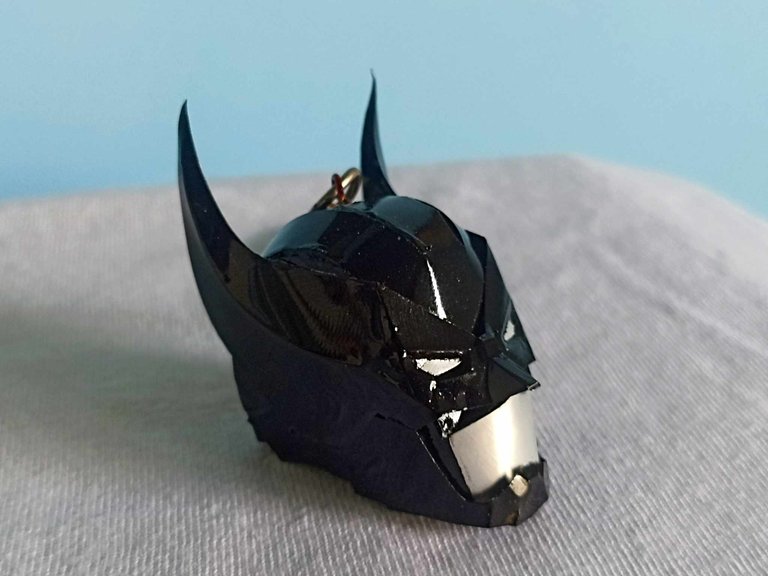
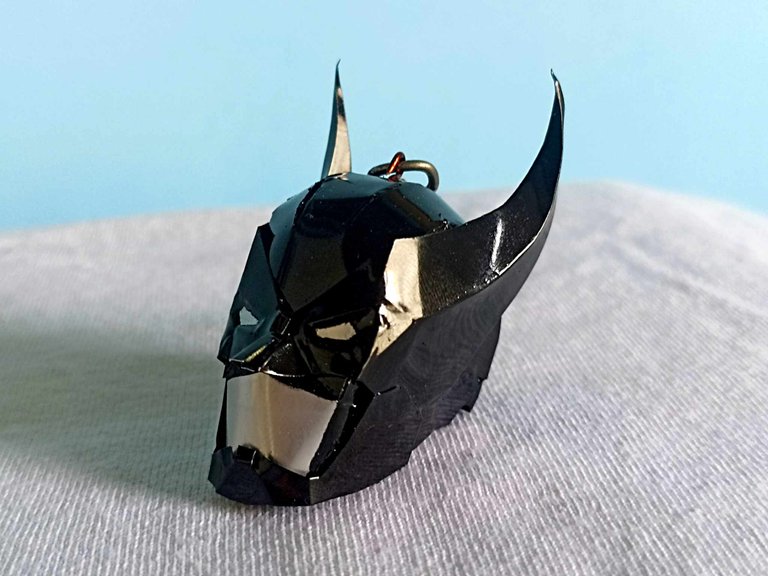
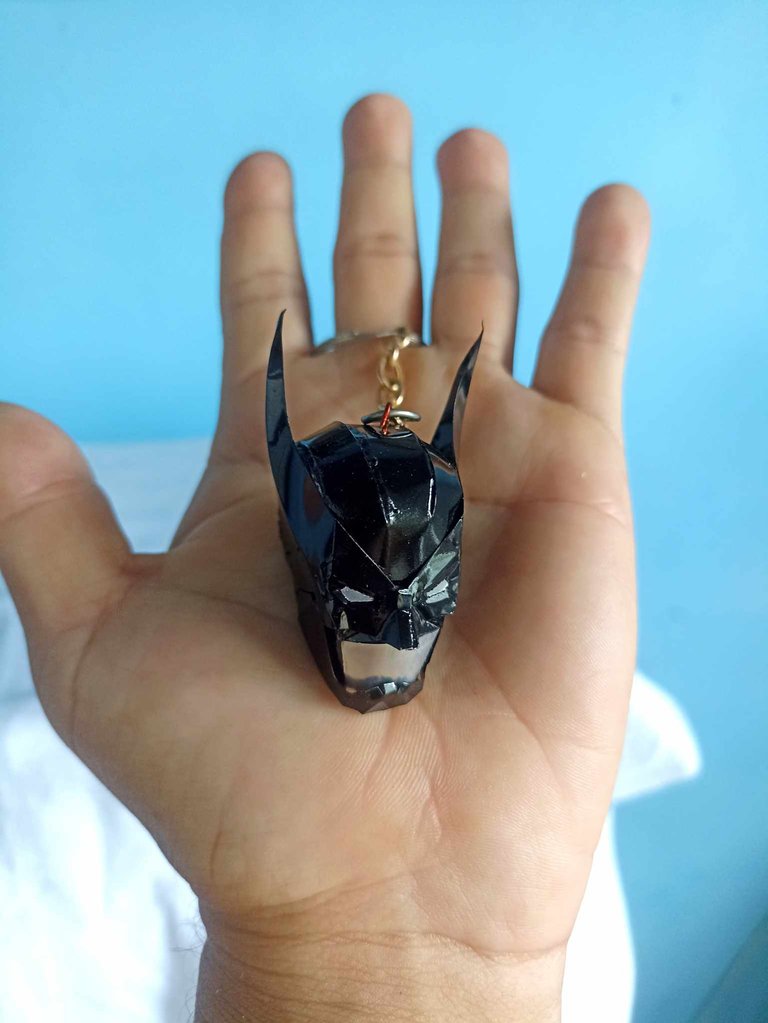
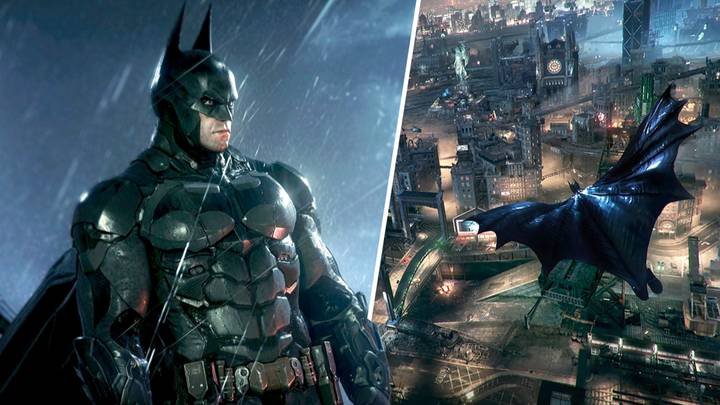
Hello dear friends, greetings to all, I hope you are well wherever you are. I was watching a Batman marathon over the weekend, especially the Arkham game saga, all the characters are great, especially Batman, the armor he uses is one of the ones I like the most. I tried to make the keychain that I made following the model that appears in the games, it didn't look 100% similar but at least you can tell that it is Batman, I made it using aluminum cans, paper and glue, I hope you like the result.
Hola queridos amigos, saludos para todos, espero que se encuentren muy bien donde quiera que se encuentran. Estuve el fin de semana viendo un maratón de Batman, especialmente la saga de juegos de Arkham, todos los personajes son geniales, especialmente Batman, la armadura que usa es de las que más me gusta. El llavero que he realizado traté de hacerlo siguiendo el modelo que sale en los juegos, no me quedó 100% parecido pero al menos se puede notar que es Batman, lo hice utilizando latas de aluminio, papel y pegamento, espero que les guste el resultado.
Image

 |  |  |
|---|---|---|
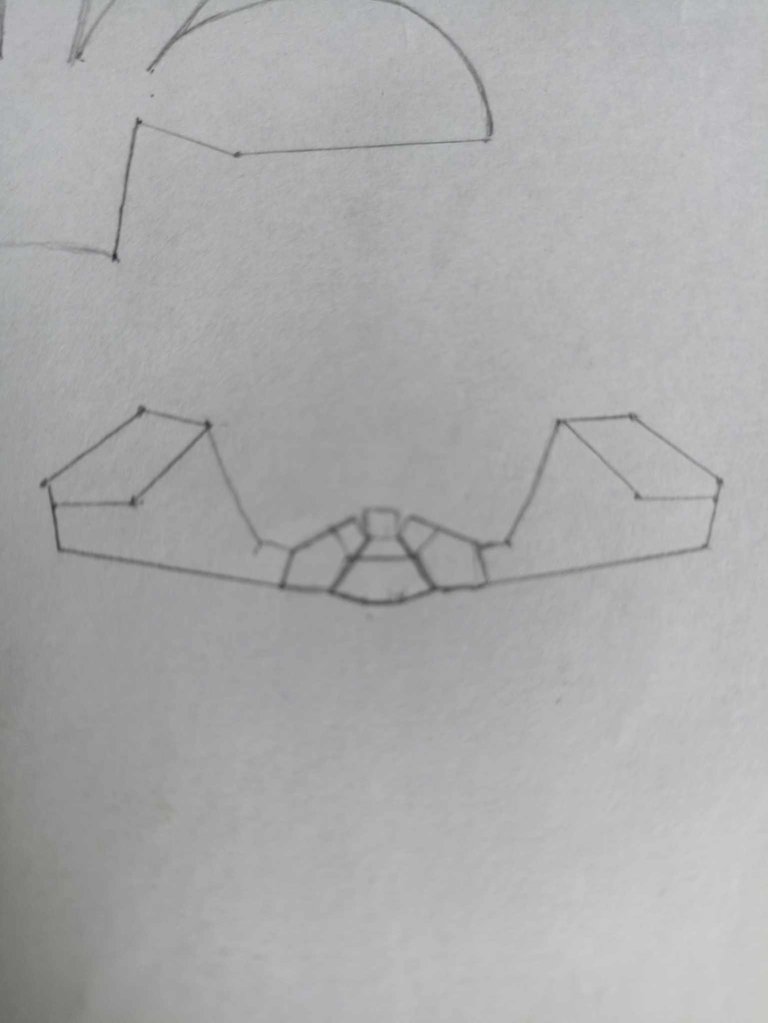 | 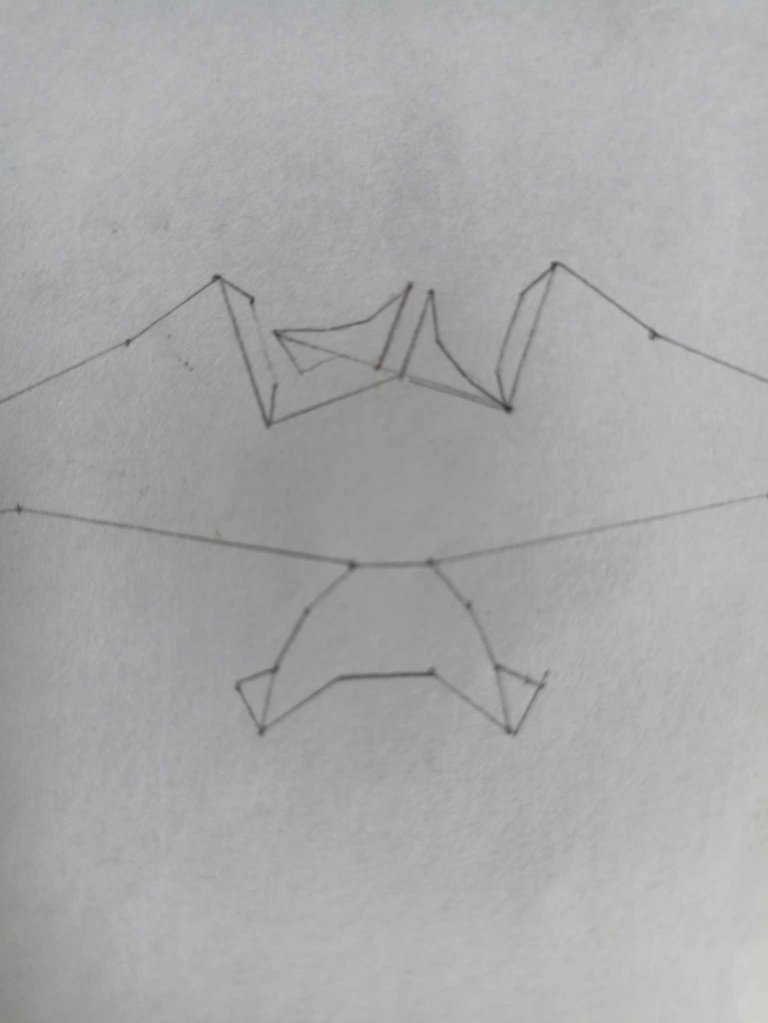 | 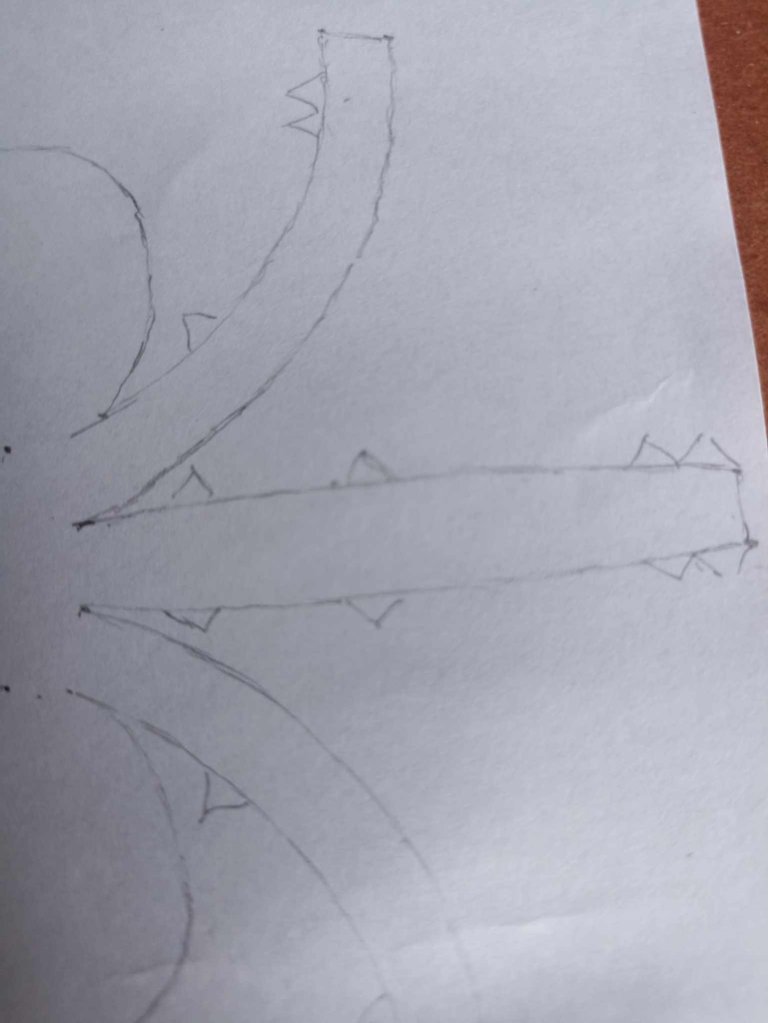 |
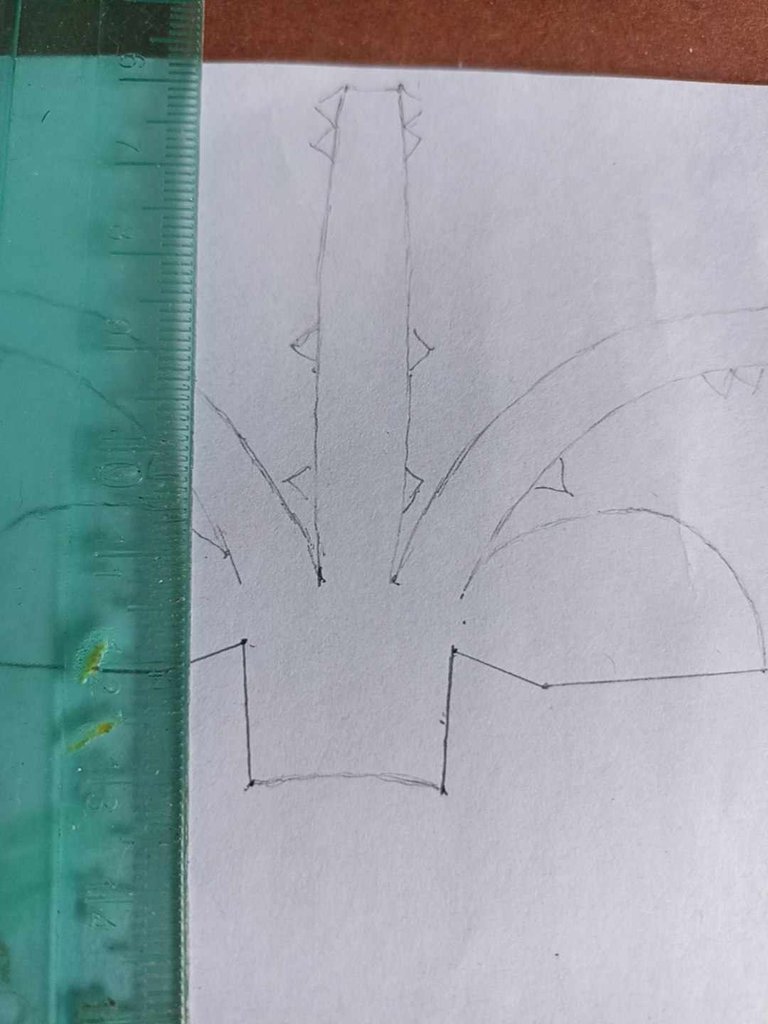
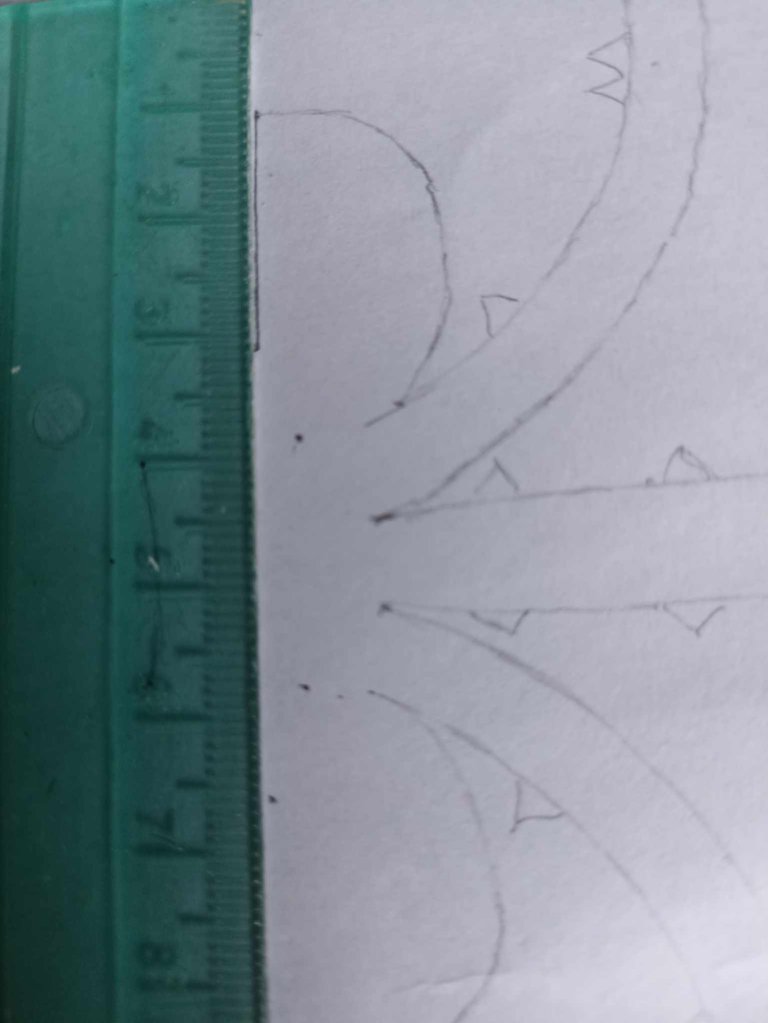
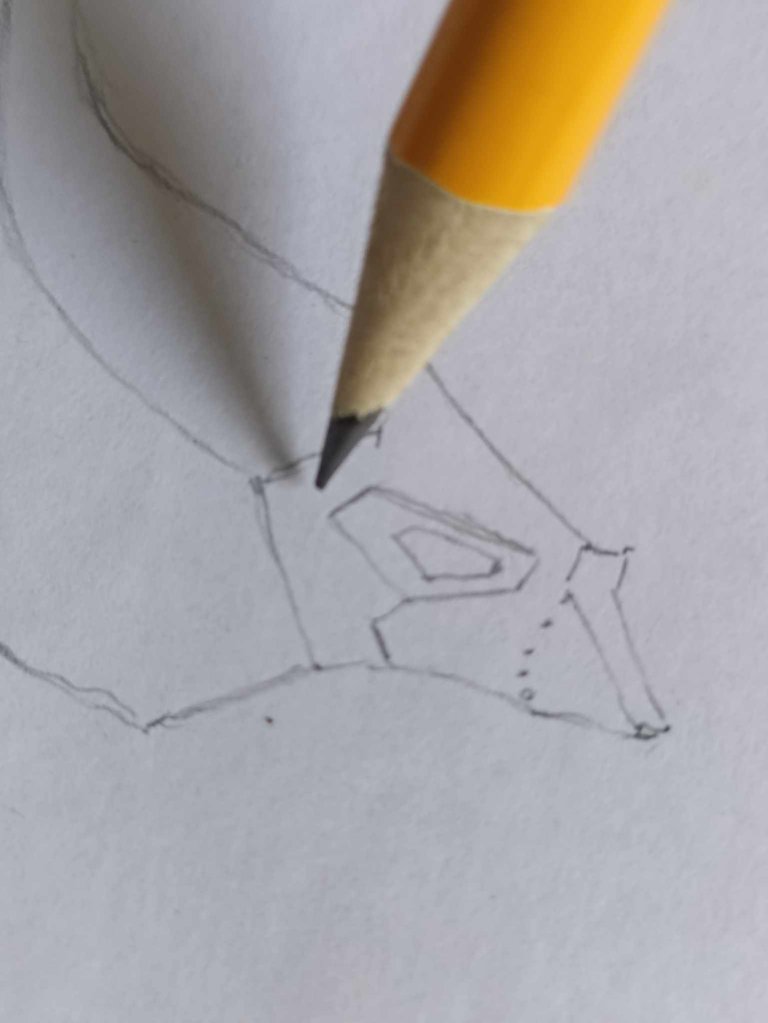
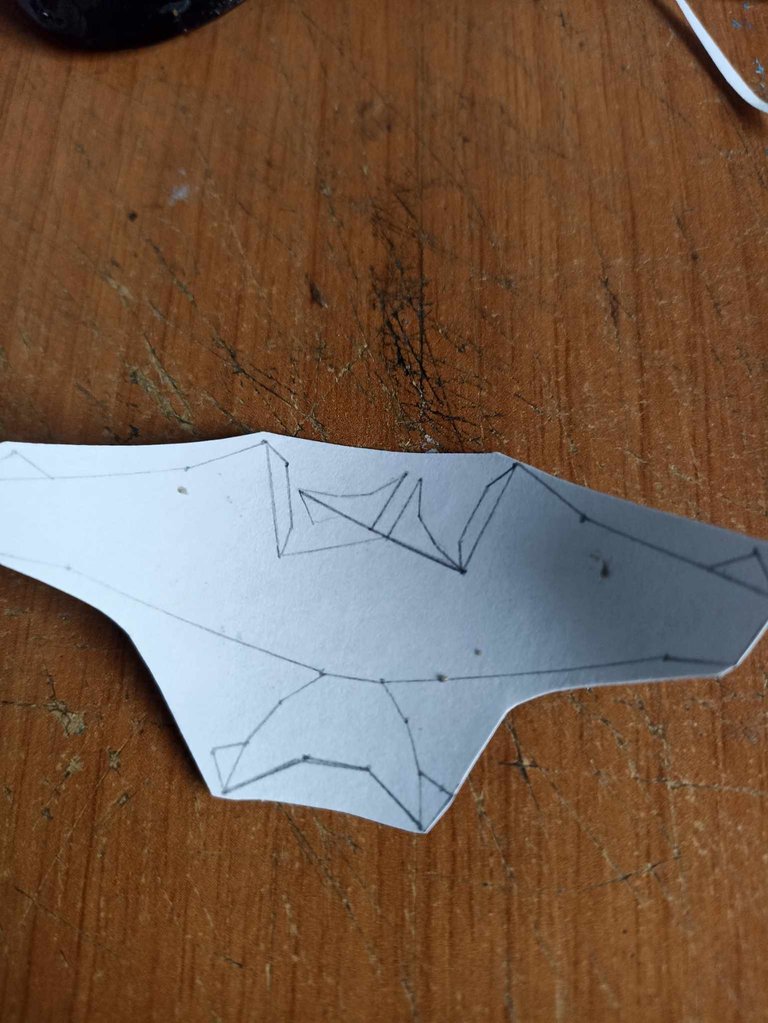
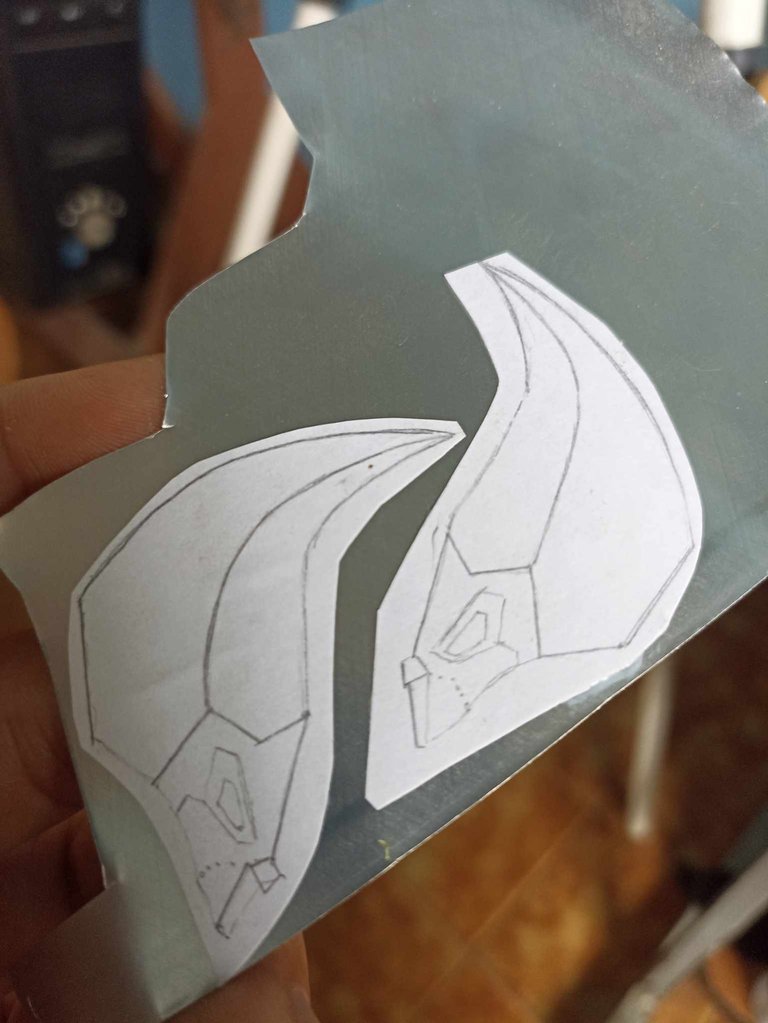
I made the templates by drawing them on paper, the trick was to join together several models that I have made before, for example my Spiderman, Deadpool and Blackpanther keychains, using these models I was able to adapt them to then create Batman.
Hice las plantillas dibujándolas sobre papel, el truco fue unir varios modelos que he hecho anteriormente, por ejemplo mis llaveros de Spiderman, Deadpool y Blackpanther, usando estos modelos pude adaptarlos para luego crear a Batman.

 |  | |
|---|---|---|
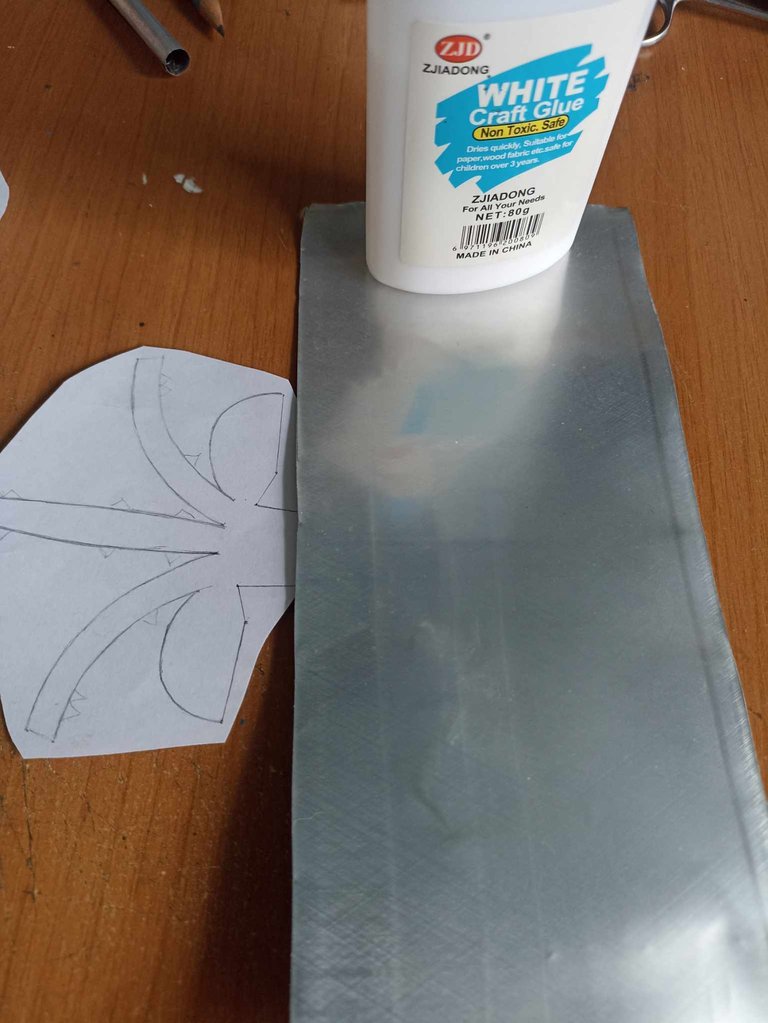 | 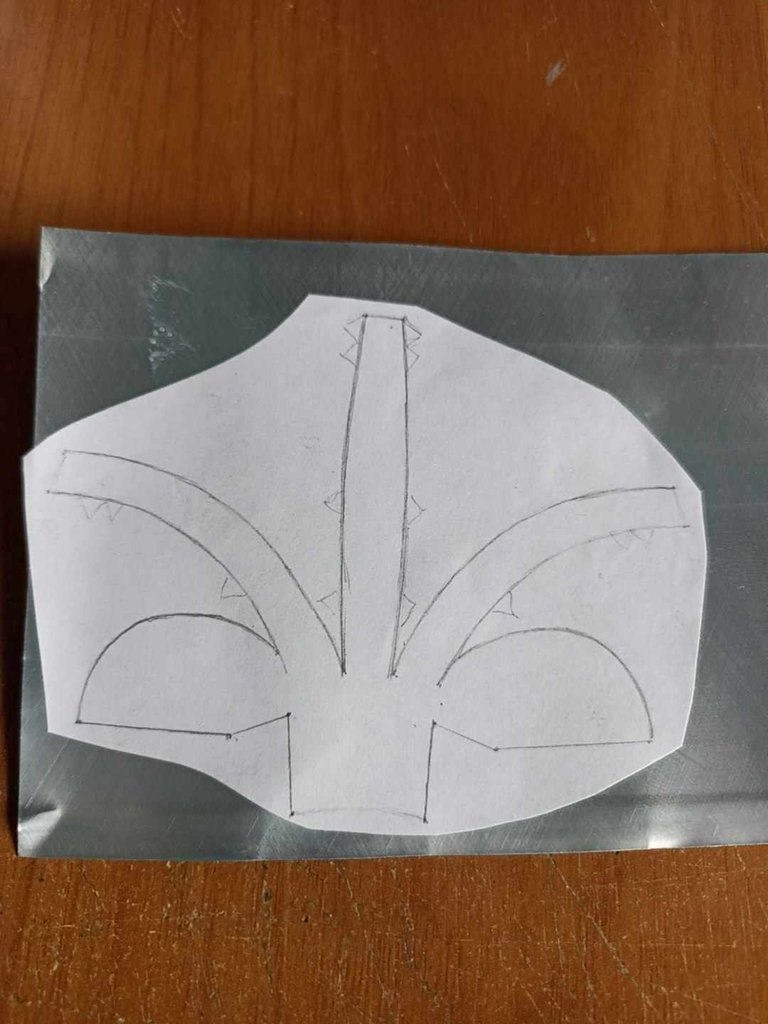 |
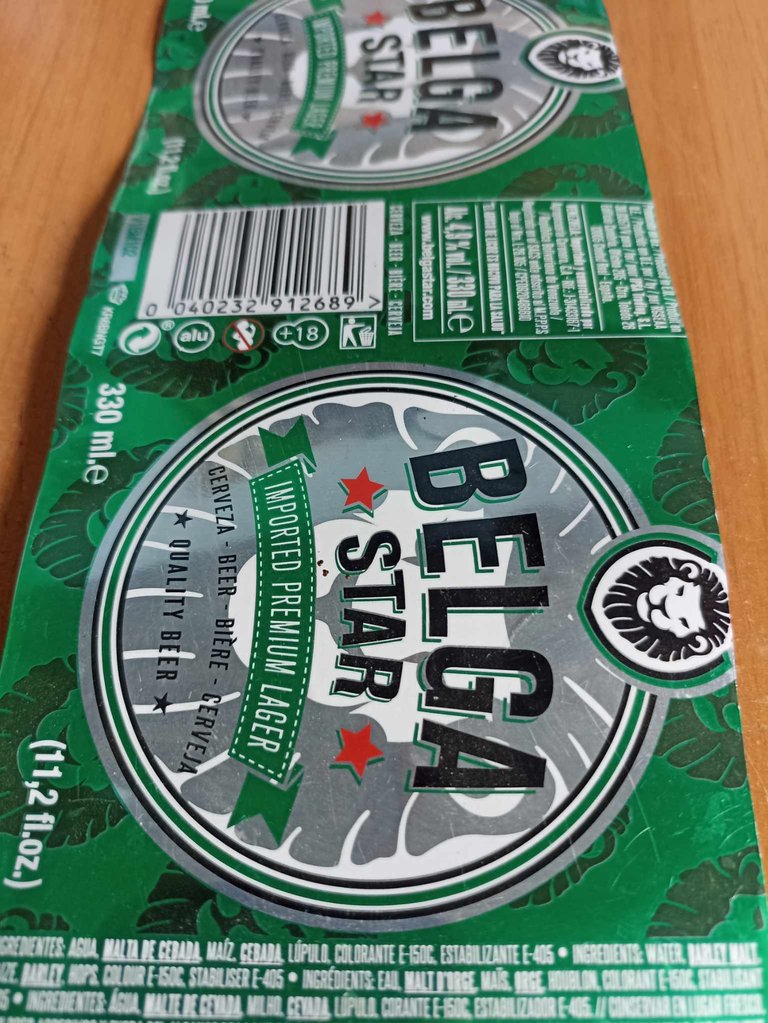
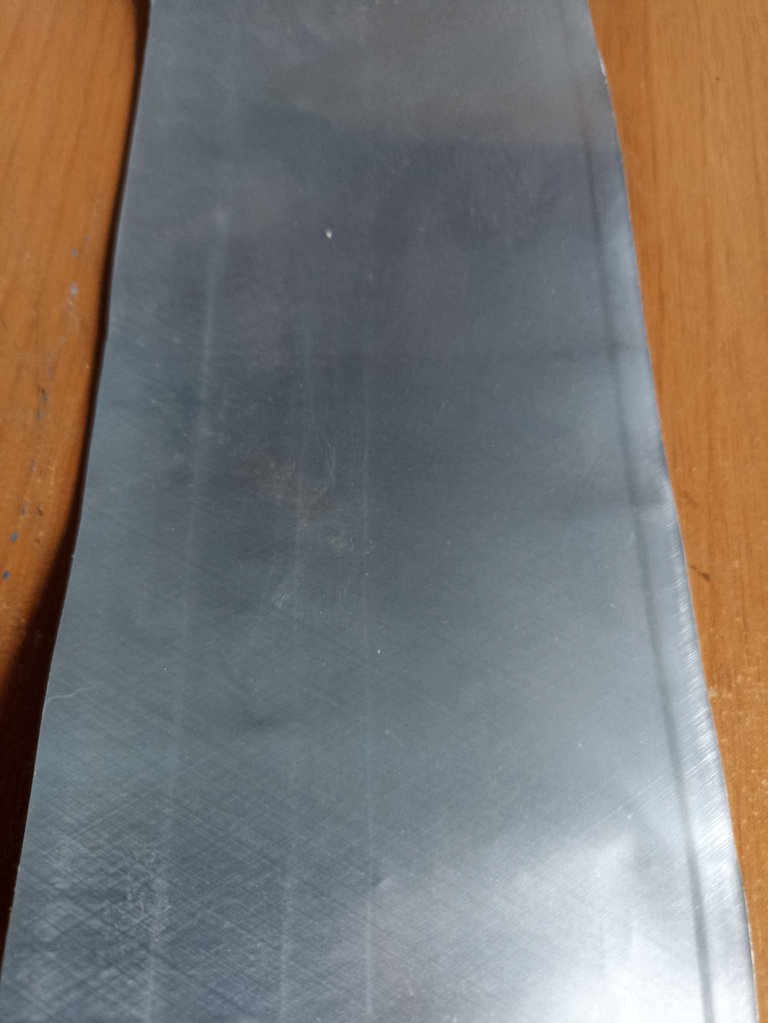
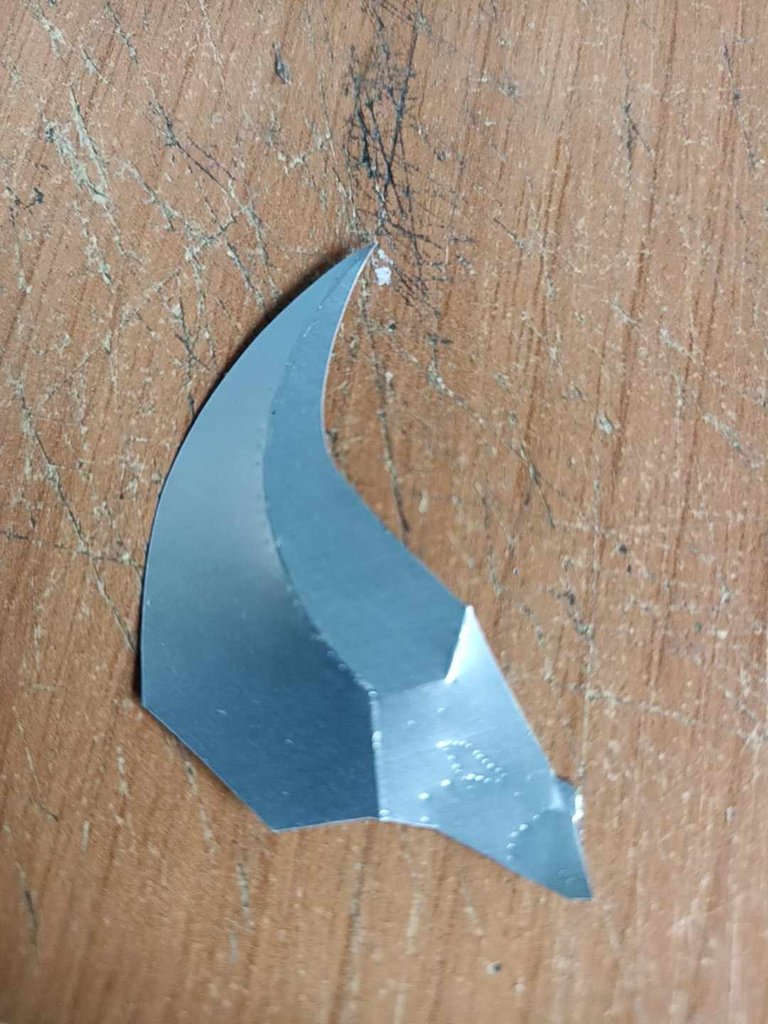
Then he had to find a can, open it and mold it into a thin sheet of aluminum. Cut out the drawn templates with glue, stick them on the aluminum and then cut them with scissors.
Luego fue buscar una lata, abrirla y moldearla hasta convertirla en una fina lámina de aluminio. Recortar las plantillas dibujadas y con pegamento, pegarla en el aluminio para luego cortarla con tijeras.

 |  |  |
|---|---|---|
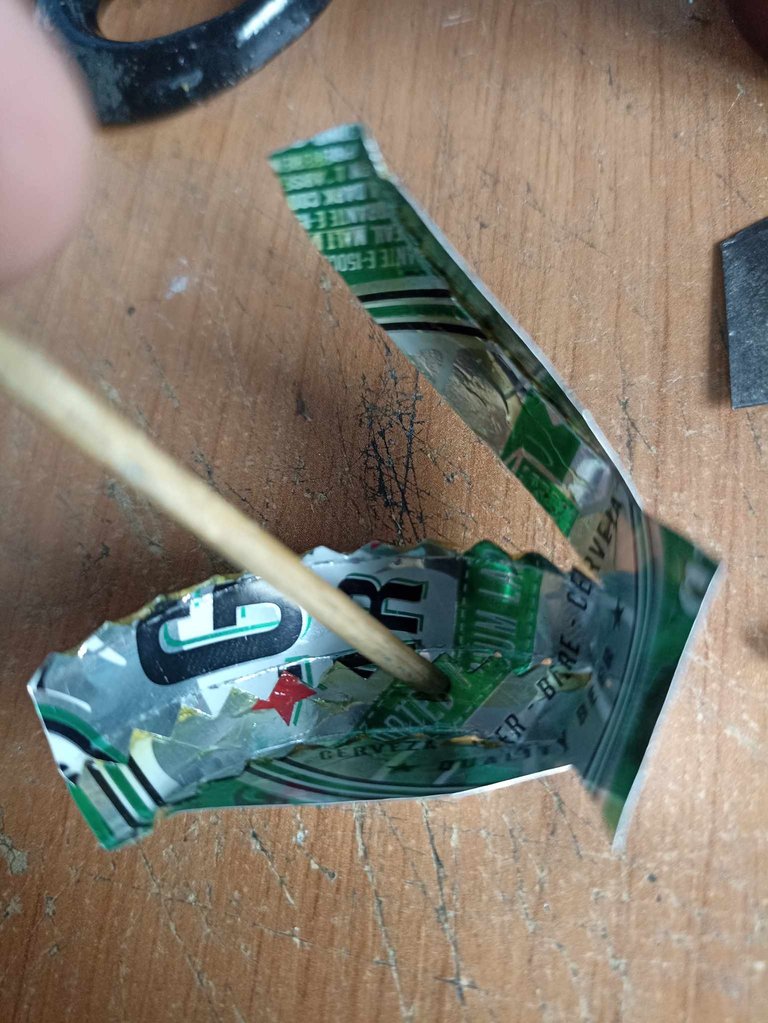 | 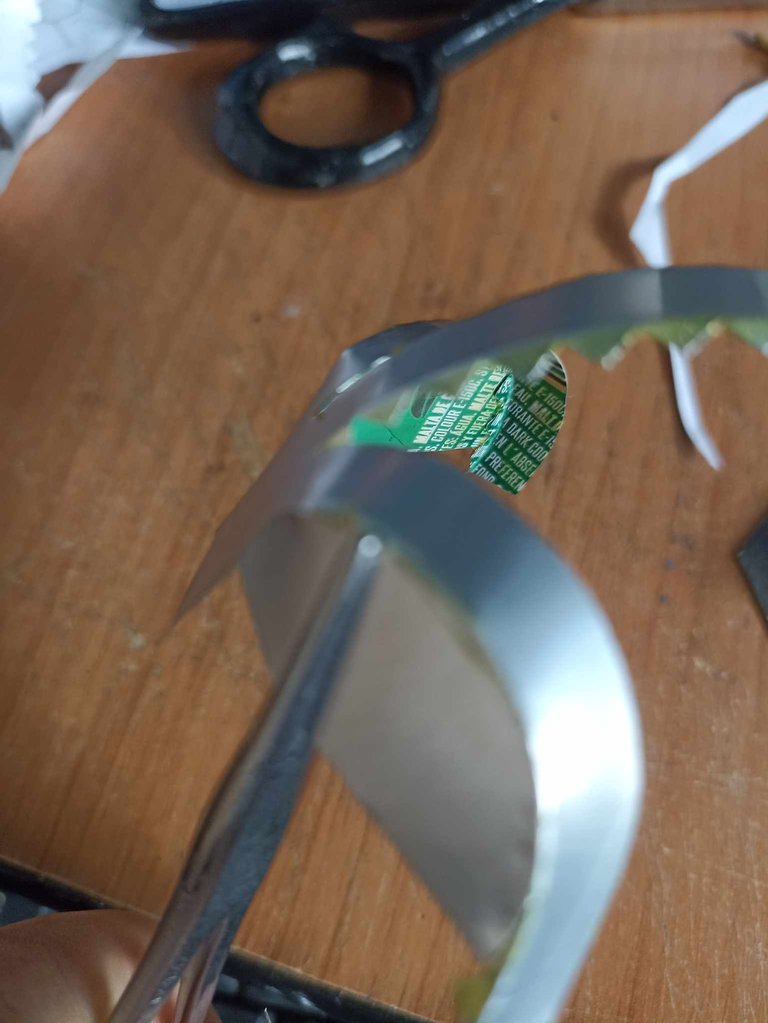 | 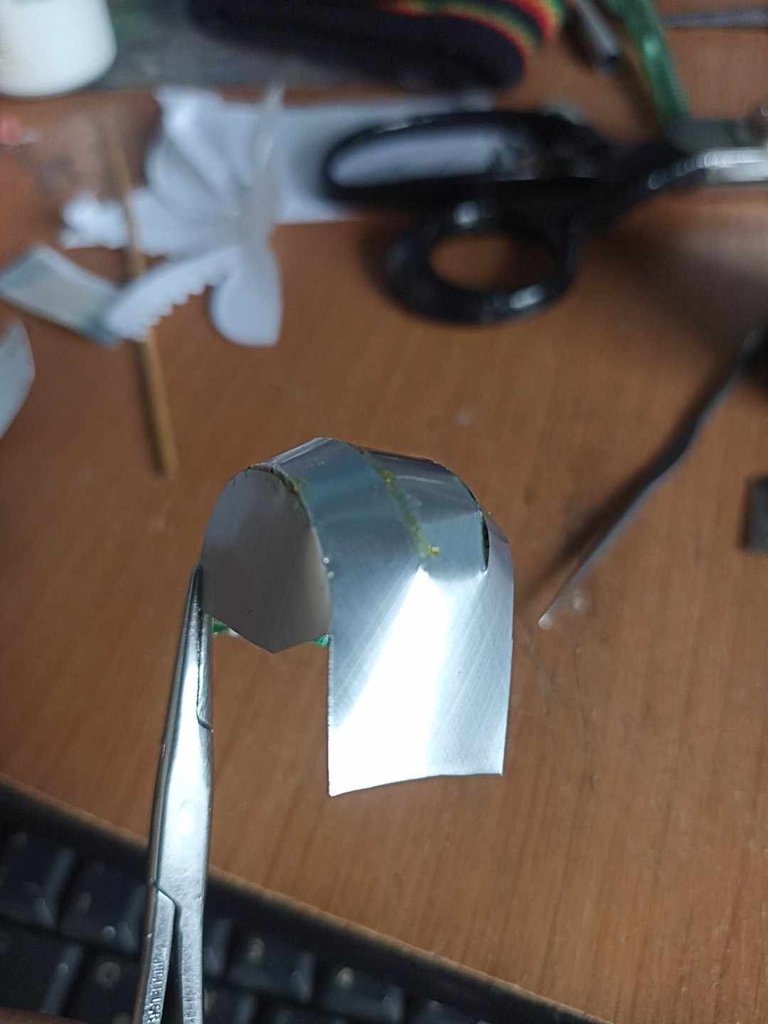 |
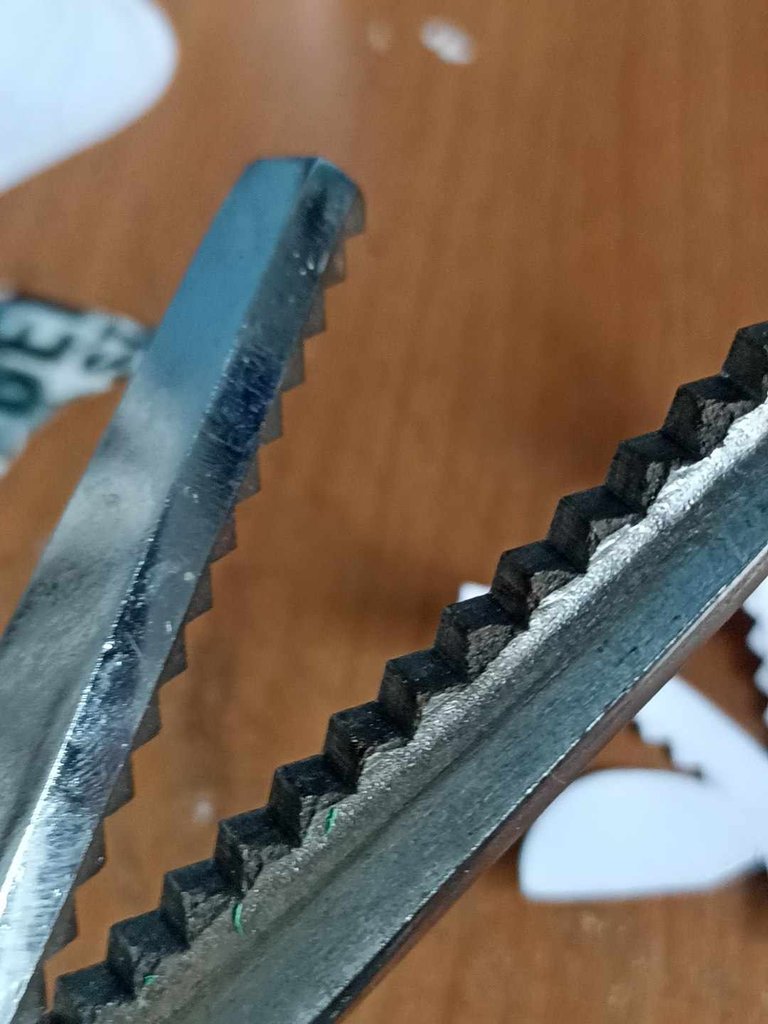
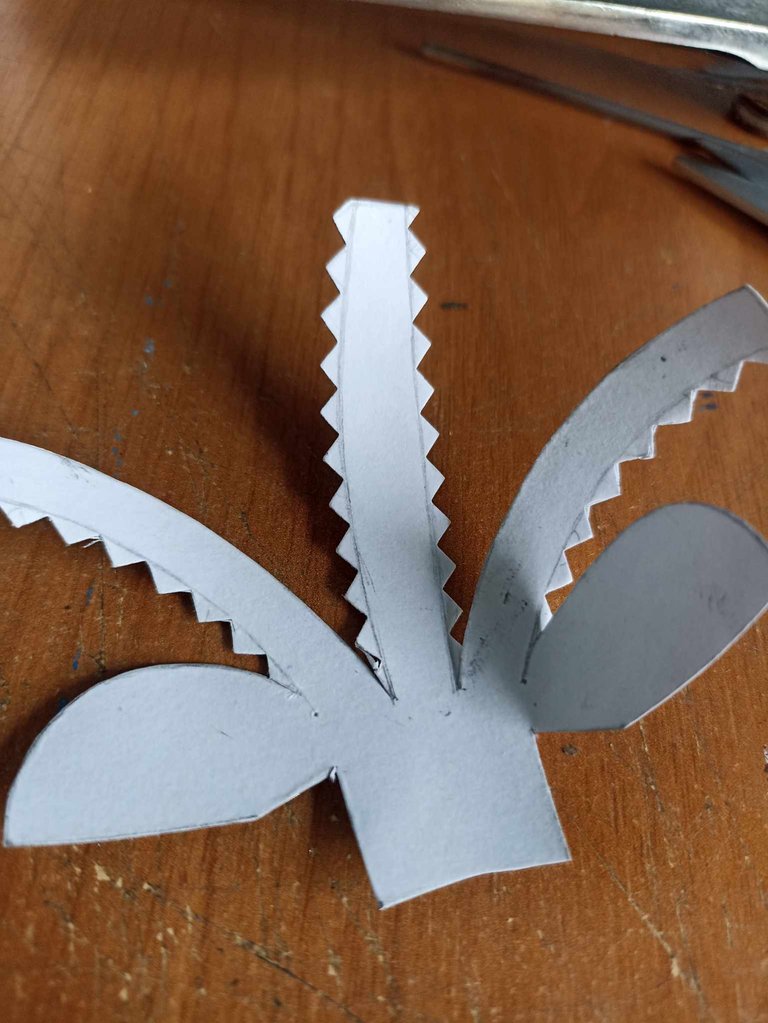
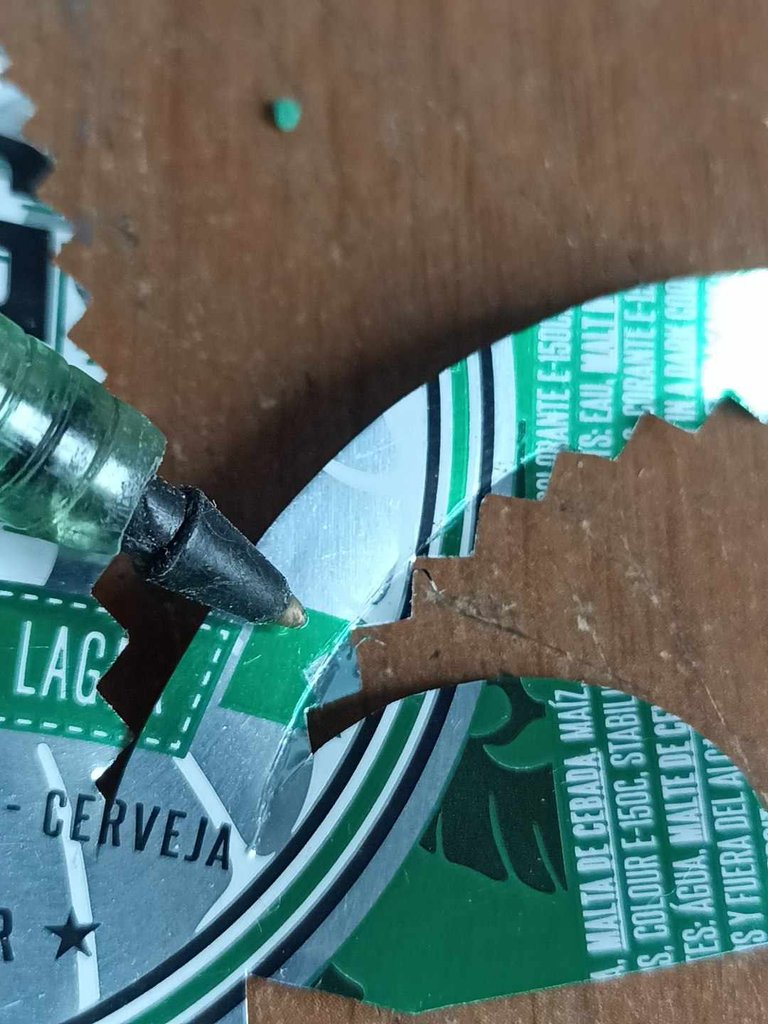
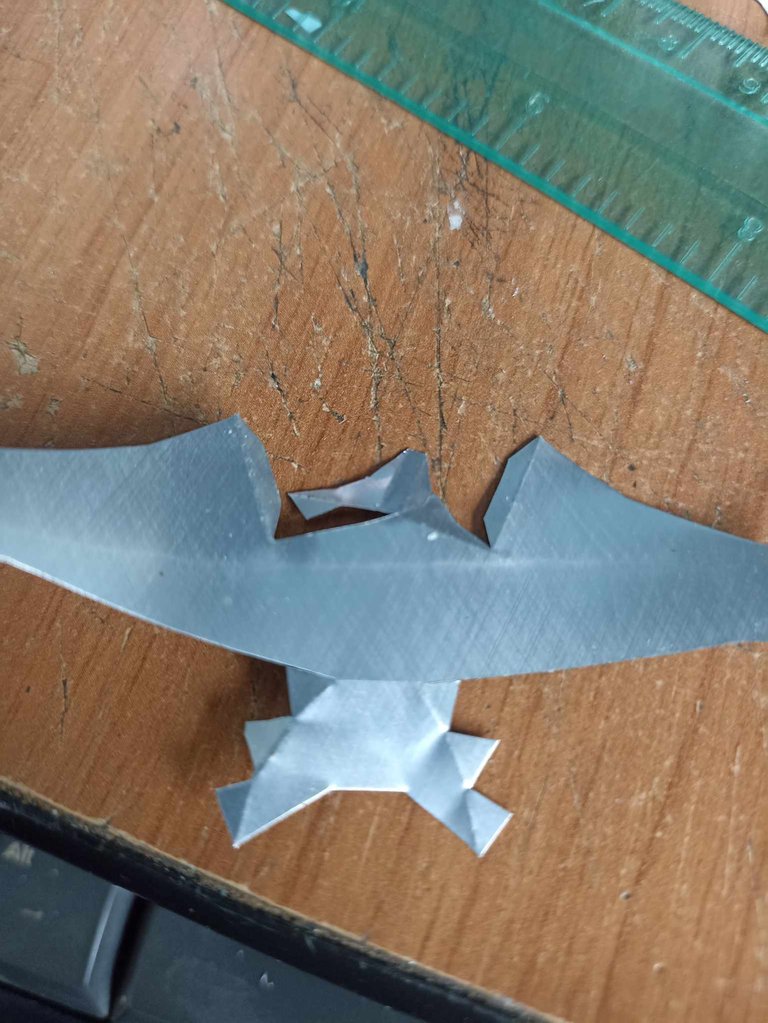
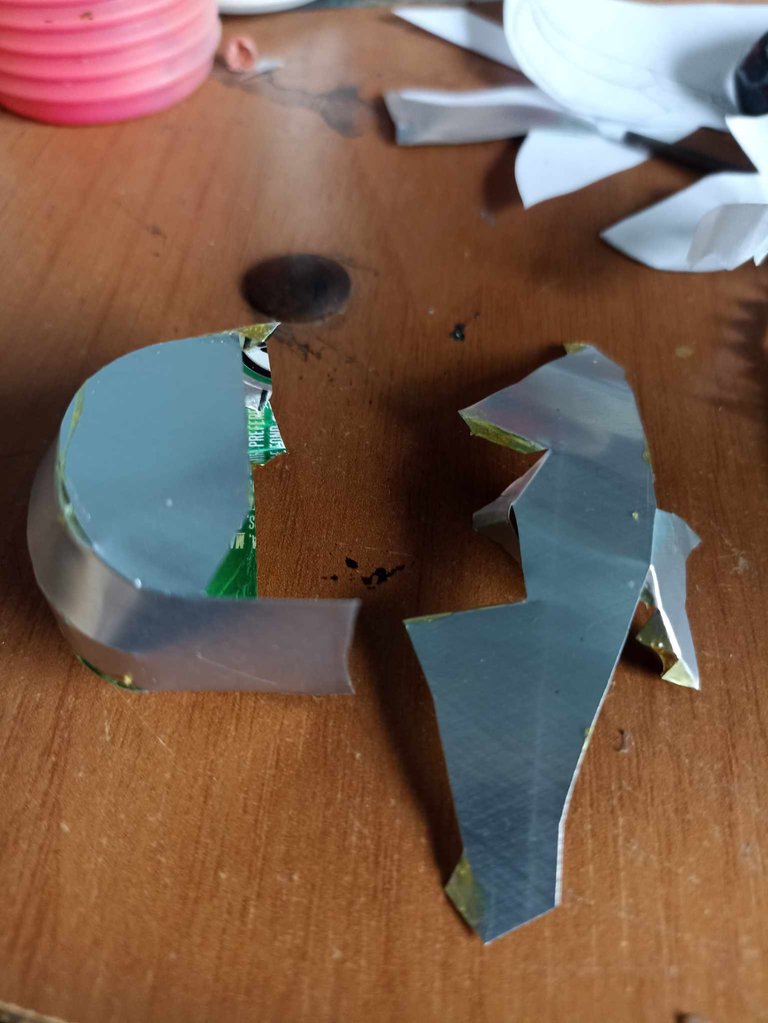
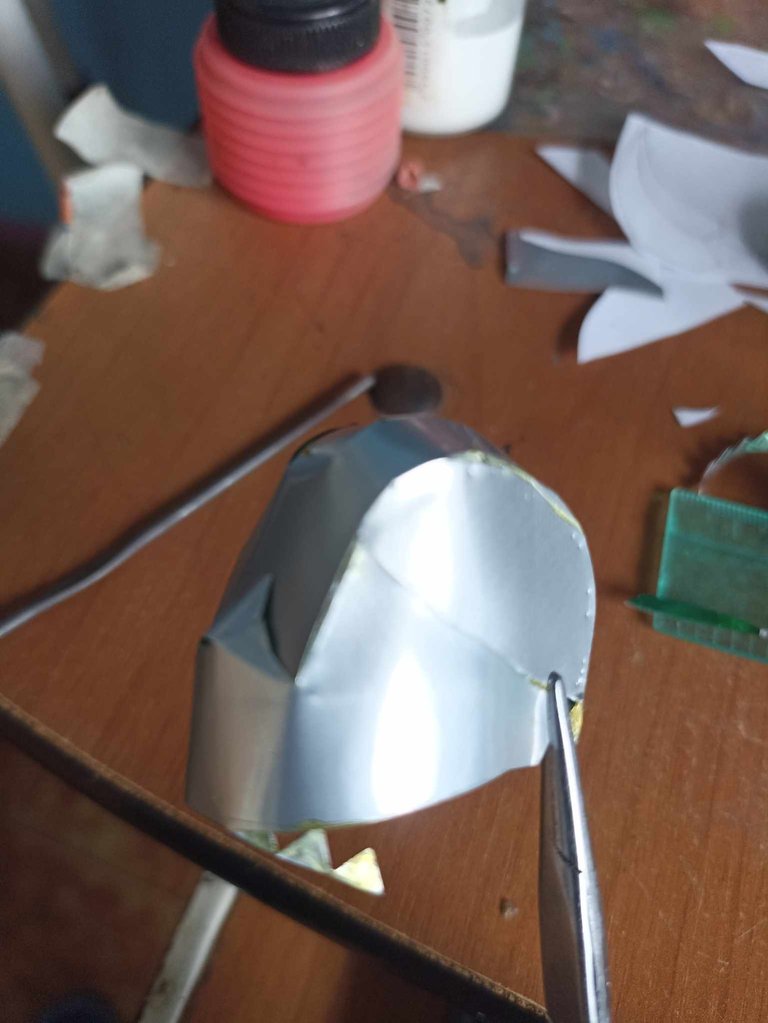
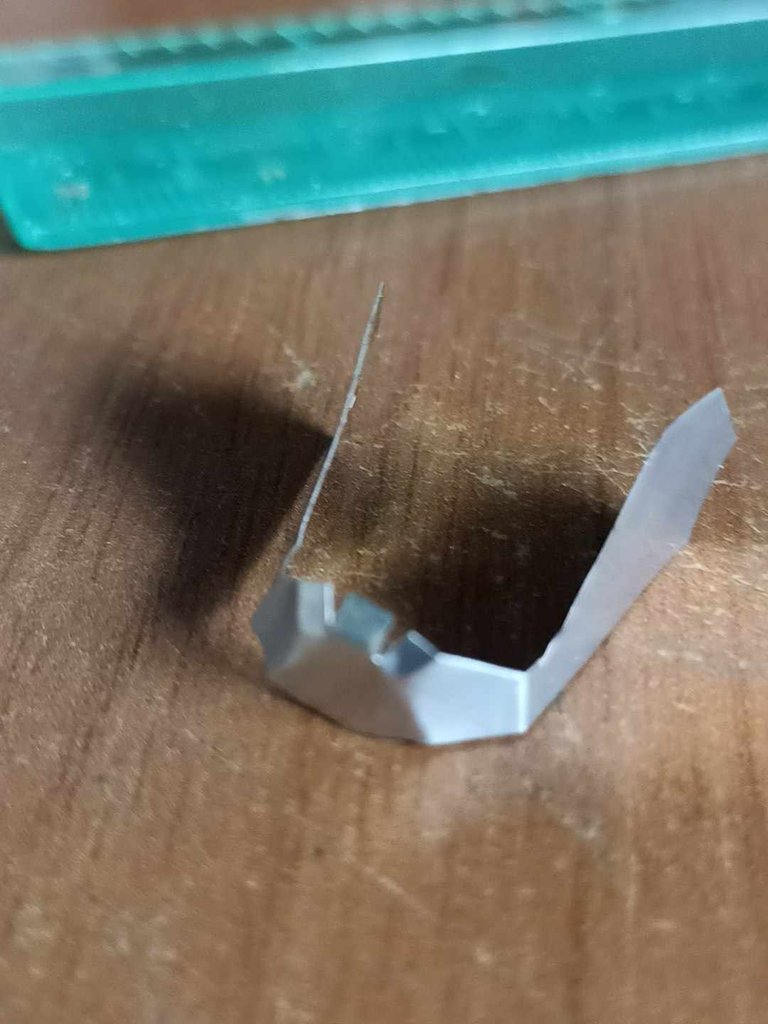
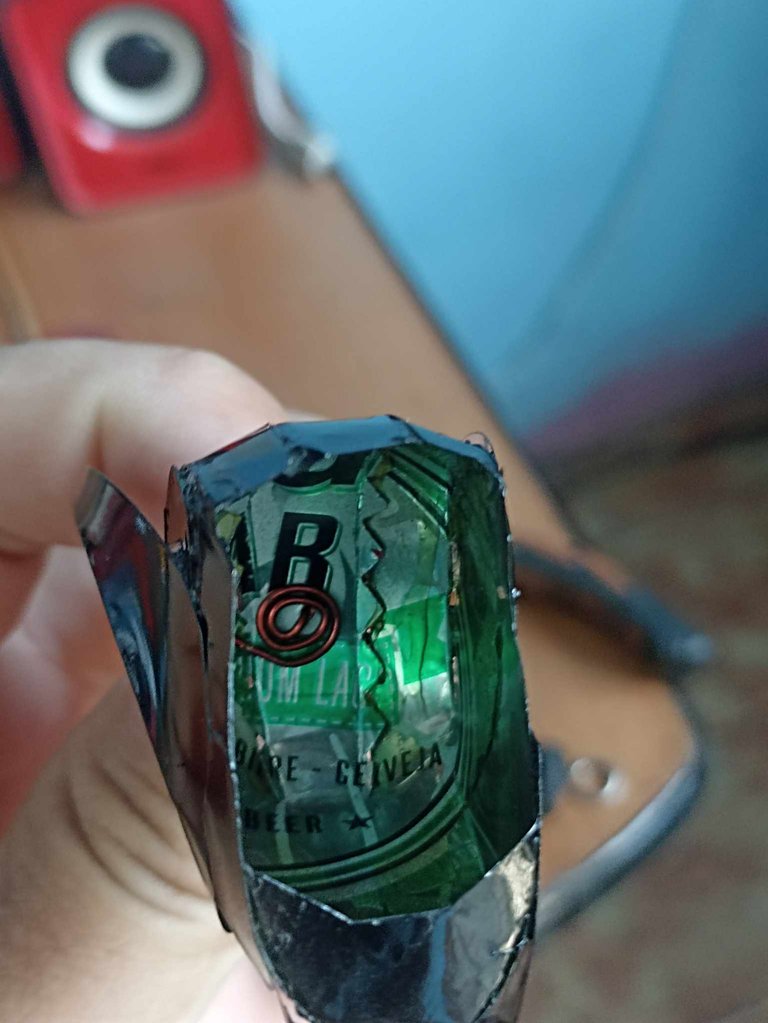
For these cuts I use special scissors that make zic zac cuts, this is very useful for making the tabs where the parts join. After cutting, with a pen I shape the cuts in the eyelashes, then I put glue, let it dry and begin to join the parts, with a precision tweezer I hold the eyelashes so that everything sticks well.
Para estos cortes utilizo utilizo una tijera espécial que realiza cortes en zic zac, esto es muy útil para hacer las pestañas por donde se unen las partes. Después de cortar, con un bolígrafo voy moldeando los cortes en las pestañas, después pongo pegamento, dejo secar y comienzo a unir las partes, con una pinza de precisión voy sosteniendo las pestañas para que todo se pegue bien.

 |  | |
|---|---|---|
 |  |
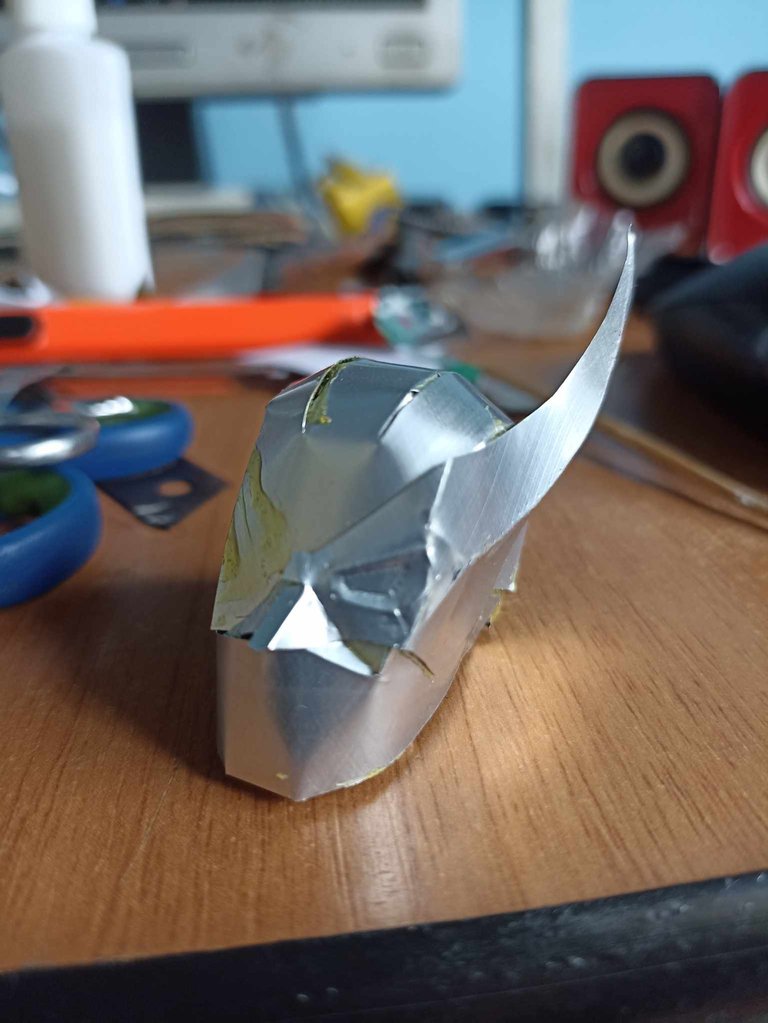
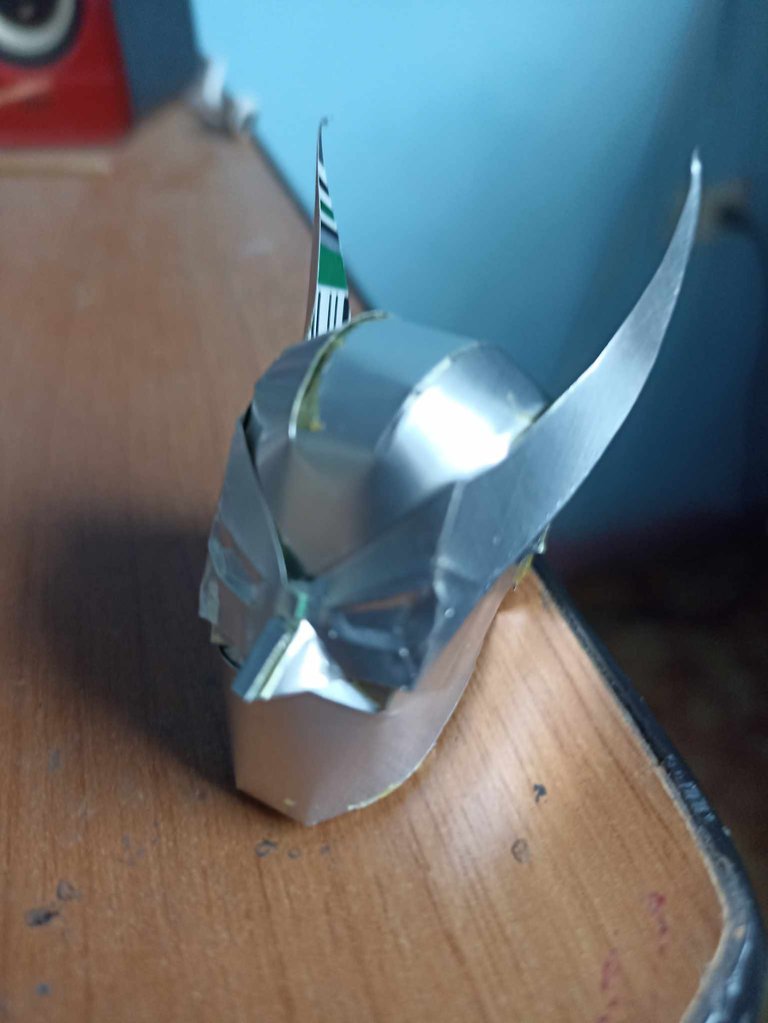
Next I made the bottom part of the helmet, with the same process, I glued the template on top of the can and then cut and molded it. Then with glue I attached it to the previous piece, and so you can see how the shape of the head is coming out.
Seguidamente hice la parte inferior del casco, con el mismo proceso, pegué la plantilla encima de la lata para luego cortar y moldear. Después con pegamento la uní a la pieza anterior, y así se puede ver como va saliendo la forma de la cabeza.

 |  | |
|---|---|---|
 |  |
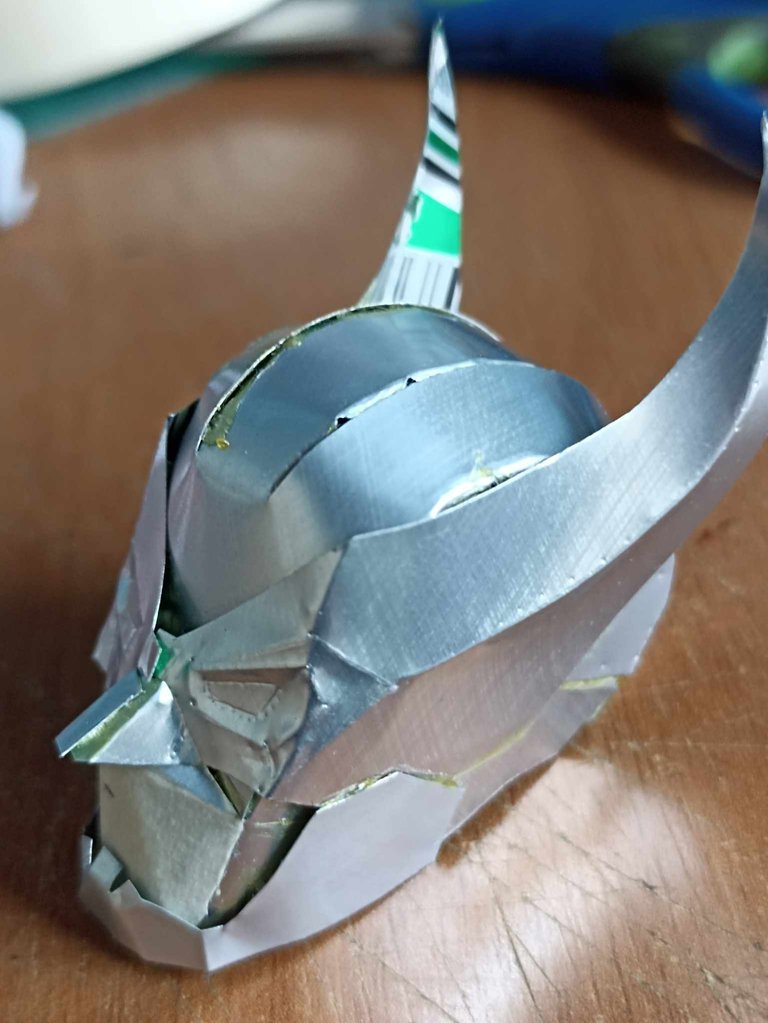
Now it's the turn of the pieces that turn this generic piece into Batman's head. After drawing them, I stick the templates on the aluminum sheet and with the pen I shape them, the good thing about this material is that it can take the shape we want simply by making strong strokes on it. After cutting, I glue each of the parts to the front of the head, and this is how Batman's head looks.
Ahora es el turno de las piezas que convierten esta pieza genérica en la cabeza de batman. Luego de dibujarlas, pego las plantillas en la lámina de aluminio y con el bolígrafo las voy moldeando, lo bueno de este material es que puede tomar la forma que queramos simplemente haciendo trazos fuertes encima de él. Después de cortar, voy pegando en la parte frontal de la cabeza cada una de las partes, y así ya luce la cabeza de Batman

 |  |  |
|---|---|---|
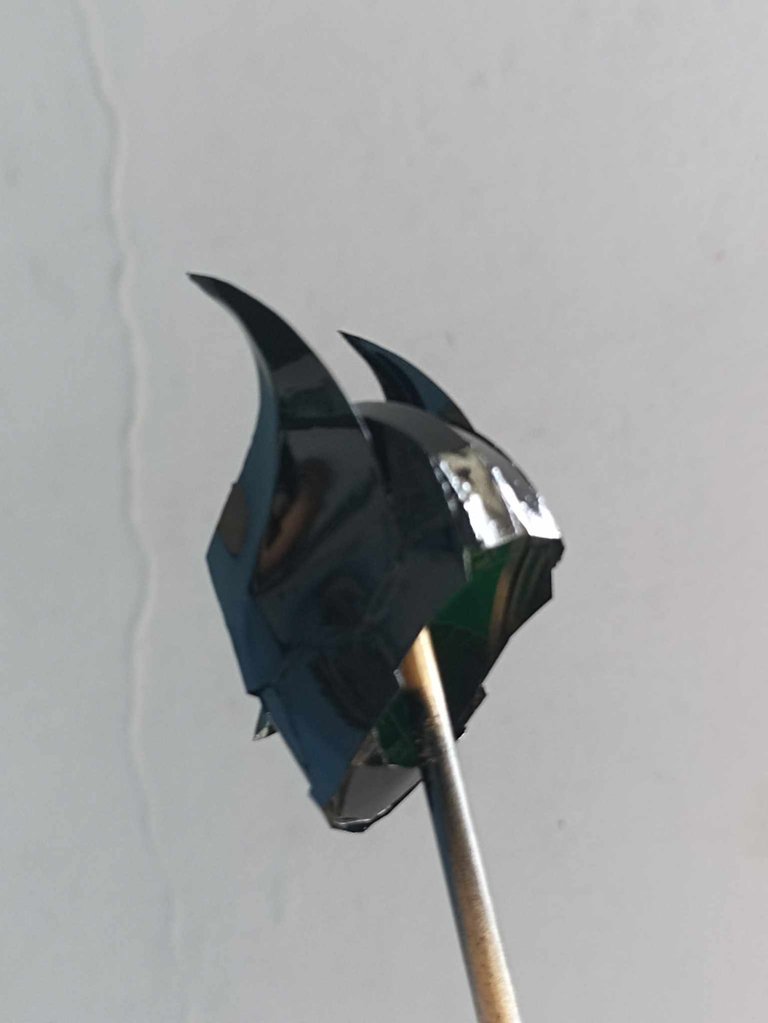 |  |  |
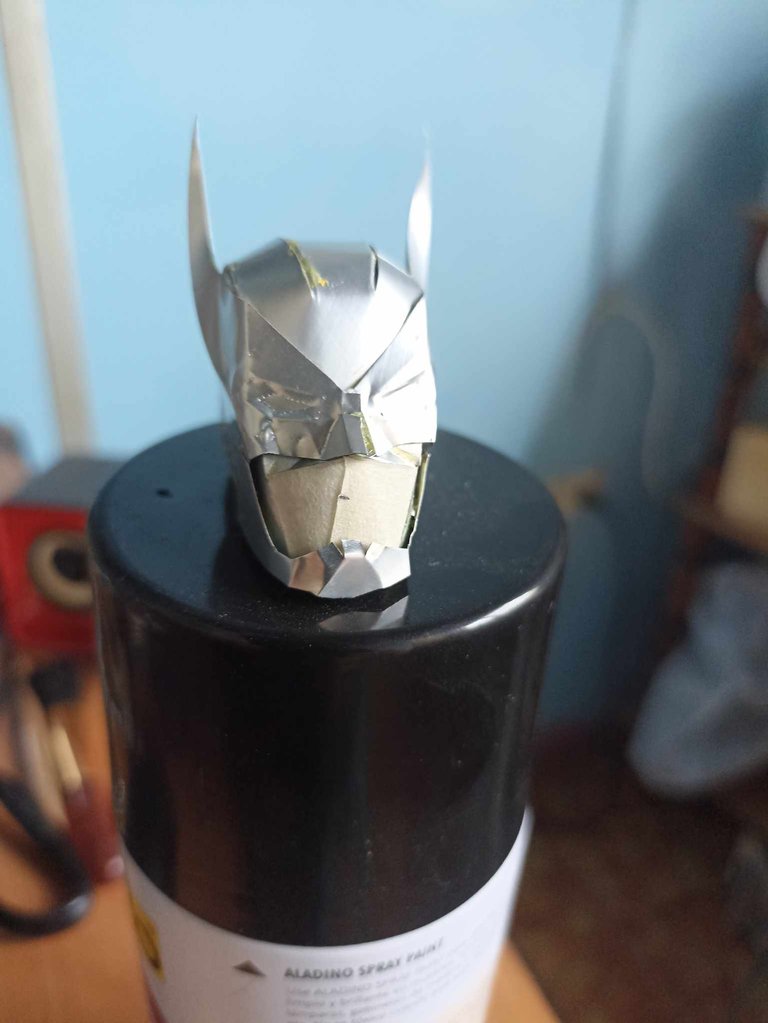
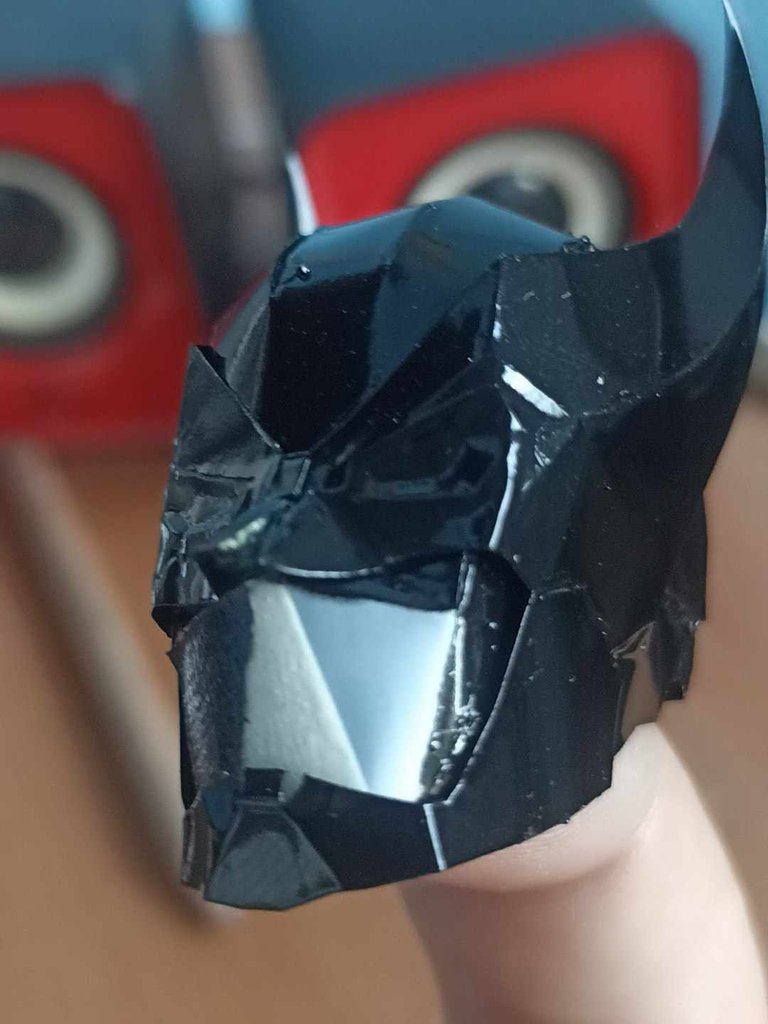
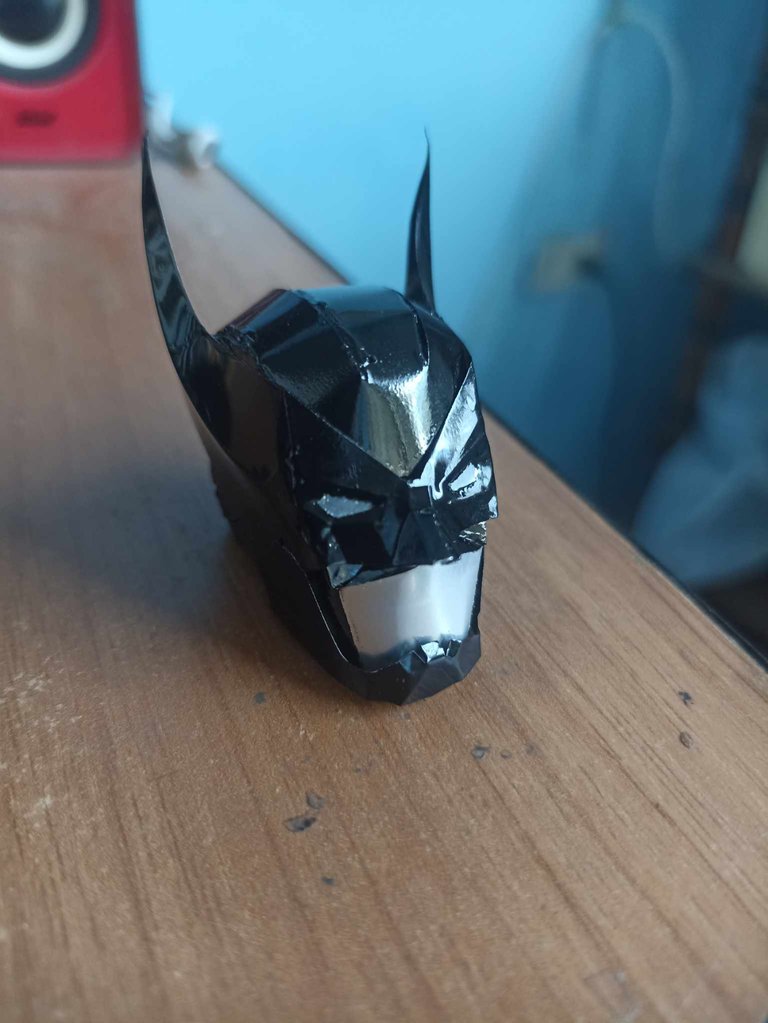
To finish assembling the helmet, I place a piece that goes on the chin, which is like a protector, then I proceed to paint using gloss black spray paint, but not before placing adhesive tape on the bottom under the nose to Do not paint that area. After applying the paint I let it dry very well for several hours.
Para terminar de armar el casco, coloco una pieza que va en la mentón, que es como un protector, luego procedo a pintar usando pintura en aerosol de color negro brillante, no sin antes colocar cinta adhesiva en la parte inferior debajo de la nariz para que esa zona no de pinte. Luego de aplicar la pintura dejo secar muy bien por varias horas.

 |  |  |
|---|---|---|
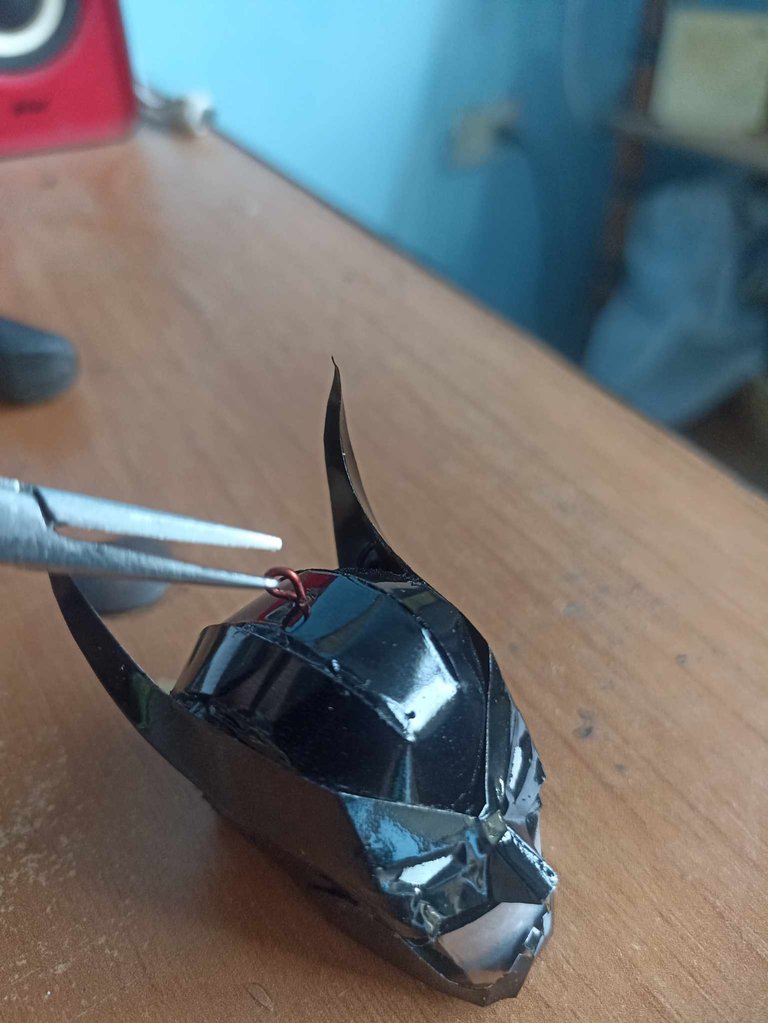 | 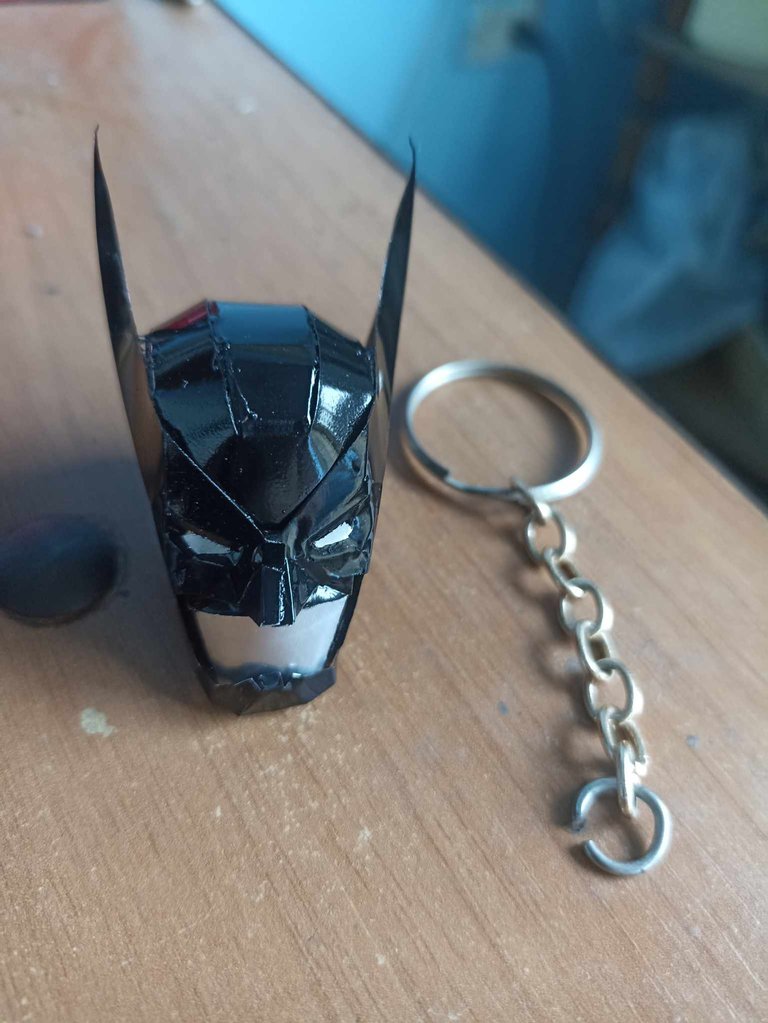 | 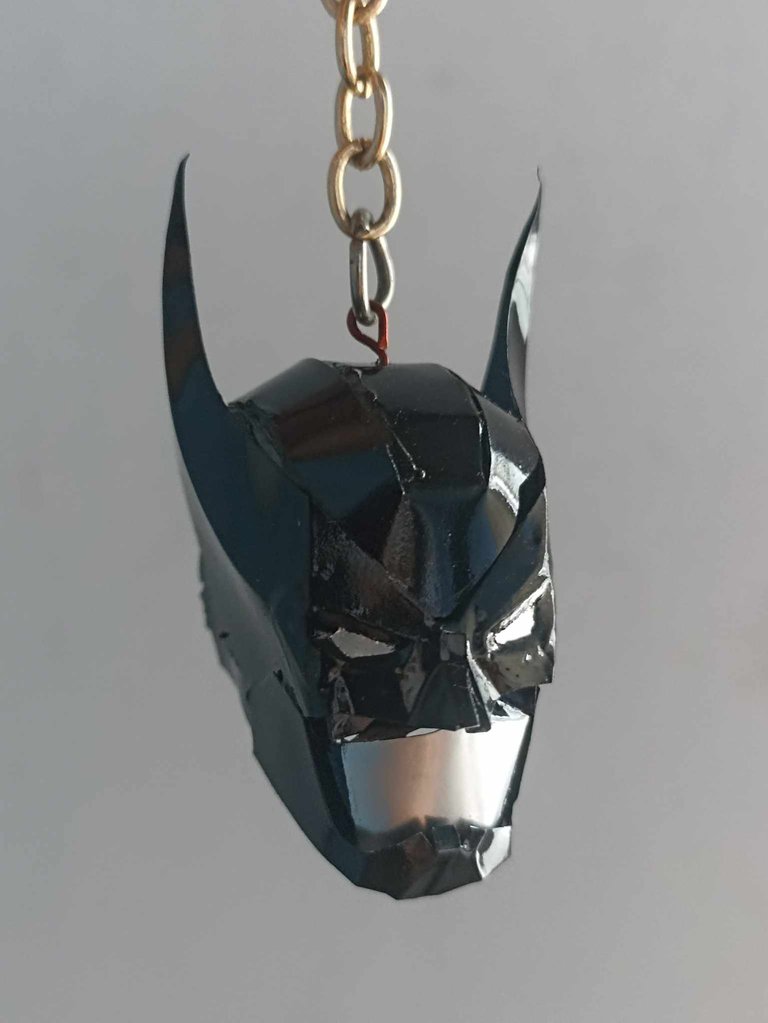 |
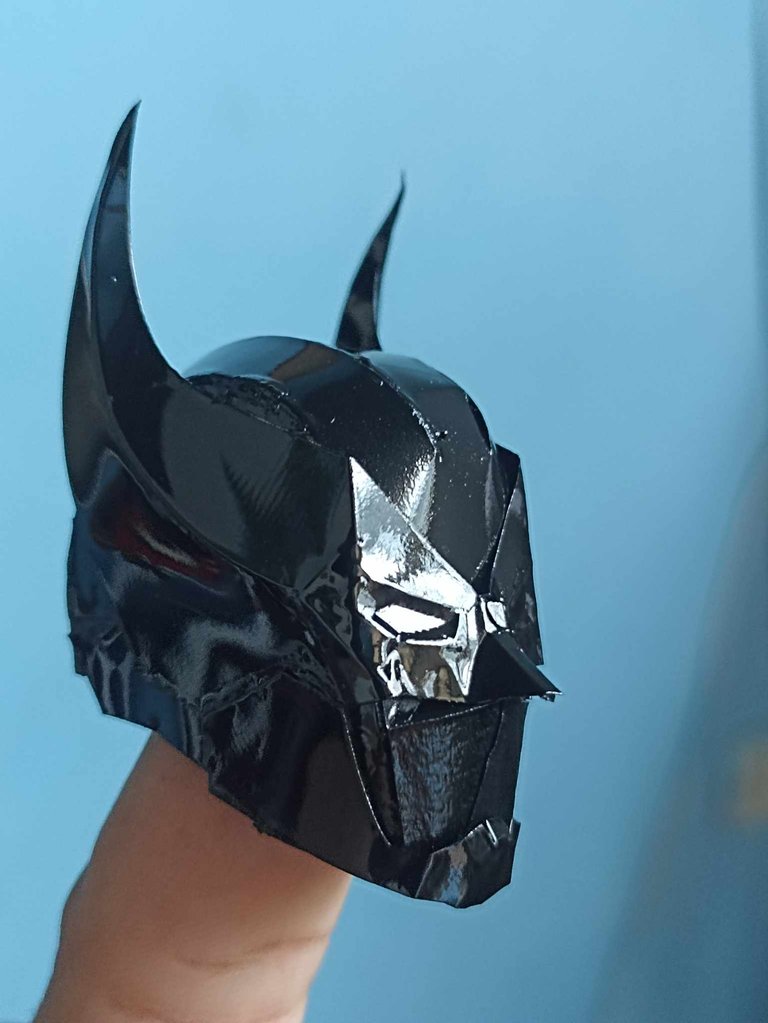
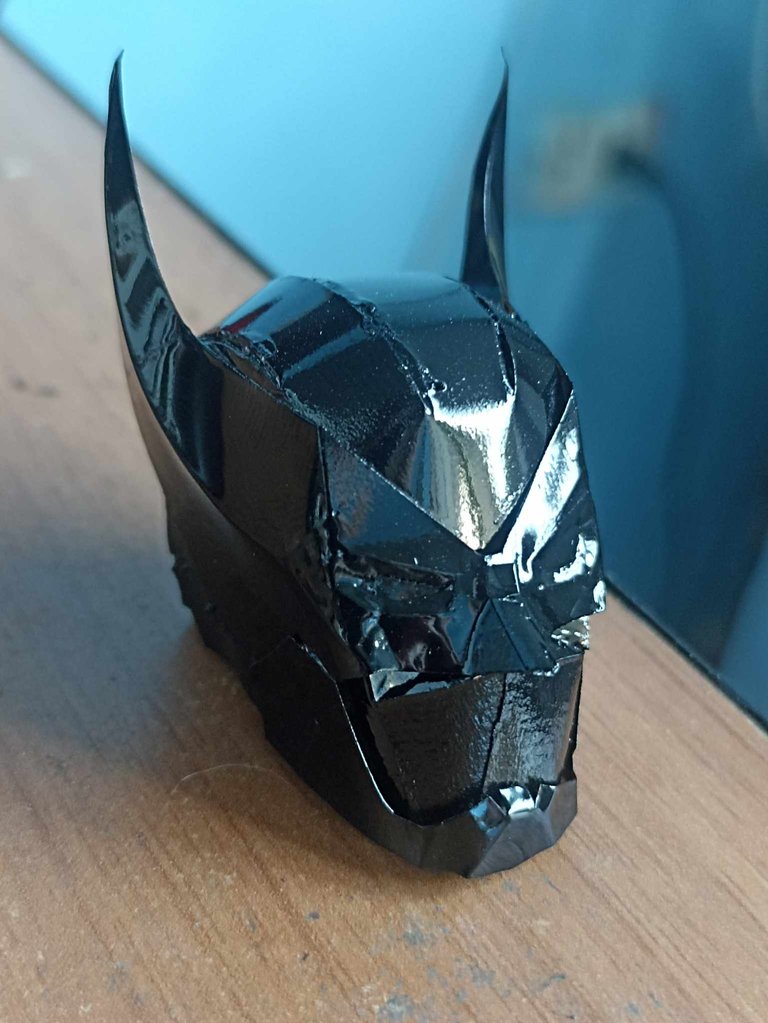
After the paint has dried well, I begin to remove the adhesive tape little by little, including the part of the eyes. Then I made a hole in the upper part to make an earring where I will later put the keychain chain. Once this is finished, this is how the Dark Knight Batman keychain looks.
Después d que haya secado bien la pintura comienzo a retirar la cinta adhesiva poco a poco incluyendo la parte de los ojos. Después hice un agujero en la parte superior para hacer un arete por donde luego pondré la cadena del llavero. Una vez terminado esto así queda el llavero de Batman el caballero de la noche

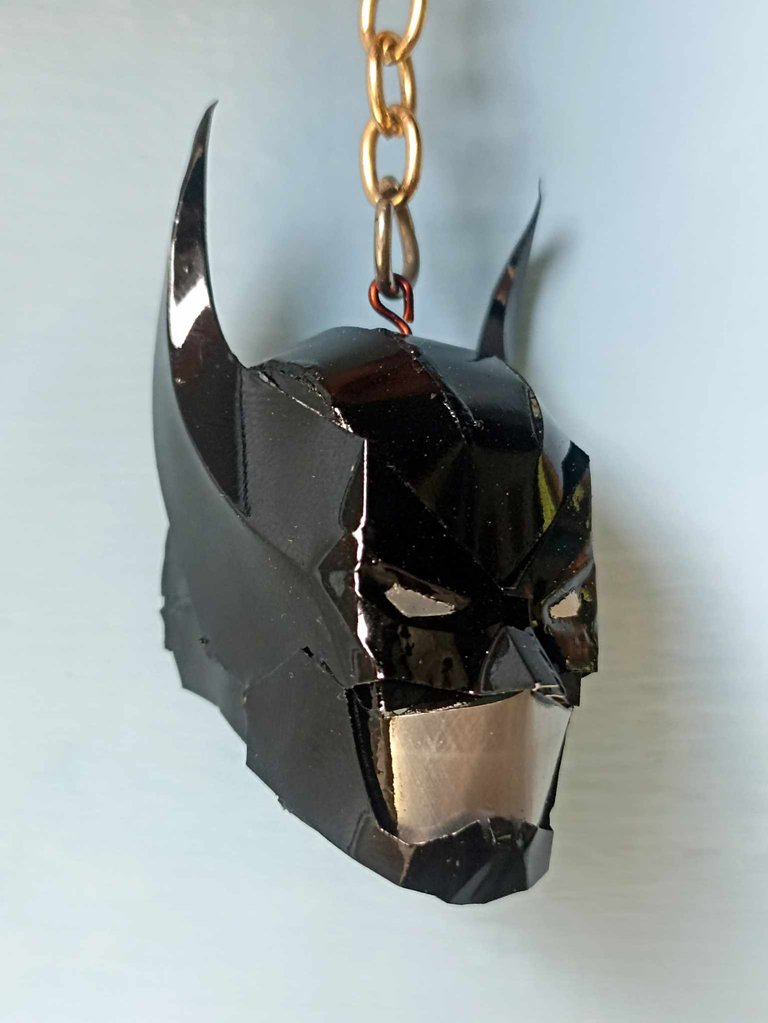
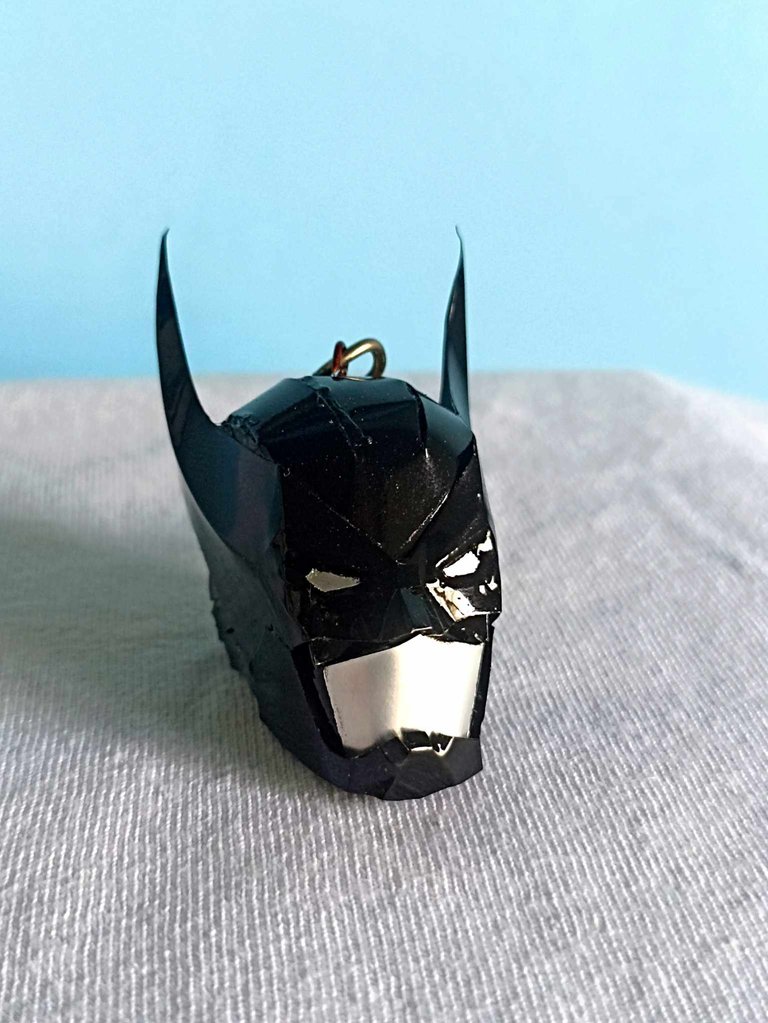
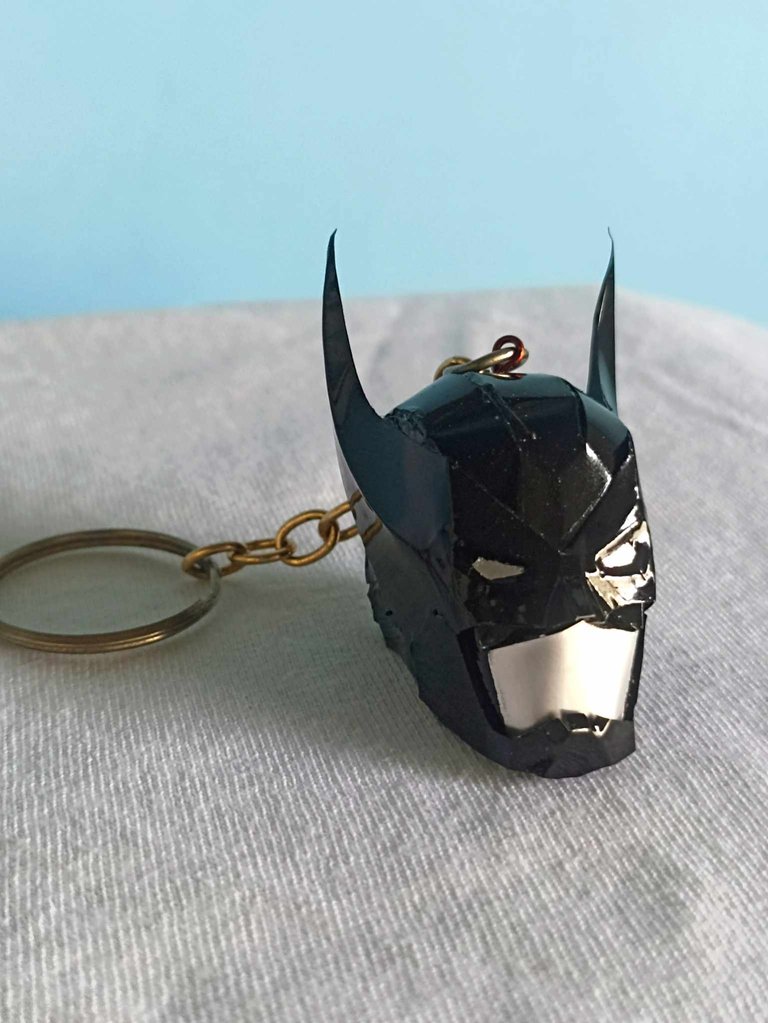
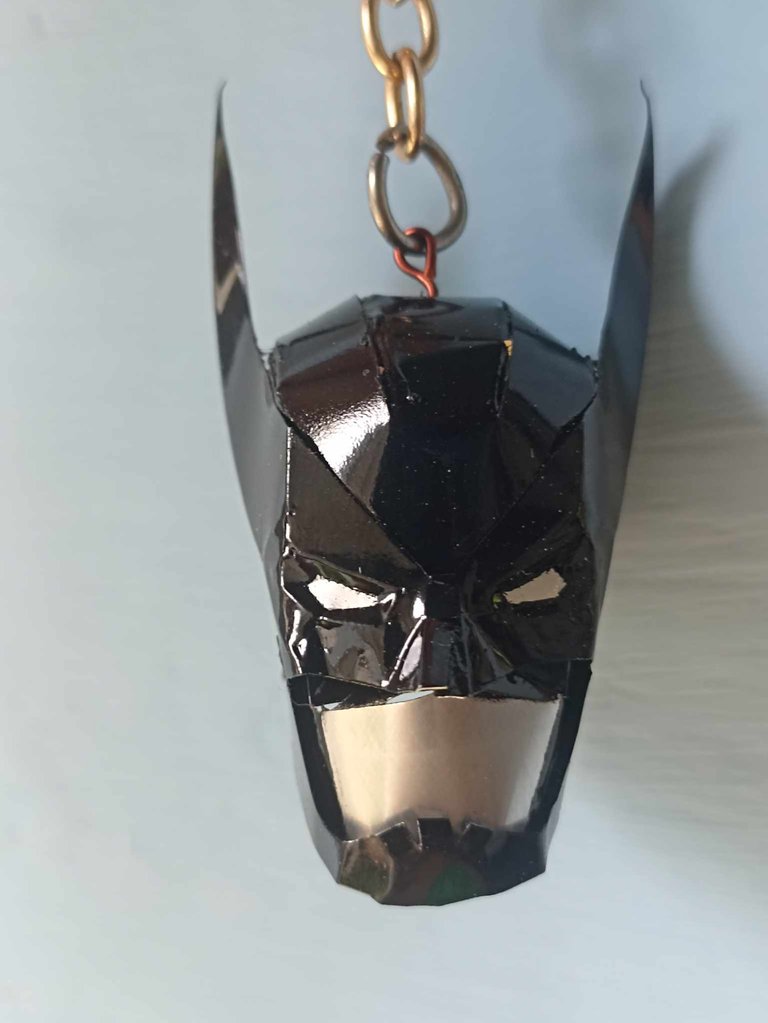
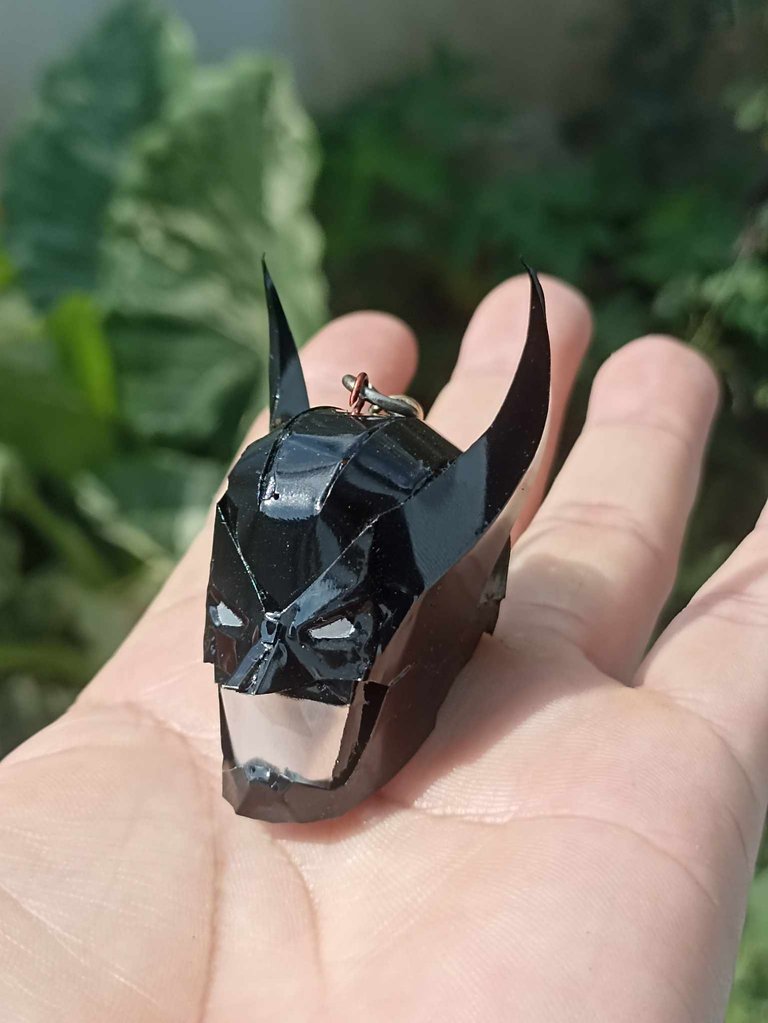
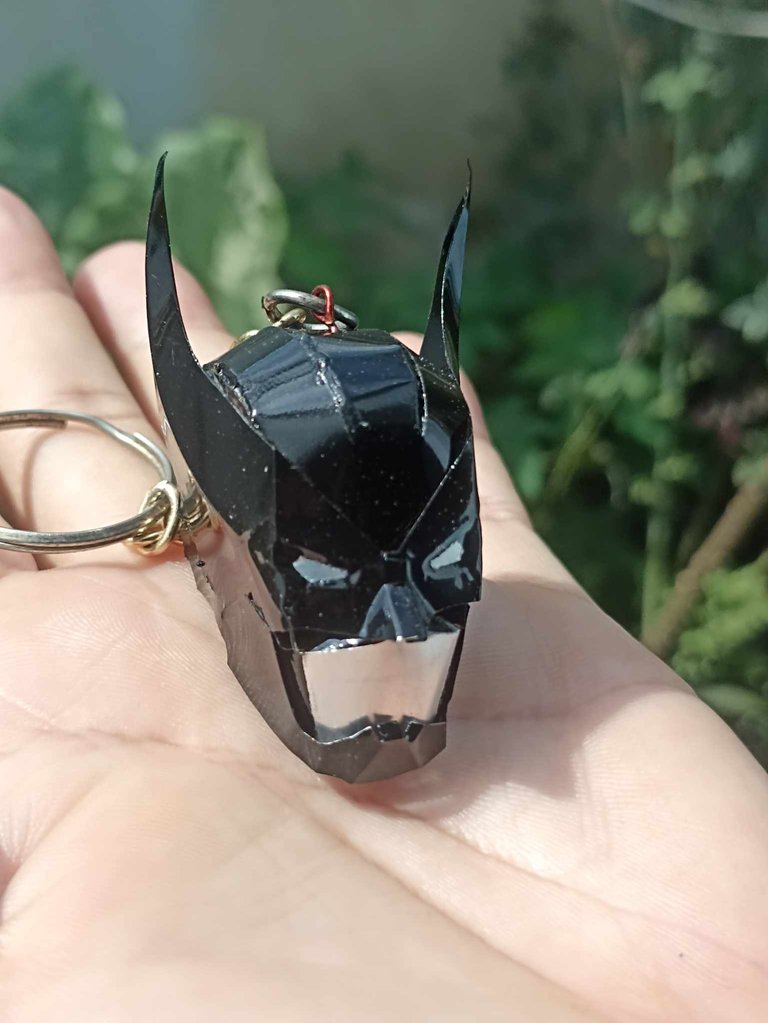
What did you think of the final result of this keychain? Do you think something was missing? I would have liked it to be more robotic, but I had no idea what other detail I could add. Would you like to see a complete scale Batman armor? I think it is a project that I should do, it would be a great challenge for me. I hope you liked it, don't forget to comment on your opinions, they are very important to me, I say goodbye until a new opportunity!
Que les ha parecido el resultado final de este llavero? Piensan que le faltó algo? Me hubiera gustado que quedara más robótico, pero no tenía idea de qué otro detalle podría agregar. Les gustaría ver una armadura completa de Batman a escala? creo que es un proyecto que debería realizar, sería un gran reto para mi. Espero que les haya gustado, no olviden comentar sus apreciaciones, para mi son muy importantes, me despido hasta una nueva oportunidad!
very good skills! i would try to smooth out the paint and metal rough edges, using a Dremel and a polishing bit and see the results
It is a good option to use a dremel, thanks for that advice! I'll try it next time.
Que buena habilidad tienes para hacer estás cosas amigo requiere mucha paciencia y tranquilidad excelente trabajo
Muchas gracias, hay que dedicarle tiempo y mucha concentración!
¡Hermoso trabajo Robert! Muy minucioso y detallado, te quedó genial. Me gustan estos pequeños proyectos pero llenos de detalles, se nota que lo haces con mucha paciencia y dedicación. Y por supuesto que sería genial ver al Batman todo completo, solo armate de mucha paciencia pero seguro que te va a quedar buenísimo jaja. ¡Saludos!
Una armadura como esta tengo pensado, poco a poco iré dibujando las partes hasta tener el modelo completo. Jejejej como puedes ver tendría muchísimos detalles, pero así es como me gustan.
Espectacular amigo @fixie. Wowwwww me encanta...
!DIY
Gracias querida amiga.. Pronto haré la figura completa
You can query your personal balance by
!DIYSTATSSaludos, muy buen trabajo, lo felicito.
Muchas gracias, buen día!
https://twitter.com/hivediy47901/status/1770641900283810167
¡¡¡Buen trabajo!!! Gracias por publicar tu excelente contenido en Hive Diy, asombroso y sensacional llavero nos has compartido querido Fixie, sin duda alguna es un trabajo muy admirable como la mayoría de las que nos compartes, mis felicitaciones por tan gran trabajo.
Tu comunidad artesana ahora es testigo

el gusto siempre es para mi encontrar las puertas abiertas en esta hermosa comunidad para compartir mi trabajo
Me encanta tu trabajo, wow es ... Genial, me encantaría aprender a hacer eso ❤️✨ eres un artista asombroso ❤️✨ felicitaciones 🫶🏼
ghola muchas gracias por esas lindas palabras y apreciar mi arte. ME gusta mucho hacer esta clase de figuras, son todo un desafío. Pronto seguiré haciendo más!