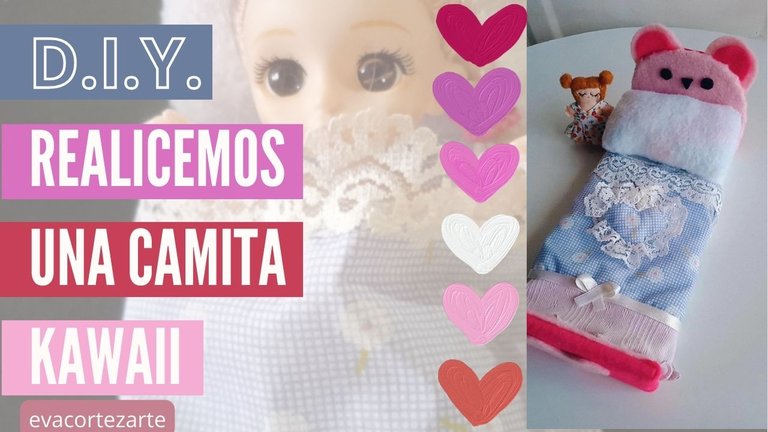
Making a Kawaii style bed // Haciendo una camita de estilo Kawaii [ENG-ESP]
ENGLISH
Hello! Today we are going to create a kawaii style bed. If you take a look at my previous posts, you will find that we already made a dollhouse out of cardboard; well, now it's time to furnish it for our dolls 😊.
We will start by making a little bed for the dolls' room. The materials are as follows:
- Cardboard from boxes. Some pieces.
- Pink, fuchsia and white felt (or the colors of your choice).
- Cold silicone glue.
- Scissors.
- Piece of fabric and lace for the sheet.
- Fabric scraps to stuff the pillow.
- Thread and needle.
Procedure:
- Recommend you to take the measurement of your doll, lengthwise and widthwise, to determine the size of the bed.
- We will take the cardboard and cut the part corresponding to the head of the bed. It is a square, only the top part has rounded ends.
- Then, we glue the headboard piece on pink felt and cut one centimeter from the edge.
- We make some cuts in the felt to glue them easily all around the edge. We use cold silicone to glue.
ESPAÑOL
¡Hola! Hoy vamos a crear una camita de estilo kawaii. Si echas un vistazo a mis publicaciones anteriores, encontrarás que ya hicimos una casita de muñecas en cartón; pues bien, ahora corresponde amoblarla para que la habiten nuestras muñecas 😊
Empezaremos por hacer una camita para la habitación de las muñecas. Los materiales son los siguientes:
- Cartón de cajas. Algunos pedazos.
- Fieltro de color rosa, fucsia y blanco (o los colores de tu preferencia).
- Pega de silicon frío.
- Tijera.
- Retazo de tela y encaje para la sábana.
- Retazos de tela para rellenar la almohada.
- Hilo y aguja.
Procedimiento:
- Te recomiendo tomar la medida de tu muñeca, a lo largo y ancho, para determinar el tamaño de la cama.
- Tomaremos el cartón y cortaremos la parte correspondiente a la cabecera de la cama. Es un cuadrado, sólo que la parte superior tiene las puntas redondeadas.
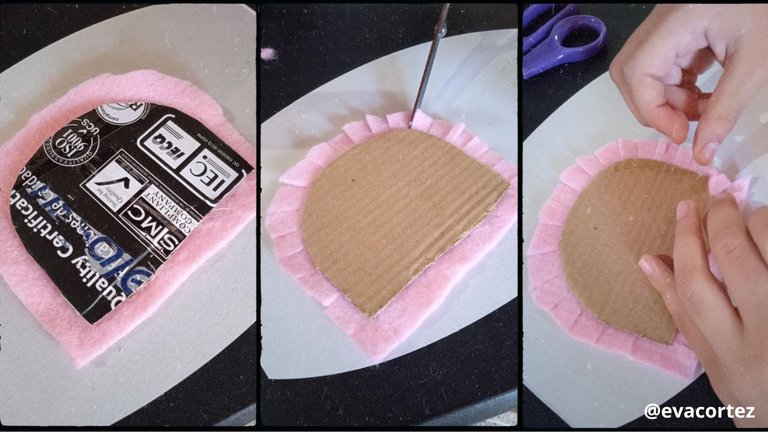
- Luego, pegamos la pieza de la cabecera sobre fieltro rosa y cortamos a un centímetro del borde.
- Hacemos unos cortes en el fieltro para pegarlos con facilidad en todo el borde. Utilizamos el silicón frío para pegar.
ENGLISH
- Glue the felt all around the edge of the headboard.
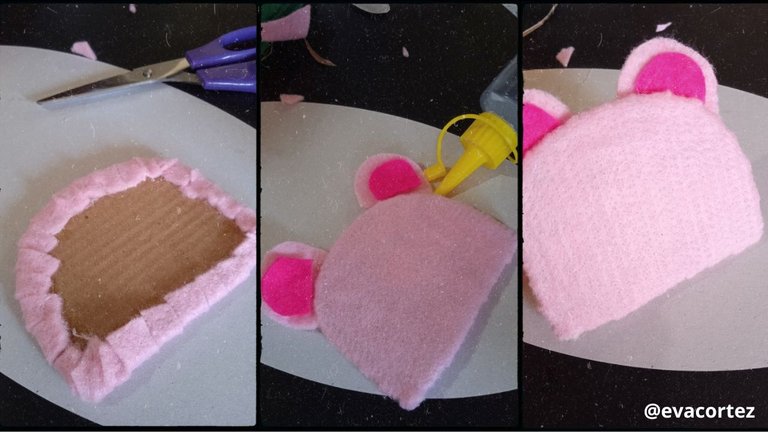
- We are going to add some little ears to the headboard. This little bed will be a kawaii teddy bear 😊 We glue the ears on the top.
- We cover the back of the headboard with felt.
ESPAÑOL
- Pegamos el fieltro por todo el borde de la cabecera de la cama.
- Vamos a agregarle unas orejitas a la cabecera. Esta camita será un osito kawaii 😊 Pegamos las orejas en la parte superior.
- Tapamos la parte de atrás de la cabecera con fieltro.
ENGLISH
- We make the opposite side to the head of the bed.
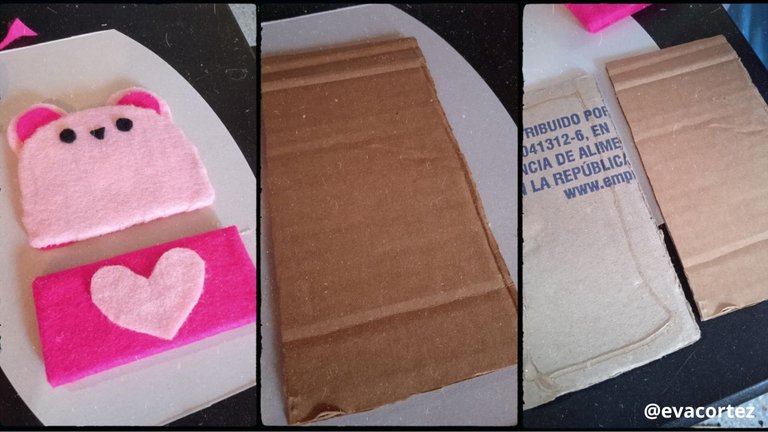
- We use a rectangle of cardboard and line it with felt. We add a heart to decorate it. On the headboard we place eyes and nose.
- Now we are going to make the part of the bed where the doll will lie down. We cut two rectangular pieces of cardboard and glue them together to make this part of the bed thicker.
ESPAÑOL
- Hacemos el lado opuesto a la cabecera de la cama.
- Utilizamos un rectángulo de cartón y lo forramos con fieltro. Le agregamos un corazón para decorar. En la cabecera colocamos ojitos y nariz.
- Ahora vamos a hacer la parte de la cama en donde se acostará la muñequita. Cortamos dos pedazos rectangulares de cartón, los pegamos juntos para hacer más gruesa esta parte de la cama.
ENGLISH
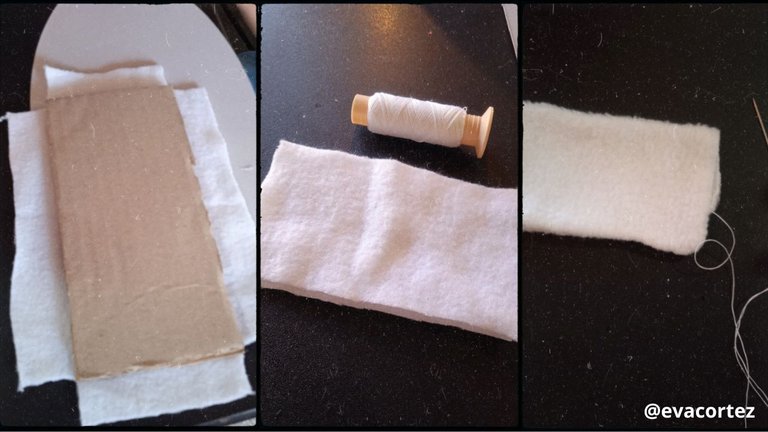
- We are going to line the piece we made in the previous step. We place it on white felt. Cut the felt one centimeter from the edge and glue. Cover the other side with white felt.
- Let's make the pillow. Cut a rectangle of white felt and sew it all around the edge, leaving one side unsewn so we can put the pillow stuffing.
ESPAÑOL
- Vamos a forrar la pieza que realizamos en el paso anterior. La colocamos sobre fieltro de color blanco. Cortamos el fieltro a un centímetro del borde y pegamos. Tapamos el otro lado con fieltro blanco.
- Hagamos la almohadita. Cortamos un rectángulo de fieltro blanco y lo cosemos por todo el borde, dejamos un lado sin coser para poder meter el relleno de la almohada.
ENGLISH
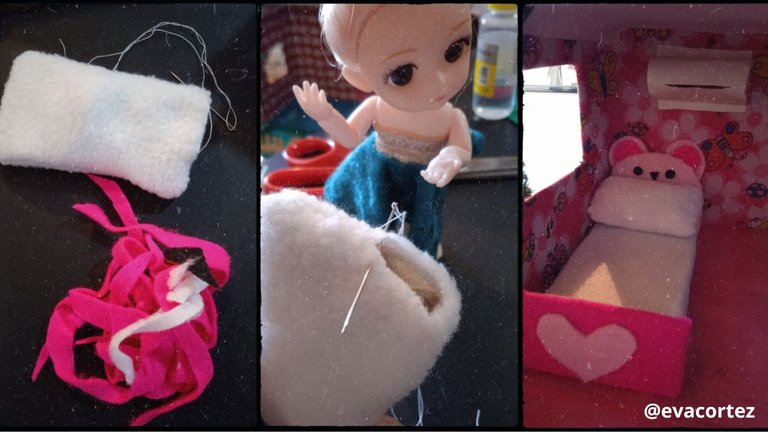
- We stuff the pillow.
- Our doll helps us to close the opening of the pillow 😊.
- Assemble the bed with the previously lined pieces. Glue the headboard and the opposite side to the ends of the rectangle that we lined with white and the bed is almost ready.
ESPAÑOL
- Rellenamos la almohada.
- Nuestra muñequita nos ayuda a cerrar la abertura de la almohada 😊
- Armamos la camita con las piezas previamente forradas. Pegamos la cabecera y la parte opuesta a los extremos del rectángulo que forramos de blanco y ya tenemos casi lista la camita.
ENGLISH
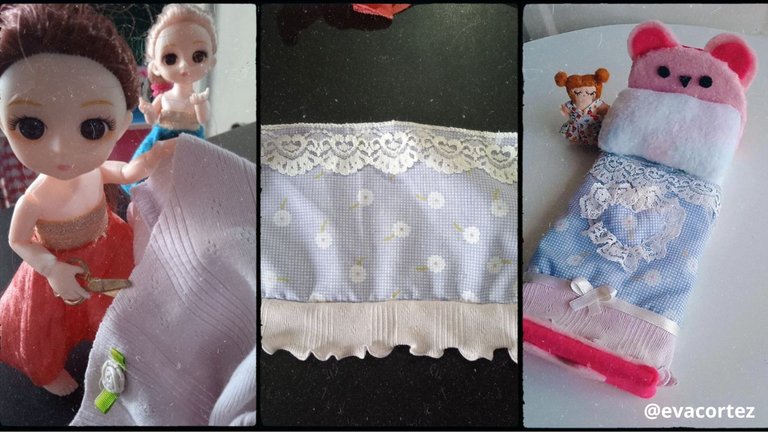
We are going to make a small sheet. We cut a rectangle out of the piece of floral fabric. We sew a small hem around it. We add a lace at the top of the sheet.
We noticed that the sheet is a bit short and decided to add a piece of fabric at the bottom.
ESPAÑOL
Vamos a hacer una sabanita. Cortamos un rectángulo en el retazo de tela de flores. Cosemos un pequeño ruedo alrededor. Le agregamos un encaje en la parte superior de la sábana.
Notamos que está un poco corta la sábana y decidimos agregarle un pedazo de tela en la parte inferior.
ENGLISH
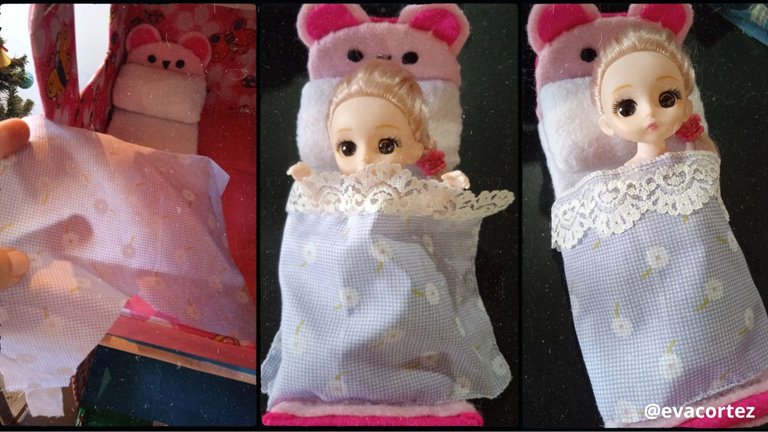
- Let's get to work! We are going to cut a piece of fabric to add to the bottom of the sheet, to make it longer.
- We sew this additional strip of fabric to the edge of the sheet and we have our little bed ready.
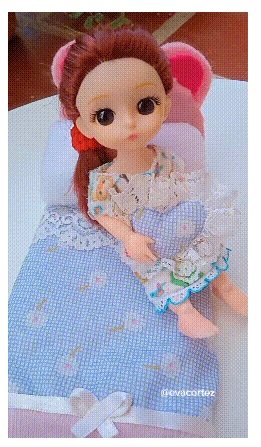
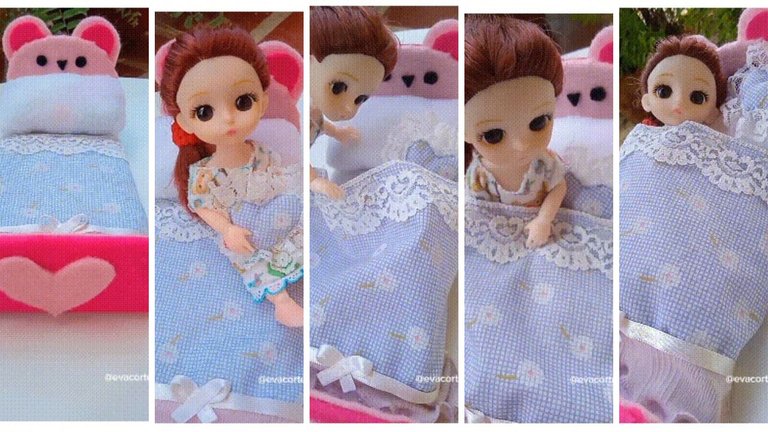
- As you can see, it looks very cute, a kawaii style bed with pillow and sheet, ready for a doll's sleepover!
- Now it's time to use it for the first time 😊
ESPAÑOL
- ¡Manos a la obra! Vamos a cortar un pedazo de tela para agregar en la parte inferior de la sábana, para hacerla más larga.
- Cosemos esta franja de tela adicional al borde de la sábana y ya tenemos lista nuestra camita.
- Como ves, ha quedado muy bonita, una camita al estilo kawaii con su almohada y sabanita. ¡Lista para una pijamada de muñecas!
- ¡Ahora sí! a estrenar la camita 😊

Congratulations @evacortez! You have completed the following achievement on the Hive blockchain And have been rewarded with New badge(s)
Your next target is to reach 200 posts.
You can view your badges on your board and compare yourself to others in the Ranking
If you no longer want to receive notifications, reply to this comment with the word
STOPCheck out our last posts:
Saludos mi bella, un gusto verte por aca, me encanto tu proceso creativo, y sobre todo a manera llena de gracia como presentaste el post.
Ojala me ayudaran a mi tambien asi las muñequitas jajaja
Abrazosss...
!discovery 40
Saludos amiga querida :) siiii estas muñequitas son muy colaboradoras :D tengo que ponerlas a hacer los oficios de la casa también xD
Jajajajajaja 😅😜
This post was shared and voted inside the discord by the curators team of discovery-it
Join our Community and follow our Curation Trail
Discovery-it is also a Witness, vote for us here
Delegate to us for passive income. Check our 80% fee-back Program
¡Felicidades! Esta publicación obtuvo upvote y fue compartido por @la-colmena, un proyecto de Curación Manual para la comunidad hispana de Hive que cuenta con el respaldo de @curie.
Si te gusta el trabajo que hacemos, te invitamos a darle tu voto a este comentario y a votar como testigo por La Colmena.
Si quieres saber más sobre nuestro proyecto, te invitamos a acompañarnos en nuestro servidor de Discord.
Muchas gracias por el apoyo amigos :)