Receta: Hagamos Pan campesino y Pan francés, tutorial completo (tips y secretos para el pan perfecto) || Recipe: Let's Make Peasant Bread and French Bread, complete tutorial (tips and secrets for the perfect bread) ♥🥖

¡Hola Chicos!
Por fin iniciaron las prácticas en los cursos de panadería y repostería y como les mencioné en mi post anterior, esto es algo que me tiene súper emocionada y feliz. ♥
Yo les comenté hace días que les estaría compartiendo en mi blog todas las recetas que preparáramos en cada clase del curso, por supuesto que con los tips para que juntos podamos iniciarnos en este bonito mundo de la cocina, conociendo más de la panadería y repostería.
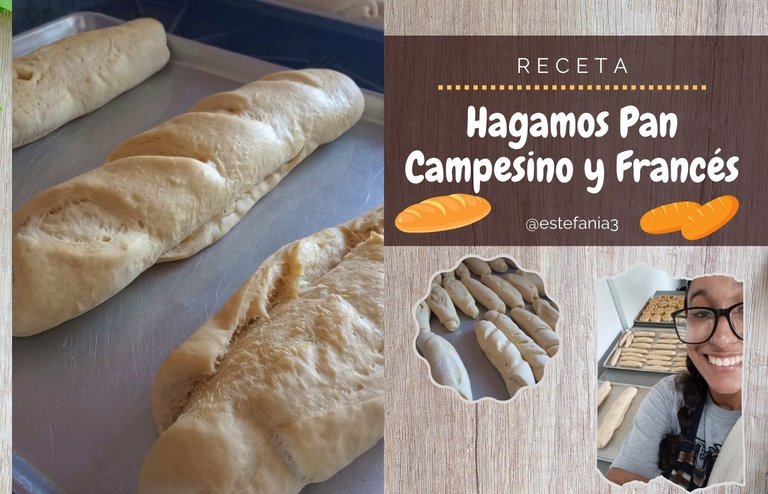
En este caso comenzaré esta serie de publicaciones con mi primera clase práctica del curso de panadería, en la que preparamos 2 tipos de receta, esta vez les compartiré la preparación de los panes campesinos y francés.
Ambos se hacen con la misma receta, lo único que varía es el tamaño. Estos son panes super sabrosos y que la verdad es que son más sencillos de hacer que lo que uno piensa.
Esta clase para mi fue genial porque actualizó muchos conocimientos de los que ya tenía y sobre todo estuvo cargada de técnicas que sin duda, no lo podemos aprender en un video de YouTube.
Así que sin más, les comparto los ingredientes necesarios para esta preparación. ♥
Hello Guys!
Finally started the internship in the bakery and pastry courses and as I mentioned in my previous post, this is something that has me super excited and happy. ♥
I told you days ago that I would be sharing on my blog all the recipes that we prepare in each class of the course, of course with tips so that together we can get started in this beautiful world of cooking, knowing more about baking and pastry.
In this case I will begin this series of publications with my first practical class of the bakery course, in which we prepared 2 types of recipes, this time I will share with you the preparation of peasant and French breads.
Both are made with the same recipe, the only thing that varies is the size. These are super tasty breads and the truth is that they are easier to make than you think.
This class was great for me because it updated a lot of knowledge that I already had and above all it was full of techniques that without a doubt, we can't learn in a YouTube video.
So without further ado, I share with you the ingredients needed for this preparation. ♥

I N G R E D I E N T E S || I N G R E D I E N T S
- 1 kg de harina de trigo todo uso
- 600 gr de agua
- 20 gr de levadura instantánea
- 20 gr de azúcar
- 30 gramos de manteca o margarina
- 20 gr de sal
- 1 kg all-purpose wheat flour
- 600 gr of water
- 20 grams of instant yeast
- 20 grams of sugar
- 30 grams of butter or margarine
- 20 grams of salt

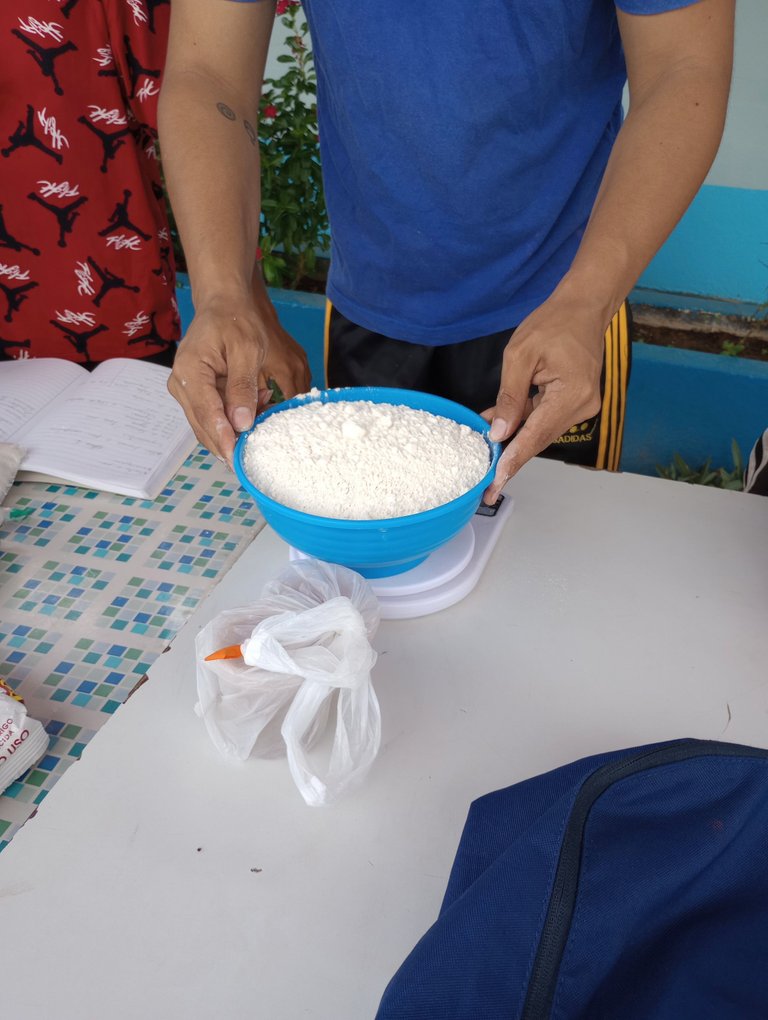
Comenzamos la preparación pesando todos los ingredientes. La harina la debemos cernir con un colador para evitar grumos o impurezas.
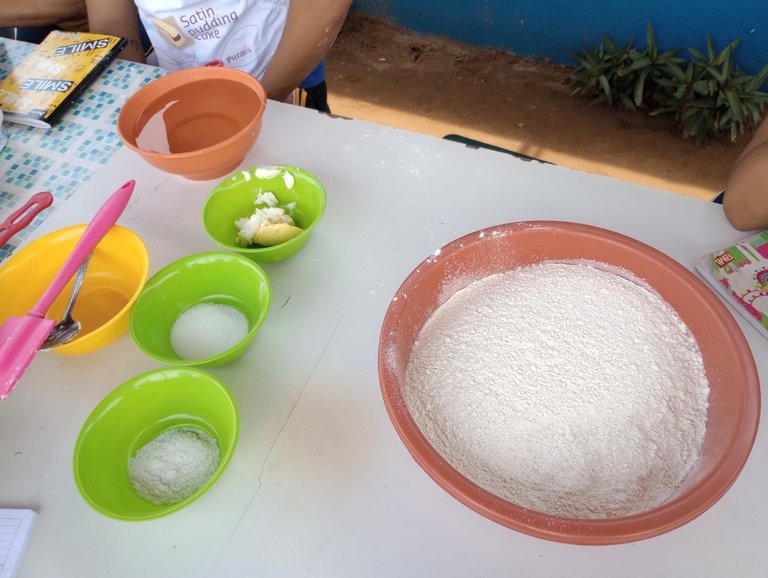
Colocamos todos los ingredientes por separado en tazas.
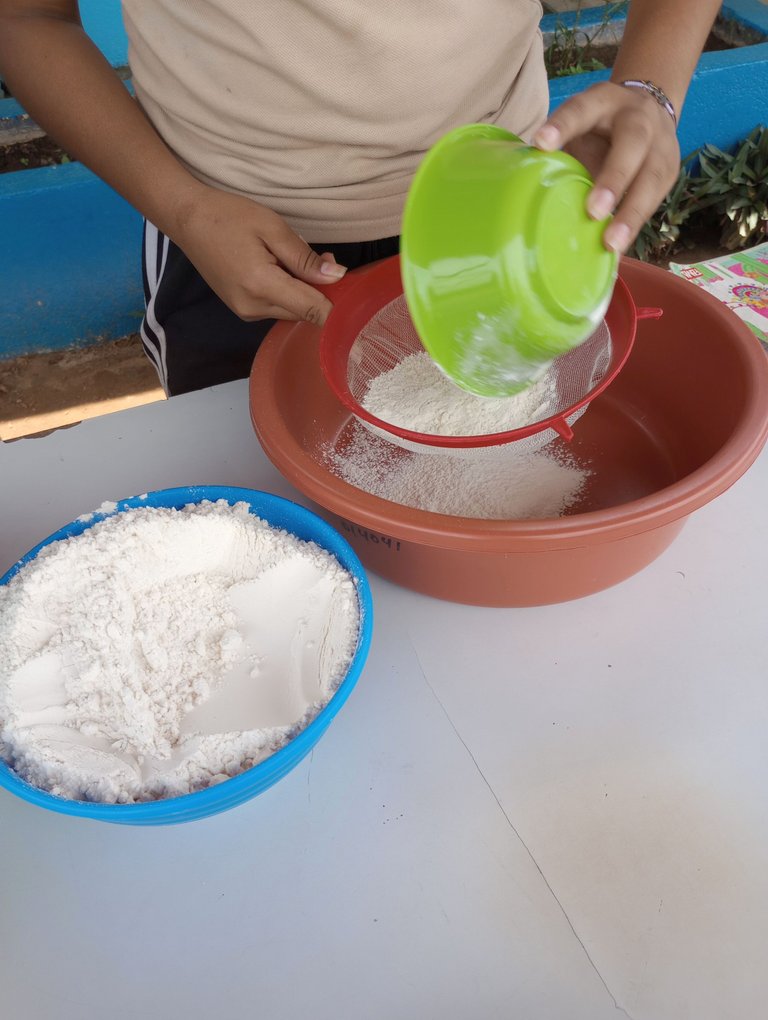
We begin the preparation by weighing all the ingredients. Sift the flour with a sieve to avoid lumps or impurities.
We place all the ingredients separately in cups.

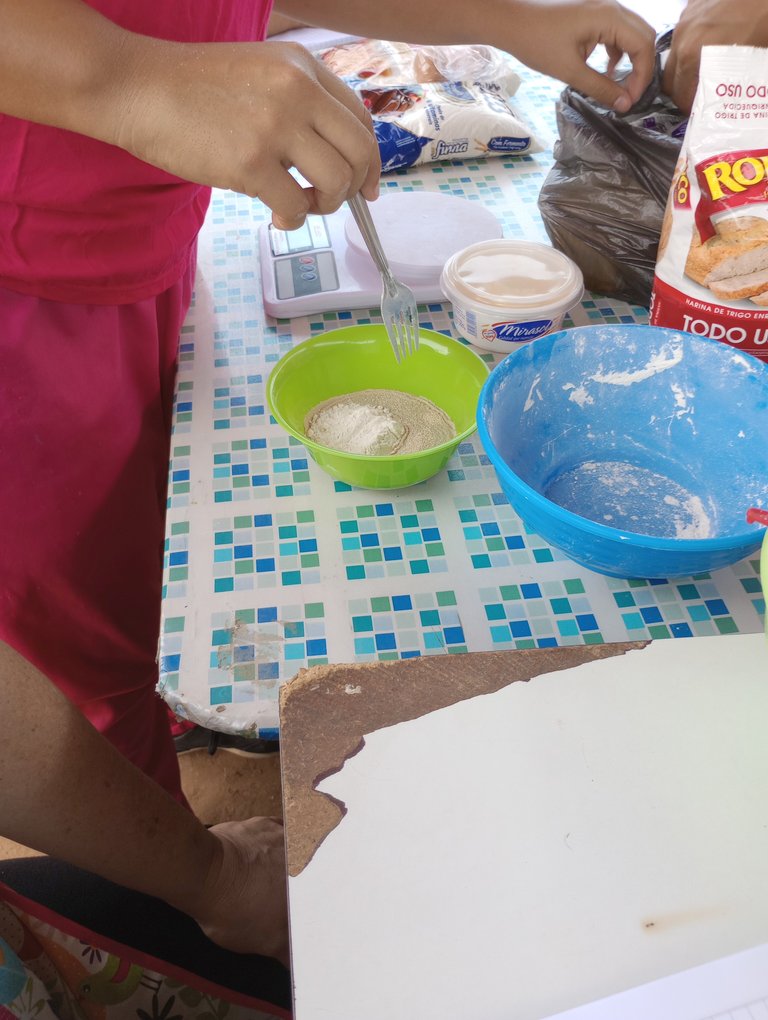
Antes de comenzar a preparar la receta, se debe comprobar que la levadura este en optimas condiciones, para esto vamos a tomar una cucharada de levadura + 3 cucharadas de harina + 1 cucharada de azúcar. Lo dejamos reposar por unos 15 minutos.
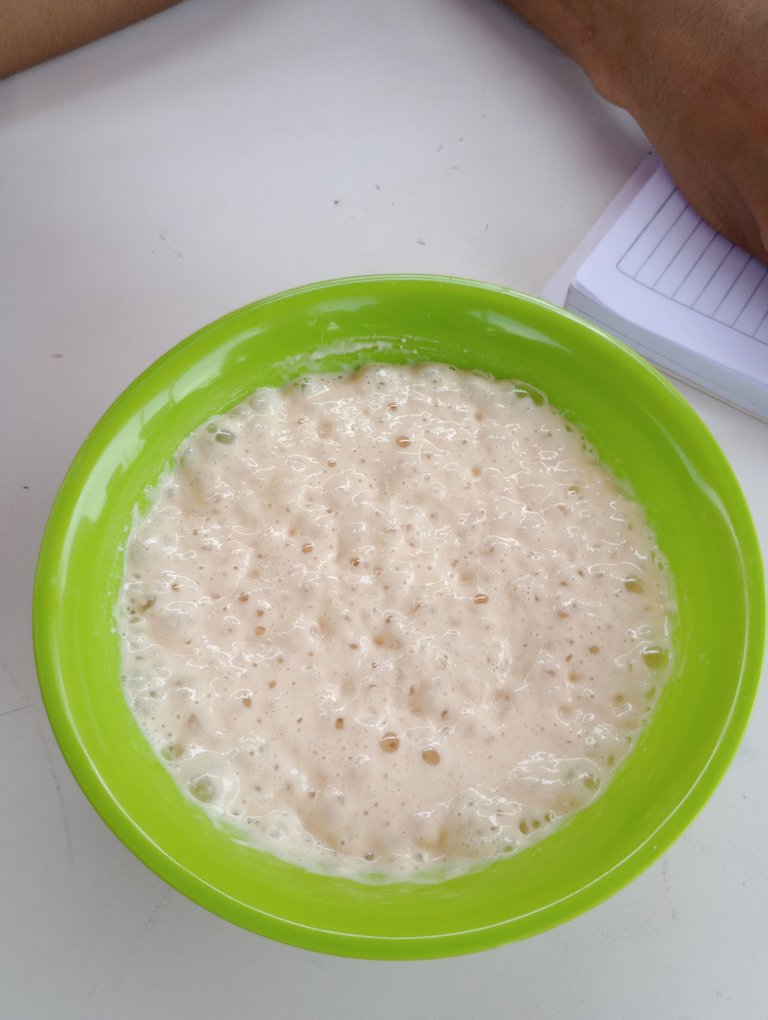
Sabremos que esta bien cuando transcurrido este tiempo vemos que se ha creado esta espuma en la superficie. En caso de que no ocurra, hay que desechar la levadura pues esta mala.
Before starting to prepare the recipe, we must check that the yeast is in optimal conditions, for this we will take a tablespoon of yeast + 3 tablespoons of flour + 1 tablespoon of sugar. We let it rest for about 15 minutes.
We will know that it is well when after this time we see that this foam has been created on the surface. If this does not happen, the yeast must be discarded because it is bad.

Estamos listos para comenzar. Primero hidratamos la levadura en el agua. Esta debe estar a temperatura ambiente y no es necesario dejarla fermentar pues la receta no lo requiere.
Solo disolvemos con nuestras manos para que no quede ningún granito de levadura.
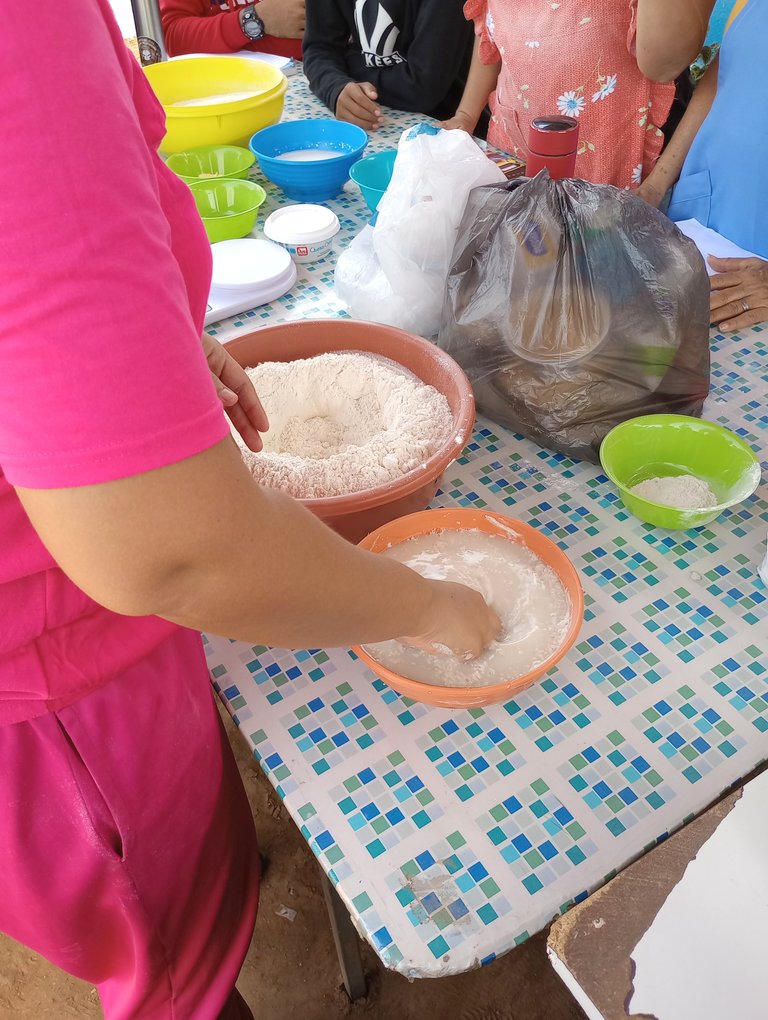
We are ready to begin. First we hydrate the yeast in the water. This should be at room temperature and it is not necessary to let it ferment because the recipe does not require it.
We just dissolve it with our hands so that no yeast grains remain.
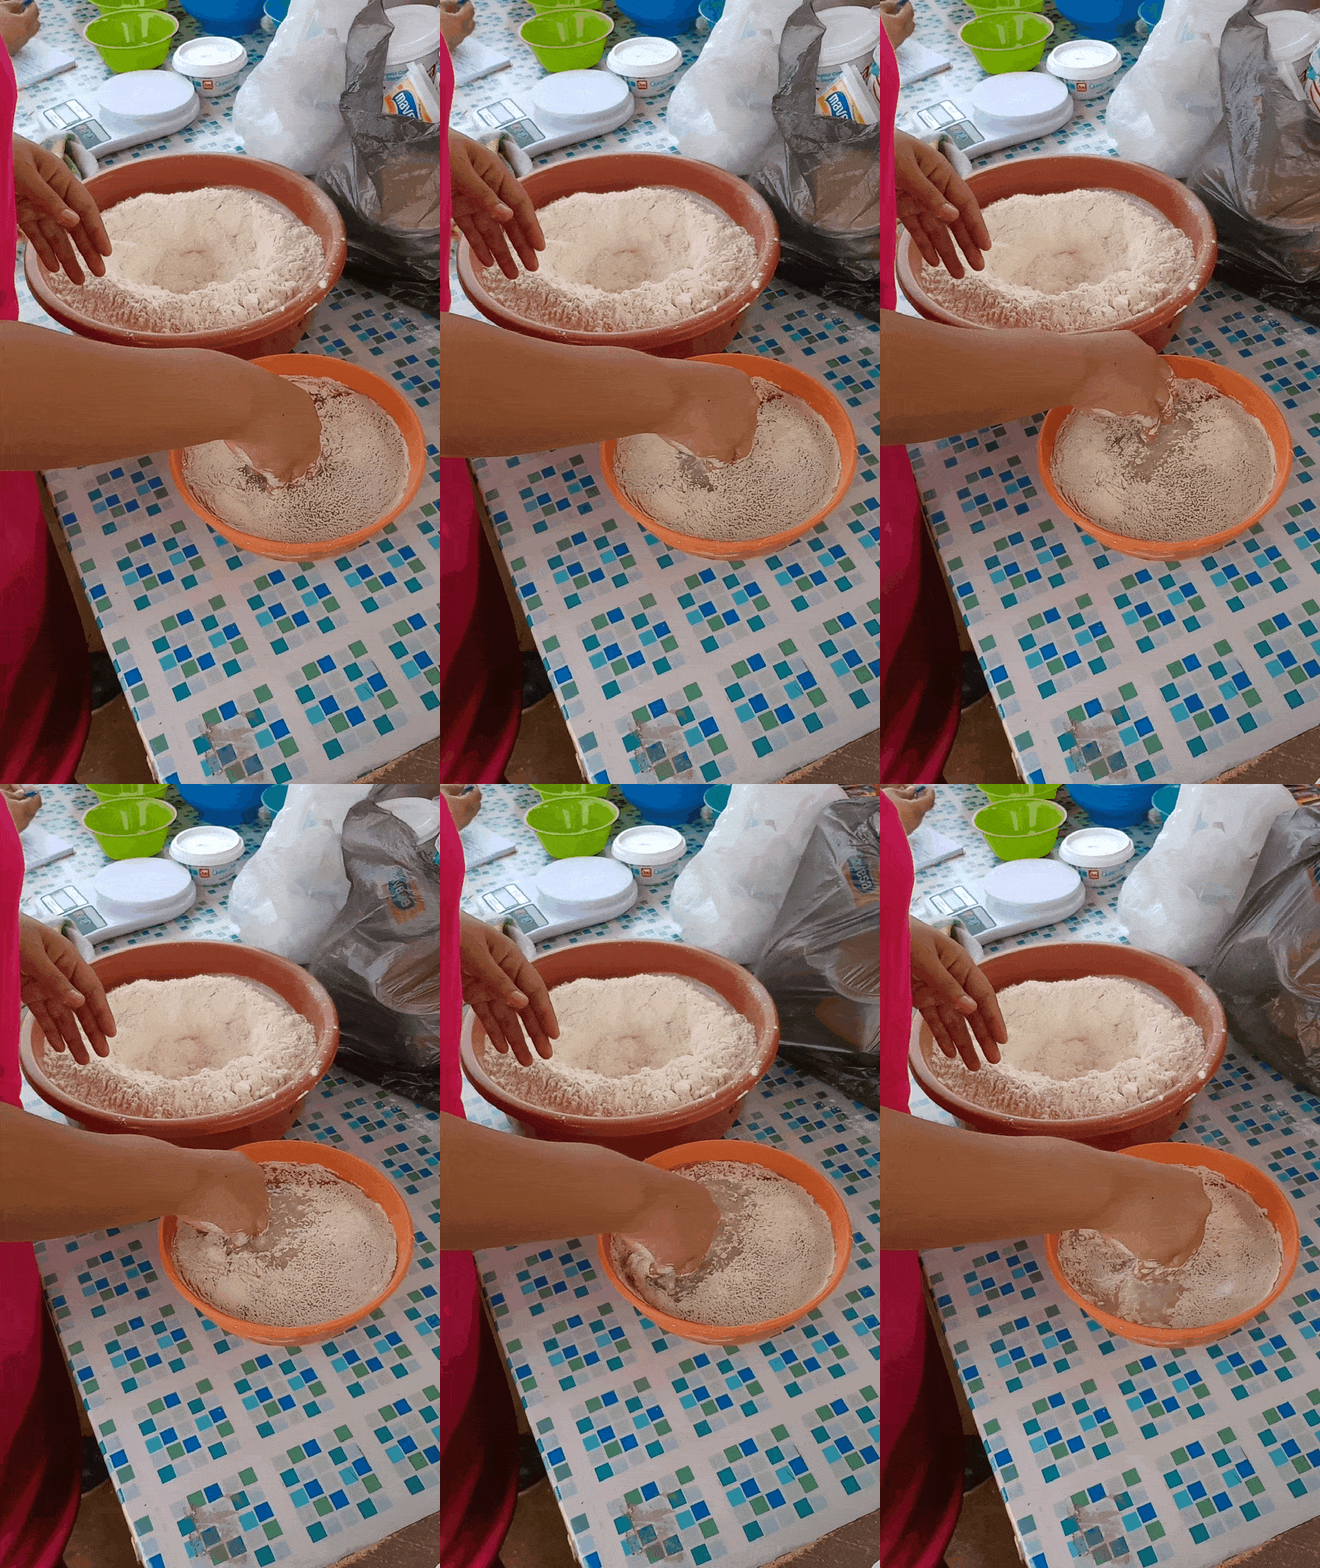

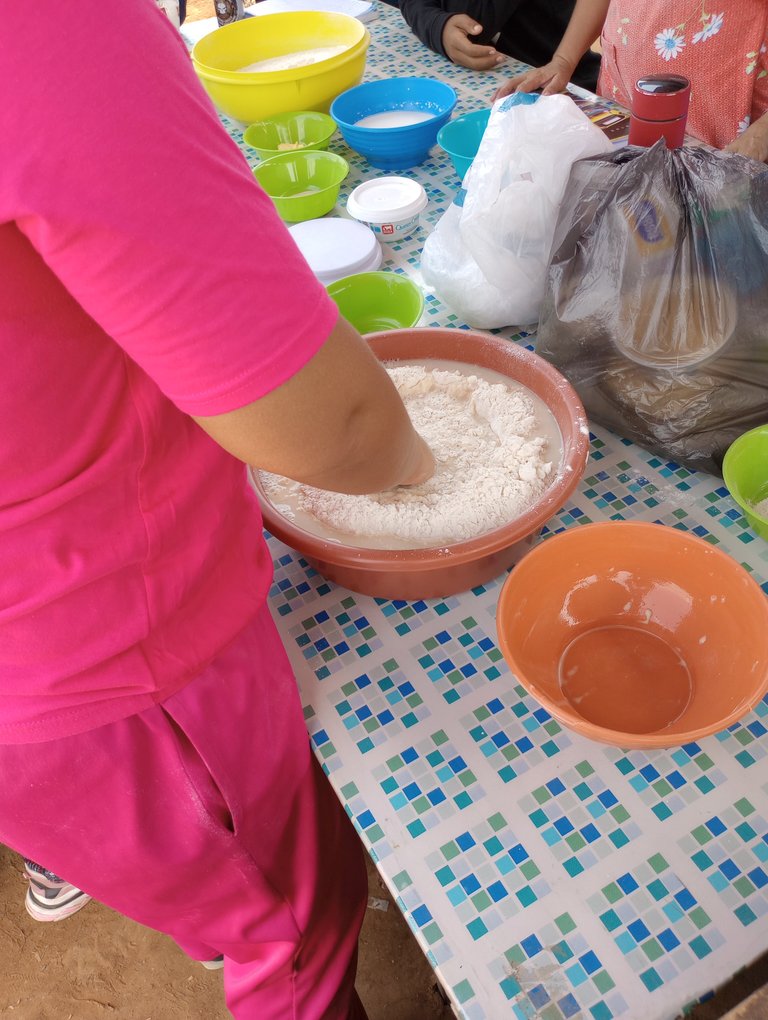
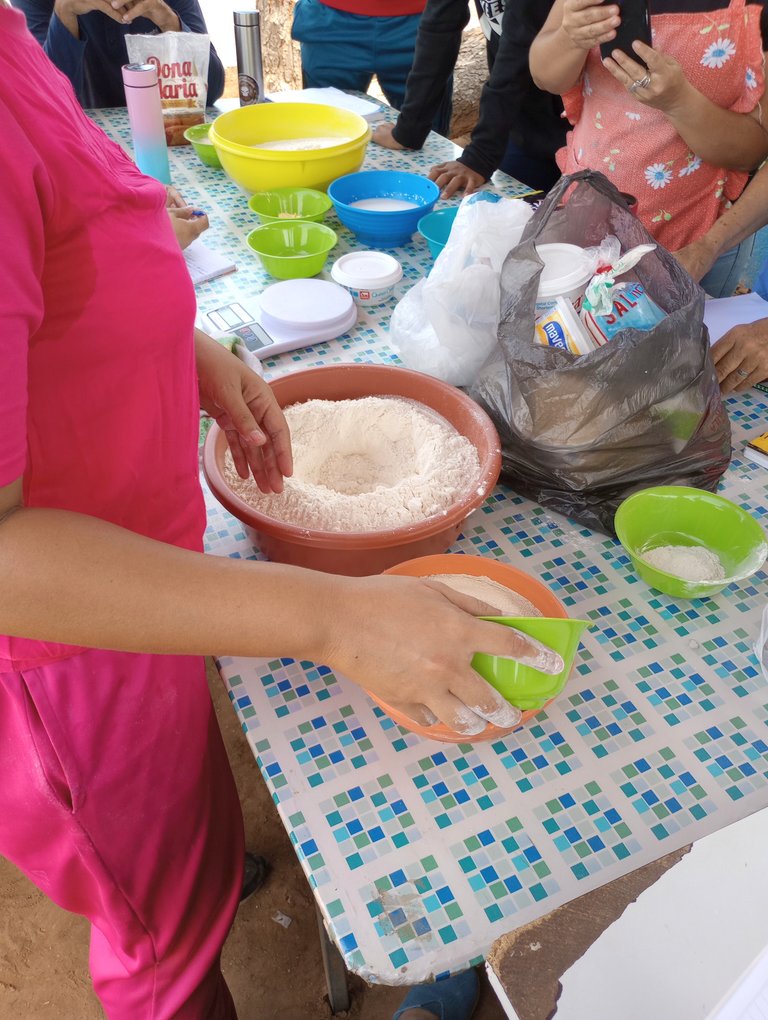
Luego este líquido lo vamos a incorporar a la harina, a la que previamente debimos hacer un hueco en el centro como en forma de volcán.
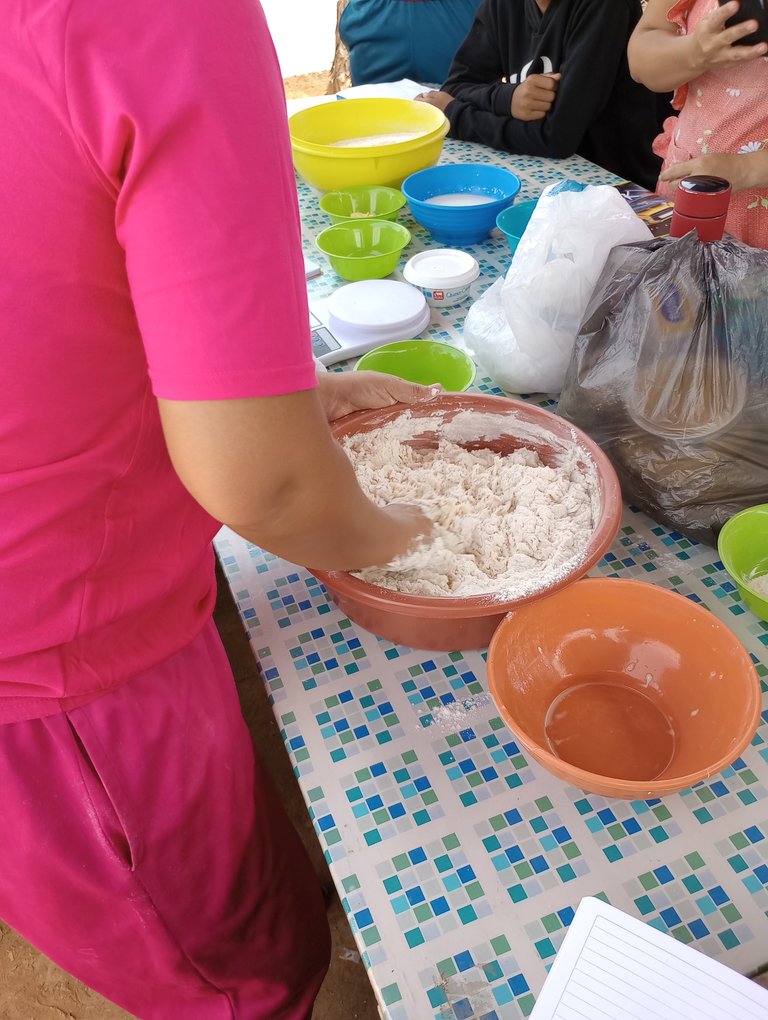
Vamos a ir integrando poco a poco el harina con el líquido,
Then we are going to incorporate this liquid to the flour, to which we previously had to make a hole in the center as in the form of a volcano.
We are going to integrate little by little the flour with the liquid.
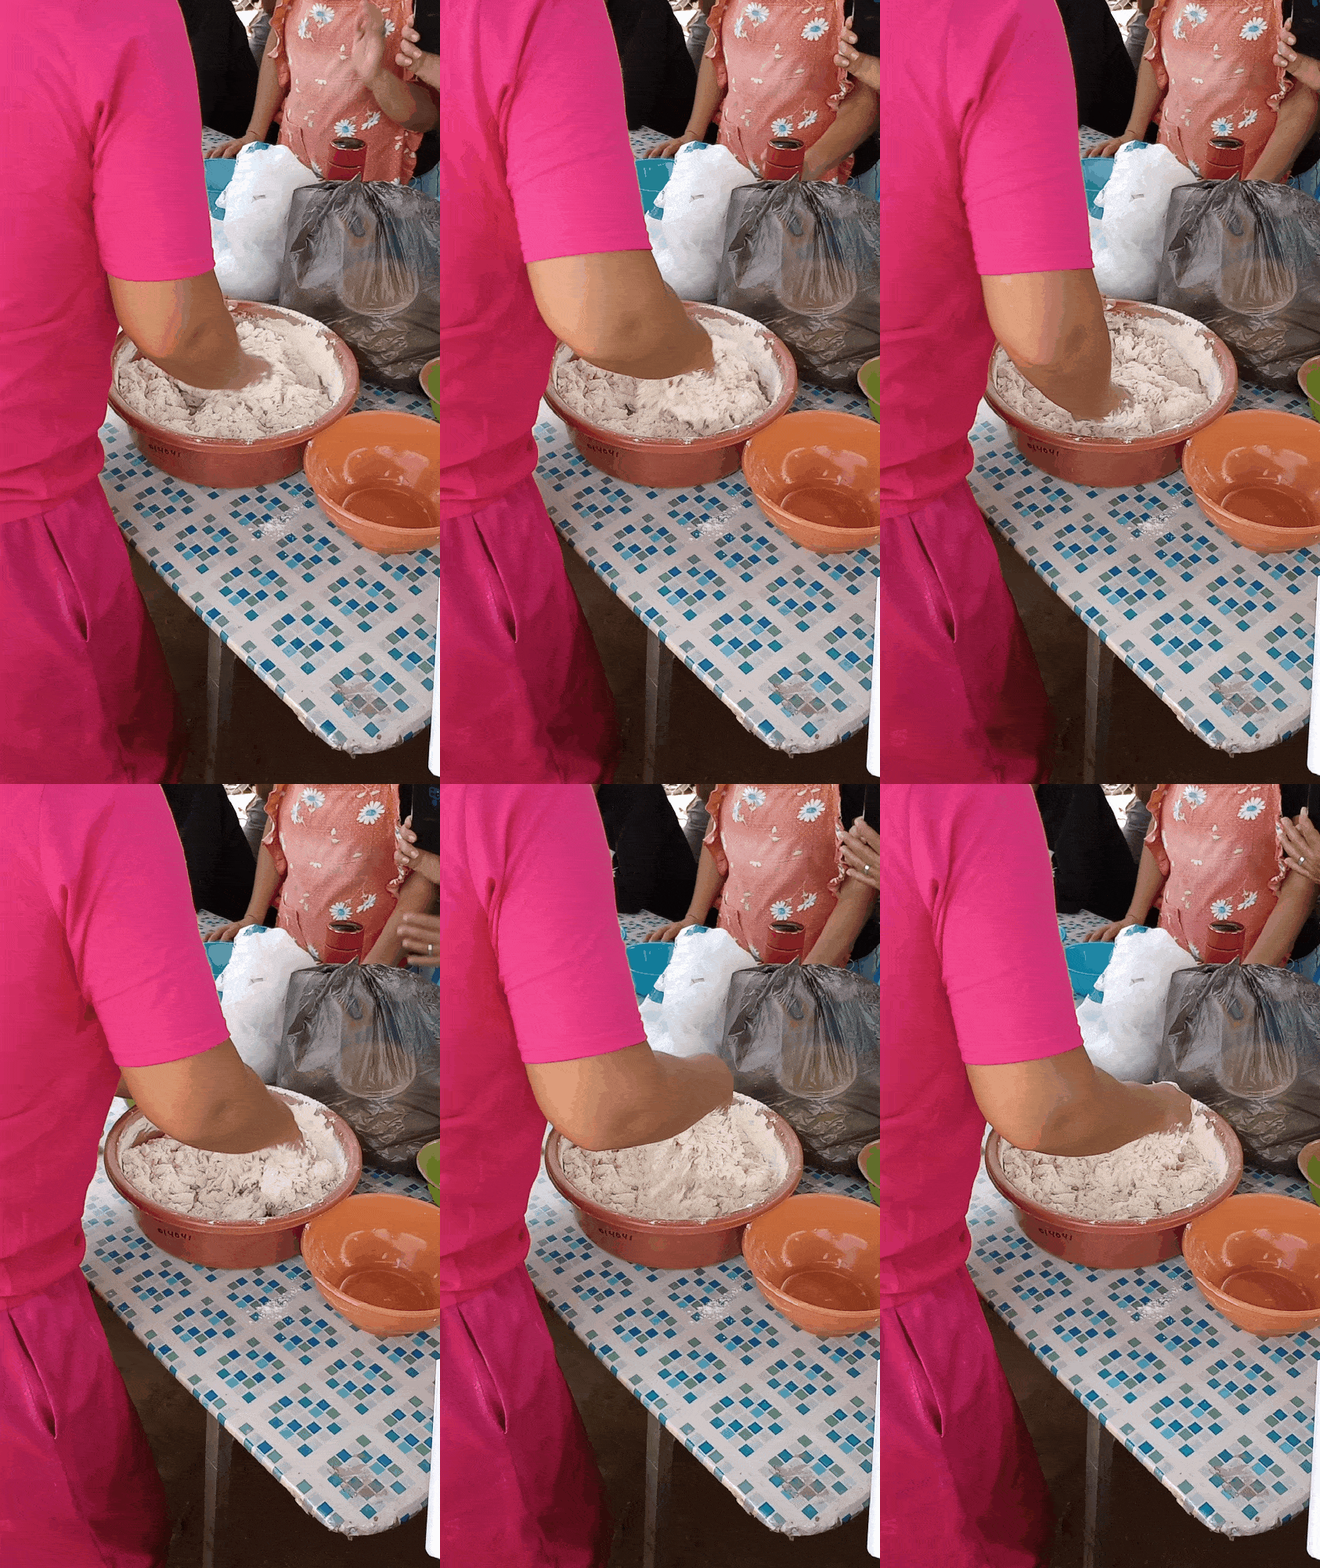

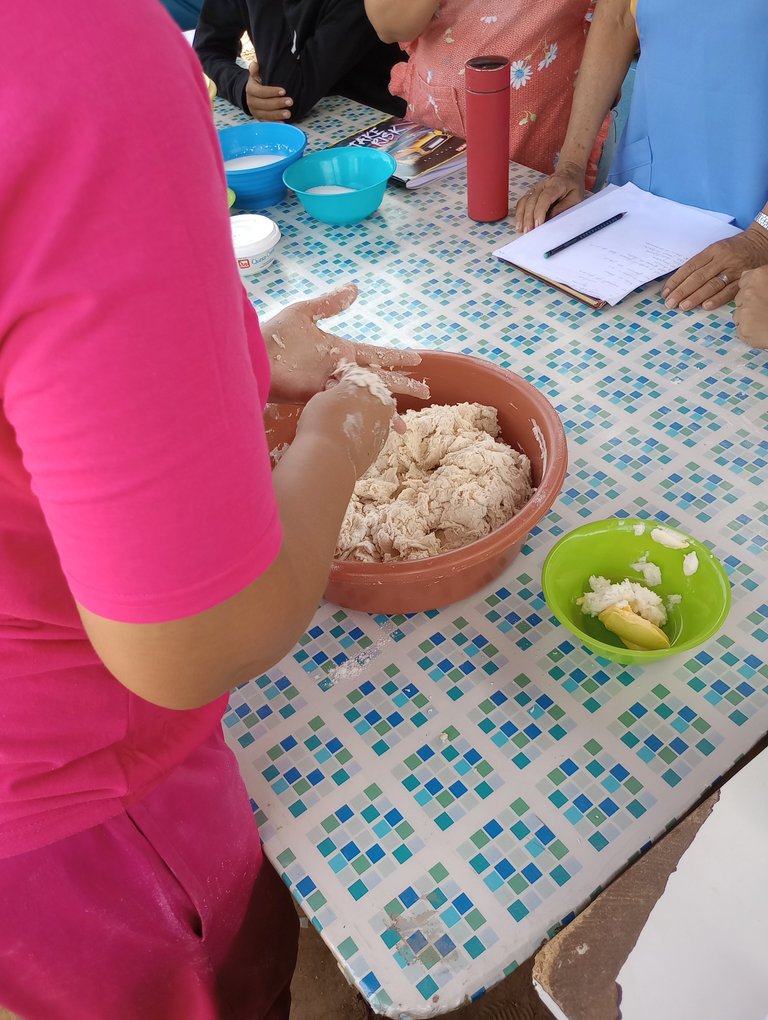
Una vez logremos esto incorporamos la margarina o manteca.
En nuestro caso agregamos 15 gramos de manteca y 15 de margarina.
La profesora nos explicó que la margarina aporta sabor, mientras que la manteca le aporta elasticidad a la masa.
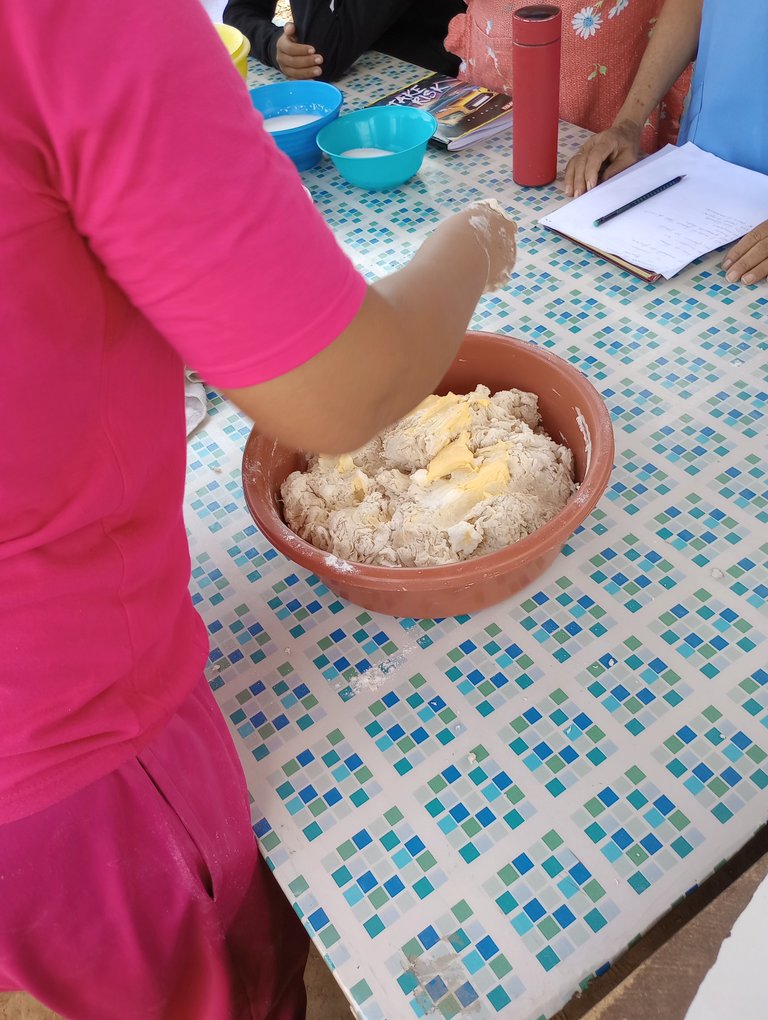
Once we achieve this we incorporate the margarine or butter.
In our case we added 15 grams of butter and 15 grams of margarine.
The teacher explained to us that the margarine adds flavor, while the lard adds elasticity to the dough.
.


Pasamos la masa a la mesa, que debe estar bien limpia, y comenzamos a amasar. Se deben hacer movimientos suaves e ir aplanando siempre con las palmas de las manos. No debemos clavar nuestros dedos a la masa.
La masa se nos irá despegando de las manos y comenzará a tomar suavidad.
Transfer the dough to the table, which should be very clean, and begin to knead. We must make smooth movements and always flatten it with the palms of our hands. We should not stick our fingers into the dough.
The dough will come away from our hands and will begin to take softness.

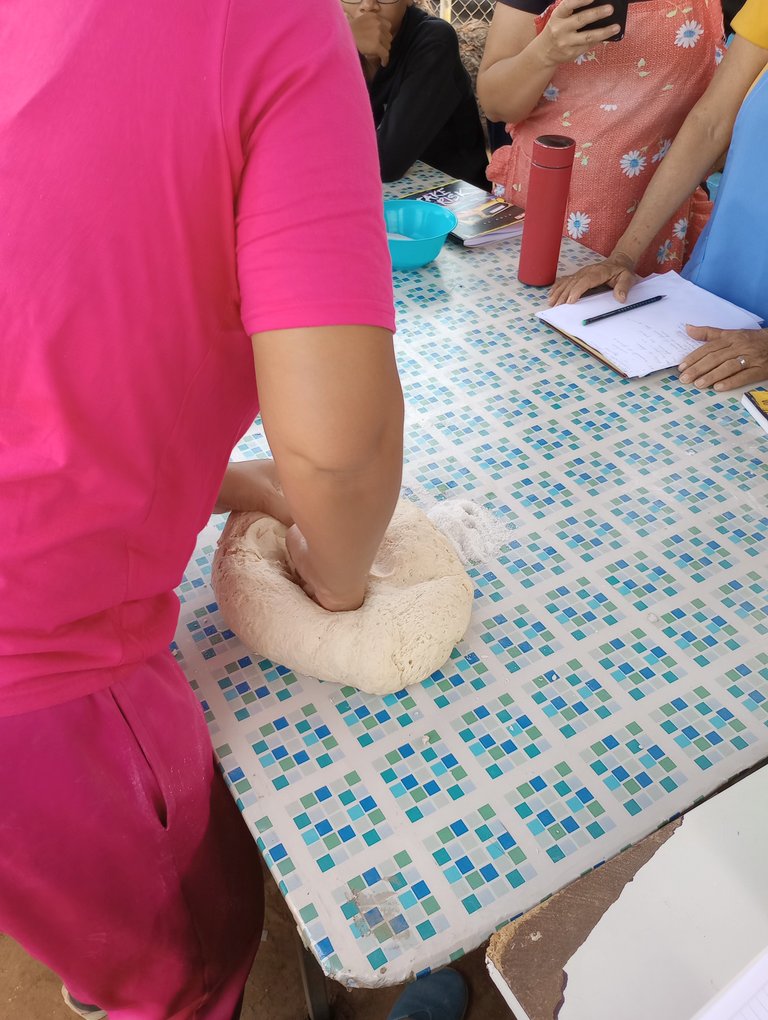
Hasta este punto de la preparación no se le ha agregado la sal, esto es porque se debe hacer justo al lograr una masa casi lista. Se hunde un poco la masa en el centro, se incorpora la sal y continuaremos amasando hasta integrarla por completo. La sal que se use debe ser lo más fina posible para evitar que queden granos de sal en la masa.
Esta también podemos integrarla al inicio de la preparación, cuando hacemos el volcán en la harina debemos colocarla pegadita al envase, pues la sal no debe tener contacto con la levadura porque la neutraliza. Por eso es que en nuestro caso la agregamos al final, así logramos un resultado óptimo.
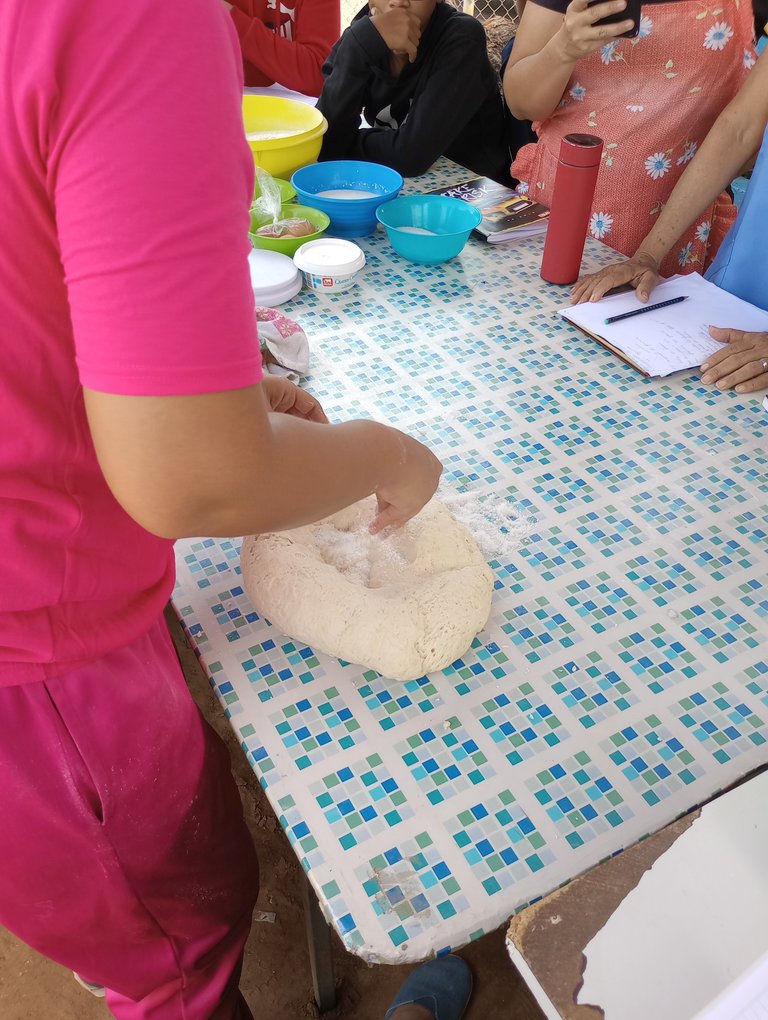
Up to this point of the preparation the salt has not been added, this is because it should be done just when the dough is almost ready. Sink the dough a little in the center, add the salt and continue kneading until it is completely integrated. The salt used should be as fine as possible to avoid salt grains in the dough.
We can also integrate it at the beginning of the preparation, when we make the volcano in the flour we must place it close to the container, because the salt must not have contact with the yeast because it neutralizes it. That is why in our case we add it at the end, so we achieve an optimal result.


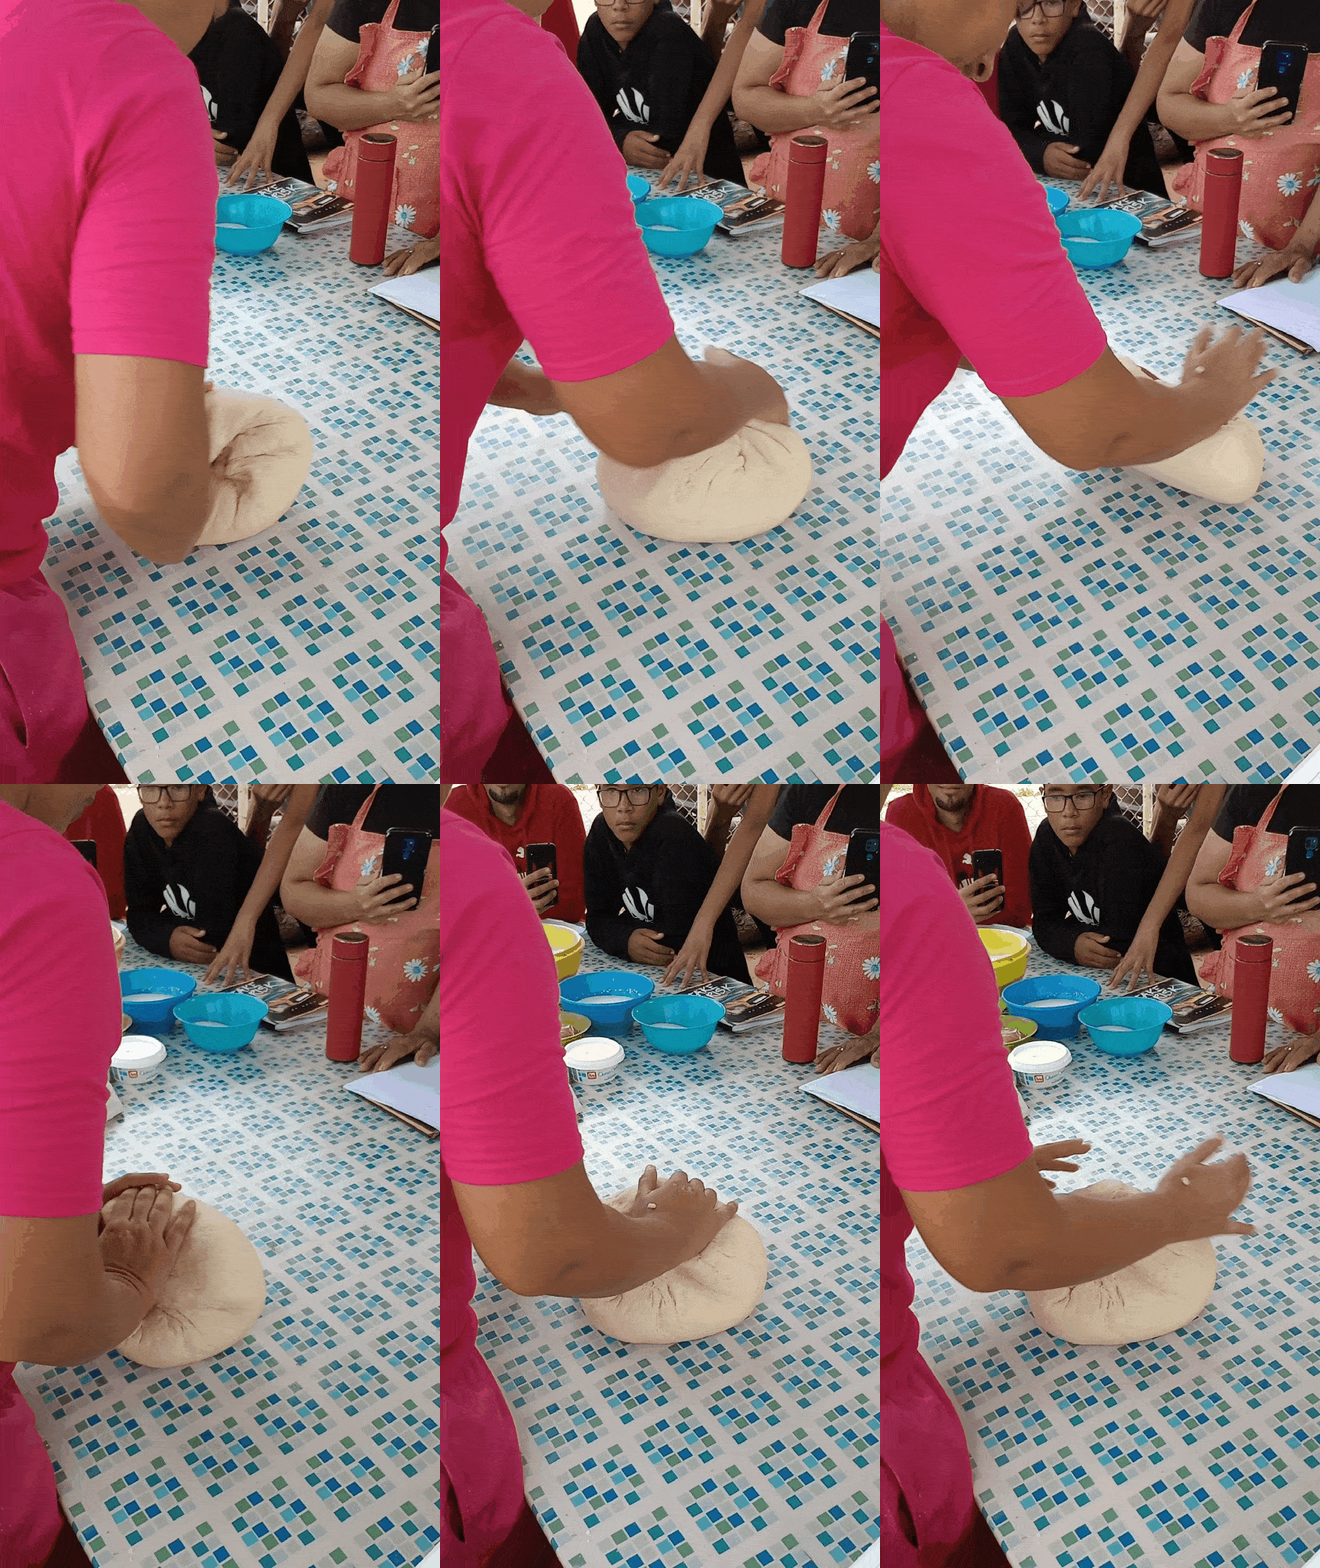
La técnica en el amasado es súper importante pues es lo que nos ayudará a activar el gluten y así lograremos una masa súper suave y elástica.
También nos explicó la técnica de "sobado" que es cuando amasamos en círculos la masa. Para finalizar amasamos de forma envolvente, hacemos una bola y la dejamos entonces reposar bien tapada por 15 minutos.
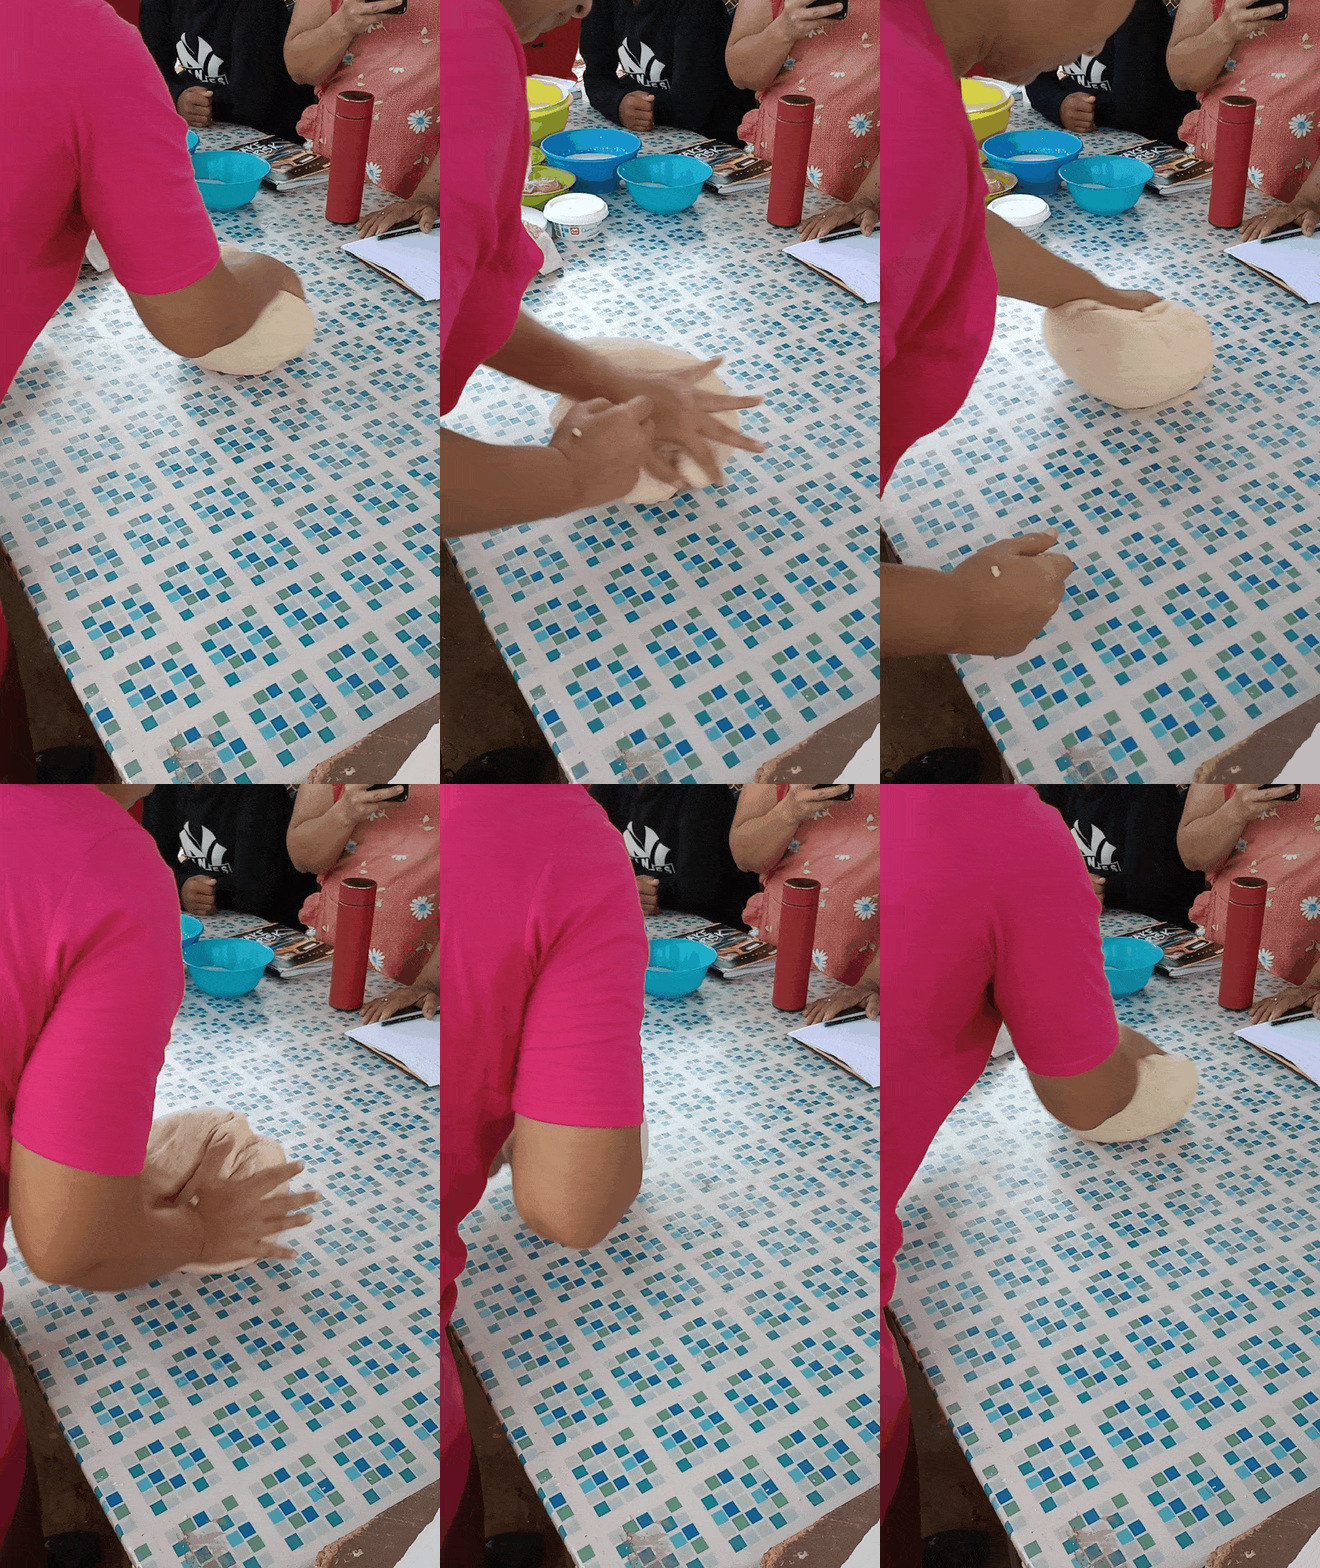
The kneading technique is very important because it is what will help us to activate the gluten and thus achieve a super soft and elastic dough.
She also explained the technique of "sobado" which is when we knead the dough in circles. Finally, we knead the dough in an enveloping way, make a ball and let it rest well covered for 15 minutes.

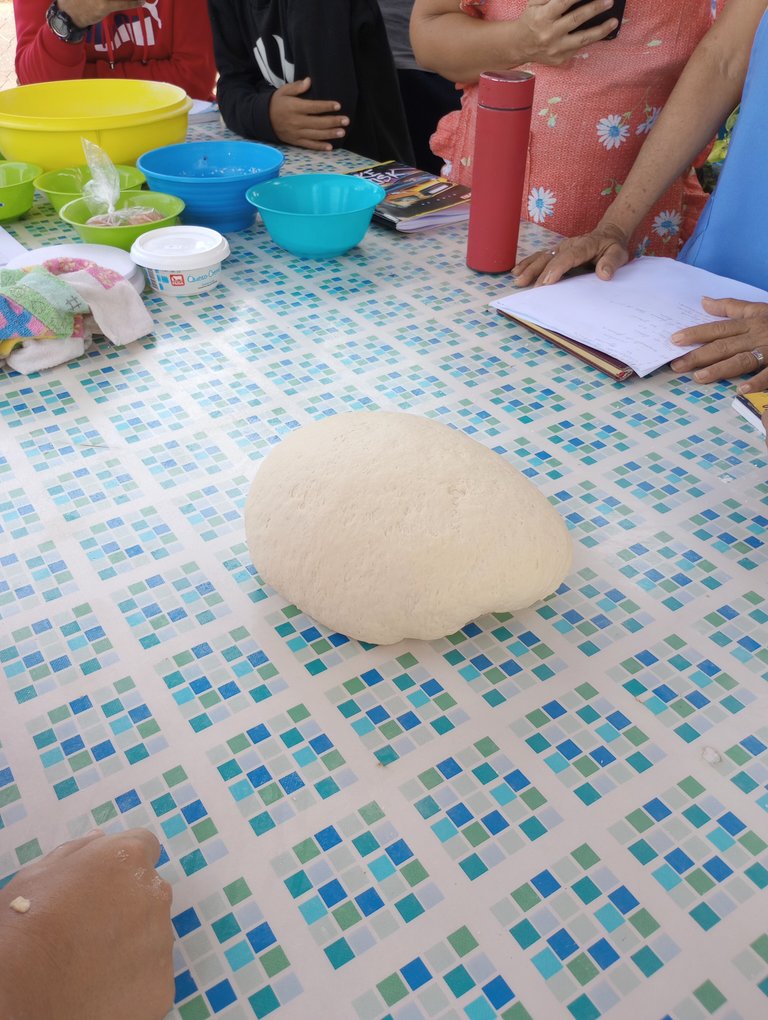
Transcurrido el tiempo la masa aumenta su volumen al doble. Esto ocurre increíblemente rápido y es la suma de todas estas técnicas lo que nos permite obtener estos resultados.
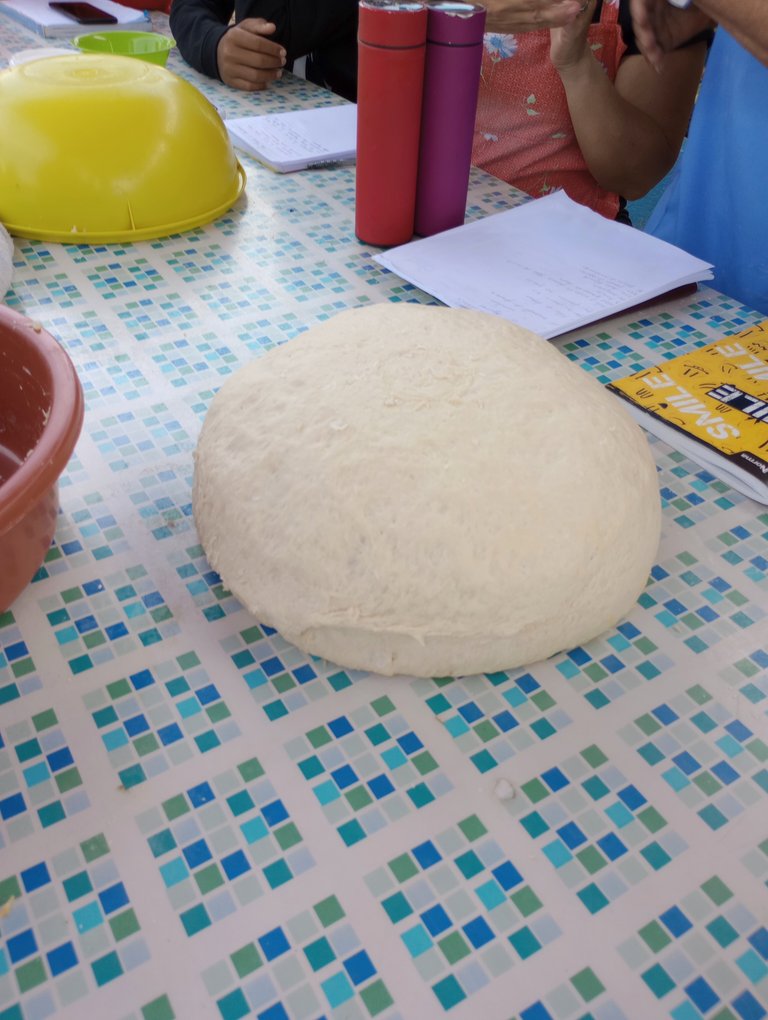
After the time has elapsed, the dough doubles in volume. This happens incredibly fast and it is the sum of all these techniques that allows us to obtain these results.


Luego desgacificamos la masa, sin amasarla, simplemente aplastamos para retirar todo el gas generado y luego es que vamos a porcionarla para darle forma a los panes.
No se debe amasar porque la masa se estresa y en caso que lo hagamos debemos dejarla reposar otros 15 minutos.
Then we deglaze the dough, without kneading it, we simply flatten it to remove all the gas generated and then we are going to portion it to shape the breads.
It should not be kneaded because the dough is stressed and in case we do it, we must let it rest for another 15 minutes.

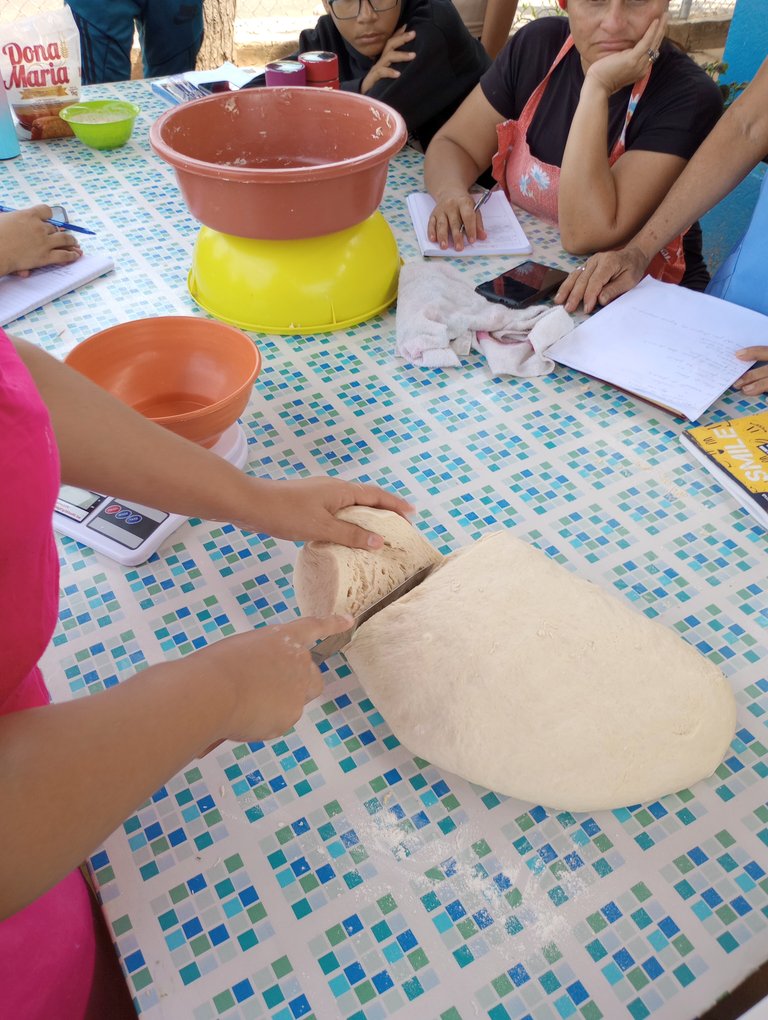
Para que los panes queden del mismo tamaño debemos utilizar la balanza, vamos a ir cortando y pesando cada uno de ellos, hacemos bolitas y las reservamos tapadas para que no se seque la masa.
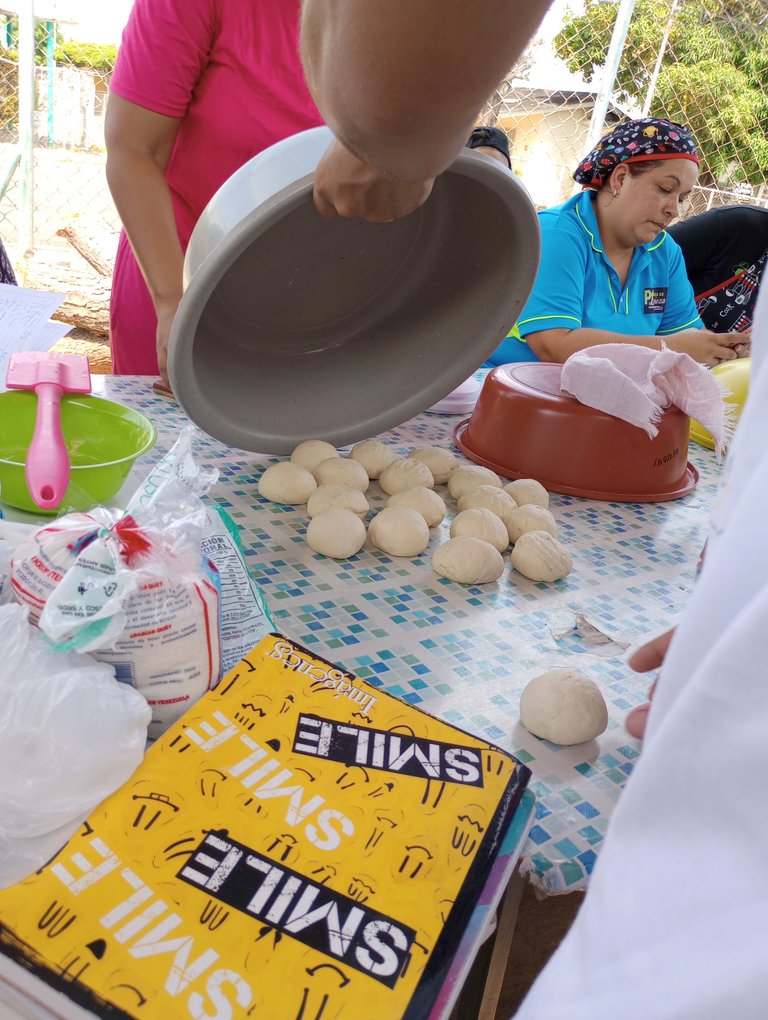
To get the loaves of the same size we must use the scales, we will cut and weigh each one of them, make small balls and keep them covered so that the dough does not dry out.

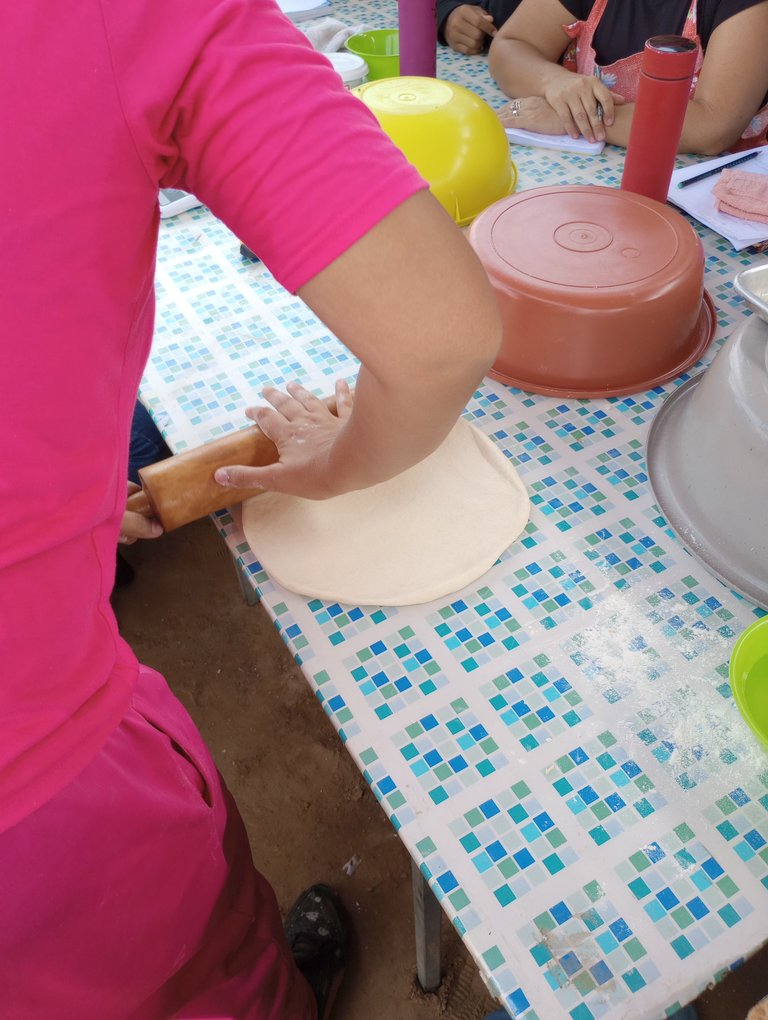
Aplanamos la masa con ayuda de un rodillo y con nuestras manos estiramos hasta lograr una forma rectangular.
Luego uno de los extremos lo vamos a dejar bien finito y aplanamos con nuestros dedos, este será el cierre del pan el cual debemos pincelar con agua para que se adquiera la masa y no se abra el pan.
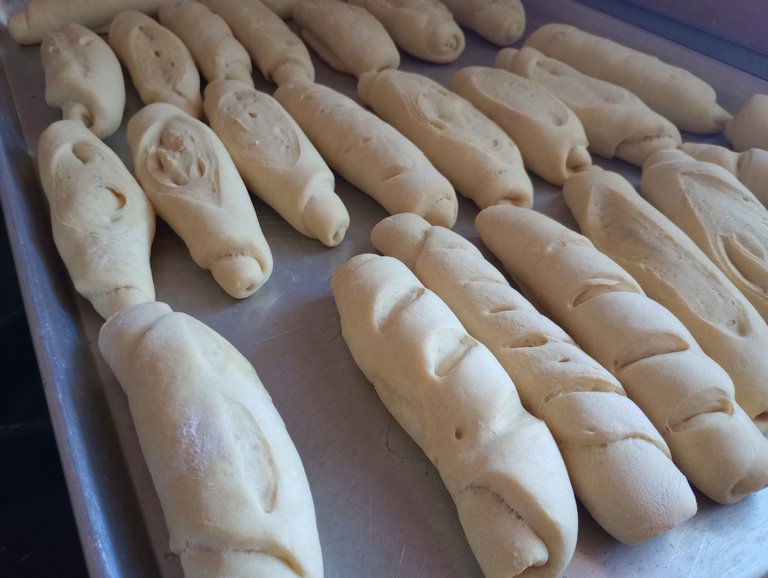
luego enrollamos haciendo presión y finalmente hacemos unos cortes con un bisturí.
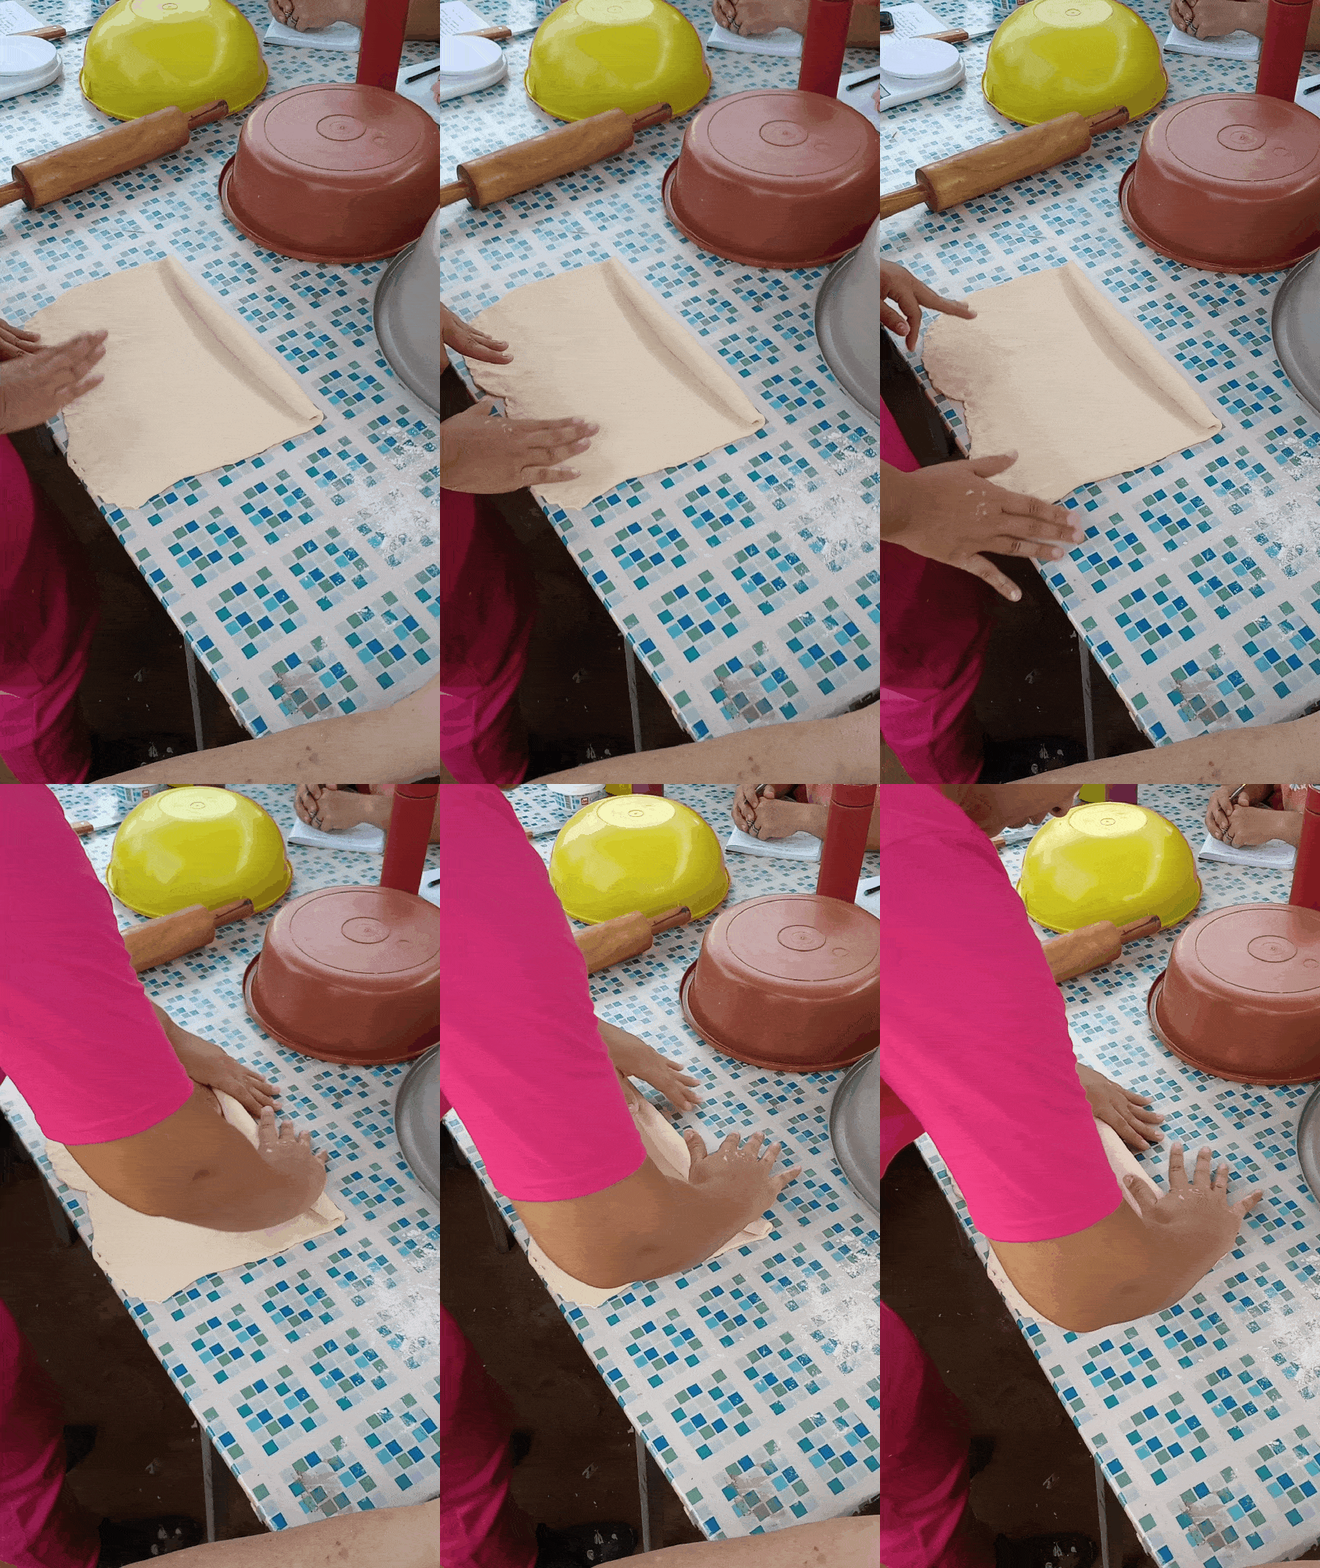
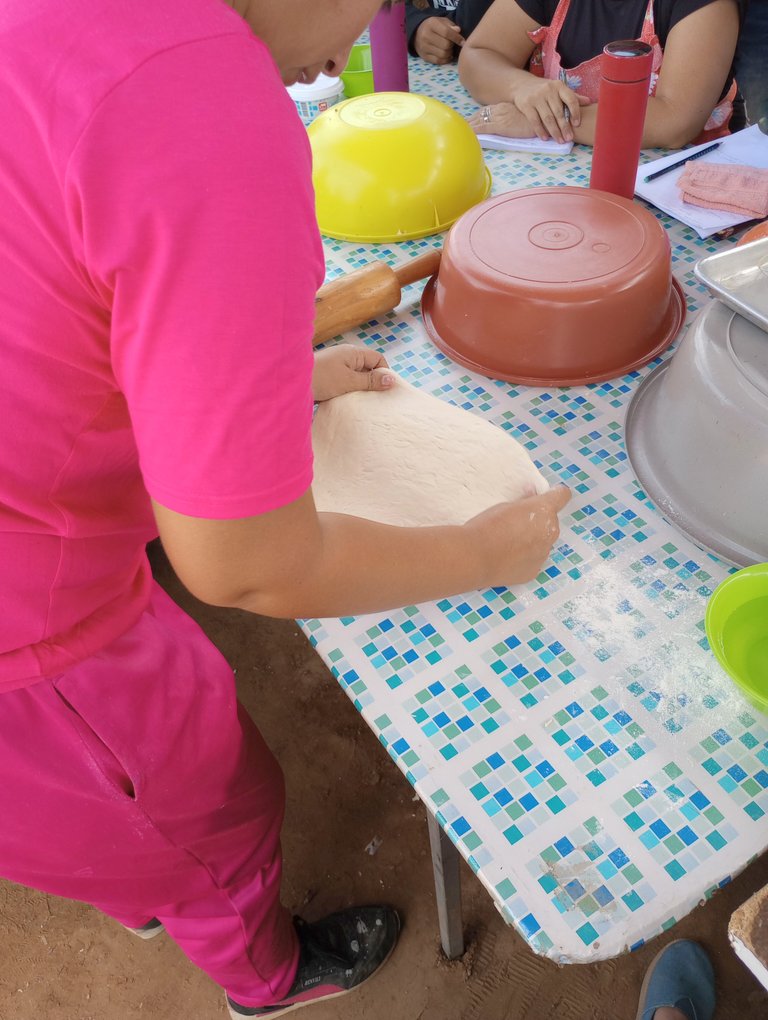
We flatten the dough with the help of a rolling pin and with our hands we stretch it into a rectangular shape.
Then we are going to leave one of the ends very thin and flatten it with our fingers, this will be the closing of the bread which we must brush with water so that the dough is acquired and the bread does not open.
Then we roll it up making pressure and finally we make some cuts with a scalpel.
.
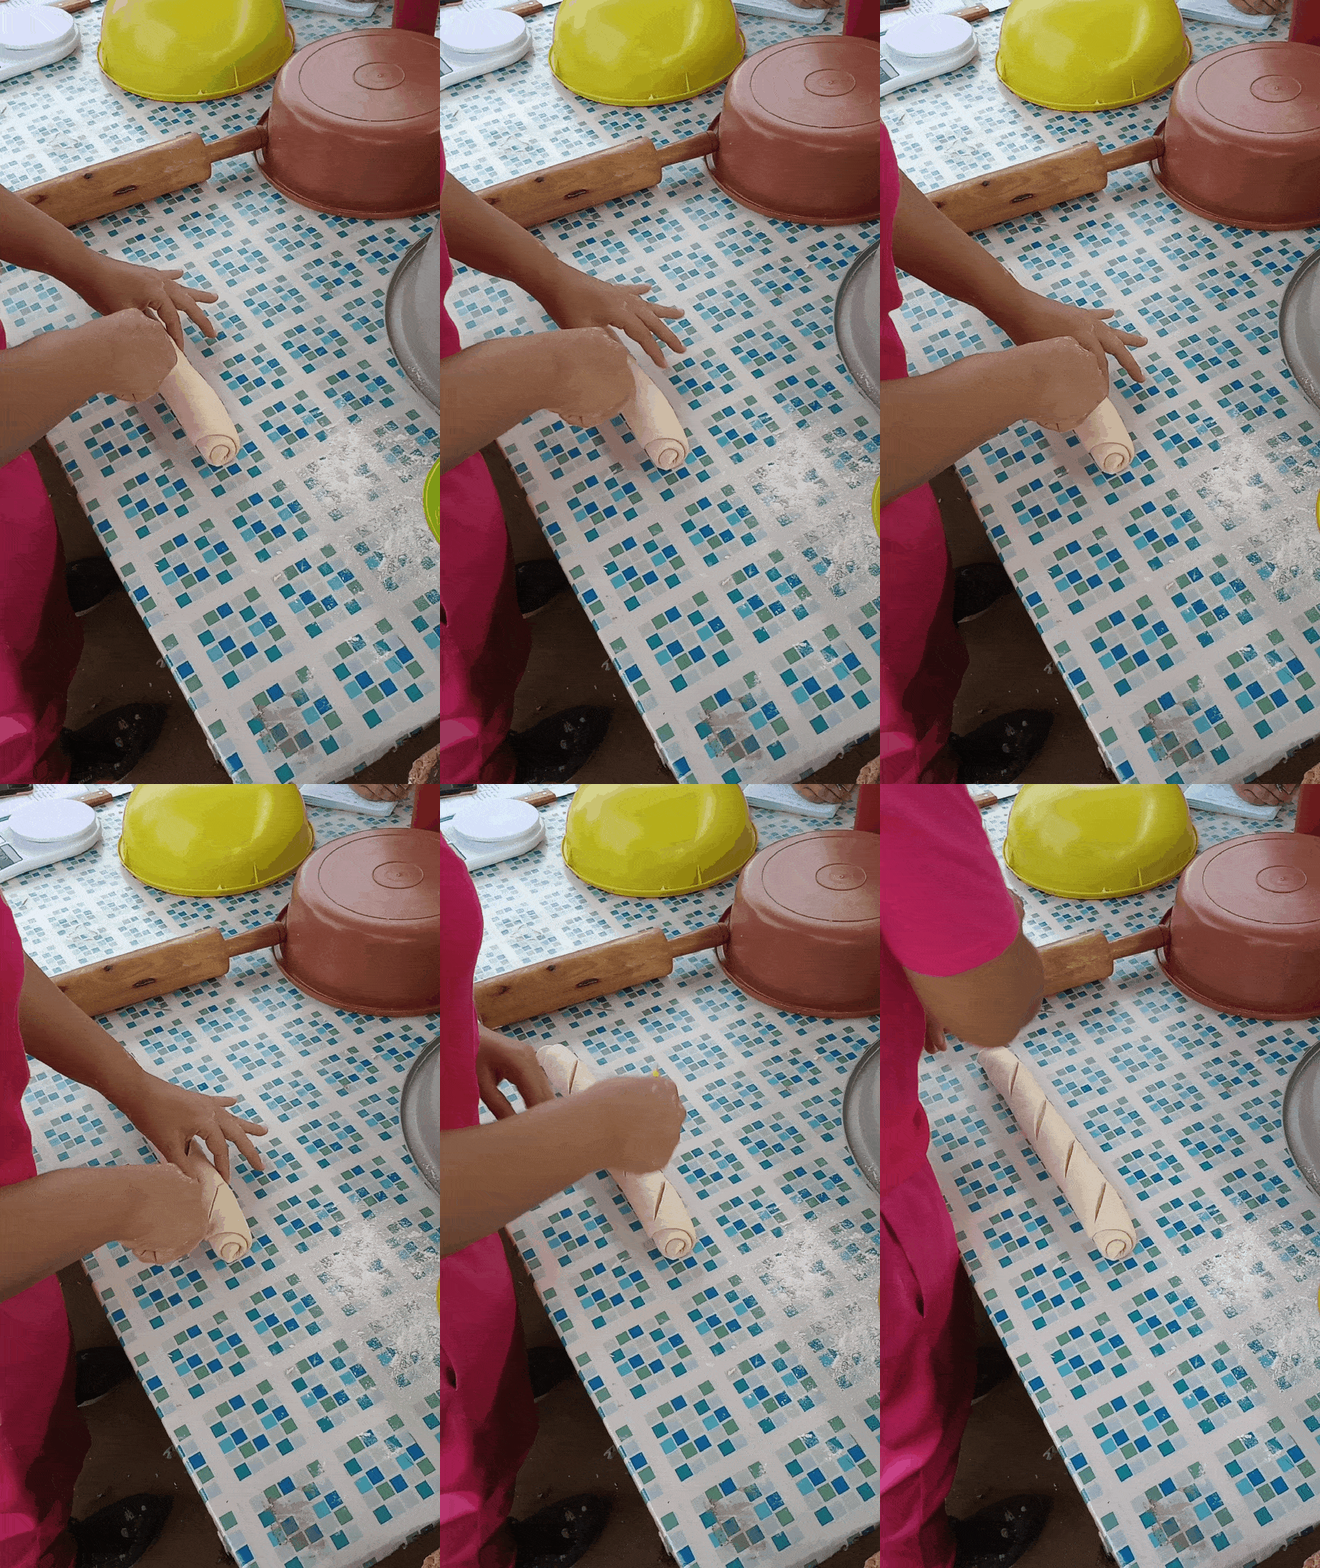

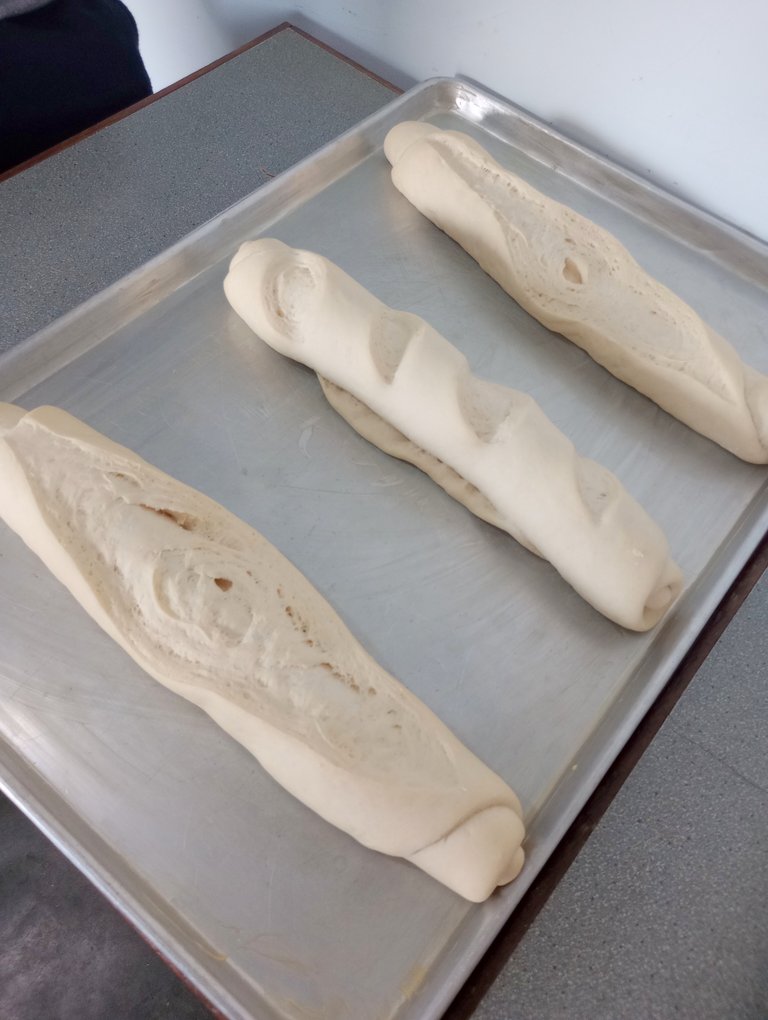
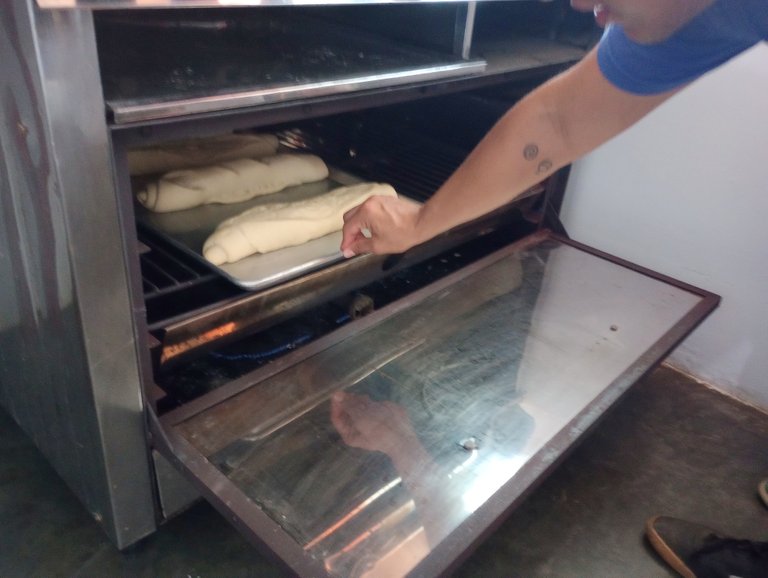
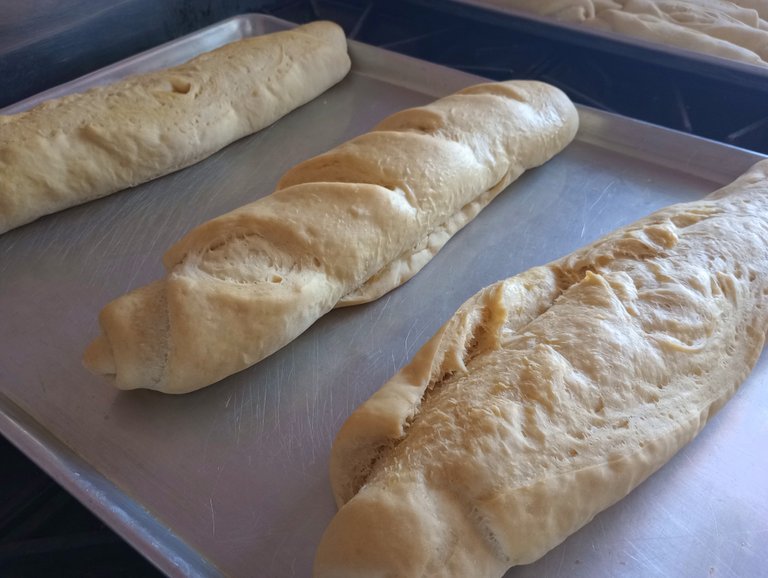
Se dejan reposar por unos 30-45 minutos antes de llevarlos al horno, ellos doblarán su tamaño. Luego se hornean hasta que la base de los panes este dorada.
Esto toma unos 45 minutos. Lo ideal es meterlos con el horno apagado y se enciende cuando metamos los panes en él, así se crea una cámara de fermentación y nuestros panes crecerán más.
Los nuestros no quedaron tan grandes porque se mezclaron dos marcas diferentes de harina y eso influye en los resultados.
Igual todo lo aprendido fue excelente y contamos con una base para hacer nuestros panes.
Espero les haya gustado esta receta y sea de provecho toda esta información tanto como lo ha sido para mi. ♥
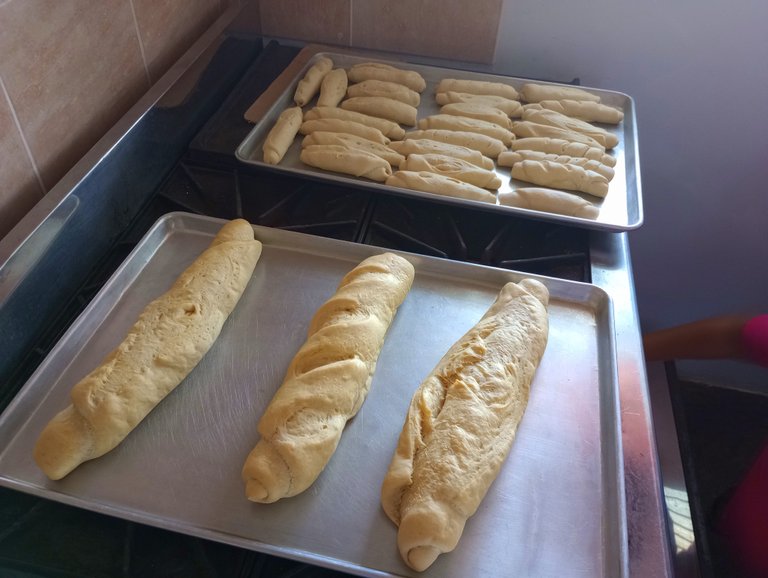
Let them rest for about 30-45 minutes before putting them in the oven, they will double in size. Then bake until the base of the loaves is golden brown.
This takes about 45 minutes. The ideal is to put them in the oven with the oven off and turn it on when we put the breads in it, this creates a fermentation chamber and our breads will rise more.
Ours were not as big because we mixed two different brands of flour and that influences the results.
Anyway, everything we learned was excellent and we have a base to make our breads.
I hope you liked this recipe and that all this information has been as useful to you as it has been to me. ♥



Espero haya sido de tu agrado y provecho.
Un gran abrazo a todos, y nos leemos en un próximo post
• Lakrearte en Hive •
Att: Estefania Garcia ♥

Imágenes y separadores de mi autoría
Portada editada en Canva
Fotografías tomadas con un Moto G31
Texto traducido en Google ImTranslate v.14.27
excelente, siempre pensé que era más complicado hacer pan francés. gracias por compartir
No la verdad es que es bastante sencillo, espero puedas hacerlos pronto saludos ☺️✨
Good night @estefania3
Excellent recipes!
We want to invite you to read our community rules that were recently modified, and we are requiring users to appear in at least 3 photos, preparing their recipes.
Keep this in mind for future posts in this community.
Thank you.
Good morning. I had no idea about the rule change, thanks for letting me know, I will keep it in mind. Now I have a doubt, this at least is a post of my cooking class in which I share all the acquired knowledge and procedures. How can I do in this case? Because my instructor is the one who teaches us the techniques and we as students intervene in certain parts of the recipe, but not in all since we are a large number of people. I would appreciate your response and thank you in advance.
This post is already published. We have made this comment for future posts. Also remember that the material you post here must be your property, you cannot bring photos that have been taken from other social networks.
If possible, you should appear in the photos of your future posts, preparing your recipes or presenting your results, (in the case of the posts of the course to which you refer). You could also, for example, appear in the photos, next to your instructor, even when you do not interact in the preparation procedure (in these specific cases). And obviously, for the posts in which you make your recipes on a regular basis, you must take into account our rules as well.
If you have any concerns, don't hesitate to ask. Thank you.
Yes, I ask this question because I have two other posts pending from these classes and although in one of them I am preparing part of the recipe, in the other one I am just as you mentioned, with my instructor while she explains the recipe. Thanks for the clarification, I will try to take more pictures in the next classes while I am preparing part of the recipe so I don't fail to comply with what you ask and of course in my personal classes if it is easier to be in them. Thank you and happy day ☺️
Gracias por compartir esta receta amiga, esta ideal para hacer y rellenar con carne así tipo pepito.. ¡Ufss! Se me hizo agua la boca de solo pensar, saludos amiga!
Aaaaay no. Ya eso es otro nivel y definitivamente hay que hacerlo 🤤 gracias a ti por pasarte a mi blog 🤗✨