[ESP-ENG] Porta Culer for the little ones in the house - Tutorial | Porta Culer para los pequeños de la casa - Tutorial
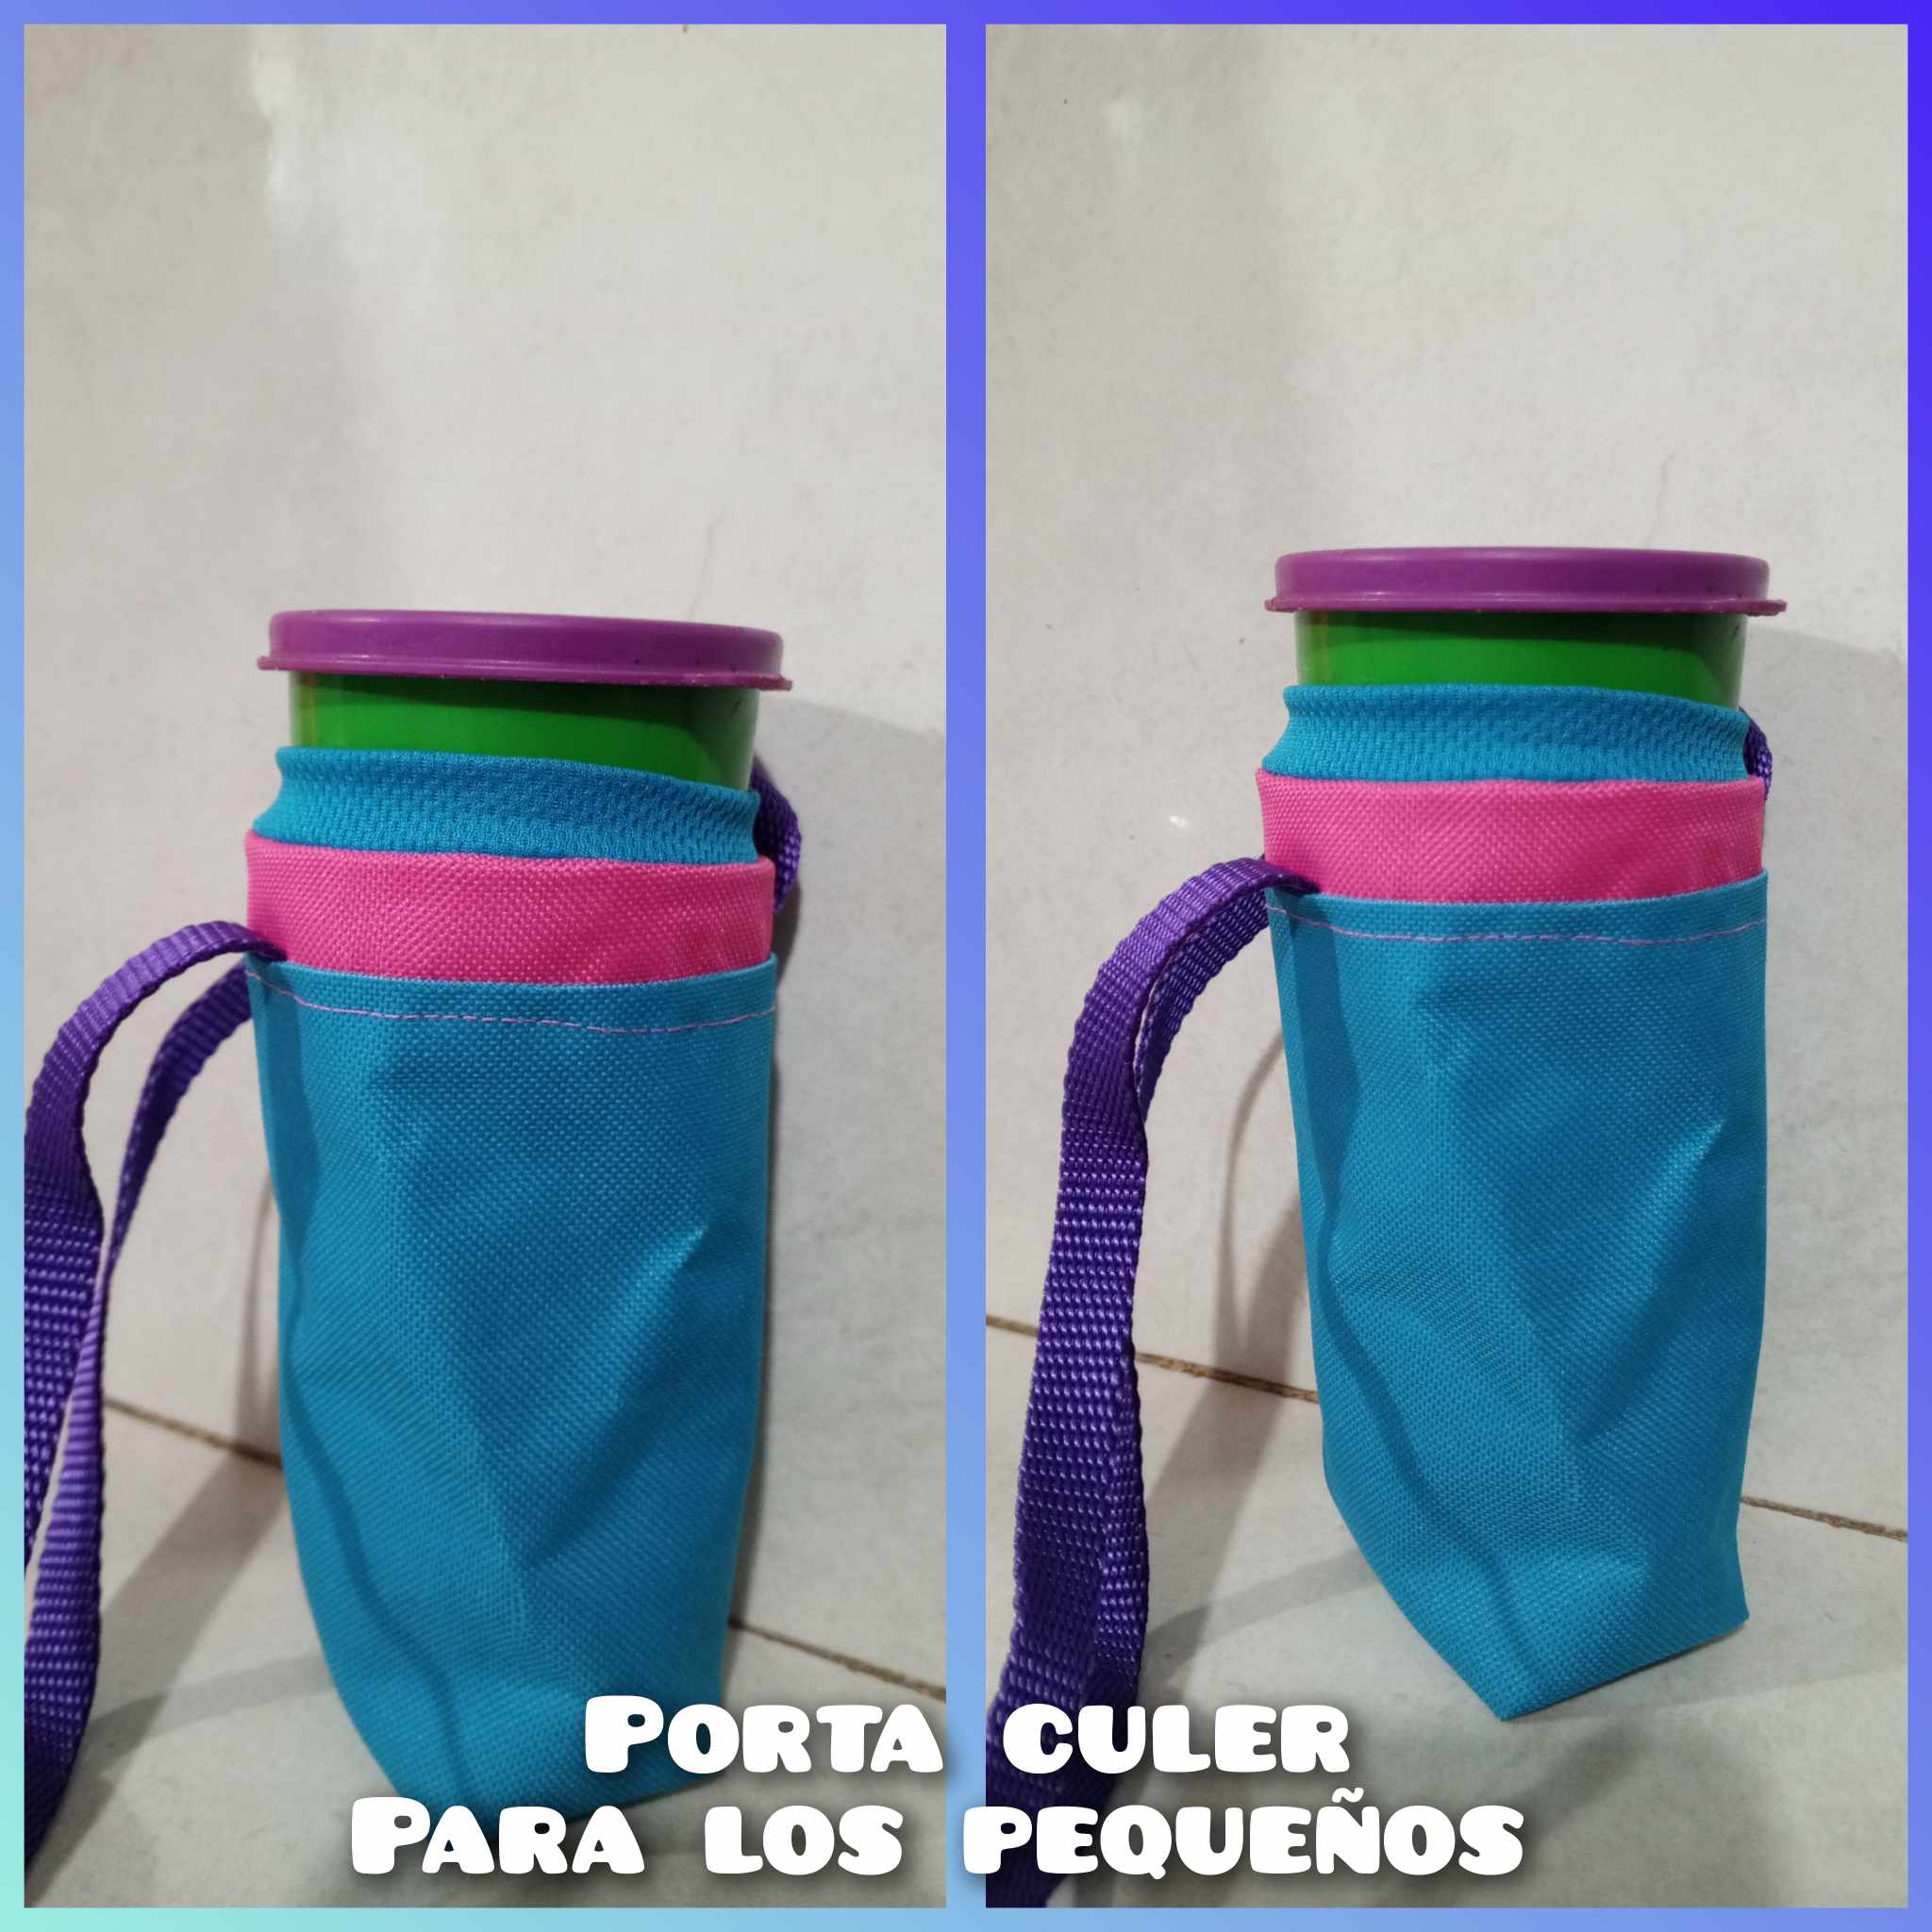
Hello friends of hive, I am happy to be here with all of you. Today I want to show you something special that I made, it is a kind, or a model of bag that is only and exclusively to place the water bottle and so we can go out comfortably anywhere without having to carry the bottle always in hand running the risk that we stay anywhere, so I hope you like this tutorial and let's get to work.
.jpg)
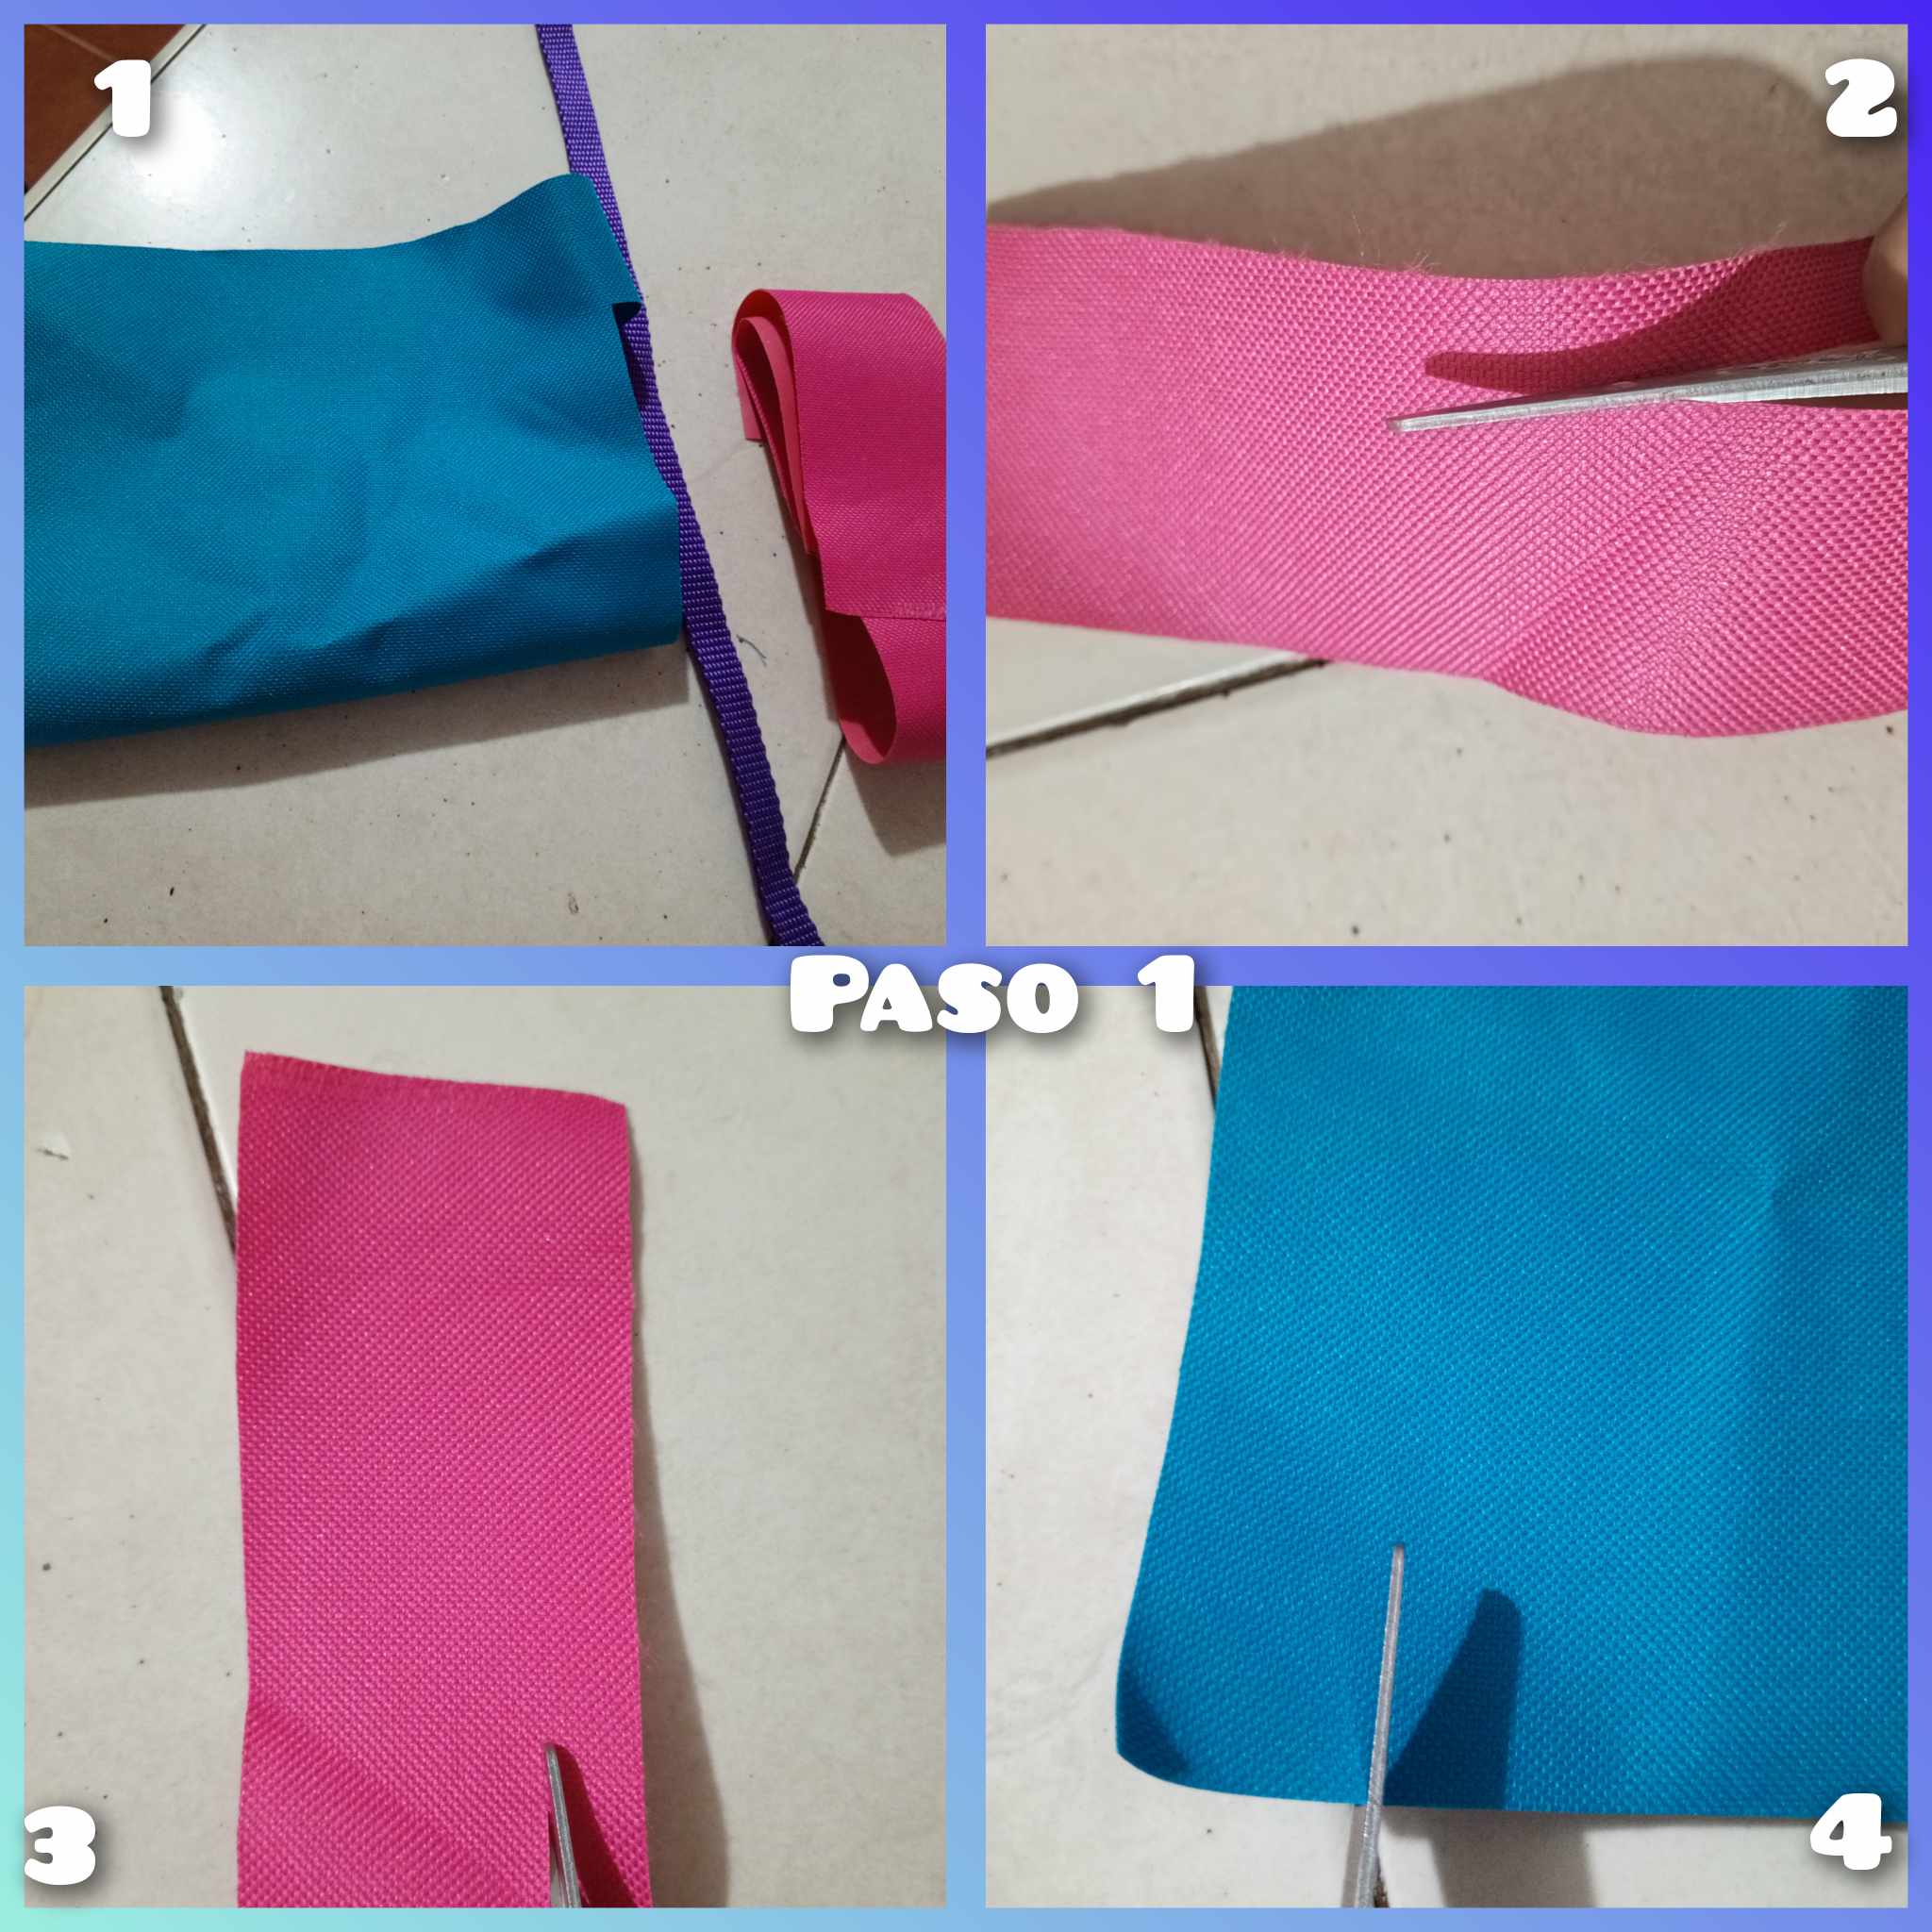
Paso 1: para realizar este bolso vamos a necesitar una tela específica llamada loneta, esta tela es esencial para este tipo de cosas porque ella es impermeable y protege de manera que el frío se conserve un poco más, tenía algunos retazos y con eso estoy haciendo este bolso tan lindo, usé el color rosado y azul, y también necesitaremos una tira especial que será la responsable de sostener nuestro bolso. Lo primero que haremos será comenzar a cortar las piezas, la parte delantera o la parte trasera y cada piecita que hará parte de éste porta culer.
Step 1: to make this bag we will need a specific fabric called canvas, this fabric is essential for this kind of things because it is waterproof and protects so that the cold is preserved a little more, I had some scraps and with that I am making this cute bag, I used the pink and blue color, and we will also need a special strip that will be responsible for holding our bag. The first thing we will do will be to start cutting the pieces, the front or the back and each little foot that will be part of this culer holder.
.jpg)
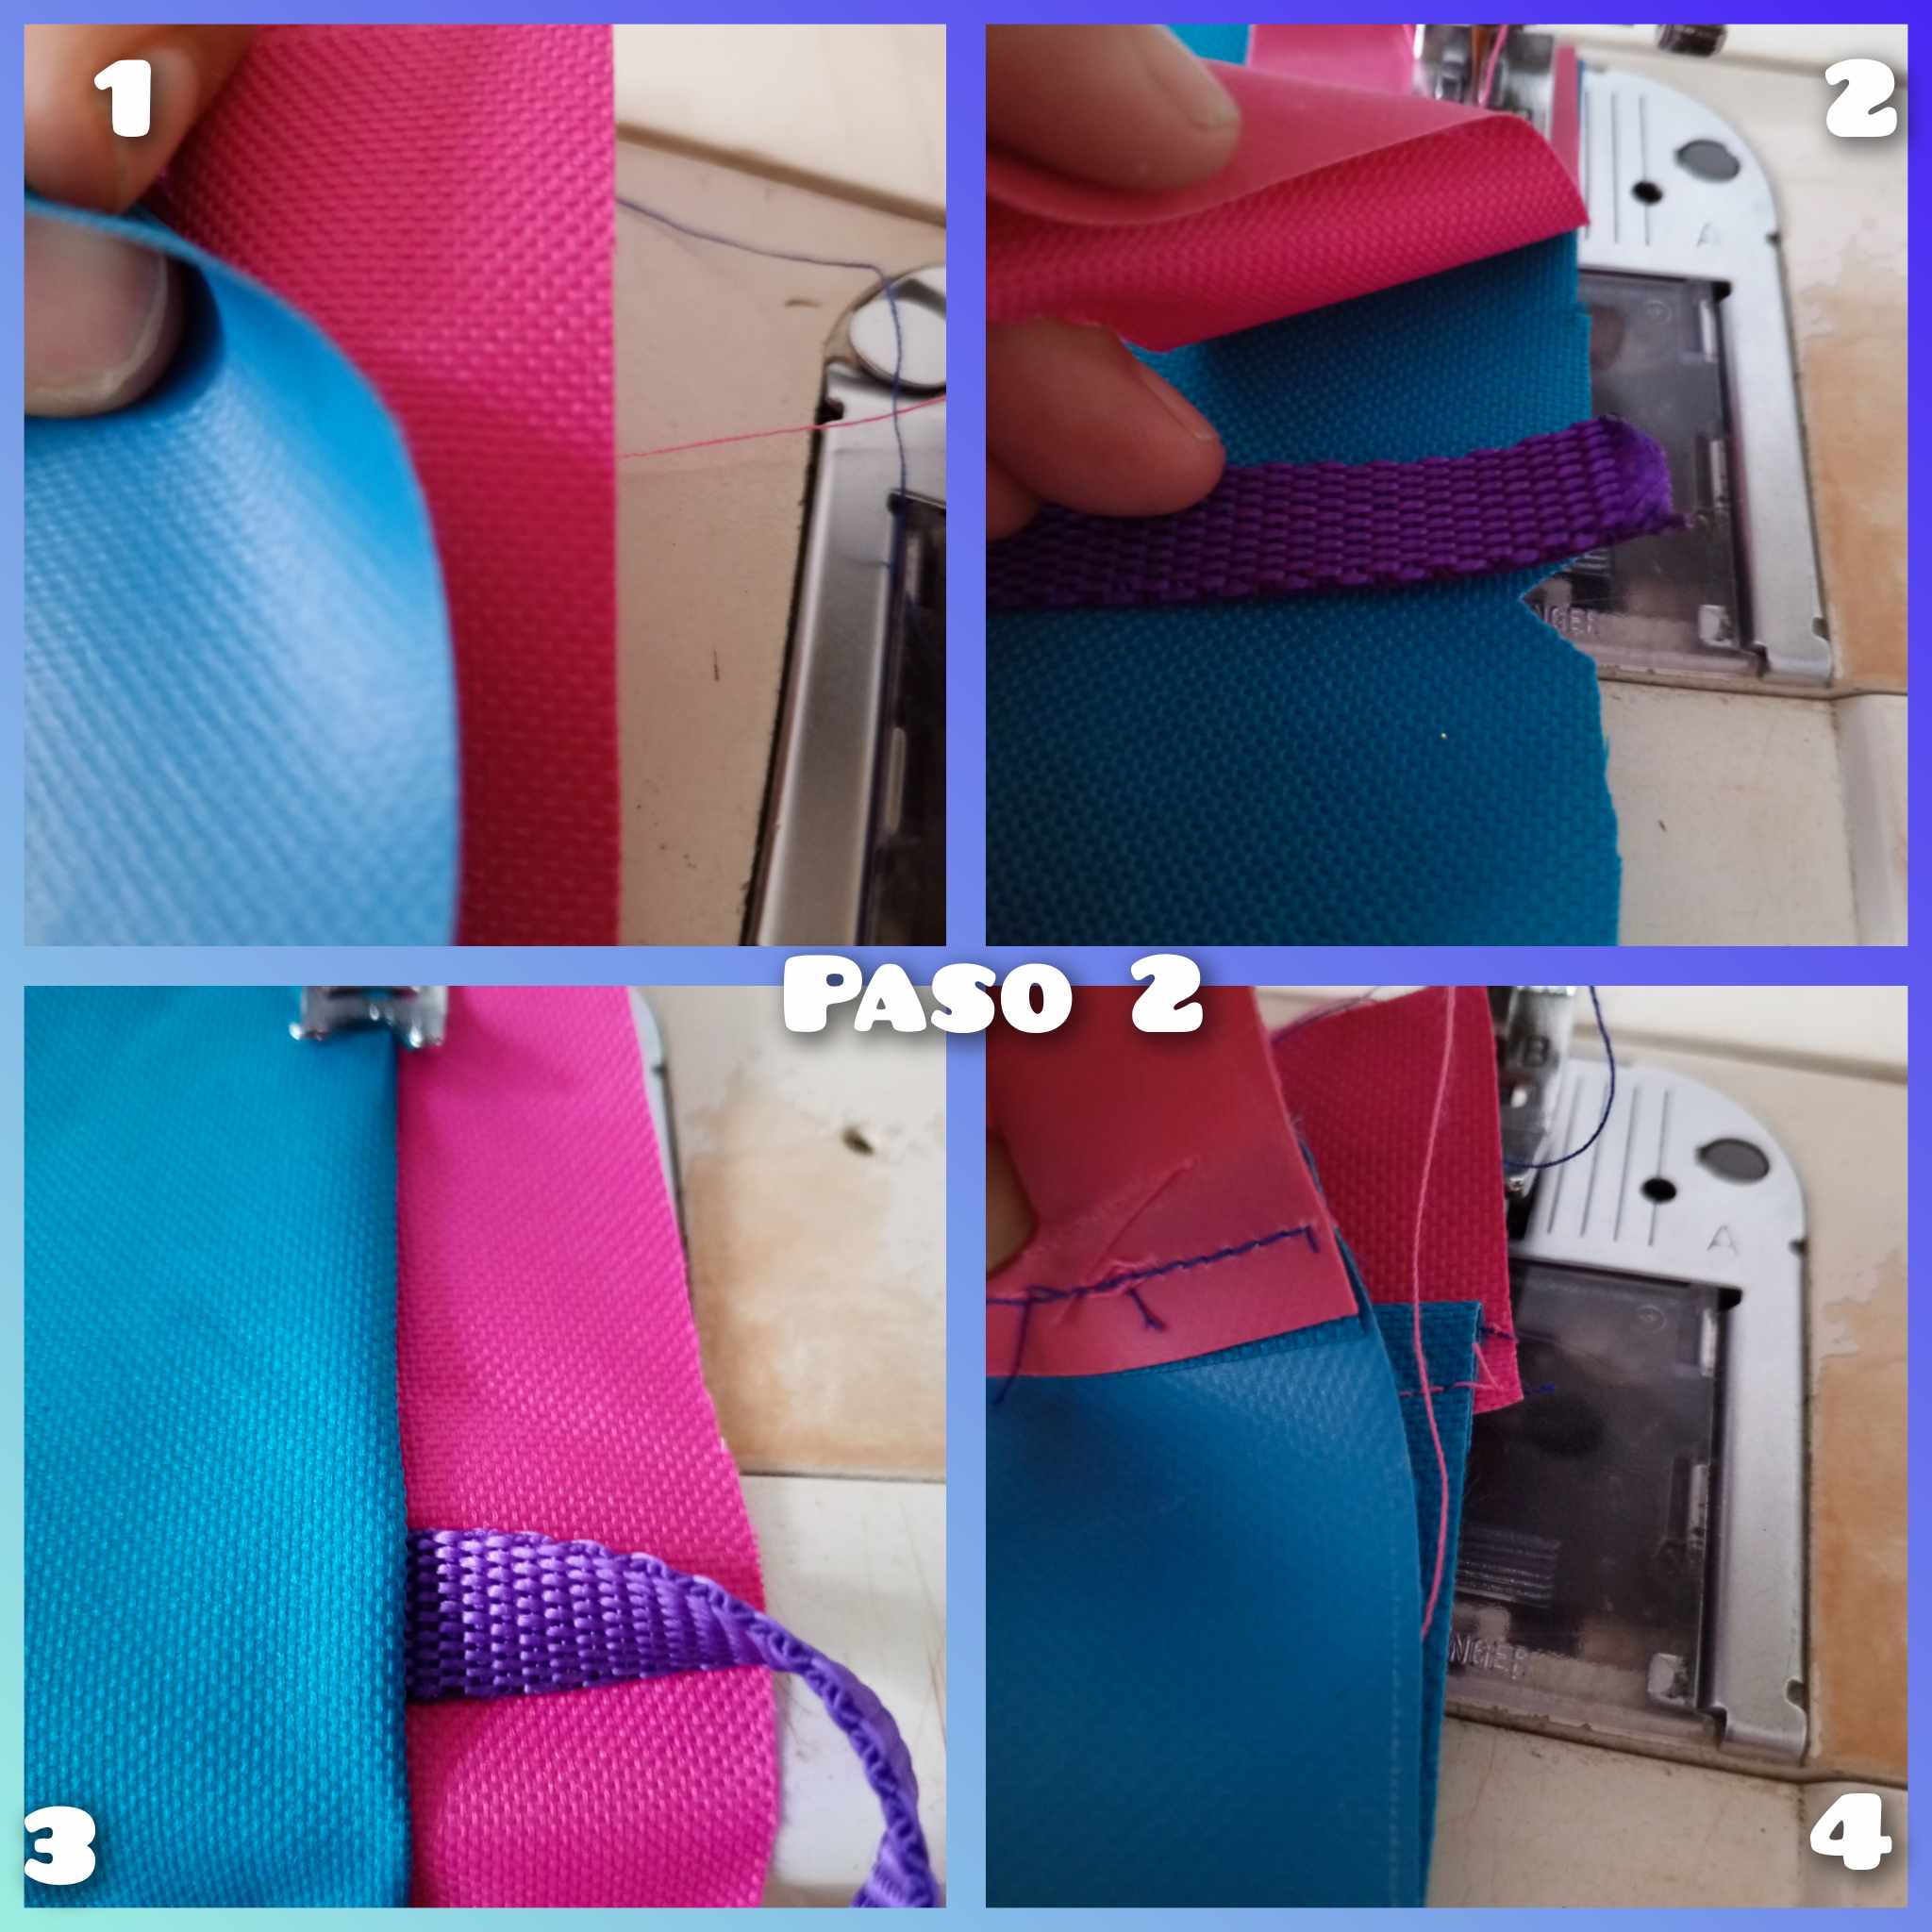
Paso 2: Lo primero que haremos será colocar la pieza de abajo y luego la de arriba y de intermedio la tira que usaremos para nuestro modelo. Ahí en la imágen aparece la manera en la que quedó la parte que cosimos. Luego lo que haremos será voltear las piezas y comenzar a coser por dentro.
Step 2: The first thing we will do is to place the bottom piece and then the top piece and in between the strip that we will use for our model. Here in the image you can see the way the part we sewed was left. Then we will turn the pieces over and start sewing on the inside.
.jpg)
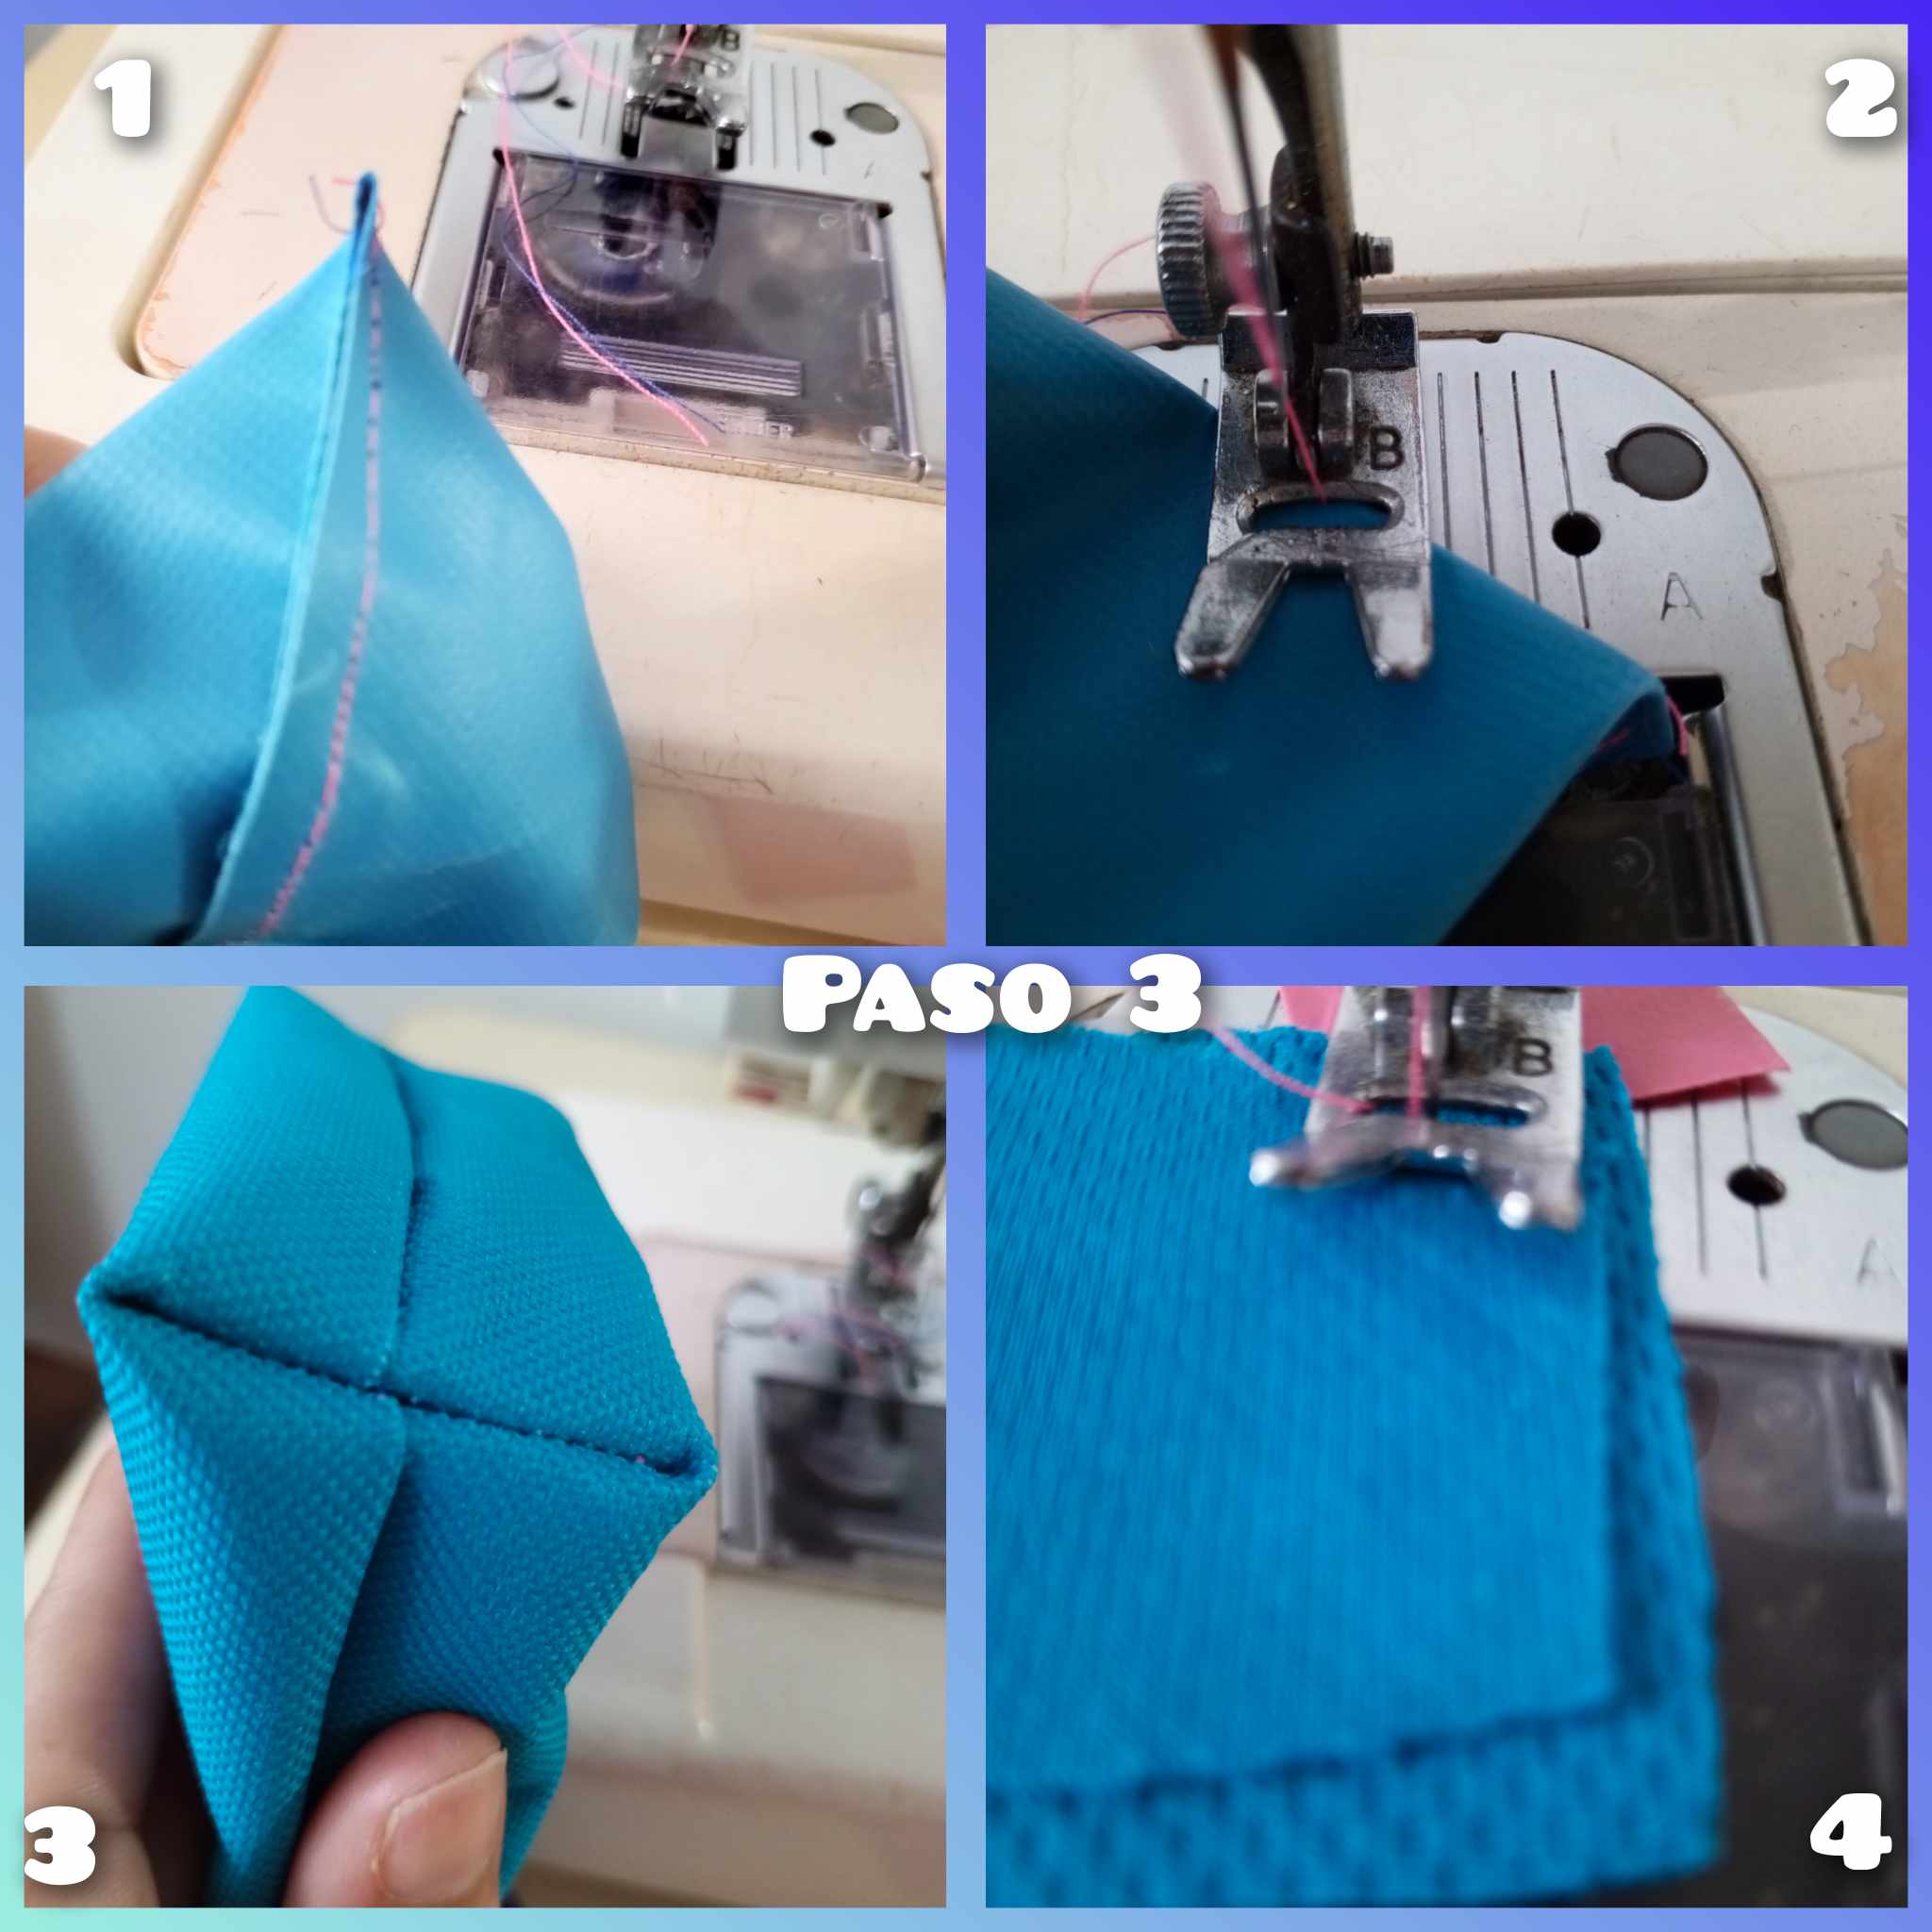
Paso 3: nos vamos ahora a las esquinas del porta culer, las cosemos cuidadosamente. Esto se hace para que tenga una estabilidad al momento de colocar el termo, el quedará totalmente estable y parado, entonces esto es tan necesario para este modelo, y así culminamos esta parte del porta culer.
Step 3: now we go to the corners of the culer holder, we sew them carefully. This is done so that it has a stability at the time of placing the thermos, it will be totally stable and standing, so this is so necessary for this model, and so we finish this part of the culer holder.
.jpg)
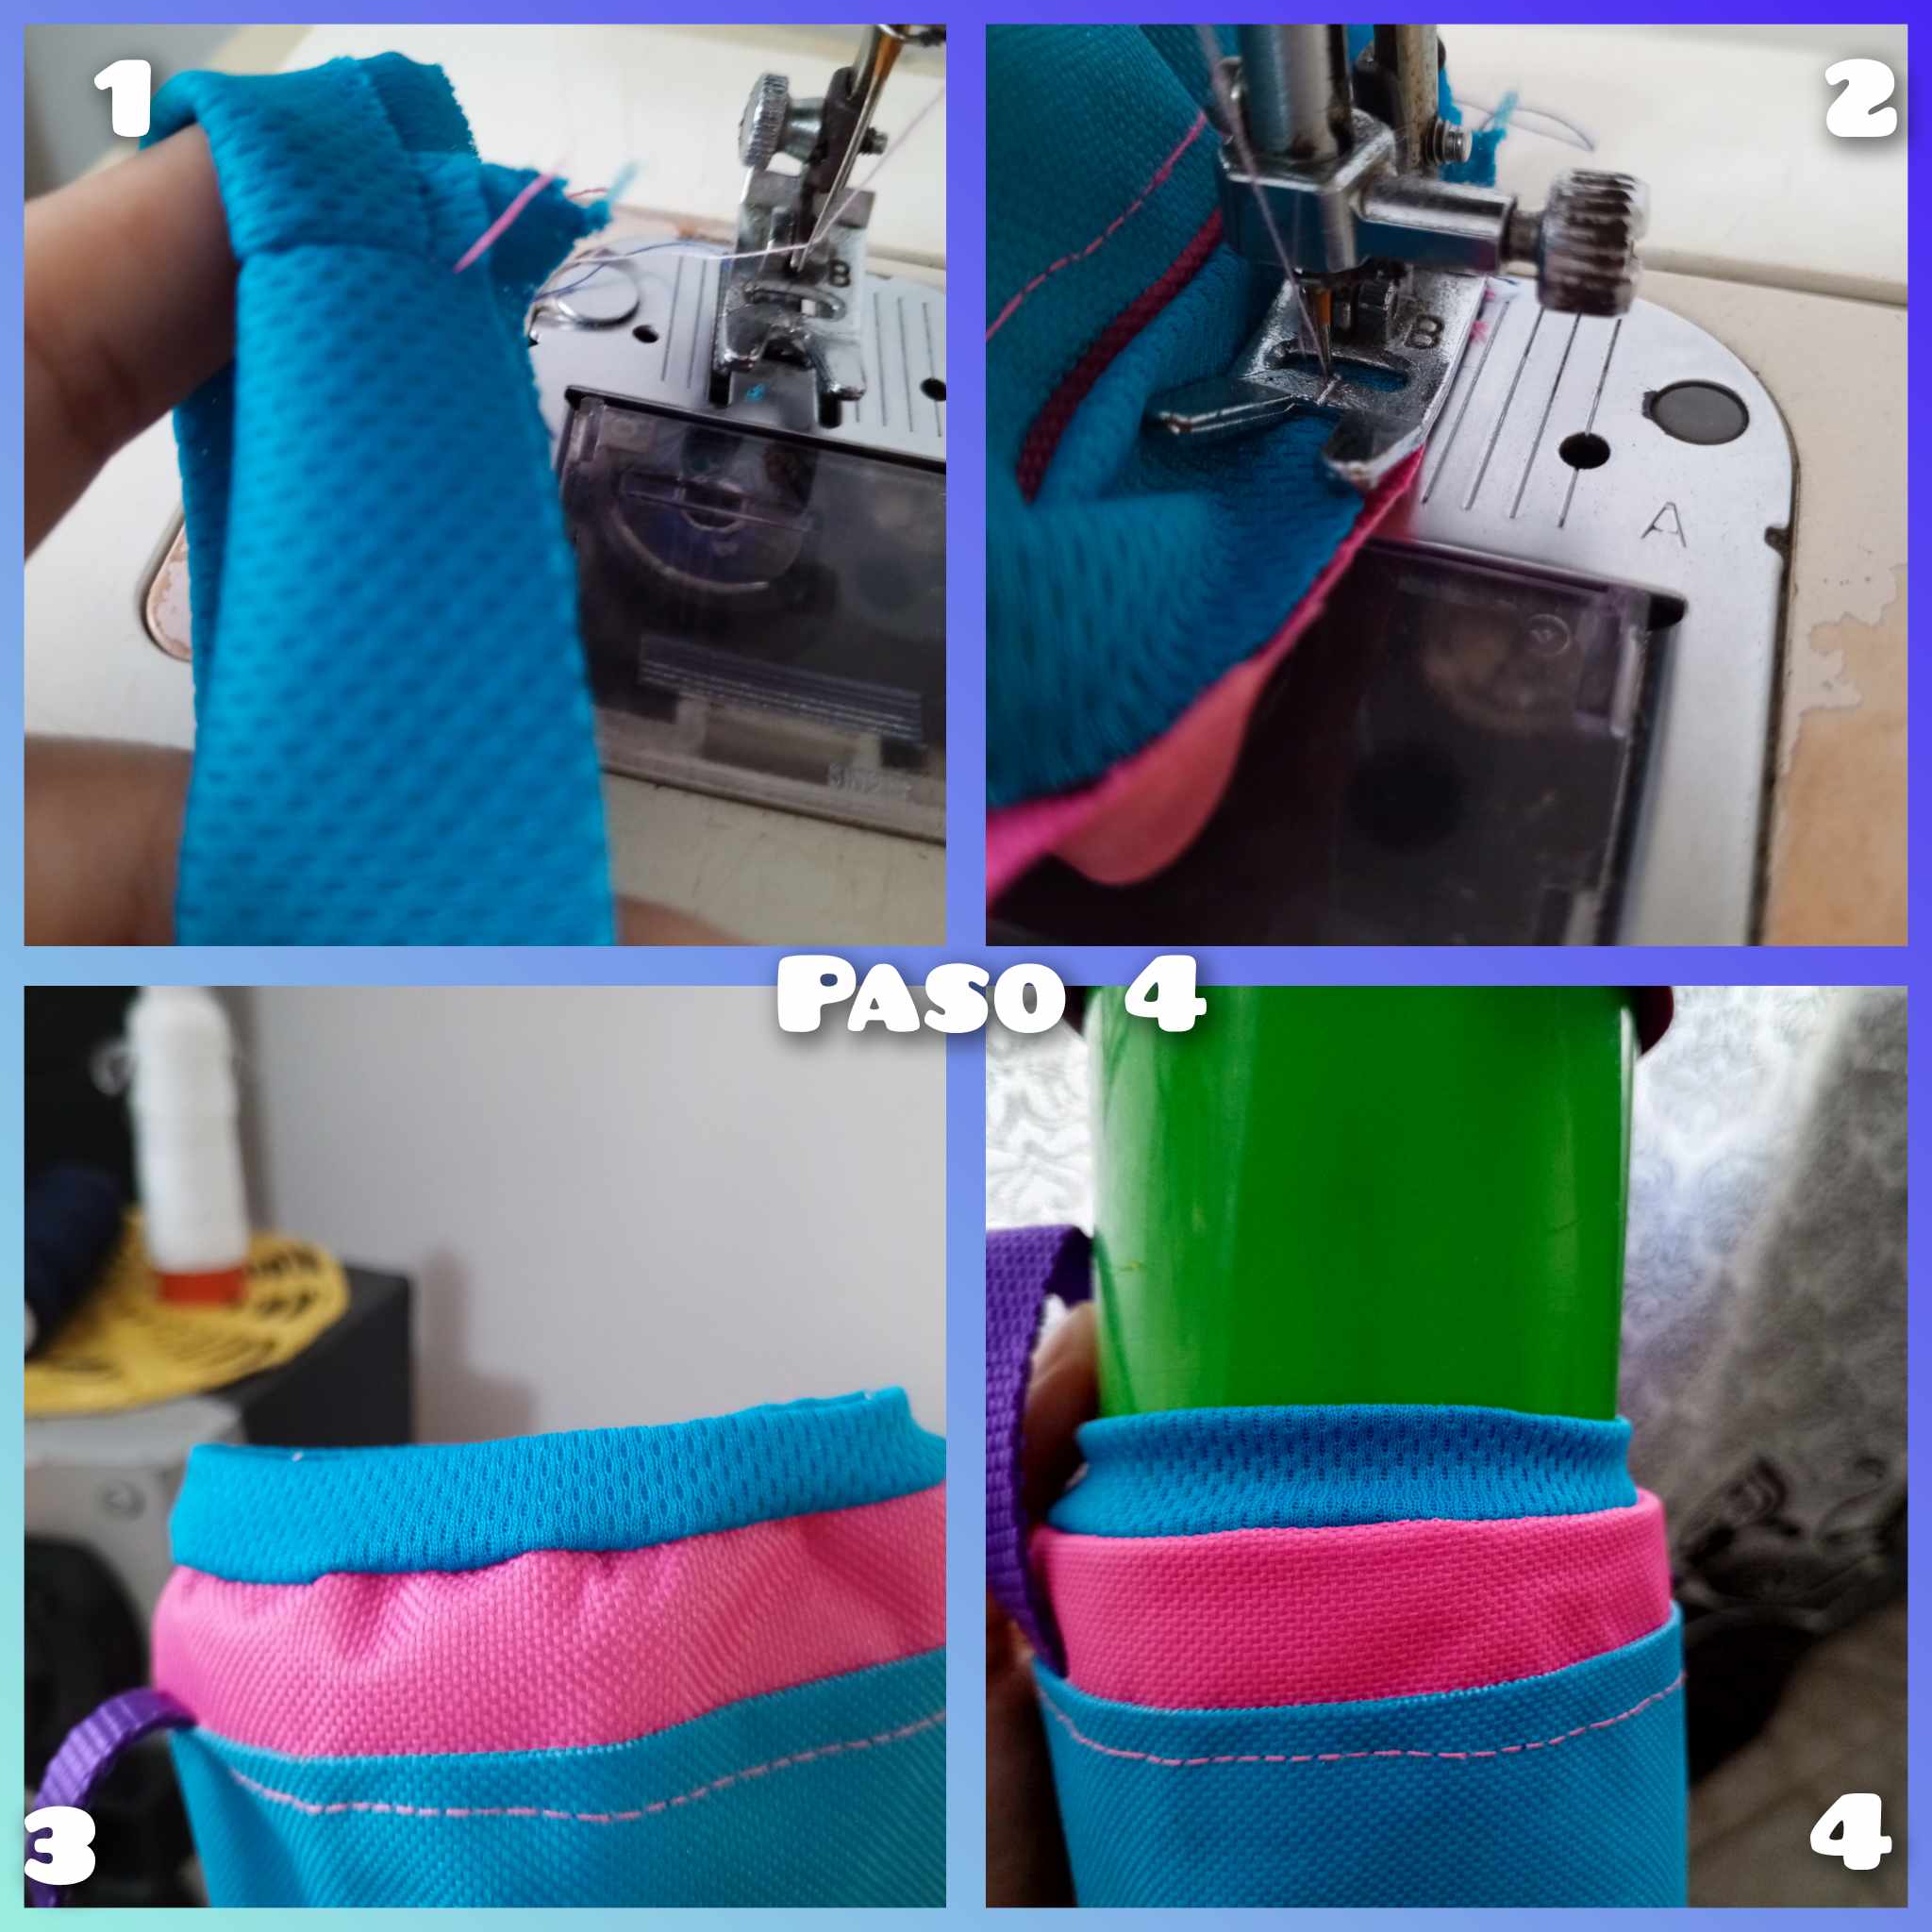
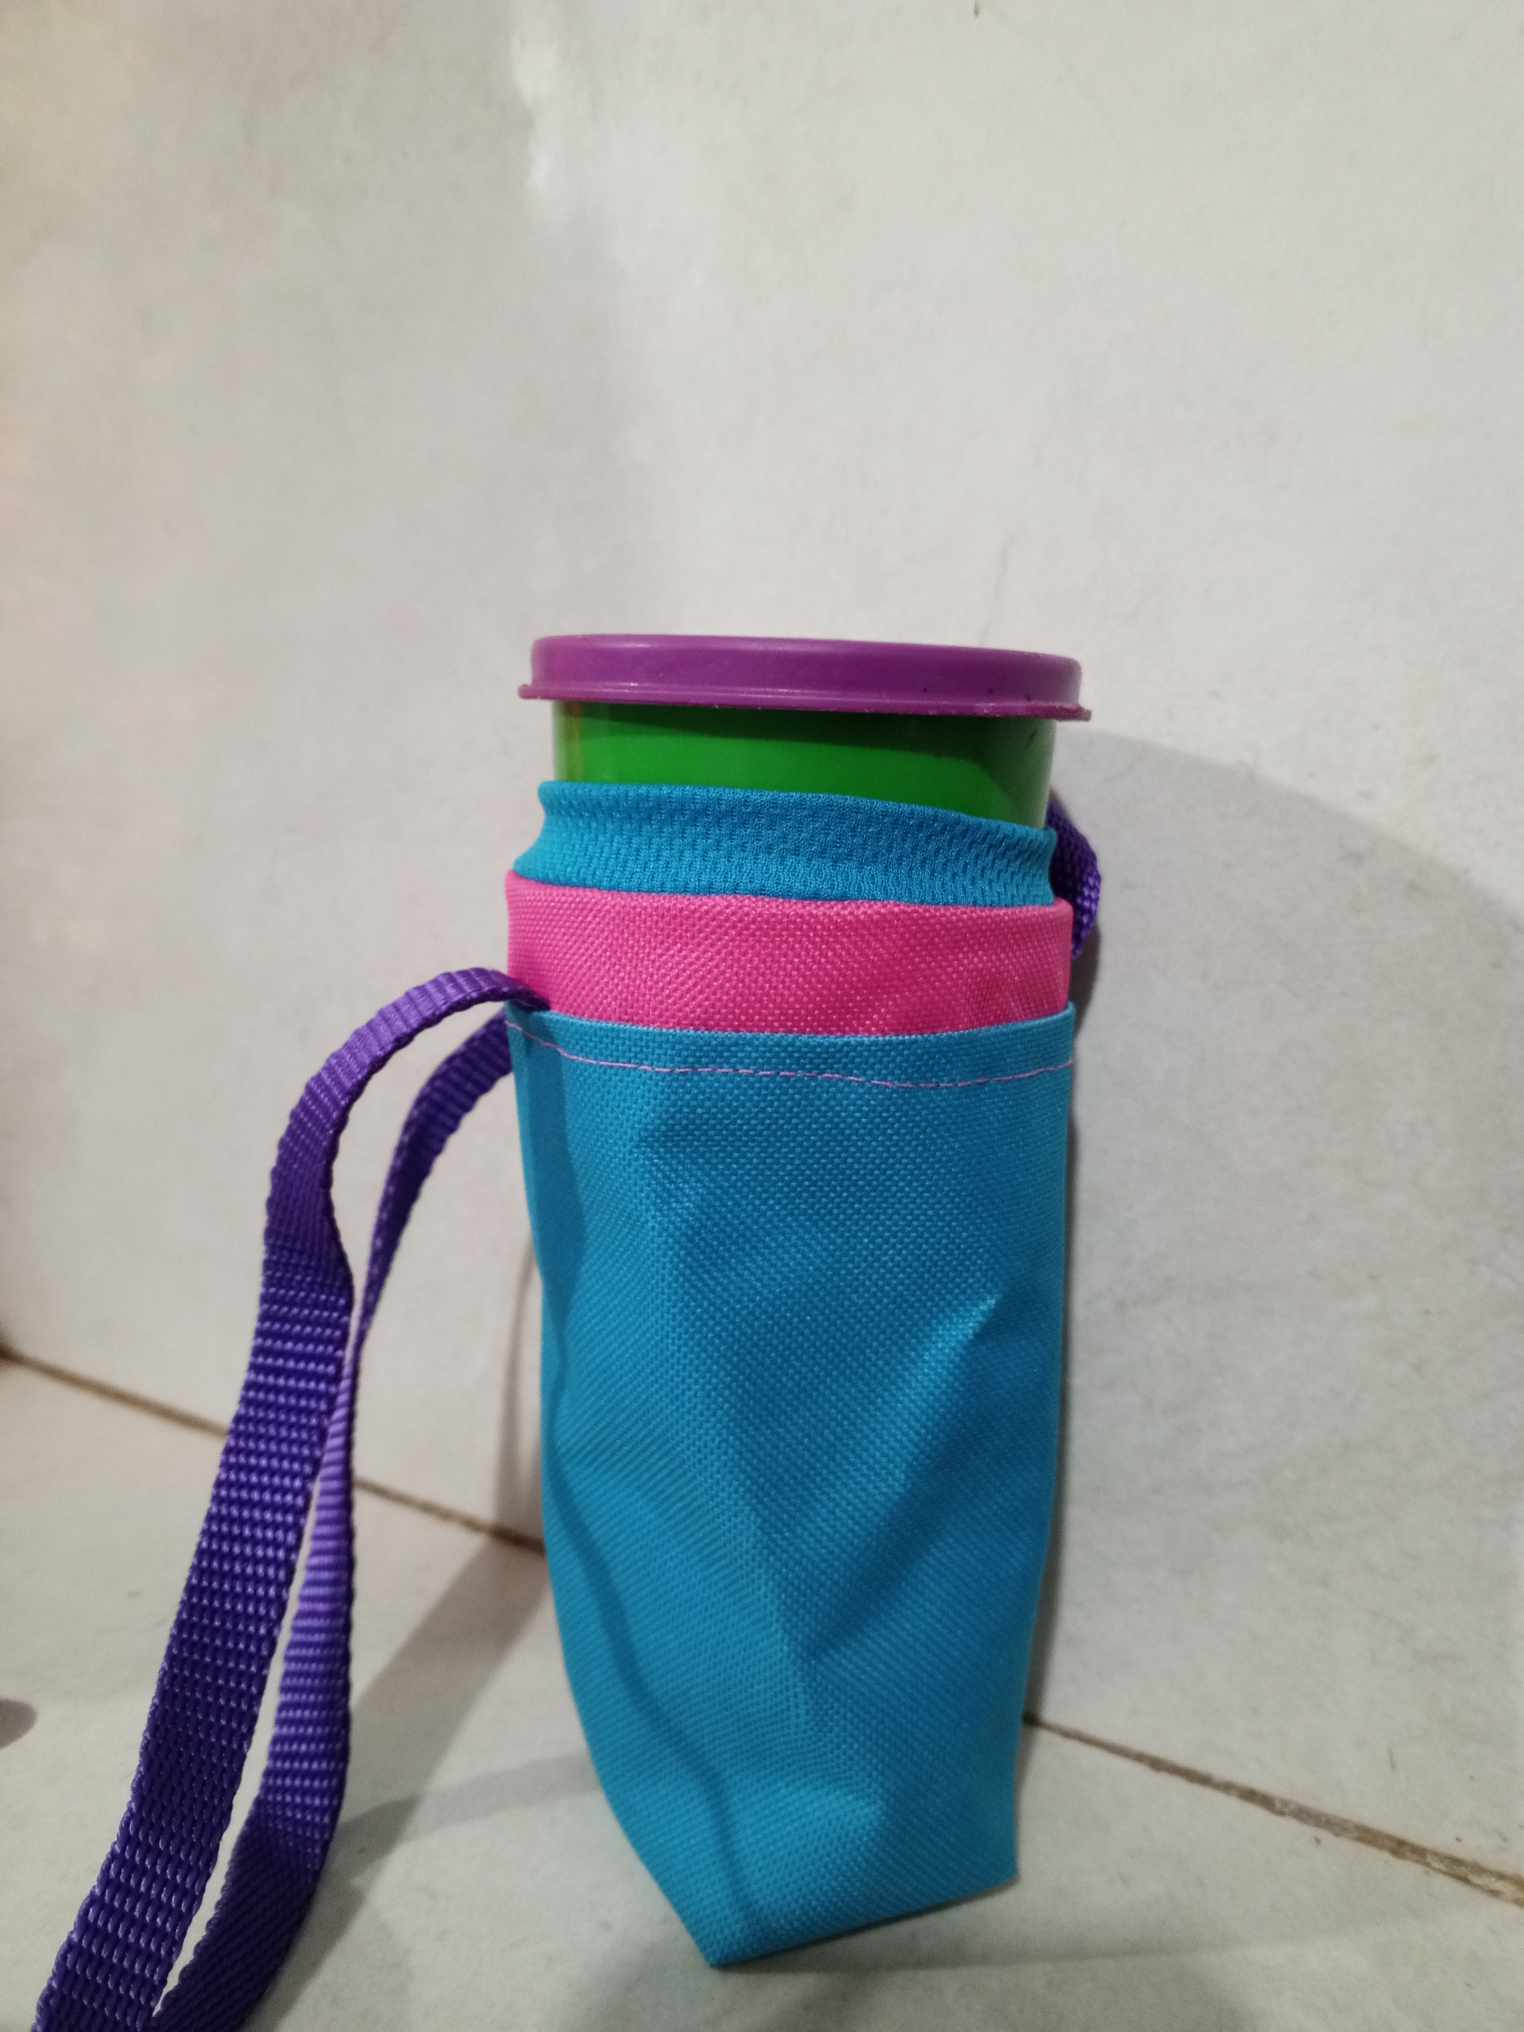
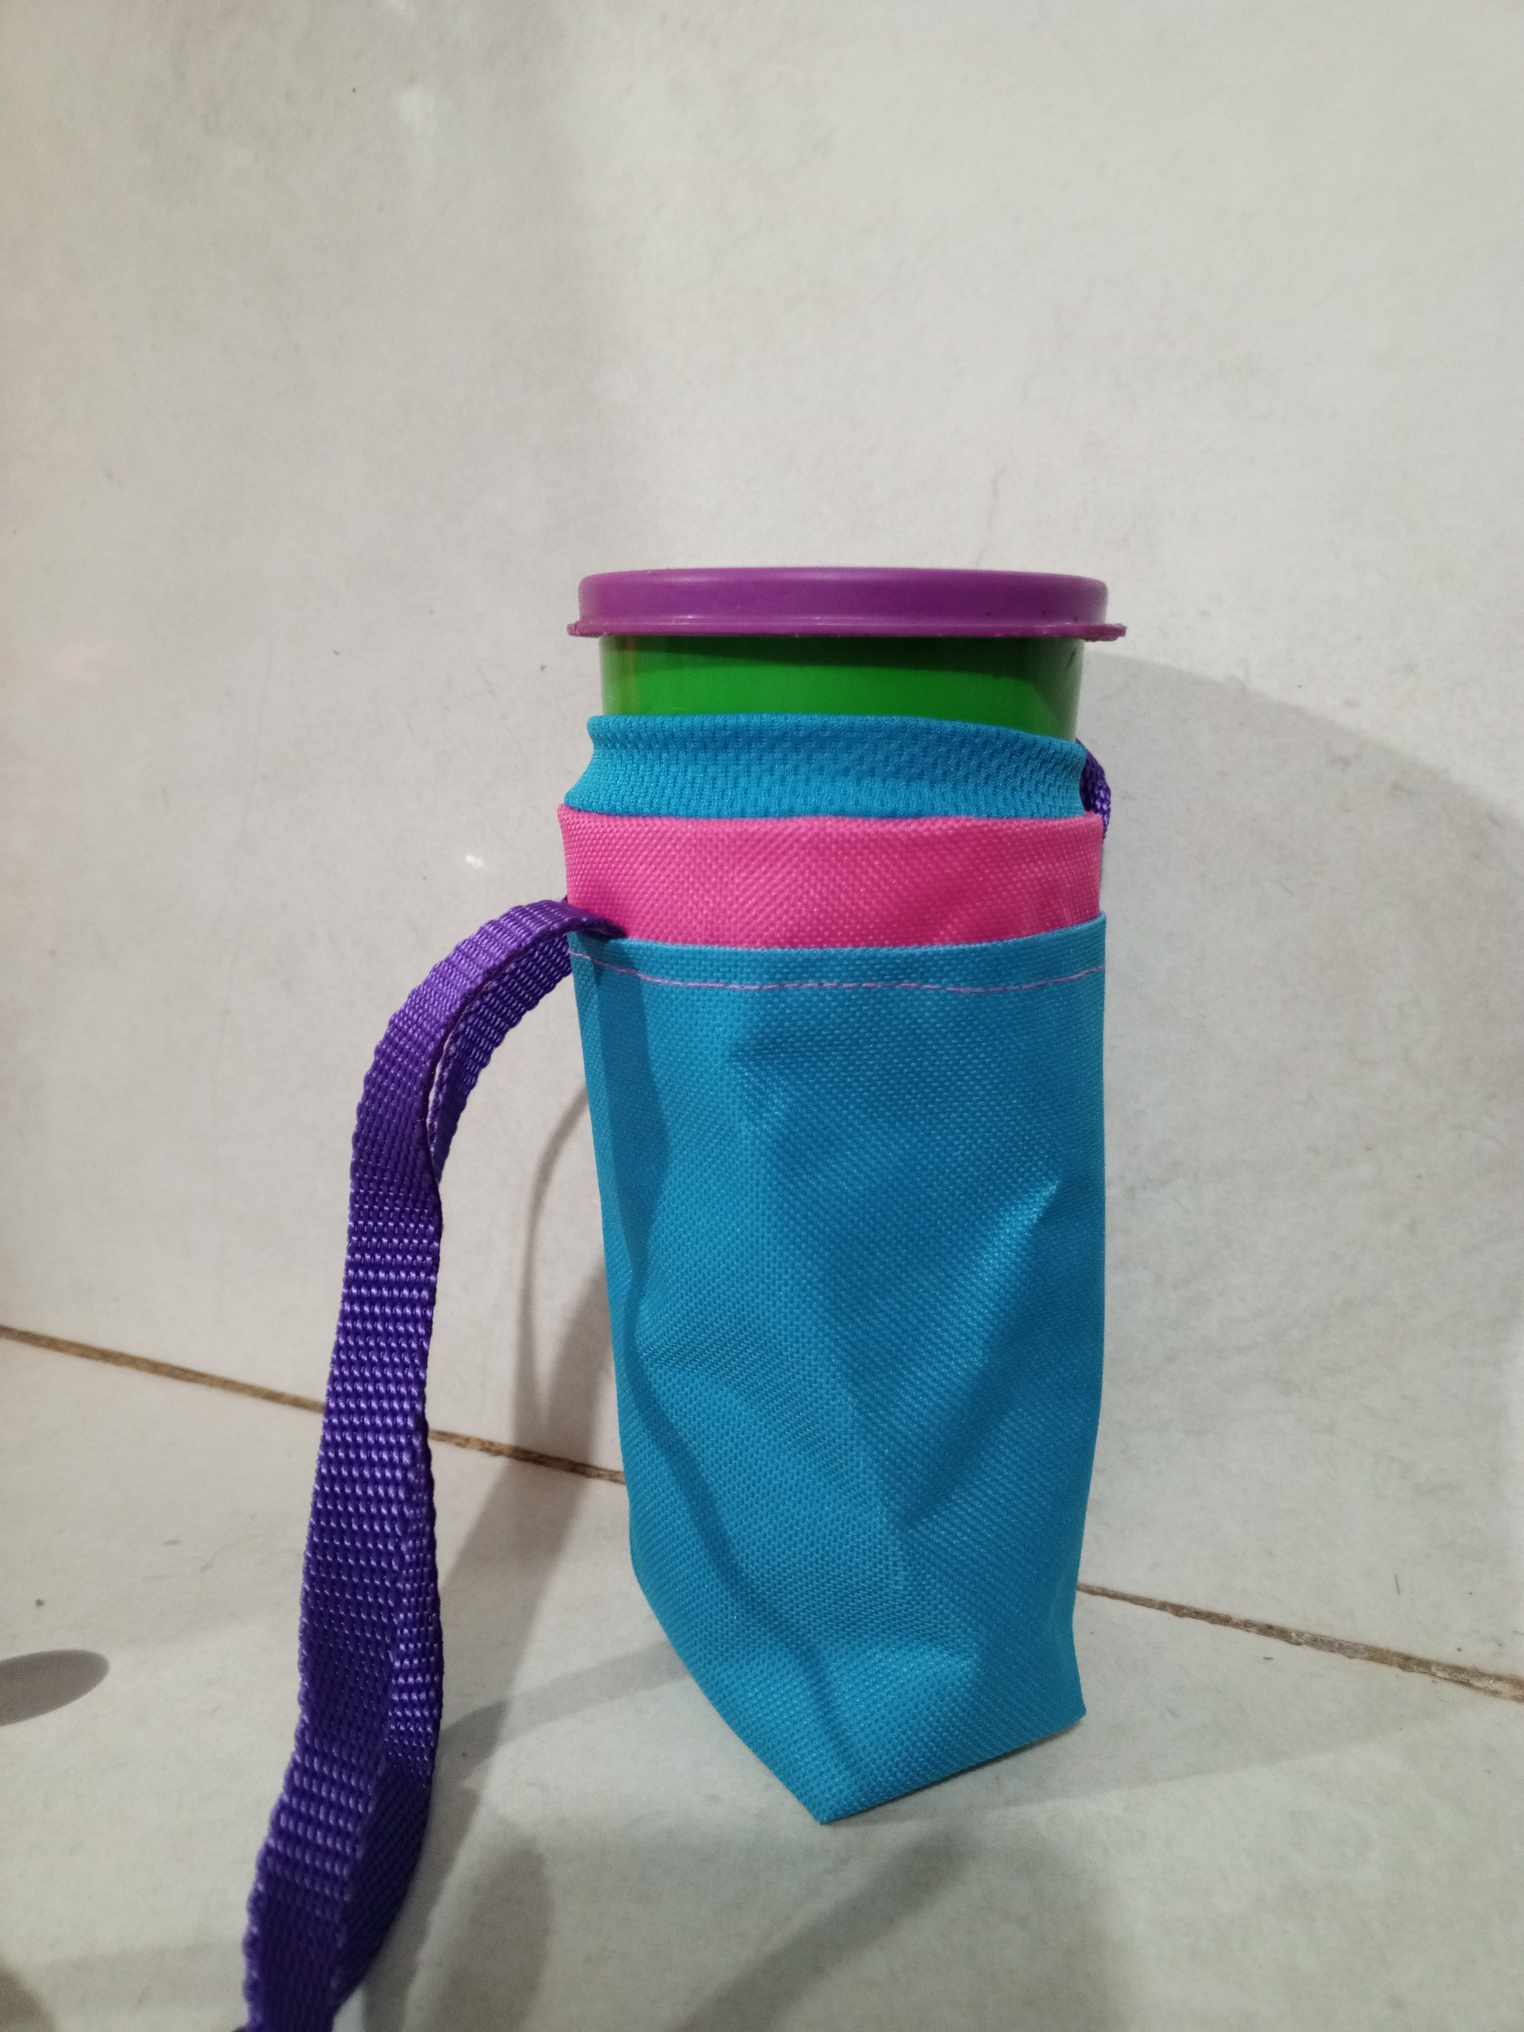
Paso 4: lo último que haremos será el retoque del borde de arriba del porta culer, que será la vista principal de esta gran idea, coseremos cuidadosamente, procurando obtener un bello acabado, de esta manera damos por terminada nuestra creación. Espero que les guste mucho y puedan hacerlo en casa.
Step 4: the last thing we will do will be the retouching of the top edge of the culer holder, which will be the main view of this great idea, we will sew carefully, trying to obtain a beautiful finish, in this way we finish our creation. I hope you like it very much and you can make it at home.
.jpg)
.jpg)

Hi @eribetzi, what a beautiful job, I love the material you used, I hope to make one just like yours.
Felicidades, quedó muy lindo, es una excelente propuesta para evitar que los peques pierdan sus botellas. mi hijo siempre la deja olvidada en la escuela, y resolvimos con un porta culer.