[ESP-ENG ]Lipstick bag in the shape of Lips - Fascinating Idea | Bolso para labiales en forma de Labios-Idea Fascinante
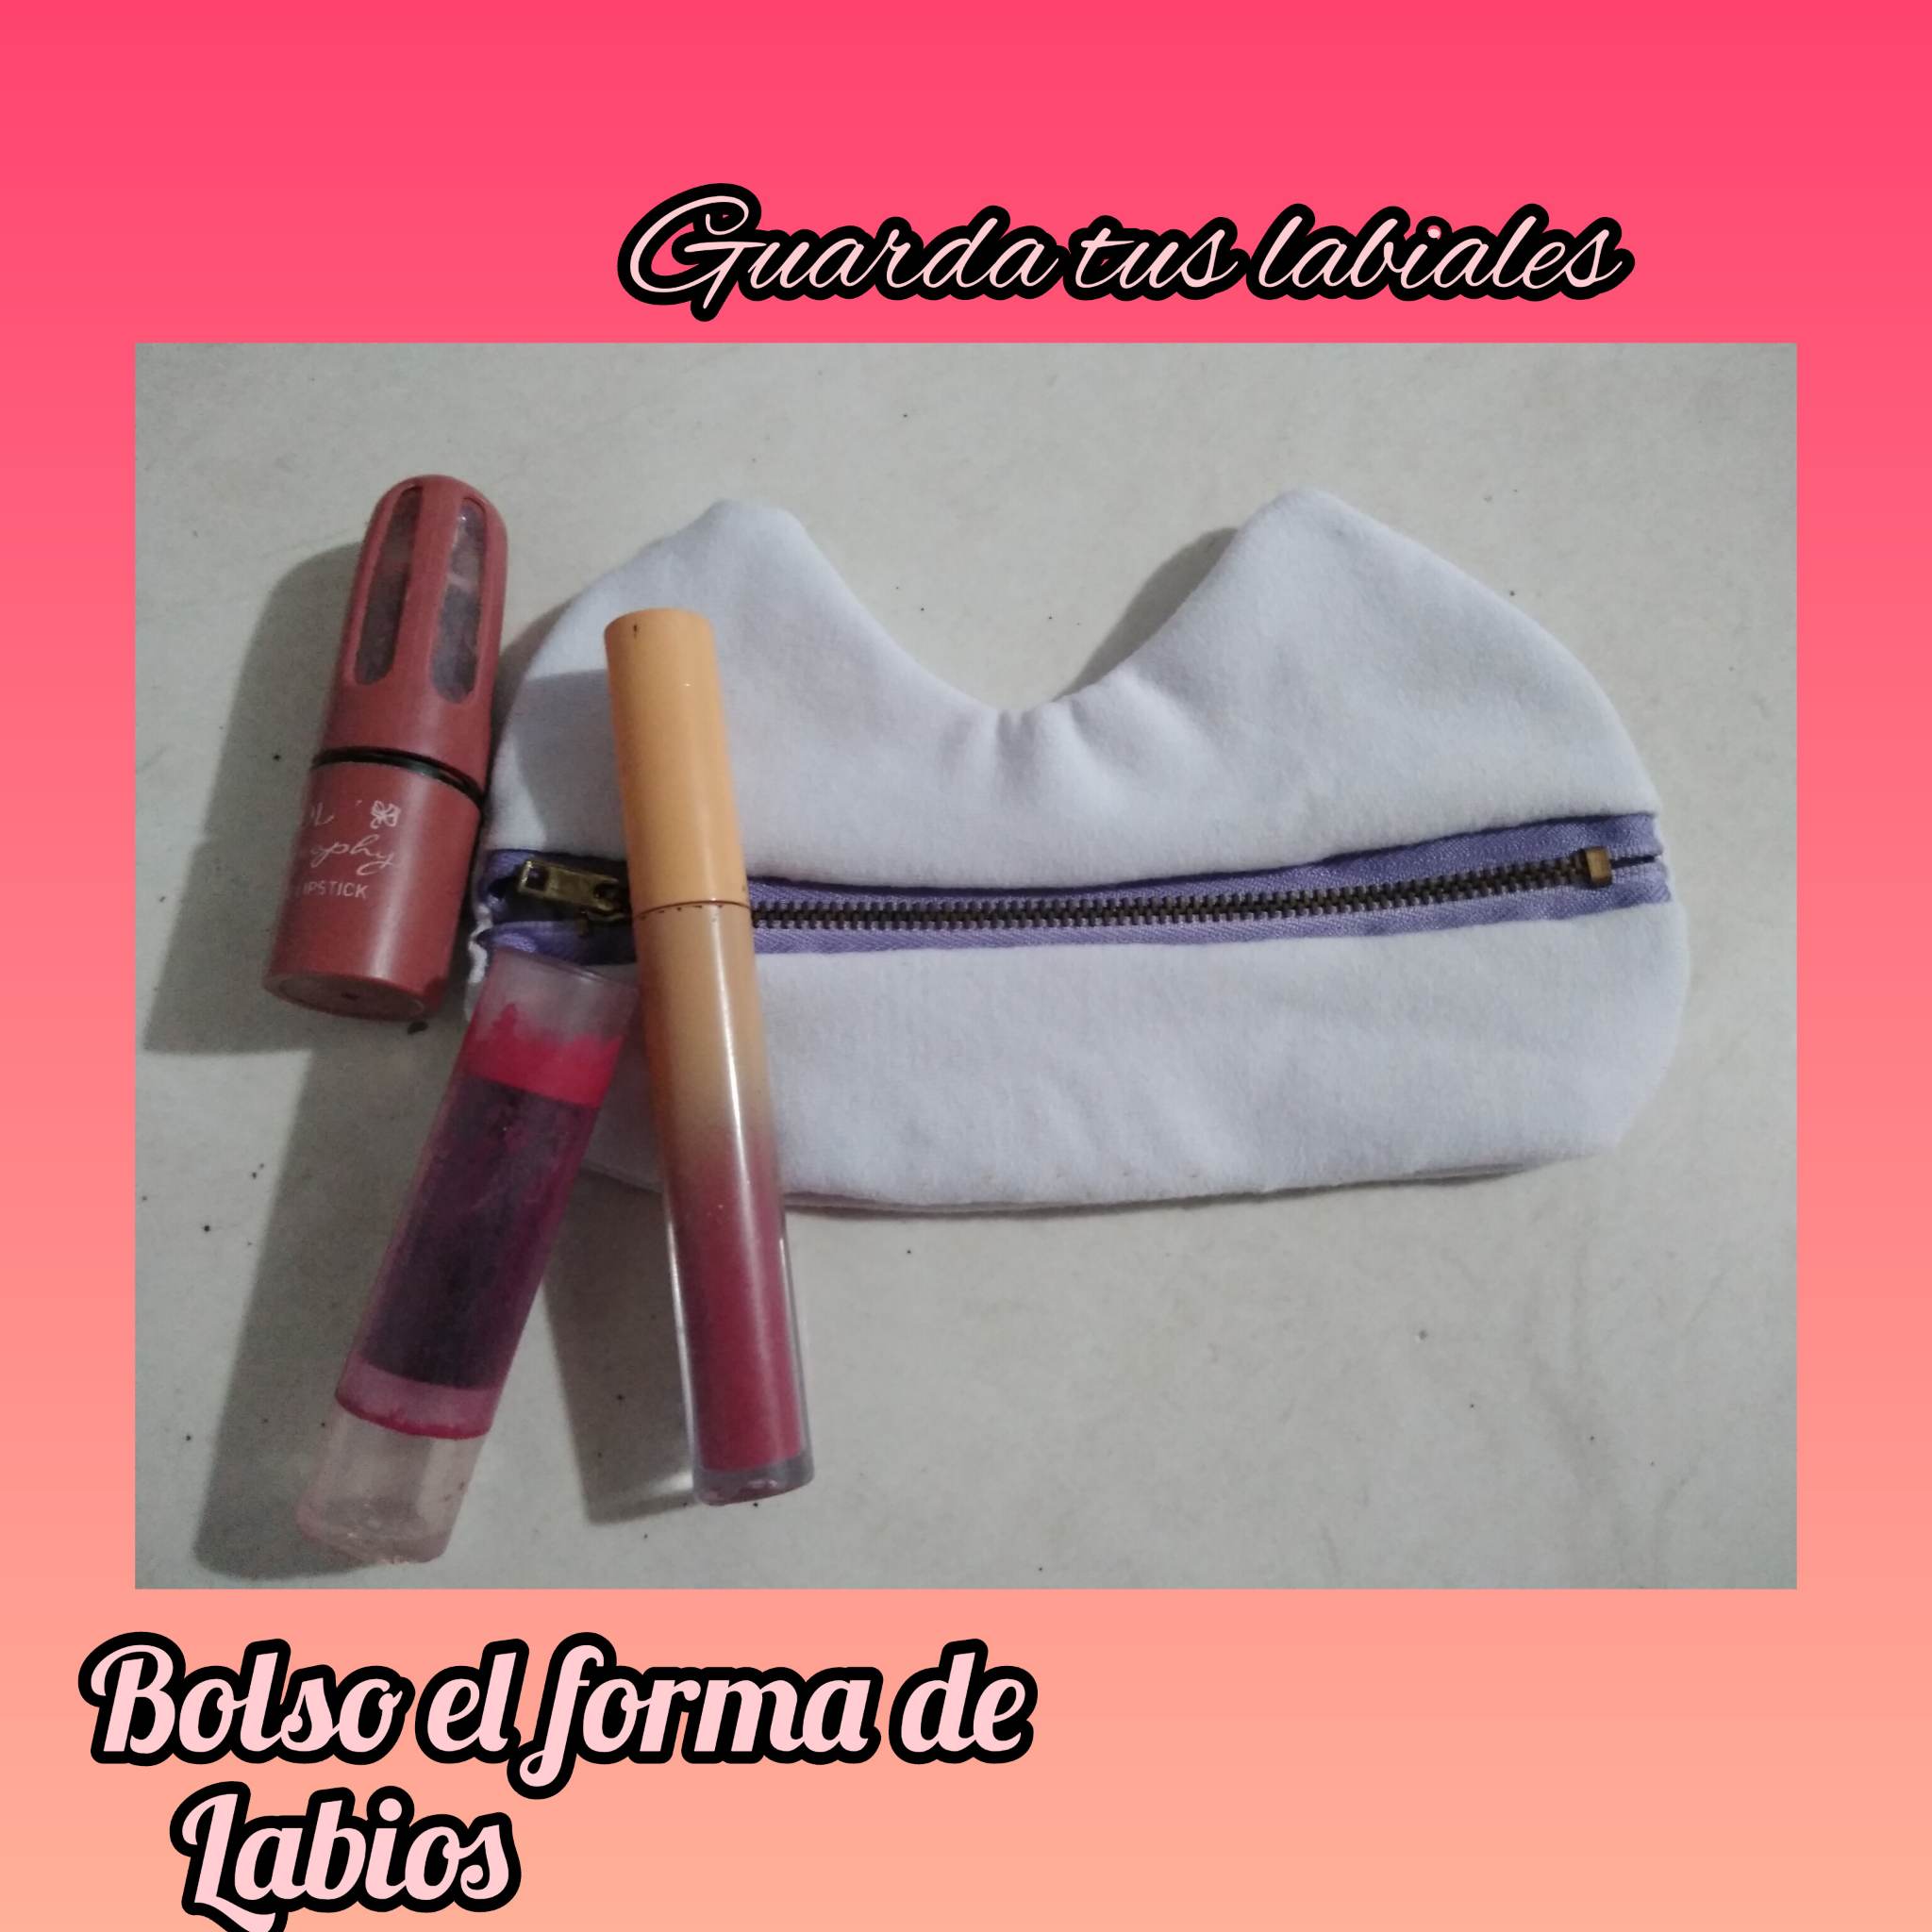
Friends of hive, blessed week for all of you, what a joy to be able to share again and start a week with all the strength possible. Welcome once again to my blog, where I will show you a new post. As women we have lipsticks, and many times we keep all the makeup in the same bag, where everything is mixed and many times we lose something of so many things that are in that bag, then I came up with the great idea of making a bag in the shape of lips for the lipsticks I have, the truth is fantastic because this way I will not lose my lipsticks, it is always a struggle when I go to make up because I lose them, but that's over, so let's start this wonderful tutorial, I hope you like it as much as I do.
.jpg)
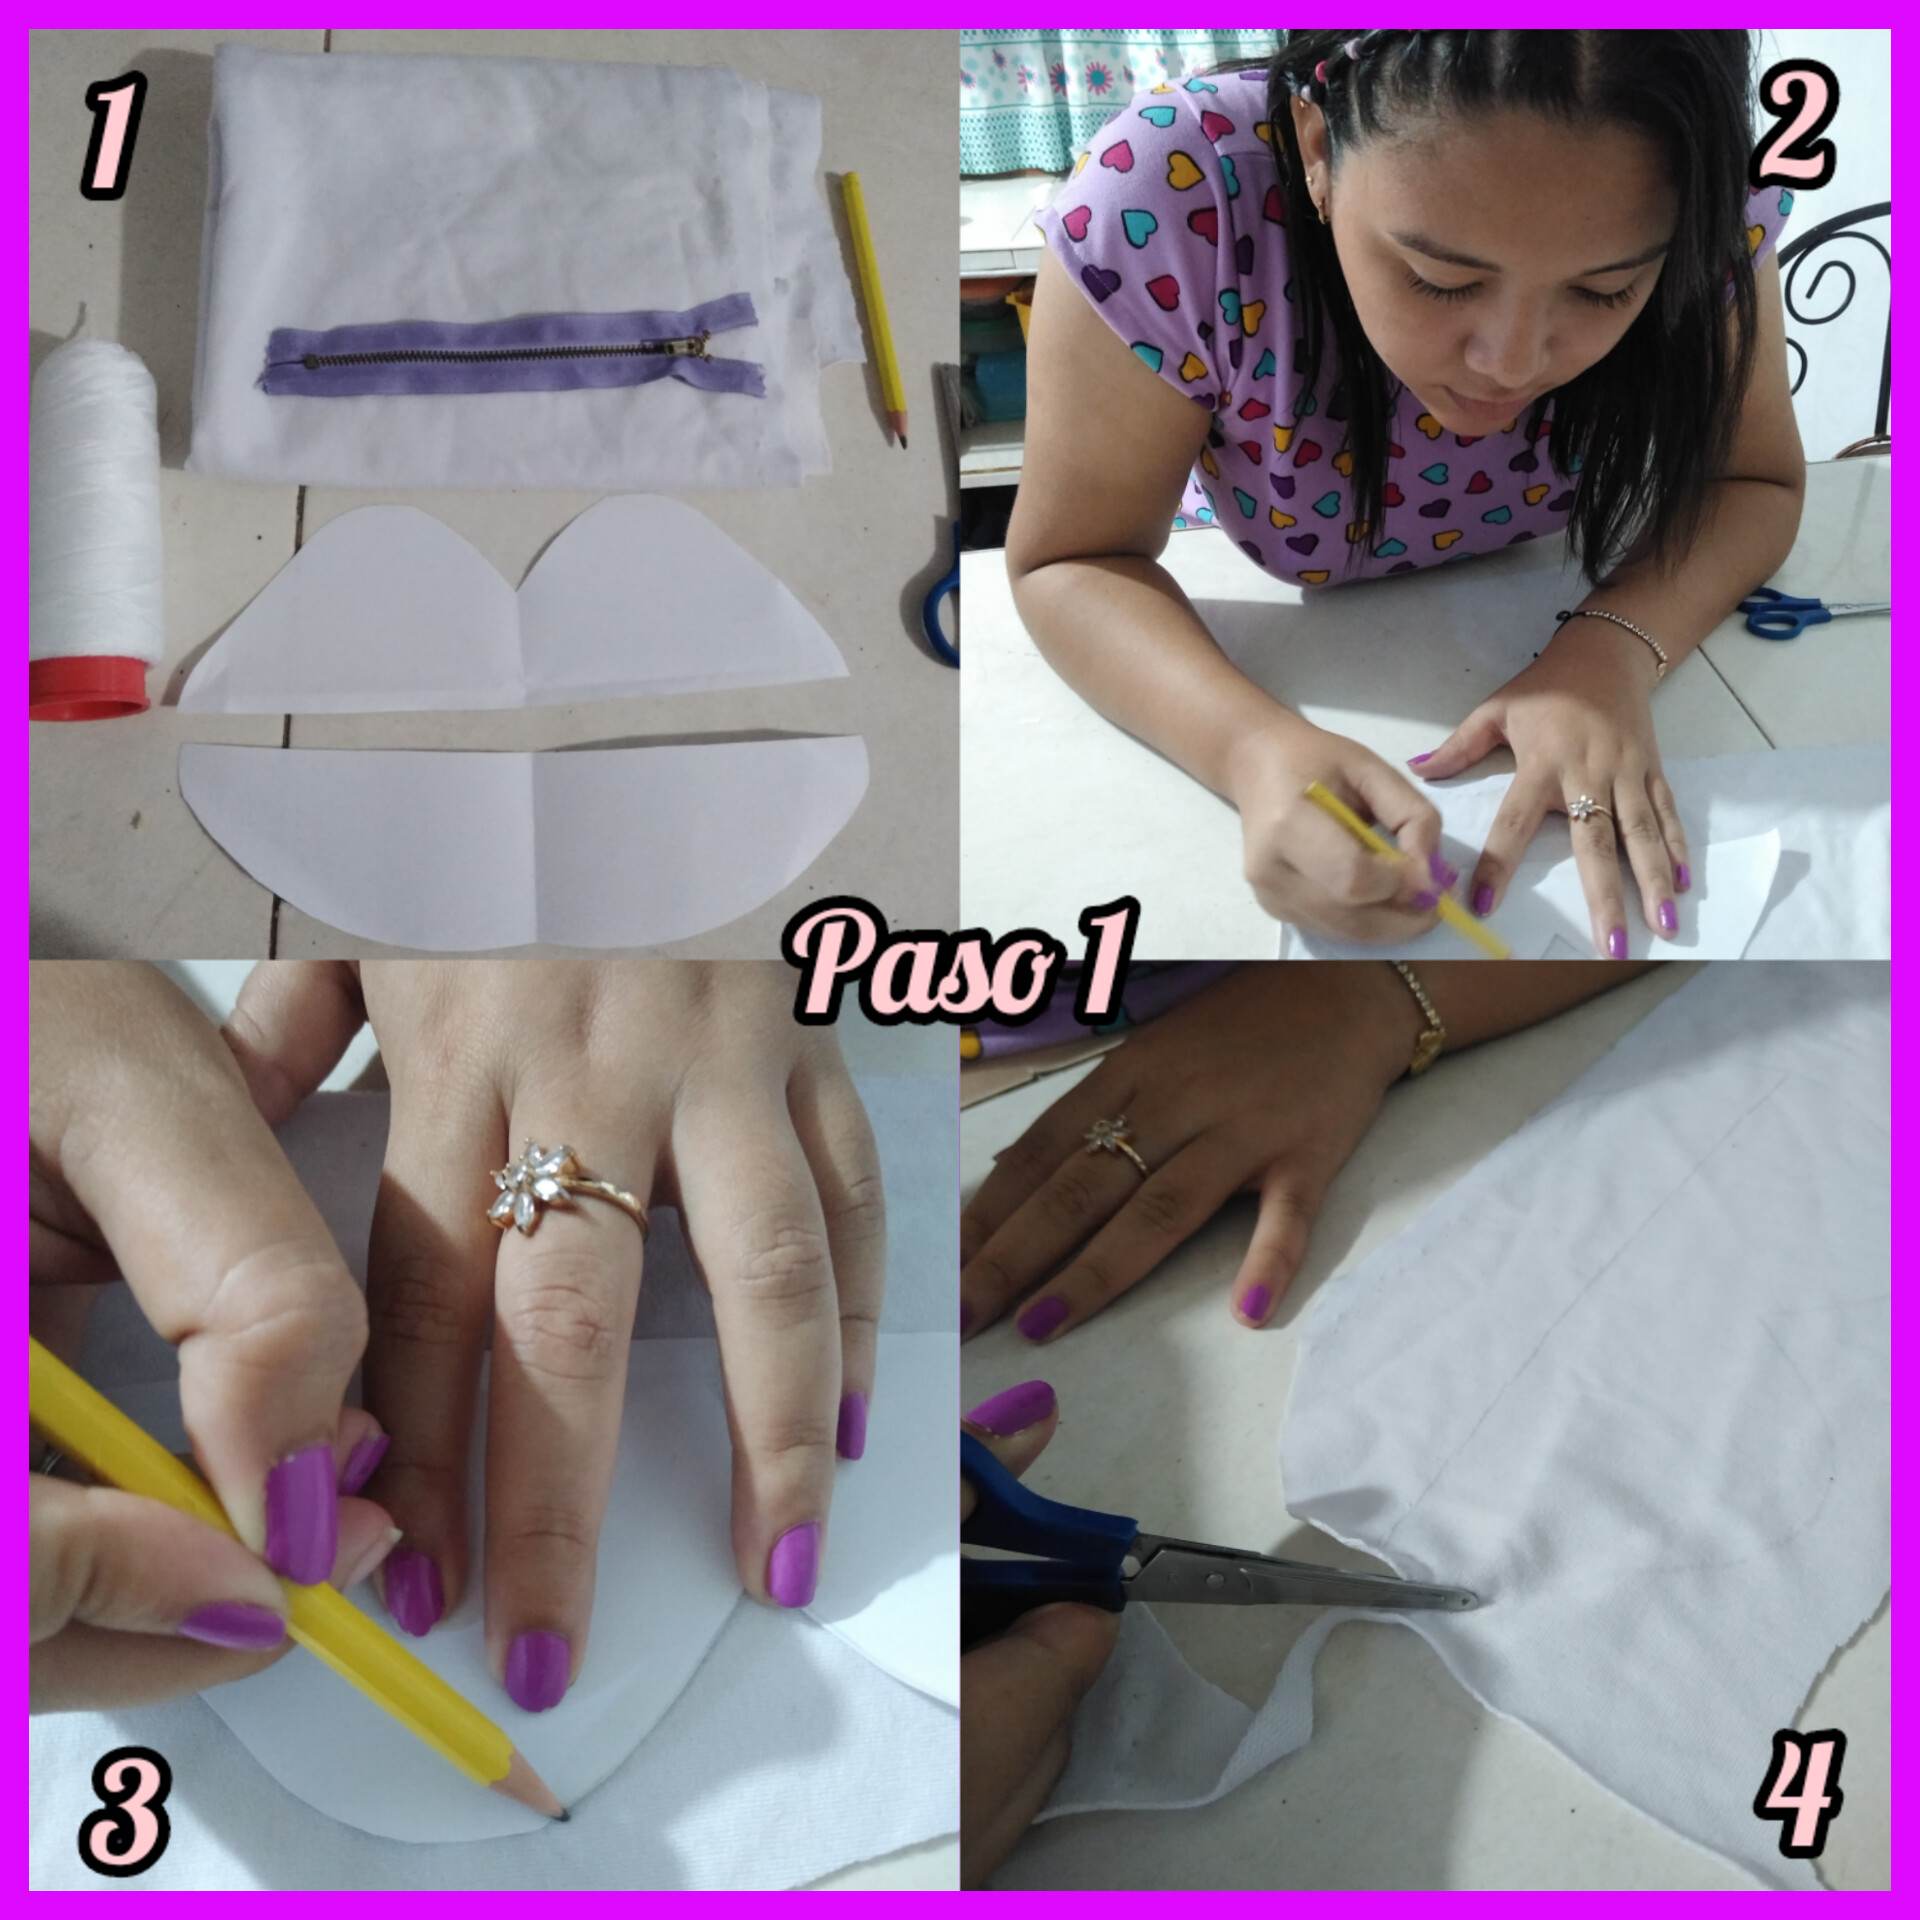
Paso 1: Vamos a necesitar nuestros materiales, en este caso elegí una tela blanca para realizar el bolso, un cierre color lila, aguja, hilo, tijera, y el patrón de los labios en un papel el cual vamos a plasmar en la tela para cortarlo. Procederemos a marcar el patrón en la tela, teniendo en cuenta de que lo vamos a marcar una vez como un patrón completo, con la parte de abajo y la de arriba, pero también vamos a picar lo a la mitad el siguiente, ya que habrá una separación entre el cierre y las partes del bolso en forma de labios, entonces cortamos cuidadosamente nuestras piezas para este hermoso diseño.
Step 1: We will need our materials, in this case I chose a white fabric to make the bag, a lilac zipper, needle, thread, scissors, and the pattern of the lips on a paper which we are going to shape on the fabric to cut it. We will proceed to mark the pattern on the fabric, taking into account that we are going to mark it once as a complete pattern, with the bottom and the top, but we will also cut it in half the next one, since there will be a separation between the zipper and the parts of the bag in the shape of lips, then we carefully cut our pieces for this beautiful design.
.jpg)
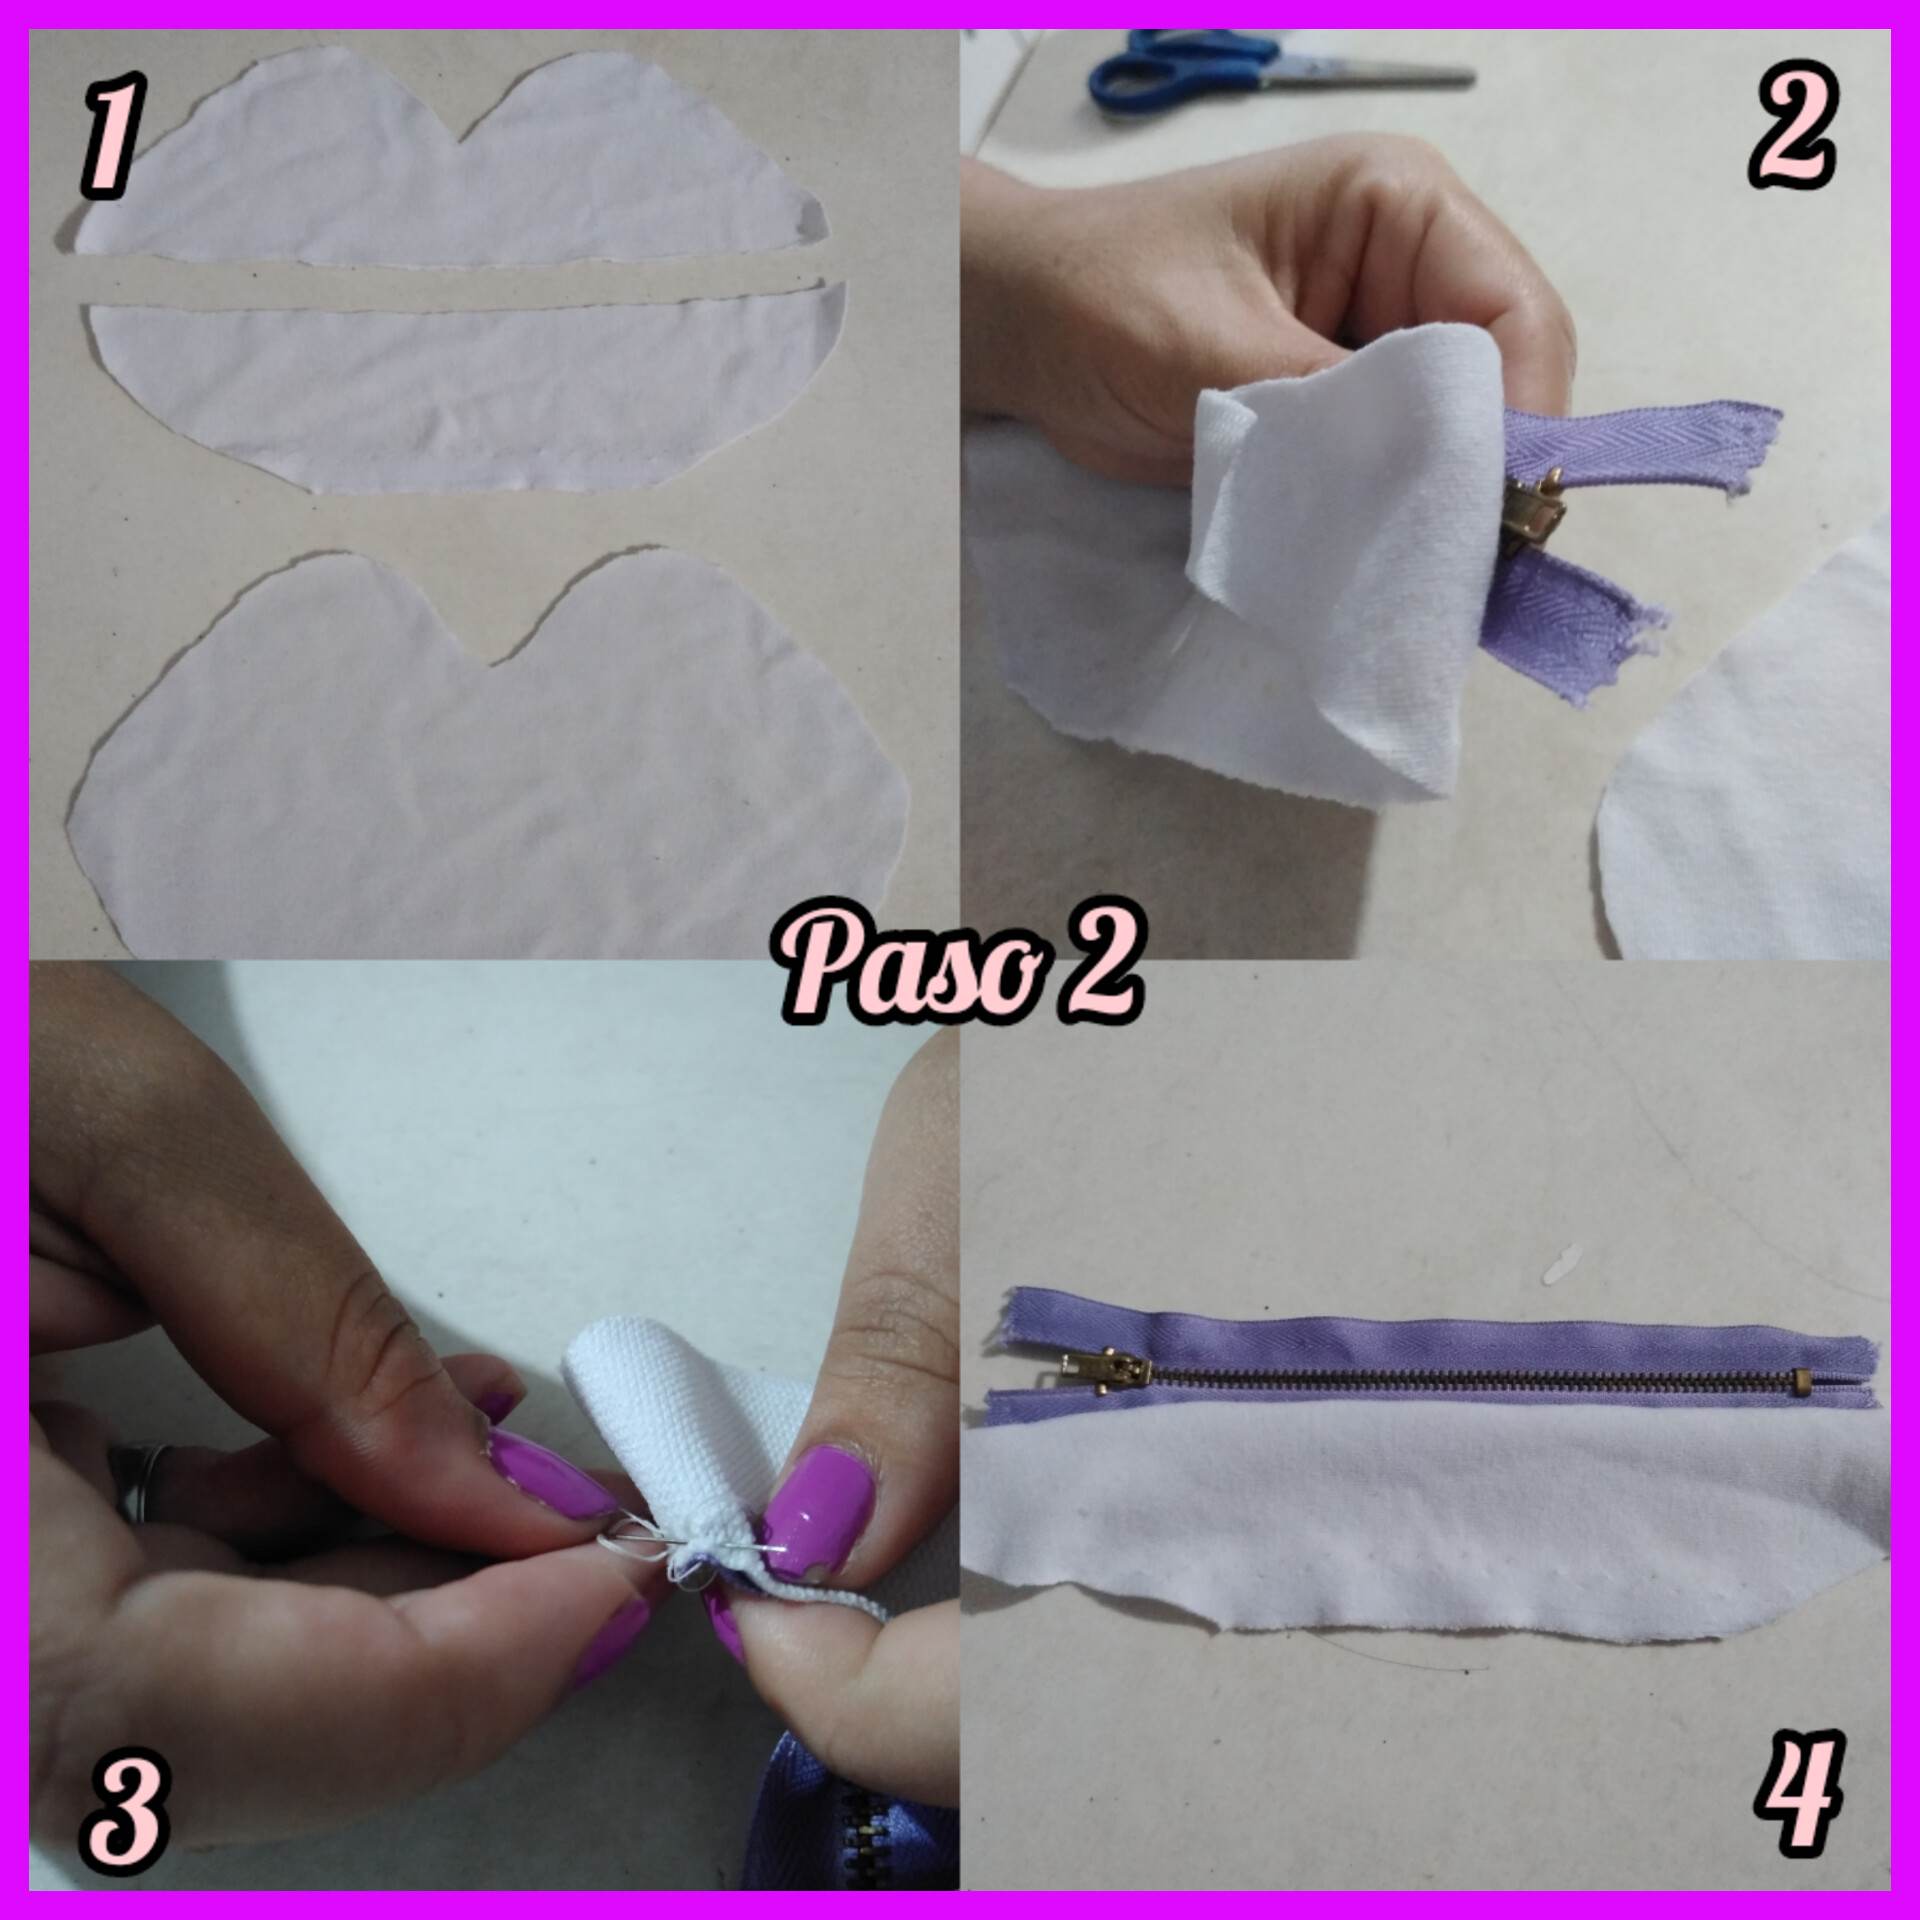
Paso 2: ya teniendo listas nuestras piezas como lo enseño en la primera foto, pueden observar la parte de abajo completa mientras que la de arriba está a la mitad, ya que en medio irá el cierre. Lo que haremos será colocar la parte de arriba del bolso sobre el cierre para comenzar a coserlo, coseremos cuidadosamente, primero coseremos la pieza que hace énfasis al labio de abajo, para luego coser la pieza que hace énfasis al labio de arriba.
Step 2: having our pieces ready as I show in the first picture, you can see the bottom part complete while the top part is in the middle, since the zipper will be in the middle. What we will do is to place the top part of the bag over the zipper to start sewing it, we will sew carefully, first we will sew the piece that emphasizes the bottom lip, and then we will sew the piece that emphasizes the top lip.
.jpg)
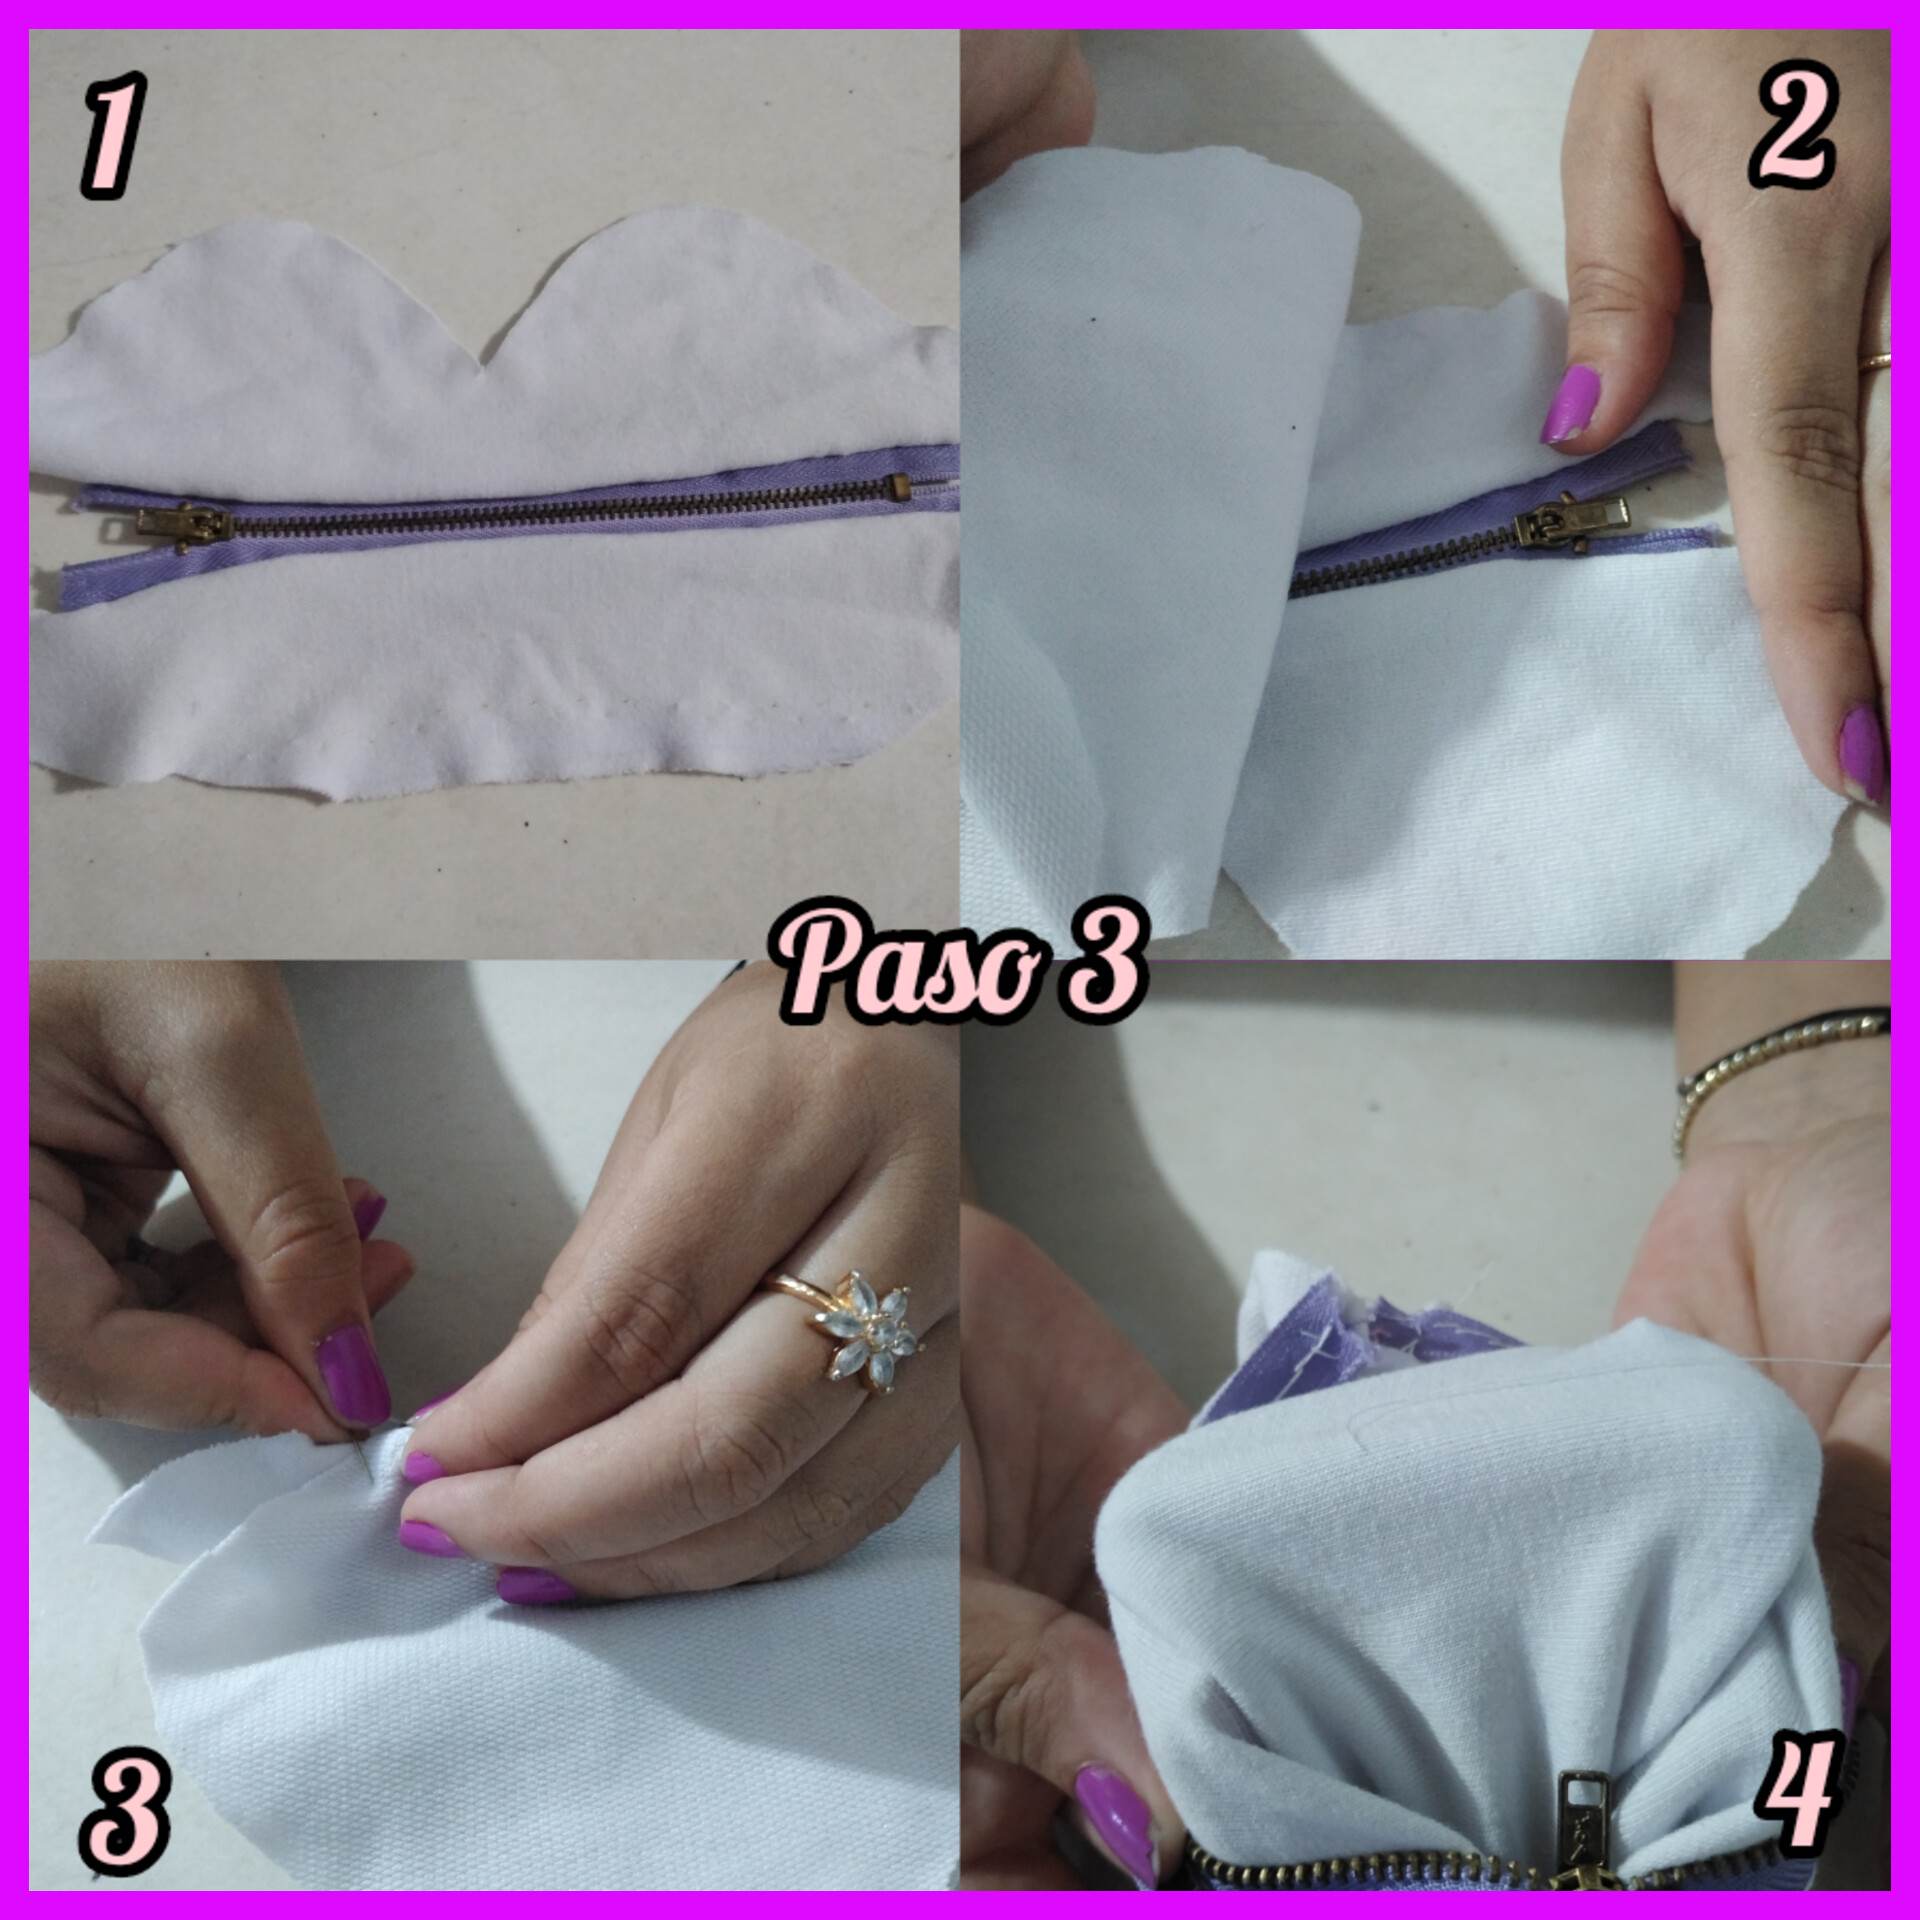
Paso 3: Cómo pueden observar la imágen, ya cosimos tanto la pieza de arriba cómo la pieza de abajo, y se darán cuenta de que el cierre quedará justo en medio de ambas piezas para poder abrir nuestro lindo bolso, ahora lo que Procederemos a coser será la pieza de la parte trasera del bolso, colocamos ésta pieza encima de lo que cosimos para luego de coser el borde lo que haremos sera voltear el bolso, entonces coseremos muy bien por dentro esta pieza y luego ya de haberla cosido la volteamos cuidadosamente, y al voltearla nos aseguramos de acomodarlo muy bien para que se pueda ver la forma de los labios plasmados en un lindo bolso.
Step 3: As you can see in the image, we already sewed both the top piece and the bottom piece, and you will notice that the zipper will be right in the middle of both pieces to open our nice bag, now what we will proceed to sew will be the piece of the back of the bag, we place this piece on top of what we sew and after sewing the edge what we will do is flip the bag, then we will sew very well inside this piece and after having sewn it we flip it carefully, and when we flip it we make sure to place it very well so you can see the shape of the lips captured in a nice bag.
.jpg)
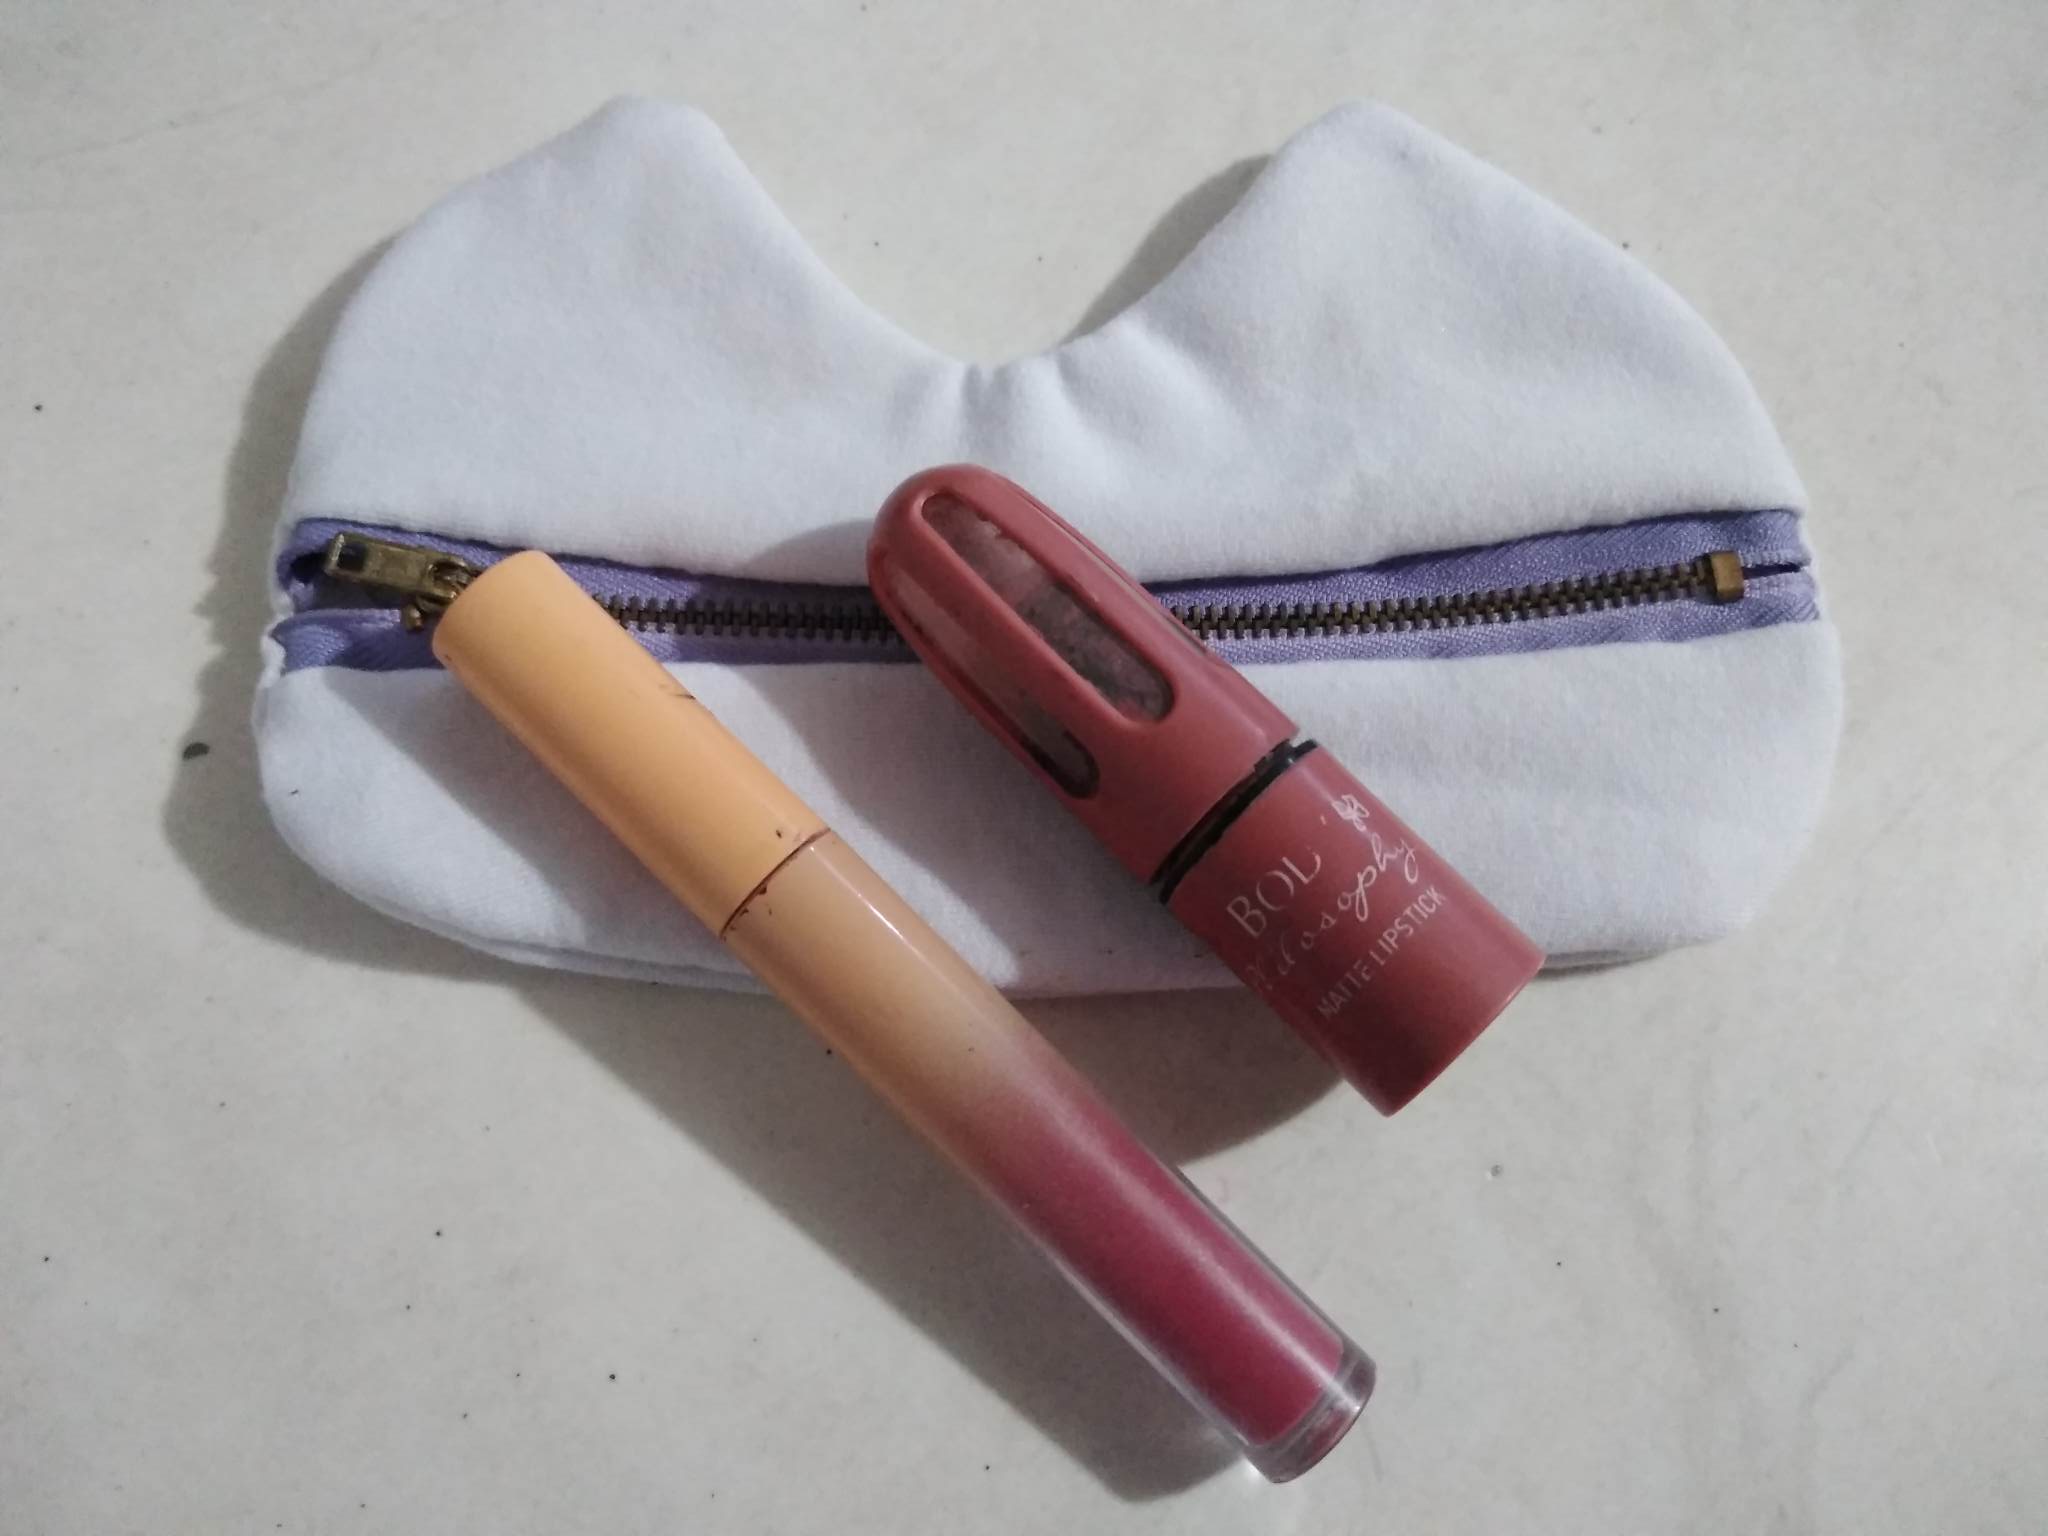
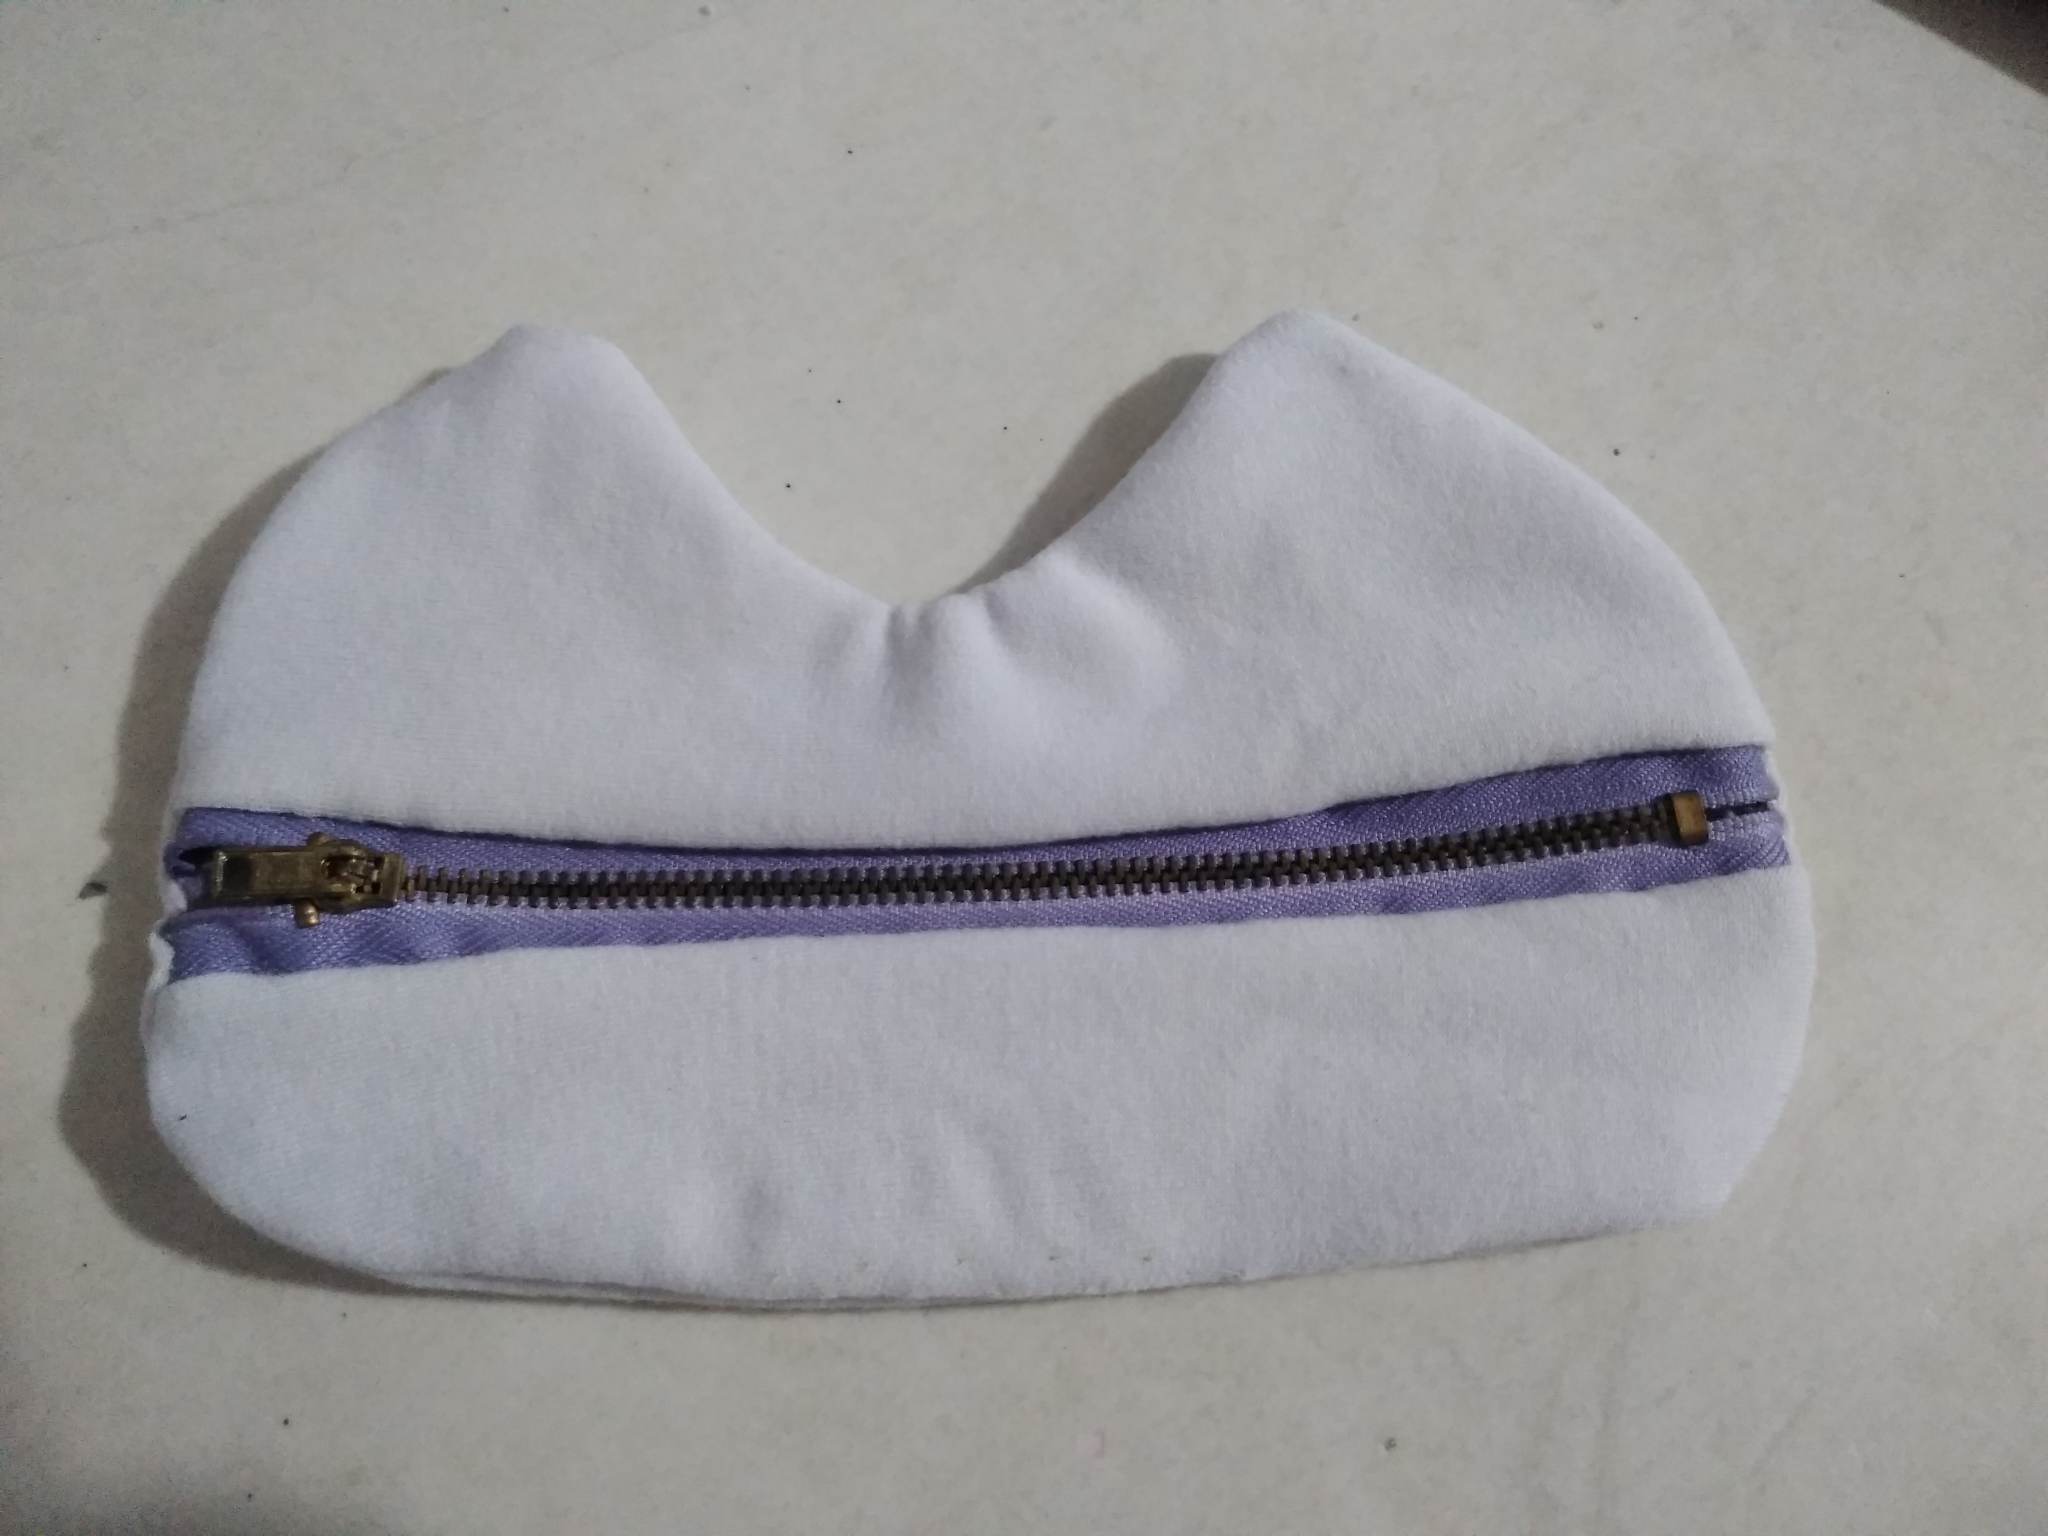
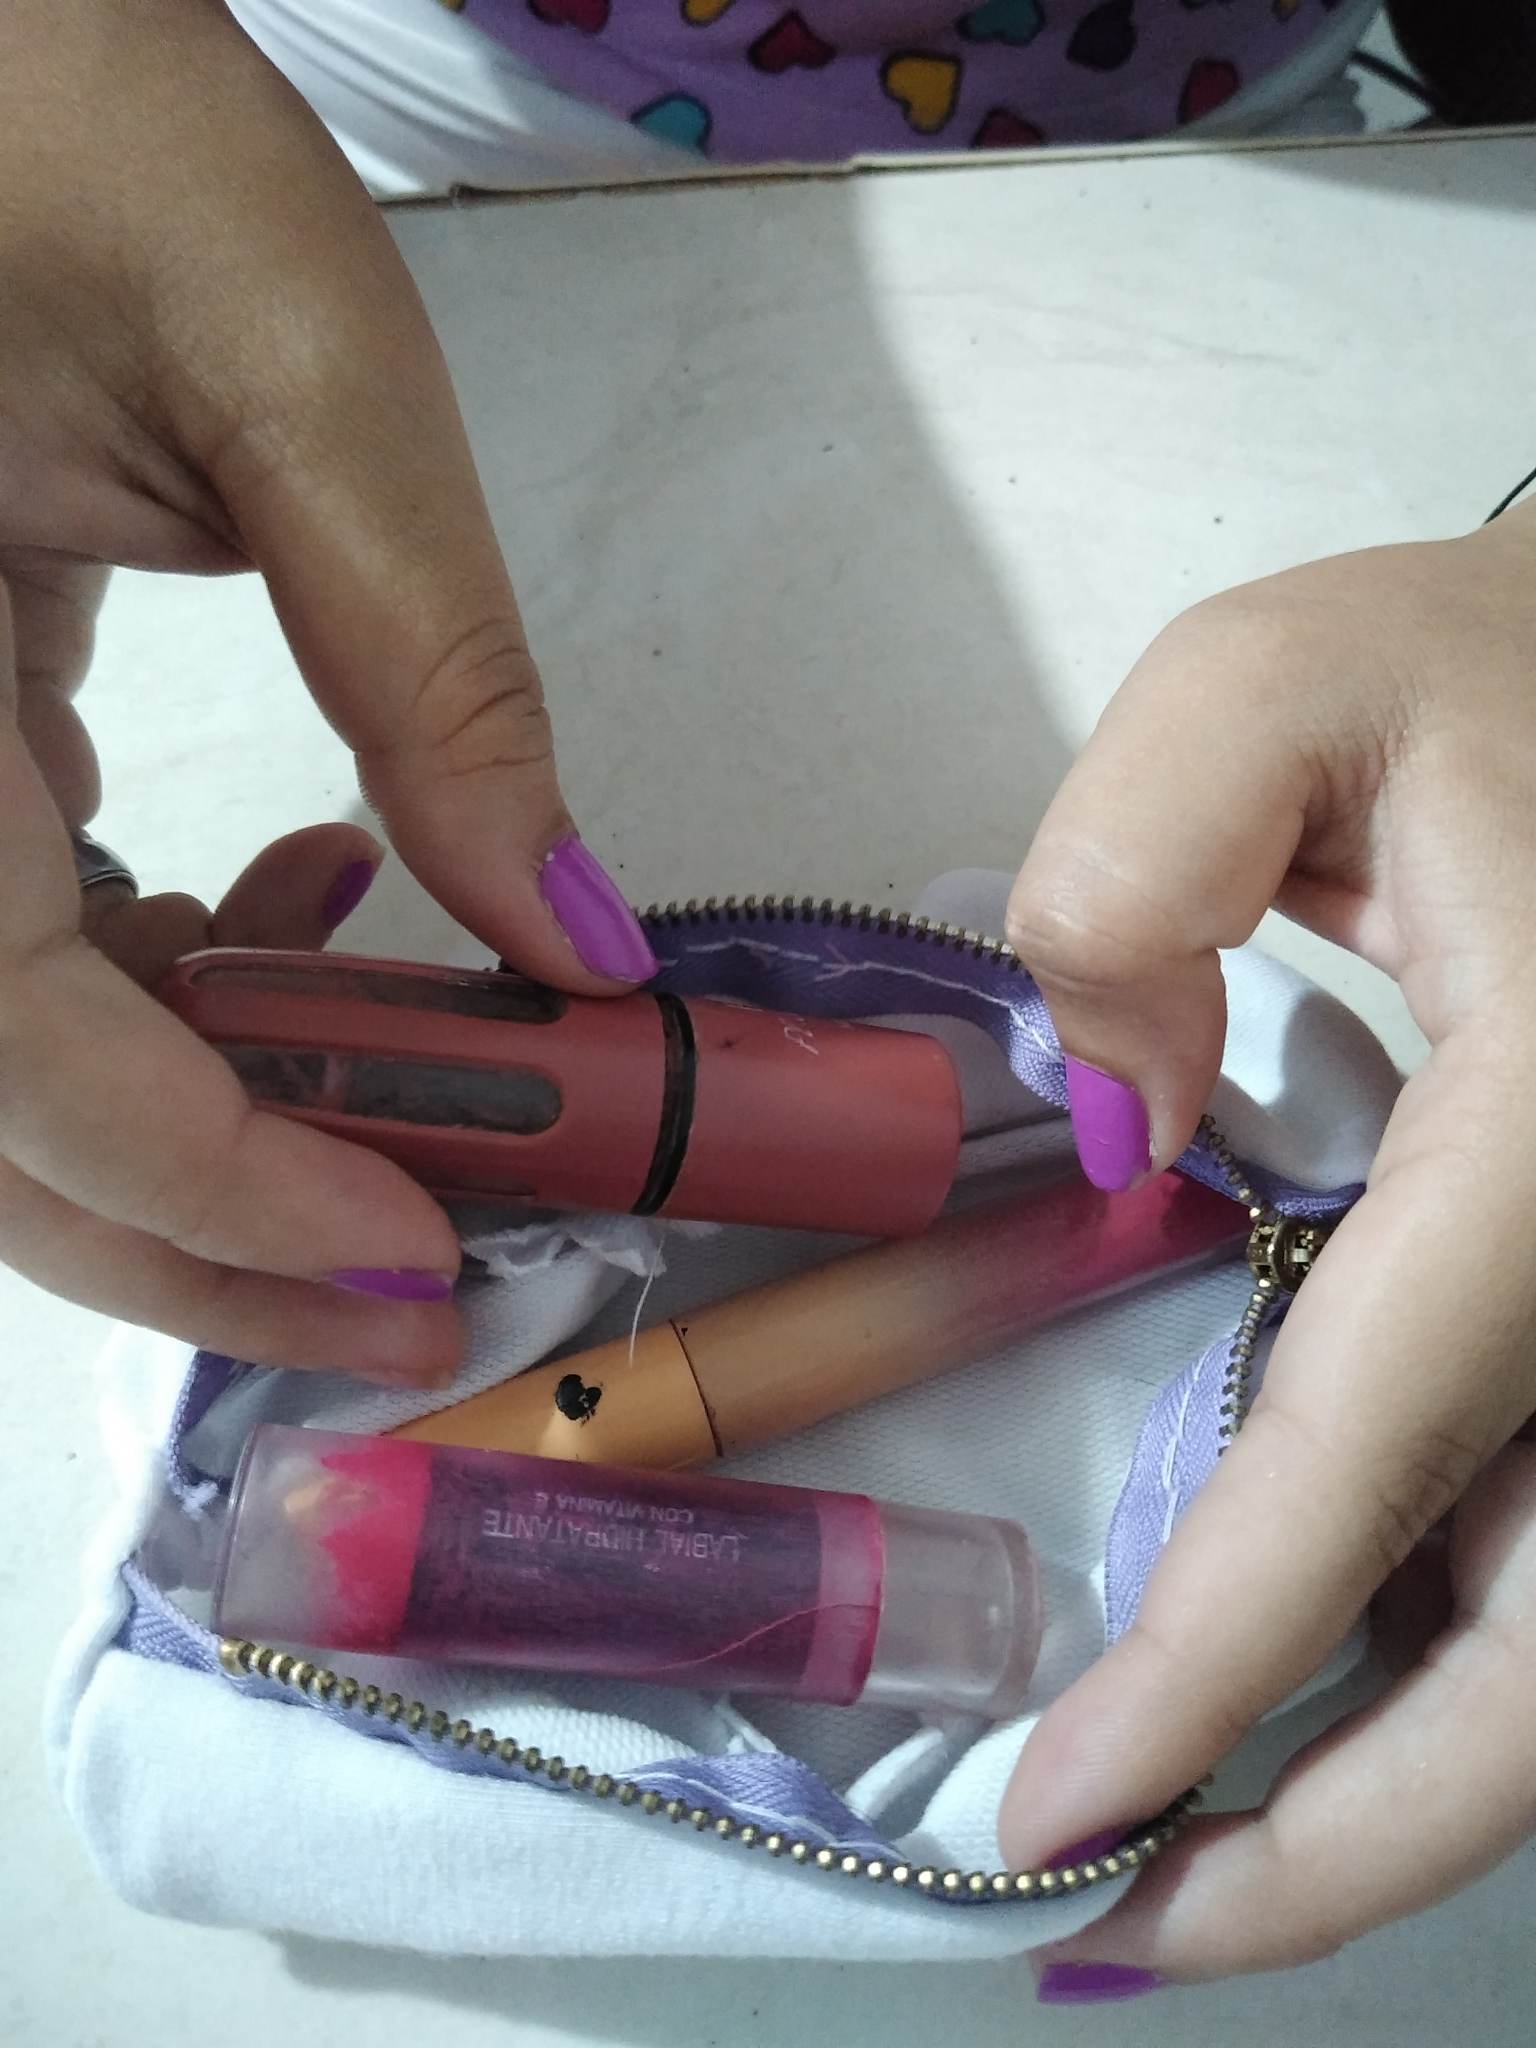
Final Result.
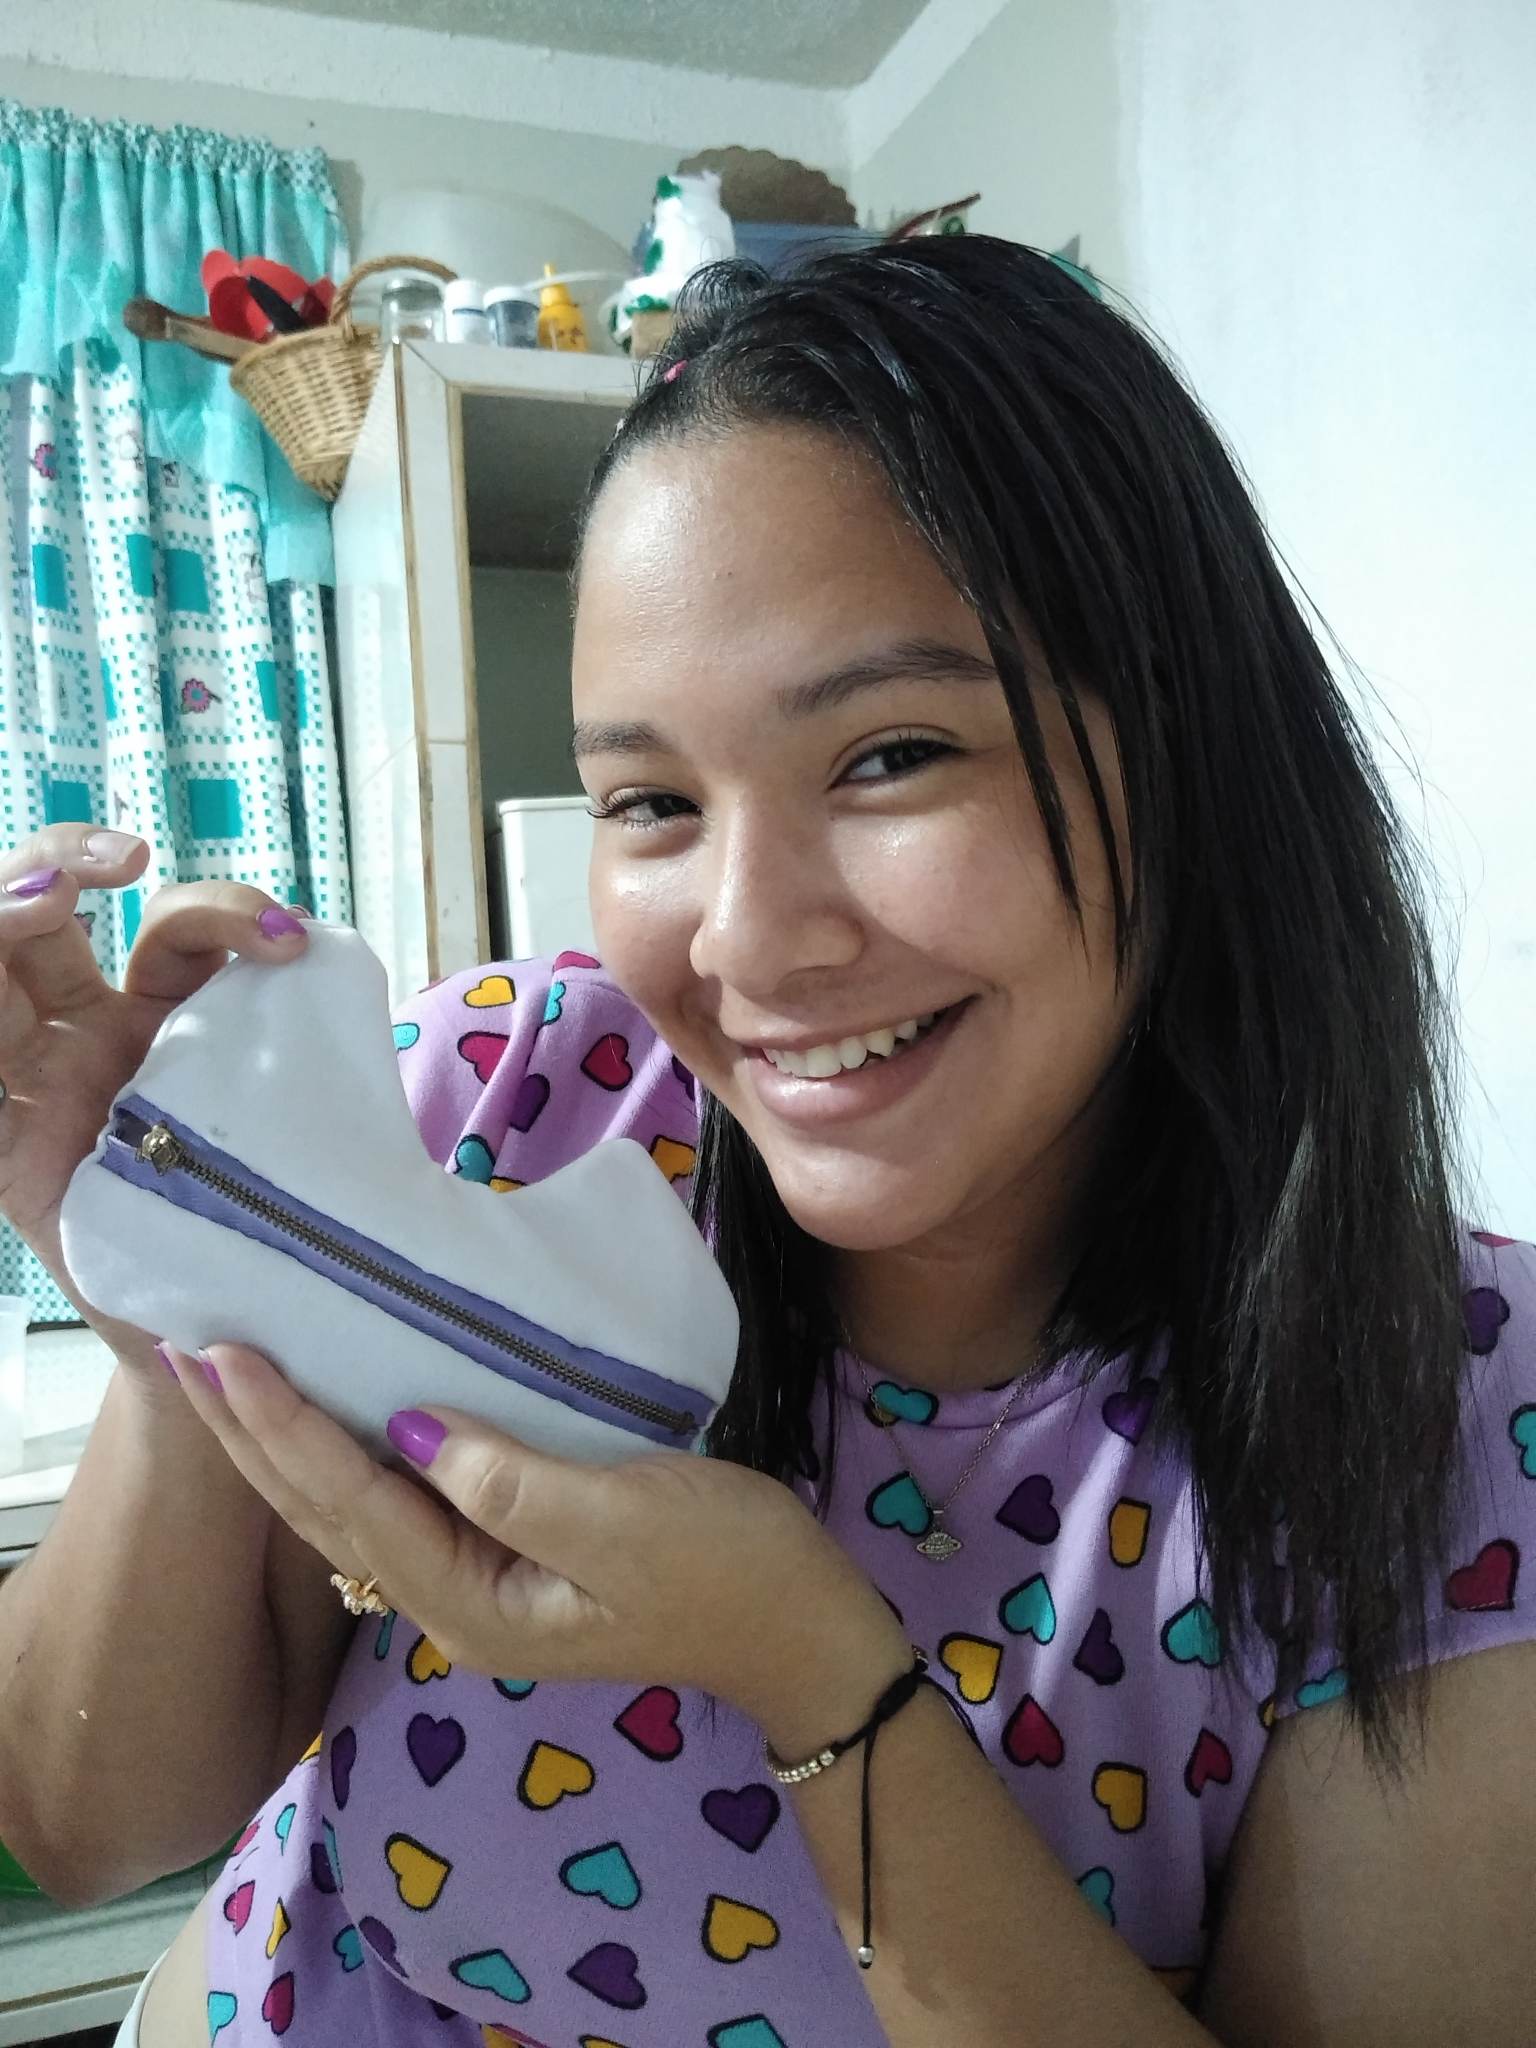
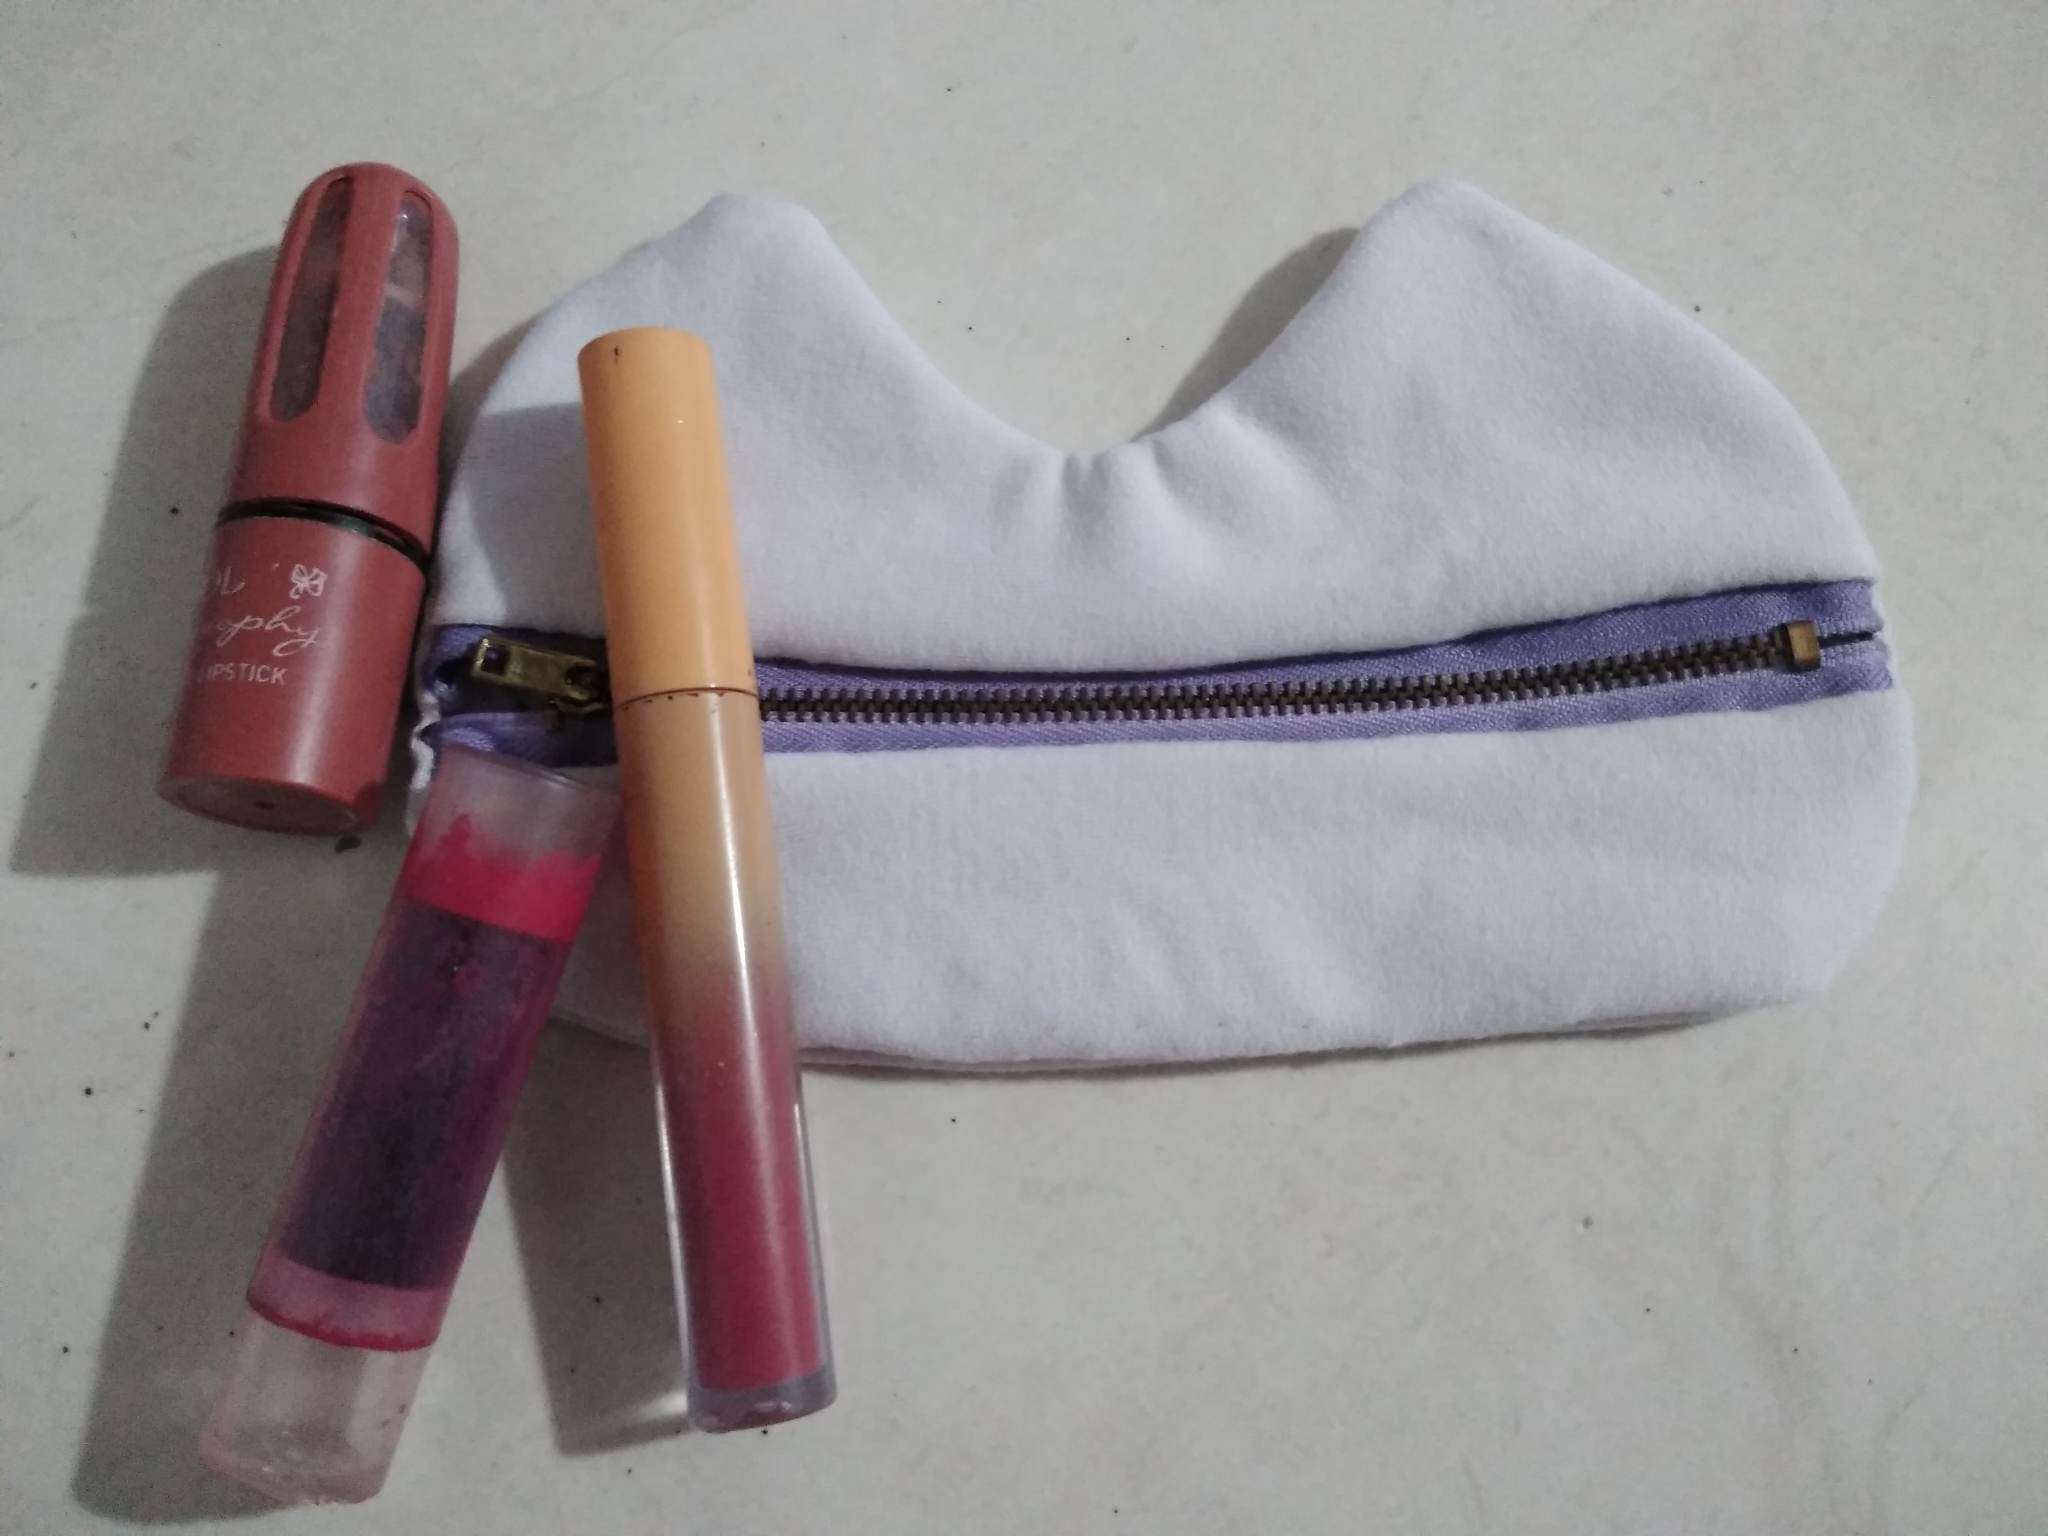
.jpg)
