[ESP-ENG] Incredible bag for my phone charger - Made from a piece of old pants | Increíble bolso para el Cargador de mi teléfono - Hecho con pieza de pantalón viejo Increíble bolso para el Cargador de mi teléfono - Hecho con pieza de pantalón viejo
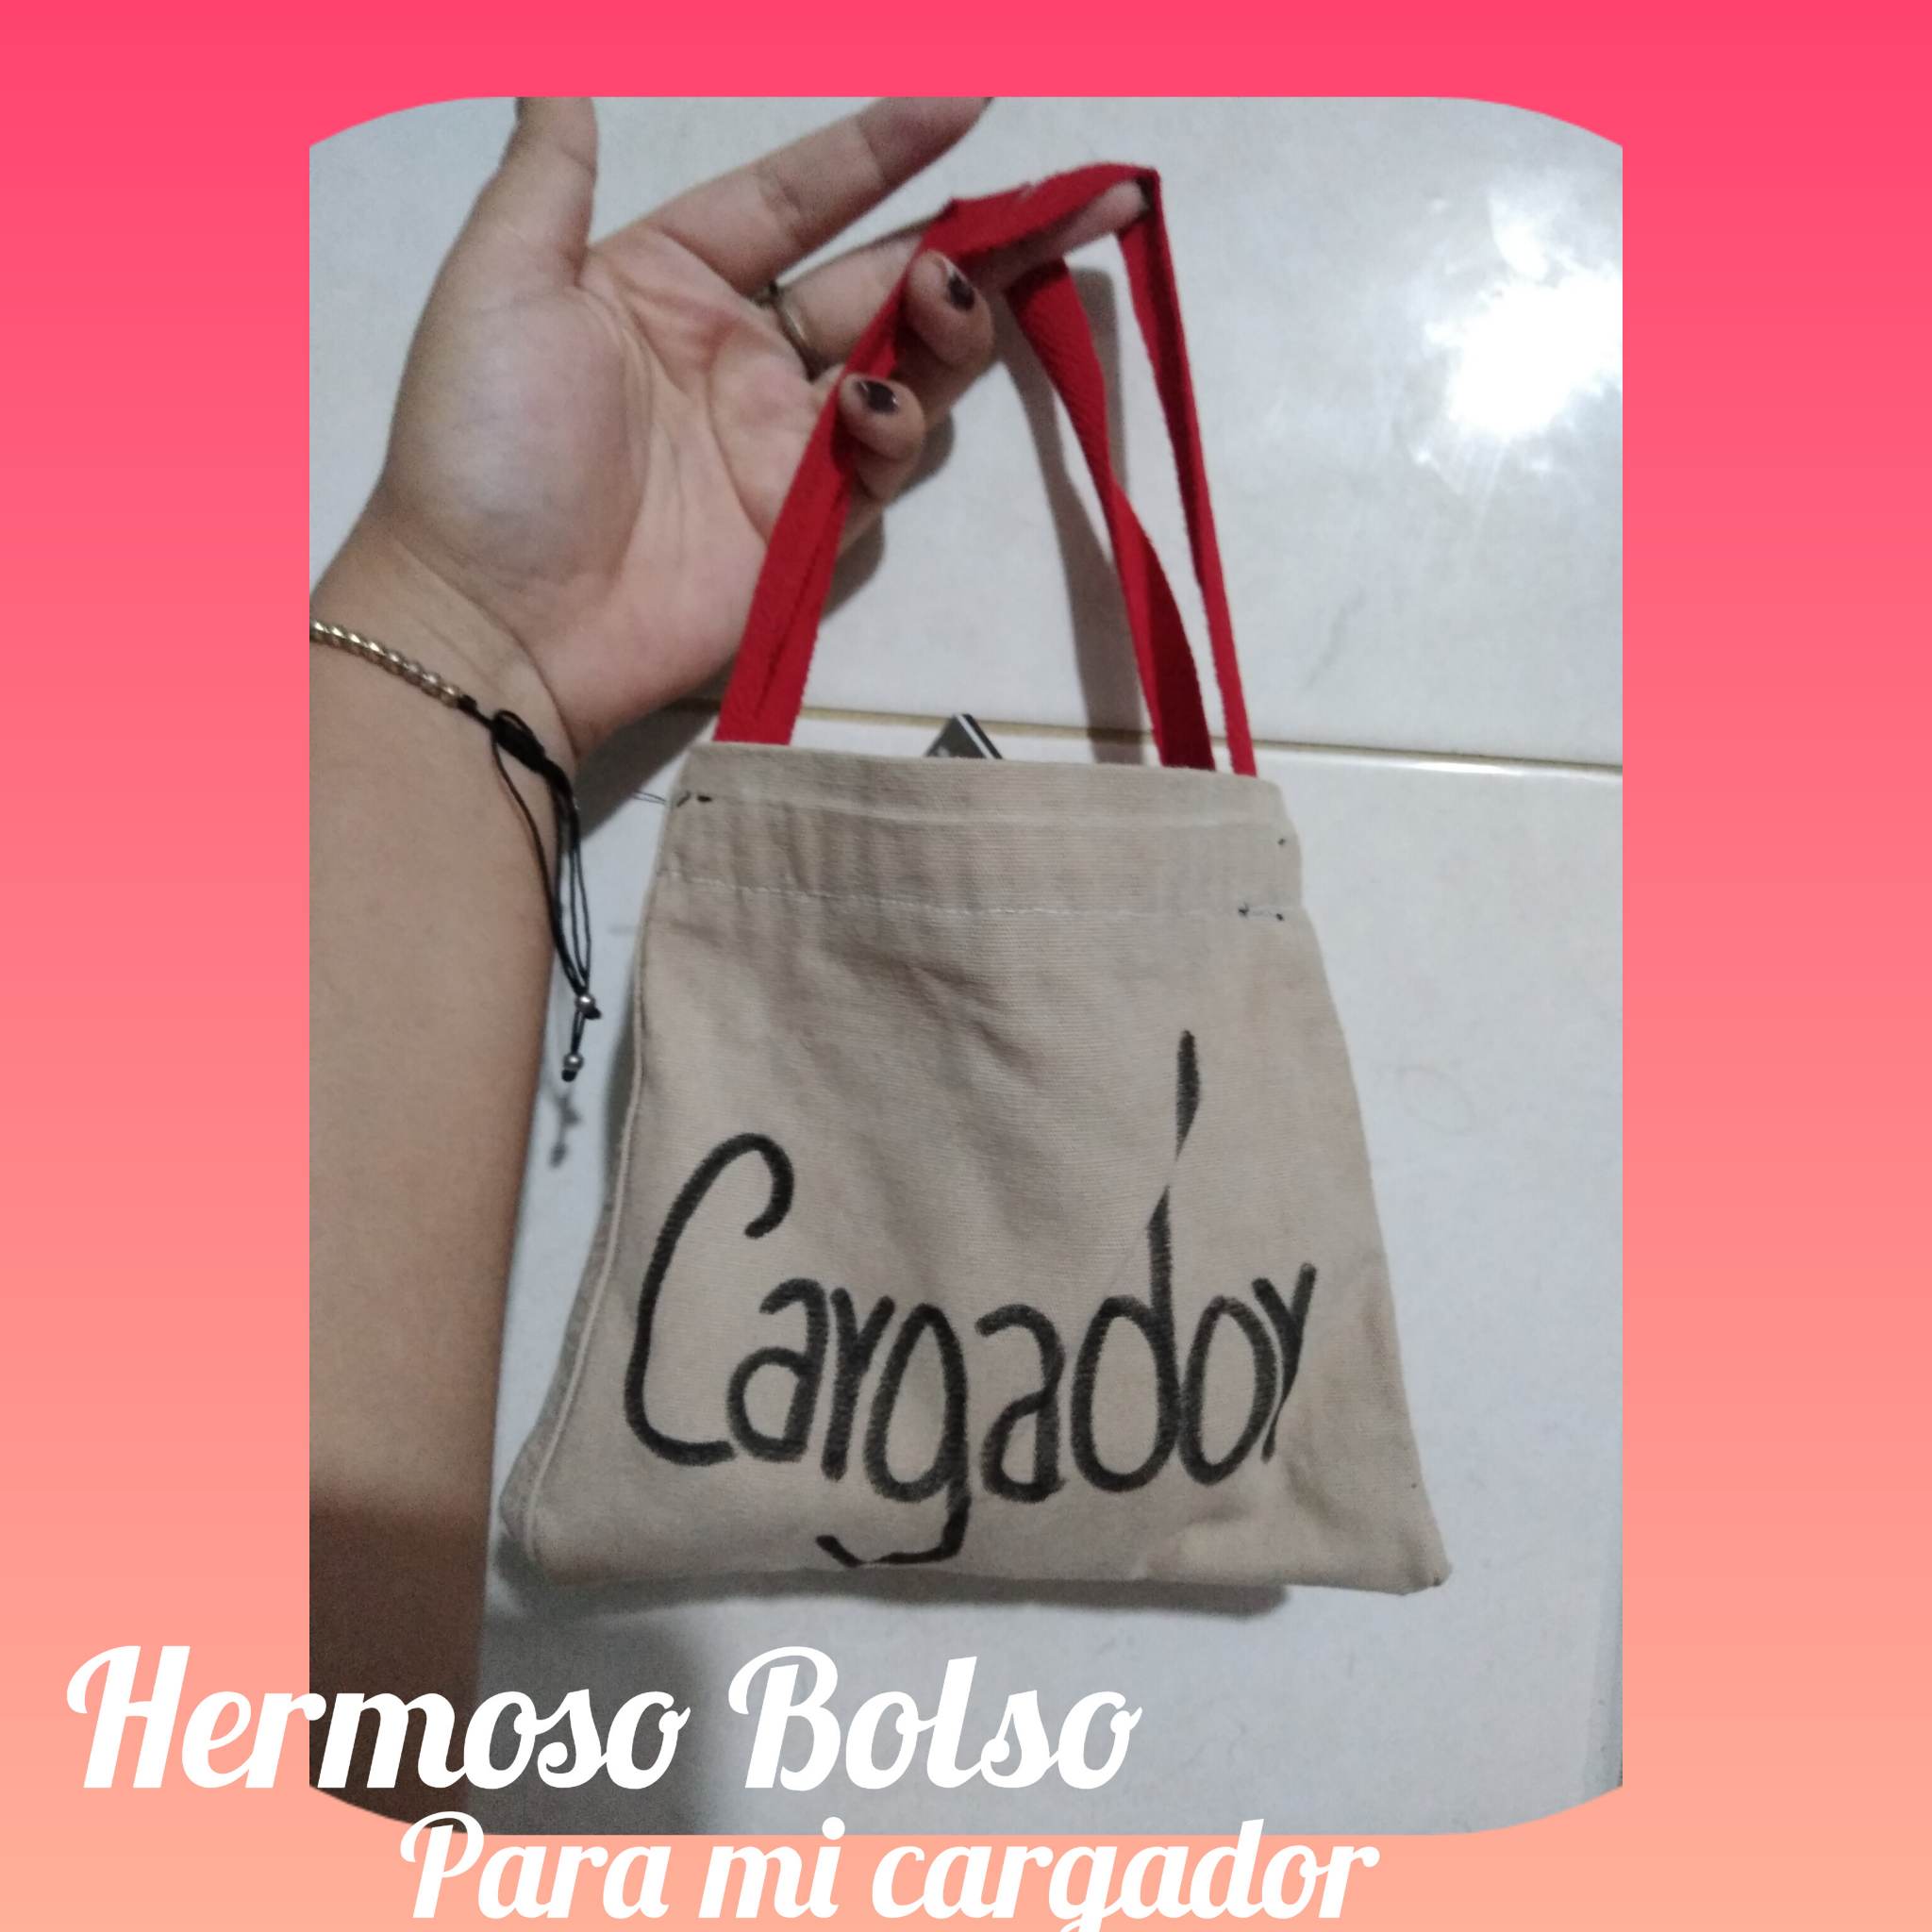
Hello friends and family of hive, I am happy to be with you all again and to share through this beautiful community, today I am happy because I tell you that I come to share and show you a new of my creations that I made, it is a bag only for the charger of the phone, well and for all the cables or heads that we have out there that are for the phone, this is really something very necessary because it is that it is fundamental in our lives, we always leave the phone charger in any place lying around and then when we need it we do not know where we leave it because of the mess we have, so this helped me a lot to create the habit of keeping my charger in one place in my room and from there I do not lose it, the truth is amazing, plus I made it with the bottom of a pair of pants, if you look closely you will notice, I refused something that maybe for others was garbage, but for me it was profit so let's see the step by step:
.jpg)
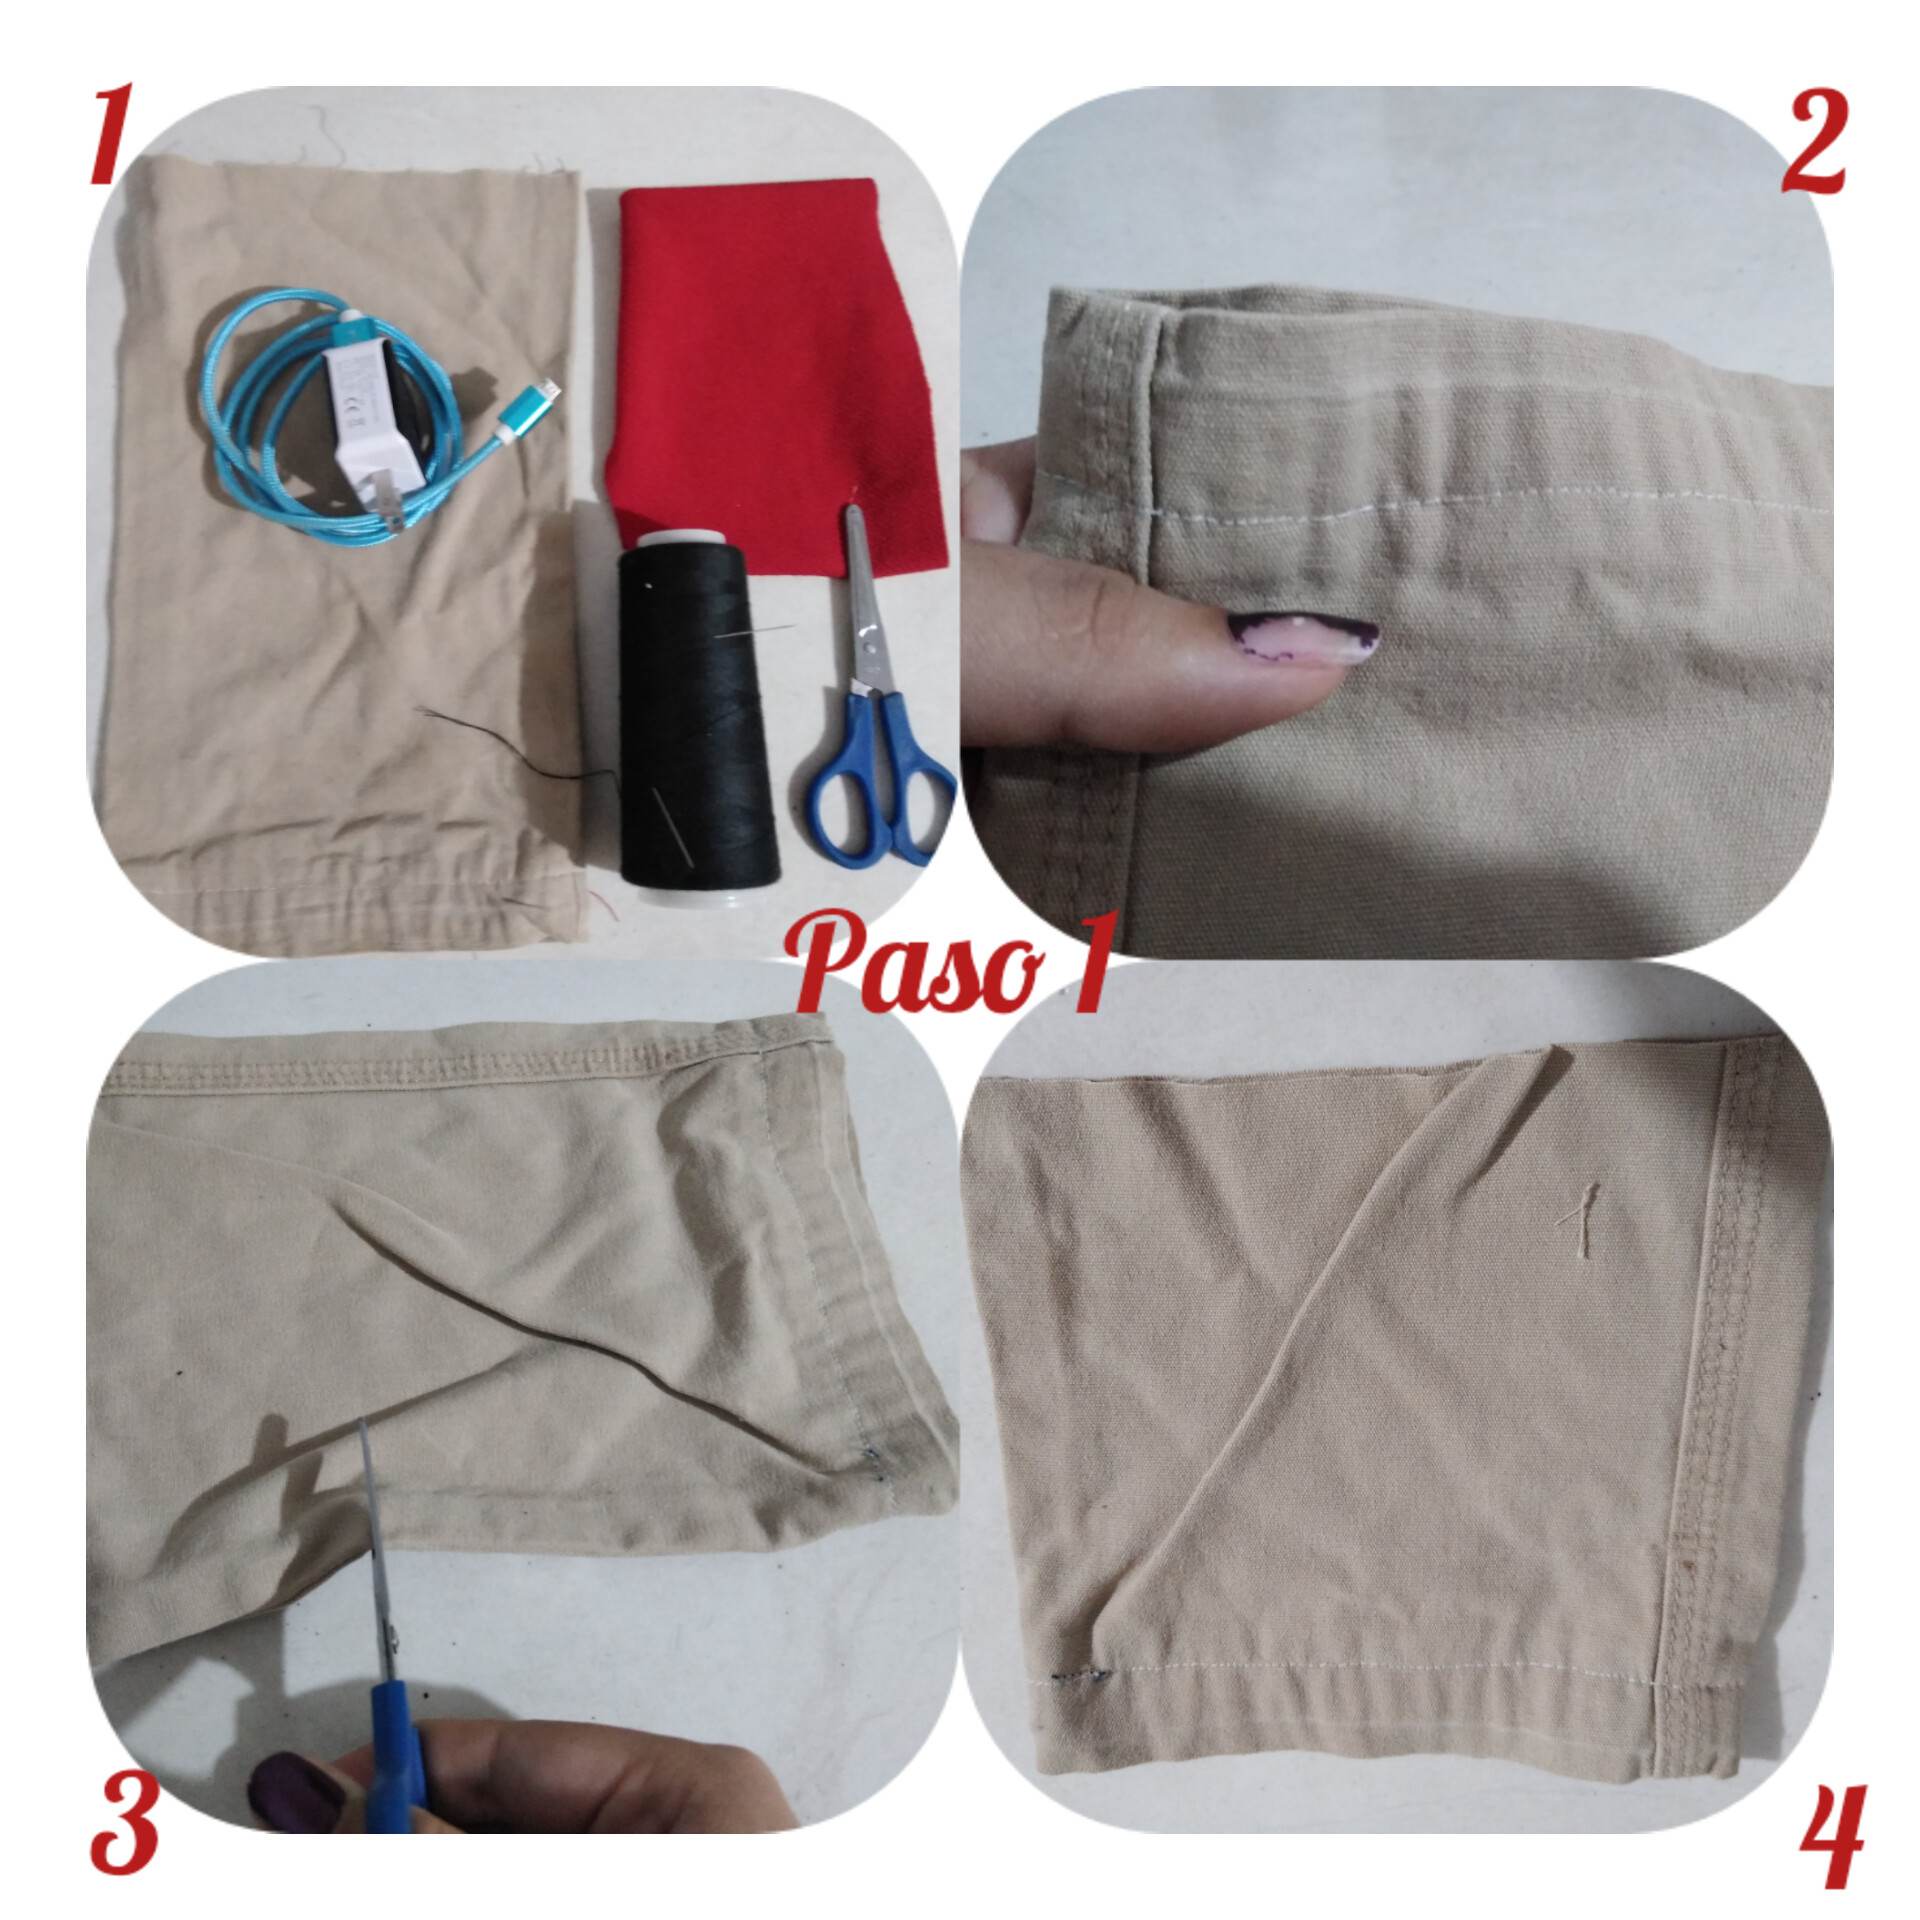
Paso 1: para realizar este hermoso bolso para nuestro cargador vamos a necesitar la parte que finaliza de un pantalón, me refiero a la parte de la batata hasta el ruedo del pantalón esa parte y esa pieza es la que voy a usar para realizar este lindo bolso como pueden ver, lo que haré será aprovechar el ruedo que ya está marcado del pantalón para que sea la parte de arriba y la apertura de la boca del bolso. Ahora lo que haré será cortar un poco más lo que será esta pieza para reducir su tamaño ya que es un poco larga entonces la cortamos para que quede un poco más pequeña.
Step 1: to make this beautiful bag for our carrier we will need the part that ends of a pair of pants, I mean the part of the sweet potato to the hem of the pants that part and that piece is what I will use to make this nice bag as you can see, what I will do is to take advantage of the hem that is already marked on the pants to be the top and the opening of the mouth of the bag. Now what I will do is to cut a little more what will be this piece to reduce its size since it is a little long so we cut it to make it a little smaller.
.jpg)
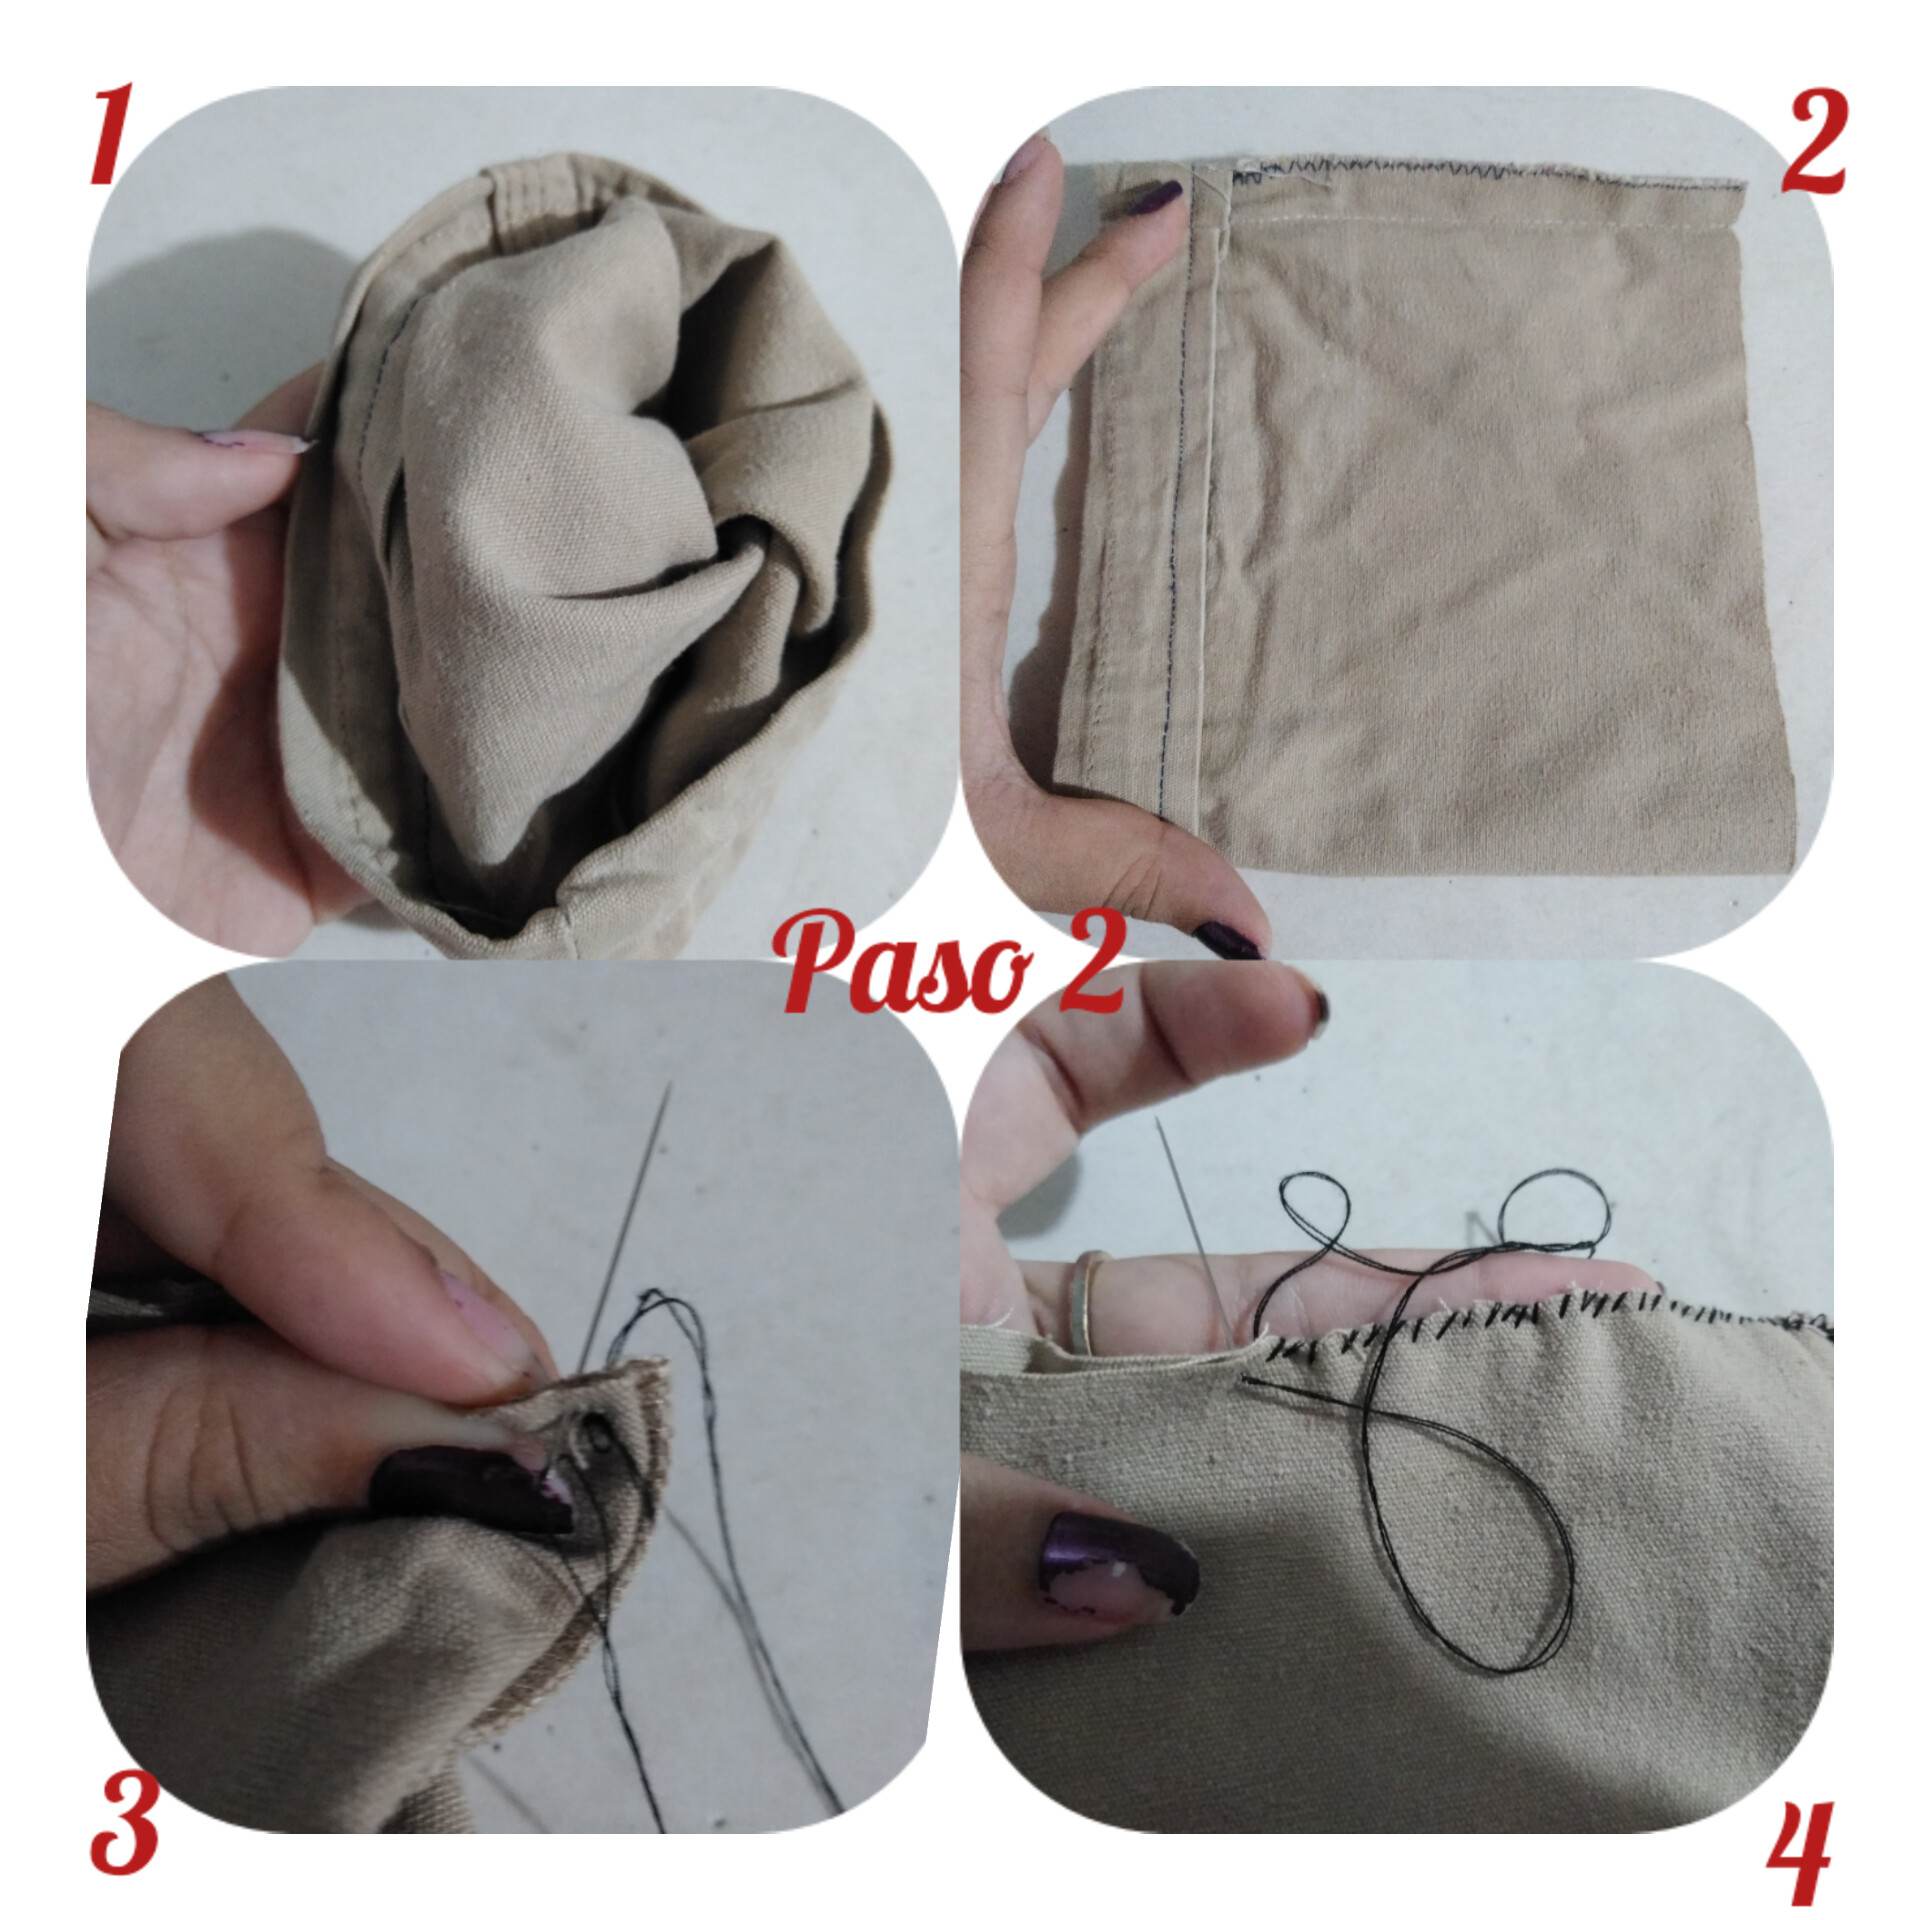
Paso 2: luego descender cortada nuestra pieza para este grandioso bolso lo que haremos ahora será doblar para proceder a voltear nuestro pequeño cuadrado, ya que tenemos nuestra pieza volteada como lo pueden ver en imagen lo que haremos será proceder a coser en la parte baja donde hay un agujero coserlo a mano con la aguja, procuremos que la costura sea impecable y pulcra para obtener un buen acabado, cosemos poco a poco y así irá quedando como en la imagen les muestro.
Step 2: after descending cut our piece for this great bag what we will do now is to fold to proceed to flip our little square, and we have our piece flipped as you can see in the picture what we will do is proceed to sew at the bottom where there is a hole sew it by hand with the needle, try to make the seam is impeccable and neat to get a good finish, sew little by little and so it will be as in the image I show you.
.jpg)
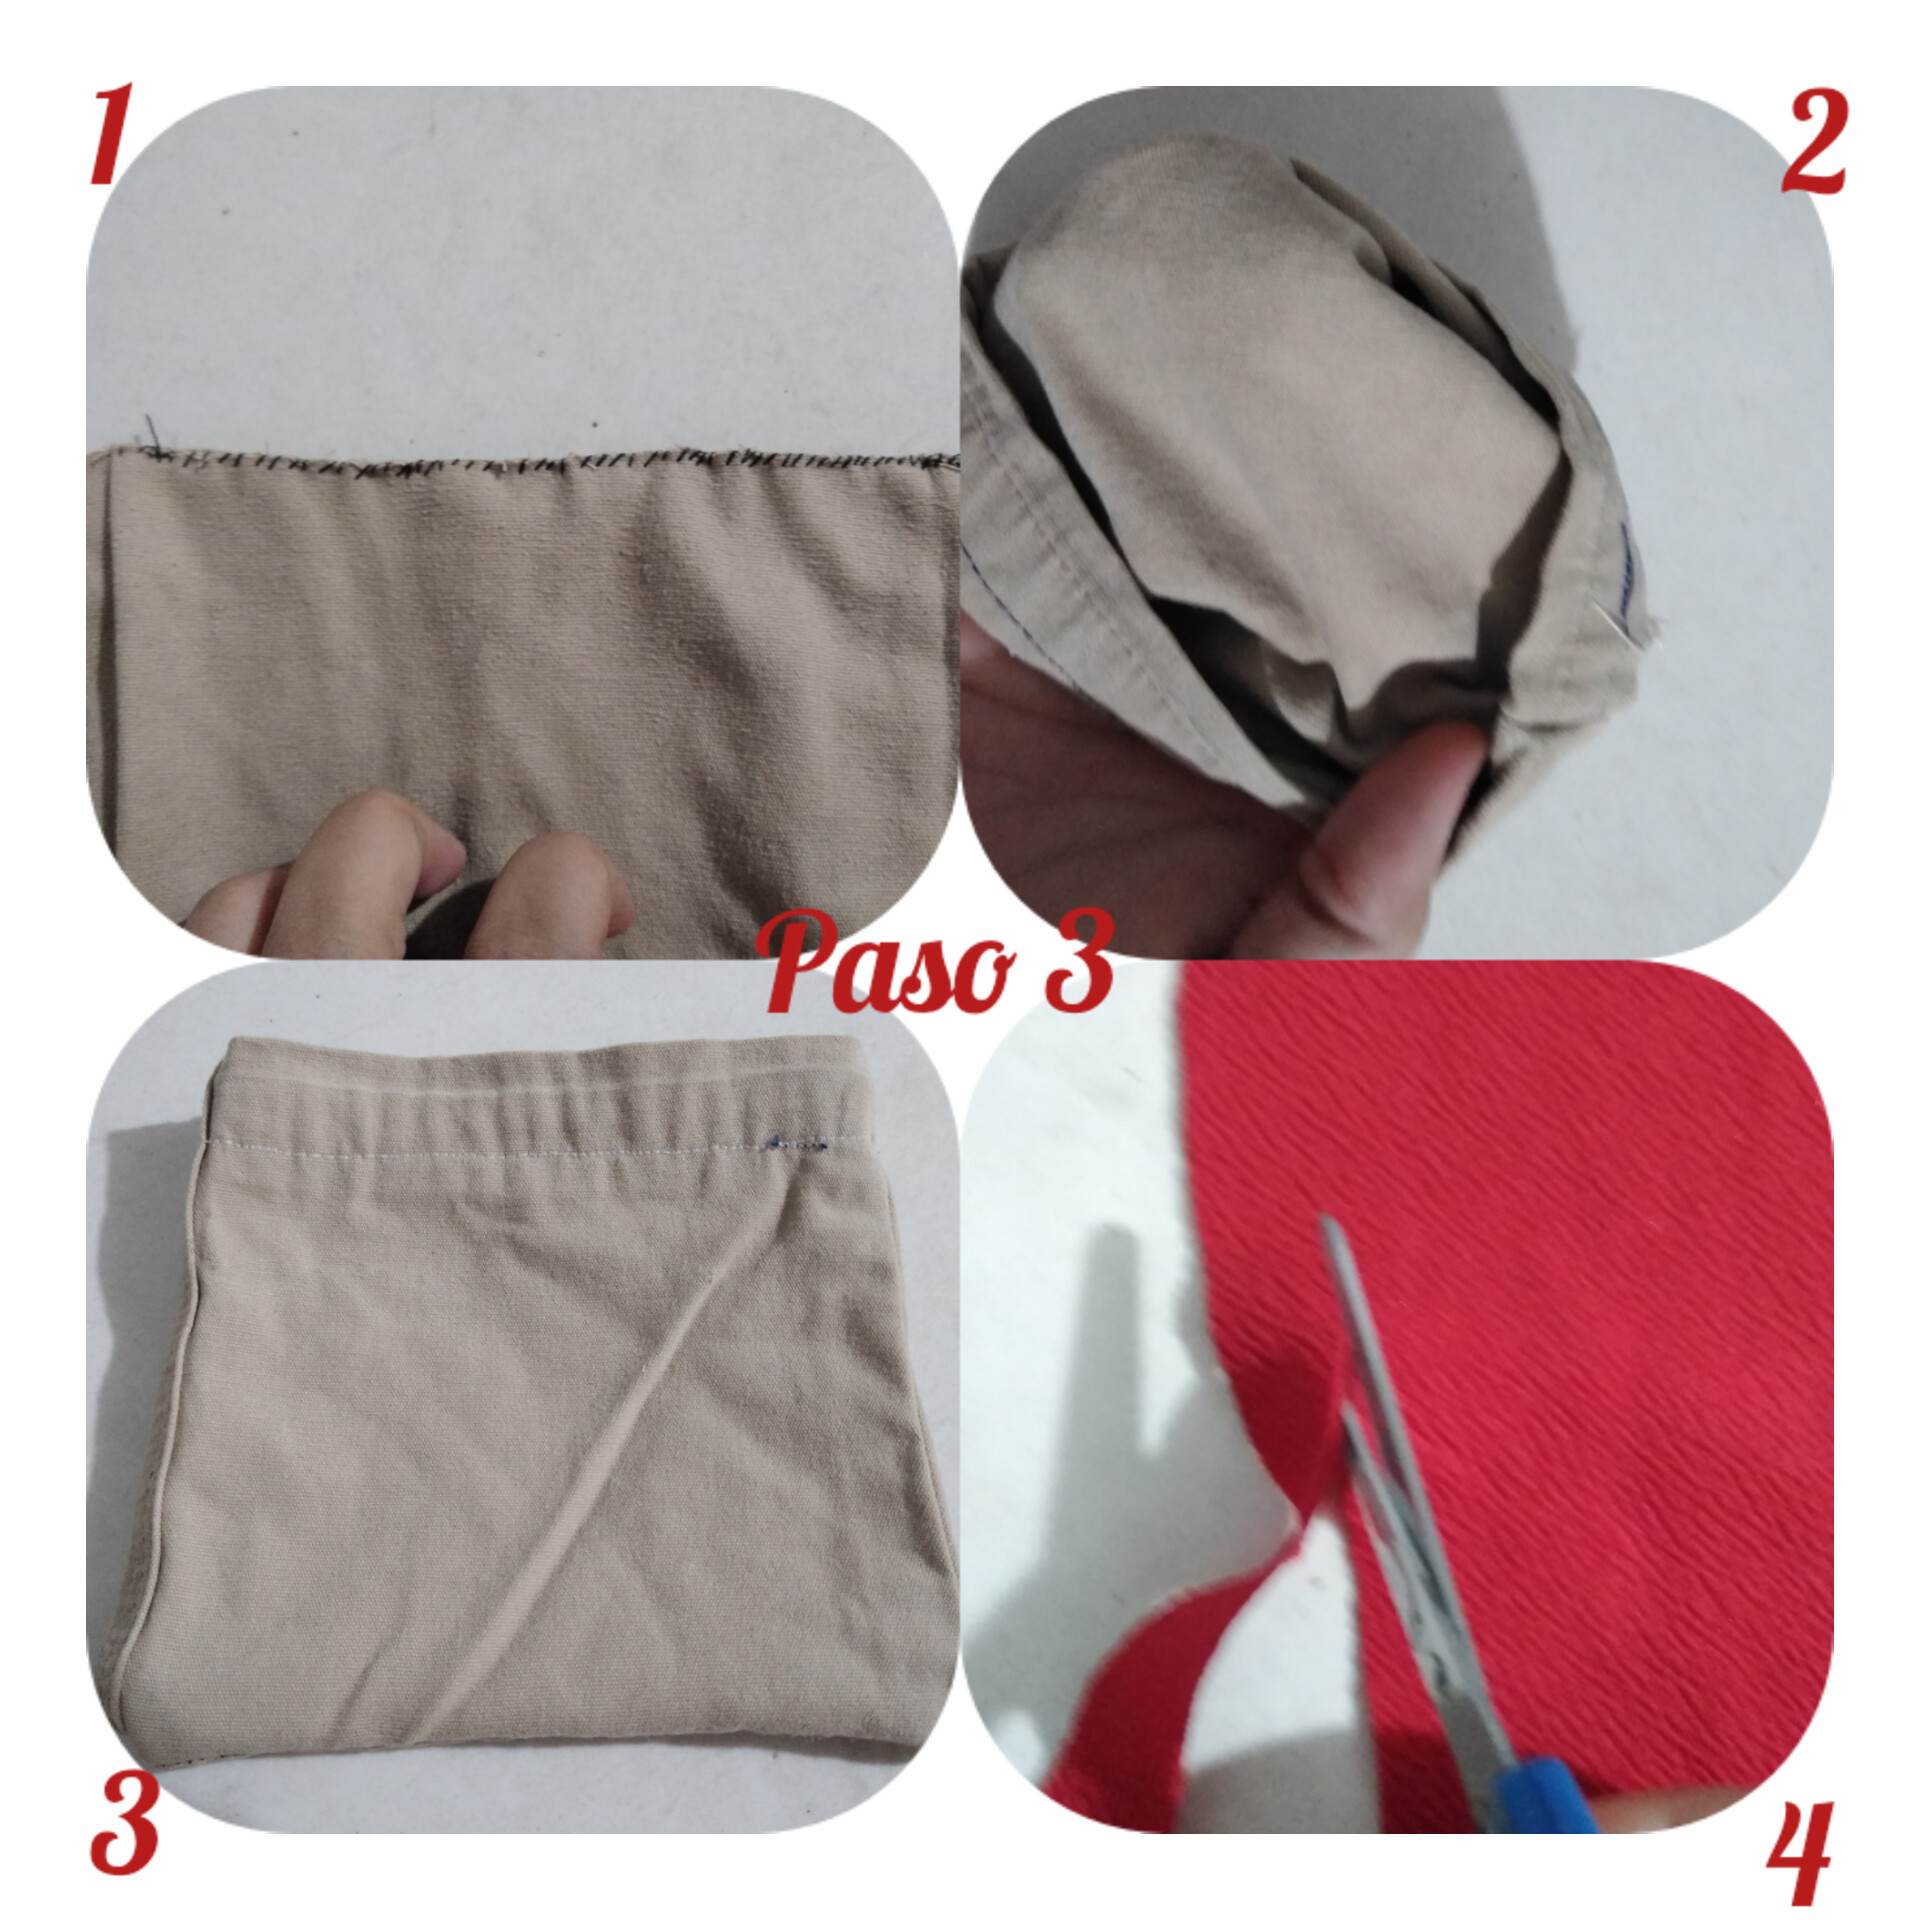
Paso 3: luego de haber cosido la parte de abajo de nuestro bolso como lo pueden observar en la imagen procederemos a darle vuelta a lo que ya hemos cosido para que puedan ver cómo va quedando, ahora lo que haremos será comenzar a cortar las tiras en esta tela color rojo para darle un toque mucho más fuerte y bonito a nuestro bolso, las tiras que usaremos para sostener nuestro bolso de las manos o de un gancho.
Step 3: after having sewn the bottom of our bag as you can see in the picture we will proceed to turn what we have already sewn so you can see how it will look like, now what we will do is to start cutting the strips in this red fabric to give a much stronger and beautiful touch to our bag, the strips we will use to hold our bag from the hands or from a hook.
.jpg)
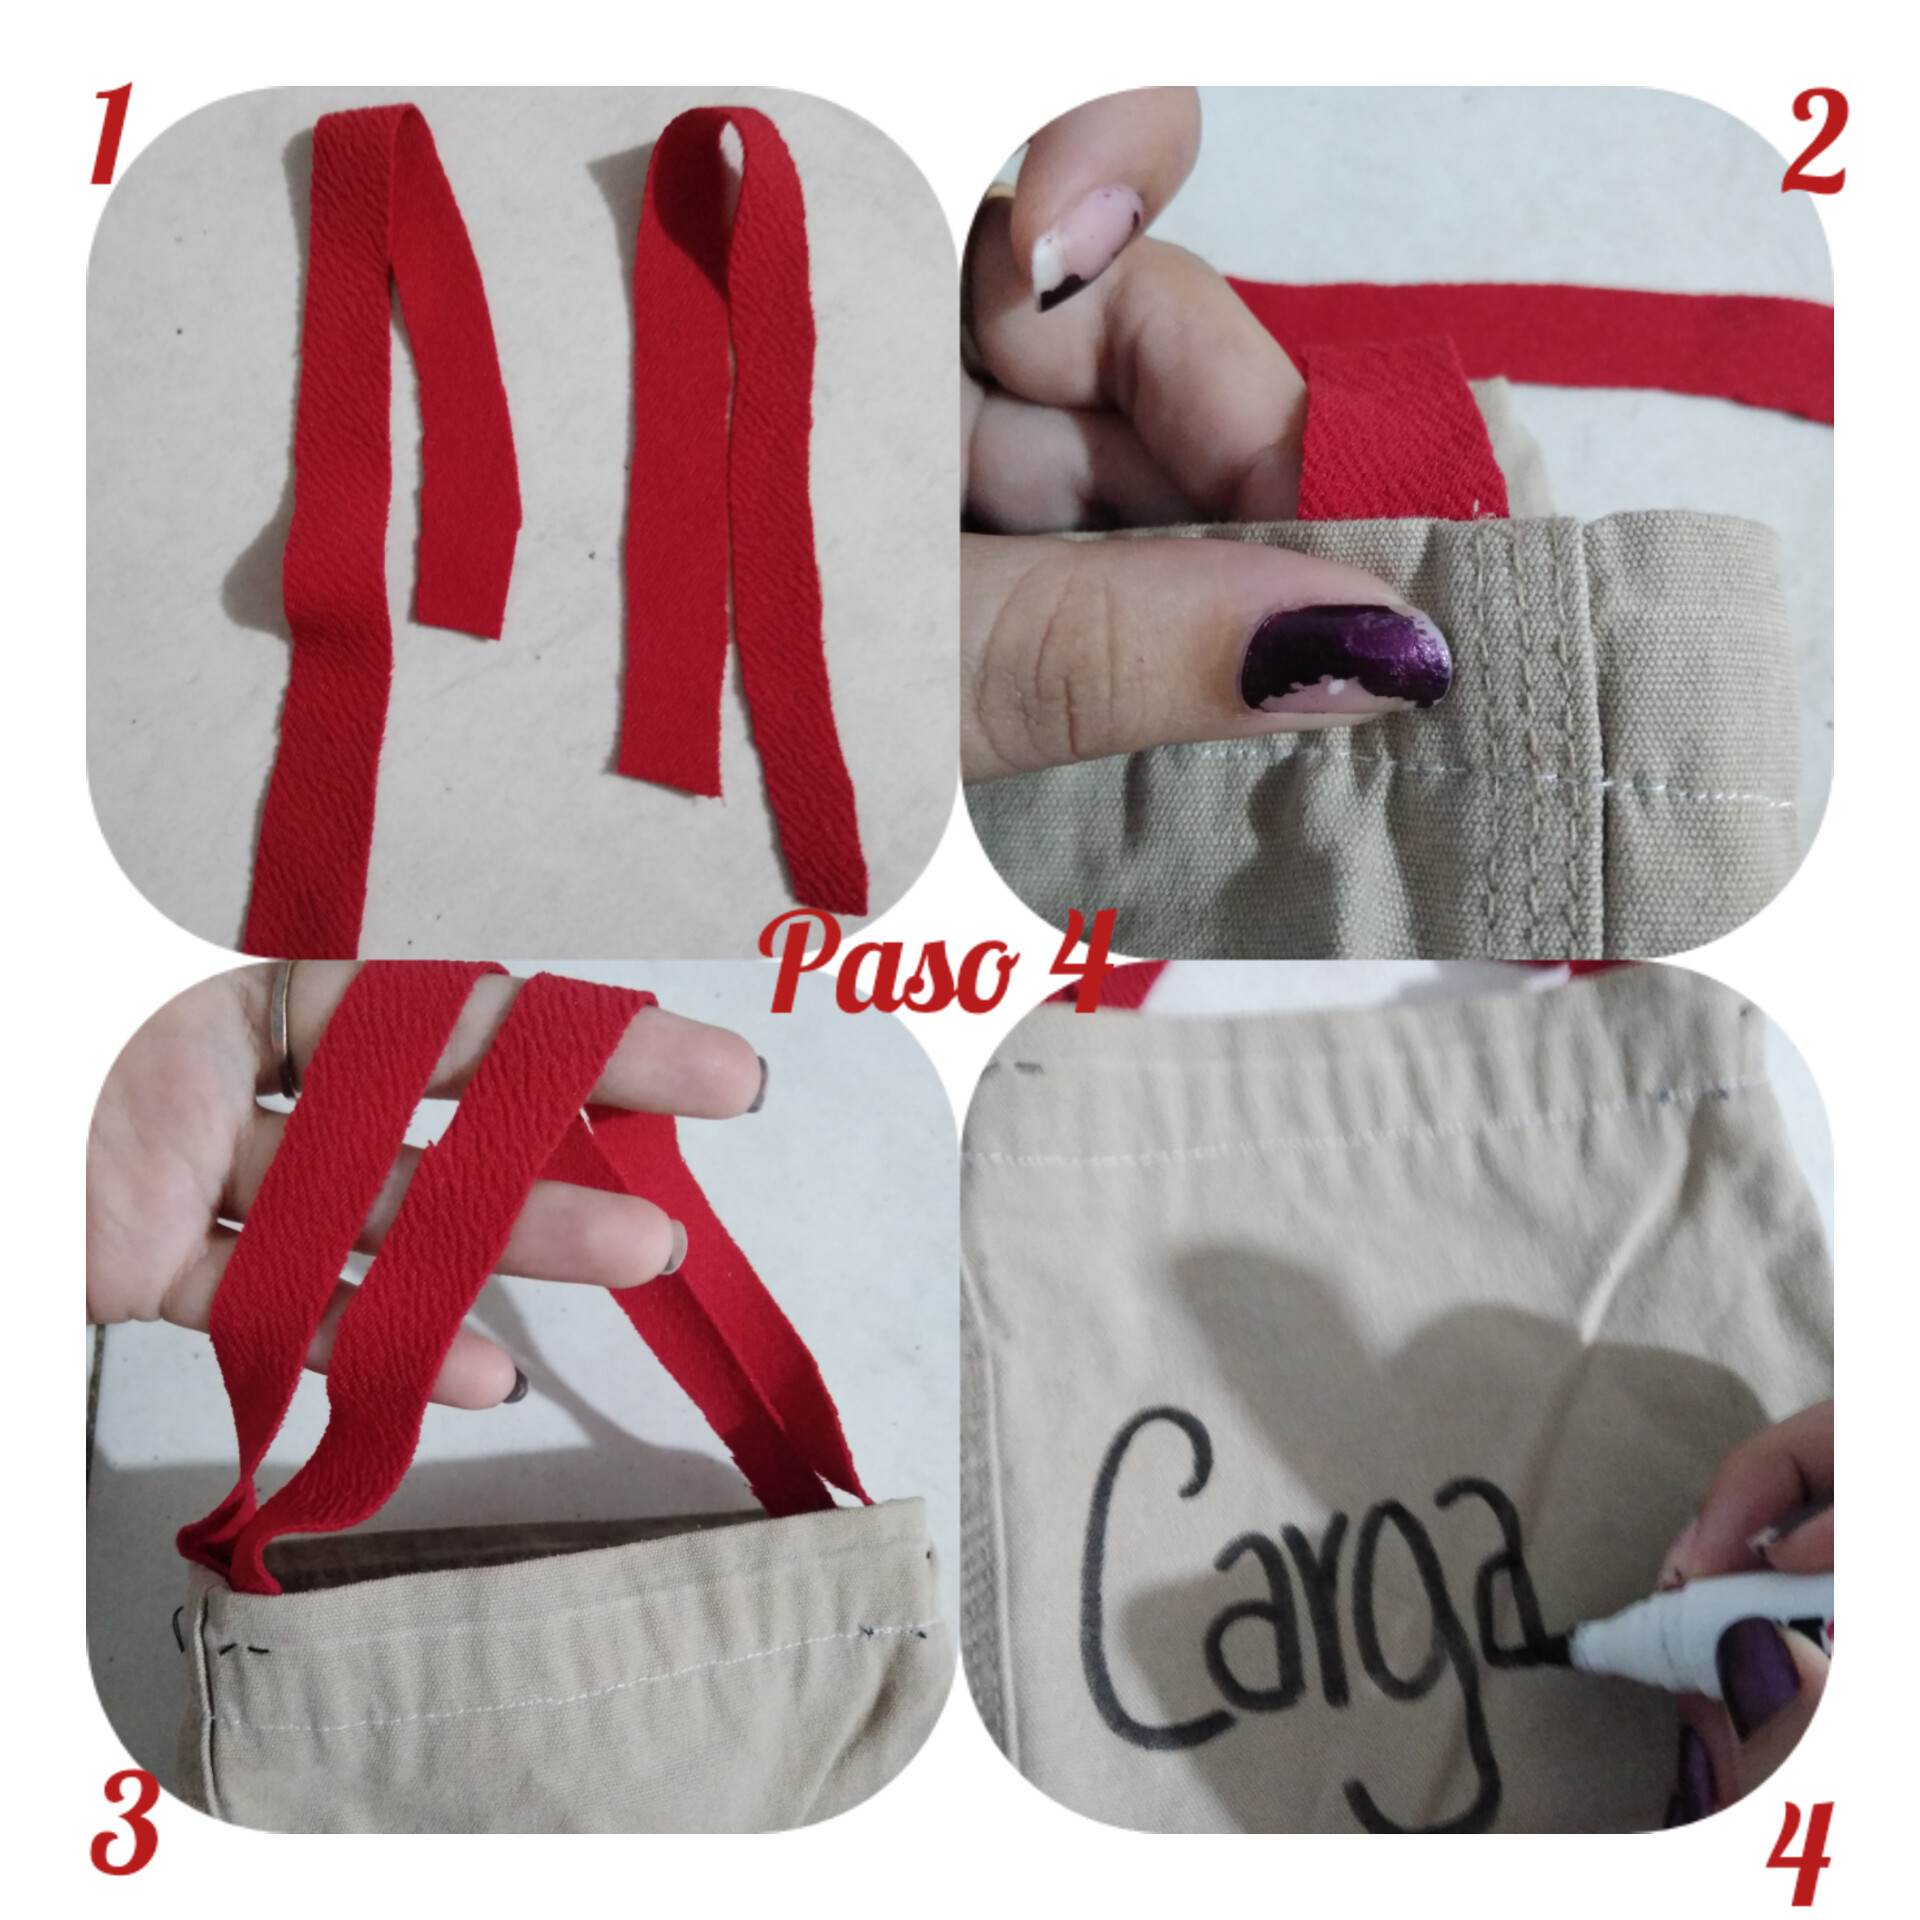
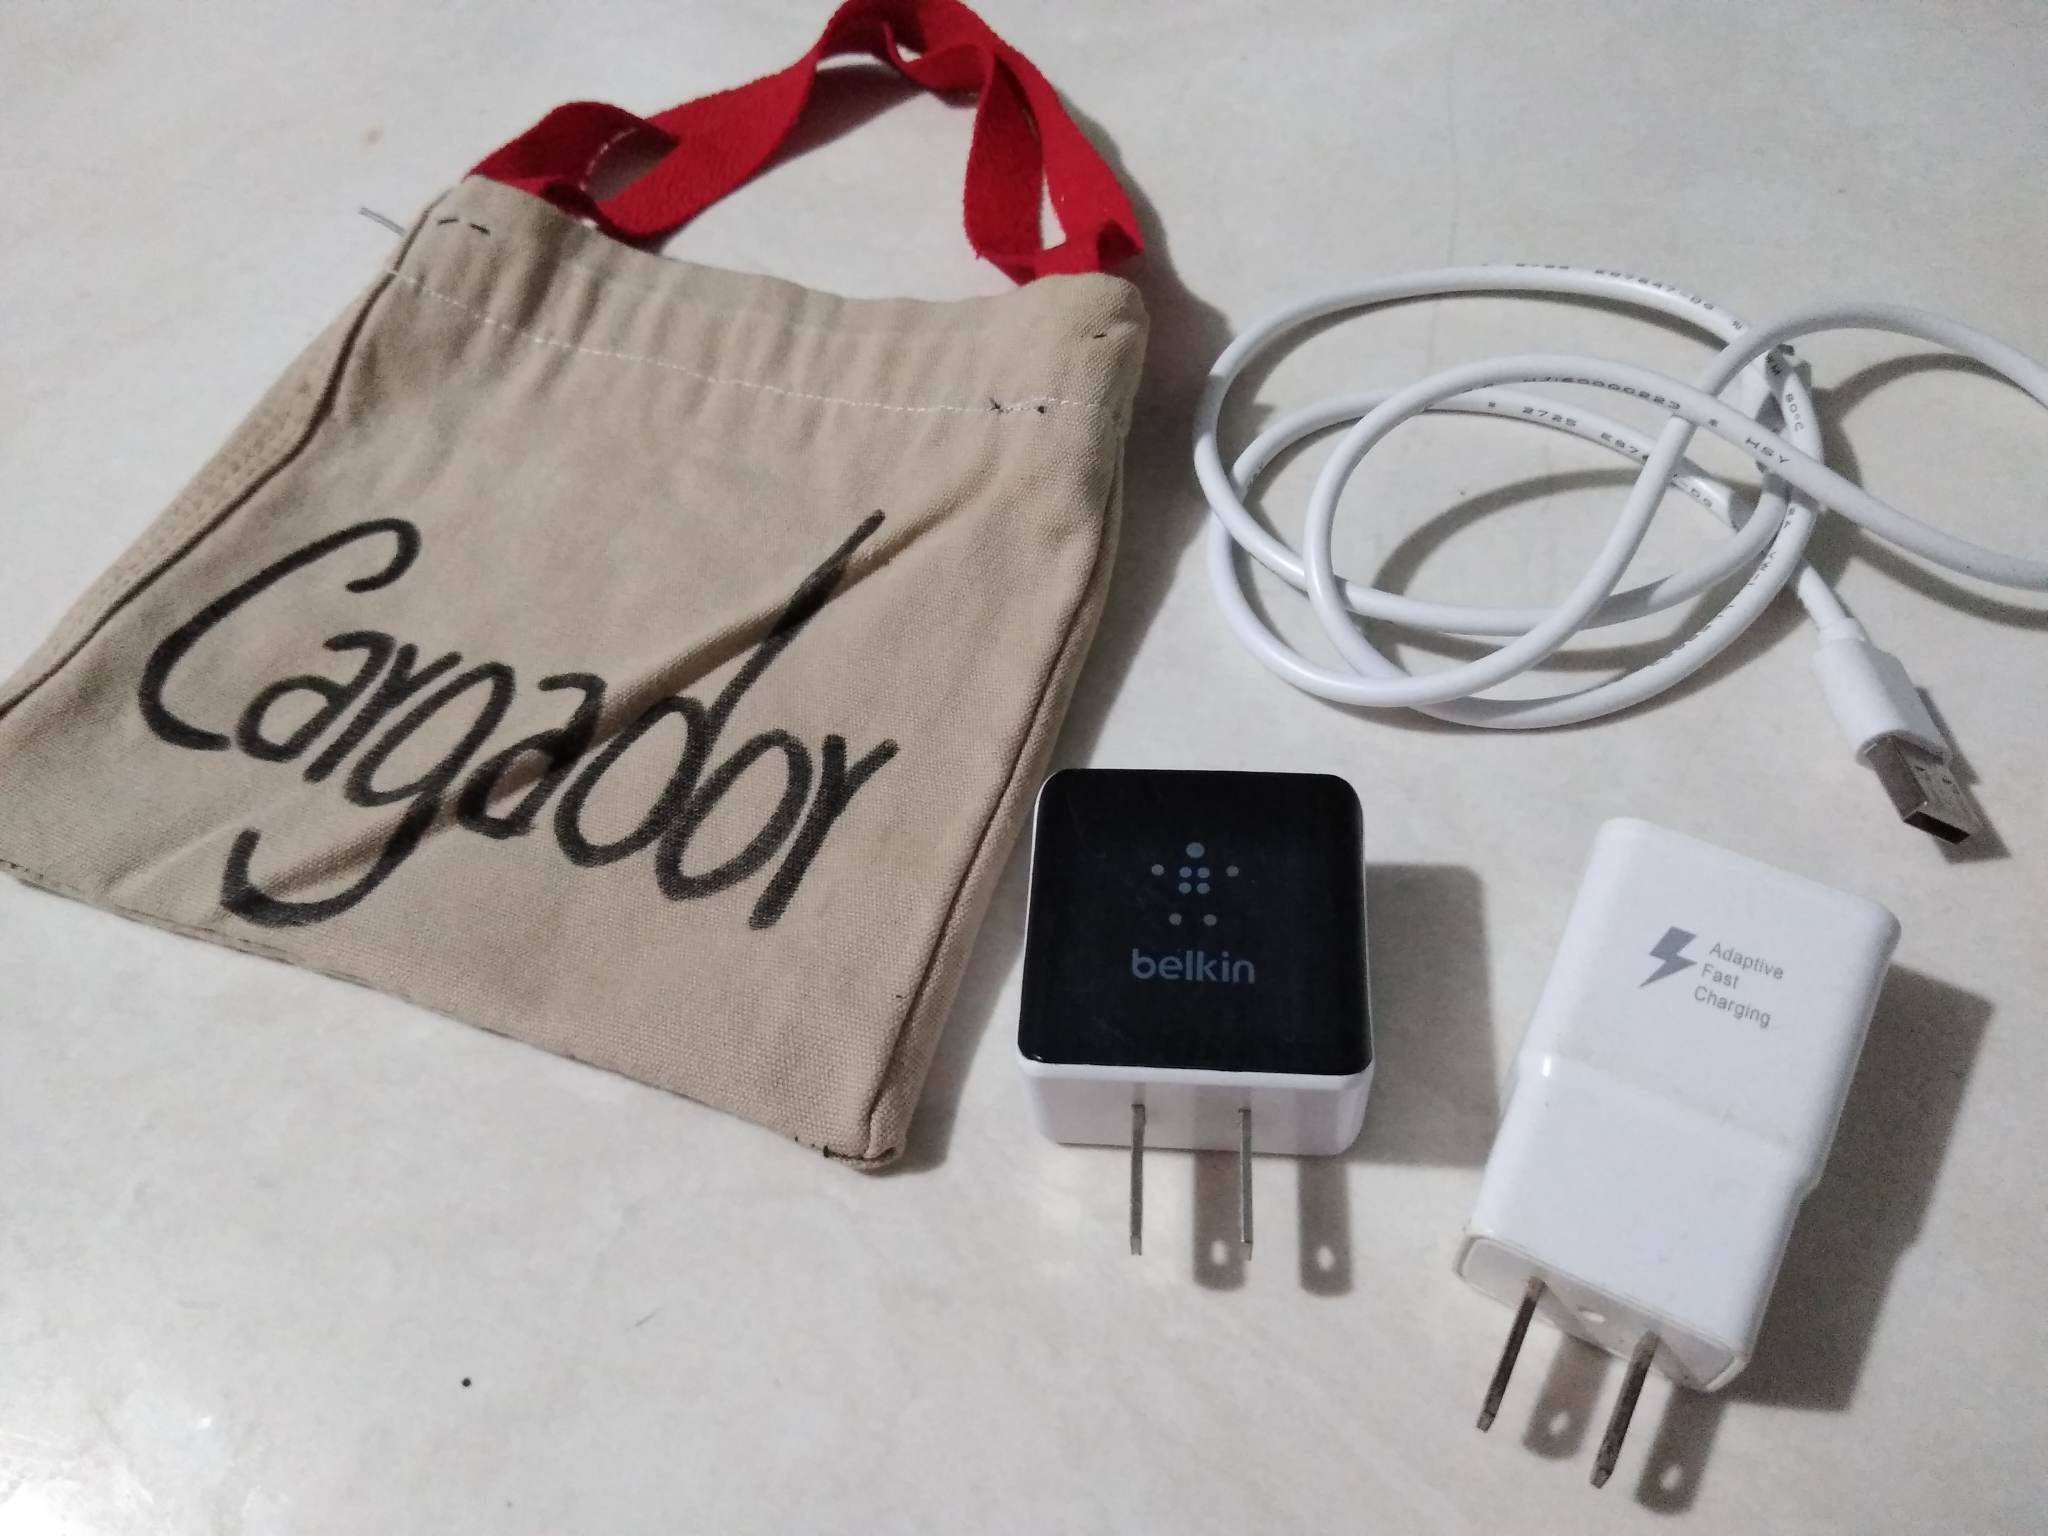
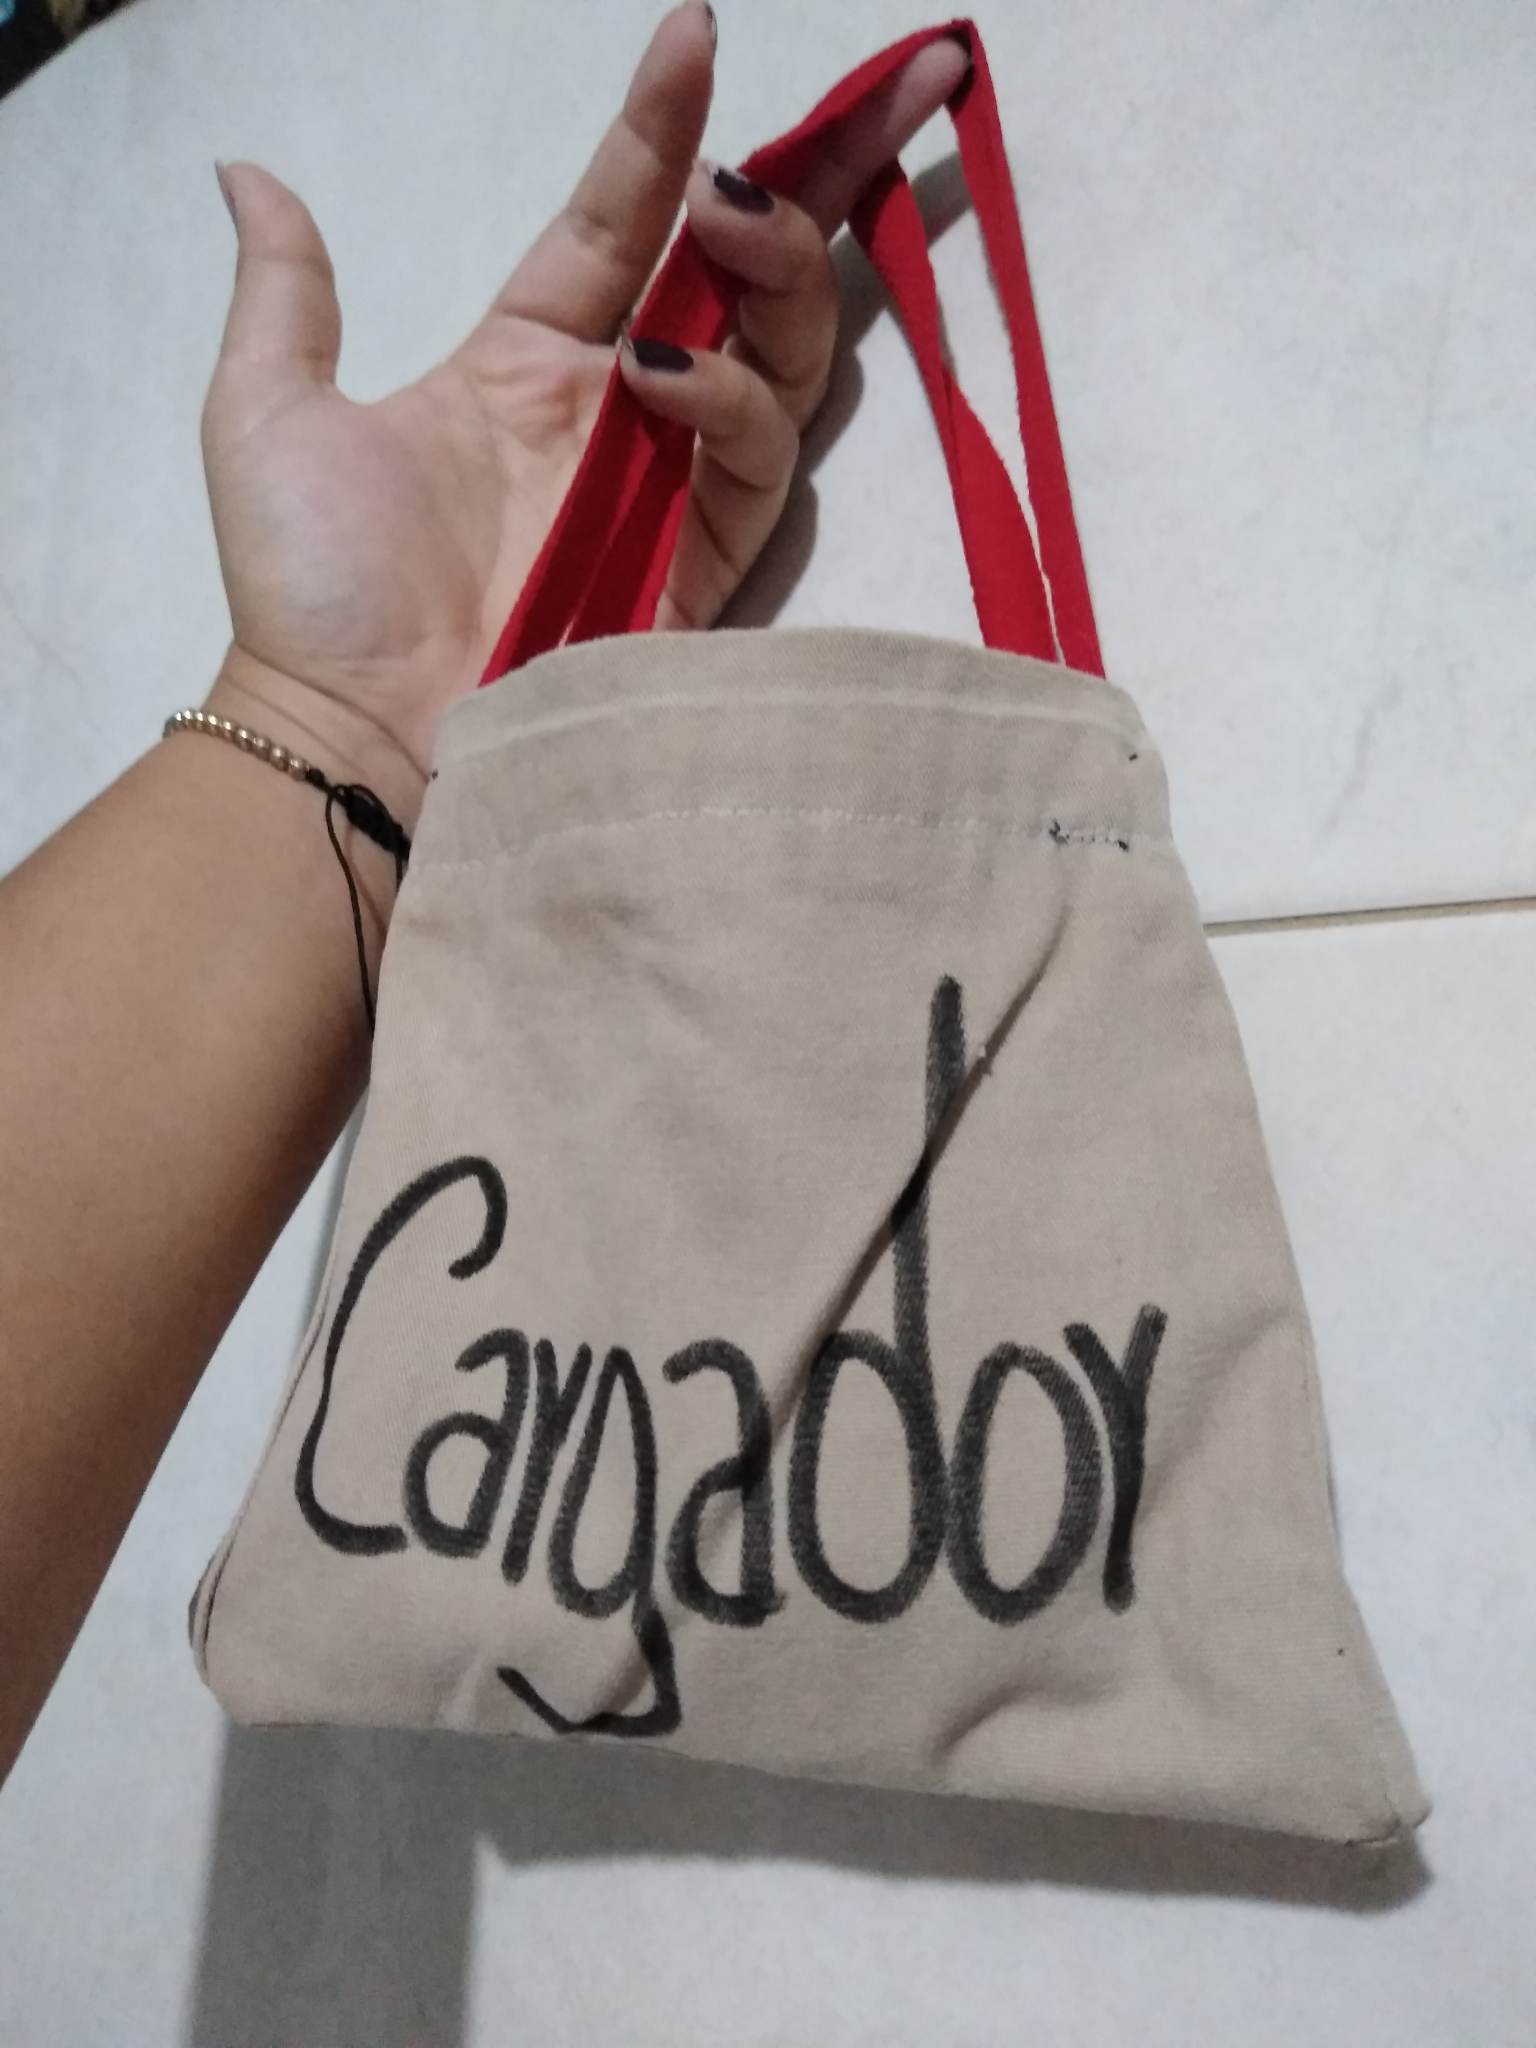
Paso 4: luego de tener listas nuestras dos tiras rojas y cortadas procederemos a coserlas a la parte de adentro de nuestro bolso para el cargador, las cosemos cuidadosamente una al lado de la otra dejando en medio la costura que hay por la parte de afuera de la pieza de pantalón. Luego con un marcador procedí a dibujar en letras la palabra cargador para que todos supieran que allí dentro van mis cargadores de esta manera culminé mi creación espero que les haya gustado mucho.
Step 4: after having our two red strips ready and cut we will proceed to sew them to the inside of our bag for the charger, we sew them carefully side by side leaving in the middle the seam that is on the outside of the piece of pants. Then with a marker I proceeded to draw in letters the word "charger" so that everyone would know that my chargers go in there, this way I finished my creation I hope you liked it a lot.
.jpg)
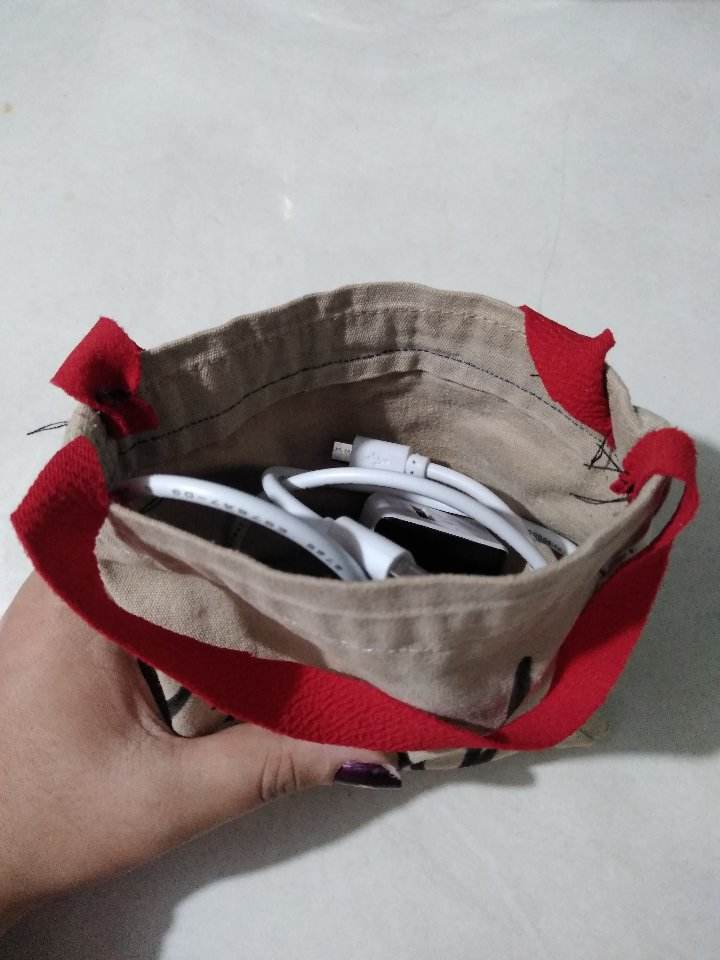
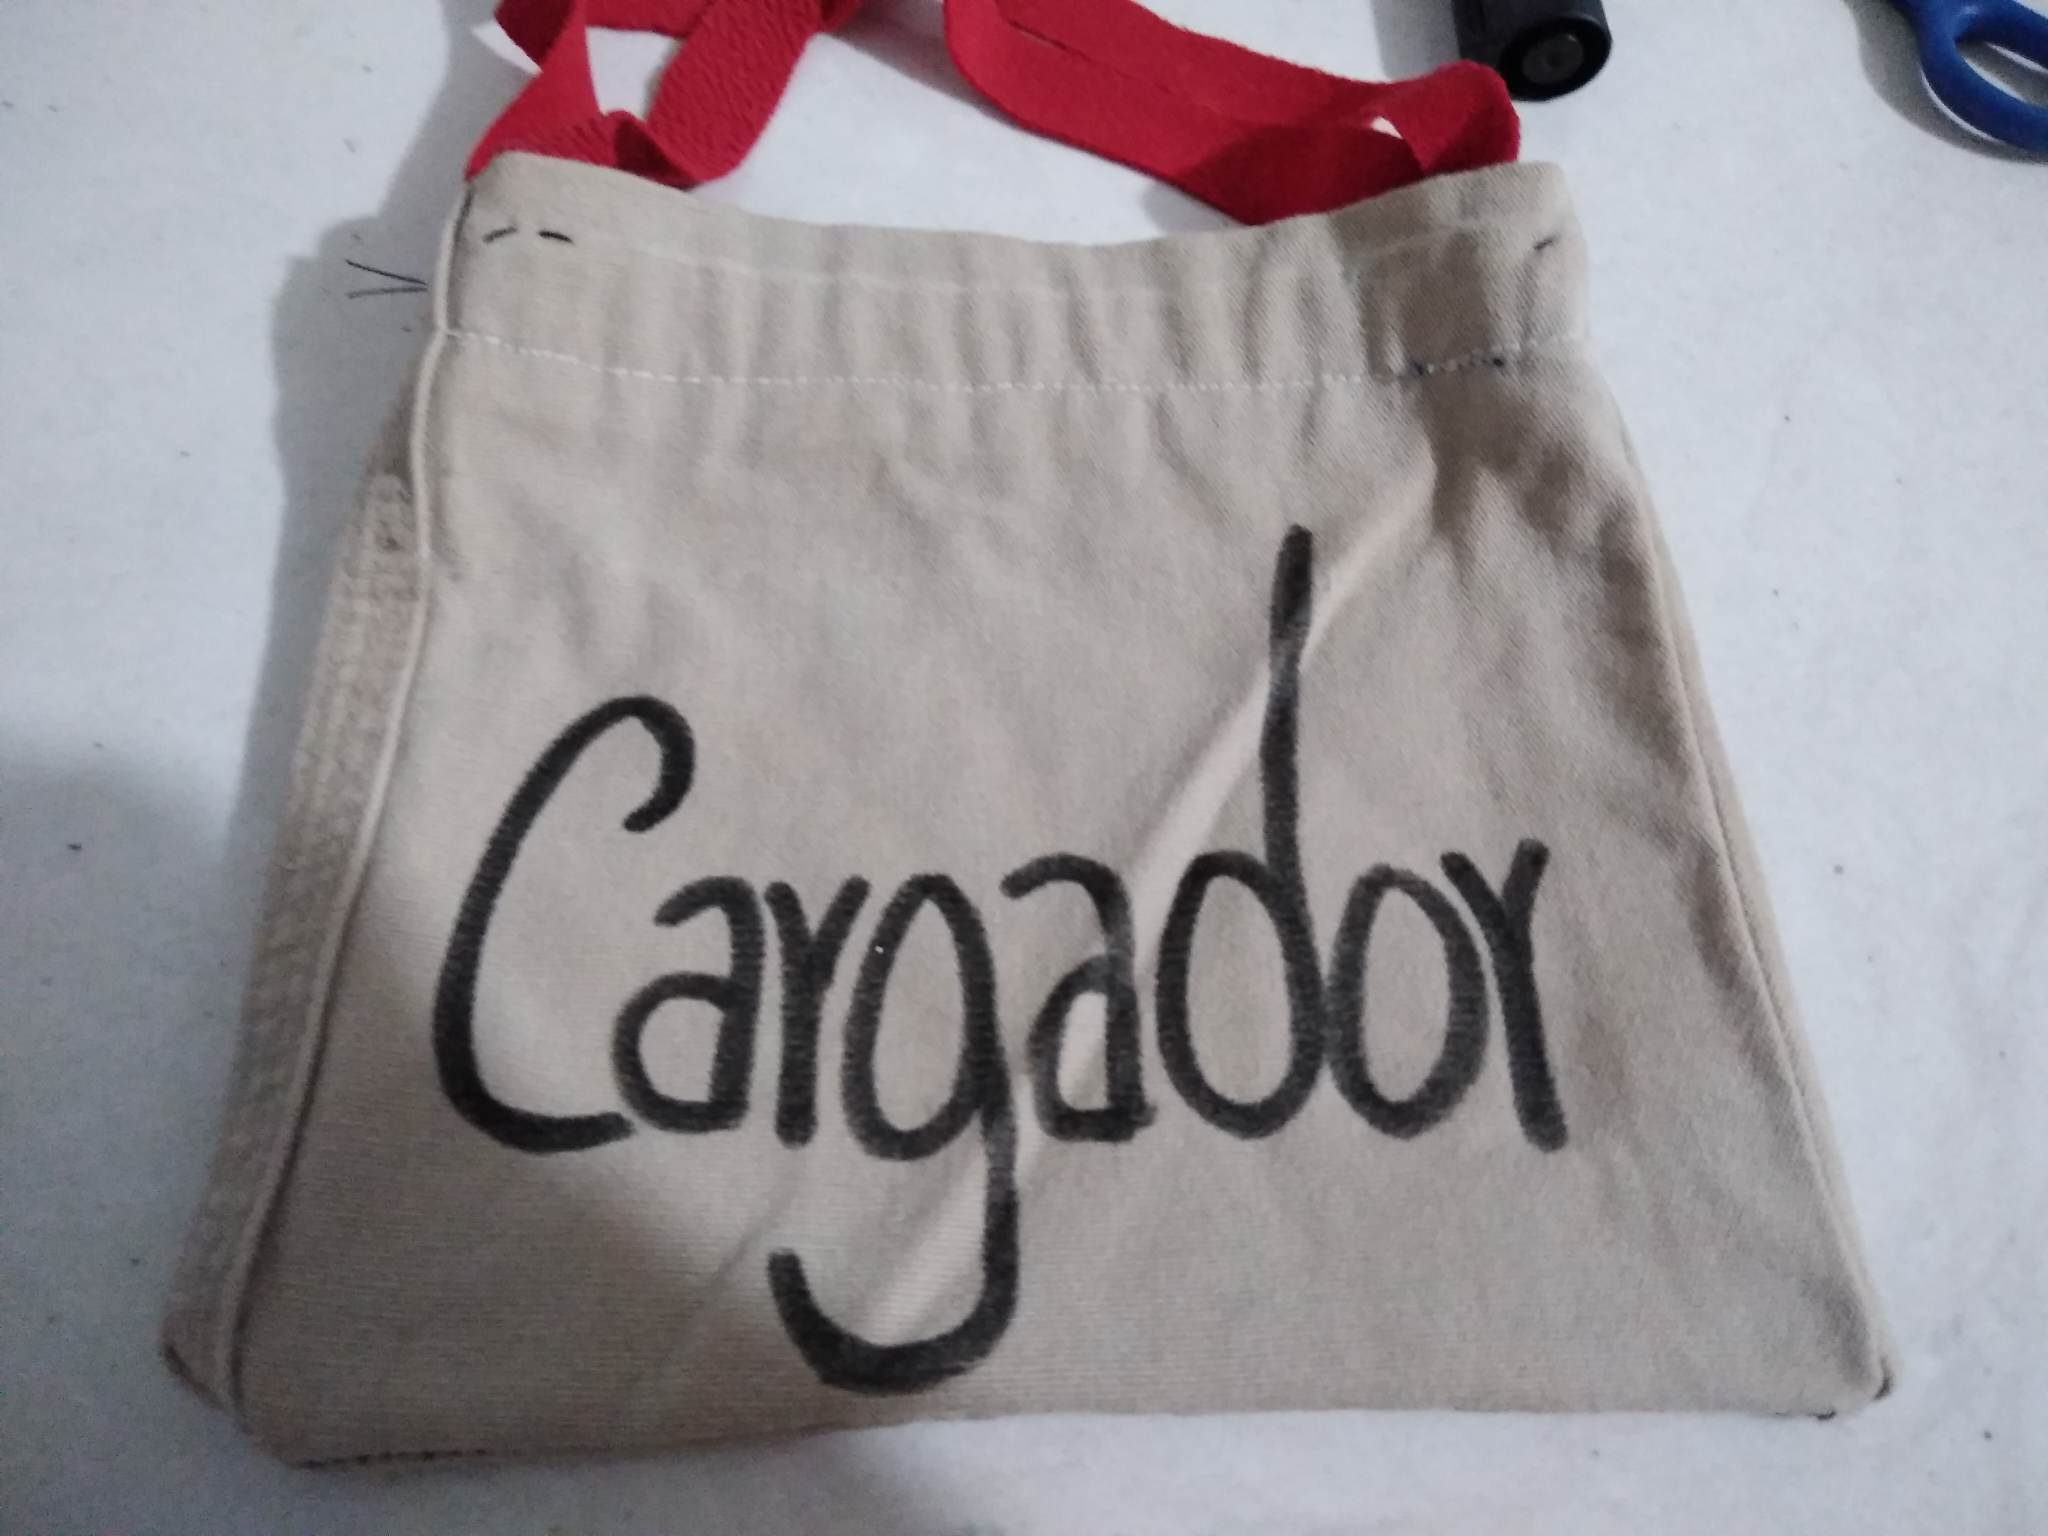
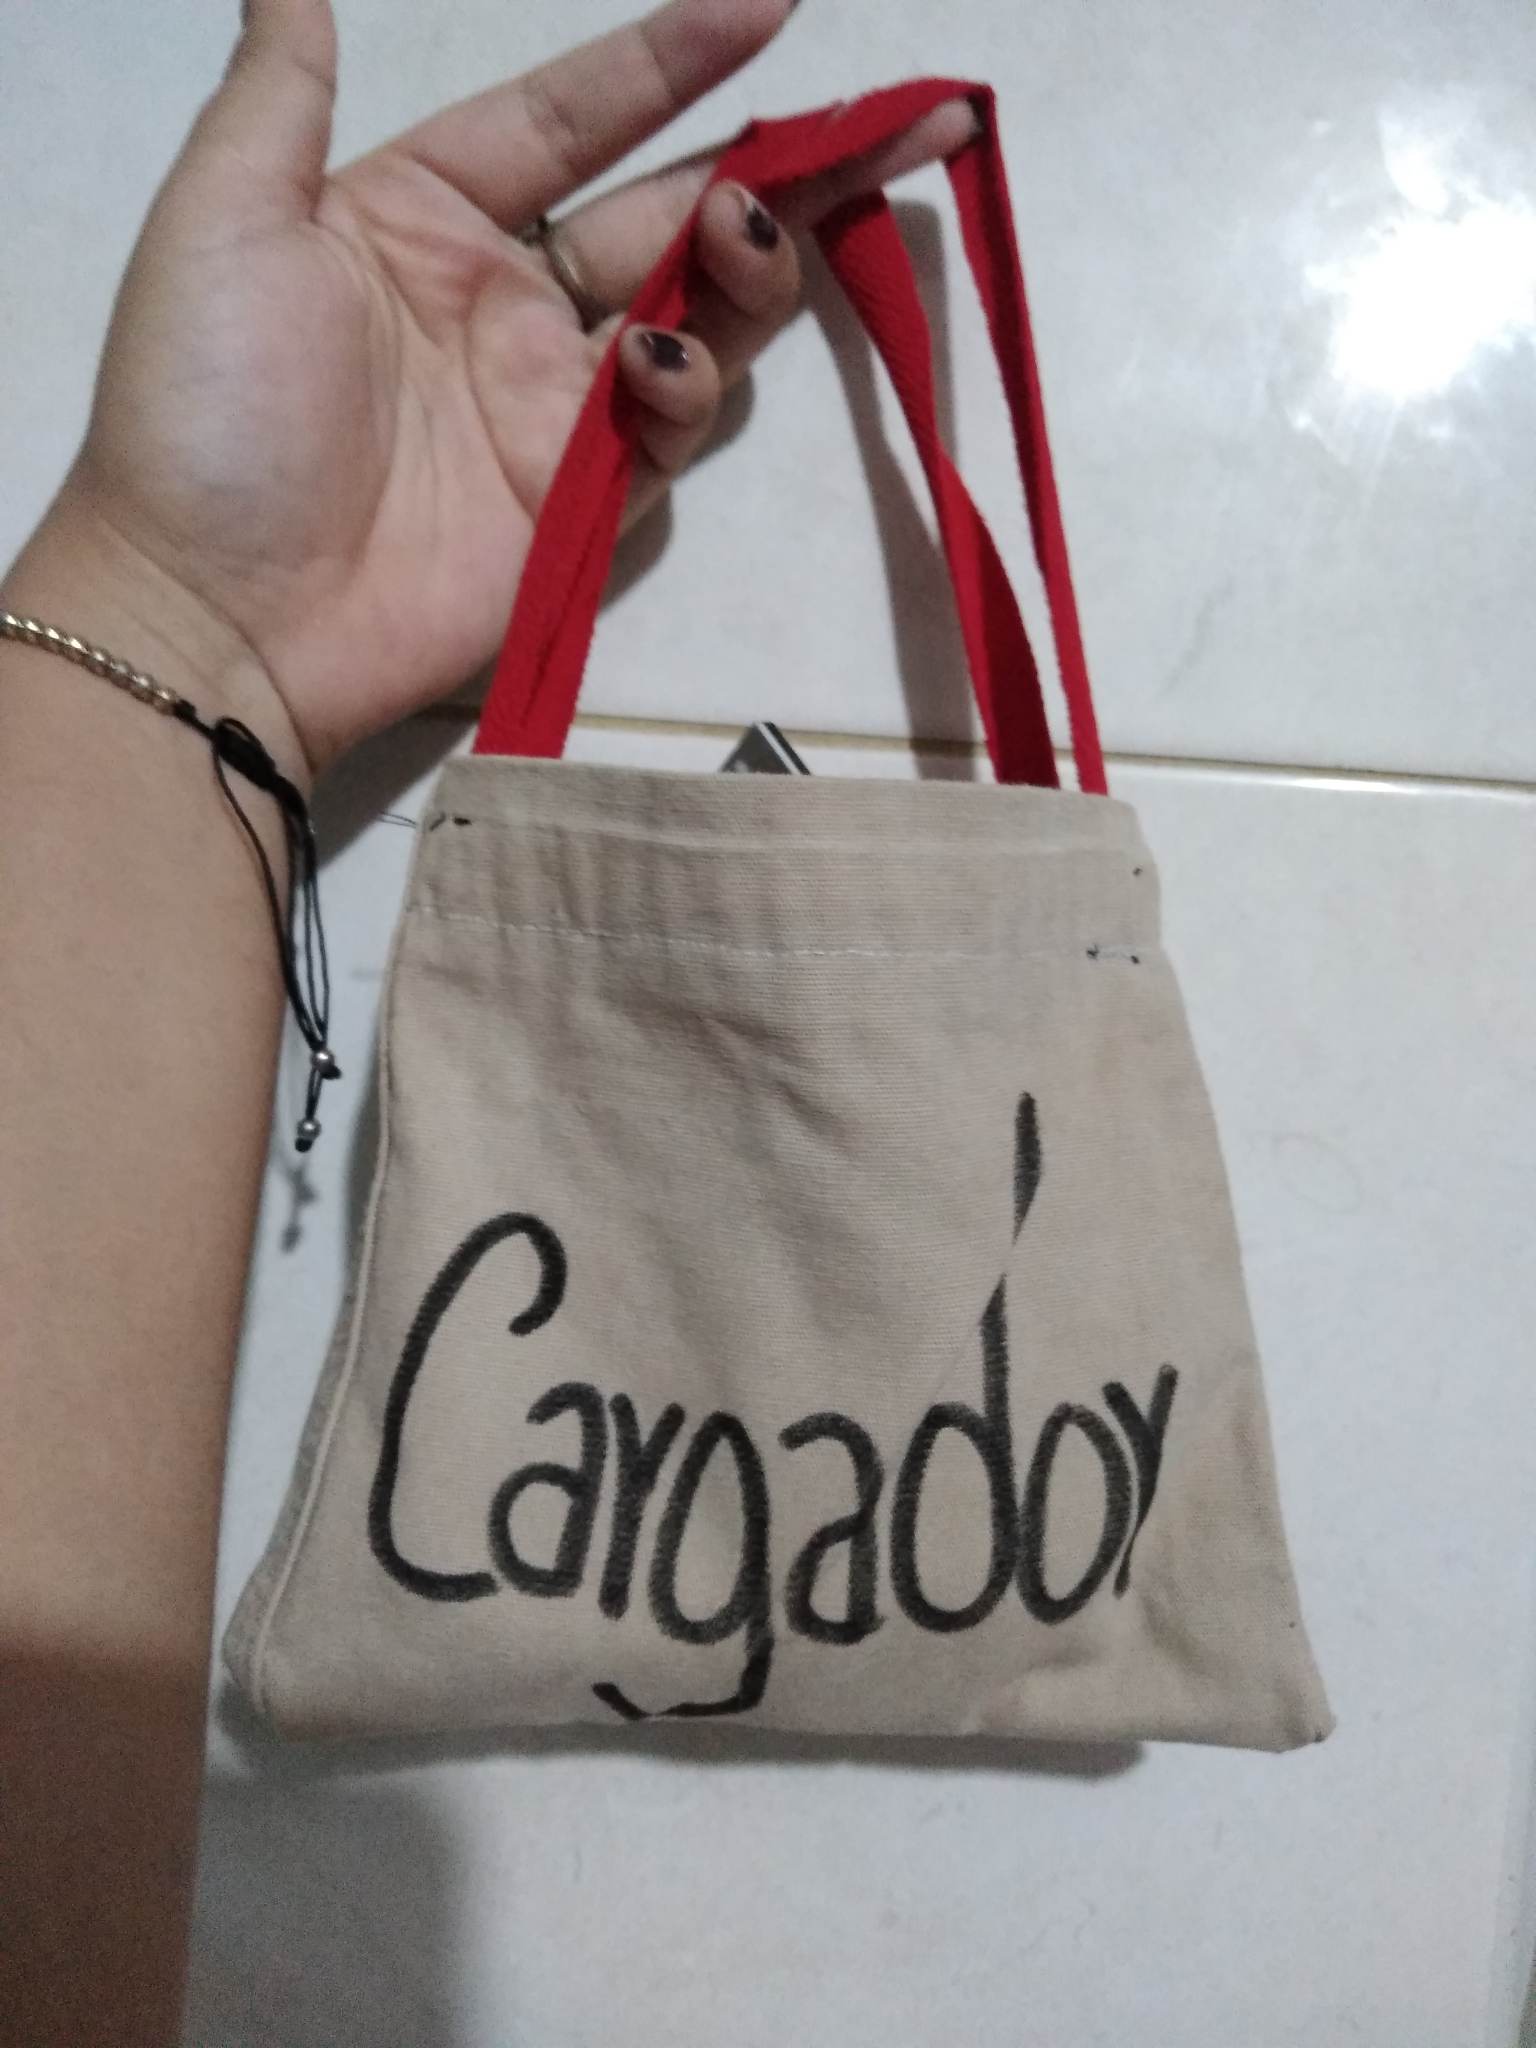
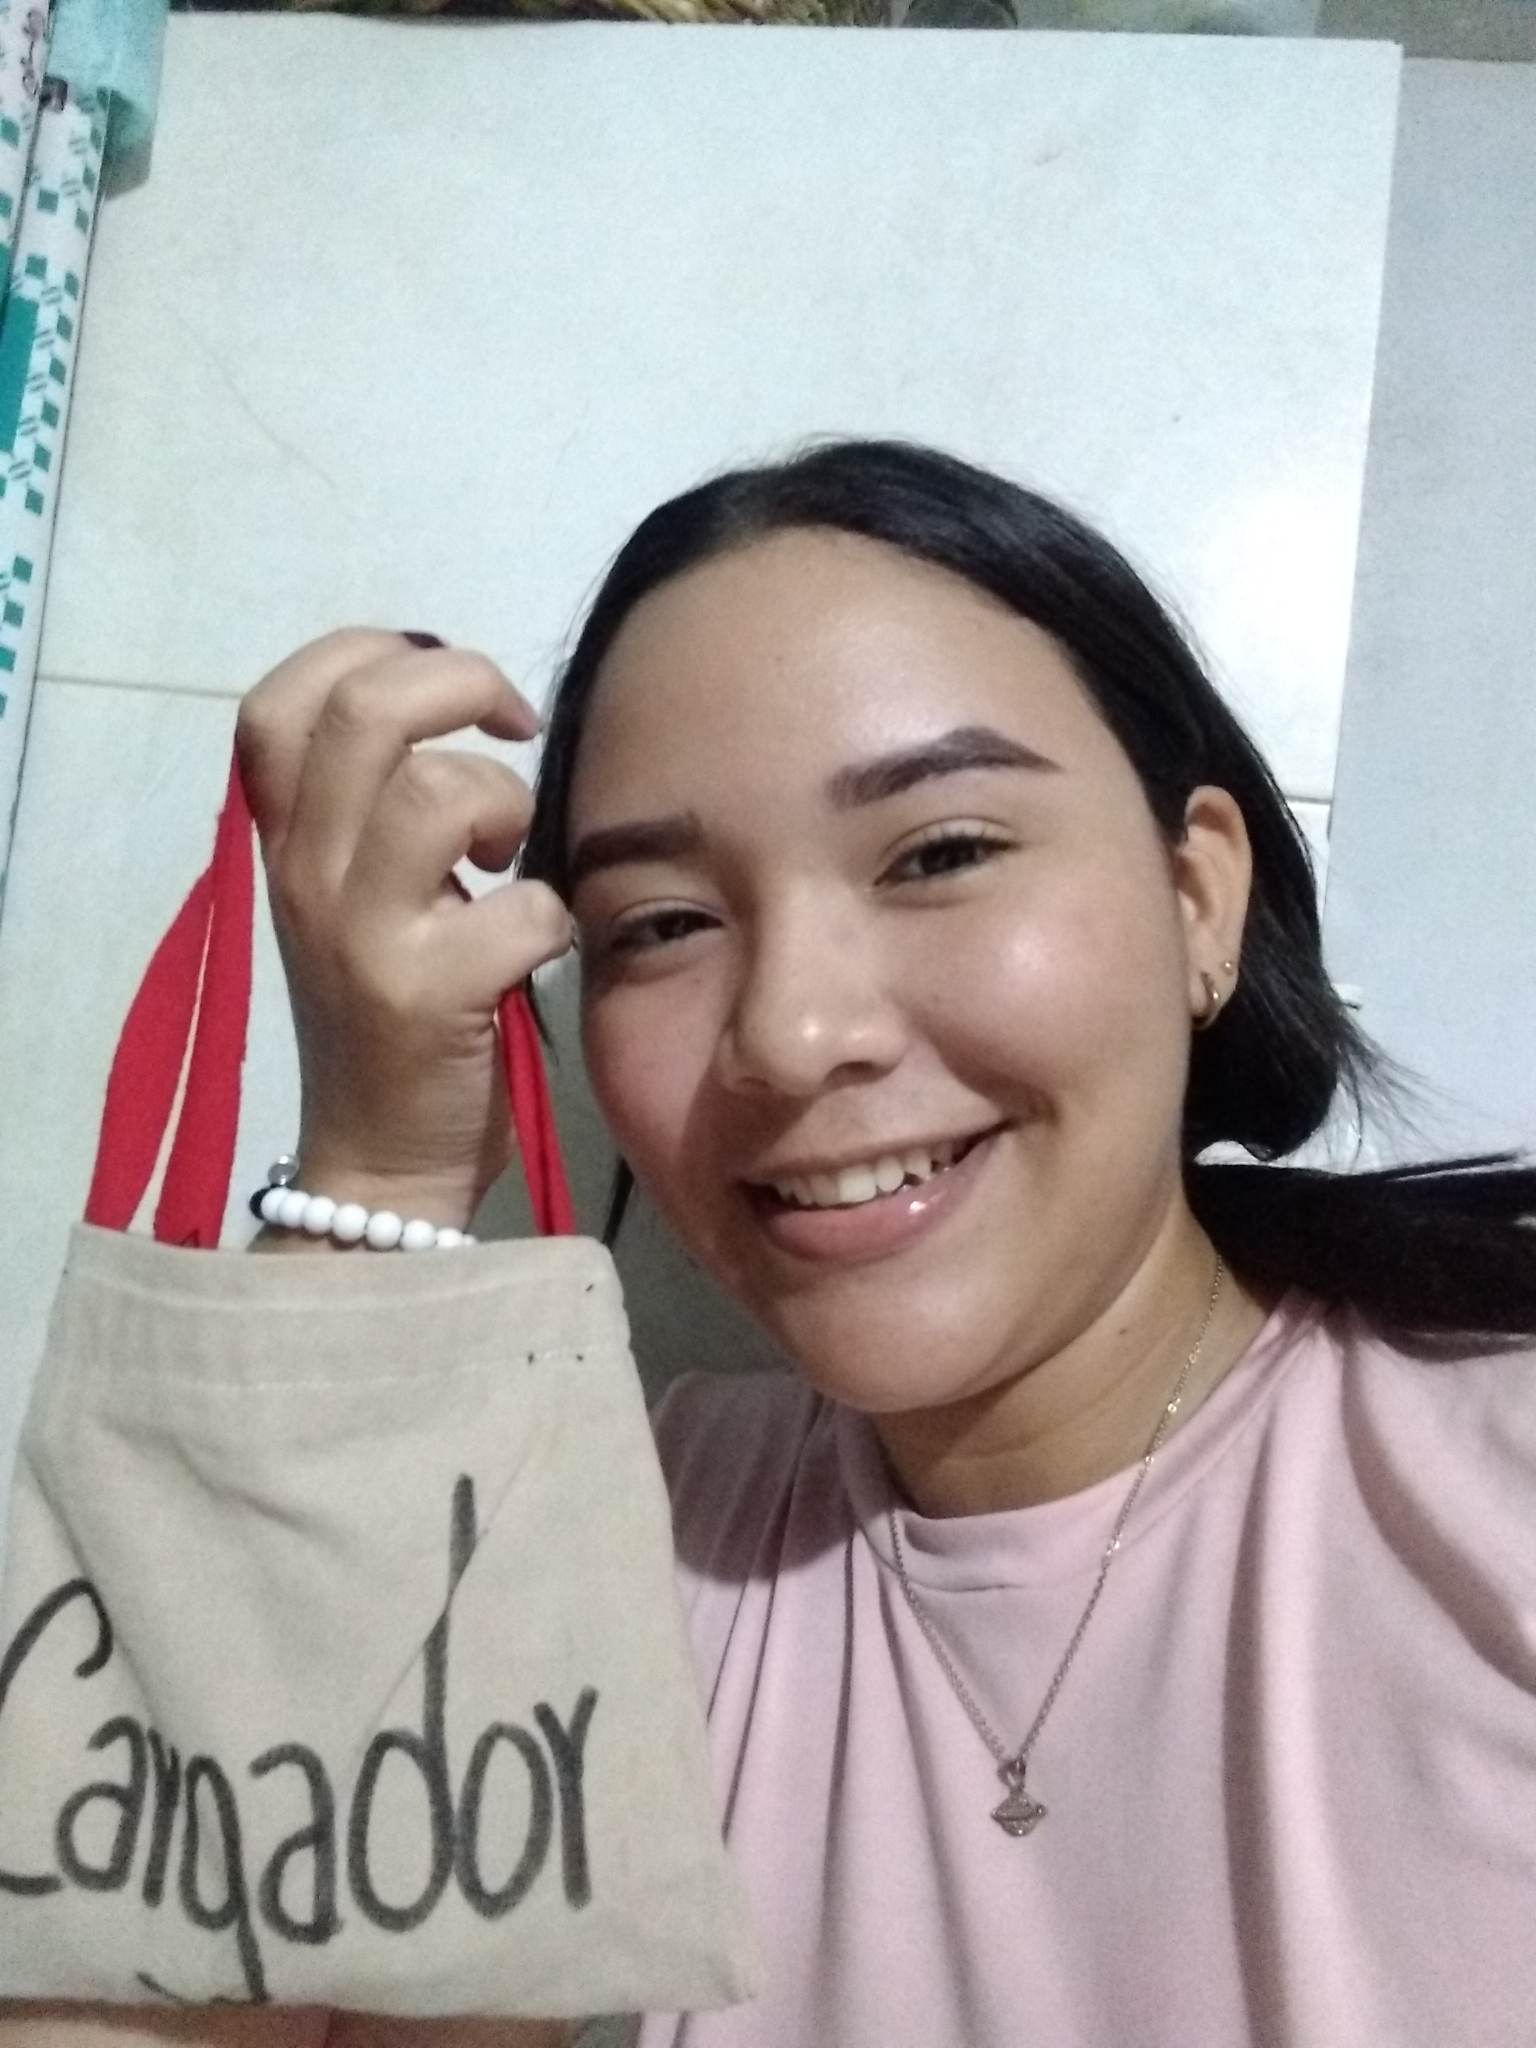
Final Result.

.jpg)

Thank you for sharing this post on HIVE!
Your content got selected by our fellow curator stevenson7 & you just received a little thank you upvote from us for your great work! Your post will be featured in one of our recurring compilations which are aiming to offer you a stage to widen your audience within the DIY scene of Hive. Stay creative & HIVE ON!
Please vote for our hive witness <3
Súper...Darle una segunda oportunidad a esas piezas que ya consideramos que no las usaremos más, es sñgo verdaderamente bueno e ingenioso. Tu bolso para el cargador es muy útil ya que por lo general no hay un lugar específico para ello y las letras te quedaron perfectas. Muchas bendiciones,
Así mismo es como dices tu, es excelente darle un uso adecuado a esas piezas que creemos que ya no sirven, gracias por tus lindas palabras, me alegra que te haya gustado.
Darle utilidad a toda la tela de prendas que no se usan es una idea genial. Te quedo lindo el bolso para el cargador. Amiga te quiero dar un pequeño consejo, es que no coloques títulos tan largos en las publicaciones, o coloca solo en un idioma. Esto ayuda a que se vea mejor. Muchos éxitos 🙌
Hola amiga muchas gracias, gracias por tus lindas palabras, no es que el titulo sea largo ajajja, es que sin querer se repitió dos veces, pero en realidad es una sola vez, igual gracias por tu consejo.