[ESP-ENG ] Beautiful Ying and Yang Bracelets - Special for this February 14 | Hermosas Pulseras Ying y Yang - Especiales para este 14 de febrero
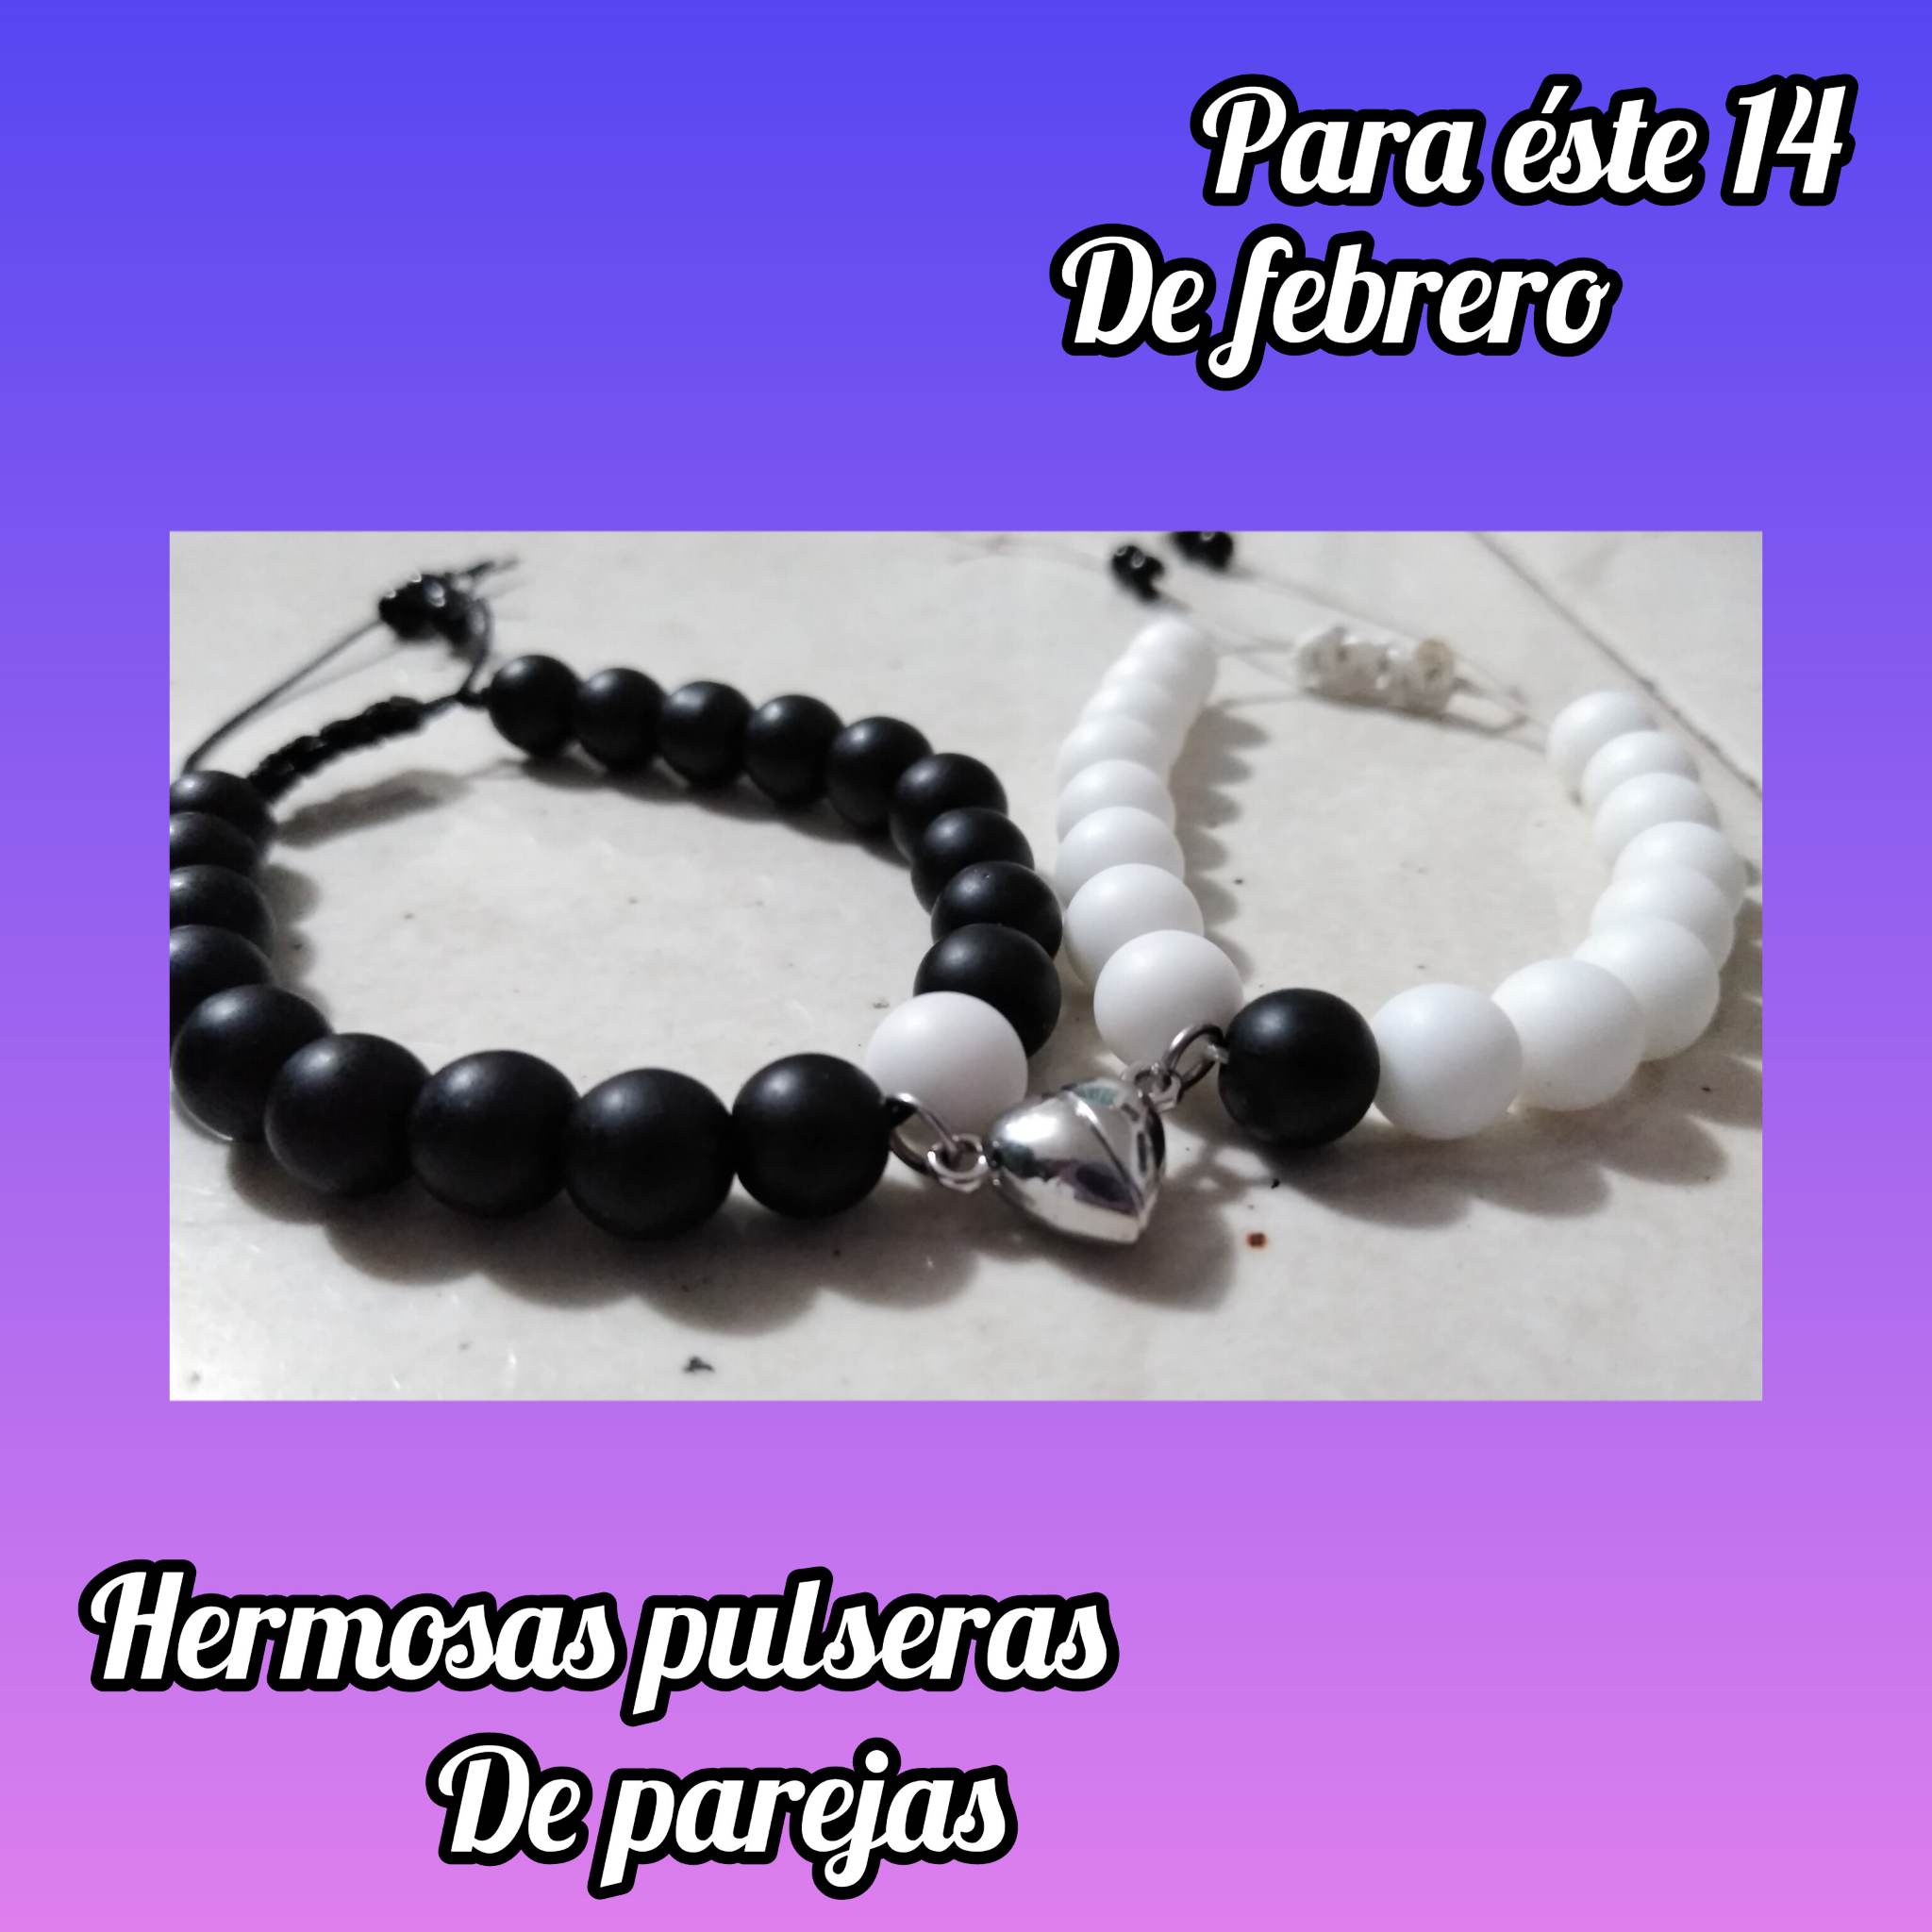
Hive family, welcome to another post where I will share with you all something very special, for me it is a pleasure to be part of this community and share something that I know you will like a lot and will help you to make bracelets. Today I want to share a small tutorial on how to make bracelets tie to the truth is super easy and not to very nice memories because you can give half of the bracelet to a special person for you, the model that I will teach today is based on a shared bracelet with a magnetized heart, I wanted to share with you the tutorial of this nice detail that you can give to whoever you want and also for February 14, I will show you how to make a bracelet with a magnetic heart that when you are close to the other person that contains the other bracelet the hearts come together and this represents the love of a couple and also the love of a beautiful friendship, so I wanted to share with you the tutorial of this nice detail that you can give to whoever you want and also for February 14.

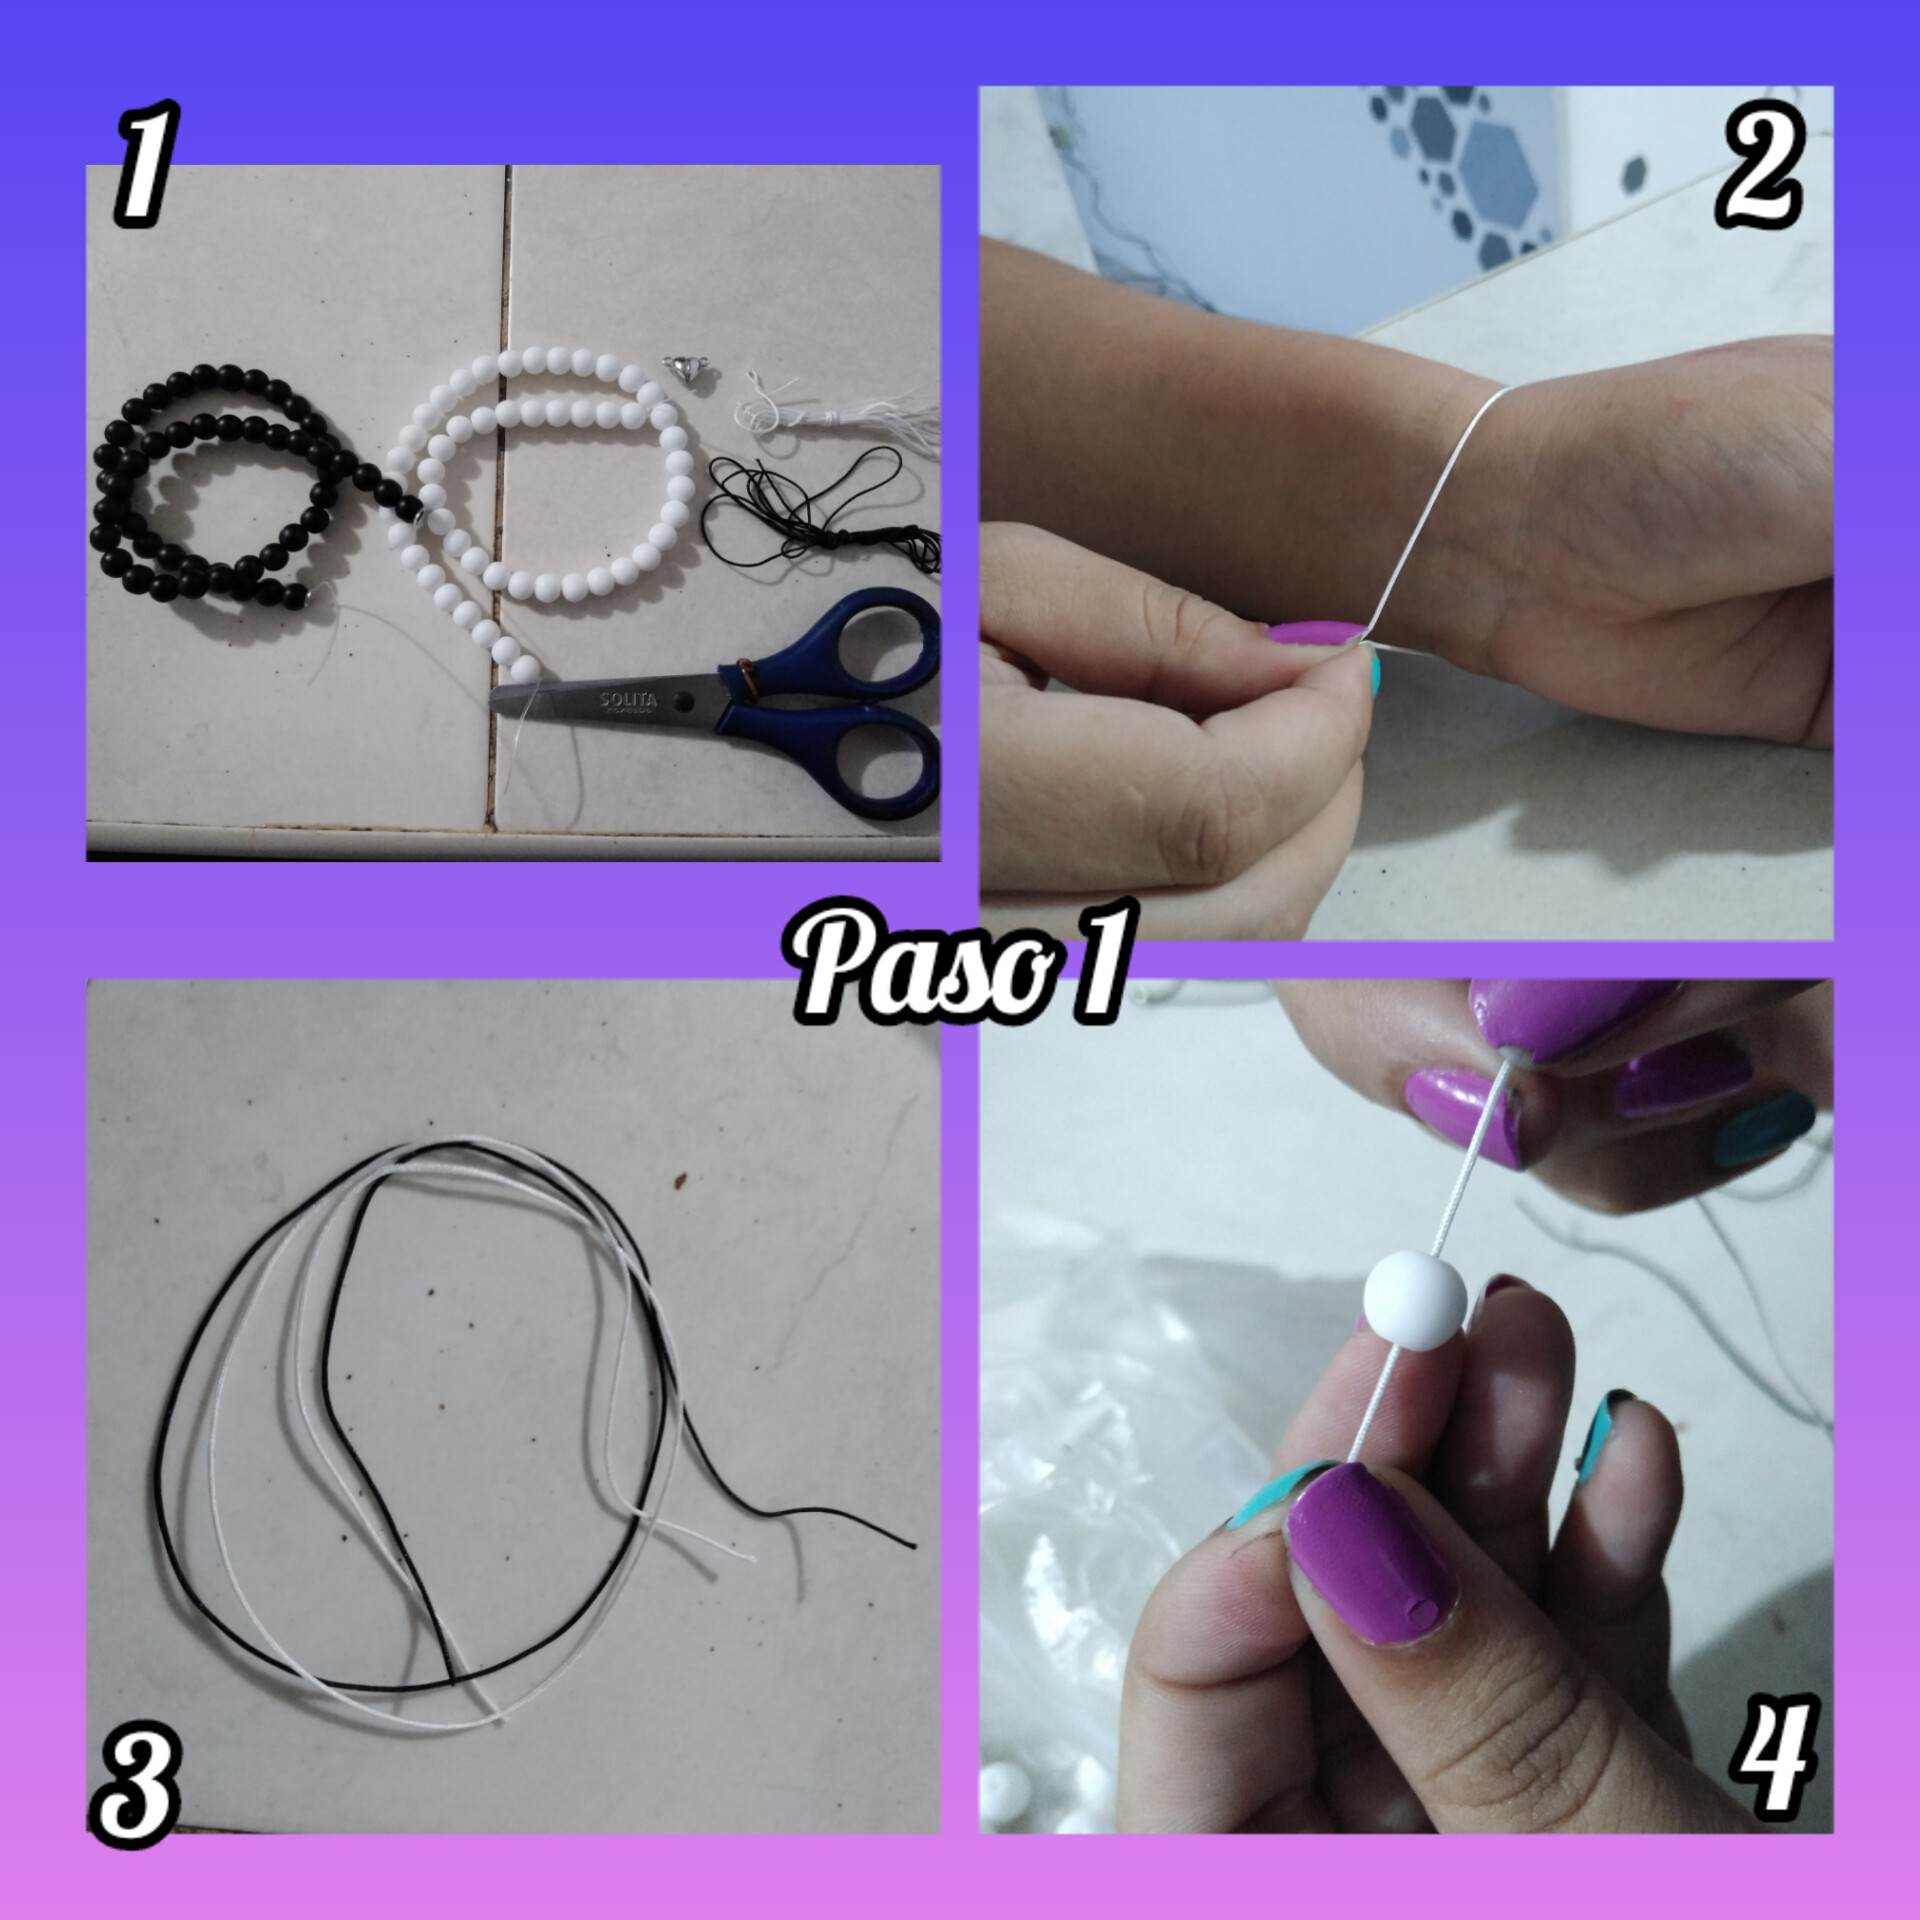
Paso 1: para realizar estás pulseras vamos a necesitar pelotitas negras y pelotitas blancas, hilo chino, un metro blanco y un metro negro, tijera, y el dije que le vayamos a colocar. Lo primero que haremos será medir el tamaño de nuestra muñeca y luego procederemos a extender un poco más el hilo ya que debe ser así porque deben quedar las tiras que nos ayudarán a reducir el tamaño de la pulsera y también a agrandarlo. Procederemos a introducir pelotita por pelotita.
Step 1: to make these bracelets we will need black beads and white beads, Chinese thread, a white meter and a black meter, scissors, and the pendant that we are going to place. The first thing we will do is to measure the size of our wrist and then we will proceed to extend the thread a little more as it must be so because there must be strips that will help us to reduce the size of the bracelet and also to enlarge it. We will proceed to introduce bead by bead.

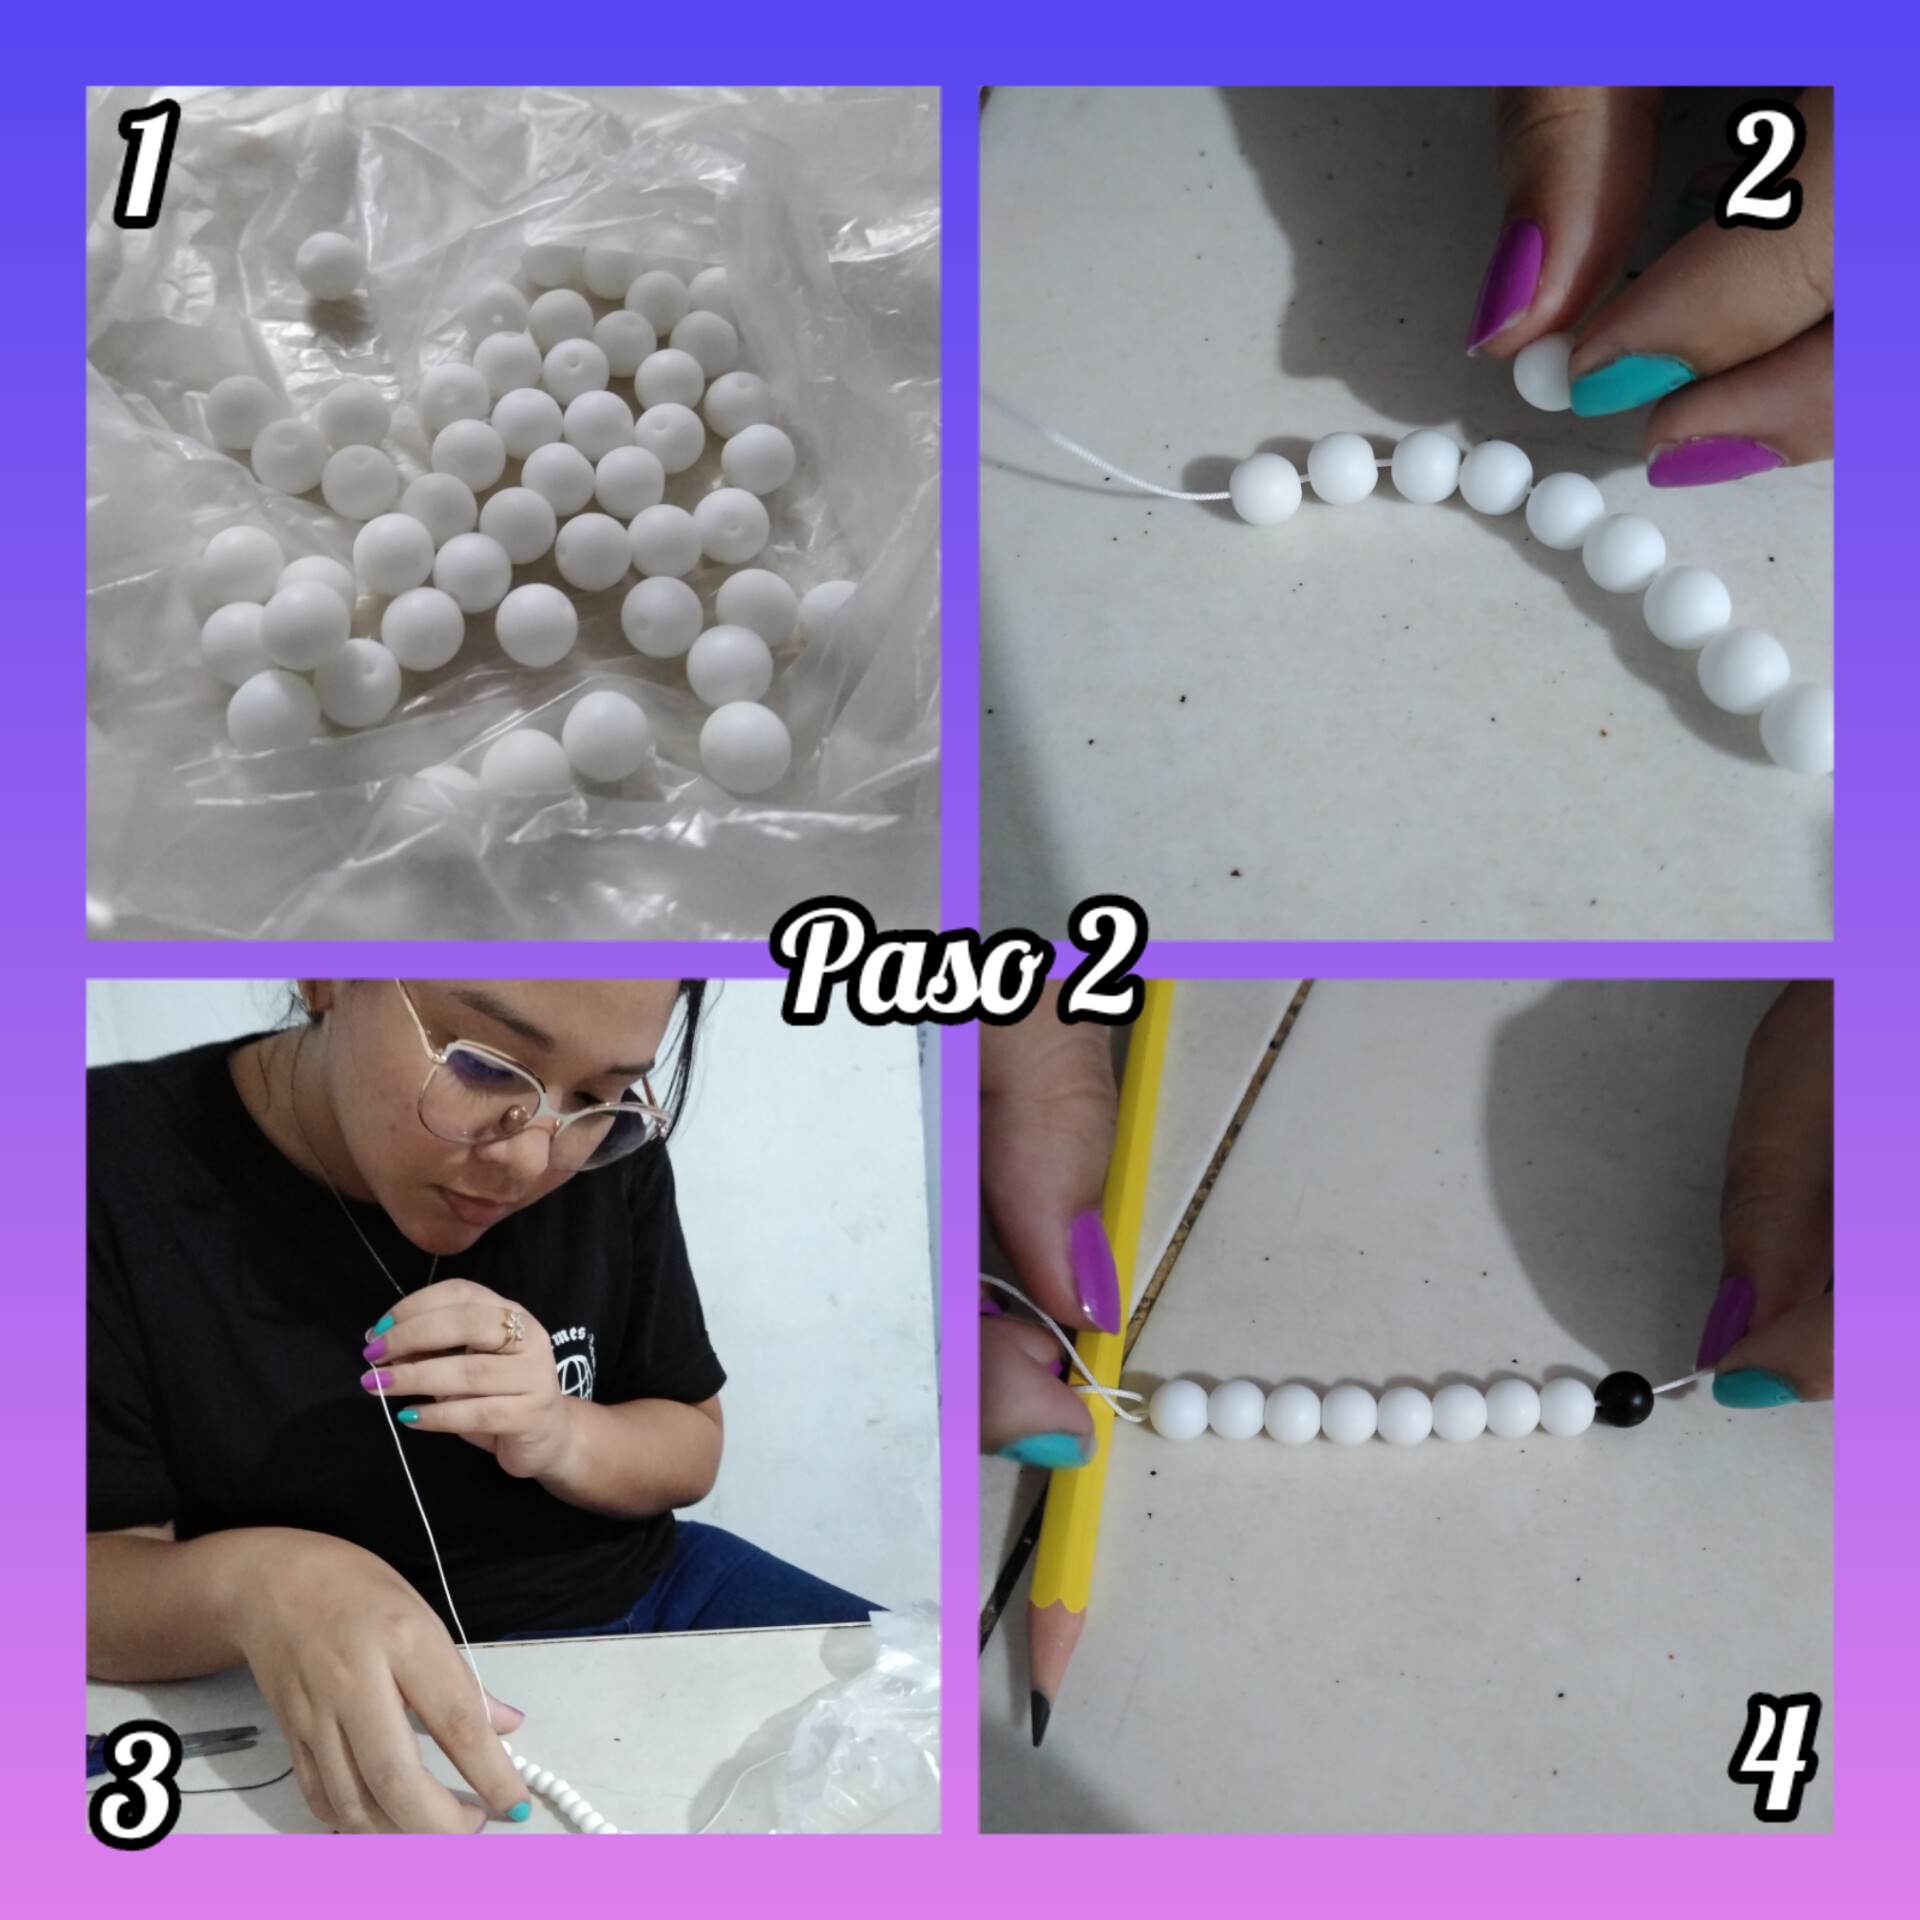
Paso 2: debemos tener cuidado con el otro extremo de la pulsera ya que por ahí se pueden salir las pelotitas que hemos estado metiendo al hilo, lo que podemos hacer es amarrarla un lápiz o colocar encima de ese extremo algo pensado que aguante el hilo, o pedirle ayuda a alguien en casa que sostenga ese extremo mientras vamos metiendo las pelotitas. Y yo metí 8 pelotitas blancas y luego de esta metí una negra para hacer un contraste y que una parte de la pulsera negra este la pelotita blanca y así también haré con la pelotita negra introducir es una pelotica blanca.
Step 2: we must be careful with the other end of the bracelet because the little balls that we have been putting the thread, what we can do is tie a pencil or place on top of that end something thought to hold the thread, or ask for help from someone at home to hold that end while we are putting the little balls. And I put 8 white balls and after this I put a black one to make a contrast and that a part of the black bracelet is the white ball and so I will also do with the black ball to introduce a white ball.

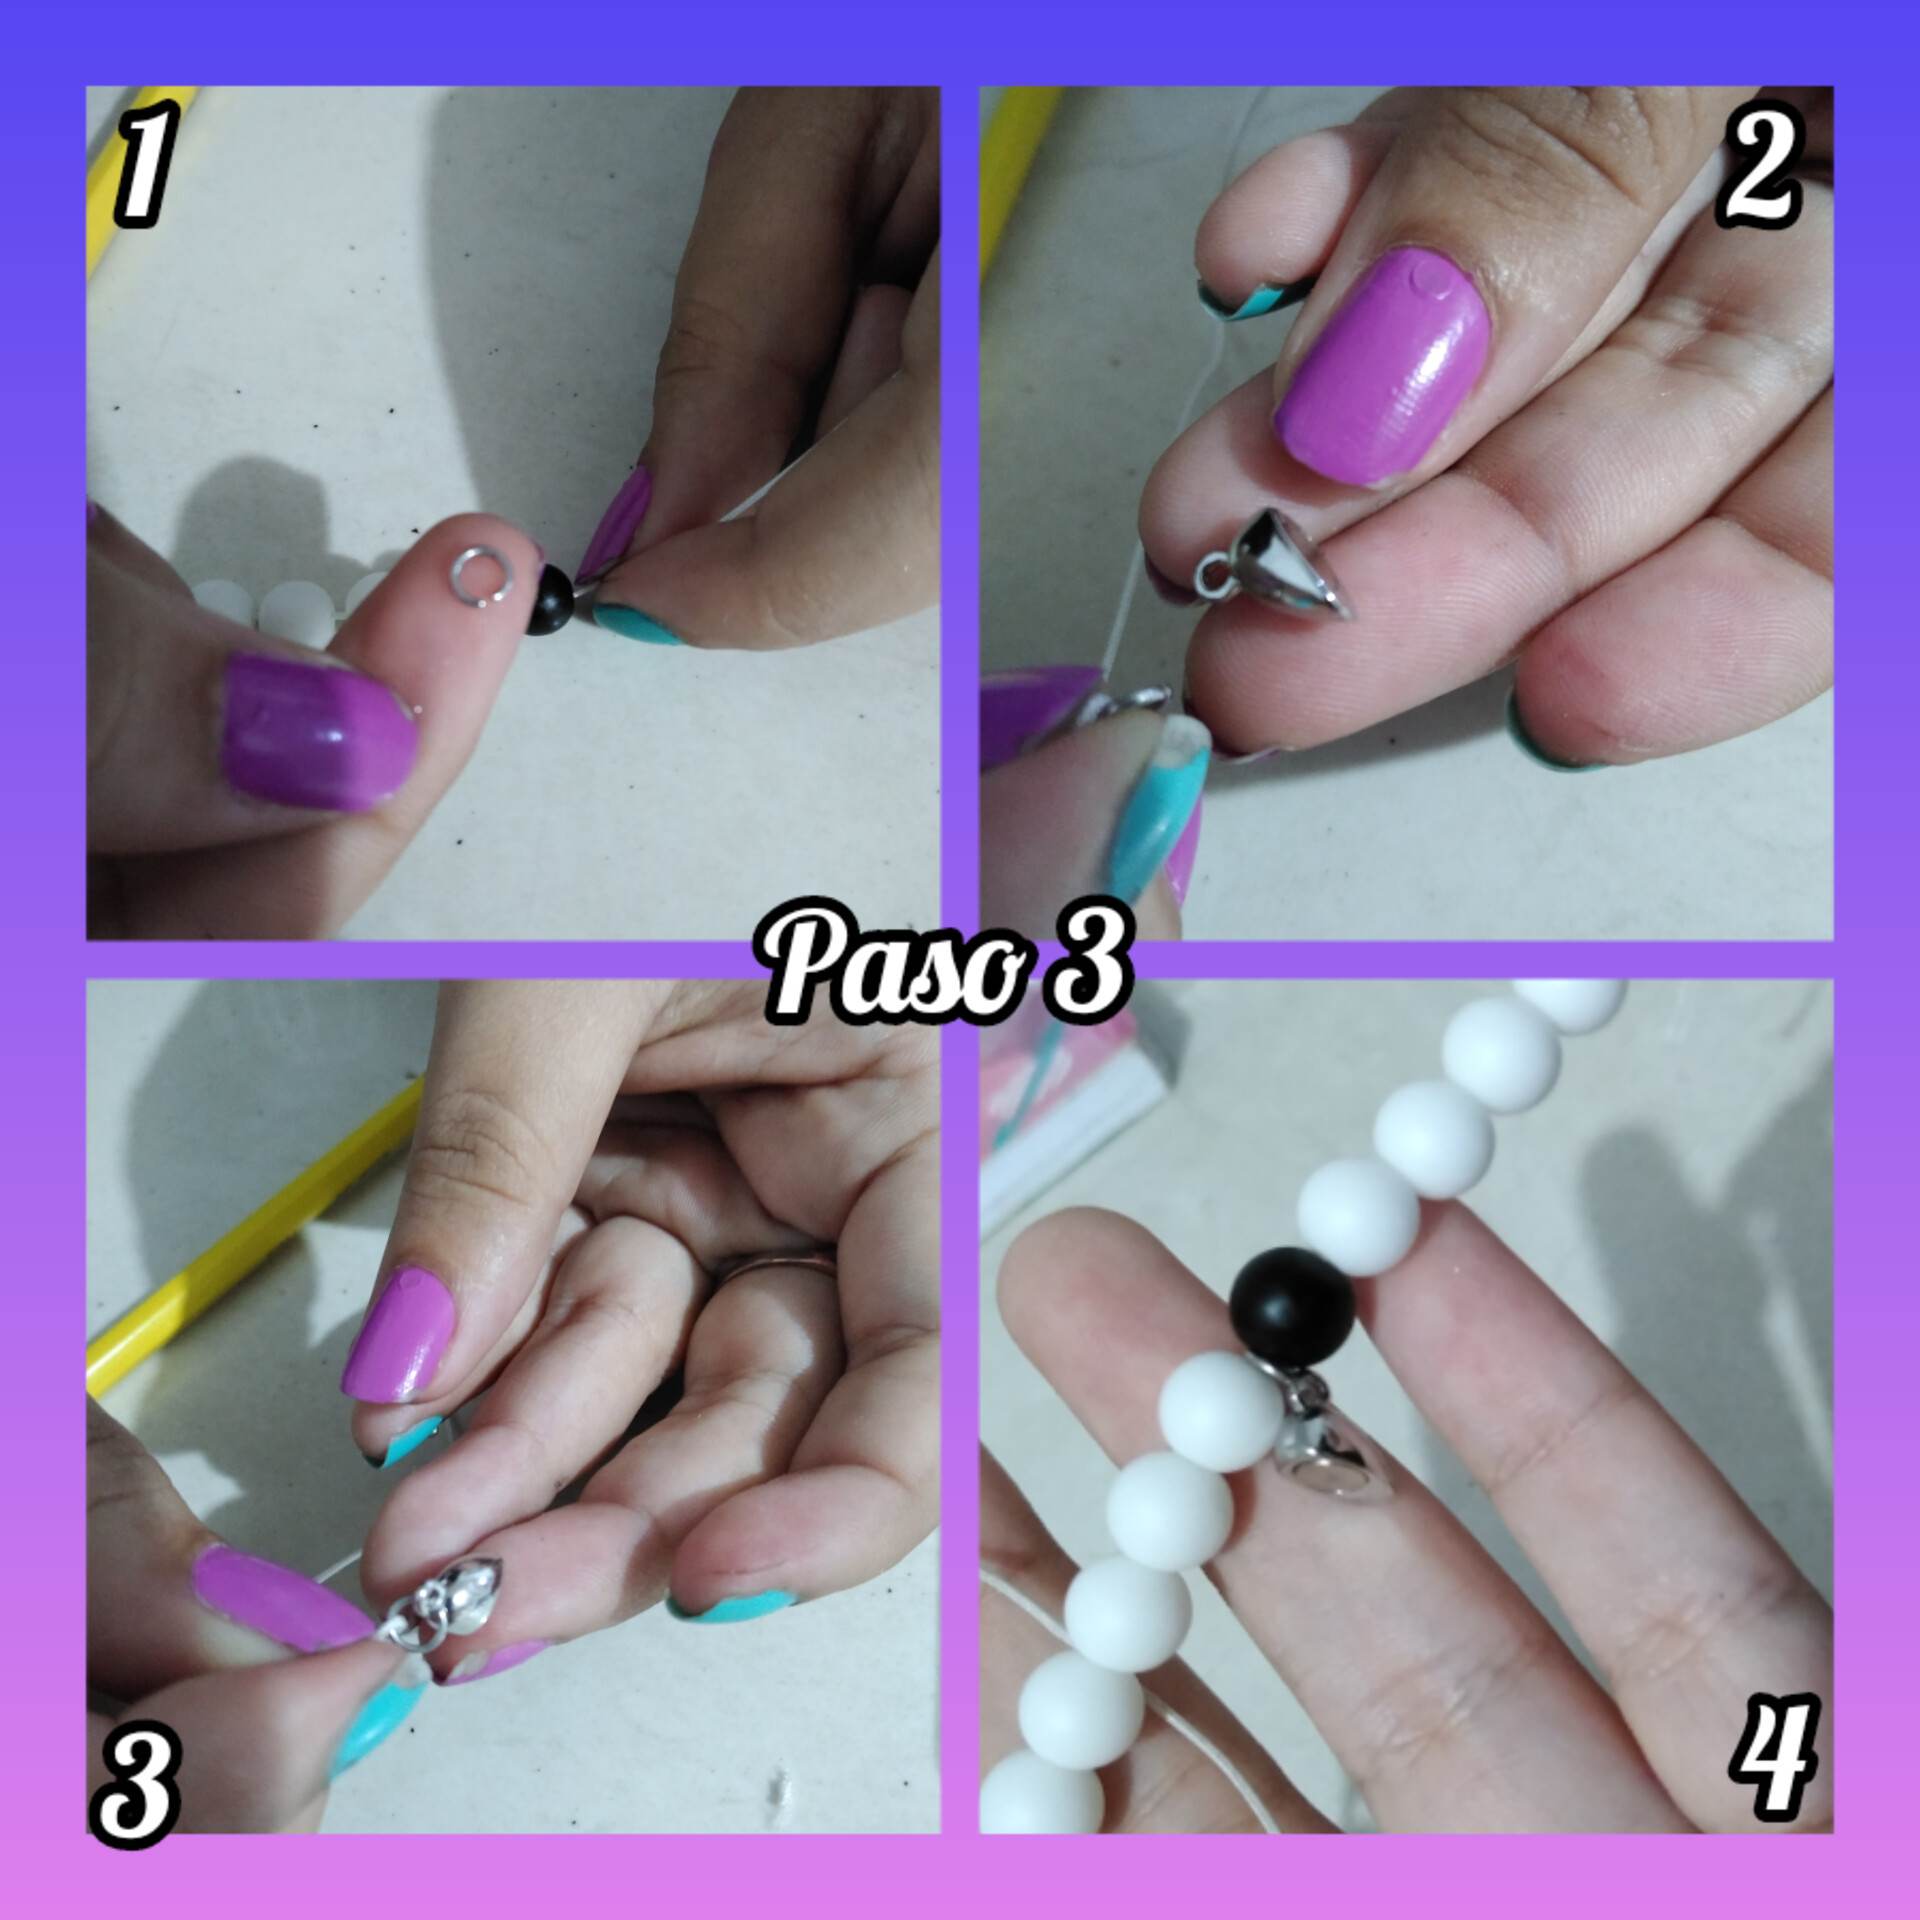
Paso 3: lo que procederemos a realizar será colocar el dije, pero para esto vamos a introducir el dije en este arito gris que pueden observar en la imagen y luego lo procederemos a colocar en la pulsera y terminaremos añadir las 8 pelotitas blancas que restan.
Step 3: what we will proceed to do is to place the charm, but for this we will insert the charm in this gray earring that you can see in the image and then we will proceed to place it on the bracelet and we will finish adding the remaining 8 white hairs.

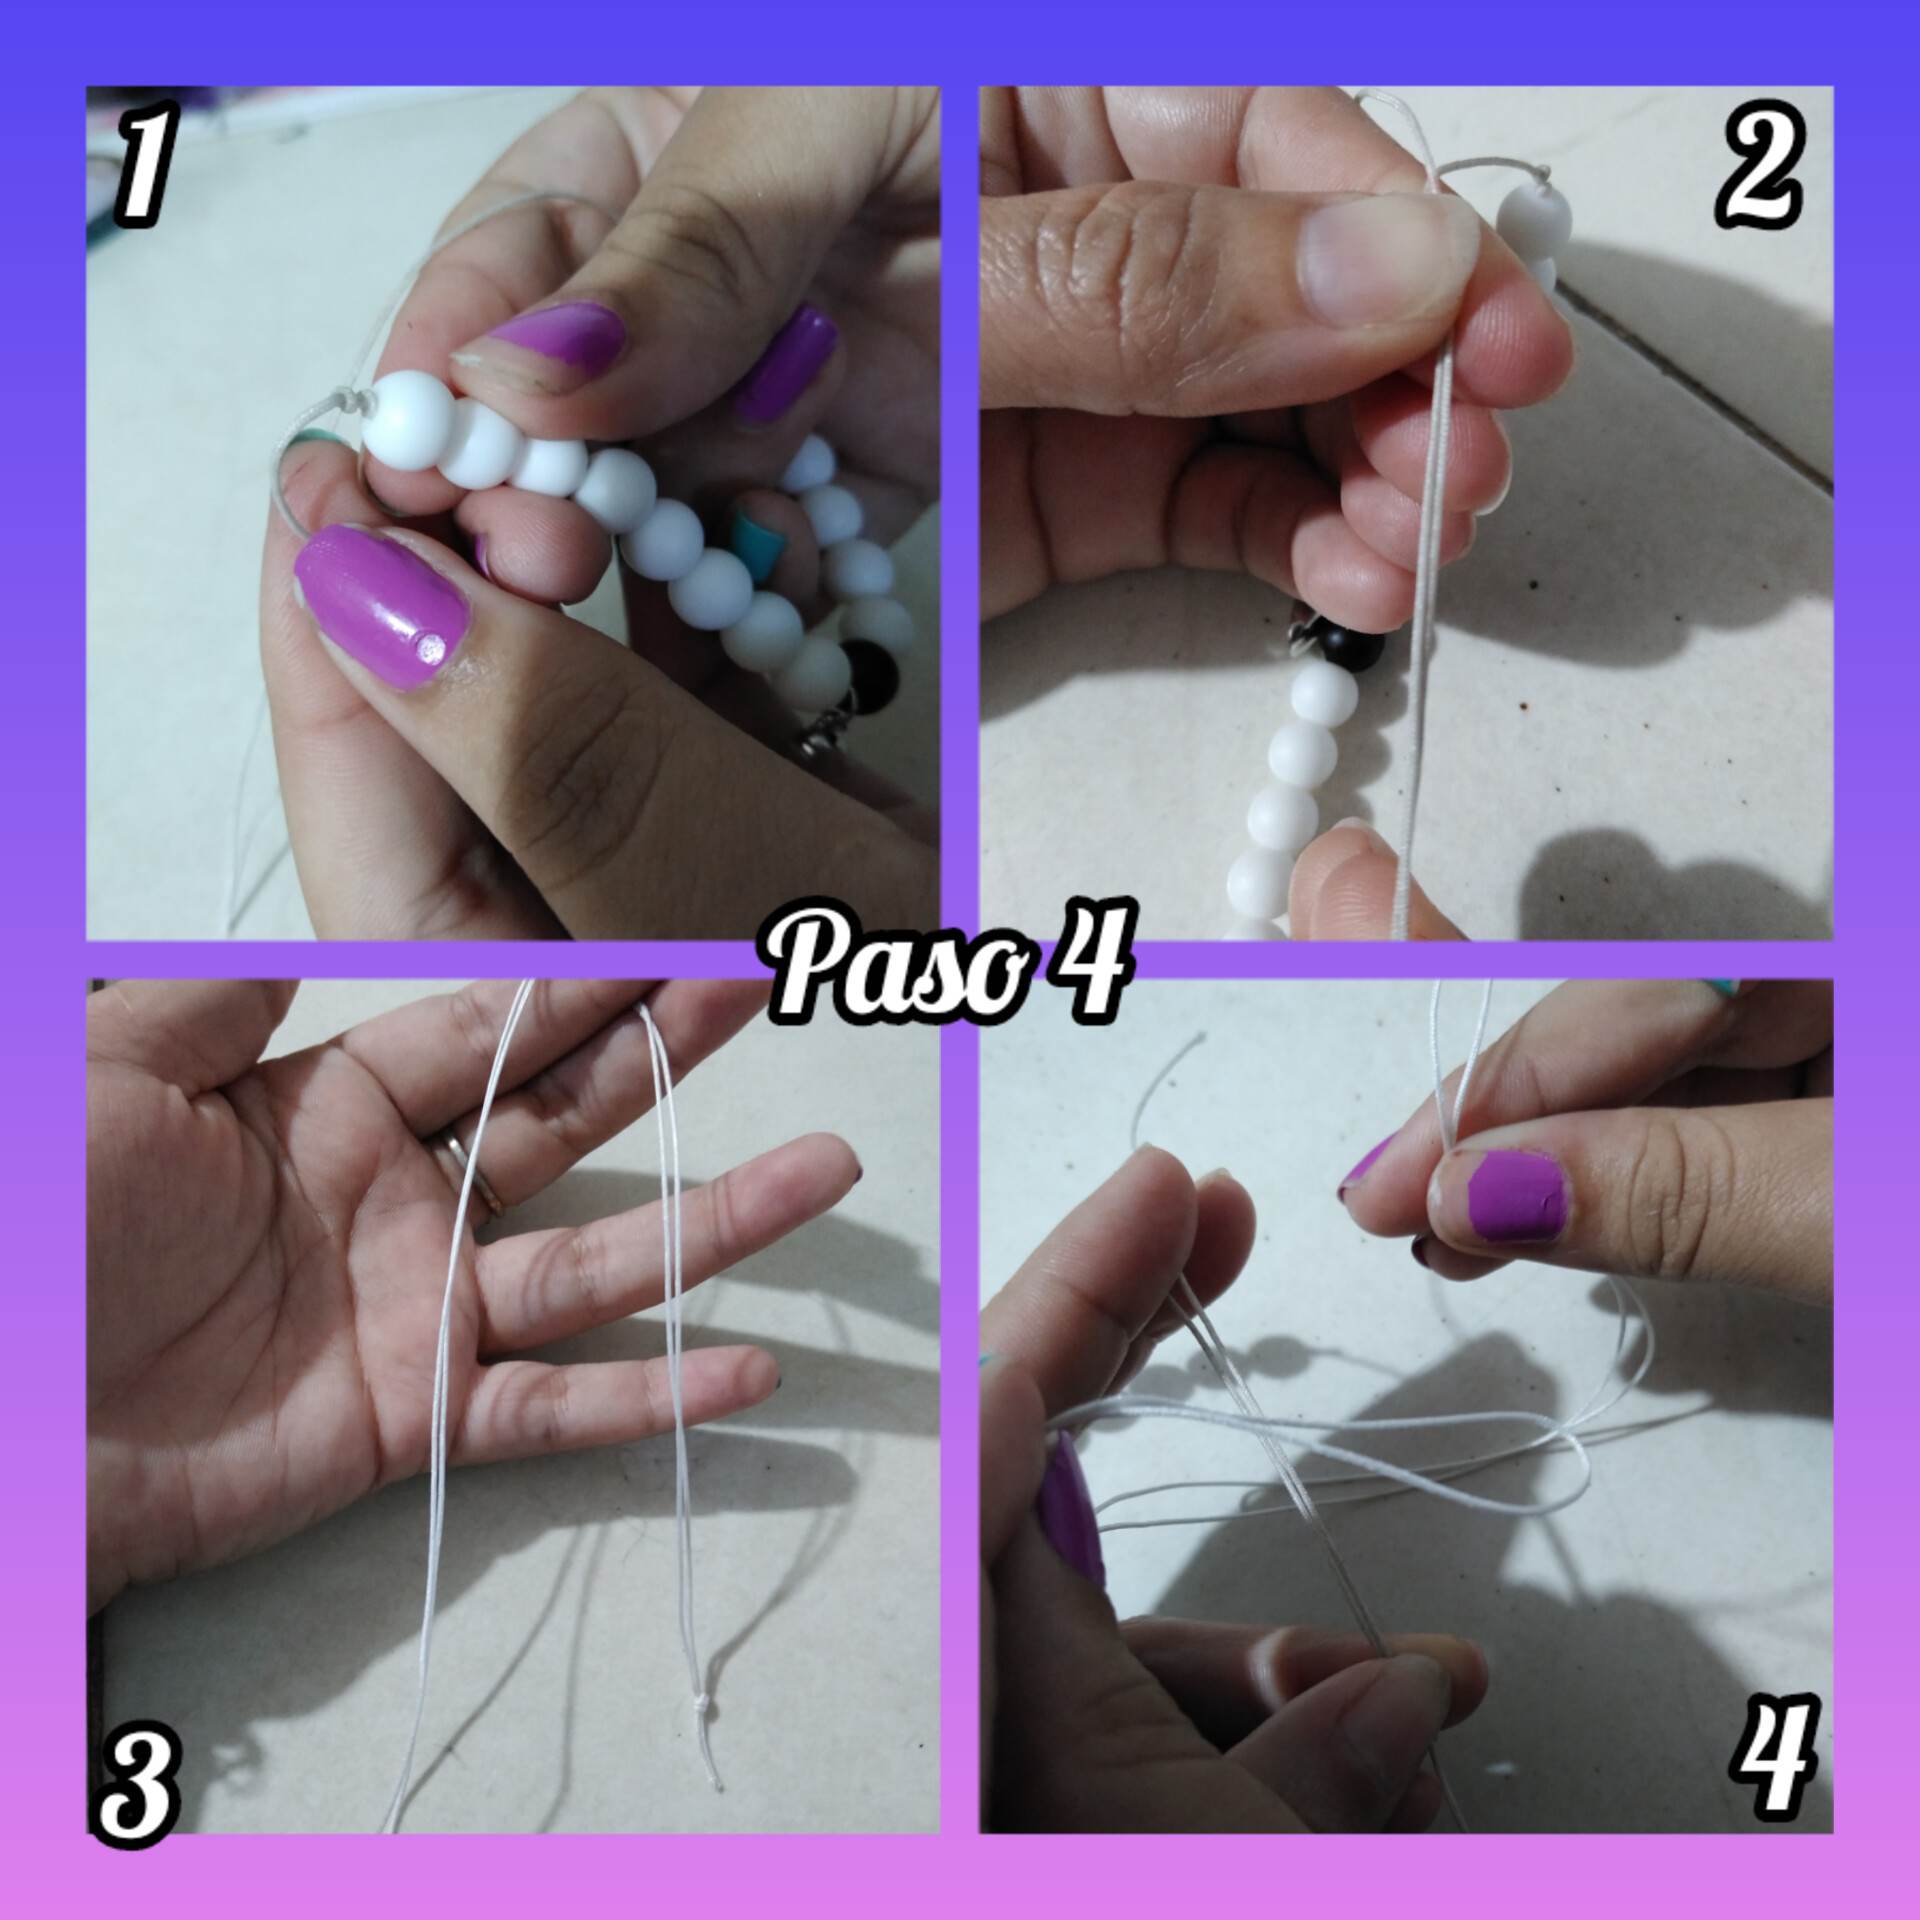
Paso 4: este paso es muy importante al final de la pulsera procederemos a hacer un nudo en un extremo y también el otro extremo pero antes de hacer los nudos de hemos medir que las pulseras o las pelotitas quieren en todo el centro del hilo para que los extremos restantes sean del mismo tamaño. Lo que haremos ahora será realizar el broche que permitirá reducir el tamaño de la pulsera o agrandar el tamaño de la pulsera dependiendo del tamaño de la muñeca de la persona. Con los y los restantes que están luego de hacer el nudo los colocaremos uno al lado de otro luego de tenerlos así con otro pedazo de hilo que me quedó procederemos a hacer un nudo en el medio.
Step 4: this step is very important at the end of the bracelet we will proceed to make a knot at one end and also the other end but before making the knots we have to measure that the bracelets or beads want throughout the center of the thread so that the remaining ends are the same size. What we will do now will be to realize the clasp that will allow to reduce the size of the bracelet or to enlarge the size of the bracelet depending on the size of the wrist of the person. With the and the remaining ones that are after making the knot we will place them one next to the other after having them like this with another piece of thread that I have left we will proceed to make a knot in the middle.

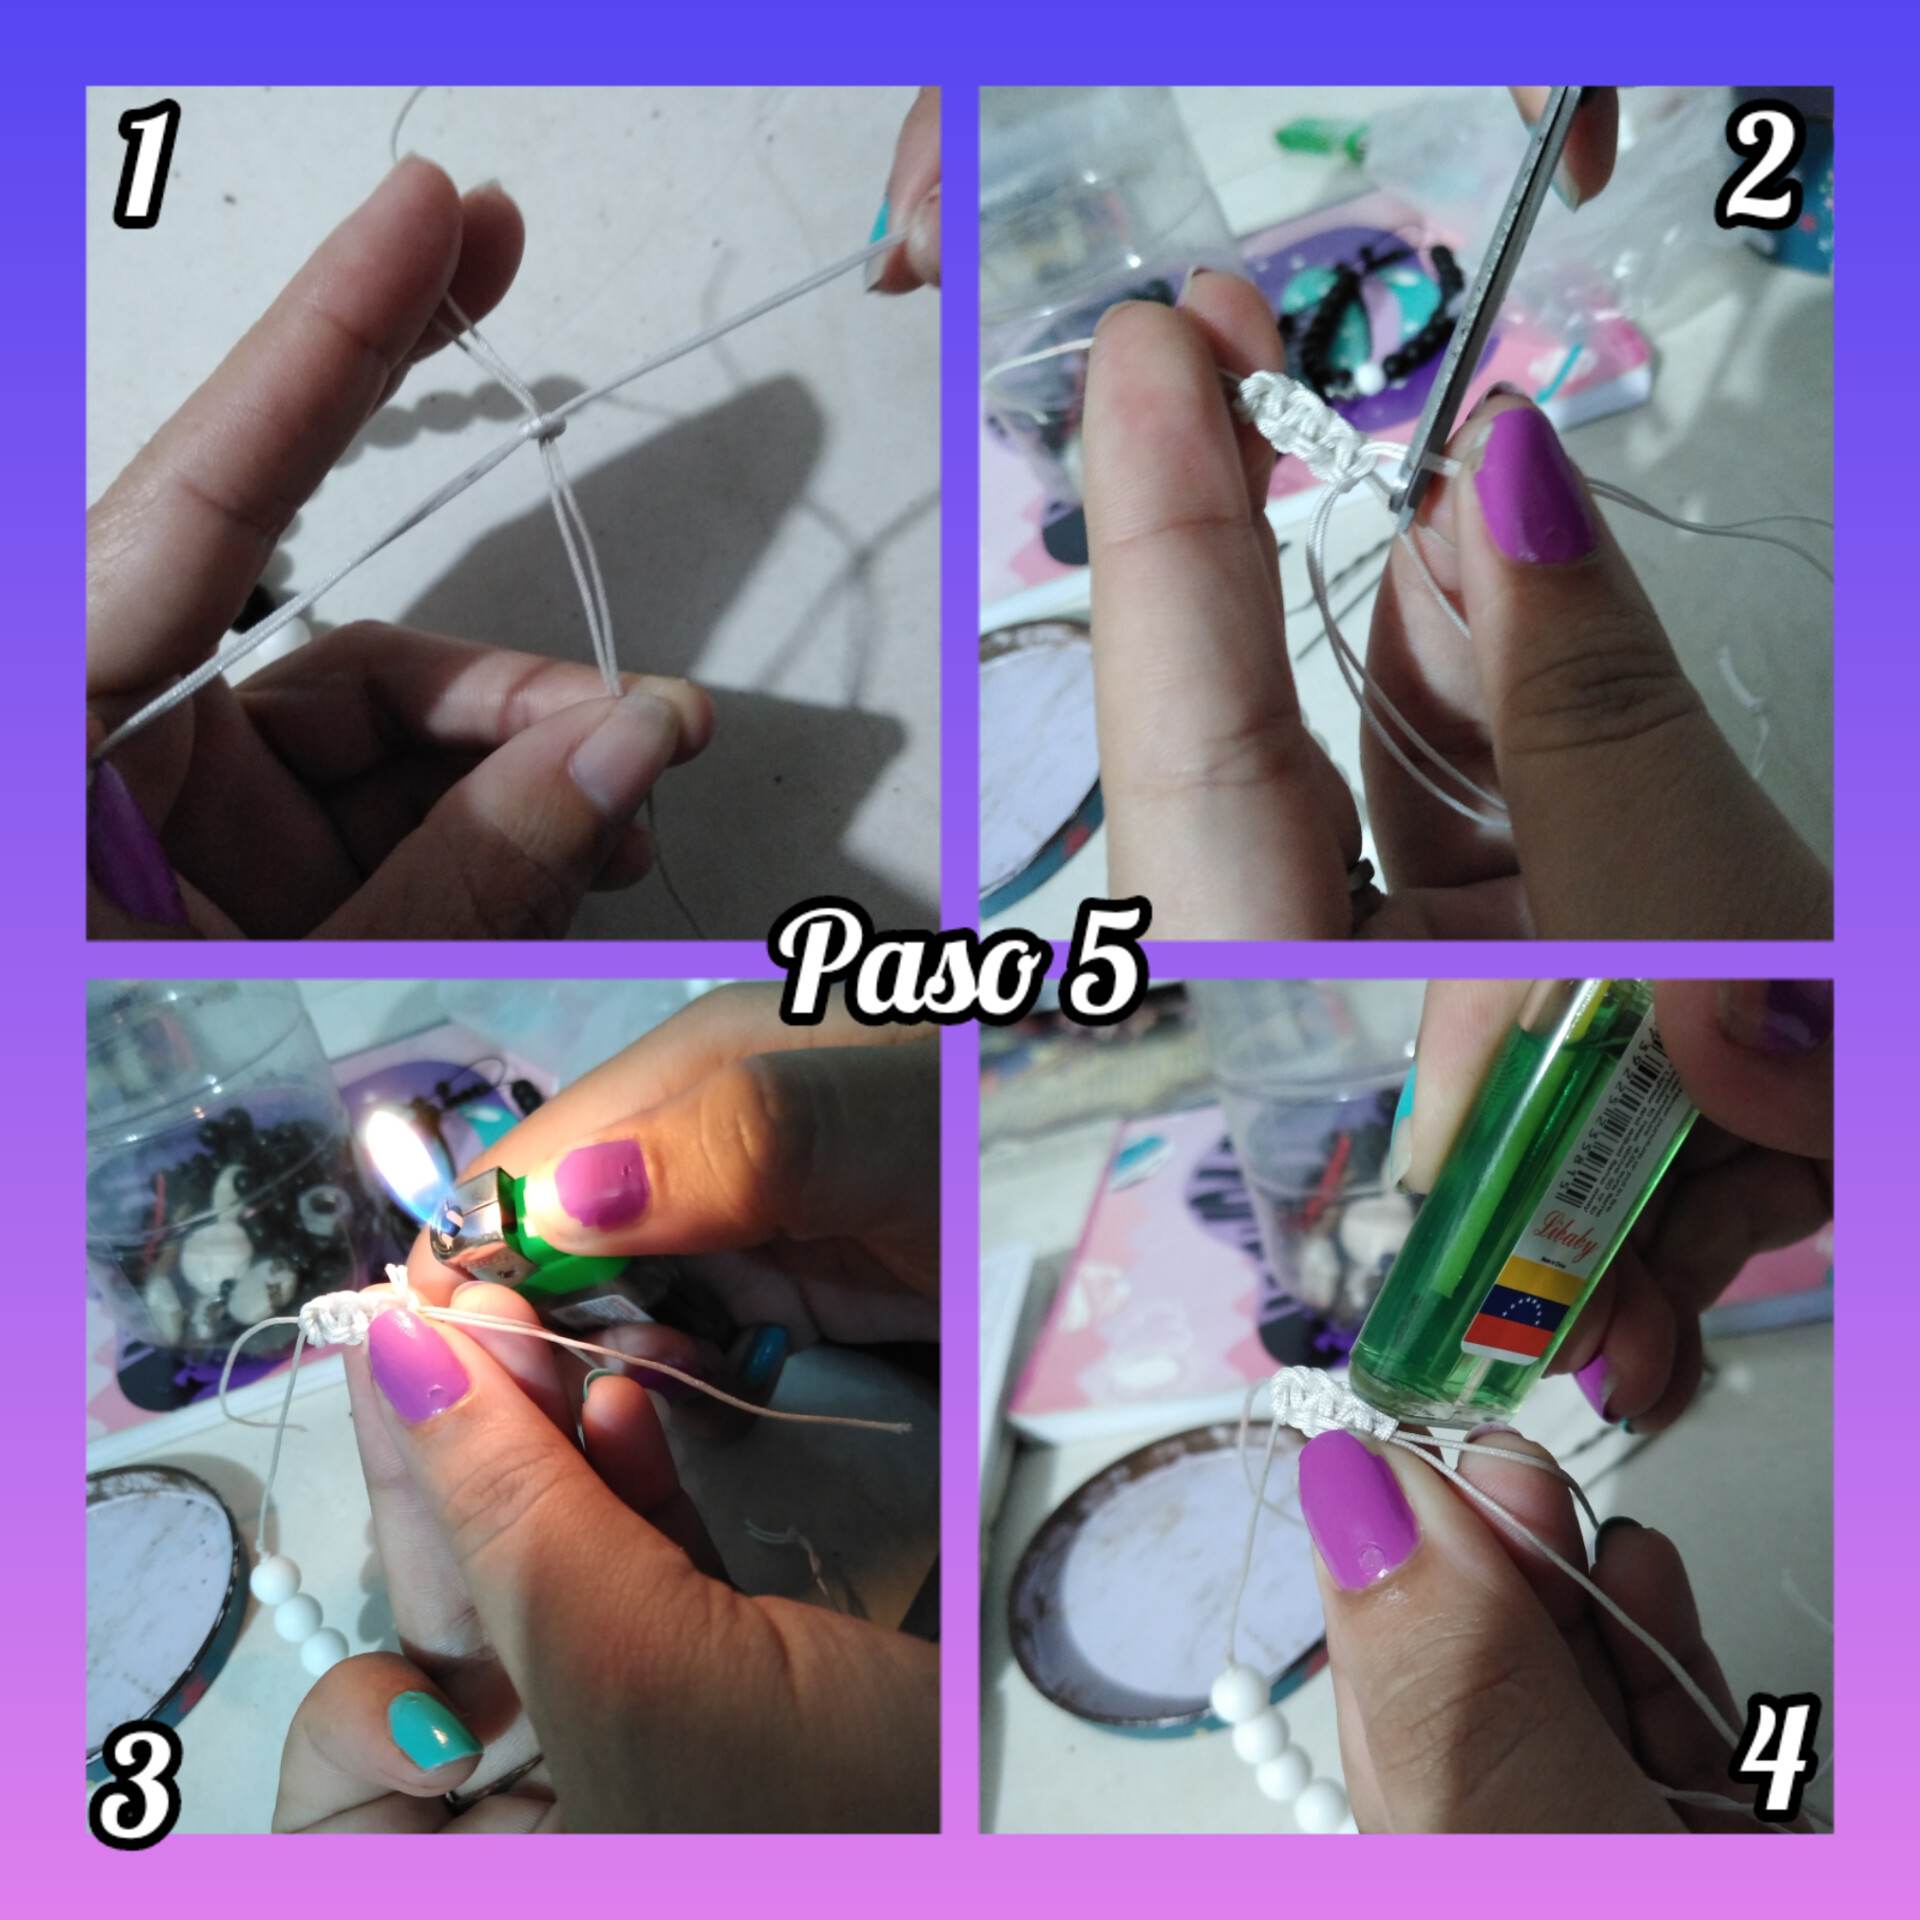
Paso 5: realizamos este nudo y procederemos a hacer un tejido macramé. Se trata de un tejido entrelazados los hilos este será y broche para nuestra pulsera, cortaremos los extremos del hilo y quemaremos cuidadosamente con un yesquero, debemos tener en cuenta que al quemar este tipo de hilo se hace como un tipo de plástico suave y al momento de que eso se forme lo que haremos será con la parte trasera del yesquero pegarlo al broche de la pulsera.
Step 5: we make this knot and proceed to make a macramé weave. It is a weave intertwined threads this will be and clasp for our bracelet, we will cut the ends of the thread and burn carefully with a tinder, we must bear in mind that when burning this type of thread is made as a kind of soft plastic and when that is formed what we will do will be with the back of the tinder stick it to the clasp of the bracelet.

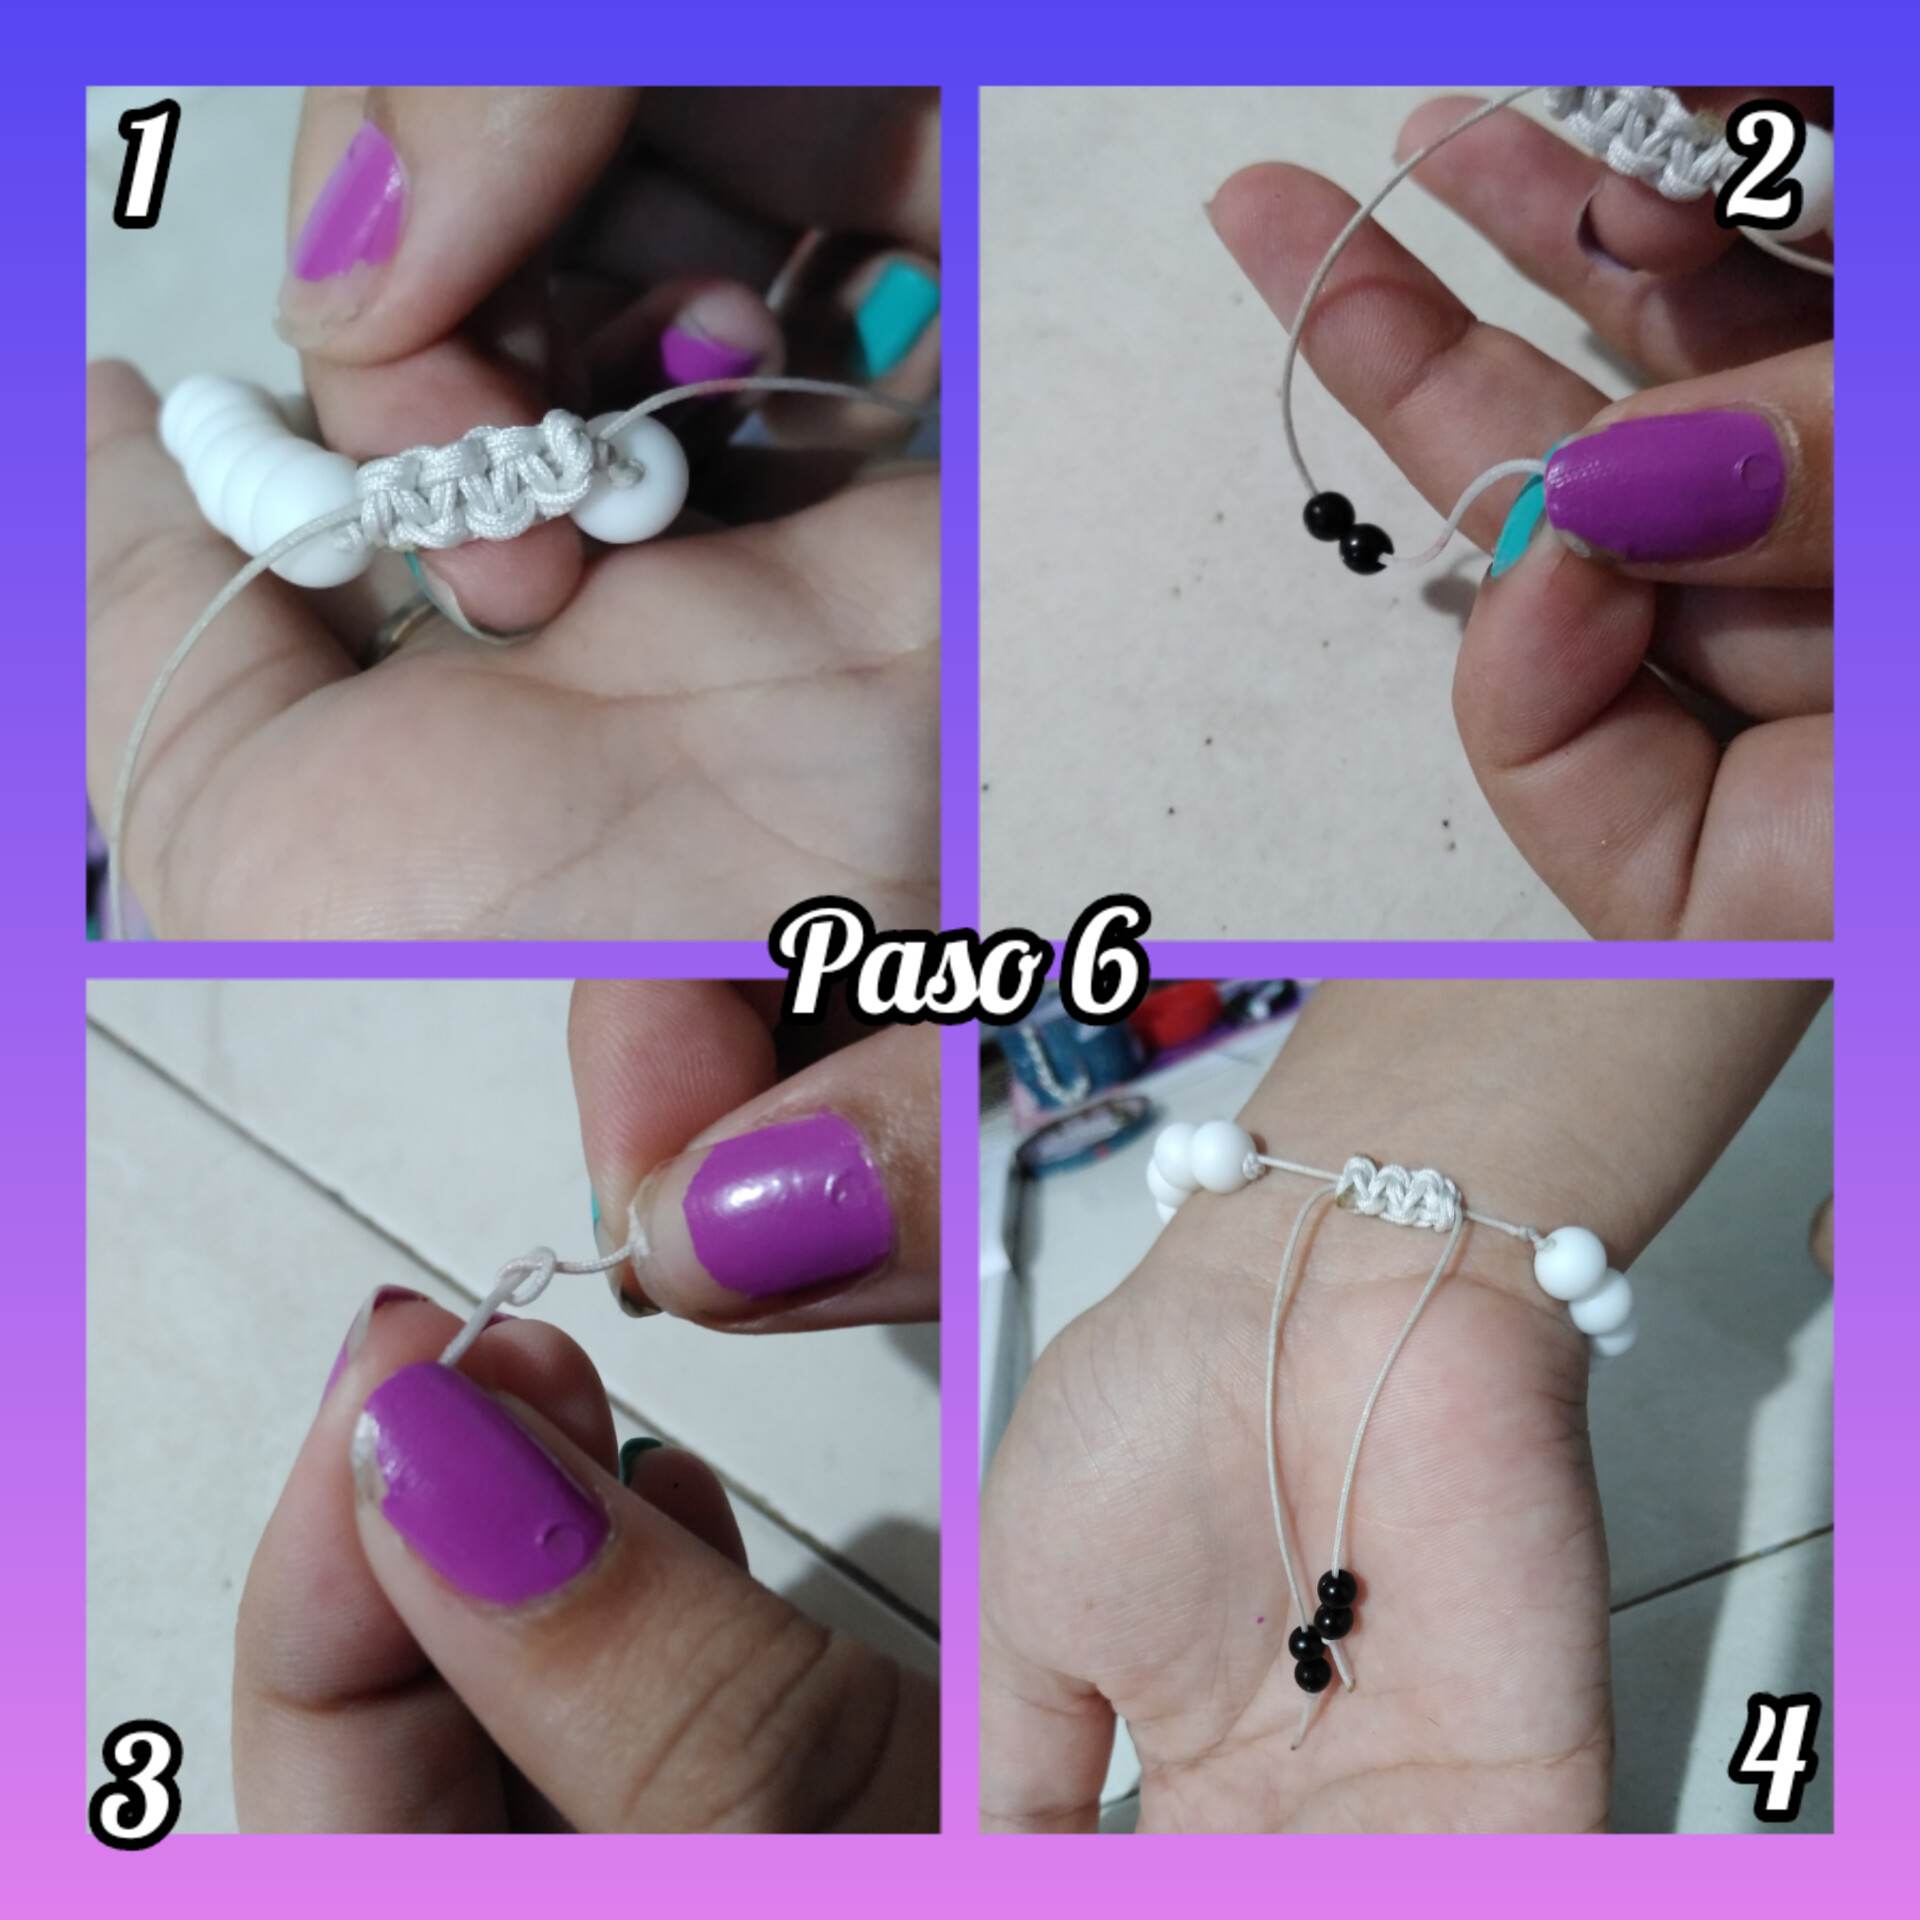
Paso 6: aquí pueden observar Cómo quedó nuestro lindo broche y lo siguiente qué haremos con los hilitos restantes de la pulsera será colocar dos piedritas negras pequeñas de cada lado y haremos un nudo para que no se salgan. Así culmine el tutorial de estas bellas pulseras espero que les guste mucho y puedan hacer una para su persona especial.
Step 6: Here you can see how our beautiful brooch turned out and the next thing we will do with the remaining threads of the bracelet is to place two small black stones on each side and tie a knot so that they do not come off. Thus culminate the tutorial of these beautiful bracelets I hope you like it very much and you can make one for your special person.

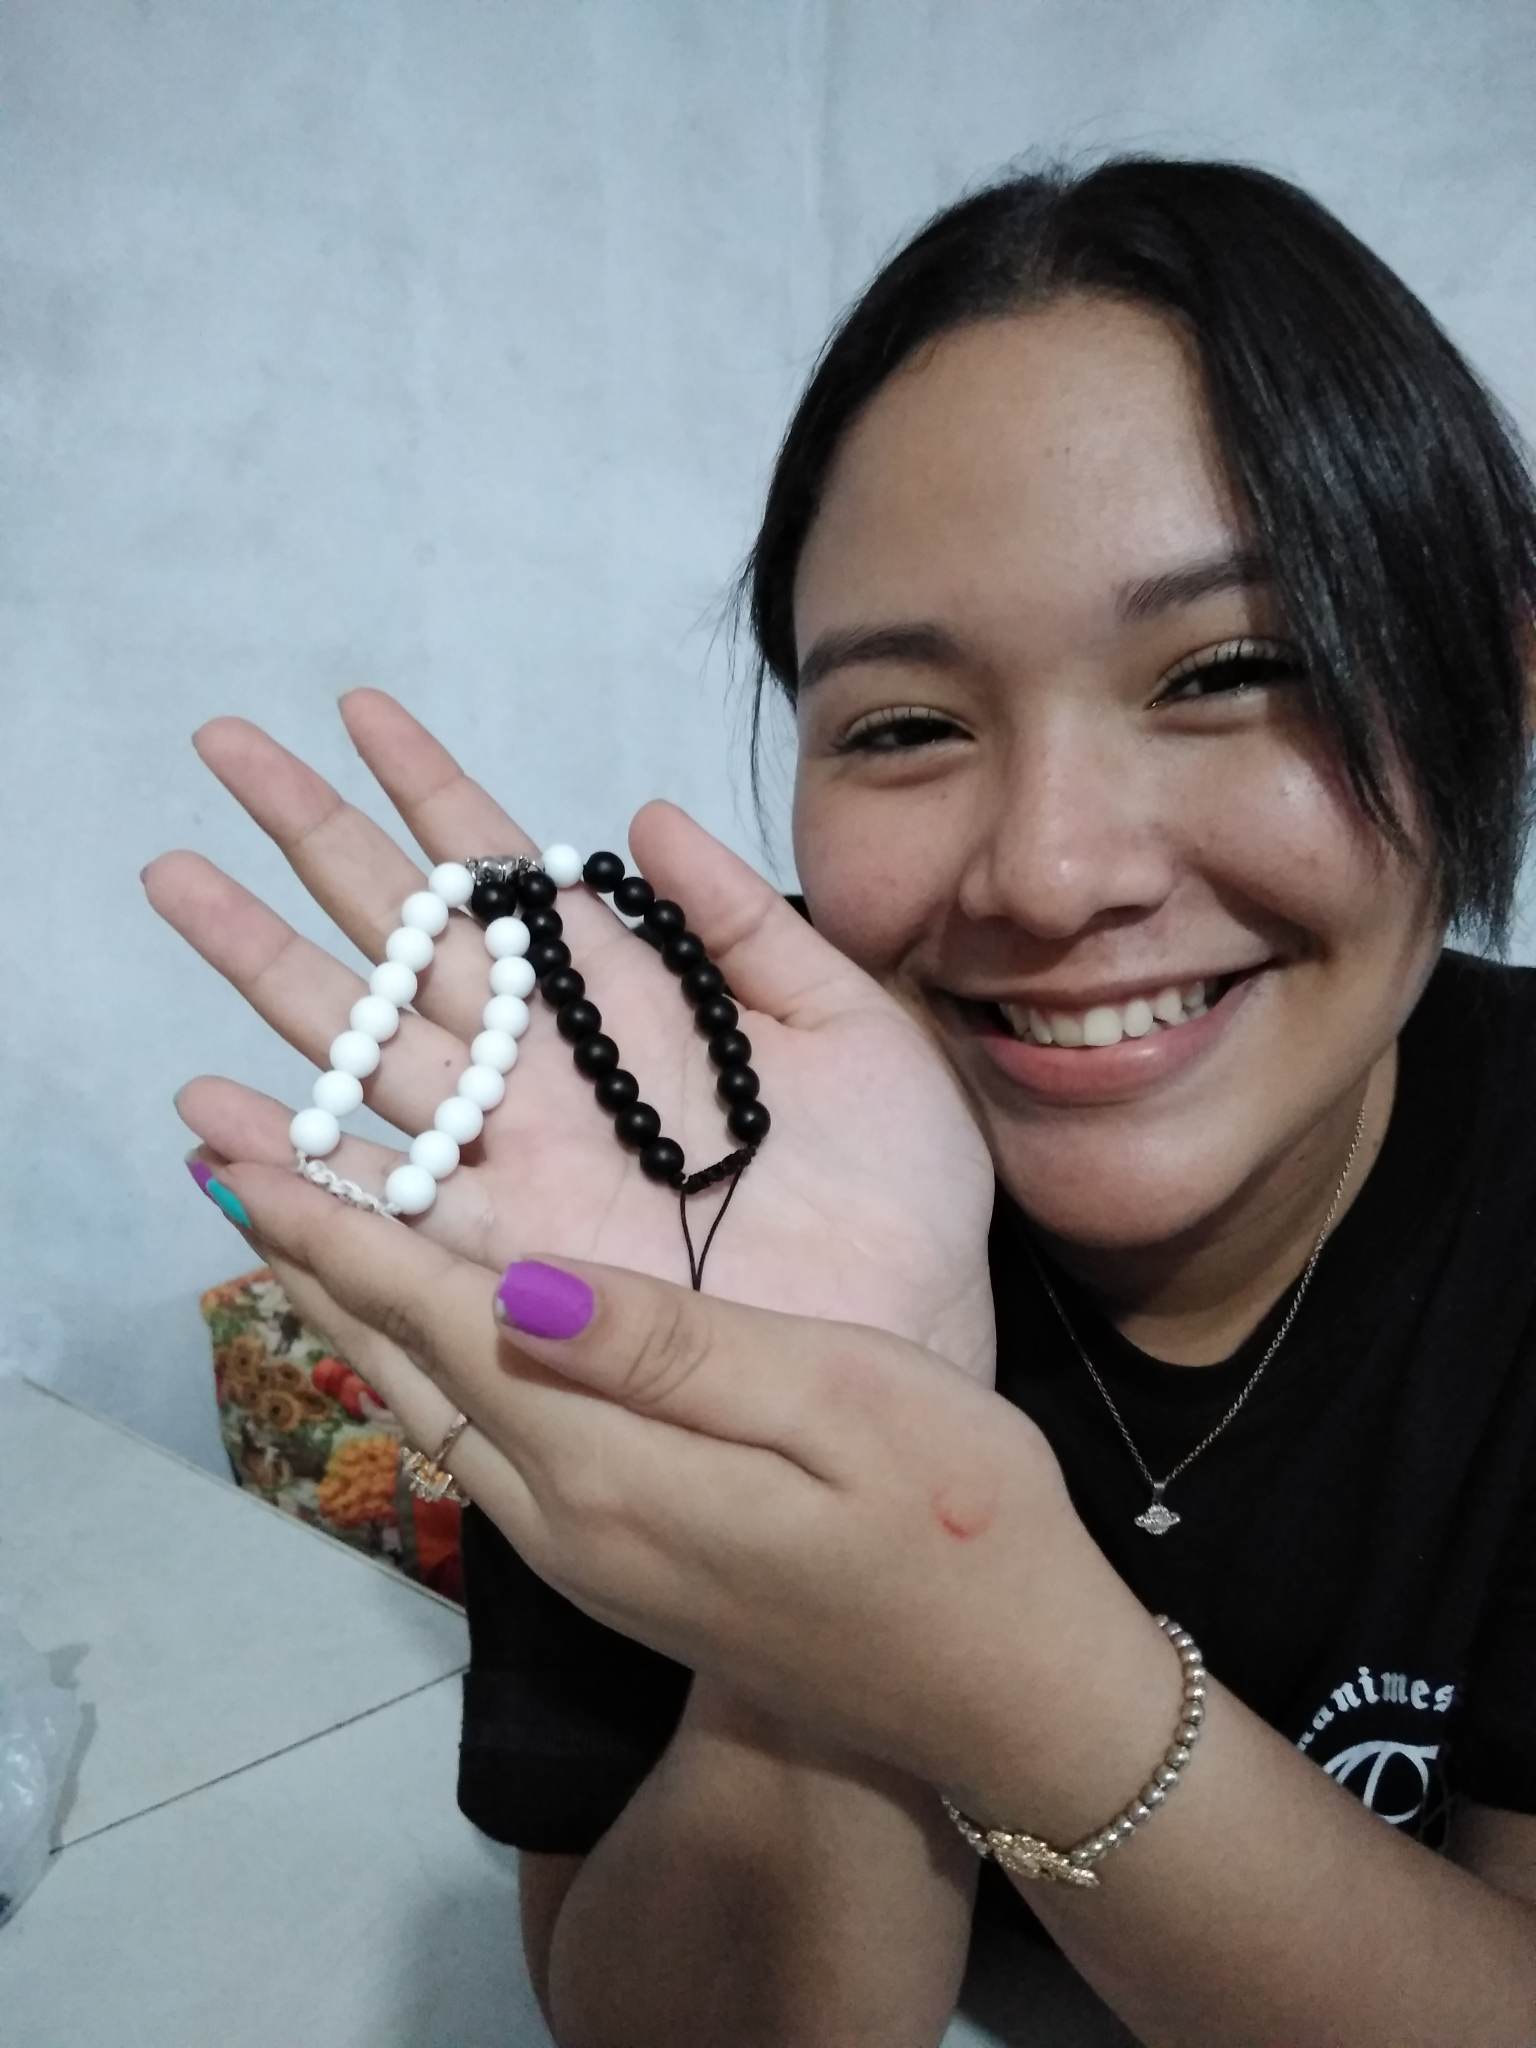
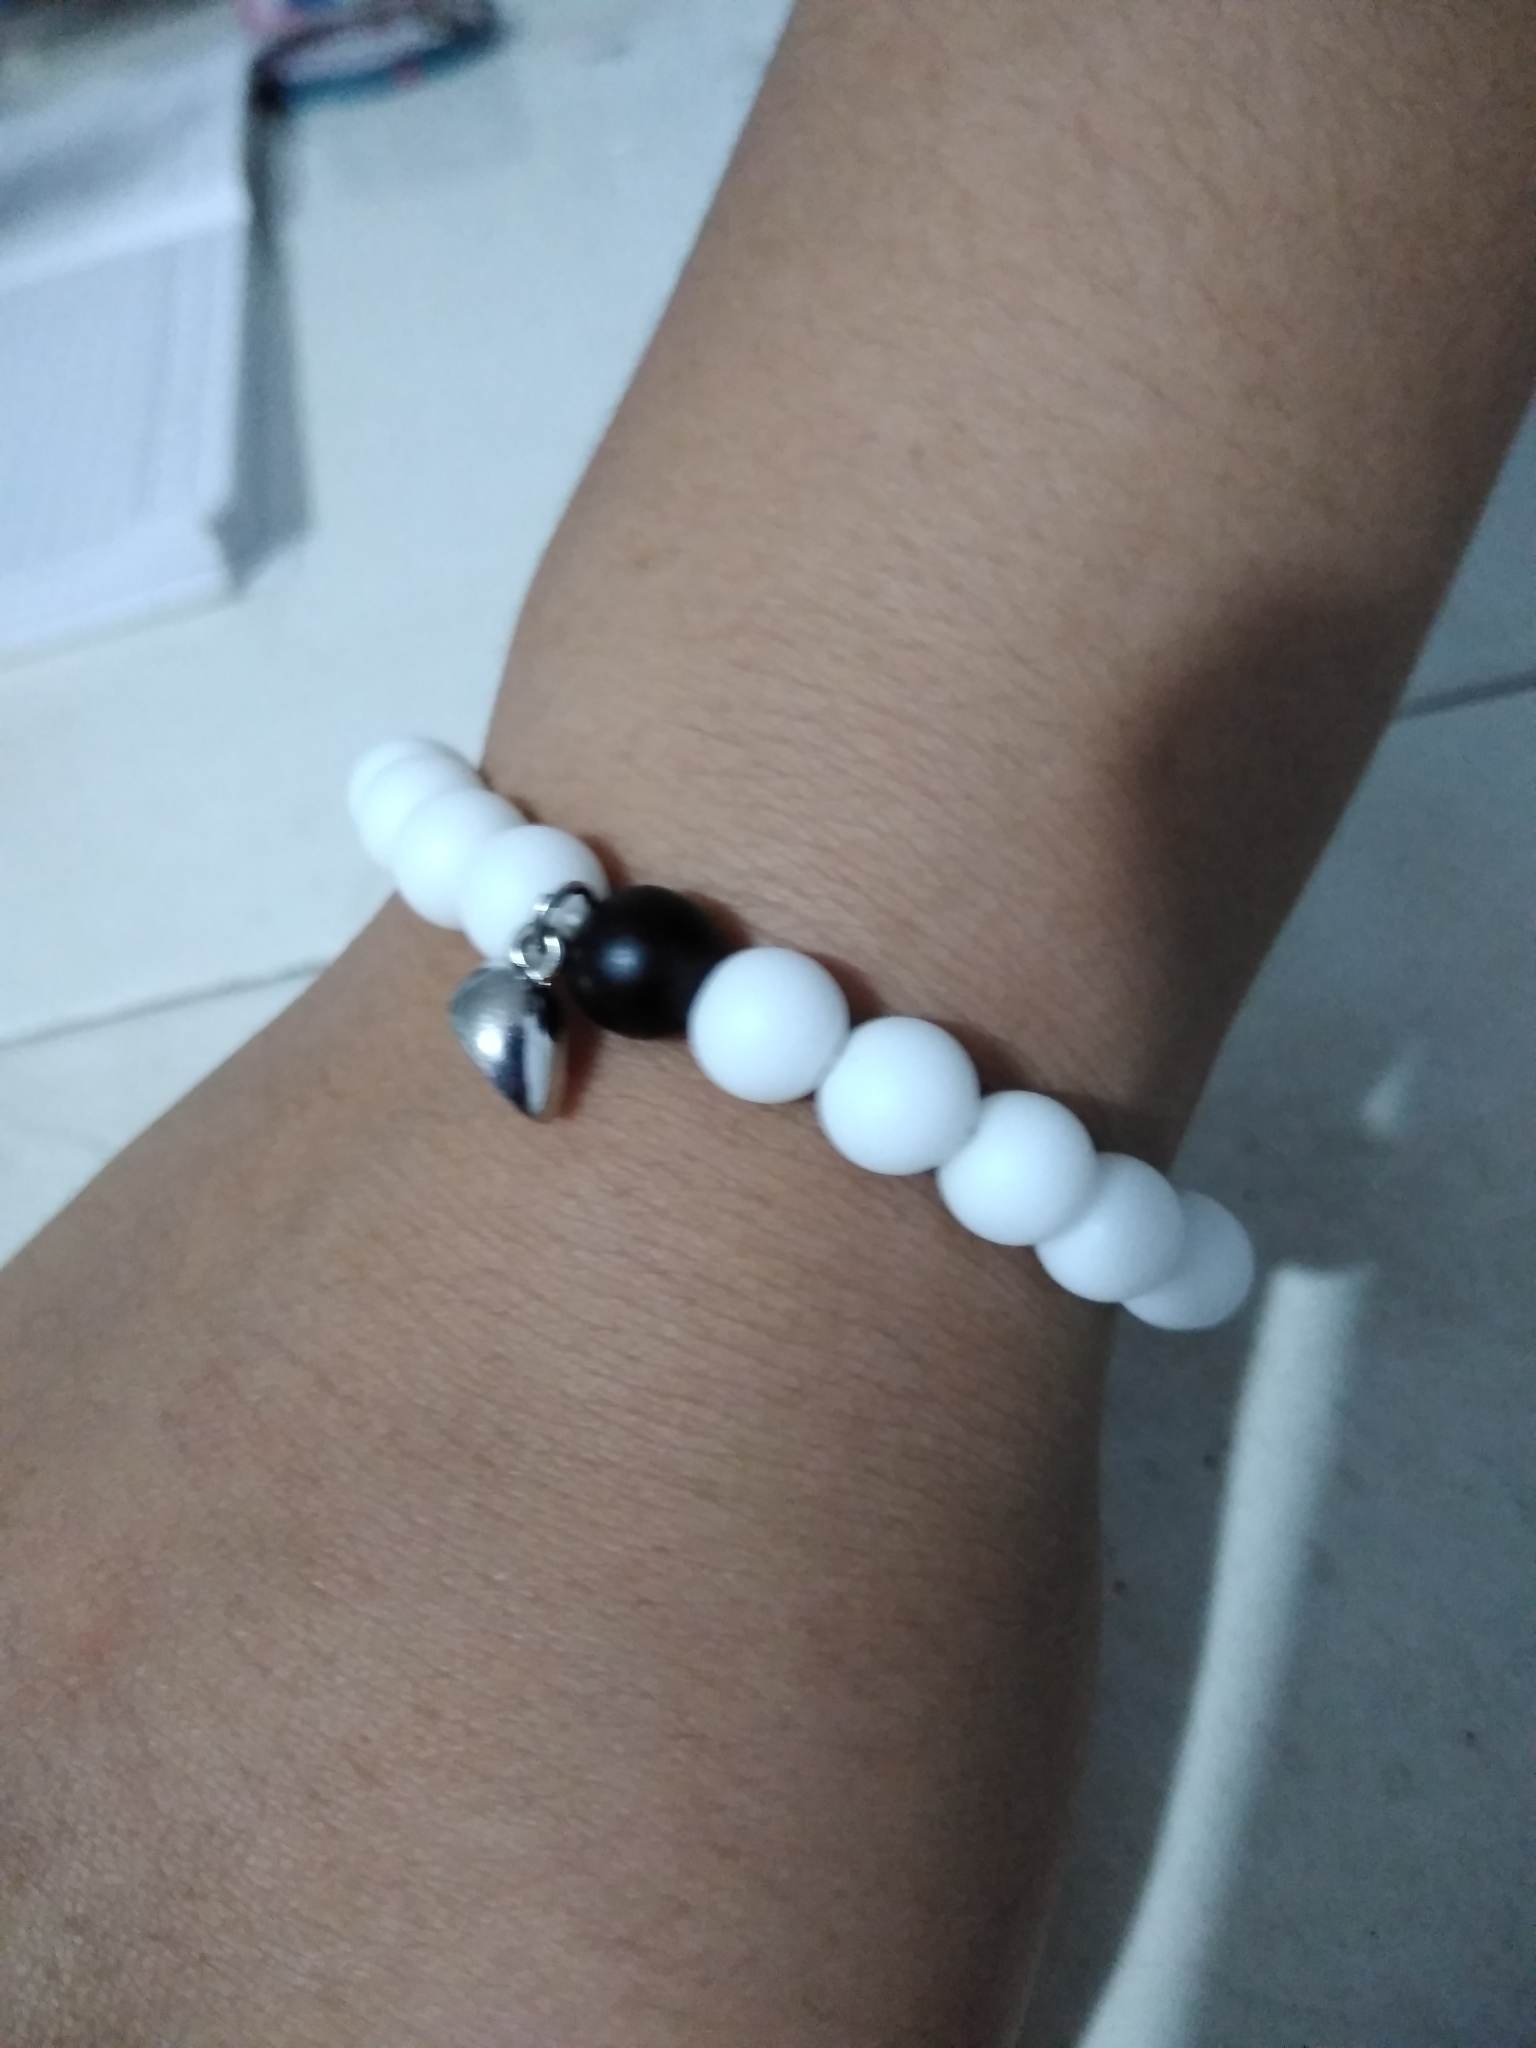
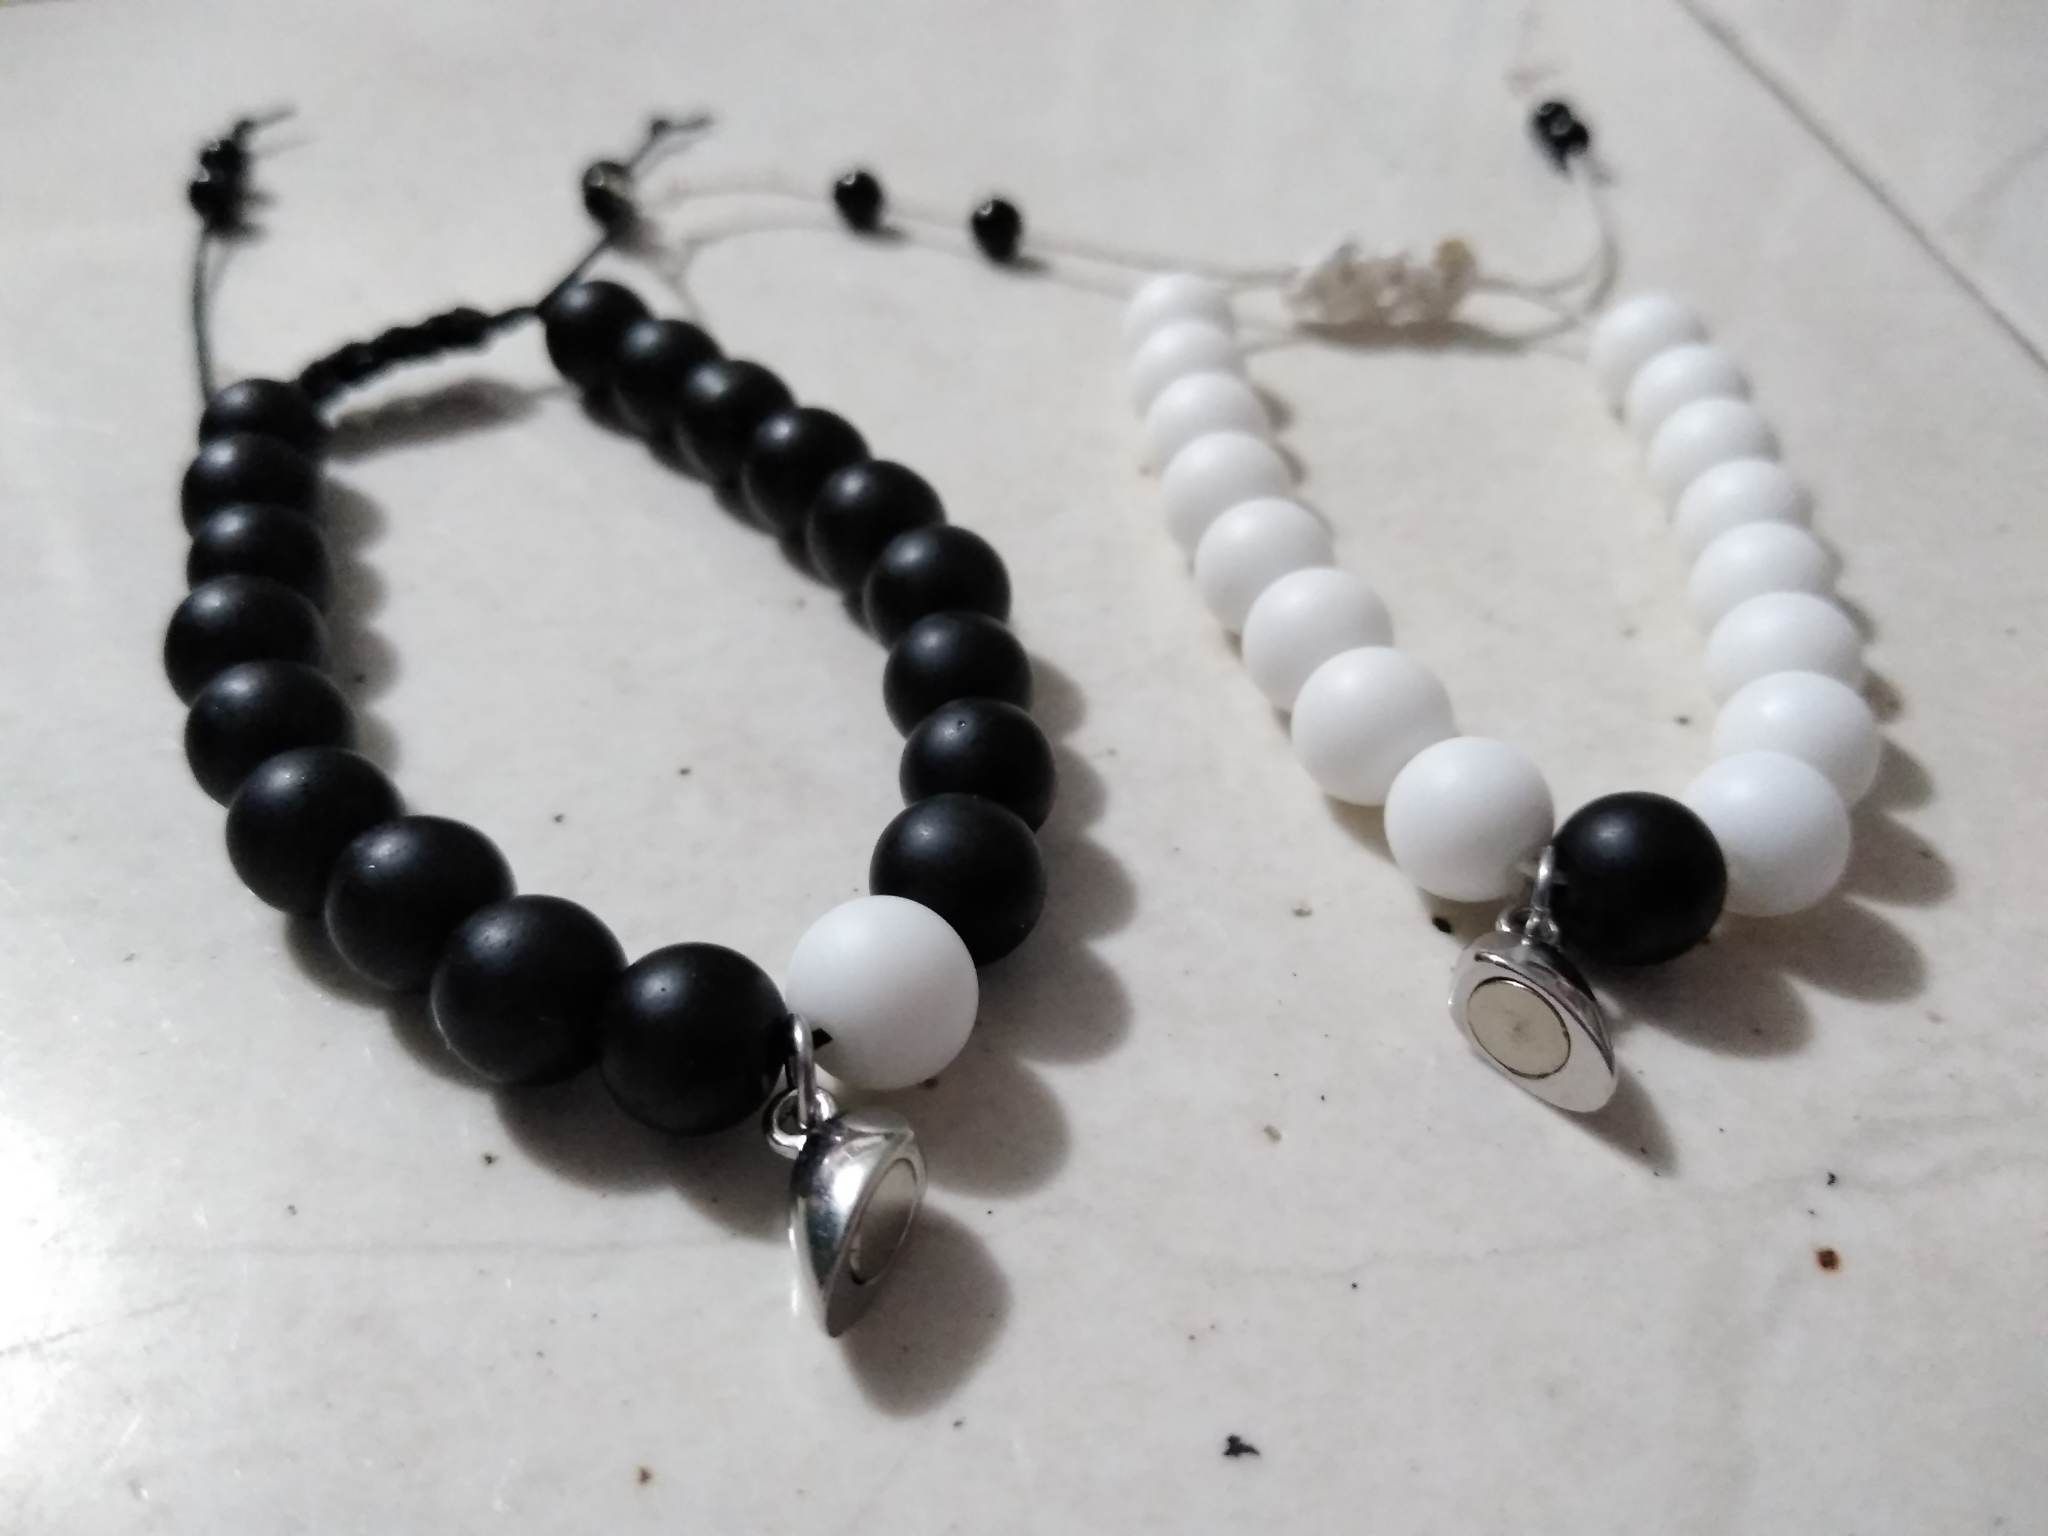
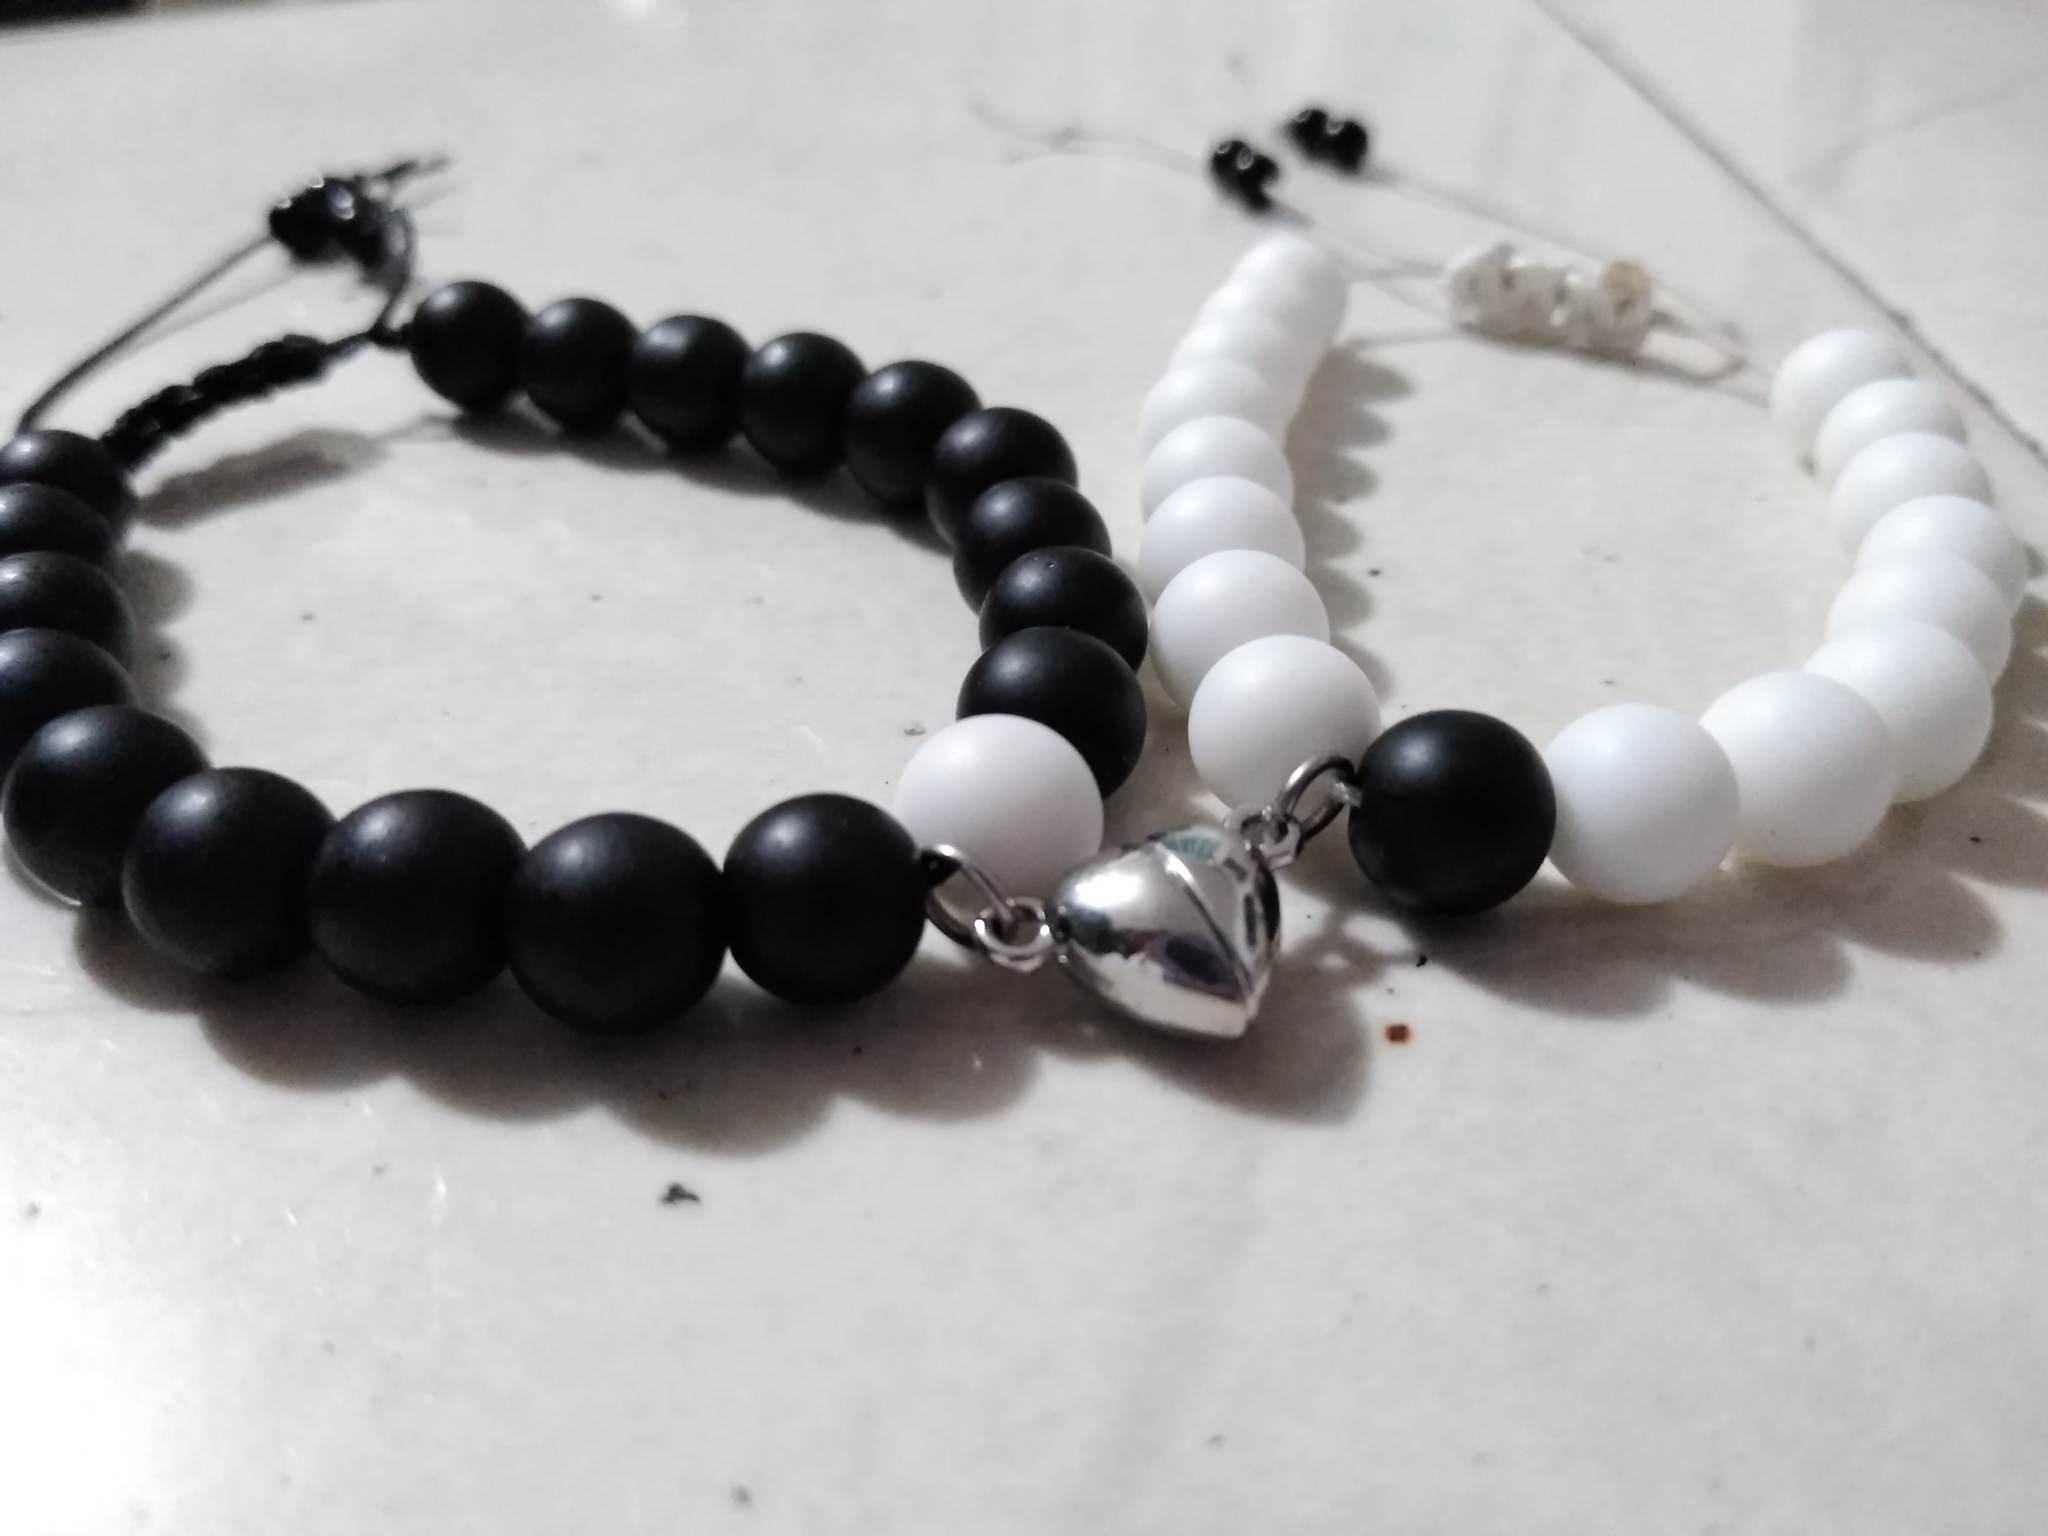
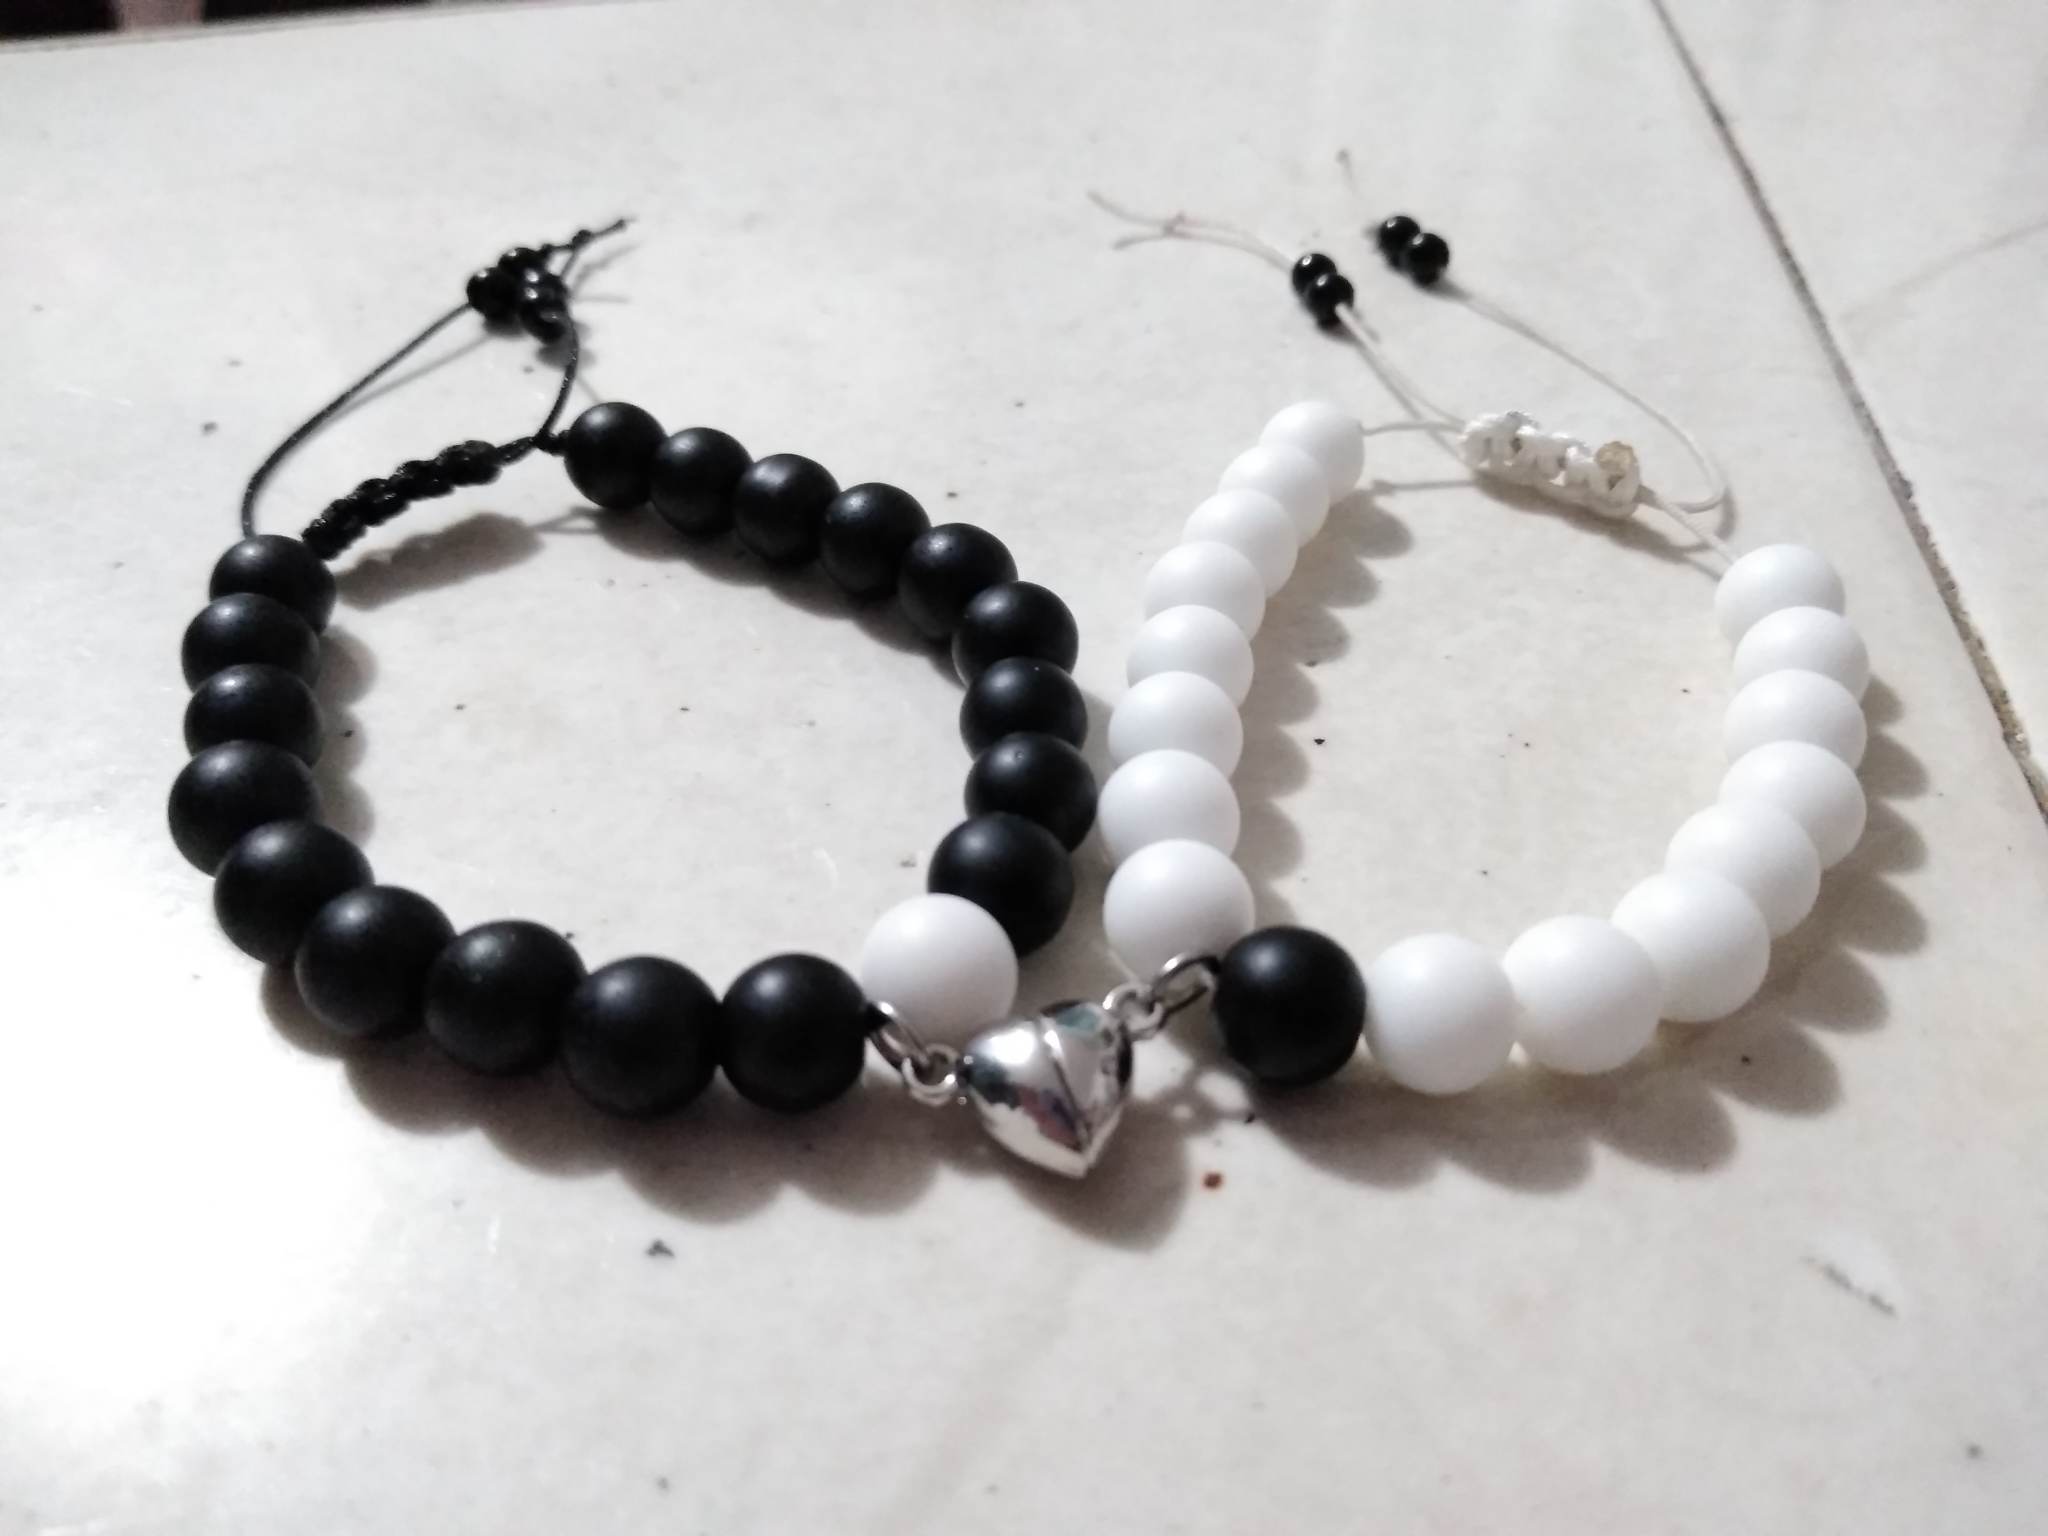
Final Result.


Thank you for sharing this post on HIVE!
Your content got selected by our fellow curator sharminmim & you just received a little thank you upvote from us for your great work! Your post will be featured in one of our recurring compilations which are aiming to offer you a stage to widen your audience within the DIY scene of Hive. Stay creative & HIVE ON!
Please vote for our hive witness <3