[ESP-ENG ] Beautiful Gift Box, Try it - Innovation - Tutorial | Hermosa Caja de Regalo, Inténtalo - Innovación - Tutorial
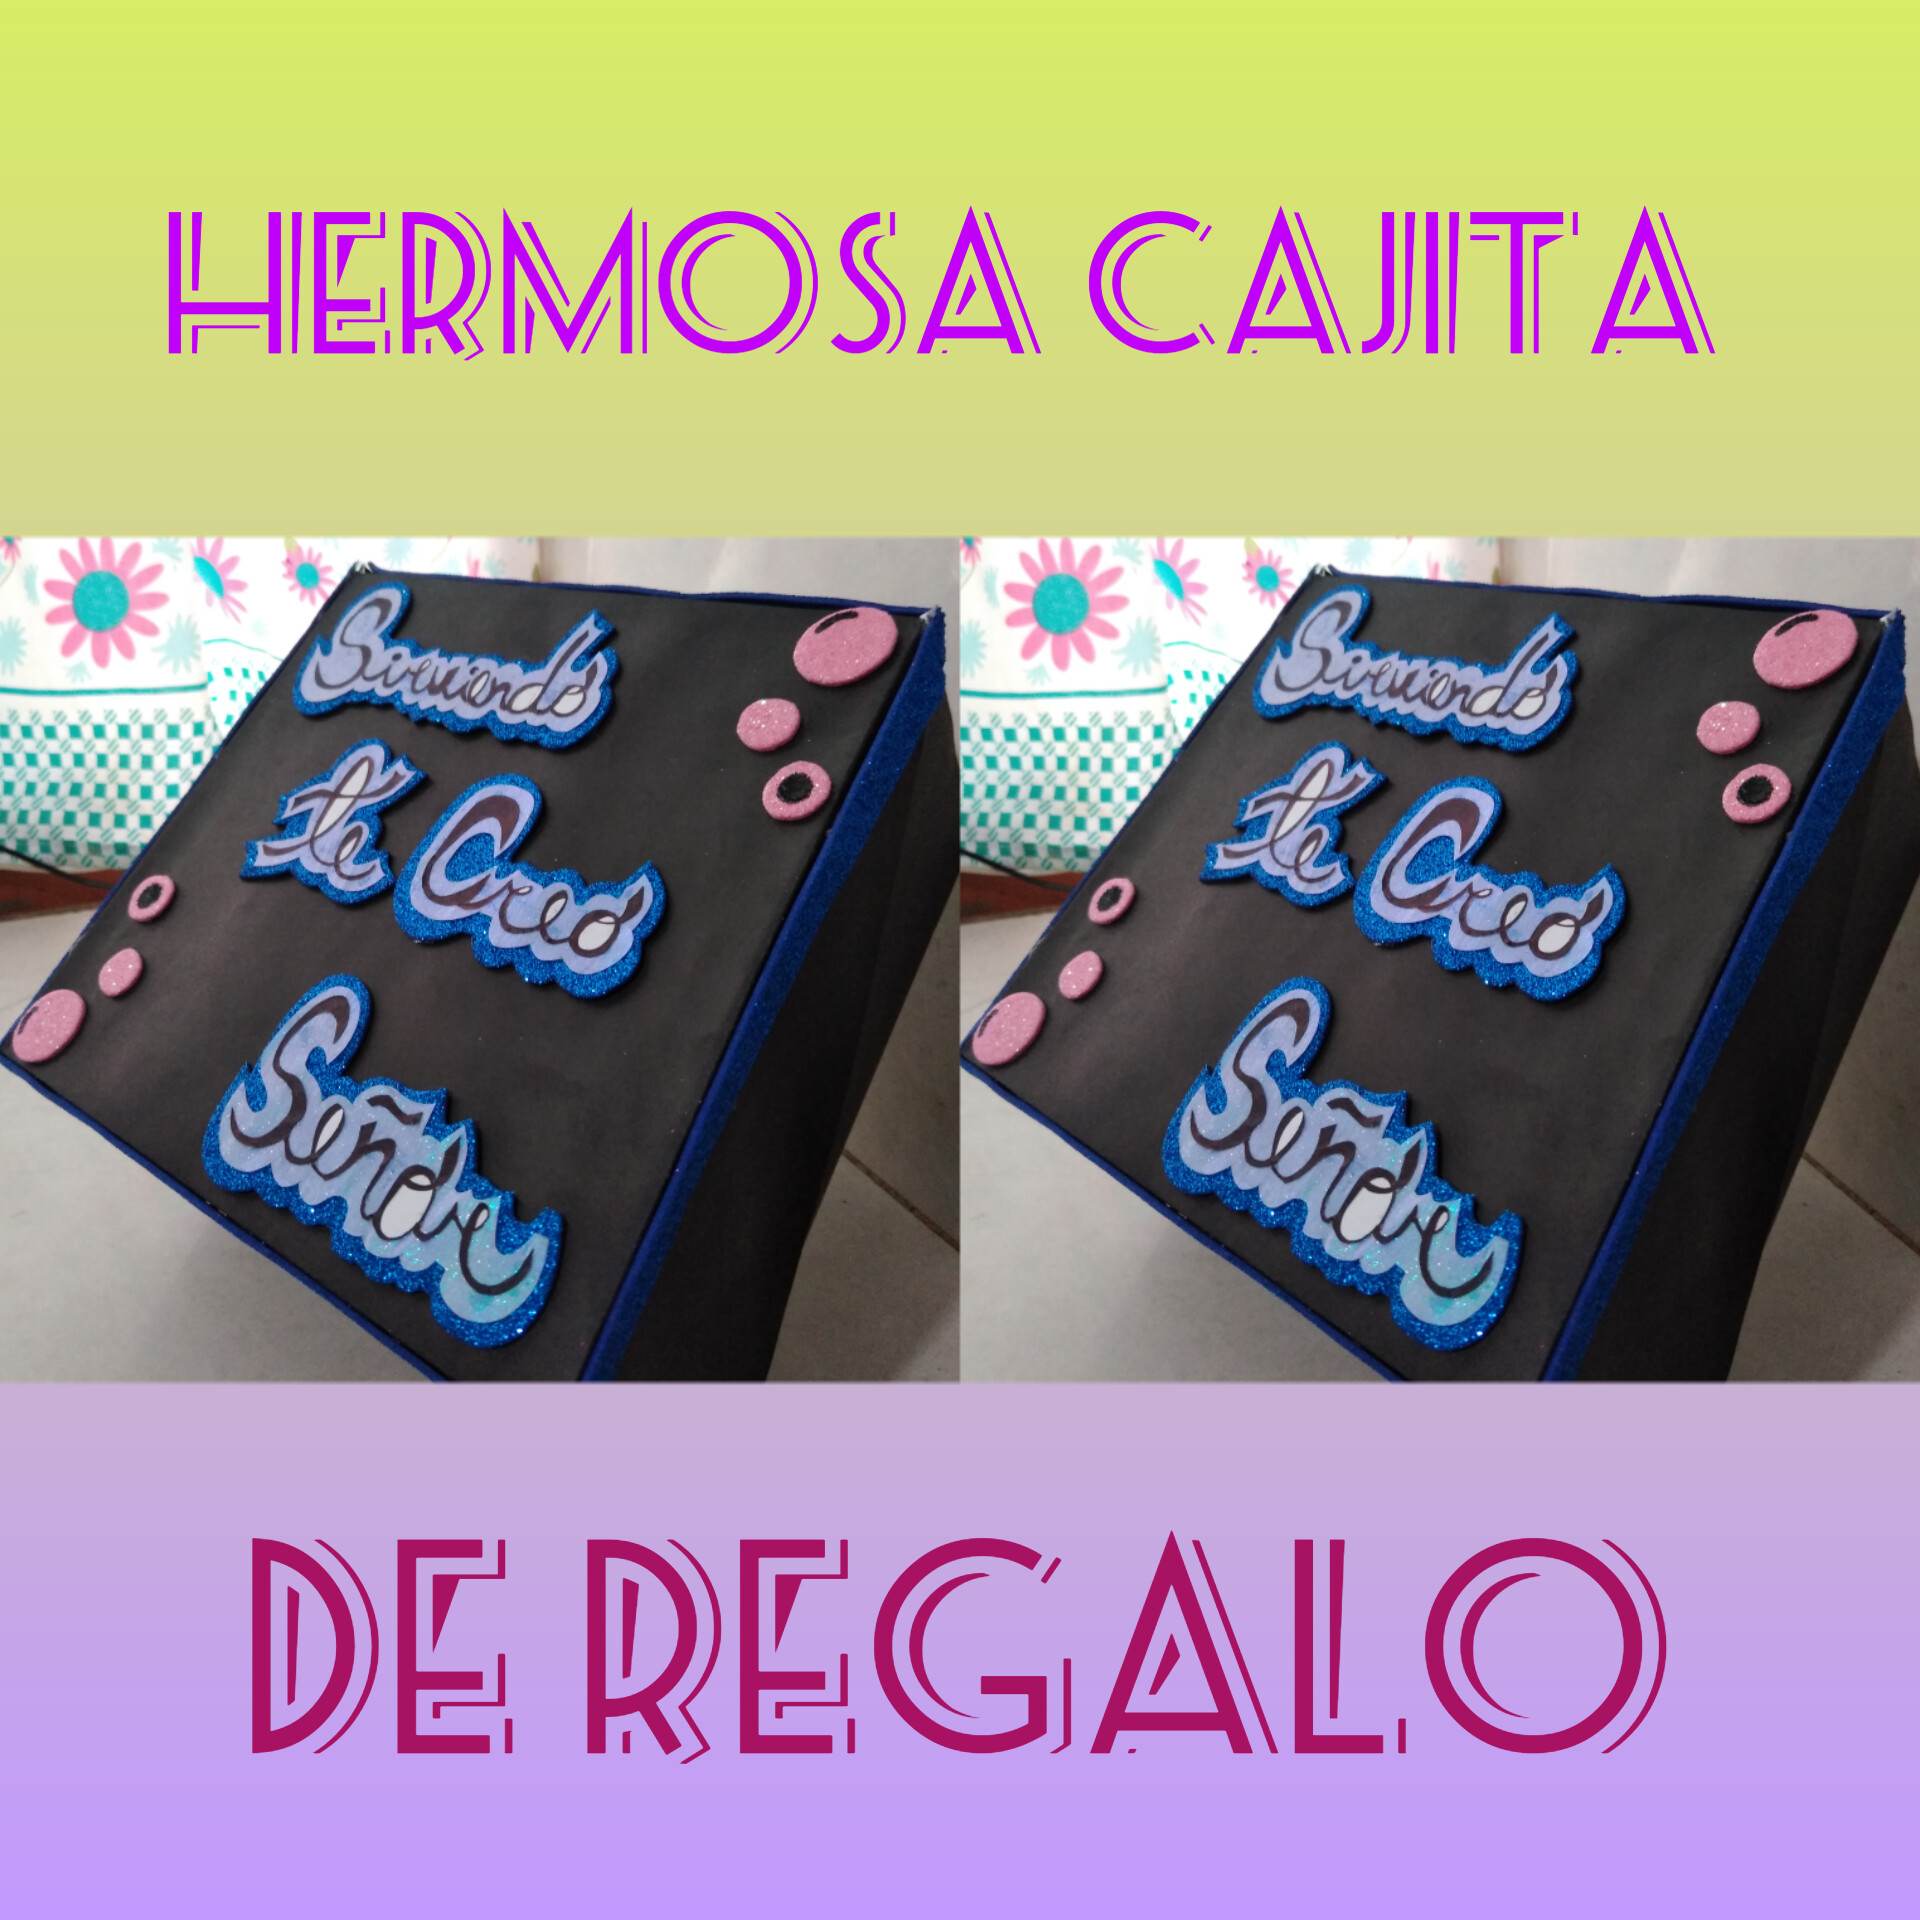
Hello my beautiful hive family, what a pleasure to be here again with all of you, I am happy to be able to share my new ideas and creations. Today I want to show you a little box that I made for my church, a little box that will be used to place offerings and to buy something specific, then I was asked to make the box and I want to share with you all the step by step to make the box, it can also be used to make a gift box, the truth is that it is very nice and the result is fantastic, I will not lie, it is not easy to do, but if we have patience we can do it, so if you also want to make your gift boxes, stay to see this step by step.

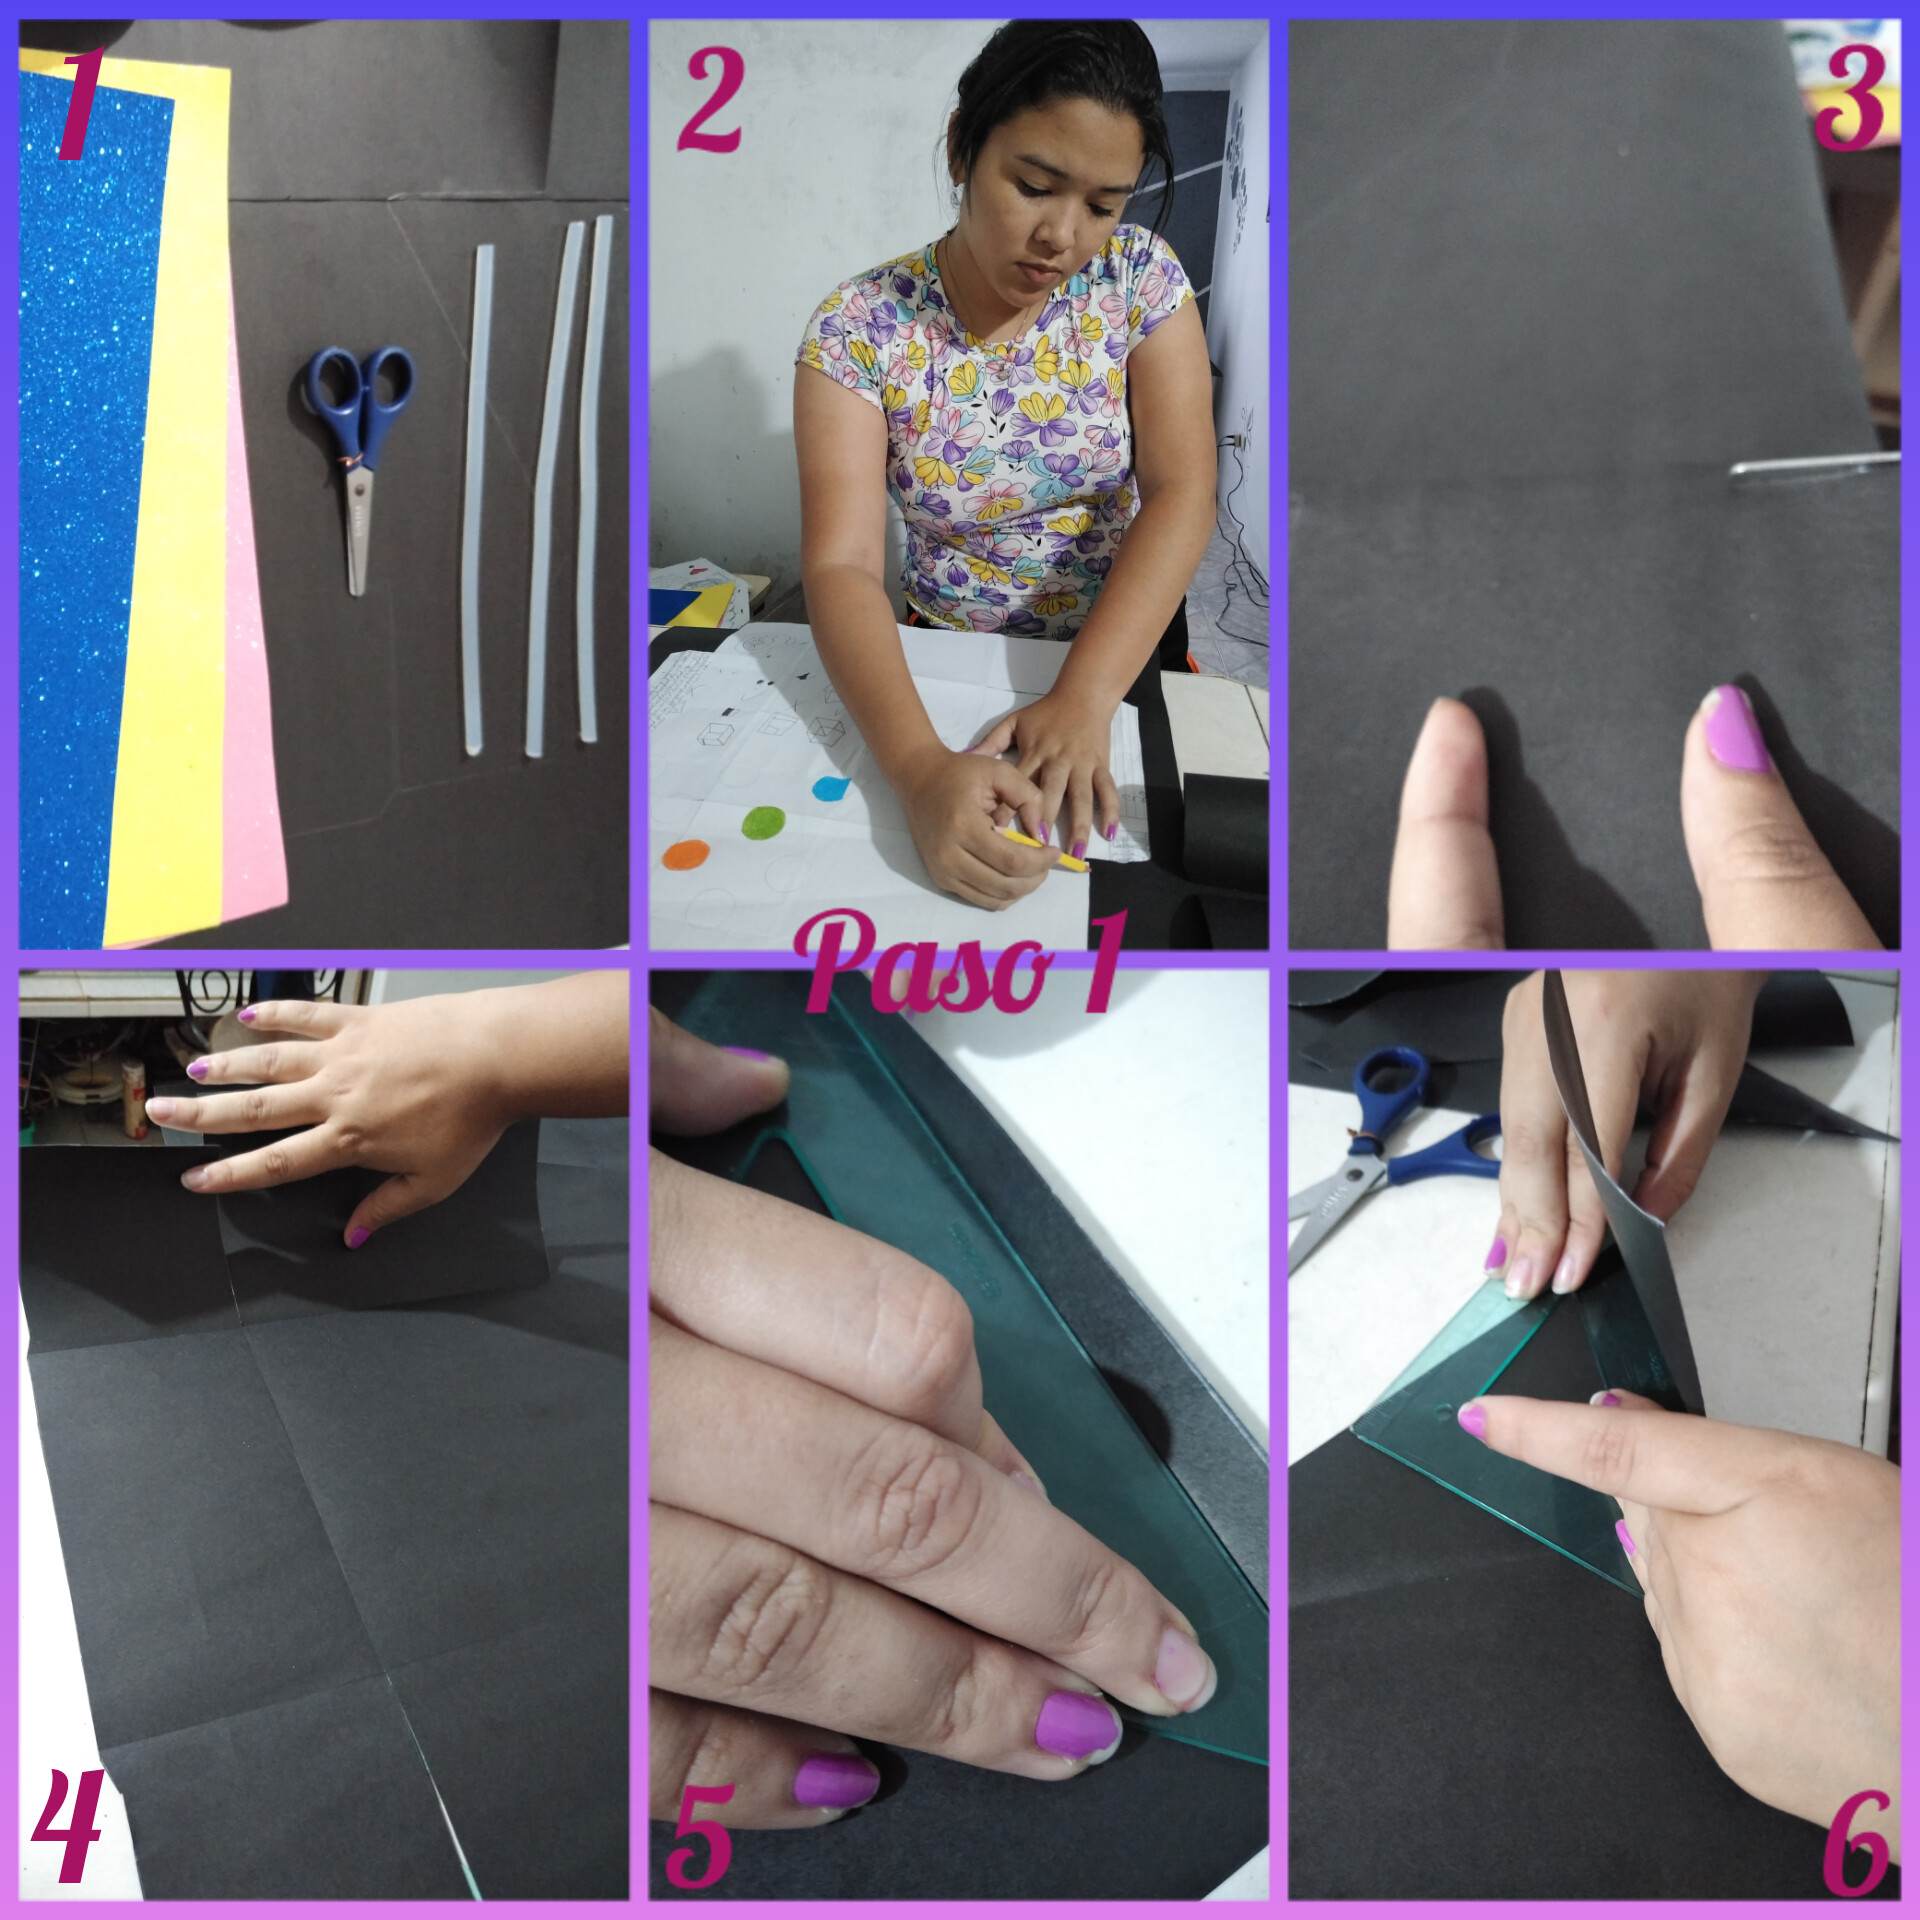
Paso 1: Los materiales que vamos a usar son sencillos, dos cartulinas negras, silicón de barra, tijera, foami para decorar. Lo primero que haremos será buscar un patrón en internet, ya que hay diversos patrones y puedes elegir el que desees, en mi caso elegí esté y yo plasme el patrón en hojas de reciclaje para luego plasmarlo en la cartulina negra, así que luego de tener el patrón que es la base para poder hacer la cajita, procedo a dibujar o marcar el patrón en la cartulina, luego de plasmarlo procedo a cortar y a realizar los dobleces en los lugares indicados, para hacer ésto usé una regla para que quedara más lindo y limpio el trabajo.
Step 1: The materials we are going to use are simple, two black cardboards, silicone, scissors, foami to decorate. The first thing we will do is to look for a pattern on the internet, there are several patterns and you can choose the one you want, in my case I chose this one and I capture the pattern on recycling sheets and then capture it on the black cardboard, so after having the pattern that is the basis to make the box, I proceed to draw or mark the pattern on the cardboard, after capturing it I proceed to cut and make the folds in the right places, to do this I used a ruler to make it prettier and cleaner work.

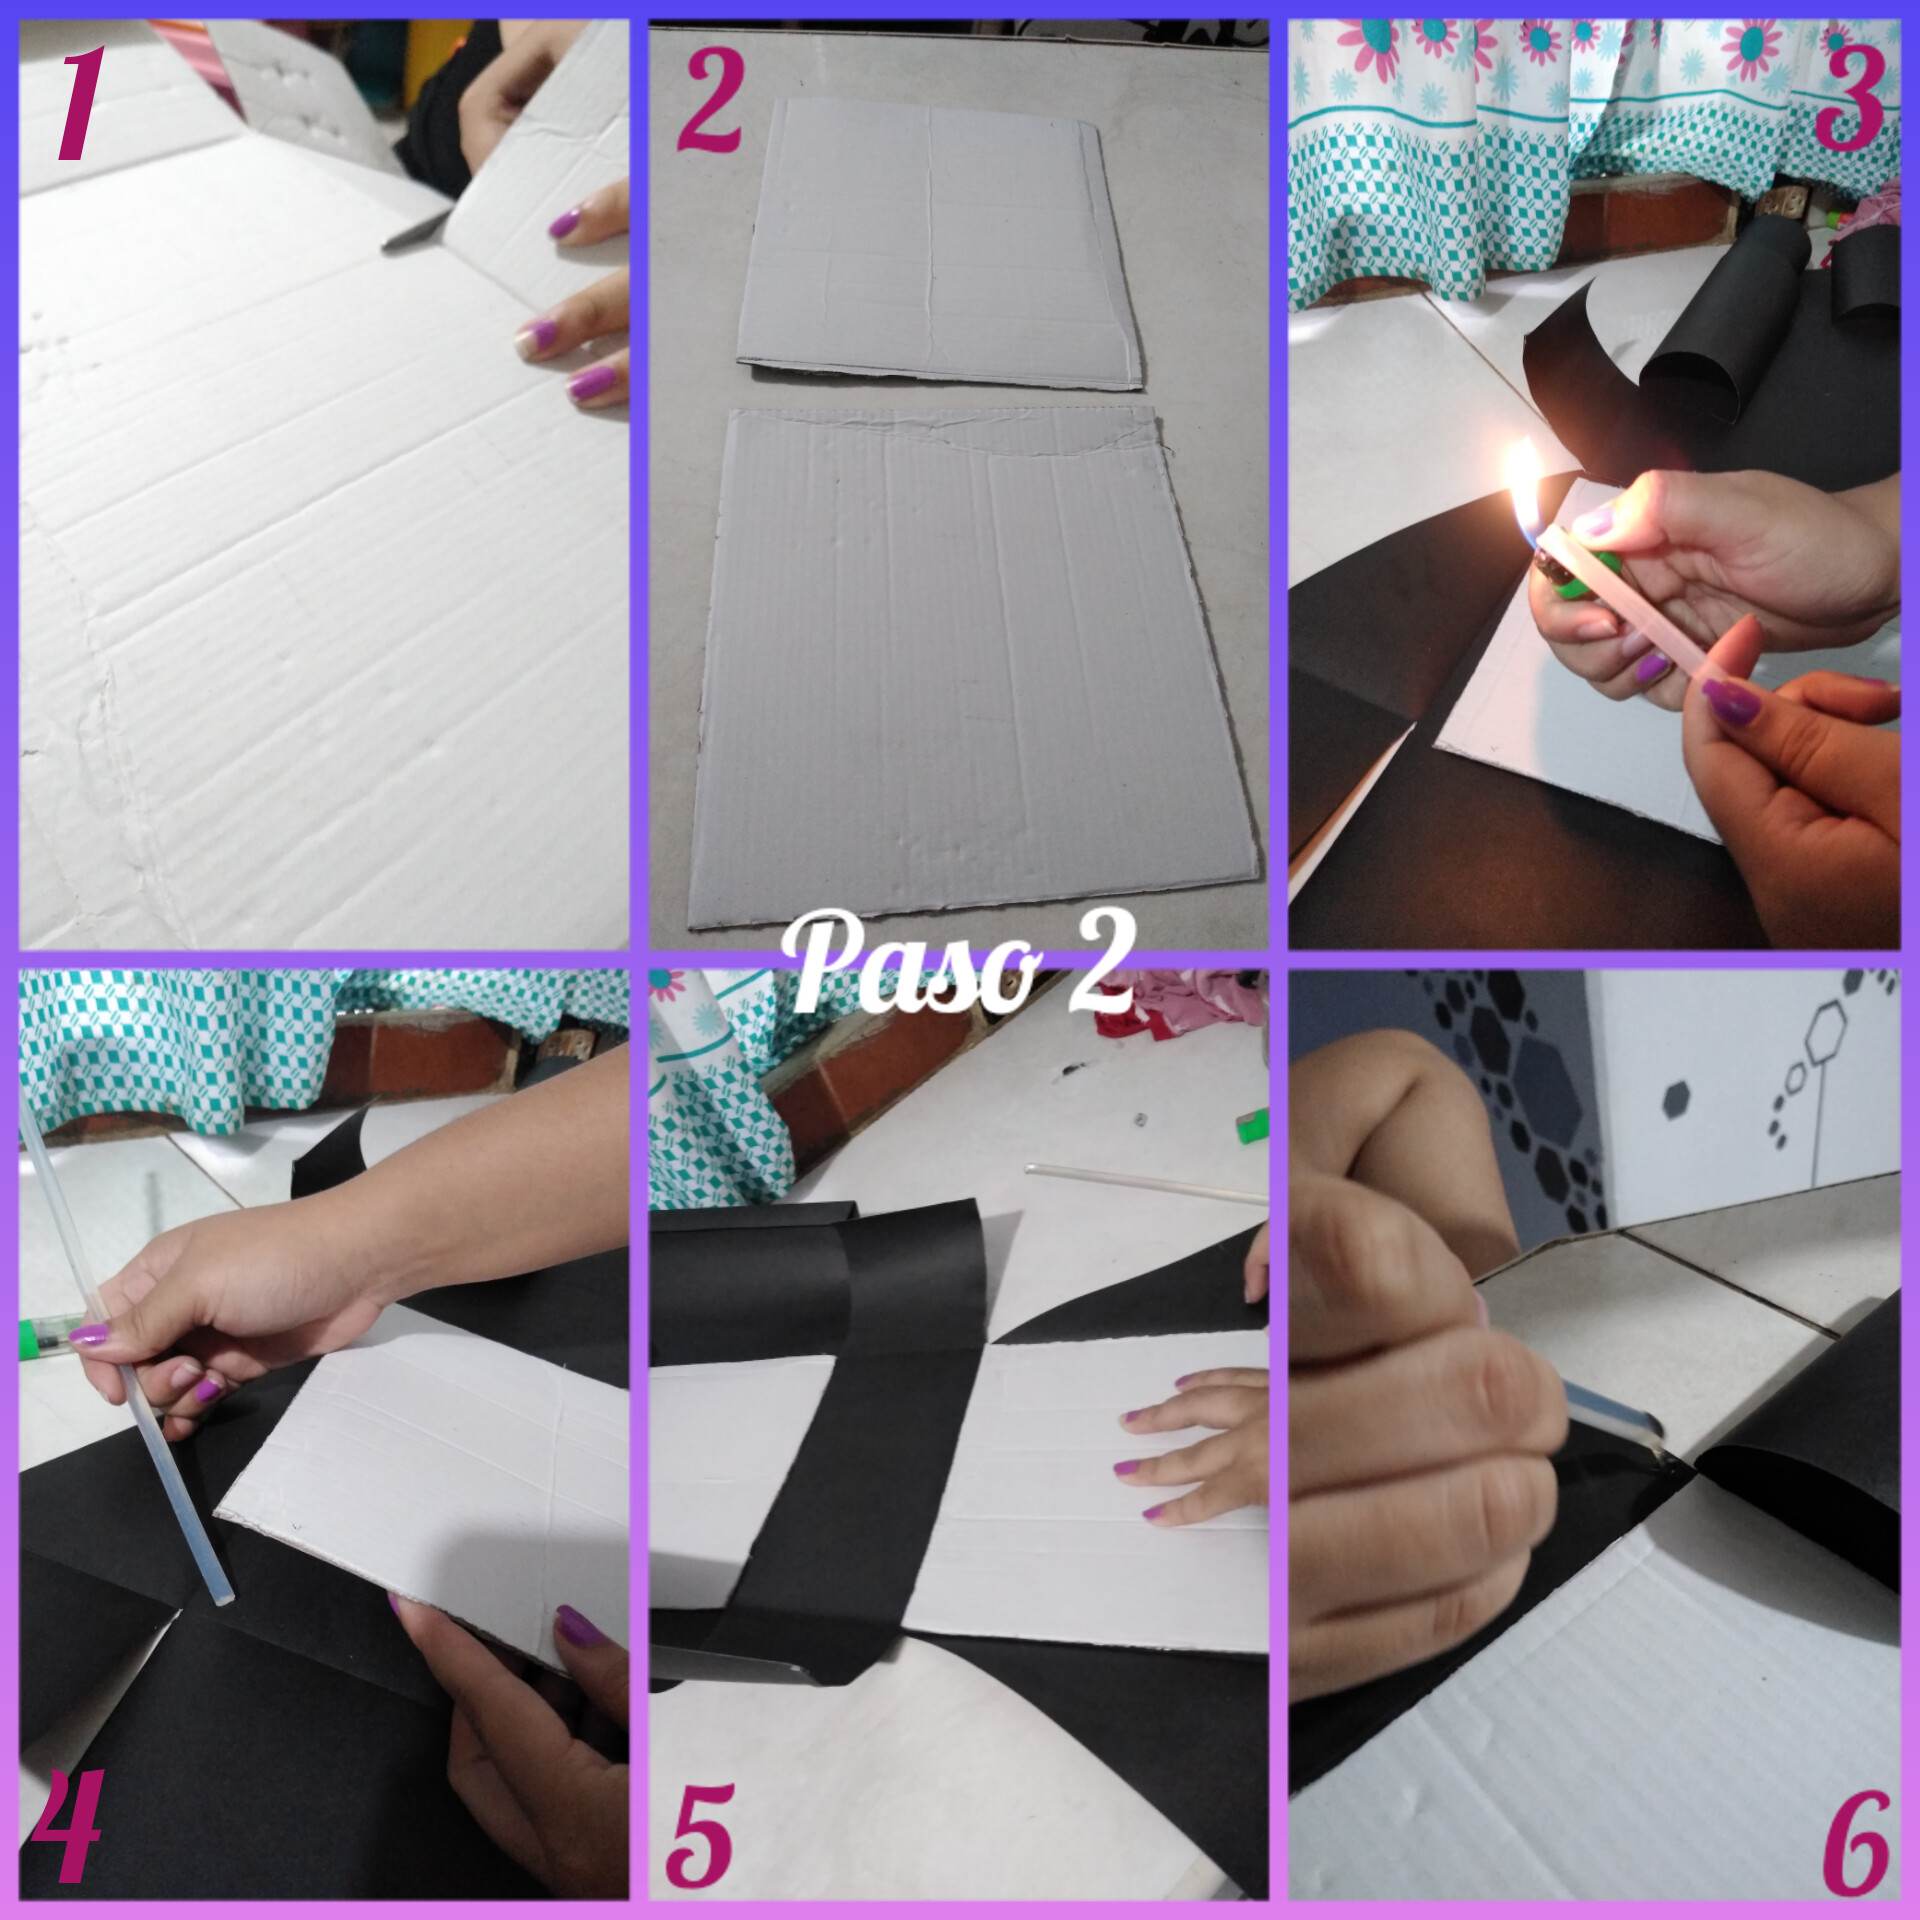
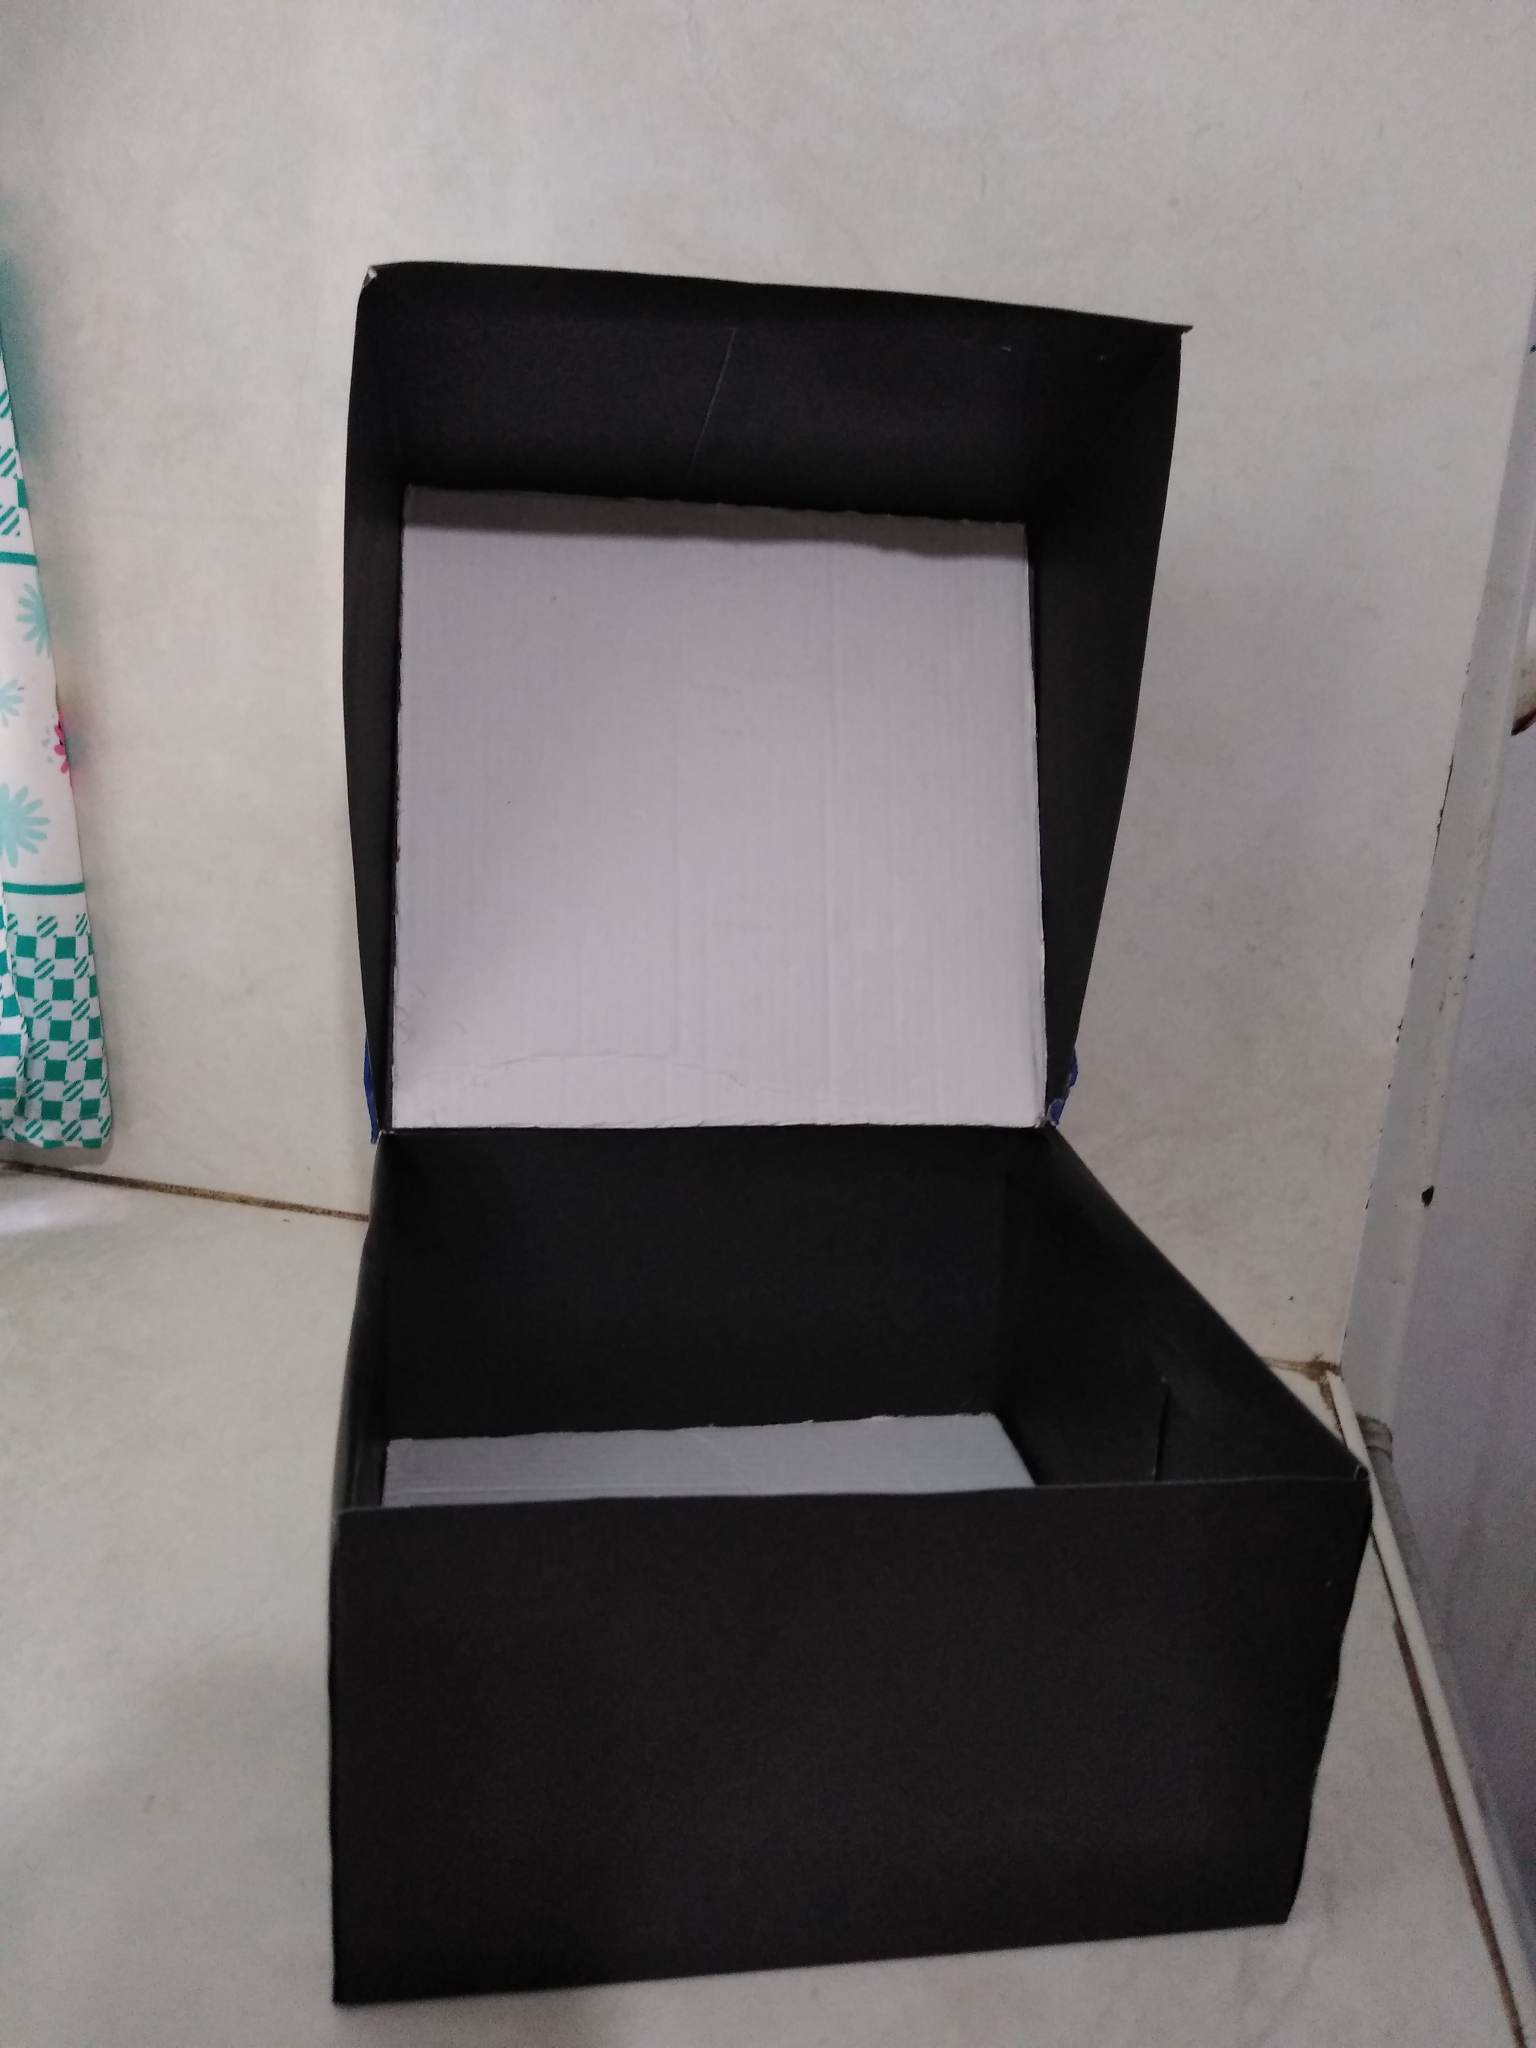
Paso 2: Ahora luego de tener ya la base de la caja lista, osea el patrón, lo que haré ahora será cortar dos cuadrados del mismo tamaño de la tapa y la parte de abajo de la caja, es un cuadrado de 20 cm por los 4 lados. Entonces cortamos en un cartón o cartulina blanca los dos cuadrados, al tenerlos listos los vamos a pegar a la tapa y a la base de la cajita, así como aparece en las fotos, ésto es necesario porque hará que la caja sea más resistente así que pegamos muy bien y les aseguro que el resultado será mágico.
Step 2: Now after having the base of the box ready, that is the pattern, what I will do now is to cut two squares of the same size of the lid and the bottom of the box, it is a square of 20 cm on the 4 sides. Then we cut in a cardboard or white cardboard the two squares, when we have them ready we are going to glue them to the lid and the base of the box, as shown in the photos, this is necessary because it will make the box more resistant so we glue very well and I assure you that the result will be magical.

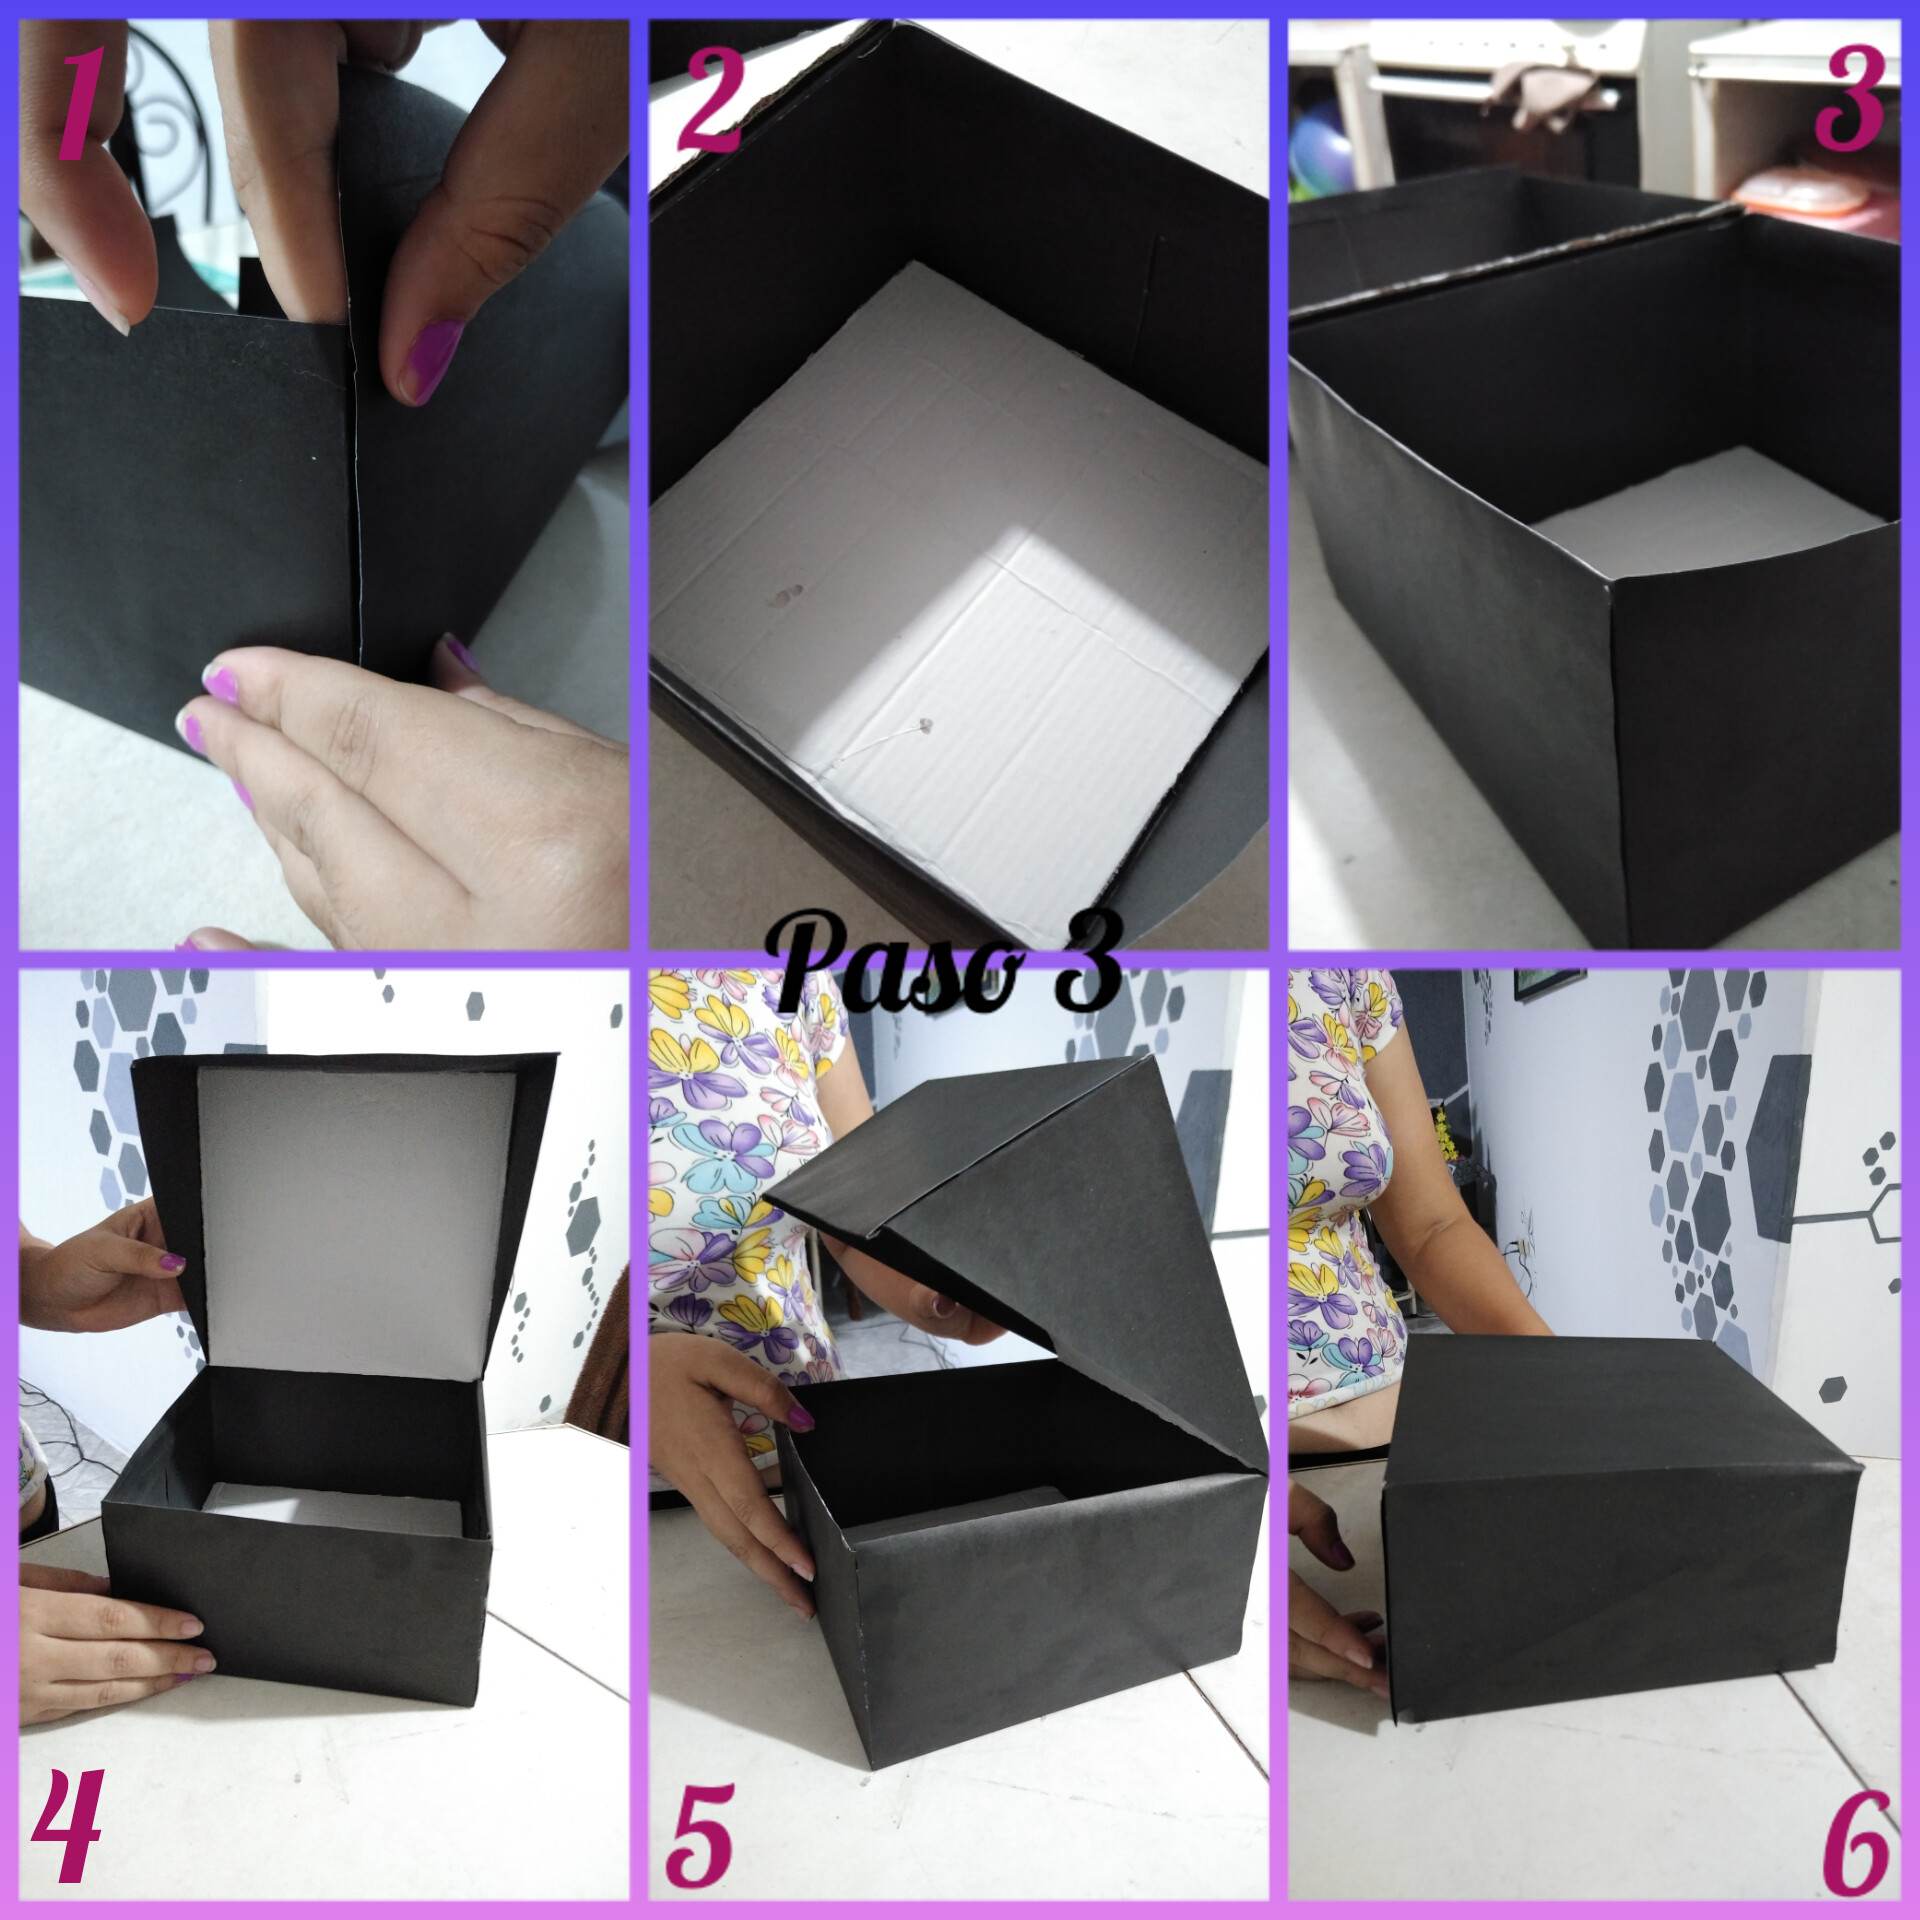
Paso 3: Lo que haremos ahora será comenzar a pegar cuidadosamente todas las partes de la caja, teniendo en cuenta que el patrón de la caja no está por partes, está todo unido, para hacerlo más fácil, ya que pegué las dos cartulinas, es necesario que se haga así para que la caja no tenga carias partes y se vean los detalles, entonces vamos a comenzar a unir todas las piezas y vamos a ir pegando desde la parte baja hasta la tapa de la cajita.
Step 3: What we will do now is to start gluing carefully all the parts of the box, taking into account that the pattern of the box is not by parts, it is all together, to make it easier, since I glued the two cardboards, it is necessary to do so so that the box does not have several parts and the details can be seen, then we will begin to join all the pieces and we will be gluing from the bottom to the lid of the box.

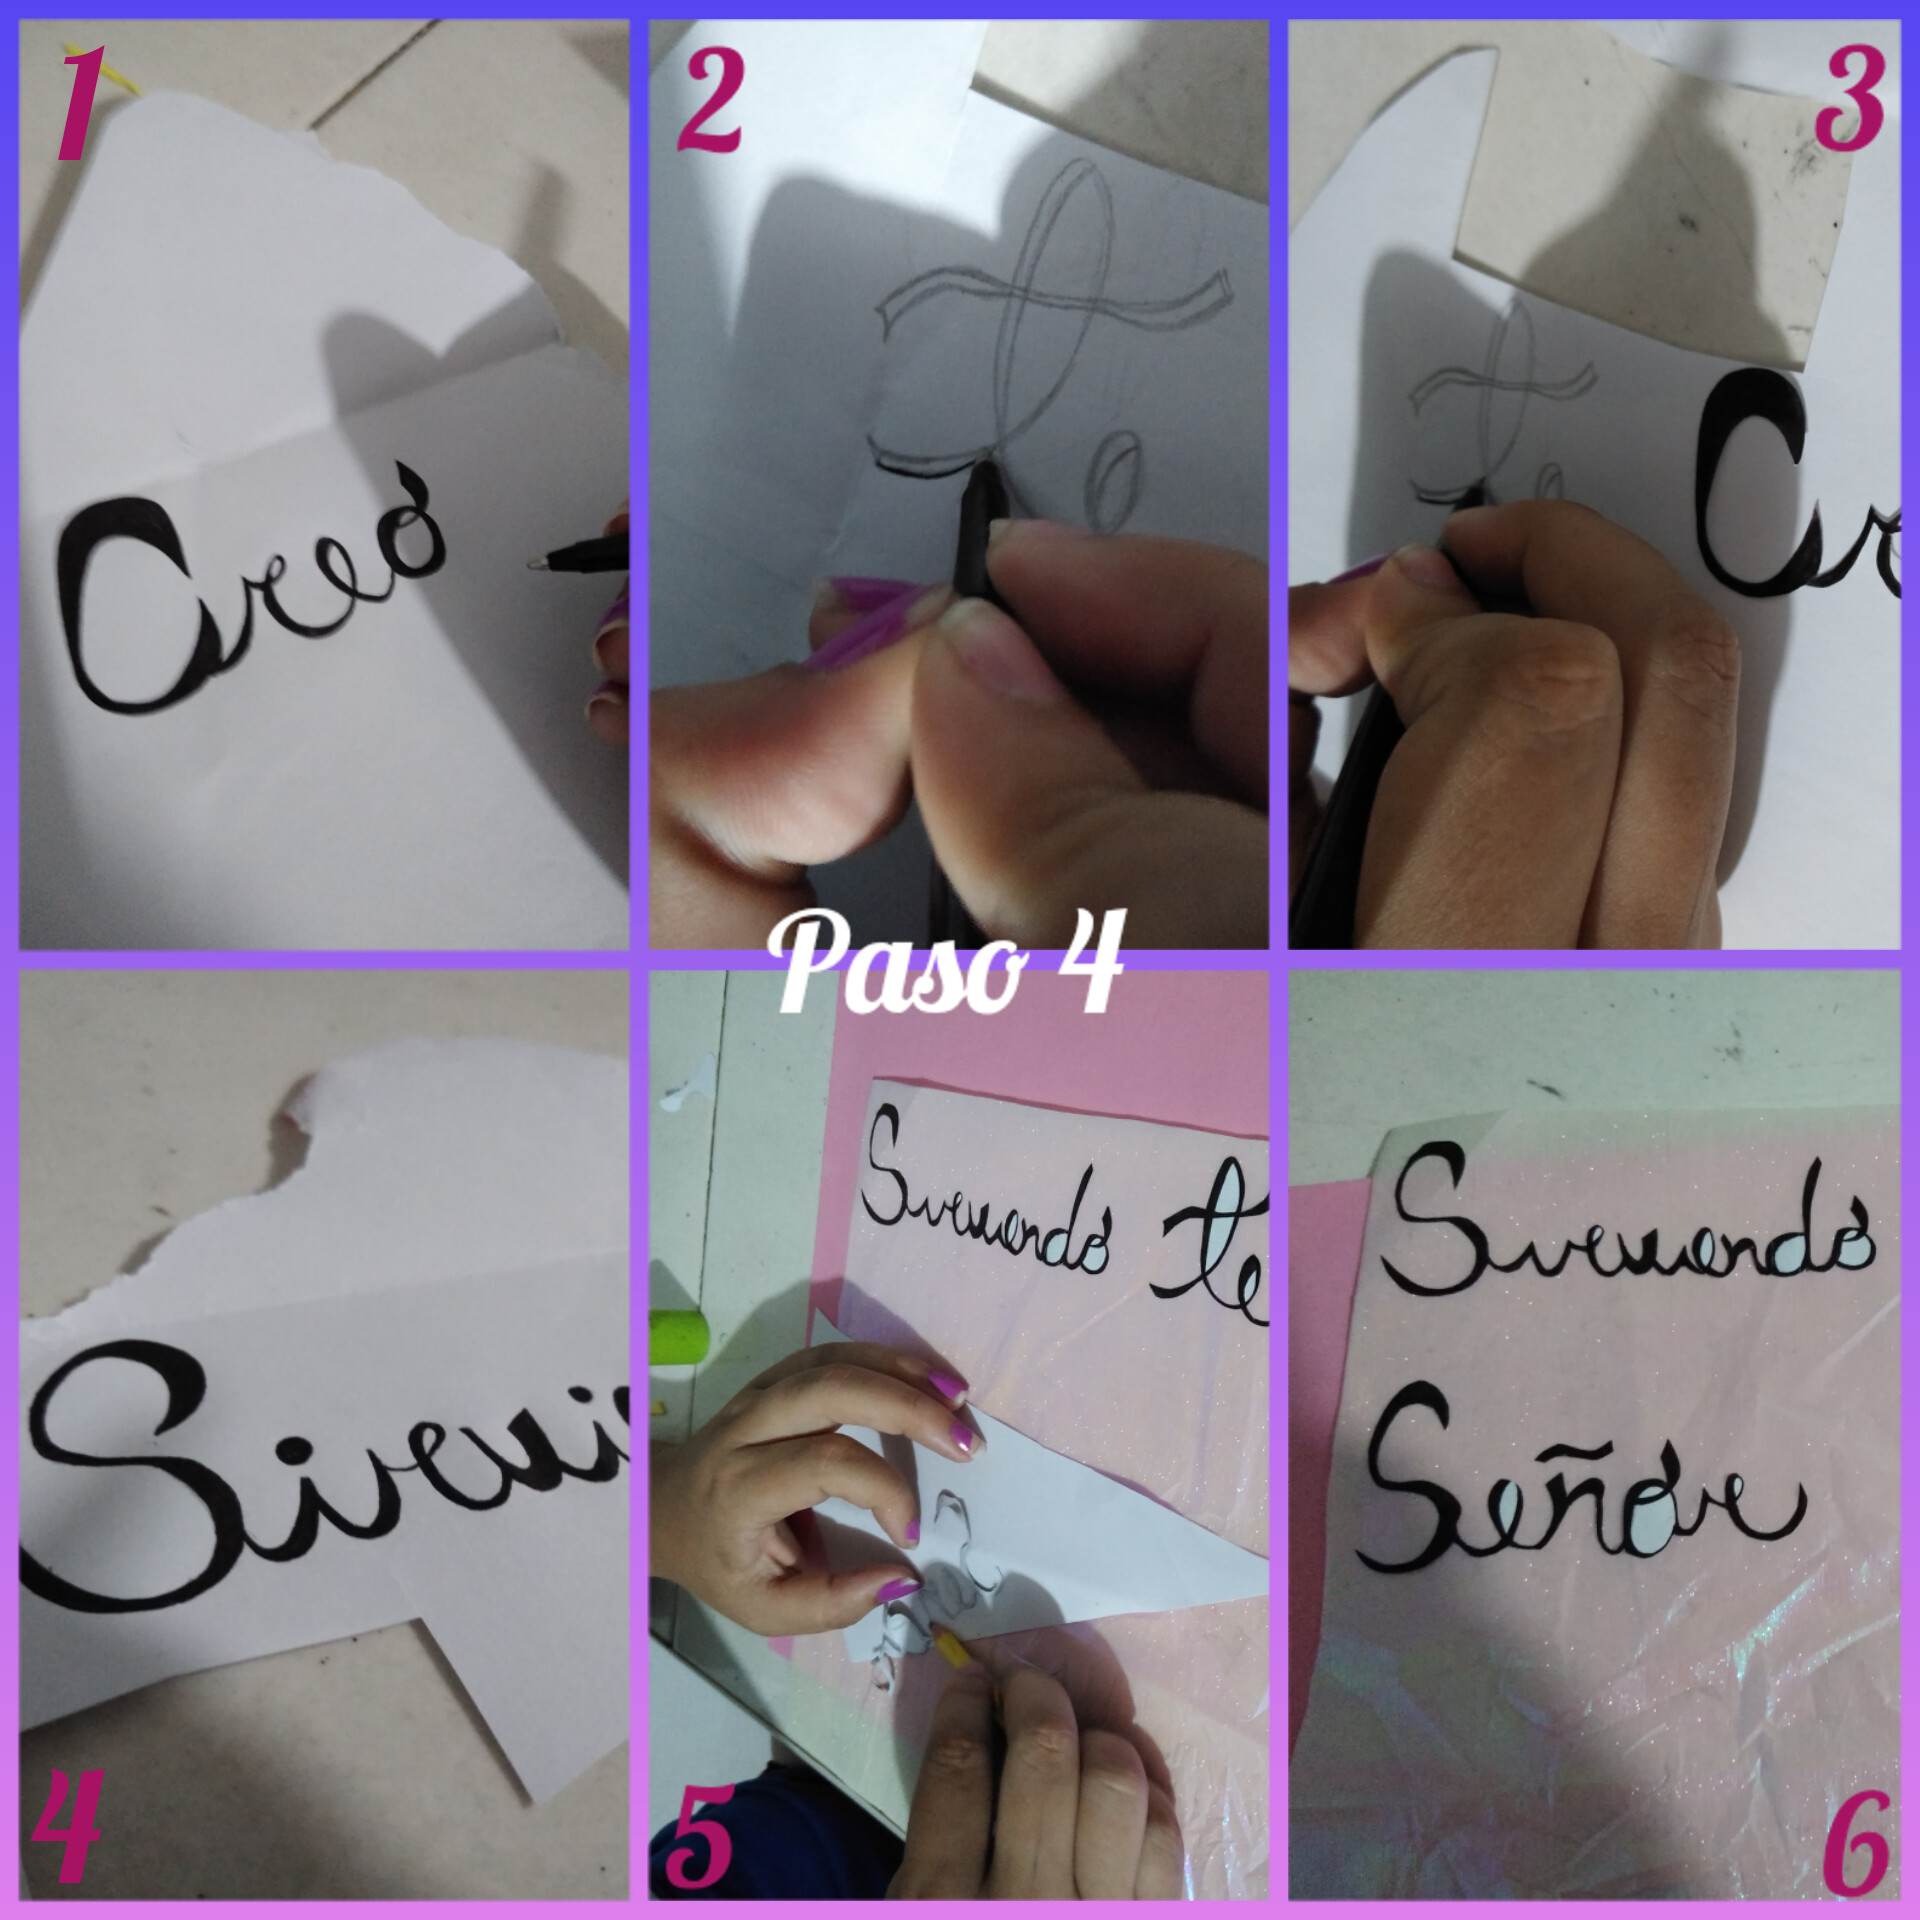
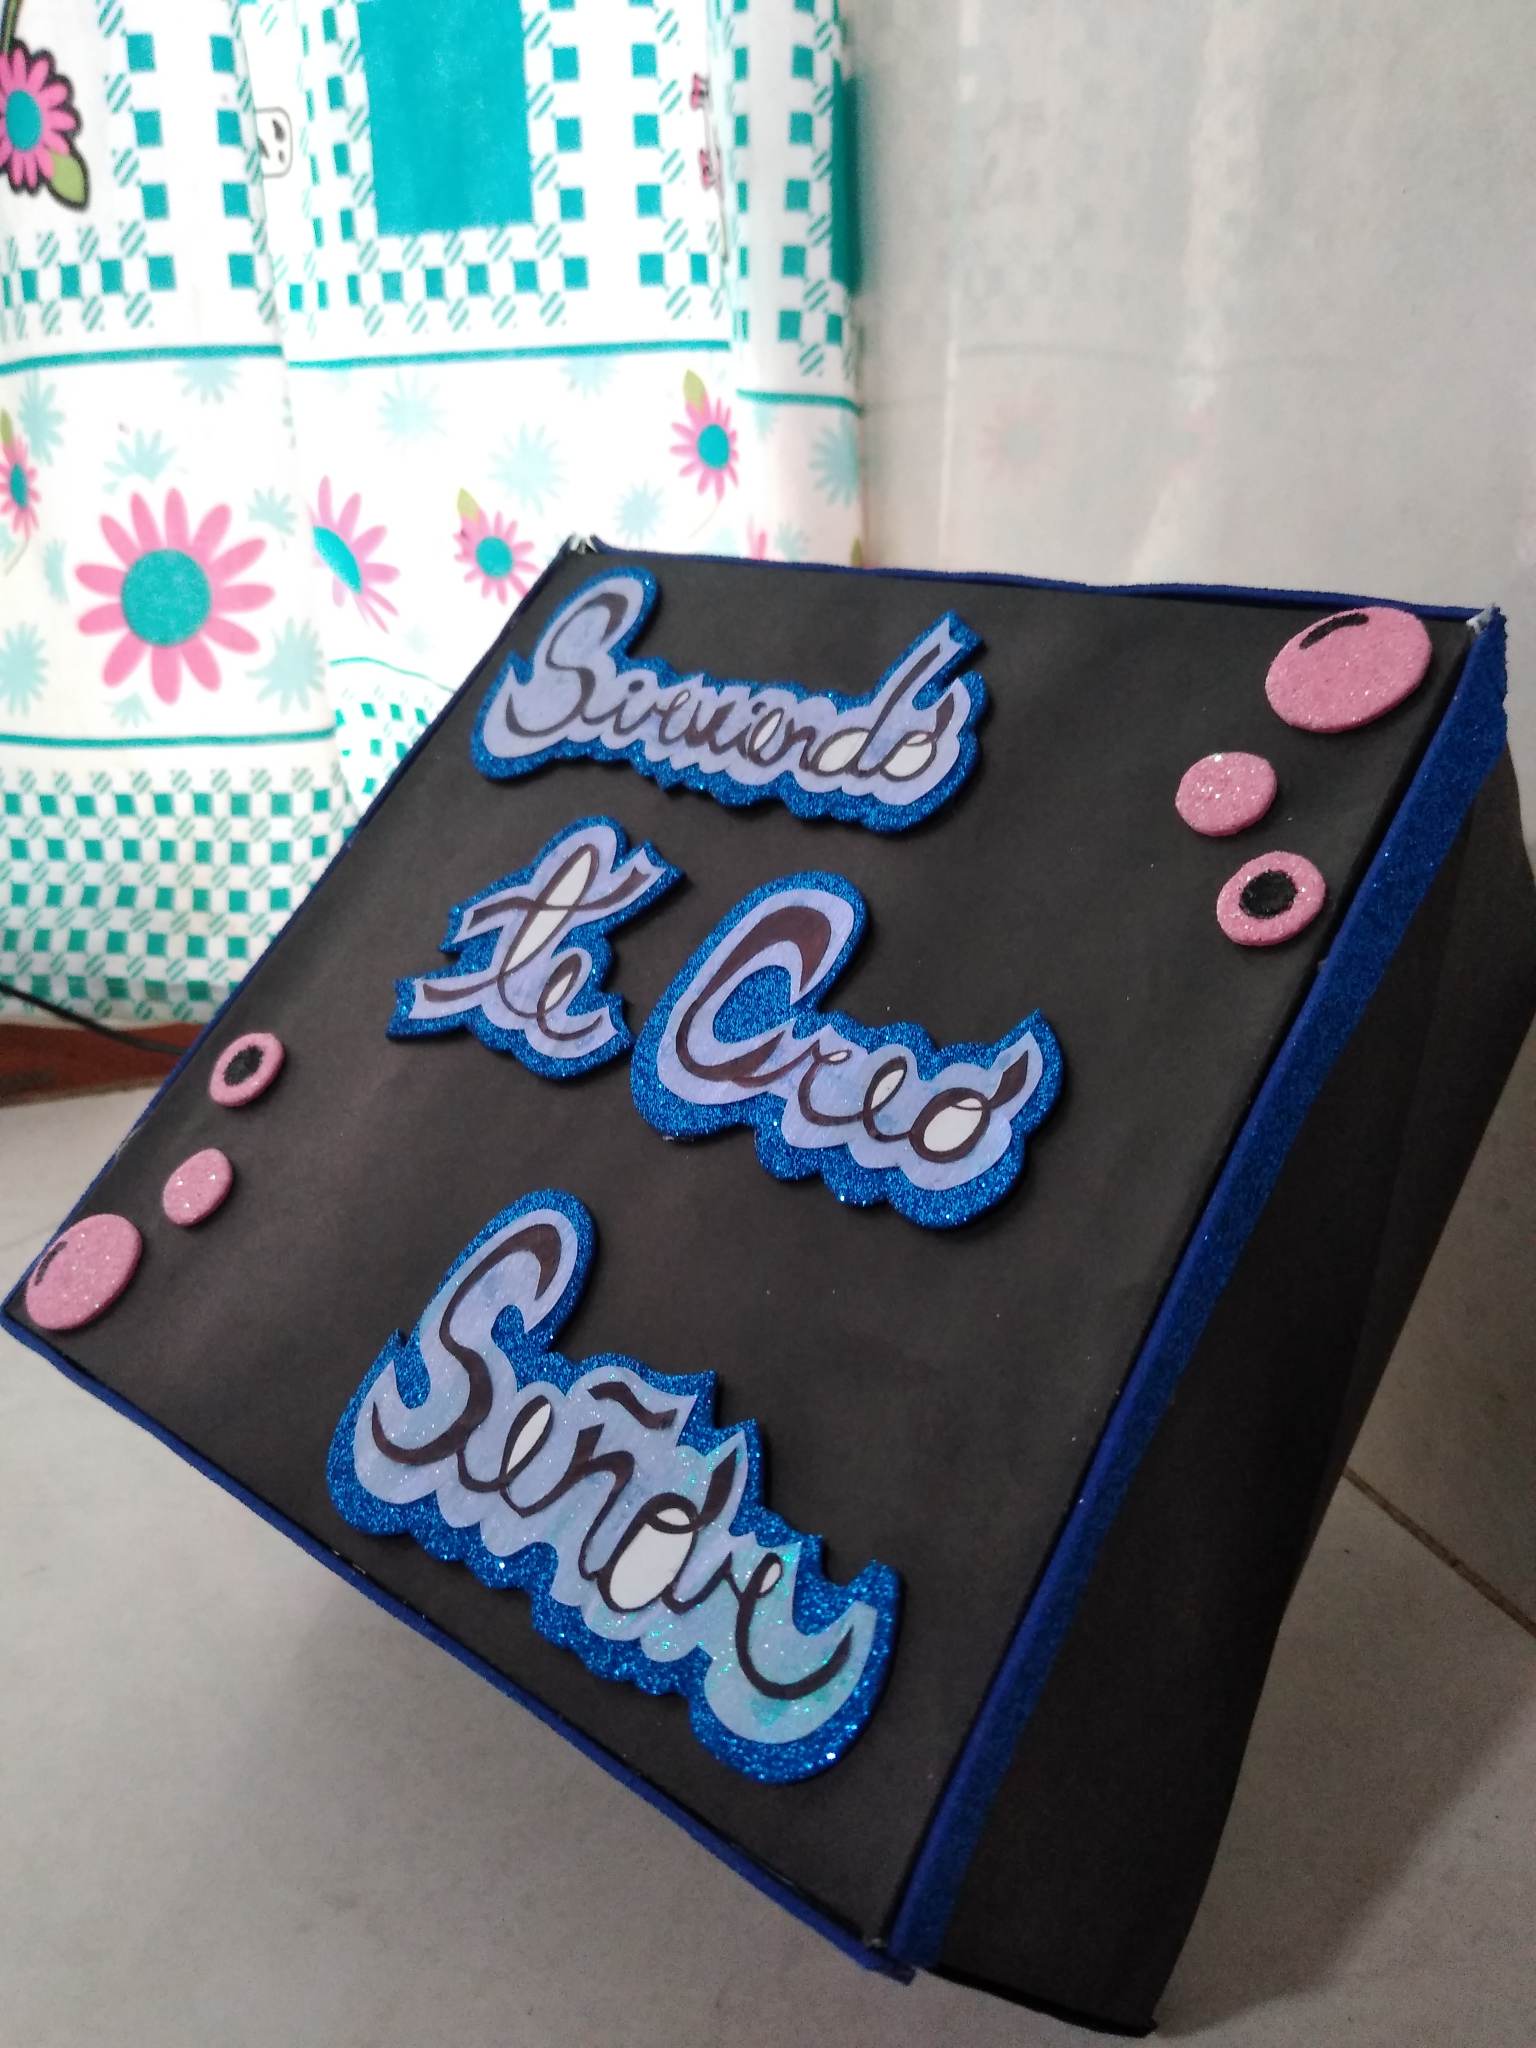
Paso 4: luego de tener la caja ya lista, lo que procederé a hacer será comenzar a dibujar las letras, puedes elegir el molde que quieras y las puedes hacer como quieras, éste paso ya es al gusto de cada quien. Yo colocaré la frase "Sirviendo Te Creo Señor", lo que haré será dibujarla con lápiz en hojas blancas y luego comenzar con el lapicero negro a rellenar y darle vida a las letras, luego de estar listas las cortaré y las pegaré en un papel brilloso que será parte del fondo de ésta frase.
Step 4: after having the box ready, what I will proceed to do is to start drawing the letters, you can choose the mold you want and you can make them as you like, this step is up to each one's taste. I will place the phrase "Serving I Believe You Lord", what I will do is to draw it with pencil on white sheets and then start with the black pen to fill and give life to the letters, after being ready I will cut them and paste them on a glossy paper that will be part of the background of this phrase.

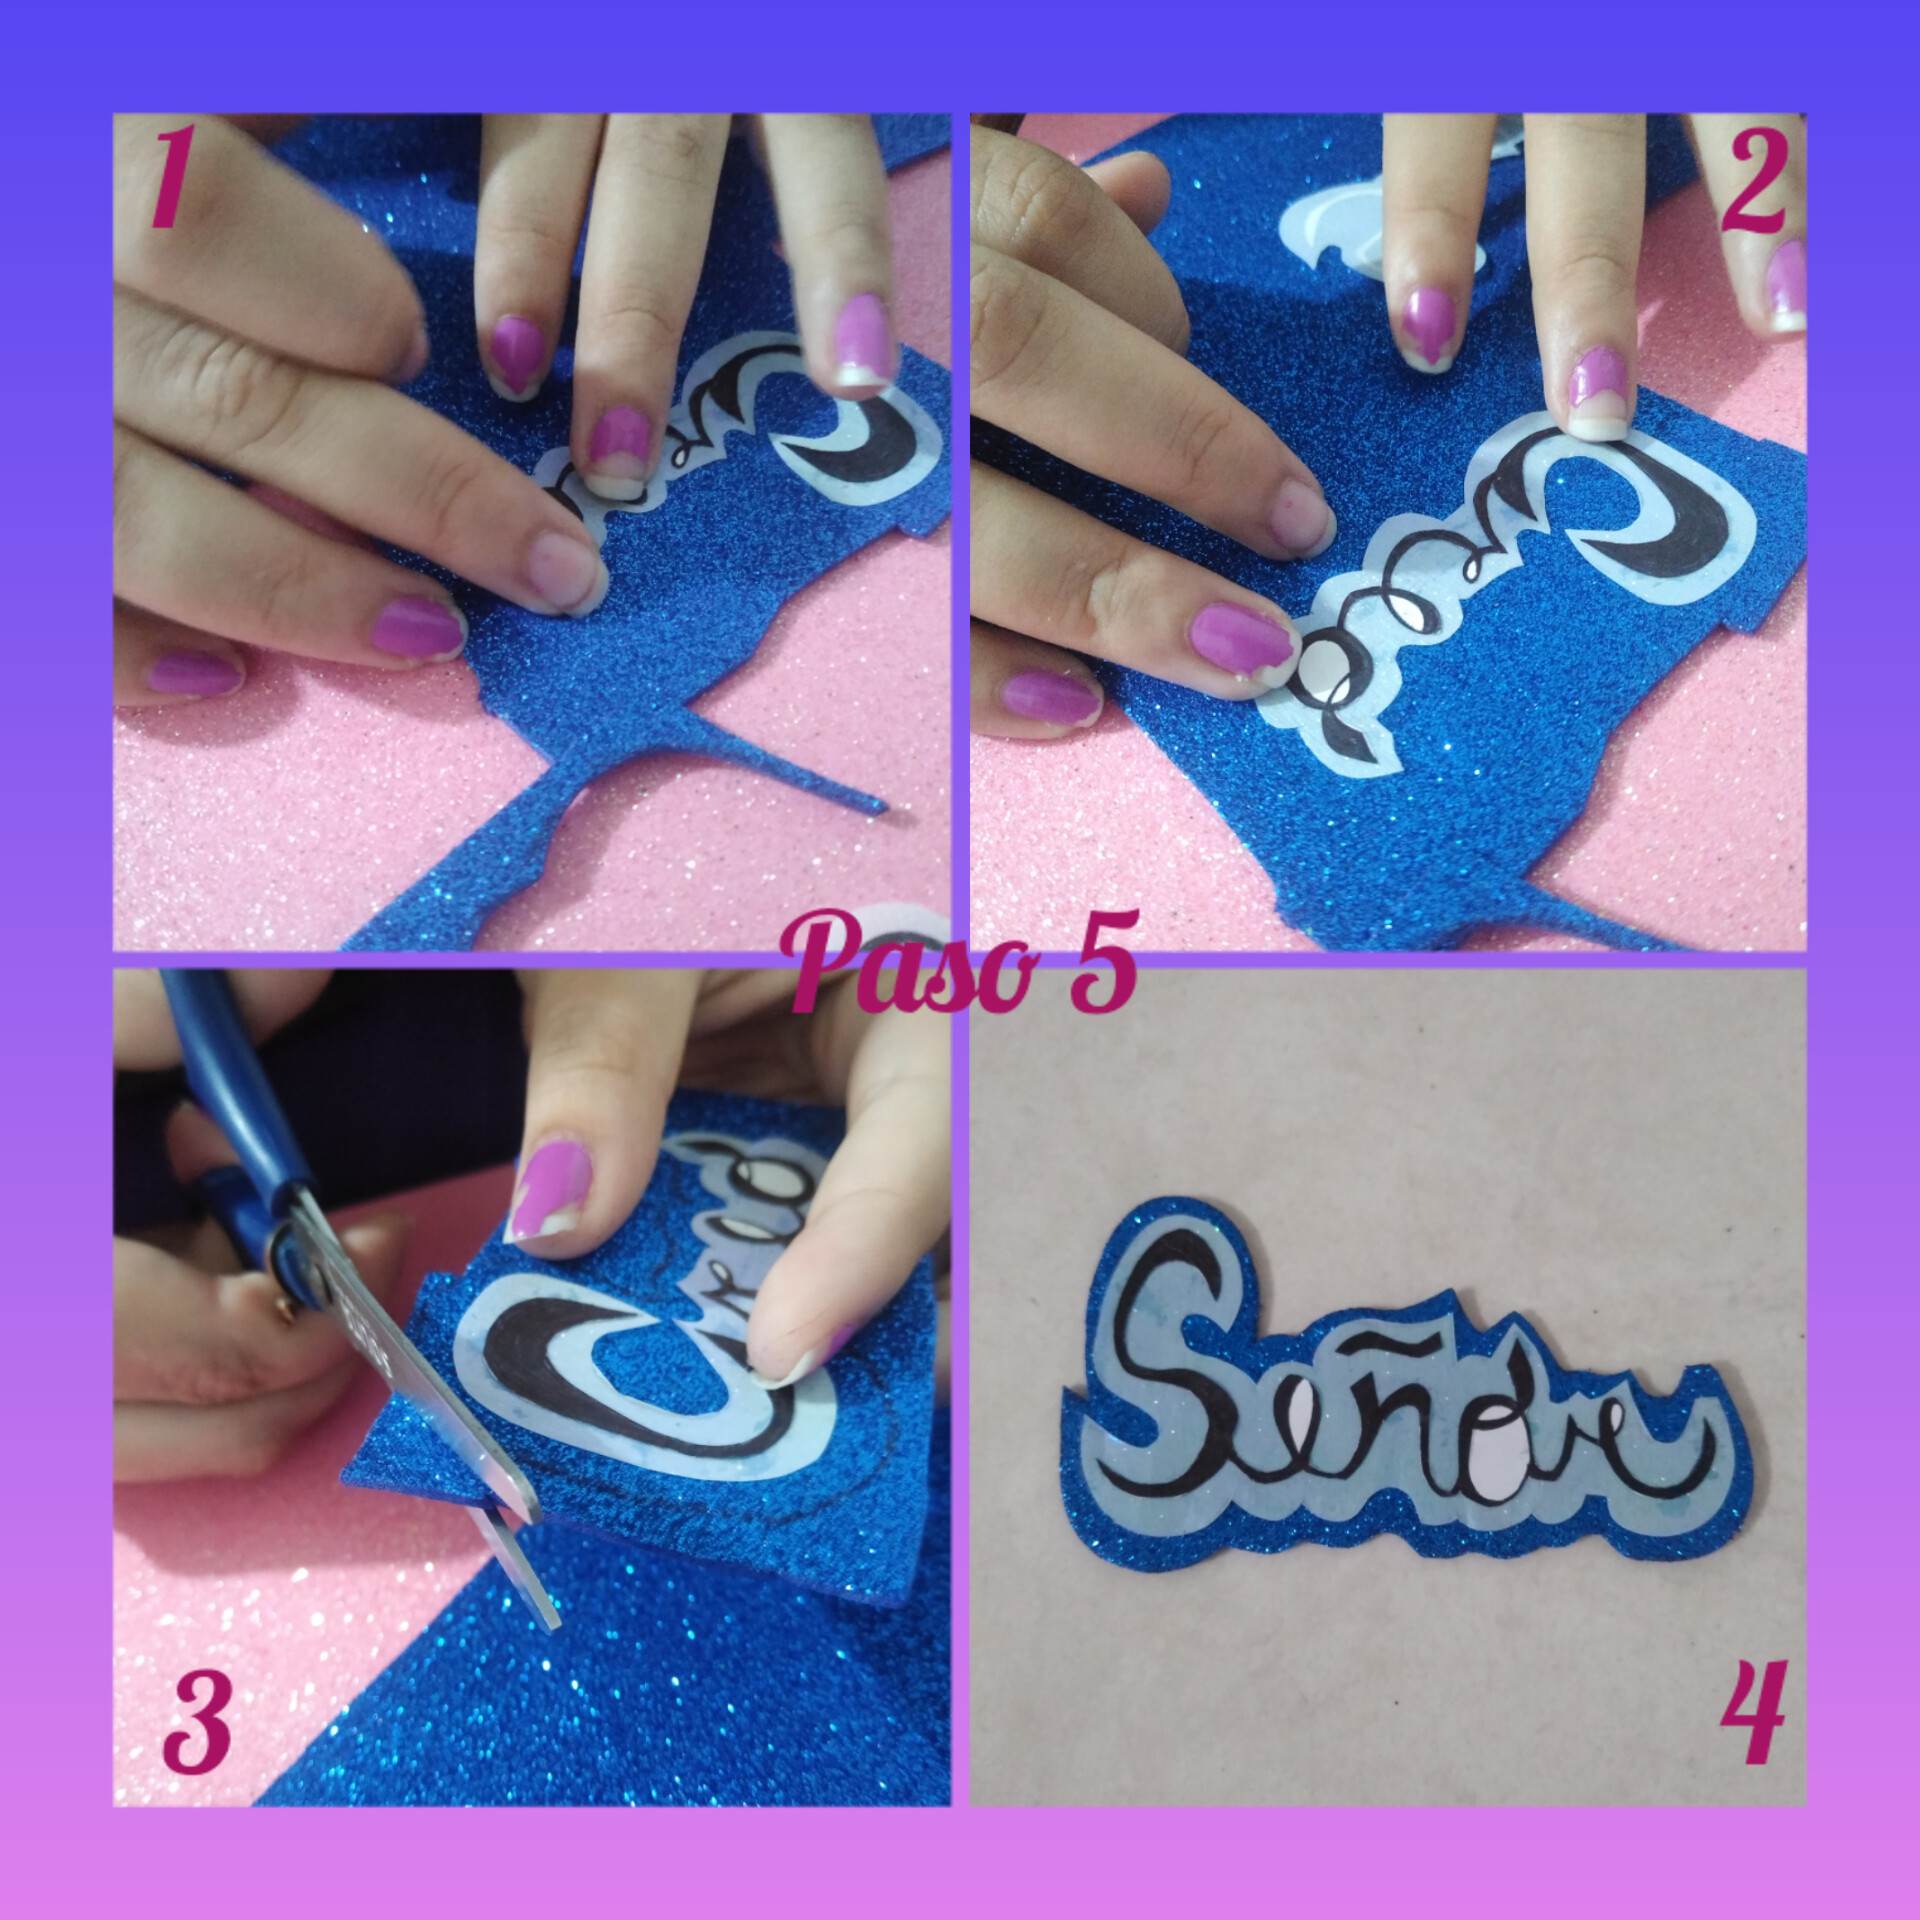
Paso 5: Ahora lo que haré será pegar la frase del papel brilloso sobre éste foami azul escarchado para que se vea mucho más bonito y quedará así como está en la imagen. Para seguir decorando la caja hazlo a tu gusto usando los colores que quieras, eso sí, procuremos tener un acabado bueno en las letras ya que será lo primero que verán las personas, espero que les haya gustado mucho, gracias por visitar mi blog.
Step 5: Now what I will do is paste the phrase of the shiny paper on this blue frosted foami to make it look much nicer and it will be as it is in the image. To continue decorating the box do it as you like using the colors you want, of course, let's try to have a good finish on the letters as it will be the first thing people will see, I hope you liked it a lot, thanks for visiting my blog.

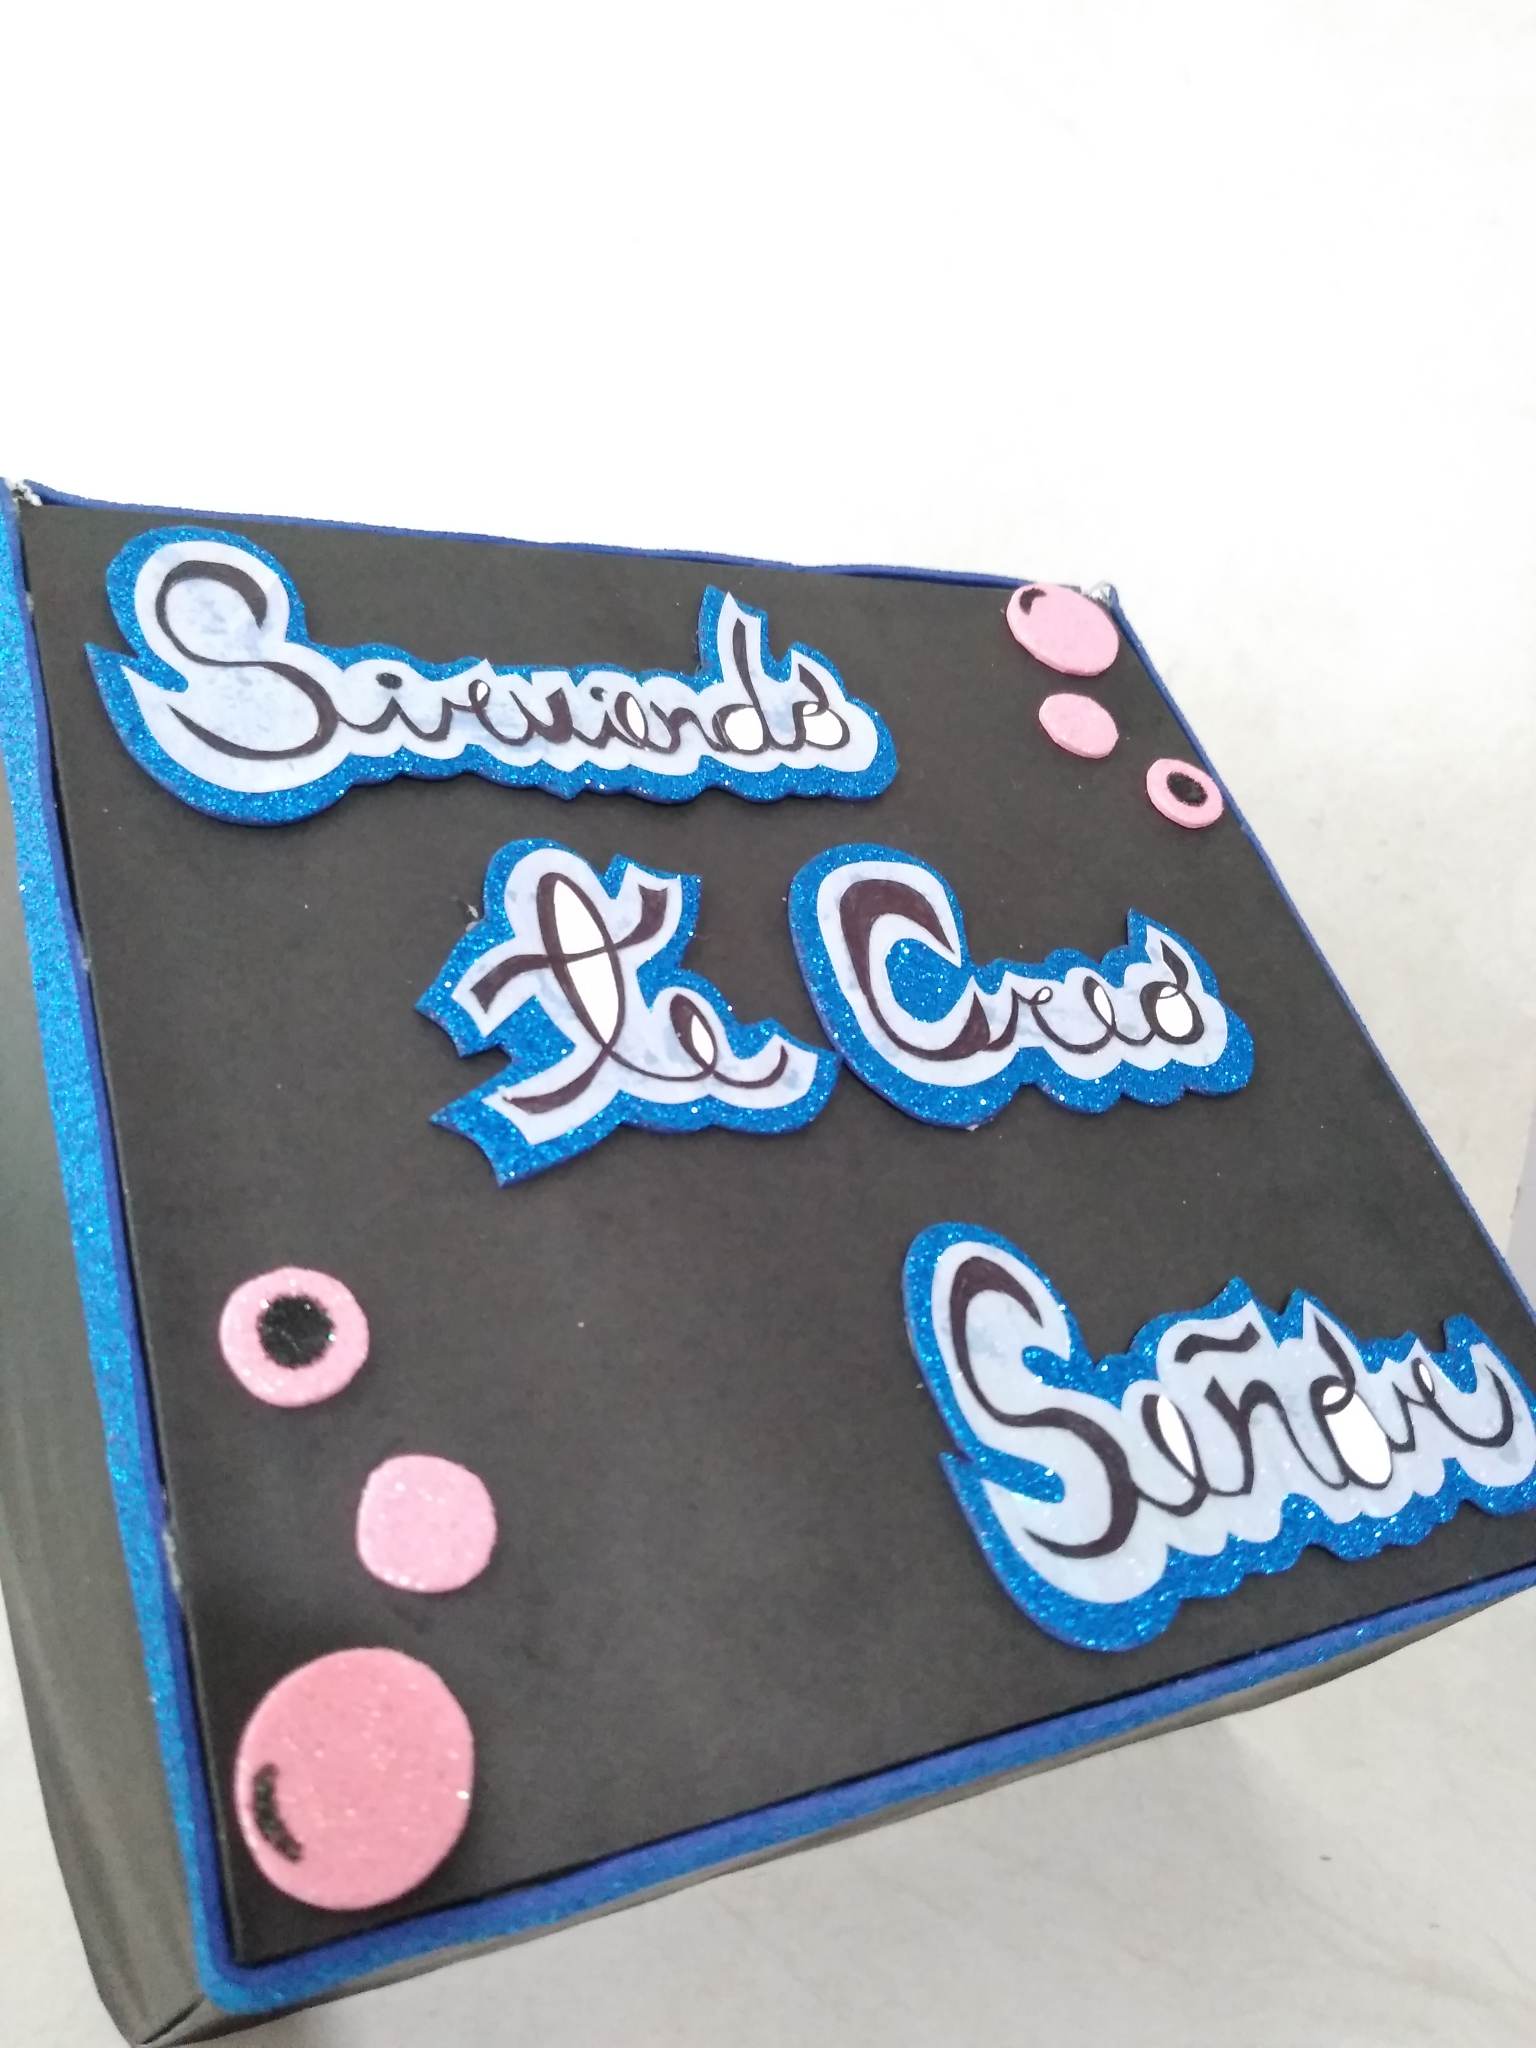
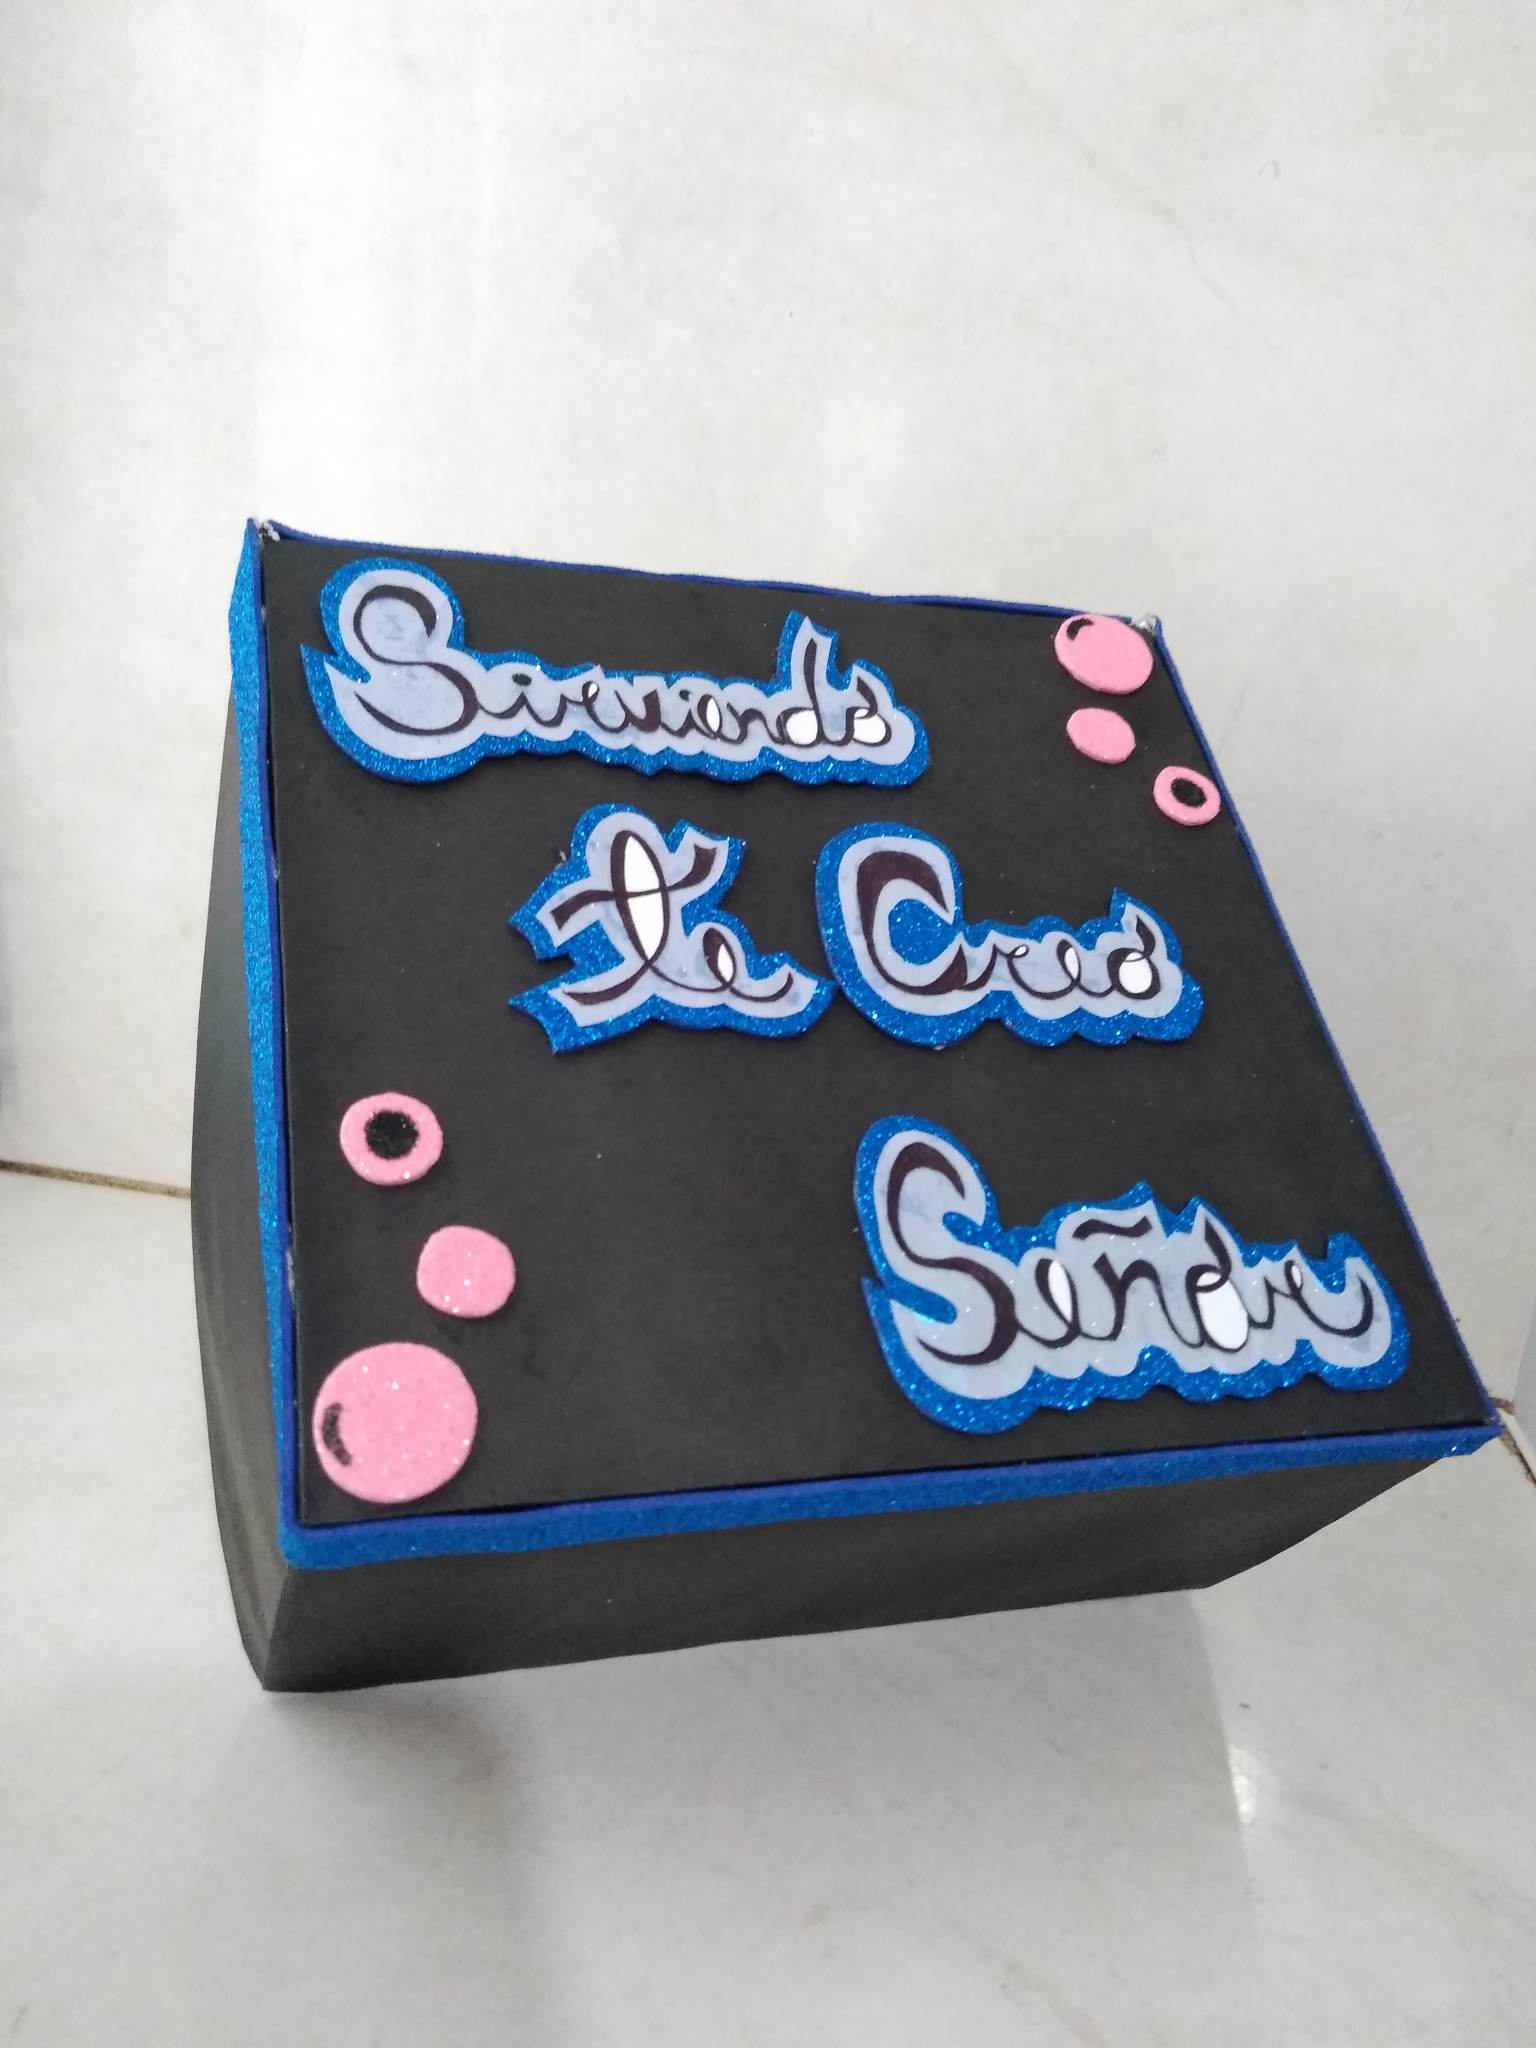
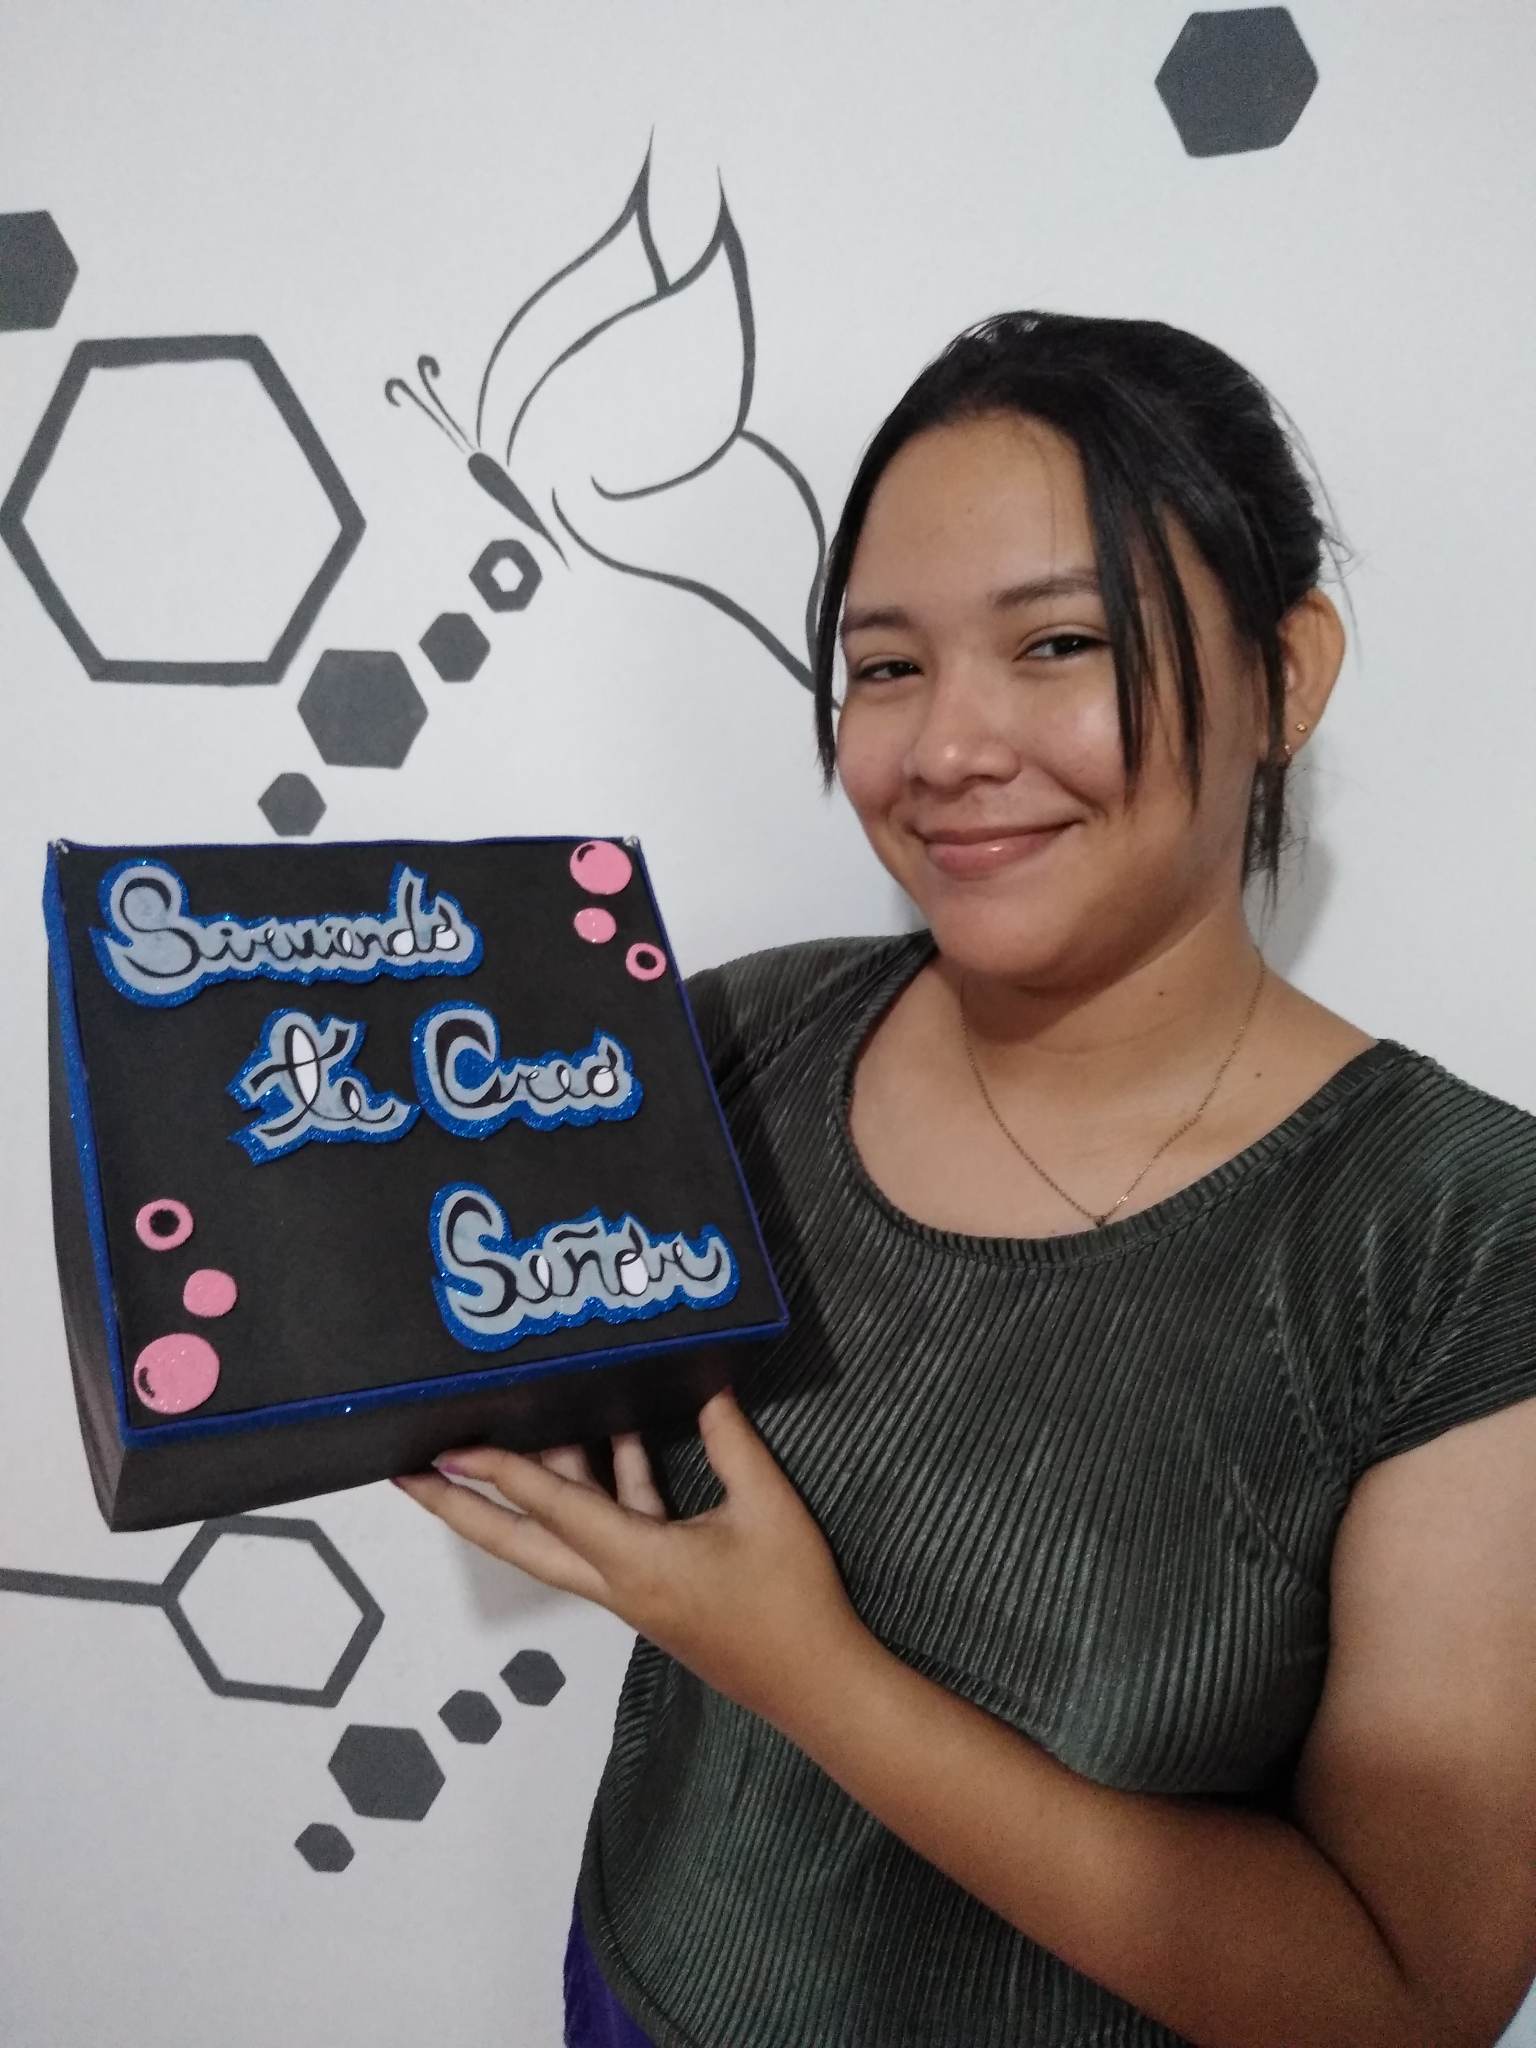
Final Result.



https://twitter.com/1426655891915526154/status/1622987121672822785
https://twitter.com/1462311950197706755/status/1624335405855252480
The rewards earned on this comment will go directly to the people( @belkyscabrera, @officialrosh1 ) sharing the post on Twitter as long as they are registered with @poshtoken. Sign up at https://hiveposh.com.
Gracias por el apoyo que me brindan, saluidos.
Saludos @eribetzi, te quedó muy linda la cajita, las letras están geniales, gracias por compartir.
Bendiciones!
Muchas gracias amiga, me alegra mucho que te haya gustado.
Sencillamente hermoso amiga, los tutoriales deben contener diversas fotos que detallen a la perfección el proceso de creación, el tuyo está muy completo, excelente trabajo.
Ayy amiga muchas gracias por tus lindas palabras, gracias por notar cada paso y cada cosita, encantada estoy, saludos amiga.
Me gustó mucho la decoración, los colores empleados y el mensaje, muchas gracias por compartir con nosotros.
Gracias a ti amiga por tus lindas palabras, que bueno que te gustó.