Multipurpose basket / Cesta multiuso (Esp/Eng)


 |  |

⚛️💜💜💜💜💜🔮💜💜💜💜💜⚛️
⚛️💜🔮💜⚛️
[Esp]
¡Me complace saludarles nuevamente comunidad! Aquí estoy con alegría compartiendo una de mis pasiones.
Gracias a Dios por estos momentos, estos lindos días que me ha obsequiado compartiendo con gente amorosa y bonita, no solo a nivel virtual sino personal. Conectándome con energías positivas que tanto nos hacen falta a todos.
Hablando con ellos me cuentan que les encantan mis manualidades y mis ideas de emprendimiento, una amiga me comentó que desea arrancar con los cintillos, le di muchos tips y dónde podría comprar los materiales más económicos.
¡Felicidad! Poder ser útil, servir y compartir.
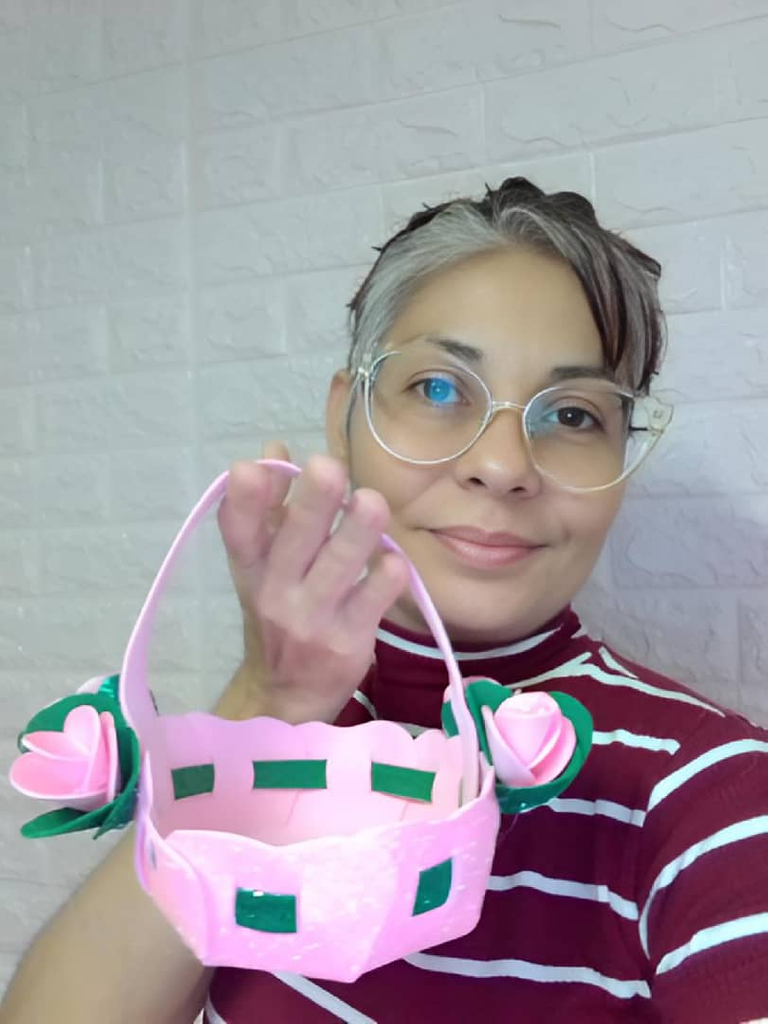
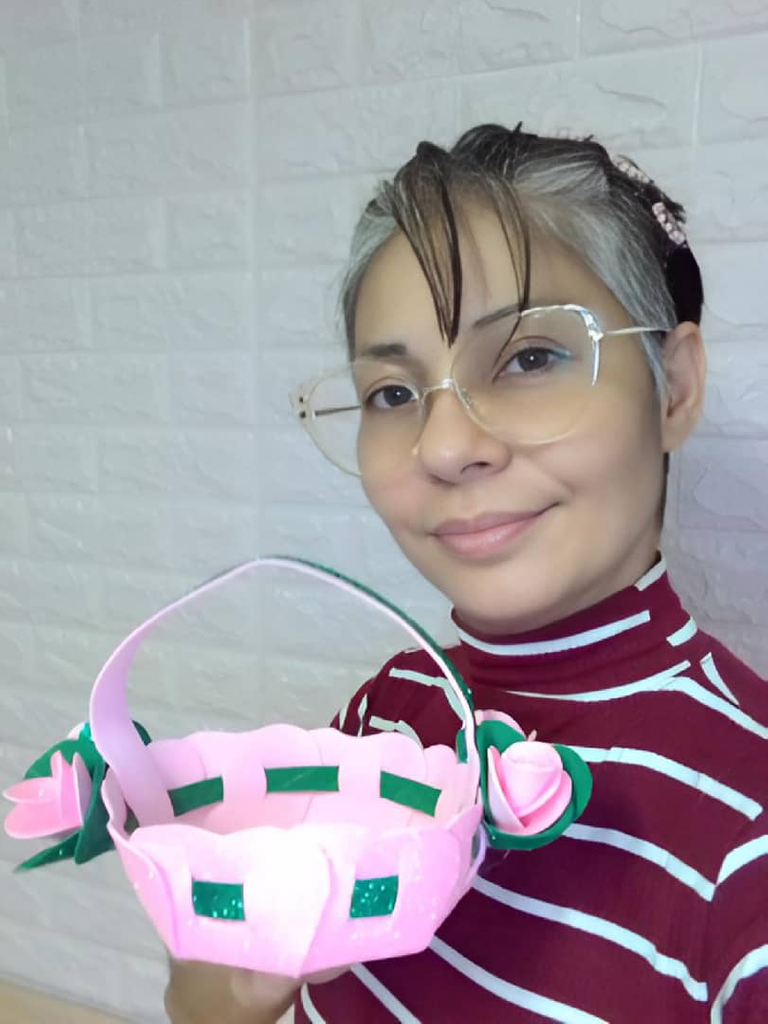
Elaboré una cesta para darla de obsequio a la maestra de mi hijo, noté que es muy fan de mis manualidades y las cosas en foami, por lo que aprovechando la despedida de año escolar, le entregaré esta cesta llena de caramelos y dulces.
Les muestro con mucho amor, cómo elaborarla, es un buen detalle para obsequiar y agasajar a tus amigos y seres queridos.
¡Los amo! Gracias por ser, estar y existir.
! [Scroll down to read the English version]
[Eng]
I am pleased to greet you again community! Here I am with joy sharing one of my passions.
Thank God for these moments, these beautiful days that he has given me sharing with loving and beautiful people, not only virtually but personally. Connecting me with positive energies that we all need so much.
Talking with them they tell me that they love my crafts and my ideas of entrepreneurship, a friend told me that she wants to start with the ribbons, I gave her many tips and where she could buy the cheapest materials.
Happiness! To be able to be useful, to serve and to share.
I made a basket to give as a gift to my son's teacher, I noticed that she is a big fan of my crafts and things in foami, so taking advantage of the farewell of the school year, I will give her this basket full of candies and sweets.
I show you with much love, how to make it, it is a good detail to give and entertain your friends and loved ones.
I love you! Thank you for being, being and existing.

💜💜💜💜💜❤️💜💜💜💜💜
Materials / Materiales
💜💜💜💜💜❤️💜💜💜💜💜

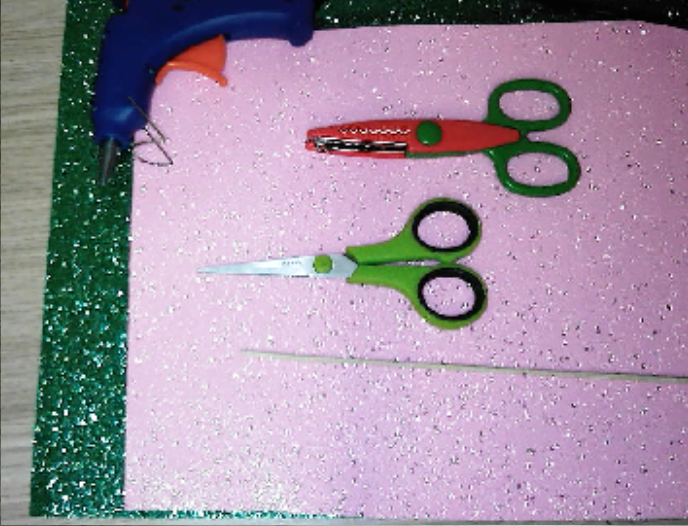
The materials we will use today, are very few to recreate this nice basket.
Los materiales que usaremos hoy, son muy pocos para recrear esta linda cesta.
[Esp]
💜 Pistola de silicón caliente,
💜 Tijera de formas y tijera normal.
💜 Foami escarchado de dos colores diferentes.
💜 Palito de altura.
! [Scroll down to read the English version]
[Eng]
💜 Hot silicone gun,
💜 Shaping scissors and regular scissors.
💜 Frosted foami in two different colors.
💜 Height stick.

💜💜💜💜💜❤️💜💜💜💜💜
Step by Step / Paso a Paso
💜💜💜💜💜❤️💜💜💜💜💜

Step 1️⃣/ Paso 1️⃣
 |  |  |
 |  |  |
 |  |
[Esp]
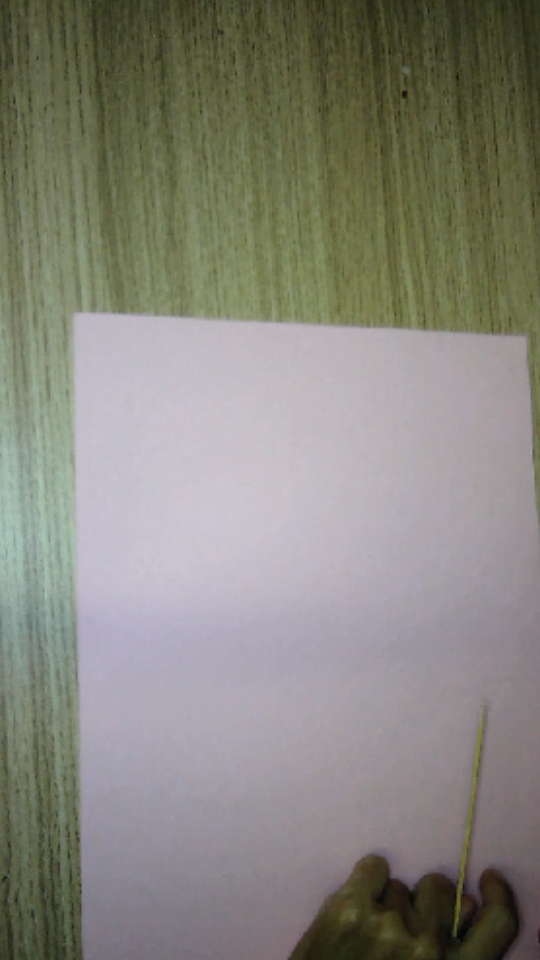
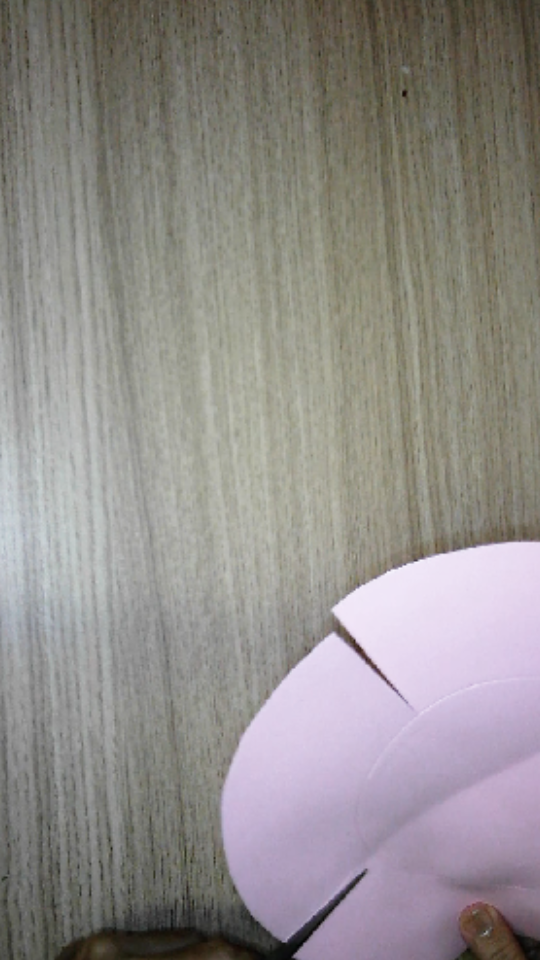
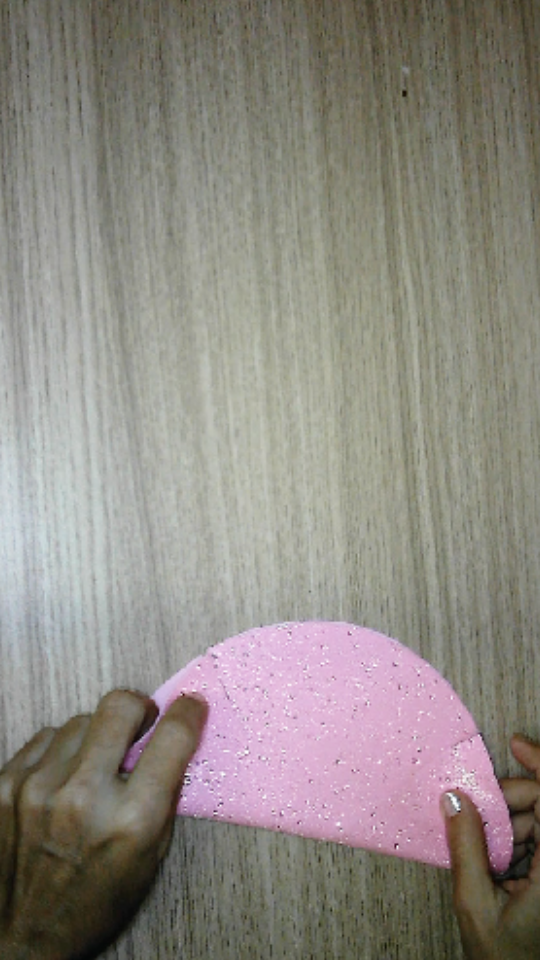
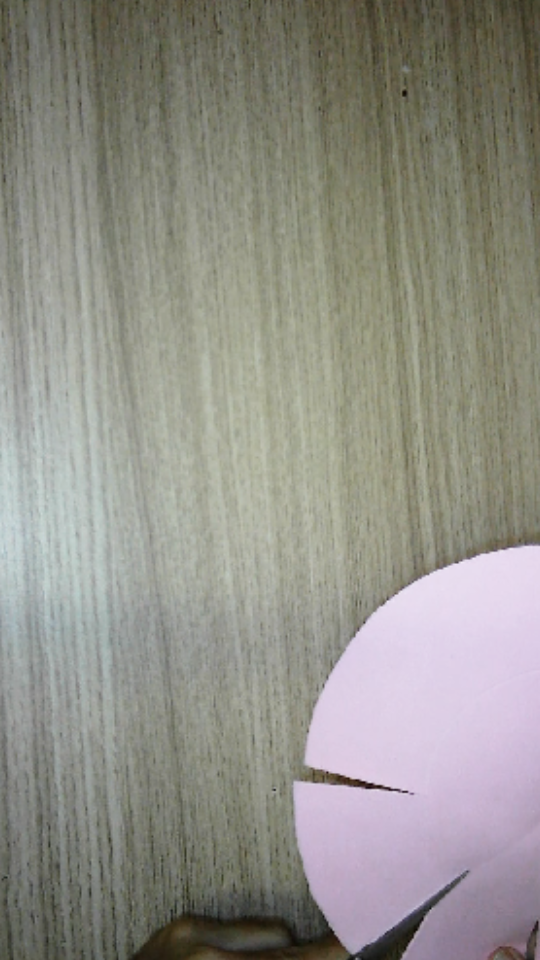
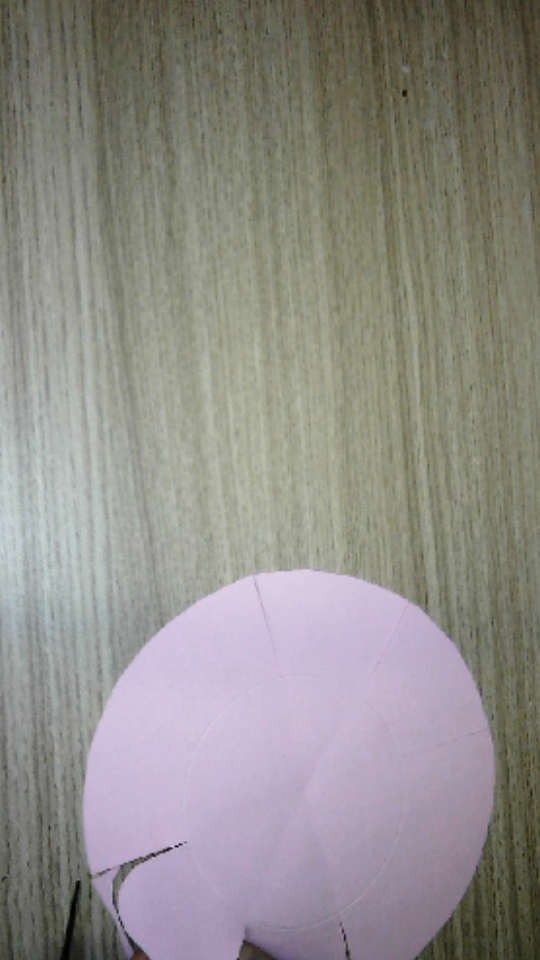
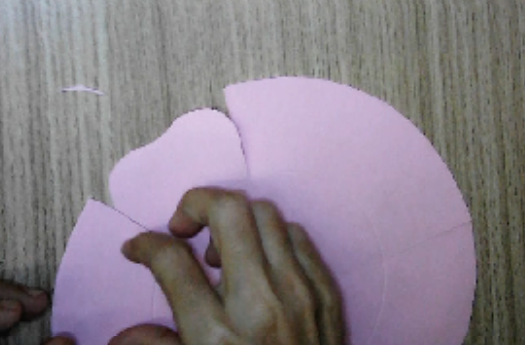
Usa el palito de altura para marcar dos círculos en el foami, uno grande de 20 centímetros de diámetro y uno de diez centímetros de diámetro aproximadamente. El tamaño es a tu gusto.
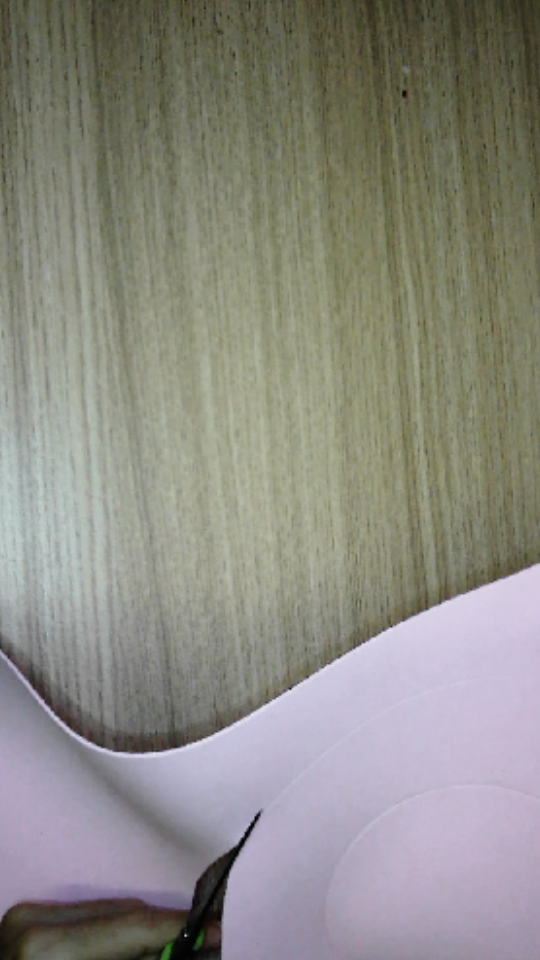
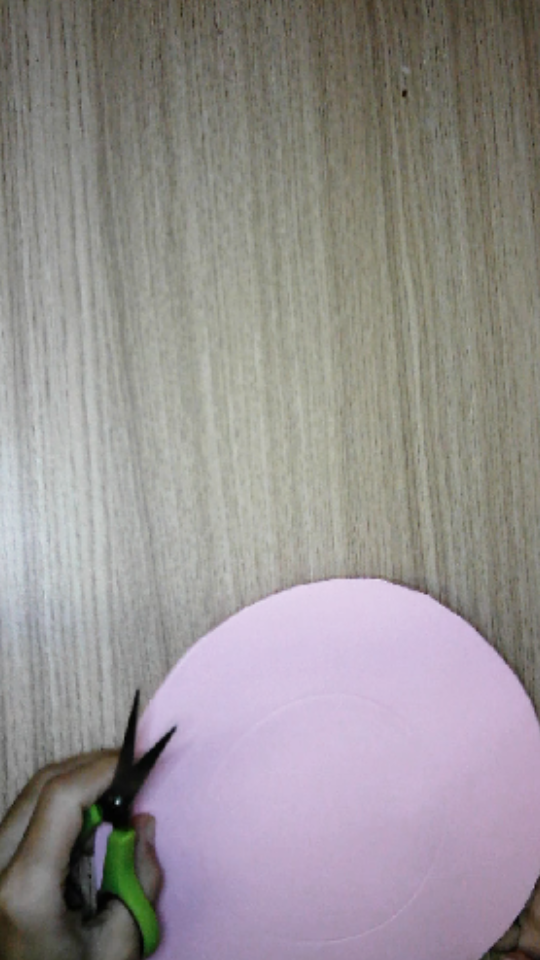
Recorta el foami por el área que trazaste previamente.
El círculo más grande es el que se recorta, el círculo más pequeño es solo una marca referencial hasta dónde llegarán los pétalos que conformarán la cesta. Esta marca, también ayudará a doblar.
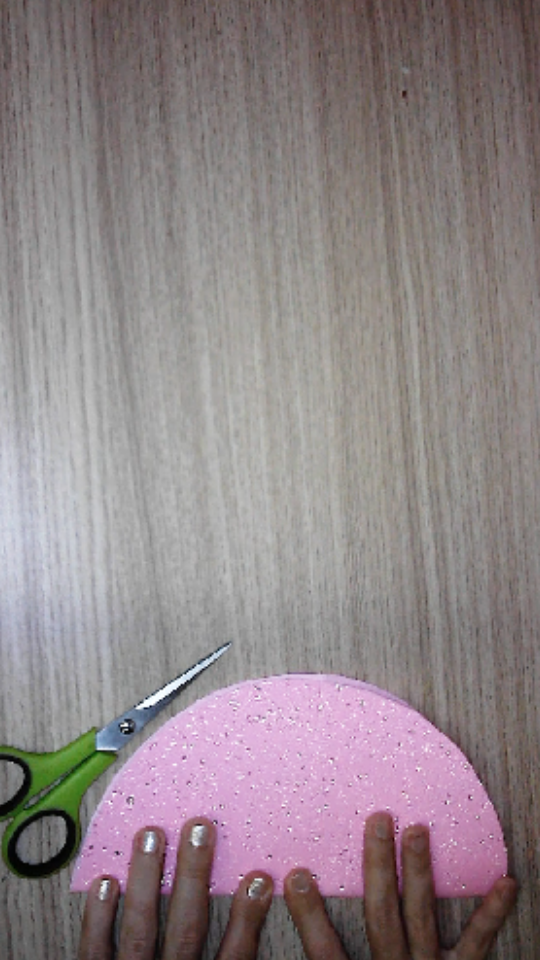
Dobla el círculo por la mitad, realiza un corte por los medios, no cortarás completamente, solo hasta la segunda marca. este paso lo repetirás hasta que completes todos los pétalos.
! [Scroll down to read the English version]
[Eng]
Use the height stick to mark two circles on the foami, a large one of 20 centimeters in diameter and one of approximately ten centimeters in diameter. The size is up to you.
Cut out the foami in the area you previously traced.
The larger circle is the one that is cut out, the smaller circle is just a reference mark of how far the petals that will make up the basket will reach. This mark will also help with the folding.
Fold the circle in half, make a cut in the middle, you will not cut completely, only up to the second mark. repeat this step until you complete all the petals.

💜💜💜💜💜❤️💜💜💜💜💜
Step 2️⃣/ paso 2️⃣
 |  |  |
 |  |  |
[Esp]
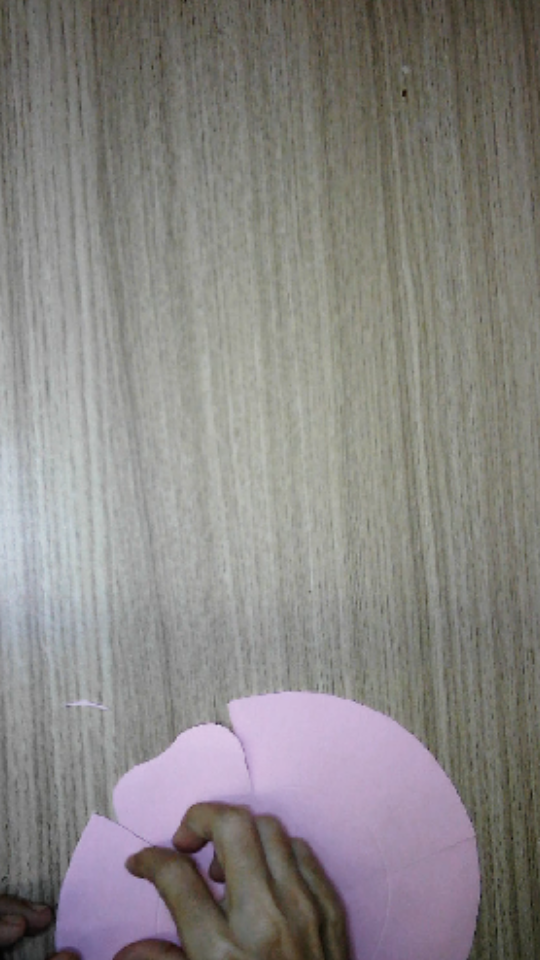
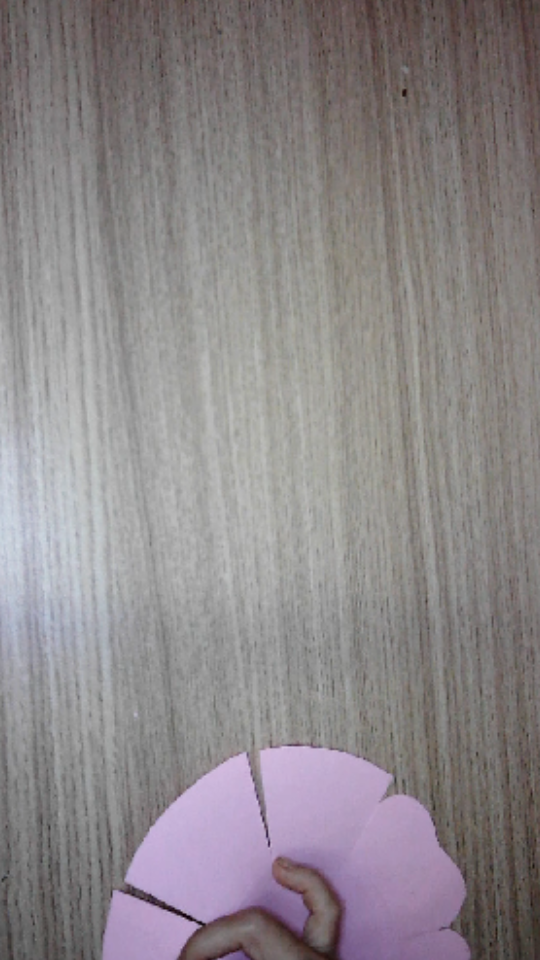
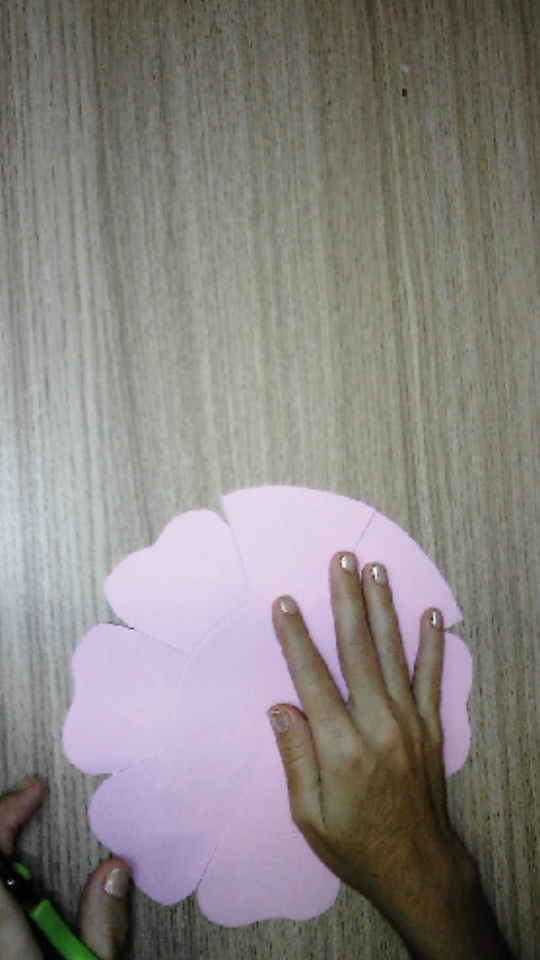
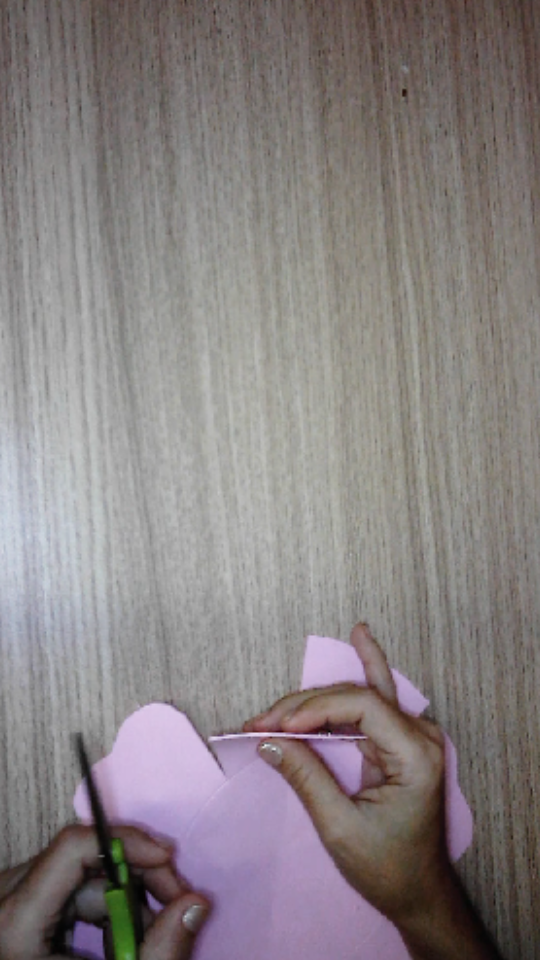
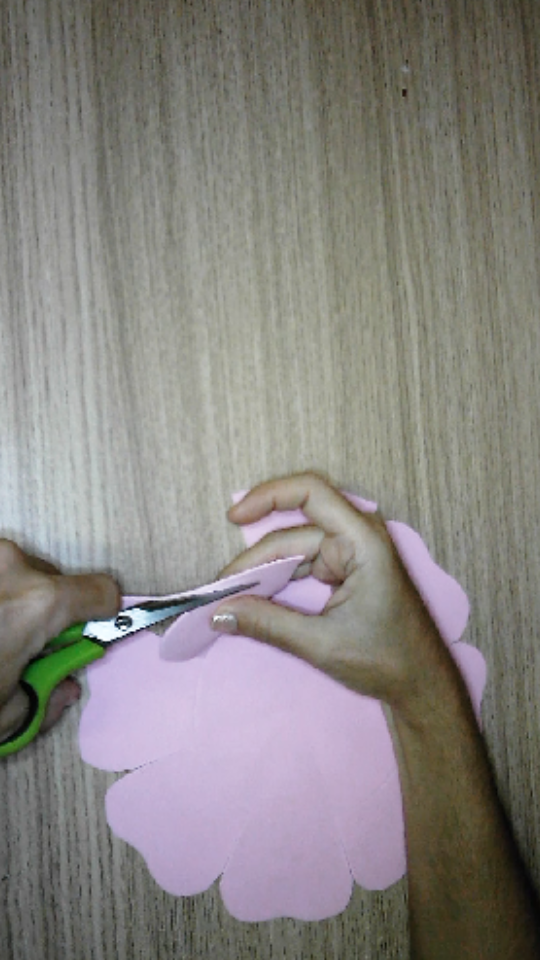
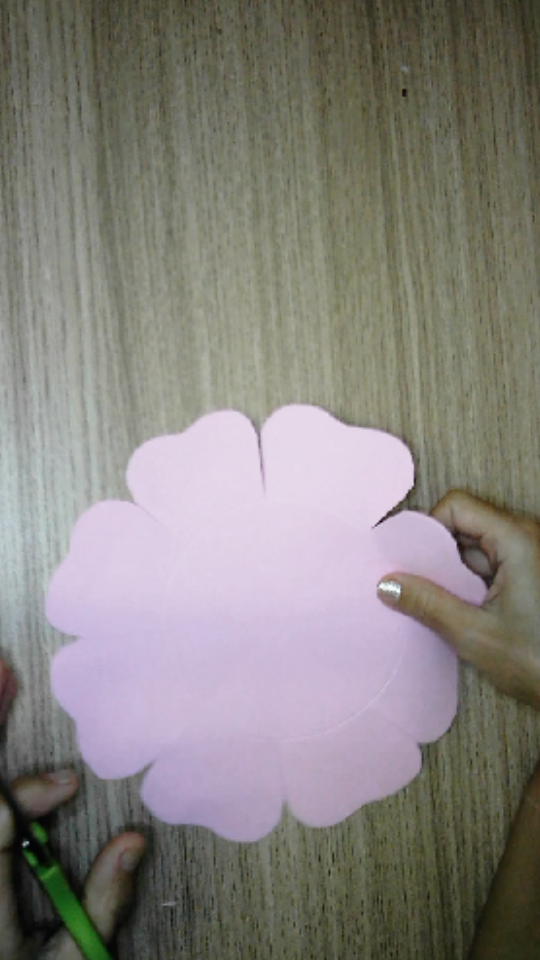
Recorta los pétalos en forma ondulada, cada uno, como muestra la tira de imágenes.
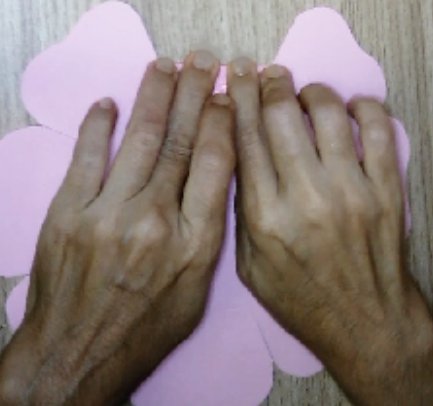
Luego dobla cada uno para ayudarte a dar forma a la cesta.
! [Scroll down to read the English version]
[Eng]
Cut out the petals in a wavy shape, each one, as shown in the picture strip.
Then fold each one to help you shape the basket.

💜💜💜💜💜❤️💜💜💜💜💜
Step 3️⃣/ paso 3️⃣
 |  |  |
 |  |  |
 |  |
 |  |
[Esp]
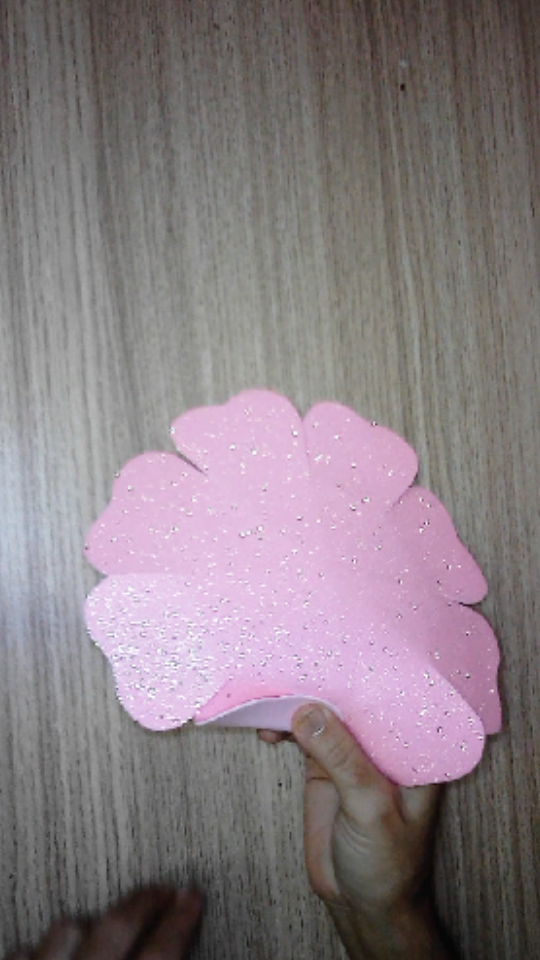
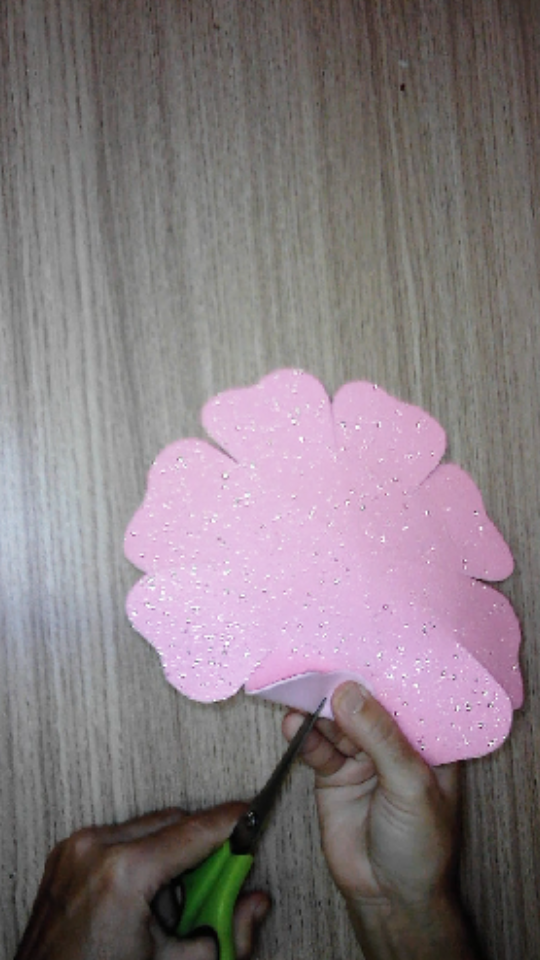
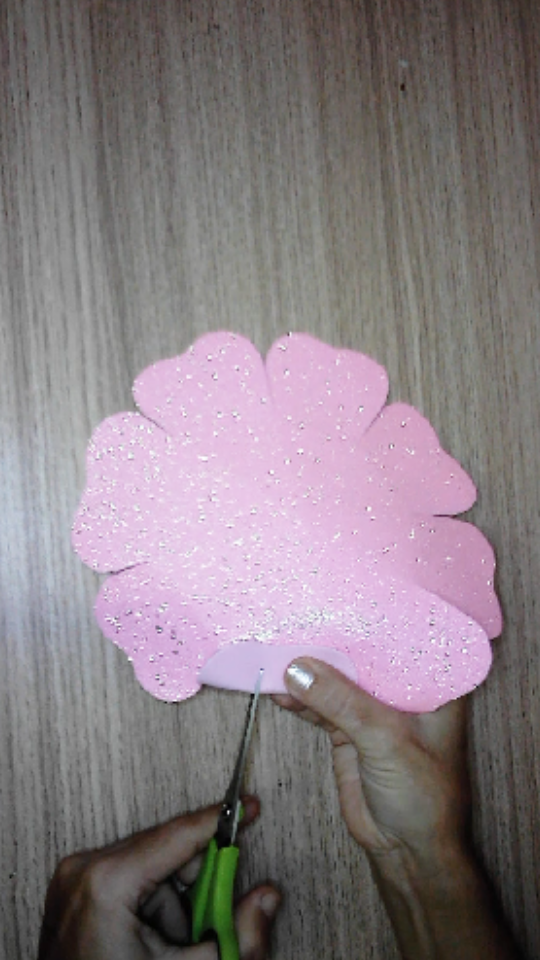
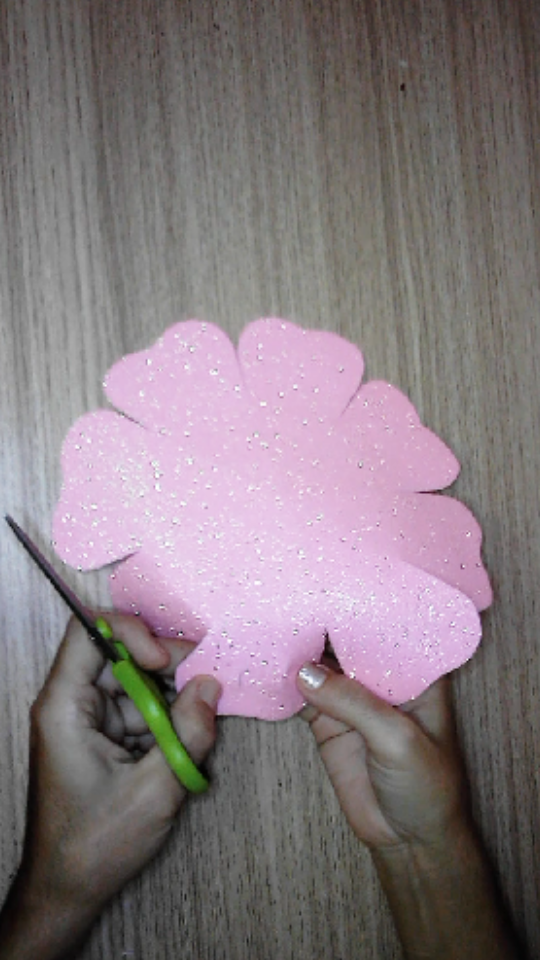
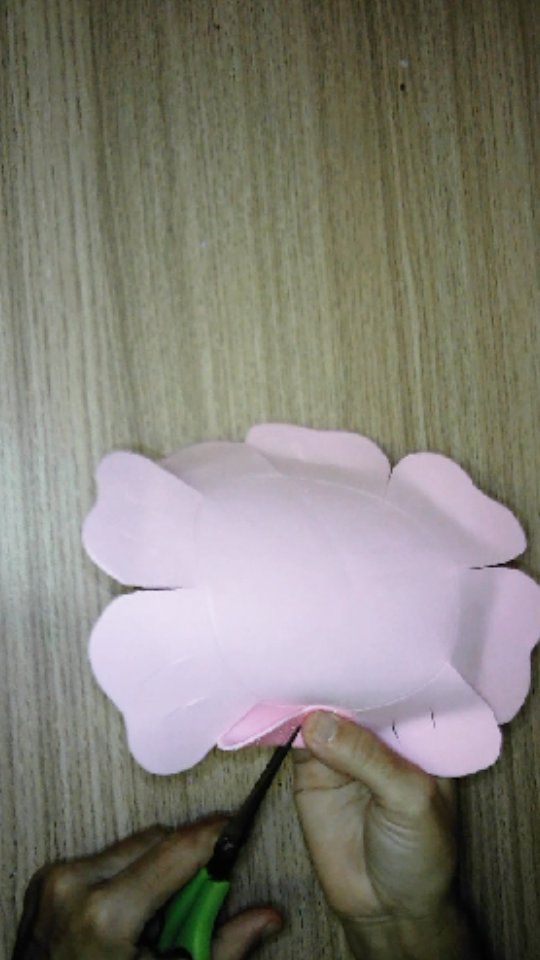
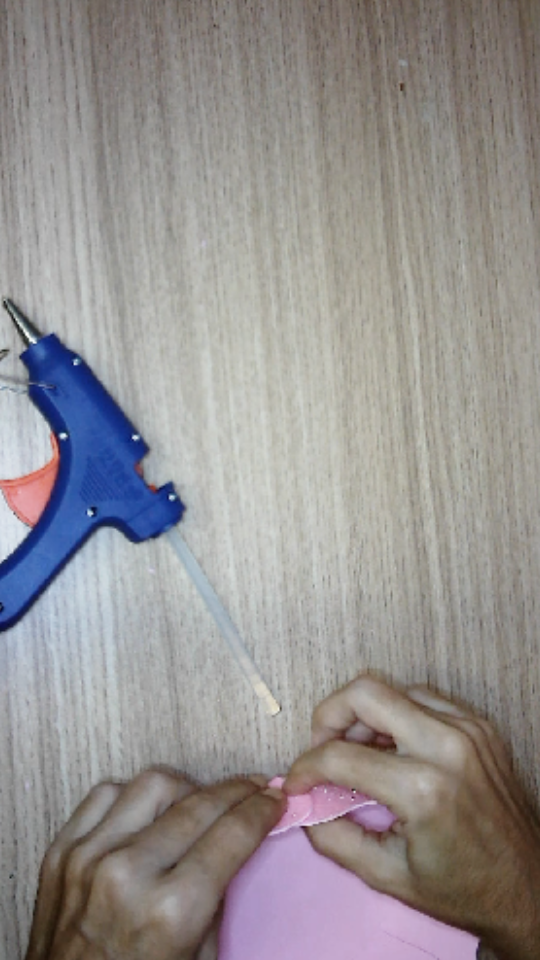
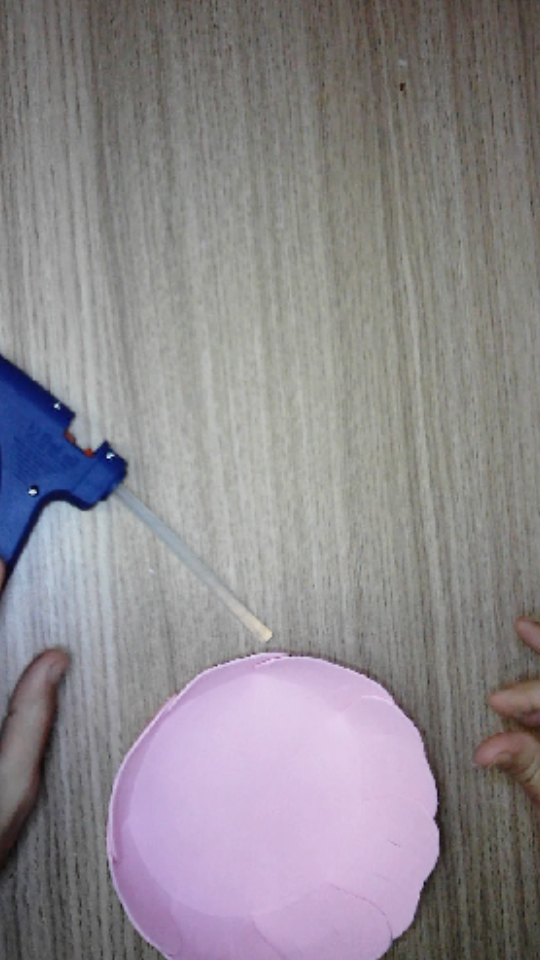
Toma un pétalo dóblalo a la mitad hasta la marca que realizaste del segundo círculo.
Con la tijera realiza dos cortes de aproximadamente 1 centímetro.
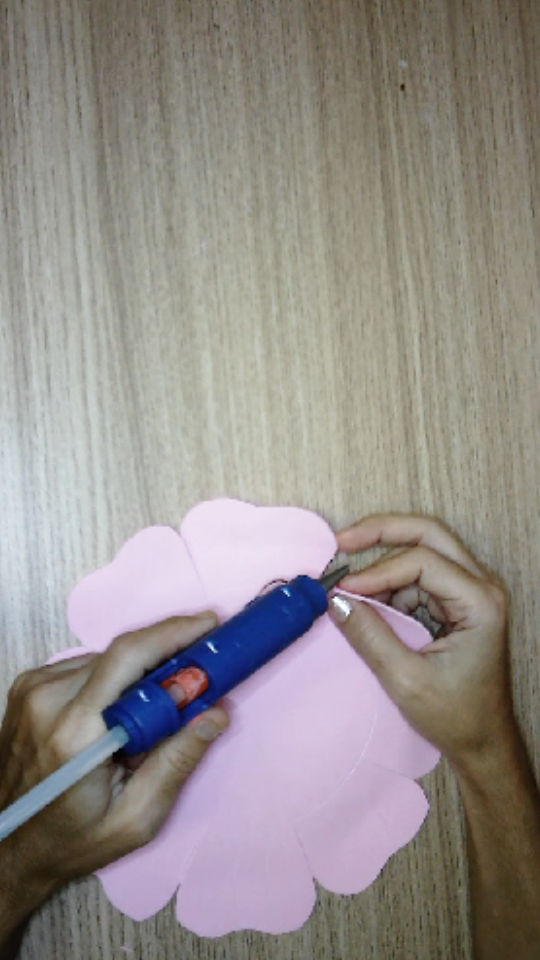
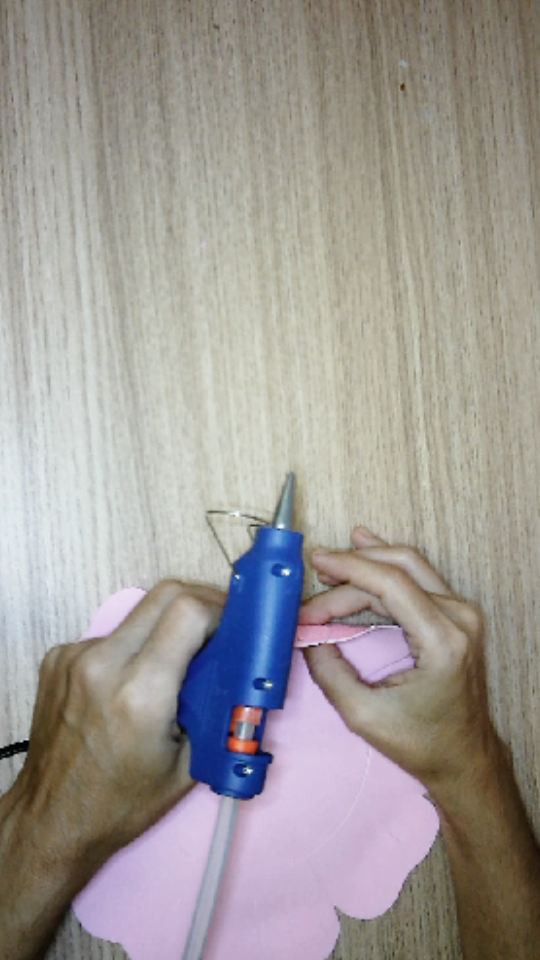
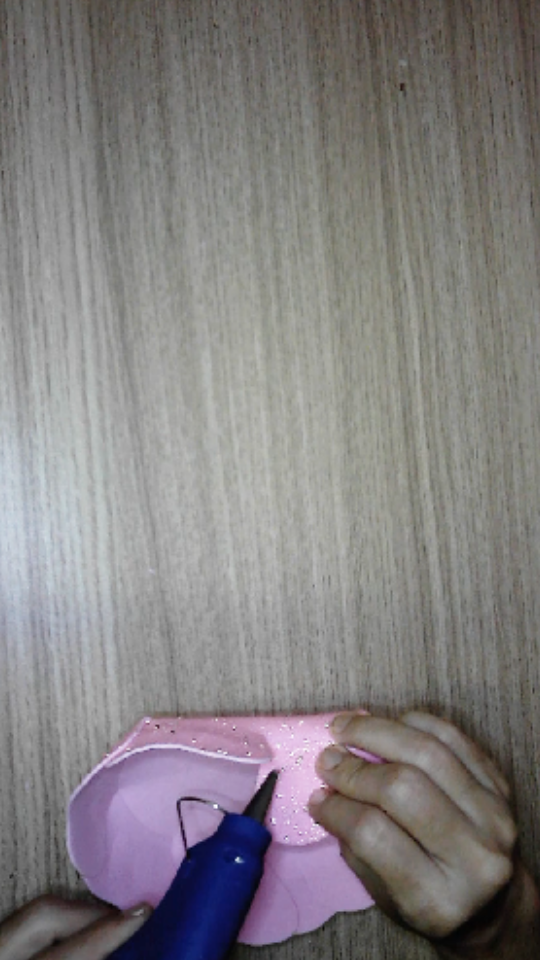
Es el momento de ir pegando los pétalos dando forma a la cesta. Pega uno sobre otro de modo que estén súper puestos por 1 centímetro aproximadamente.
! [Scroll down to read the English version]
[Eng]
Take a petal and fold it in half up to the mark you made on the second circle.
With the scissors make two cuts of approximately 1 centimeter.
Now it's time to glue the petals together to form the basket. Glue one on top of the other so that they are super placed by about 1 centimeter.

💜💜💜💜💜❤️💜💜💜💜💜
Step 4️⃣/ paso 4️⃣
 |  |  |
 |  |  |
 |  |
 |  |
💜💜💜💜💜❤️💜💜💜💜💜
[Esp]
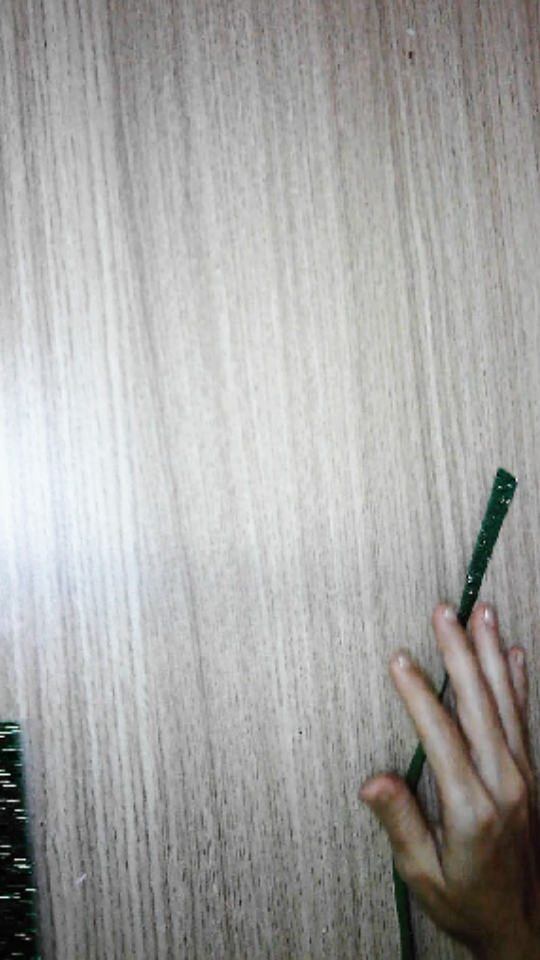
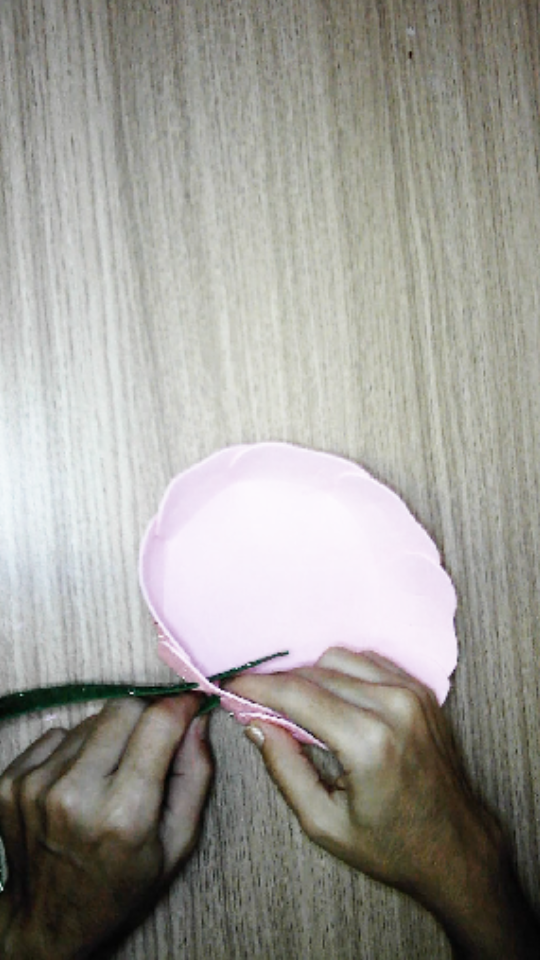
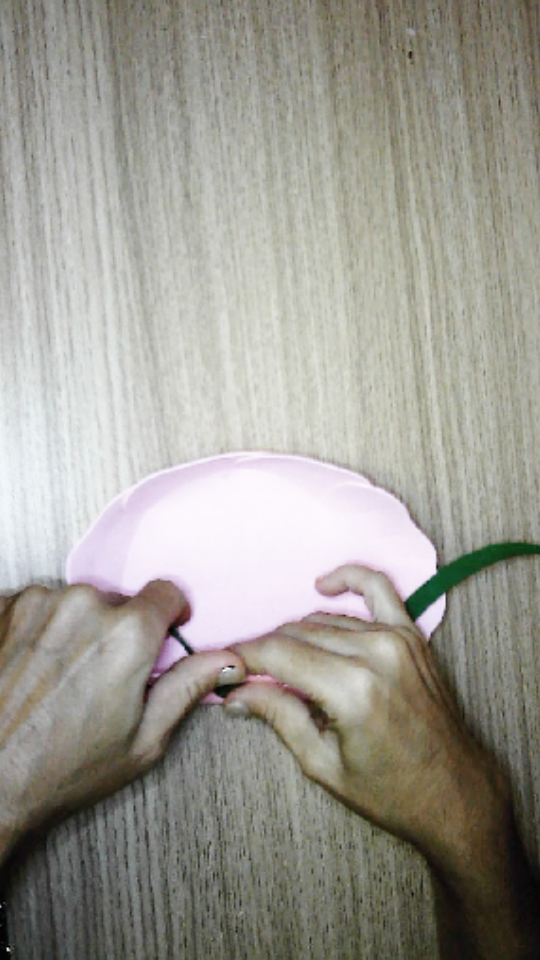
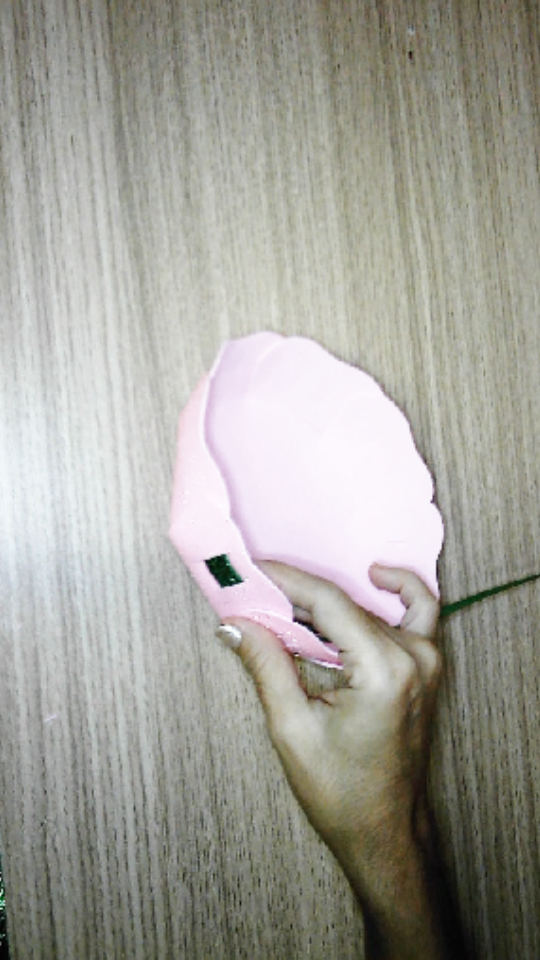
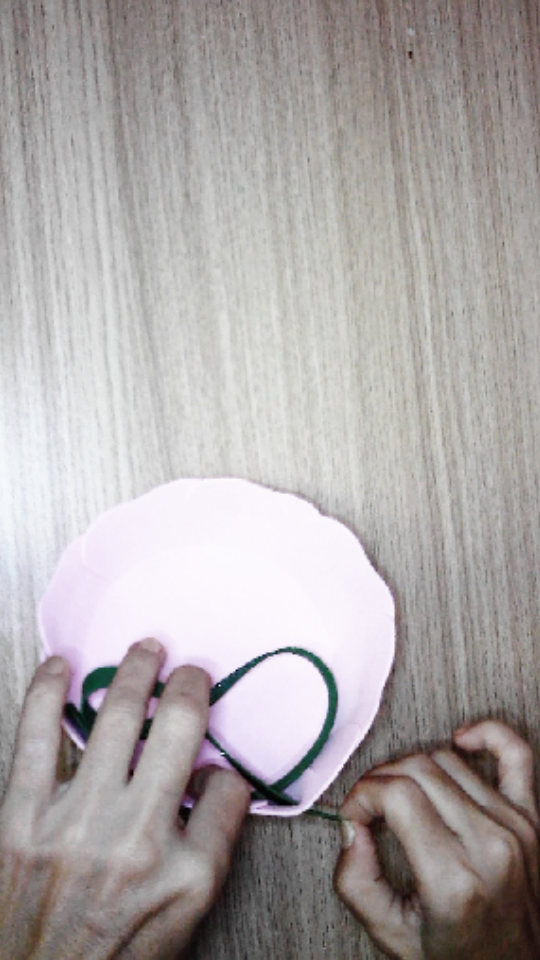
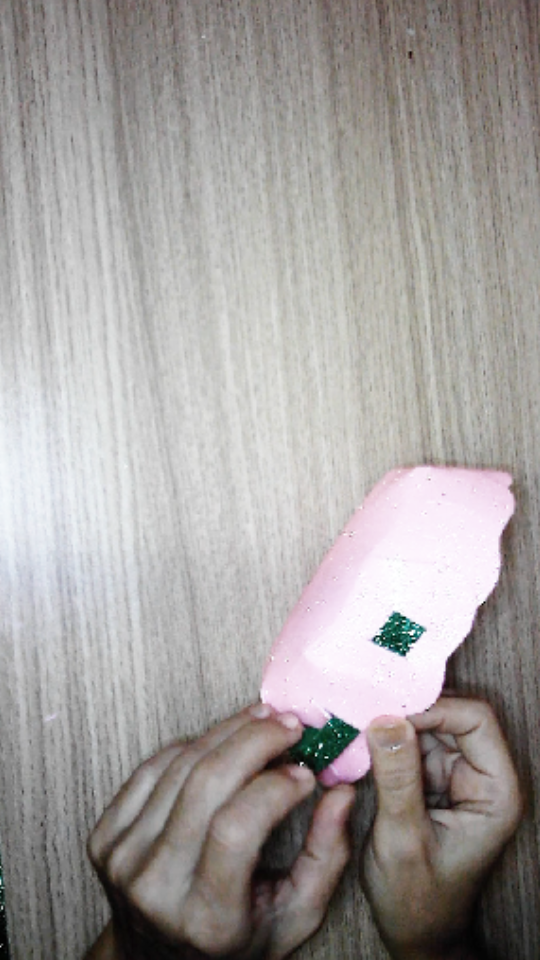
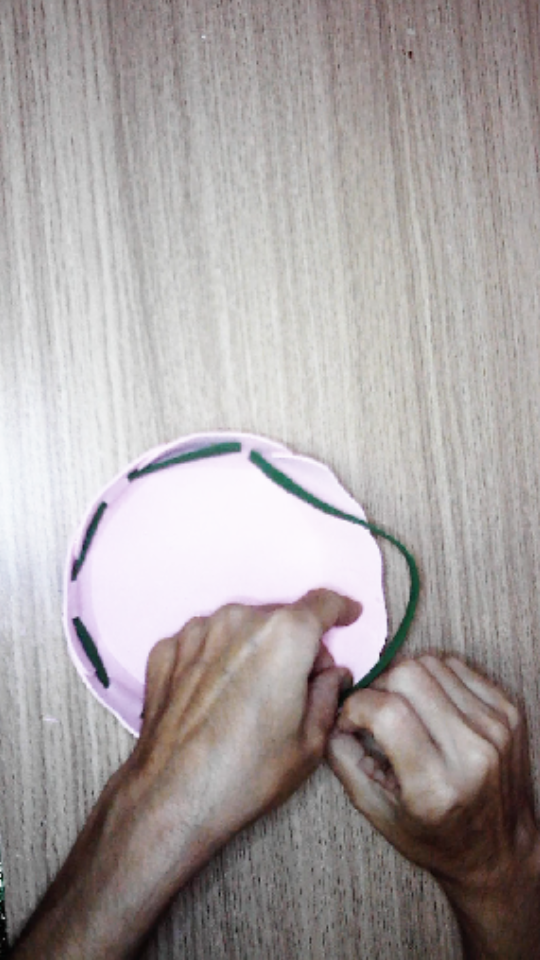
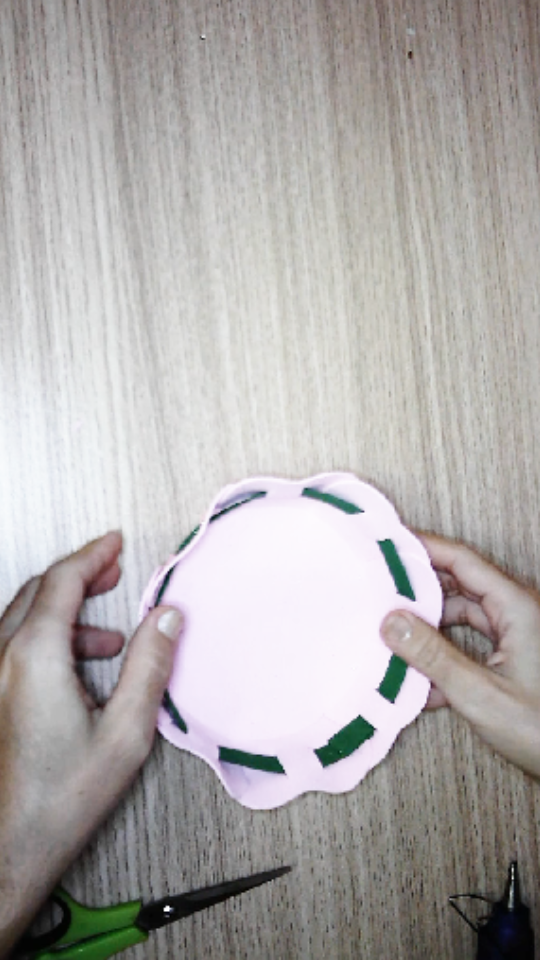
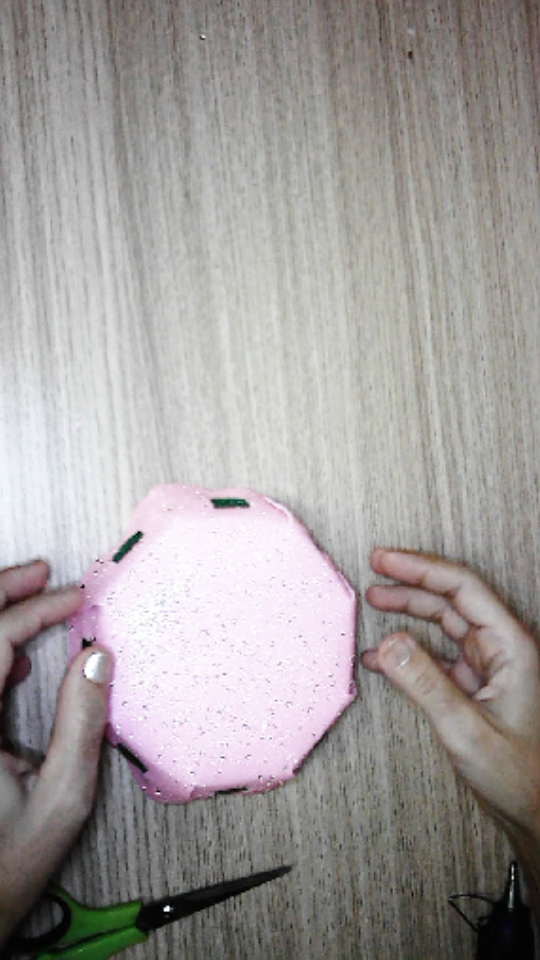
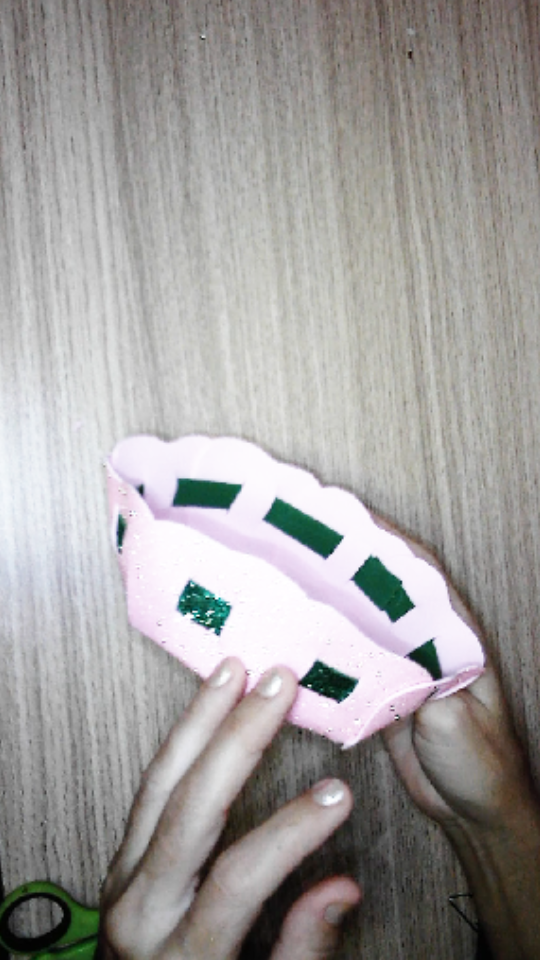
Recorta una cinta de foami de un centímetro aproximadamente.
Ahora ve tejiendo la cesta como indica la imagen, cuando completes la vuelta coloca un punto de pega de cada extremo para fijarla.
! [Scroll down to read the English version]
[Eng]
Cut a strip of foami about one centimeter long.
Now weave the basket as shown in the picture, when you complete the turn, place a glue stitch on each end to fix it.

💜💜💜💜💜❤️💜💜💜💜💜
Step 5️⃣/ paso 5️⃣
 |  |  |  |
 |  |  |  |
 |  |  |
 |  |
[Esp]
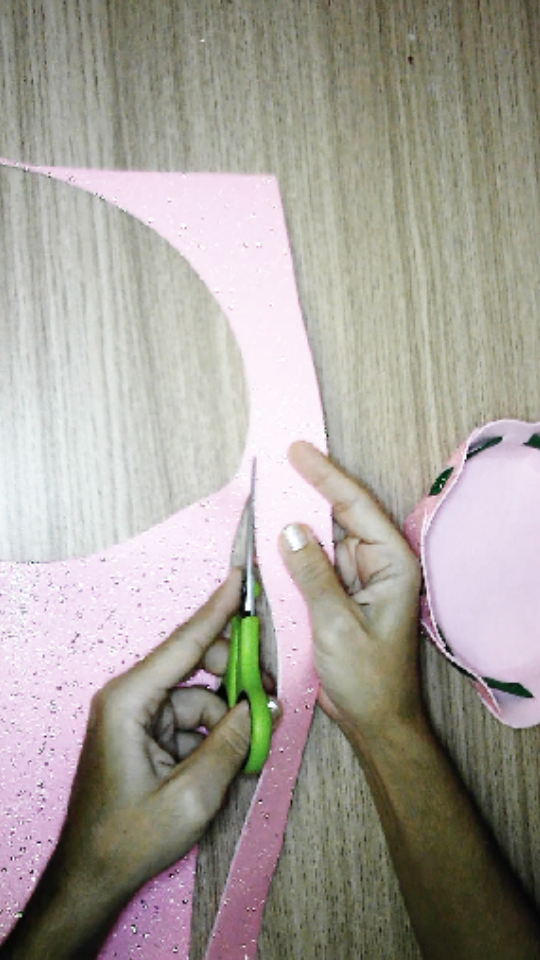
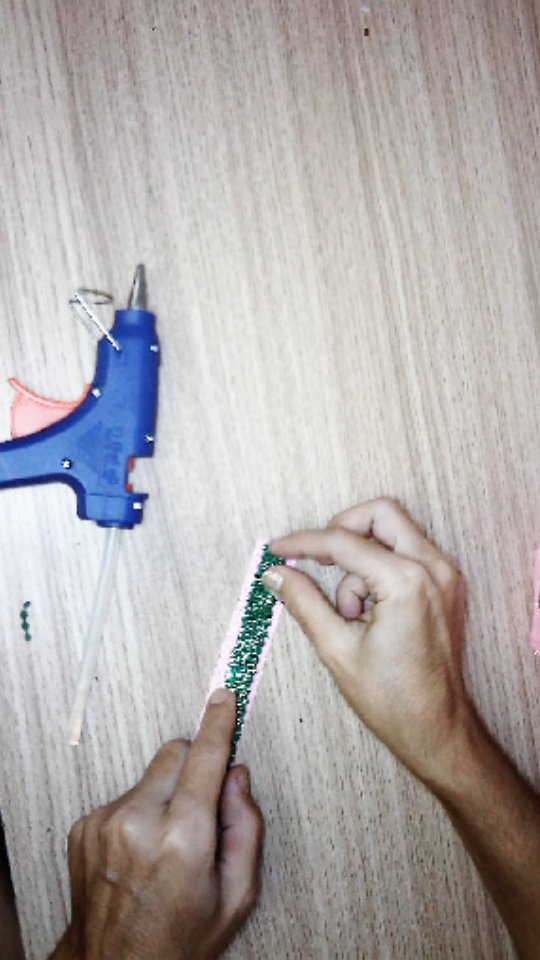
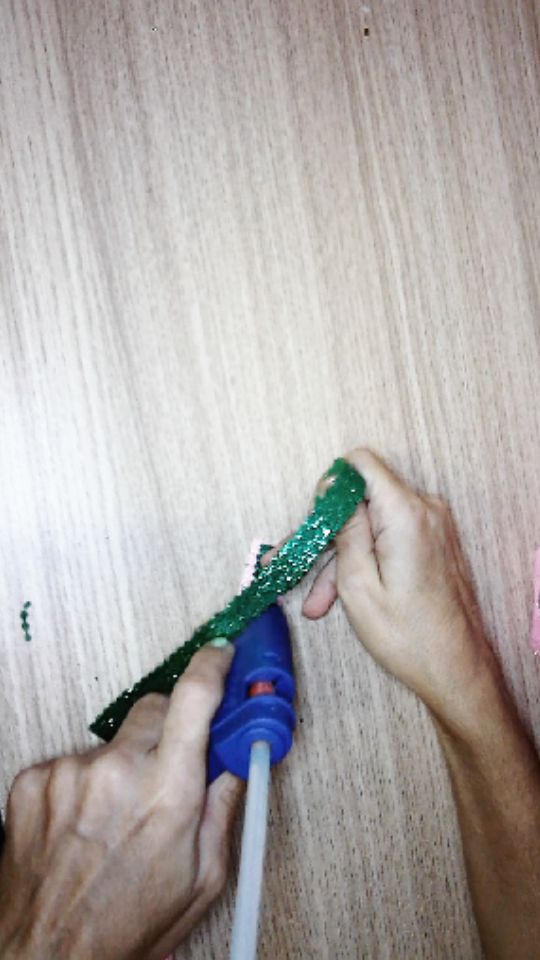
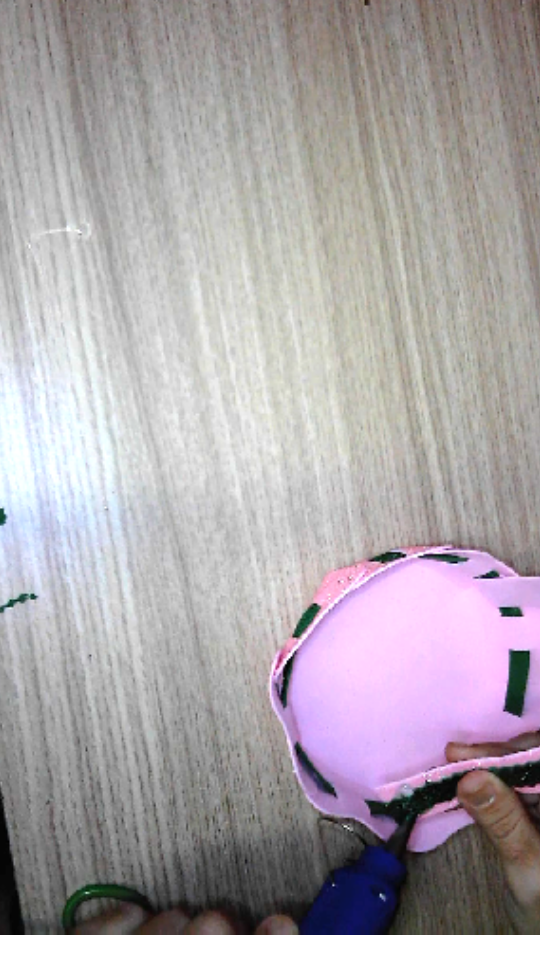
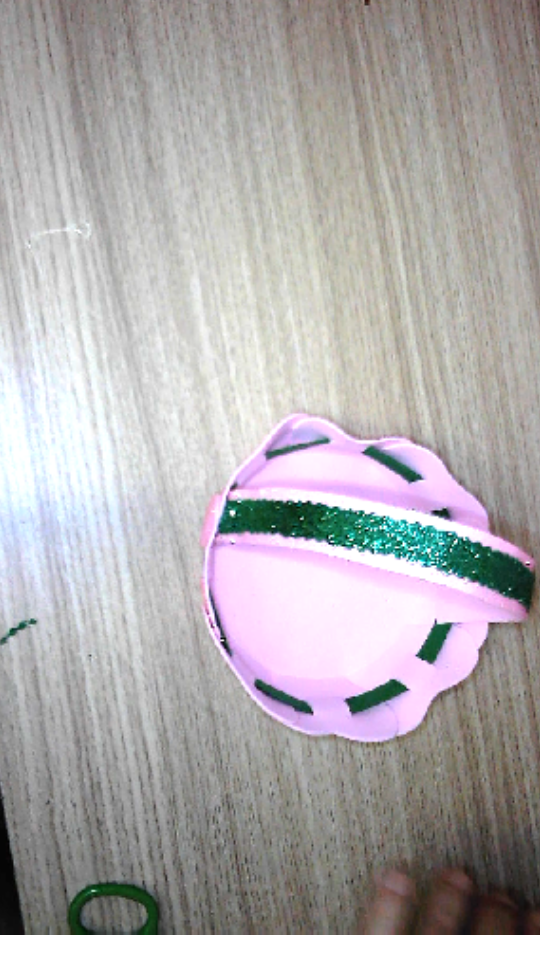
Siguiendo el paso a paso de las imágenes, es el momento de hacer el asa de la cesta. Recorta una tira de foami del color que usaste para la cesta, aproximadamente 1,5 centímetros de ancho y largo 25 centímetros.
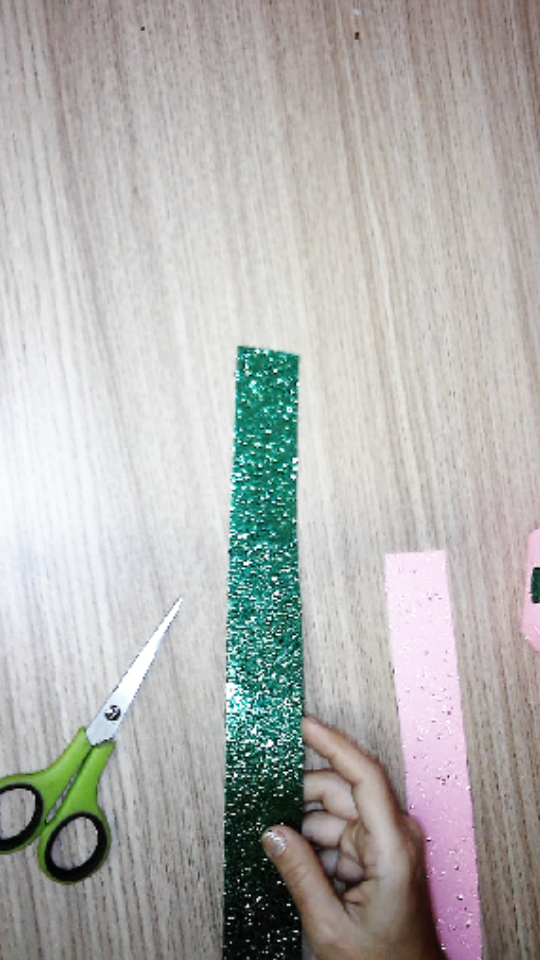
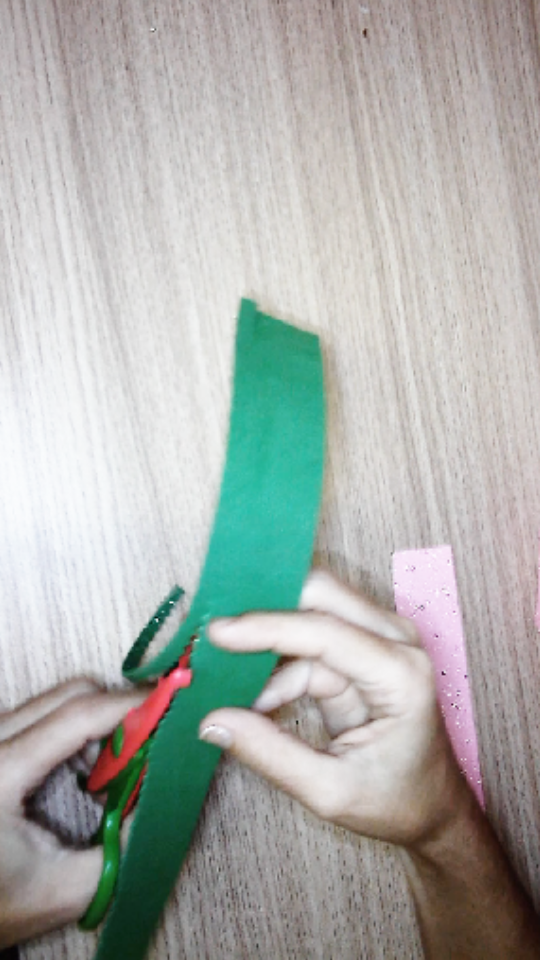
Ahora recorta una tira del mismo largo pero del otro color de foami que usaste de 1 centímetro aproximadamente, a esta tira le volverás a cortar pero con la tijera de formas, para darle el aspecto ondulado.
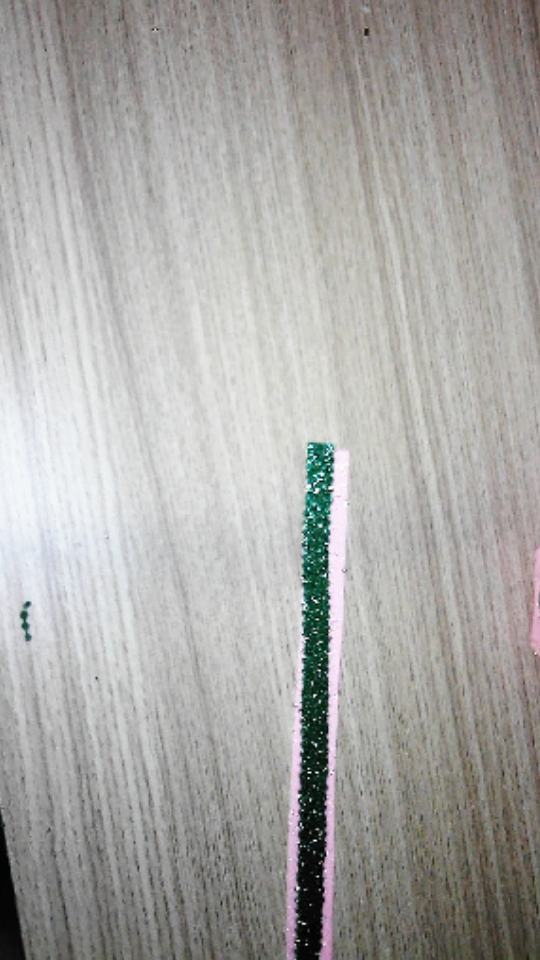
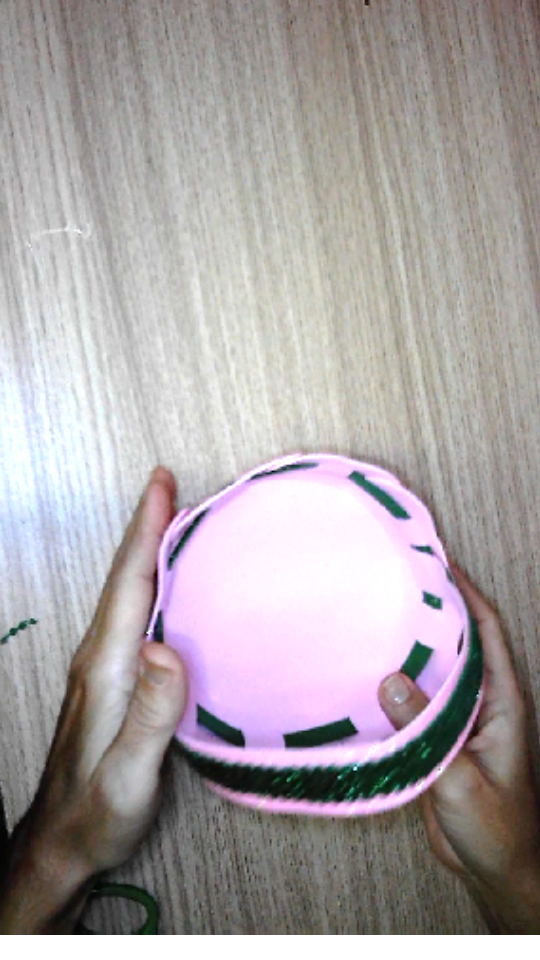
Procede a pegar una tira con la otra, como muestra las imágenes.
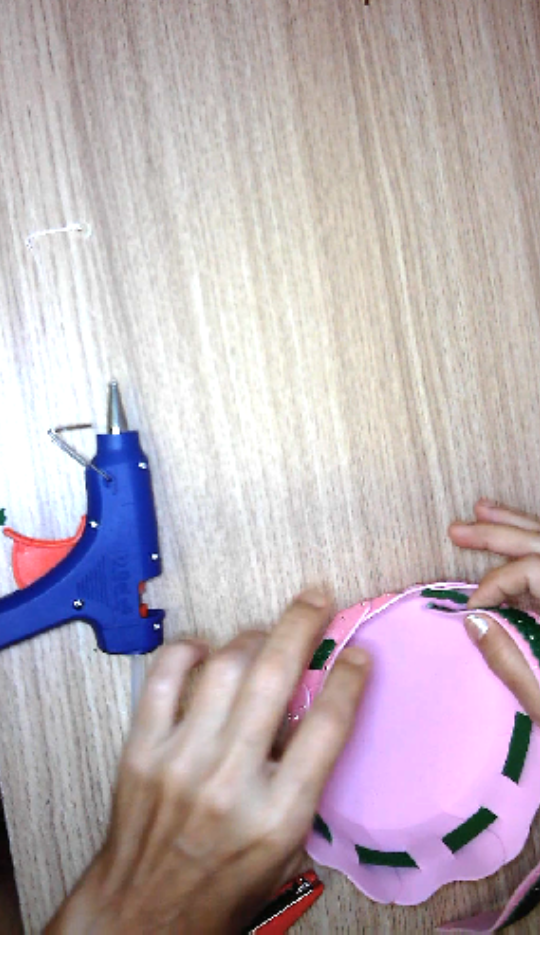
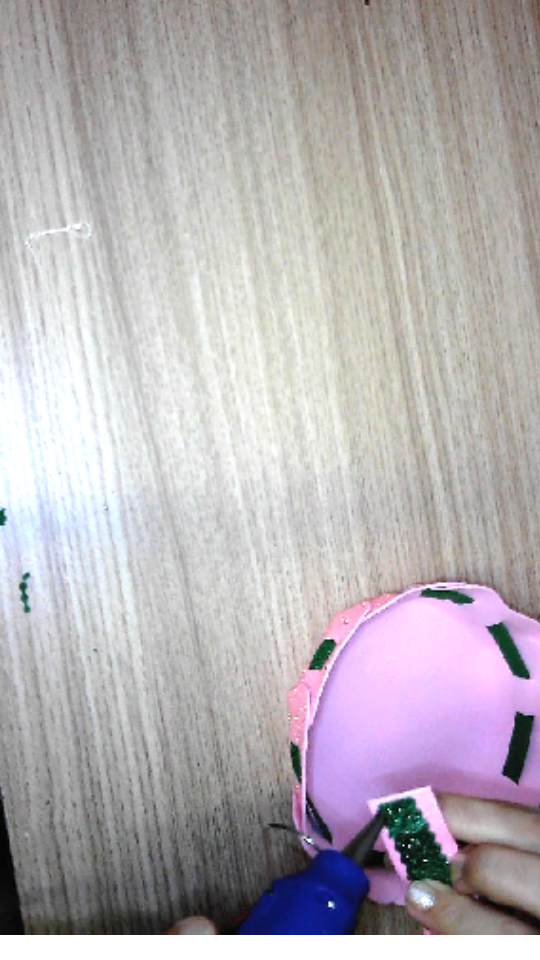
Pega las tiras a la cesta formando el asa.
! [Scroll down to read the English version]
[Eng]
Following the step by step pictures, it's time to make the handle of the basket. Cut a strip of foami in the color you used for the basket, approximately 1.5 centimeters wide and 25 centimeters long.
Now cut a strip of the same length but in the other color of foami you used, about 1 centimeter long. You will cut this strip again with the shape scissors to give it a wavy look.
Then glue one strip to the other, as shown in the pictures.
Glue the strips to the basket forming the handle.

💜💜💜💜💜❤️💜💜💜💜💜
Step 6️⃣/ paso 6️⃣
 |  |  |  |
 |  |  |  |
[Esp]
Es el momento de hacer las flores.
Ideé una forma muy fácil de hacerlas, para aquellos que somos principiantes y no nos salen bien las flores.
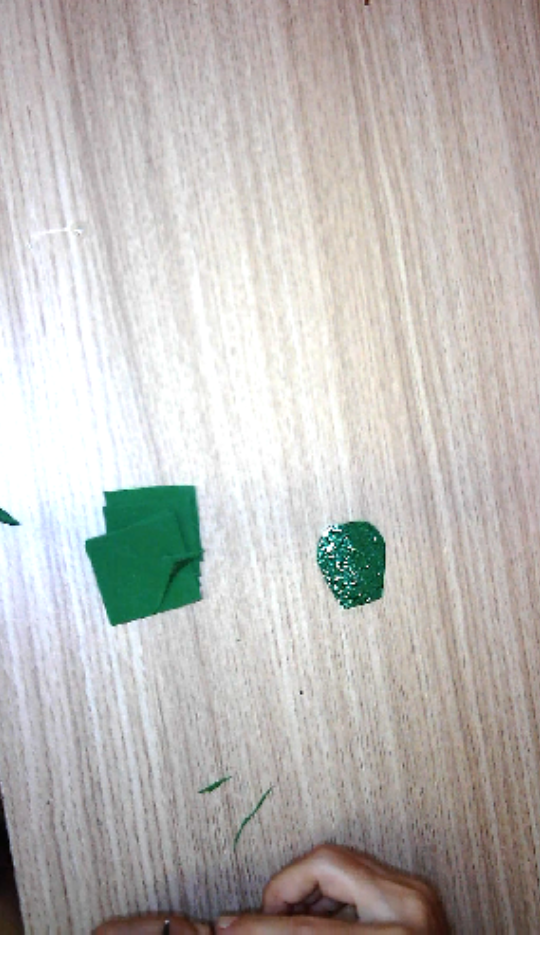
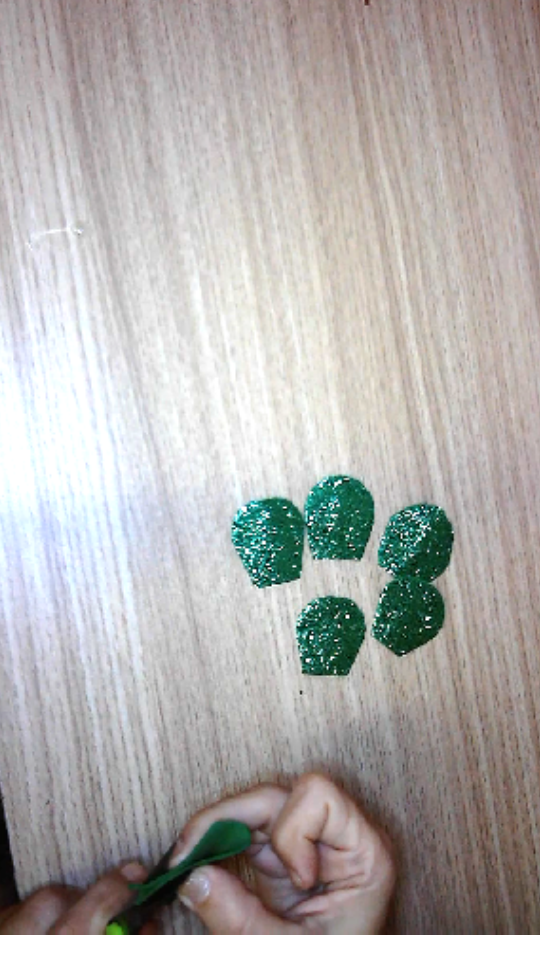
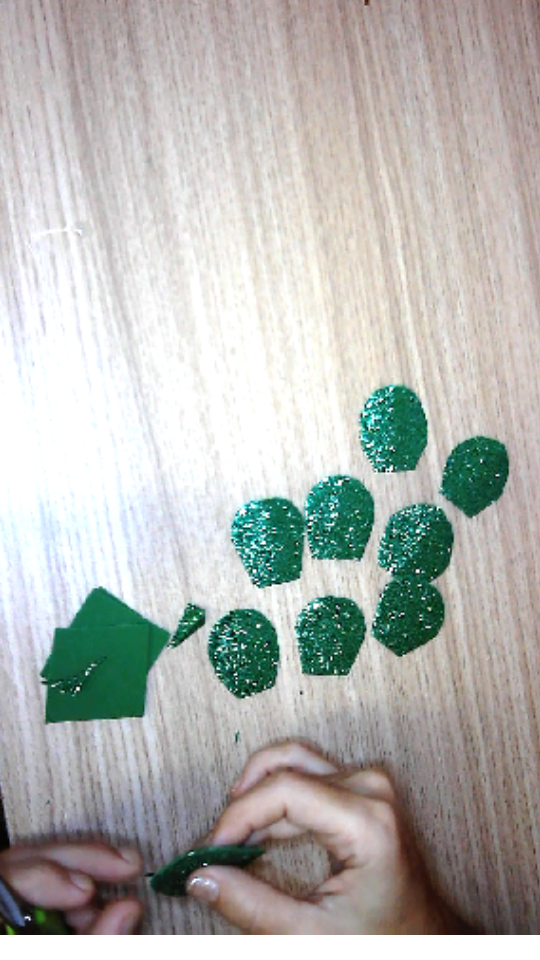
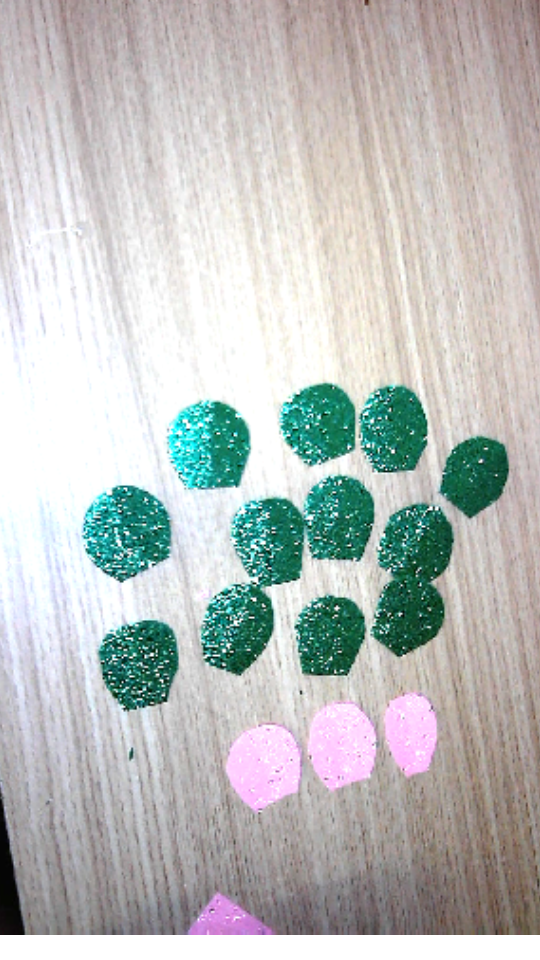
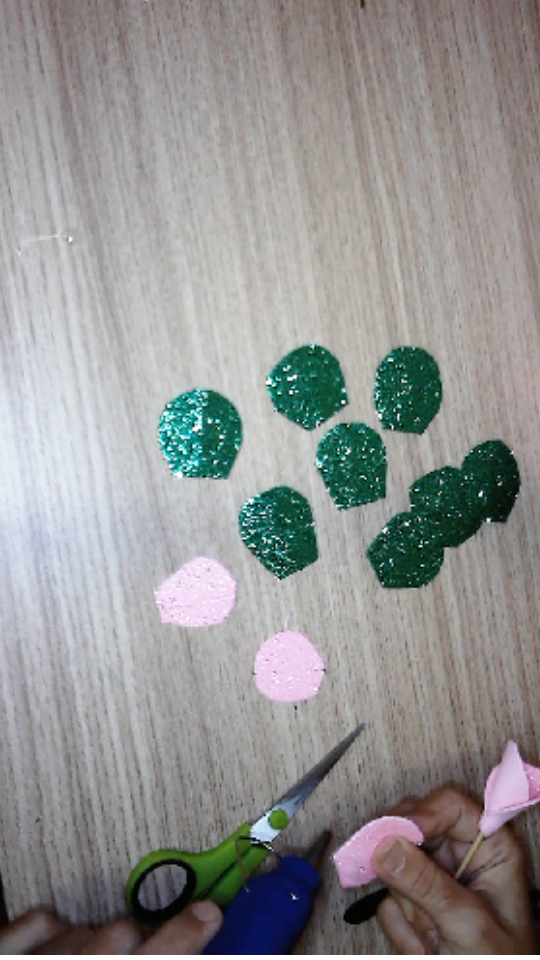
Recorta primero la forma de los pétalos de cada flor, para ello usarás pétalos de dos colores.
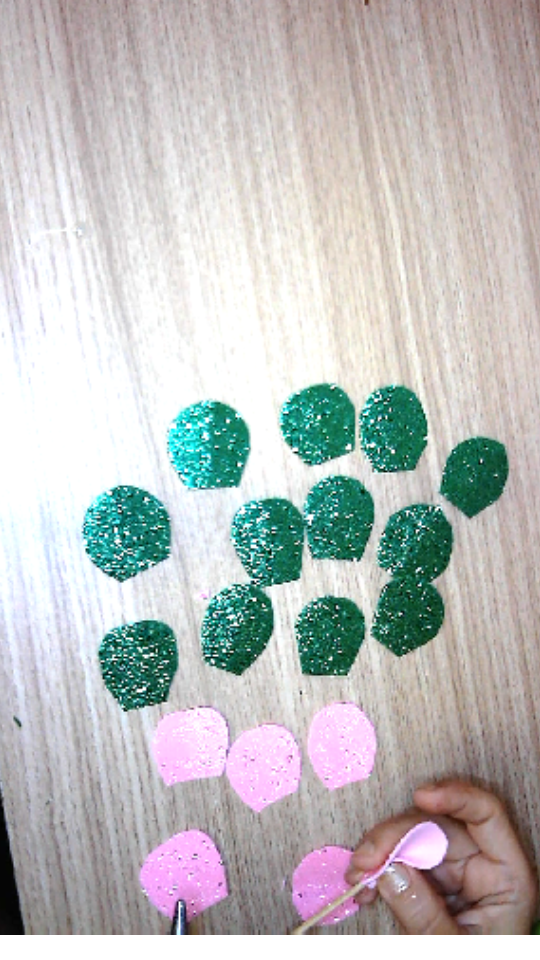
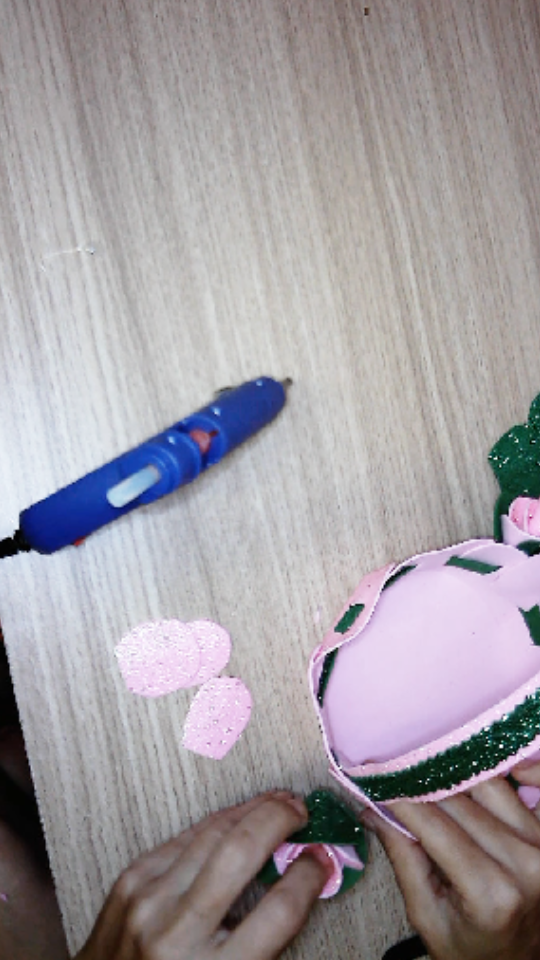
Usa el palito de altura para pegar el primer pétalo sobre él y vas girando mientras pega sel resto,e s una forma fácil y cómoda de elaborar las flores. Luego que decidas cuántos pétalos tendrá cada flor, pegas tres del color verde, de esta manera tendrás las hojitas. Luego que termines la flor, cortas el palito de altura de forma que no se note.
Repite los pasos anteriores al menos tres veces más.
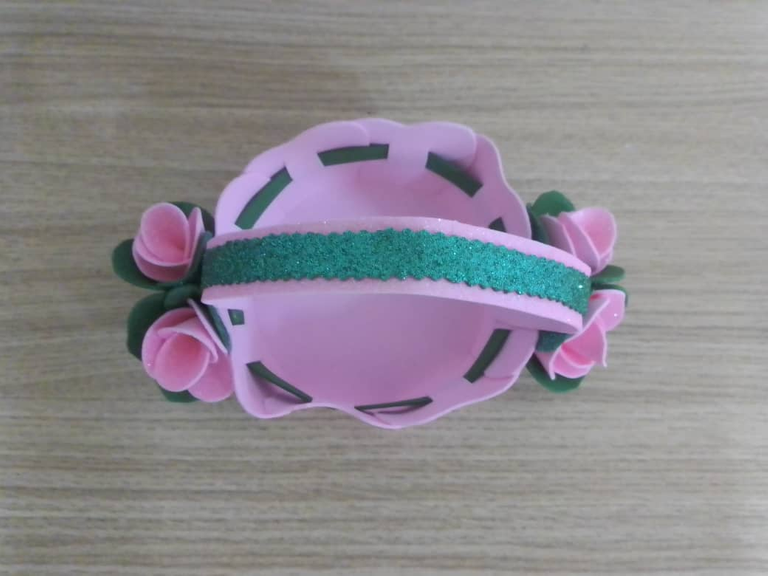
Cuando finalices con todas las flores, es el momento de pegarlas al acesta.
Con ello hemos concluido.
Espero te guste mi proyecto, así como espero que la maestra de mi hijo quede encantada no solo con la cesta sino con los dulces que llevaré dentro de ella.
Un abrazo para todos.
! [Scroll down to read the English version]
[Eng]
It's time to make the flowers.
I devised a very easy way to make them, for those of us who are beginners and do not do well with flowers.
First cut out the shape of the petals of each flower, you will use petals of two colors.
Use the height stick to glue the first petal on it and turn it while gluing the rest, it is an easy and comfortable way to make the flowers. After you decide how many petals each flower will have, glue three of the green color, this way you will have the leaves. After you finish the flower, cut the height of the stick so that it is not noticeable.
Repeat the previous steps at least three more times.
When you are done with all the flowers, it is time to glue them to the basket.
That's it.
I hope you like my project, just as I hope my son's teacher will be delighted not only with the basket but also with the candies that I will carry inside it.
Best regards to all of you.

💜💜💜💜💜❤️💜💜💜💜💜
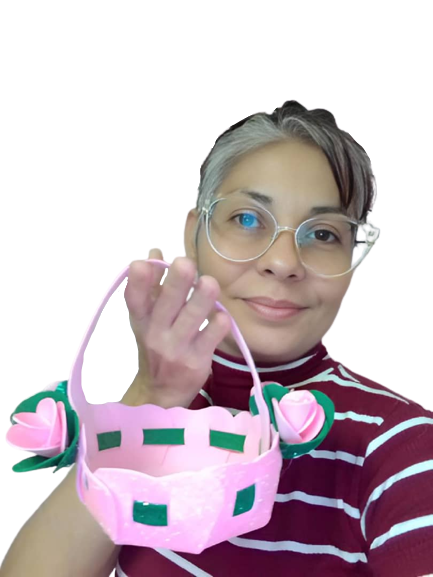
Presentation of the finished project
/ Presentación del proyecto terminado
💜💜💜💜💜❤️💜💜💜💜💜

Credits / Créditos.

💜💜💜💜💜❤️💜💜💜💜💜
💜💜💜

All copyrights reserved / Reservados todos mis derechos

💜💜💜

Vote la-colmena for witness
By @ylich


Hacks, DIY, Crafts, handmade arts Community


Que bonita quedo la cesta y estoy segura que a la maestra le encantara tanto la cesta como los dulces jeje se ve super facil de hacer, me faltan los materiales que cuando pueda vere si los puedo comprar jeje es una linda opcion para regalarle a alguien ya que como siempre digo, lo hecho a mano tiene algo que lo hace mucho mas especial.
Hola buhito, hoy compro los dulces para tenerla lista <3 se que le gustará. Muchas veces hago manualidades de retacitos que me quedan de otras y así voy economizando.
Ha quedado preciosa, además estás canastas siempre son útiles 👍
HOla Dafne, luego que se coma los dulces puede usarla para guardar cositas escolares, como sacapuntas, borradores, tizas, cosas asi, para que lo tenga en su escritorio. Ella tiene su escritorio con muchas cositas que le traen los niños.
Congratulations, your post has been upvoted by @dsc-r2cornell, which is the curating account for @R2cornell's Discord Community.
La maestra de seguro va a estar encantada por el obsequio. Lo que se hace con tanto cariño, tiene una presencia especial, que no se puede conseguir de algo manufacturado.
Es agradable ver como usted le va dando forma paso a paso con sus manos a los materiales, para crear la forma, hasta el final de la cesta.
Hola querido Sol. Estoy segura le gustará porque los niños siempre le llevan manualidades de foami y ella las conserva sobre su escritorio, casi ni espacio tiene, jajajaja!
Hola @equipodelta, que cesta tan cuchi y delicada, la maestra estará muy feliz con el obsequio y seguro disfrutará los dulces.
Feliz y bendecido día!
Gracias Belkys, espero le agrade, para la colección de manualidades que tiene sobre su escritorio.
Congratulations @equipodelta! You have completed the following achievement on the Hive blockchain And have been rewarded with New badge(s)
Your next target is to reach 38000 upvotes.
You can view your badges on your board and compare yourself to others in the Ranking
If you no longer want to receive notifications, reply to this comment with the word
STOPCheck out our last posts:
Hermosa y con colores delicado amiga
Hola Jorgelis, son retacitos que me van quedando y les doy uso.
¡Que hermosa! Me encanta la manera tan ordenada en la que está hecho el tutorial.
Estoy segura de que la maestra de su hijo quedará encanta, excelente detalle, saludos y un abrazo.💜✨
Gracias amiga, tomar las fotos es una odisea con la camara, a vece sno me doy cuenta y se rueda de su pedestal.