Make your own (Washi) tapes for scrapbooking / Crea tu propias cintas (Washi) para scrapbook (Esp/Eng)

💜💜💜
[Esp]
¡Hola comunidad artesana! Hoy comparto contigo tres ideas para crear tus propias cintas para Scrapbook, tarjetería o manualidades, les llaman Washi tapes, se trata de una marca comercial, pero pueden conseguirse también con el nombre de cintas decorativas.
La particularidad de las cintas Washi es que tienen pegamento por la parte trasera, ideales para scrapbook, se están poniendo muy de moda y las están empleando en muchas cosas para manualidades y tarjetería, son costosas por ahora en mi localidad y no hay mucha variedad como la que podemos ver en los vídeos de Scrapbook o scrachtbook, bricolage, que como bien saben, es mi más reciente pasión de la que puedo pasar horas creando escenarios y decoraciones.
Necesito variedad de estas cintas, por lo que he aprendido a recrear algunas, ahora te muestro cómo, sin embargo, no tendrán el pegamento por su parte trasera, tendrás que emplearla tú durante el uso, pero sigue siendo rentable, útil y quedan bonitas personalizadas. Acompáñeme que te muestro tres ideas geniales.
! [English version]
[Eng]
Hello crafting community! Today I share with you three ideas to create your own ribbons for scrapbooking, card making or crafts, they are called Washi tapes, this is a commercial brand, but you can also get them under the name of decorative ribbons.
The particularity of the Washi tapes is that they have glue on the back, ideal for scrapbooking, they are becoming very fashionable and are being used in many things for crafts and card making, they are expensive for now in my area and there is not much variety as we can see in the Scrapbook or scrachtbook videos, DIY, which as you know, is my latest passion that I can spend hours creating scenarios and decorations.
I need variety of these ribbons, so I have learned to recreate some, now I show you how, however, will not have the glue on the back, you will have to employ it yourself during use, but is still profitable, useful and look nice personalized. Join me as I show you three great ideas.
💜💜💜


💜💜💜
Materiales / Materials
[Esp]
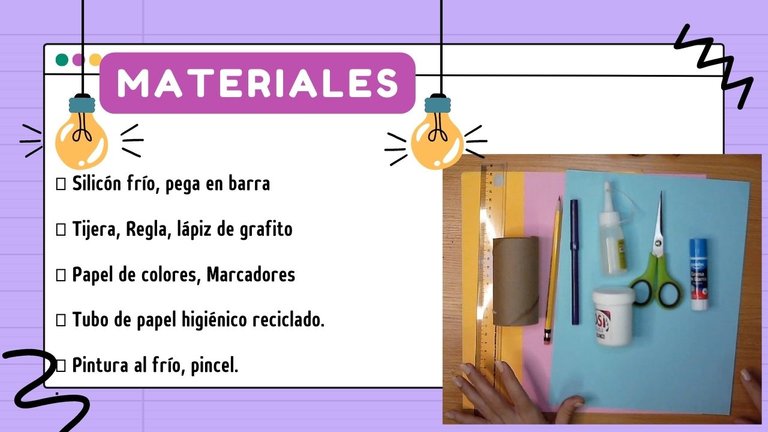
💜 Silicón frío, pega en barra
💜 Tijera, Regla, lápiz de grafito
💜 Papel de colores, Marcadores
💜 Tubo de papel higiénico reciclado.
💜 Pintura al frío, pincel.
! [English version]
[Eng]
💜 Cold silicone, glue stick.
💜 Scissors, Ruler, graphite pencil.
💜 Colored paper, markers
💜 Recycled toilet paper tube.
💜 Cold paint, paintbrush.

Step by Step / Paso a Paso

Step 1️⃣/ Paso 1️⃣
 |  |
 |  |
[Esp]
Modelo N°1
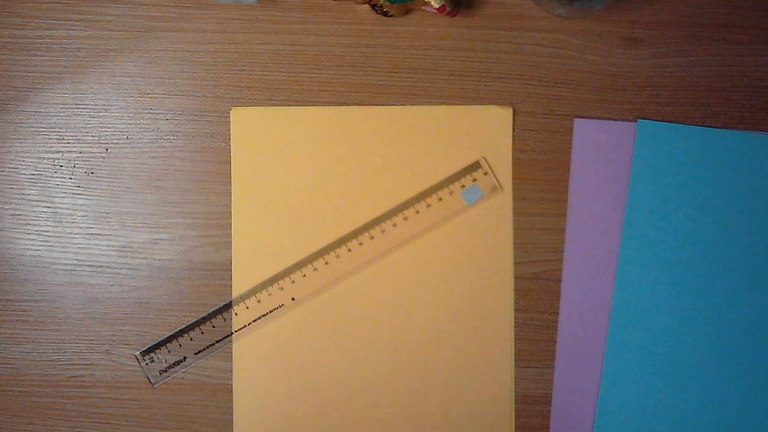
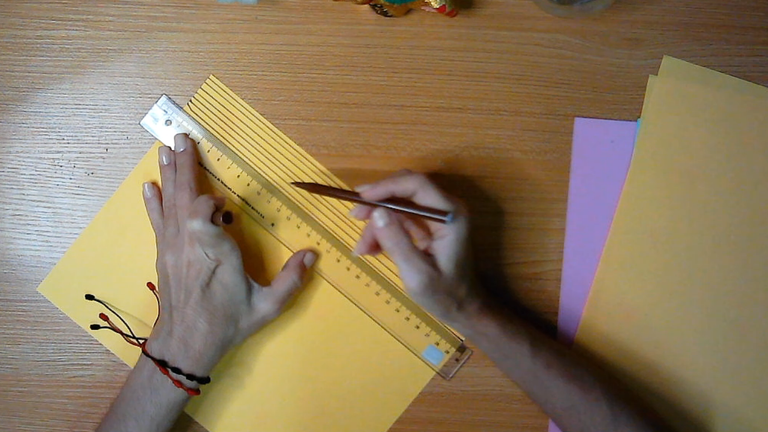
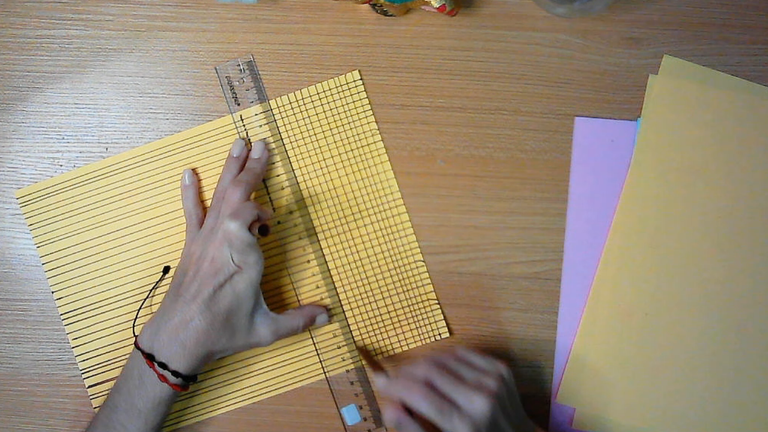
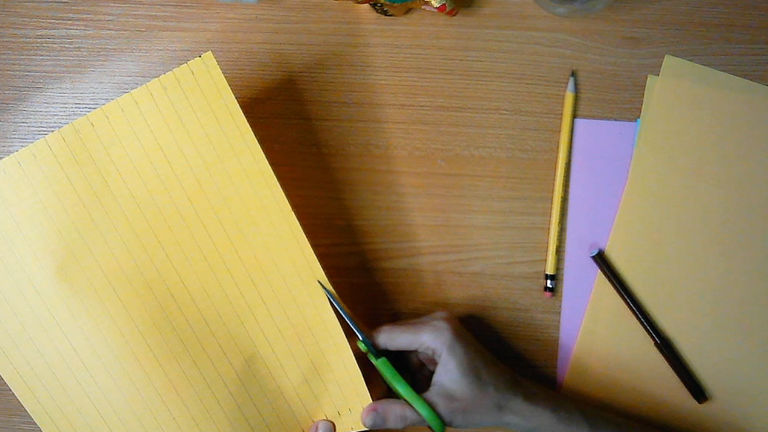
Para recrear el modelo que muestro de color amarillo, puedes seguir estos pasos. Con un marcador y una regla, traza líneas verticales y horizontales a lo largo de la hoja tamaño carta, no es necesaria la precisión, mientras más desordenado mejor, si puedes hacerlo a mano alzada quedaría más bonito, yo usé la regla porque mi pulso hoy no quería colaborar.
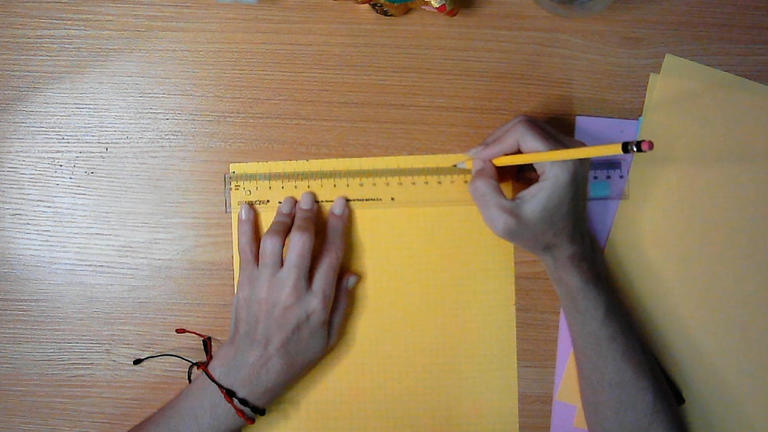
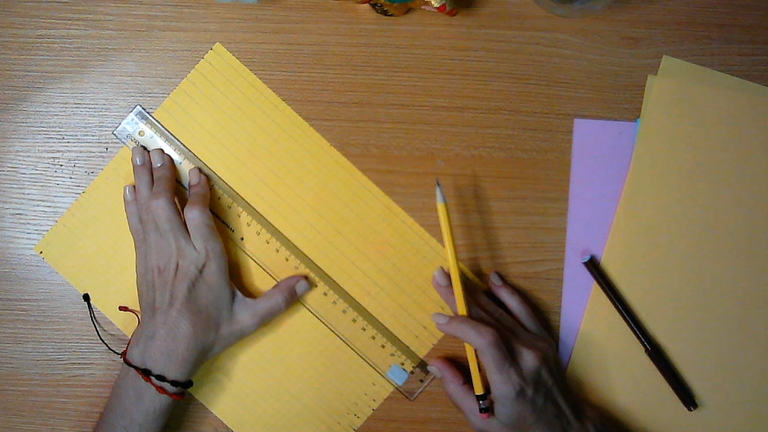
Cuando termines el trazado de las líneas, marca por la parte de atrás, líneas a lo largo de la hoja cada una con 1 Centímetro de ancho.
! [English version]
[Eng]
Model N°1
To recreate the model I show in yellow, you can follow these steps. With a marker and a ruler, draw vertical and horizontal lines along the letter size sheet, precision is not necessary, the messier the better, if you can do it freehand it would look nicer, I used the ruler because my pulse did not want to collaborate today.
When you finish tracing the lines, mark on the back side, lines along the sheet each 1 centimeter wide.
Step 2️⃣/ paso 2️⃣
 |  |  |  |
 |  |  |  |
[Esp]
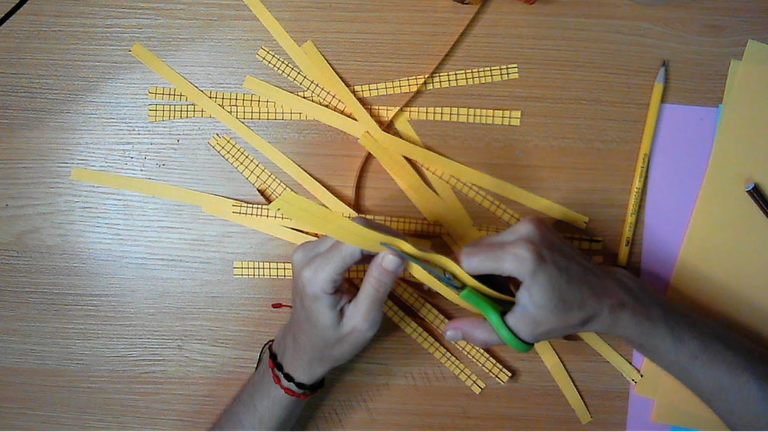
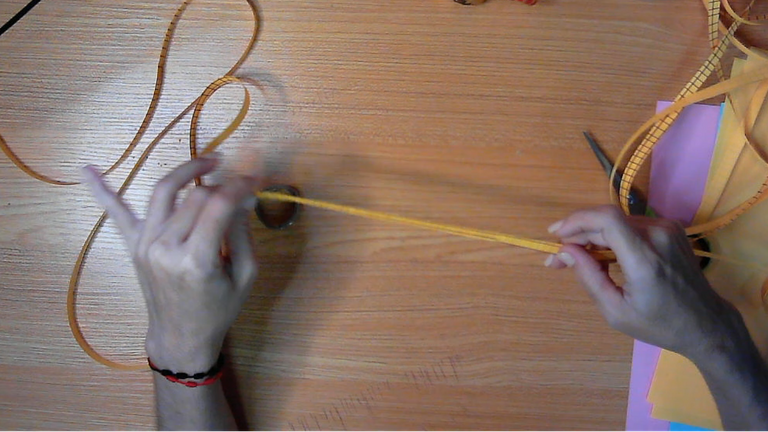
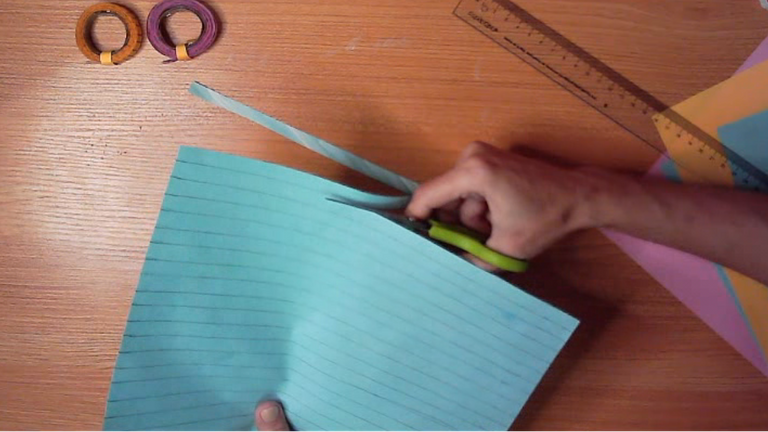
Después de haber marcado las líneas, procede a recortar guiándote de cada una de ellas.
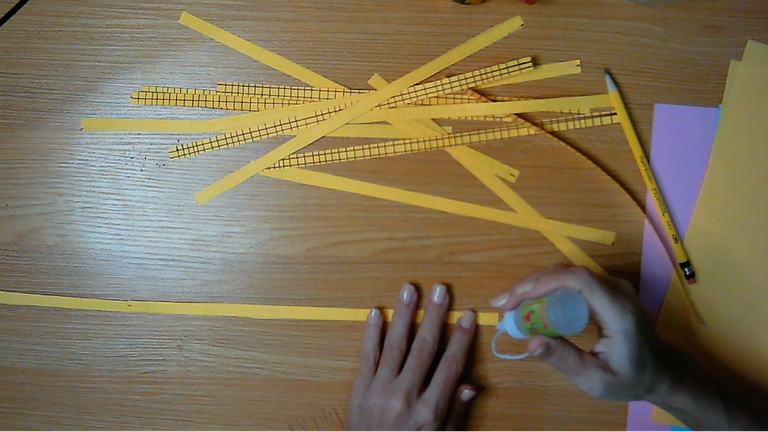
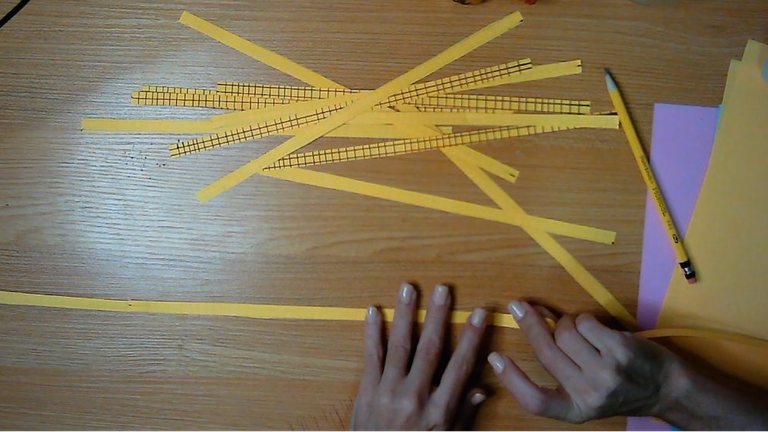
Ahora procede a unirlas con pegamento puede ser silicón o pega en barra.
Una cinta Washi o cinta decorativa, puede venir en rollos de 2 para las cintas de color metalizado y 4 metros par alas cintas decoradas de papel. Con una sola hoja tamaño carta, al unirlas piezas recortadas pude medir 3,5 metros. ¿Bastante, no? increíble de una sola hoja tamaño carta.
Continuando, para mejorar la presentación, si usas este material para vídeos, sería bonito que lo presentaras en rollos. Te enseño cómo hacerlos.
Haciendo el rollo:
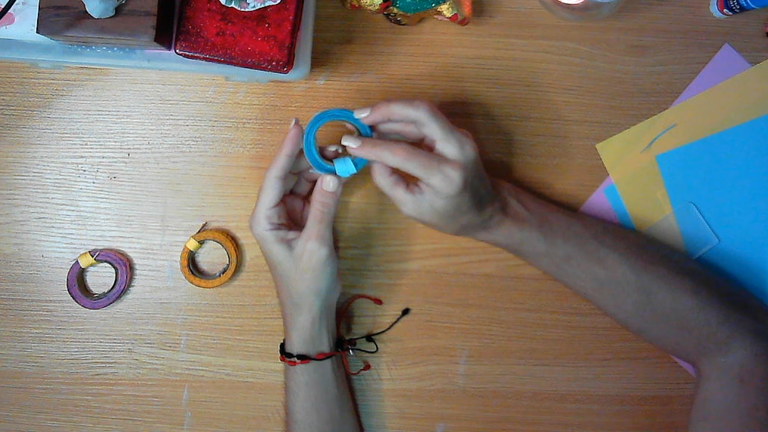
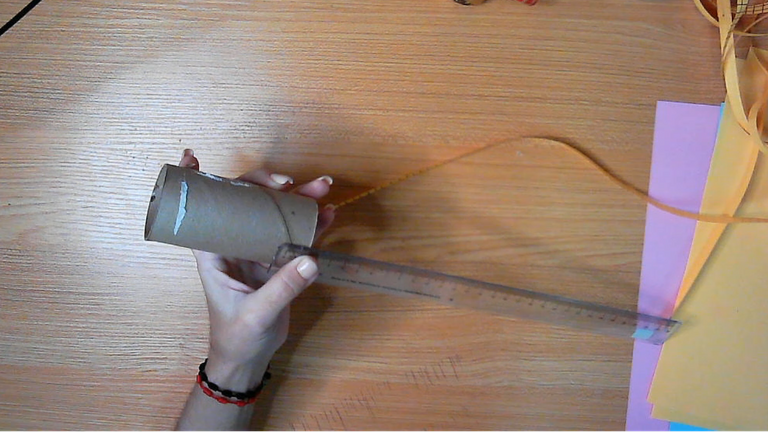
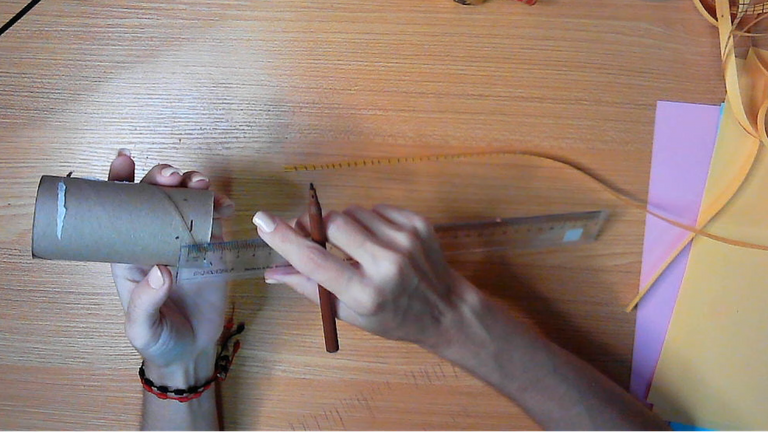
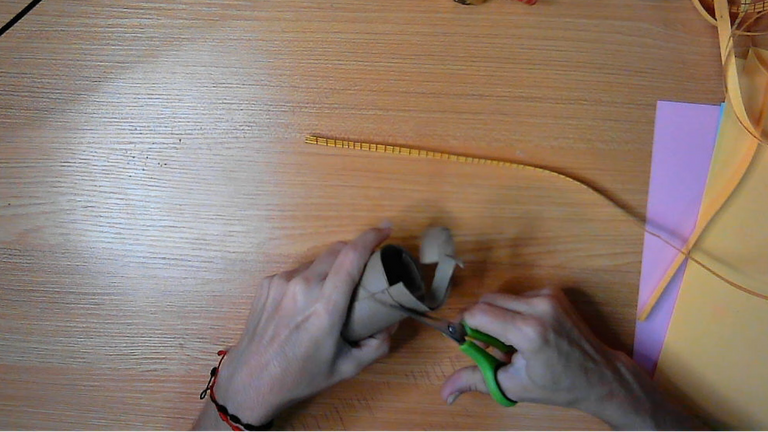
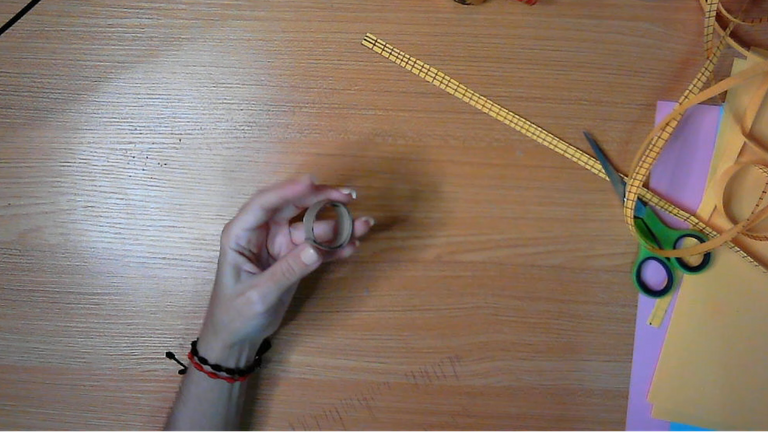
Toma el rollo de papel higiénico reciclado, mide 1 centímetro de ancho, marca y recorta. El rollo de papel higiénico es muy ancho, por lo que es bueno recortes y hagas un rollo más pequeño, usa pegamento para unirlo.
Luego de ello, revisa la cinta completamente, luego de pegada, que todas las uniones estén prolijas.
! [English version]
[Eng]
After marking the lines, proceed to cut them out following each one of them.
Now proceed to glue them together with glue, either silicone or glue stick.
A washi tape or decorative ribbon can come in rolls of 2 for the metallic colored ribbons and 4 meters for the decorated paper ribbons. With a single letter-size sheet, by joining the cut pieces together, I could measure 3.5 meters. Quite a lot, isn't it, incredible from a single letter-size sheet.
Moving on, to improve the presentation, if you use this material for videos, it would be nice to present it in rolls. I show you how to make them.
Making the roll:
Take the recycled toilet paper roll, measure 1 centimeter wide, mark and cut out. The toilet paper roll is very wide, so it is good to cut and make a smaller roll, use glue to join it.
After that, check the tape completely, after gluing, that all the joints are neat.
Step 3️⃣/ paso 3️⃣
 |  |
 |  |
[Esp]
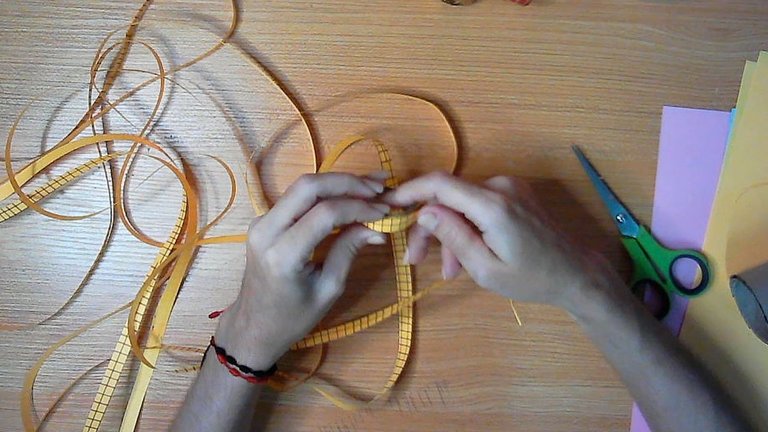
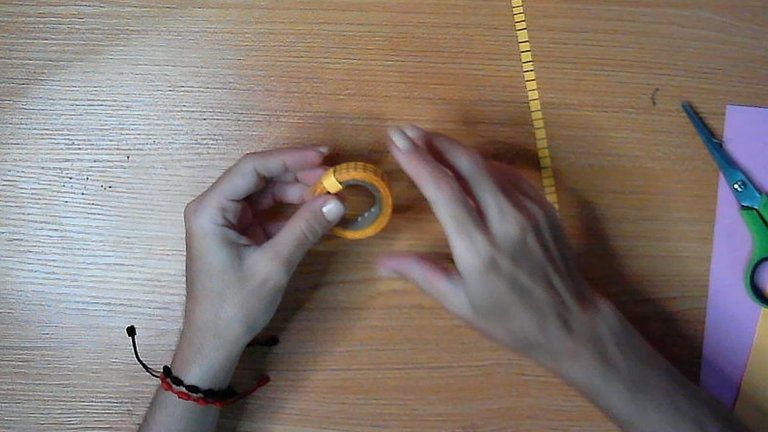
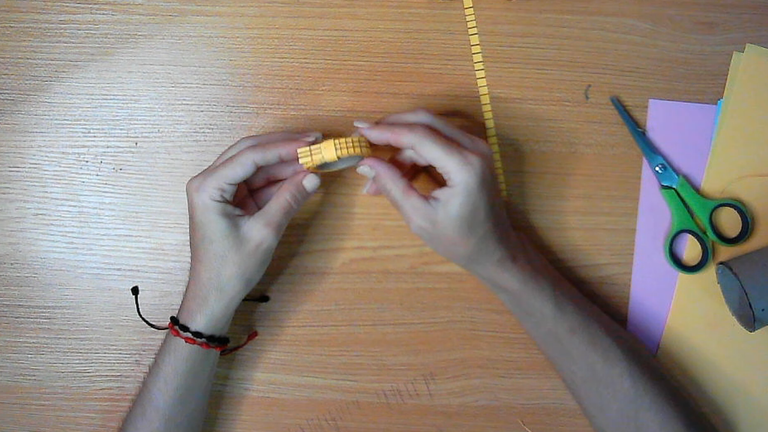
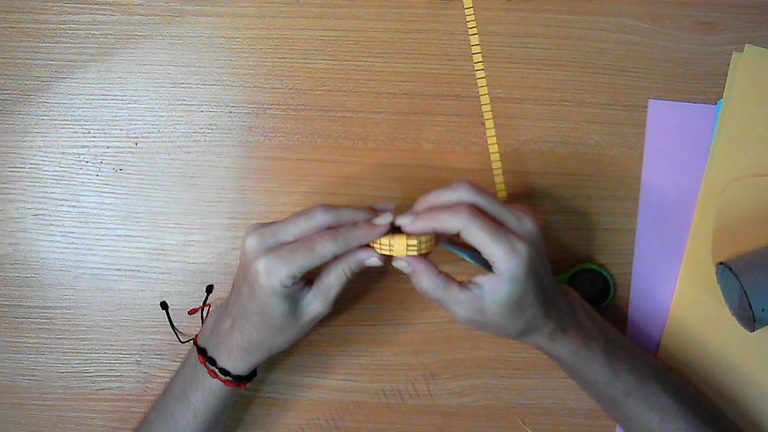
Finalmente pega una punta y comienza a embobinar, hasta que culmines con toda la cinta recortada, si gustas usa alguna cinta provisional para mantenerla ordenada y sujeta del rollo mientras no la uses.
! [English version]
[Eng]
Finally glue a tip and start winding, until you finish with all the tape cut out, if you like use some temporary tape to keep it tidy and hold it on the roll while you are not using it.

Step 4️⃣/ paso 4️⃣
 |  |
 |  |
[Esp]
Finalmente pega una punta y comienza a embobinar, hasta que culmines con toda la cinta recortada, si gustas usa alguna cinta provisional para mantenerla ordenada y sujeta del rollo mientras no la uses.
! [English version]
[Eng]
Finally glue a tip and start winding, until you finish with all the tape cut out, if you like use some temporary tape to keep it tidy and hold it on the roll while you are not using it.
Step 5️⃣/ paso 5️⃣
 |  |  |
 |  |  |
[Esp]
Modelo N°2
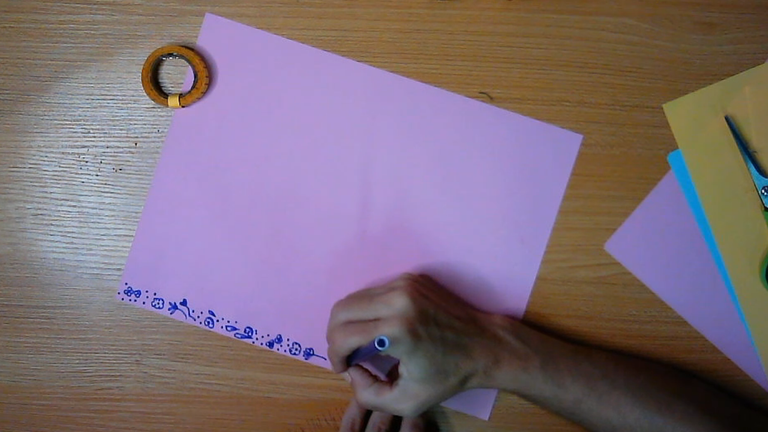
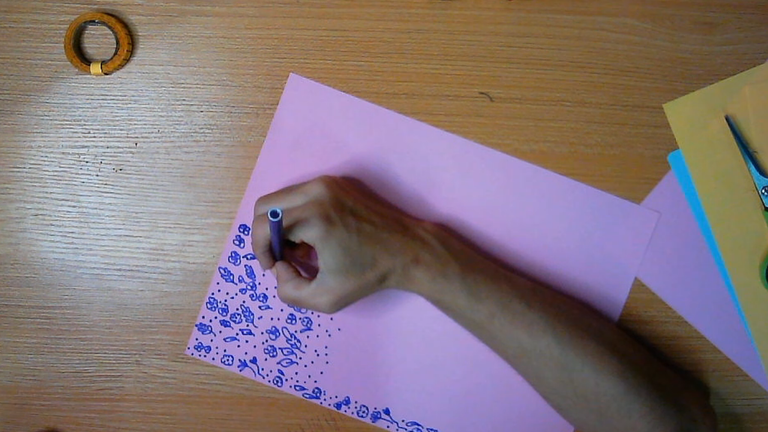
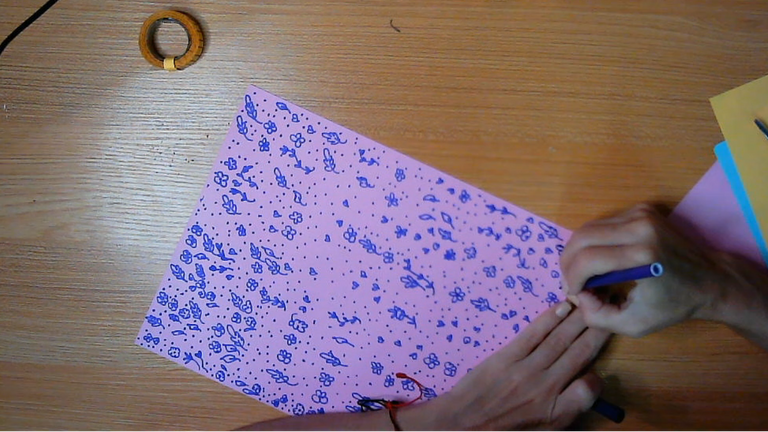
En esta ocasión usé una hoja de papel tamaño carta de color rosado, con un marcador morado.
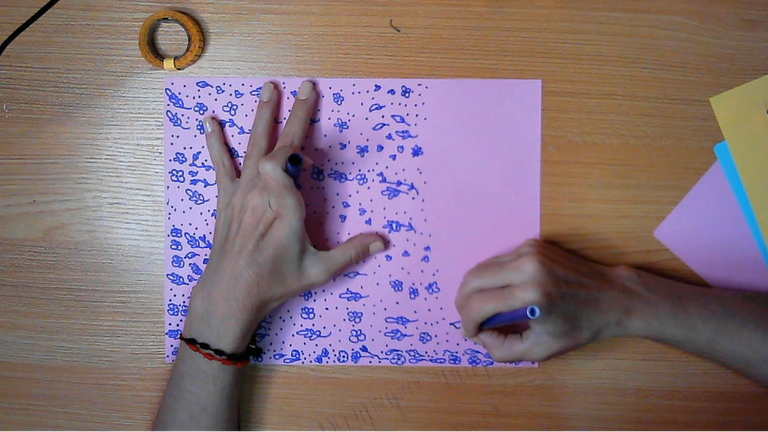
Procede a dar rienda suelta a tu imaginación y creatividad, dibuja cualquier motivo en la hoja, yo hice flores, follaje y puntos, pero tú puedes hacer loque quieras y usar los colores que quieras.
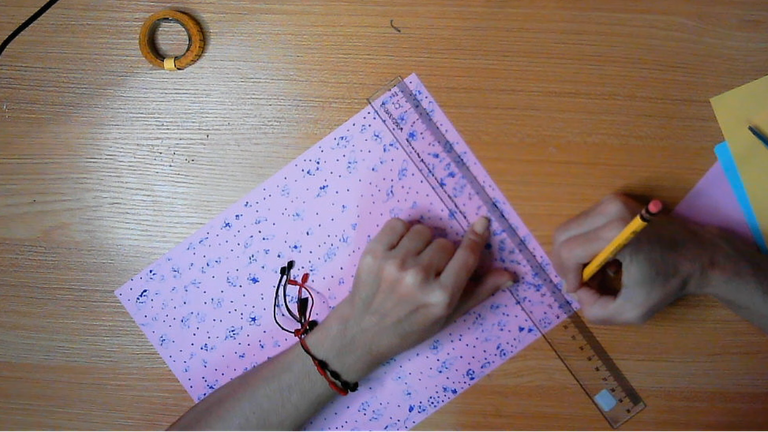
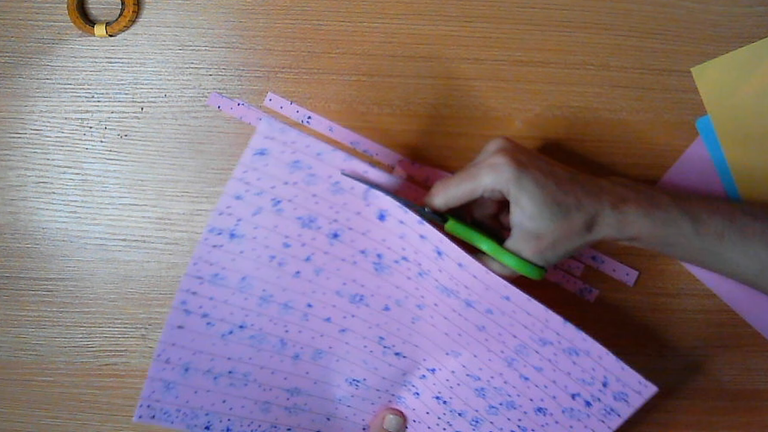
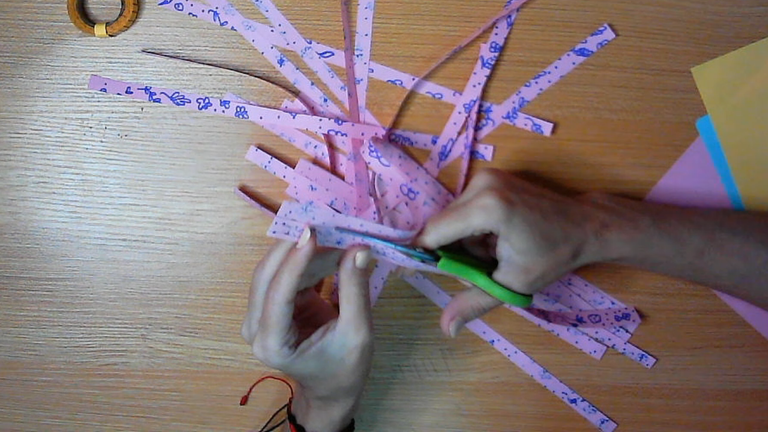
Repite los pasos anteriores del primero Modelo. Luego de culminar de llenar la hoja con los motivos. Marca por detrás de la hoja líneas de 1 centímetro a lo largo y luego recorta usándolas como guía.
! [English version]
[Eng]
Model N°2
This time I used a sheet of pink letter size paper with a purple marker.
Proceed to give free rein to your imagination and creativity, draw any motif on the sheet, I did flowers, foliage and dots, but you can do whatever you want and use whatever colors you want.
Repeat the previous steps of the first model. After you finish filling the sheet with the motifs. Mark on the back of the sheet lines of 1 centimeter long and then cut them out using them as a guide.
Step 6️⃣/ paso 6️⃣
 |  |  |
 |  |  |
[Esp]
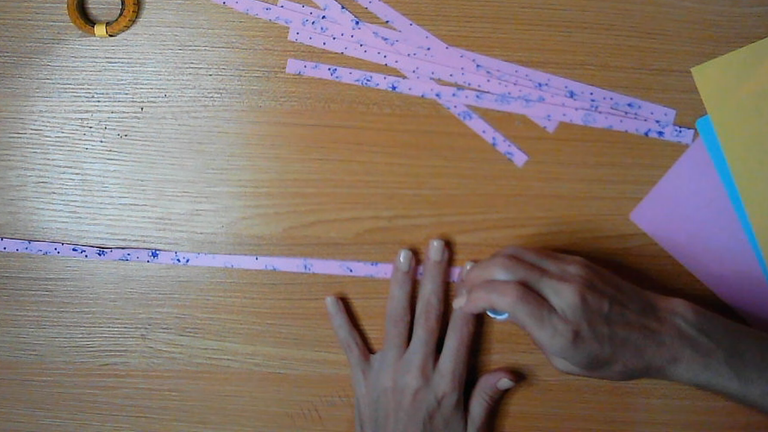
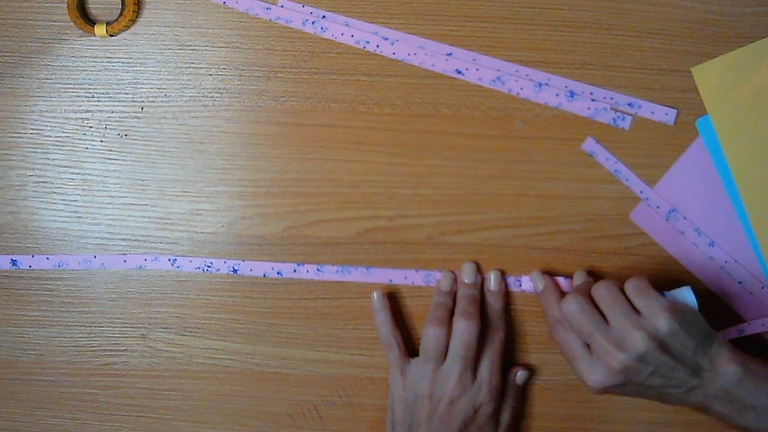
Repitiendo los pasos del modelo anterior, ahora corresponde a pegar o unir cada cinta pegada.
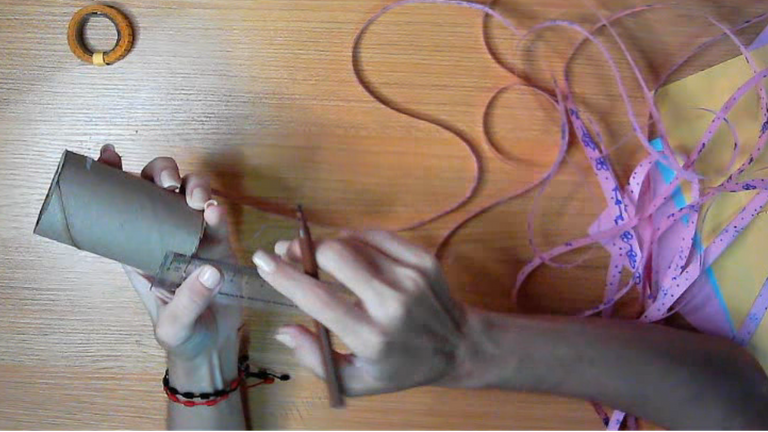
De la misma forma, medimos 1 centímetro en el rollo de papel higiénico reciclado, y procedemos a recortar y pegar haciéndolo más pequeño.
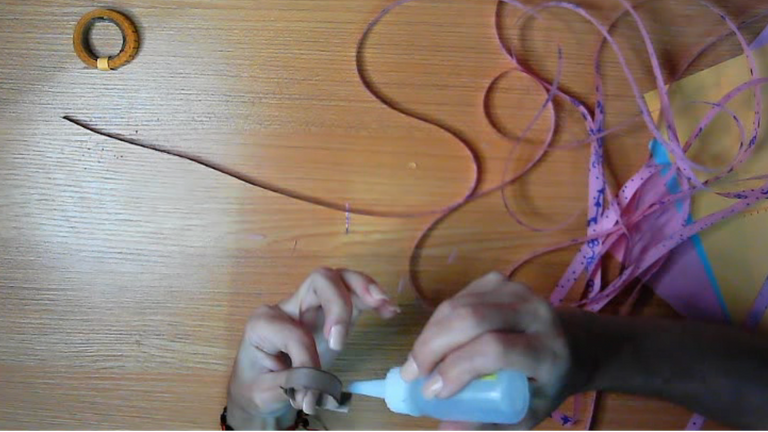
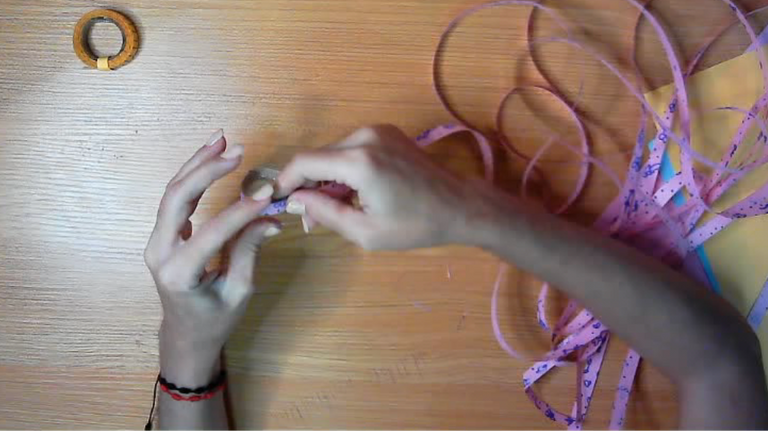
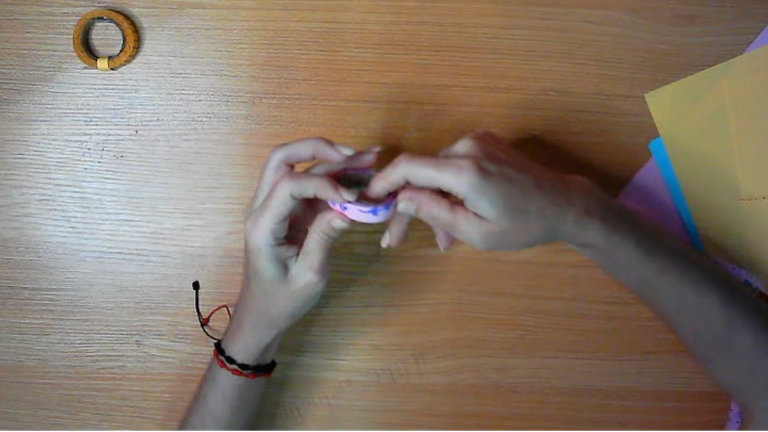
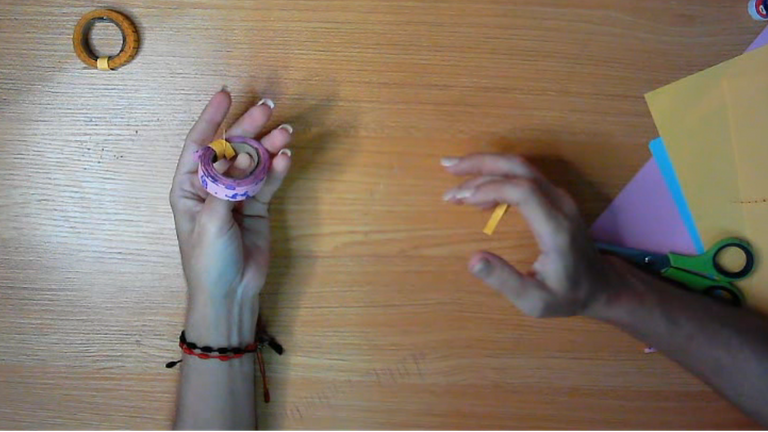
Es el momento de comenzar a enrollar o embobinar toda la cinta, y para que quede fijo, pega un pedazo en la punta con otro rollito de cinta como indica la imagen.
! [English version]
[Eng]
Repeating the steps of the previous model, now it is time to glue or join each glued ribbon.
In the same way, we measure 1 centimeter on the recycled toilet paper roll, and proceed to cut and glue making it smaller.
It's time to start winding or winding all the ribbon, and to fix it, glue a piece at the end with another roll of tape as shown in the image.
Step 7️⃣/ paso 7️⃣
 |  |  |
 |  |  |
[Esp]
Modelo N°3
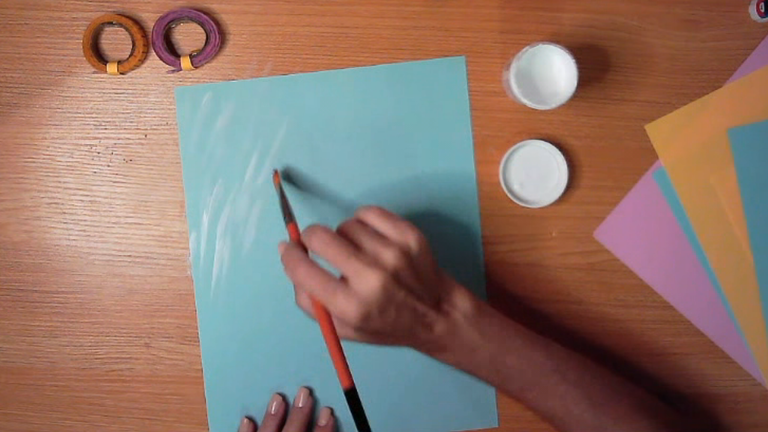
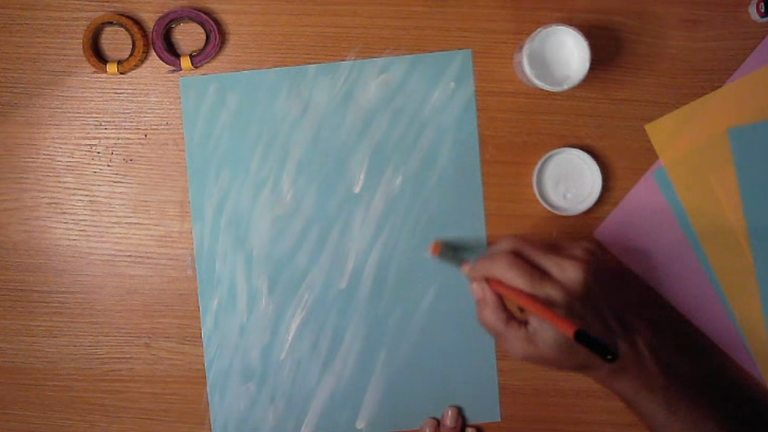
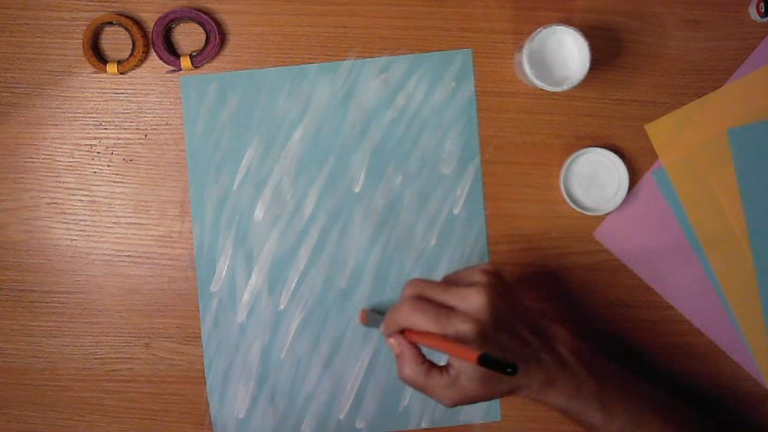
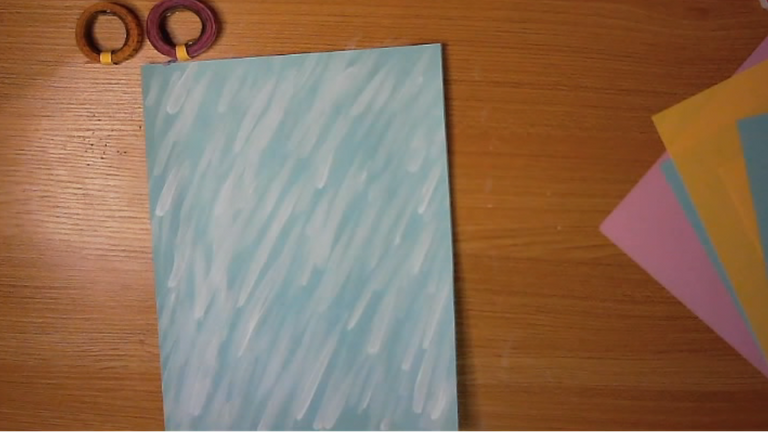
En esta ocasión usé una hoja de papel de color azul tamaño carta, pintura al frio color blanca y un pincel grande.
Puedes hacer los motivos que deseas, yo solo hice pinceladas en forma inclinada como una brisa. como es pintura al frío, de paso líquida, tendrás que esperar que seque completamente para poder seguir trabajando, procura entonces no hacer pinceladas muy gruesas o muy cargadas de pintura, ya que el papel puede perder su forma lisa con el contacto del agua.
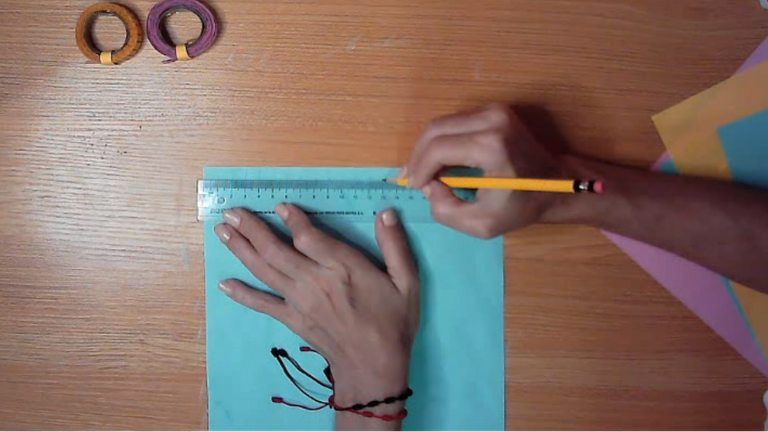
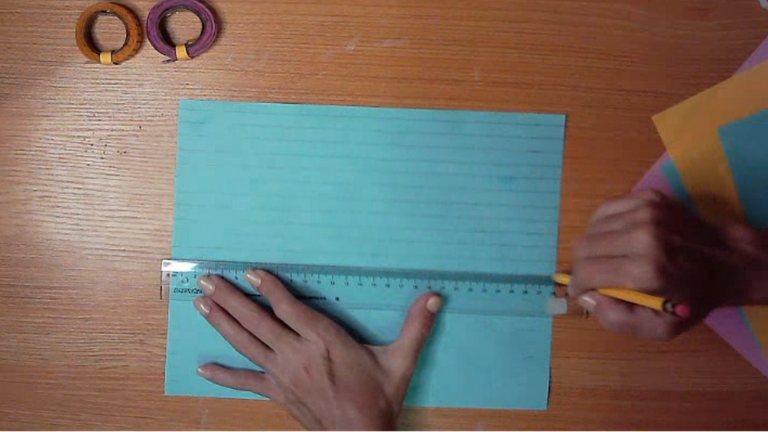
Luego de secar, puedes repetir los pasos de los anteriores modelos. Mide cada línea de 1 centímetro cada una, traza con la regla y el lápiz, luego recorta.
! [English version]
[Eng]
Model N°3
This time I used a sheet of blue letter size paper, white cold paint and a large paintbrush.
You can make the motives that you wish, I only made brushstrokes in an inclined form like a breeze. As it is cold paint, liquid, you will have to wait that it dries completely to be able to continue working, try then not to make very thick brushstrokes or very loaded with paint, since the paper can lose its smooth form with the contact of the water.
After drying, you can repeat the steps of the previous models. Measure each line of 1 centimeter each, trace with the ruler and pencil, then cut out.
Step 8️⃣/ paso 8️⃣
 |  |  |
 |  |  |

[Esp]
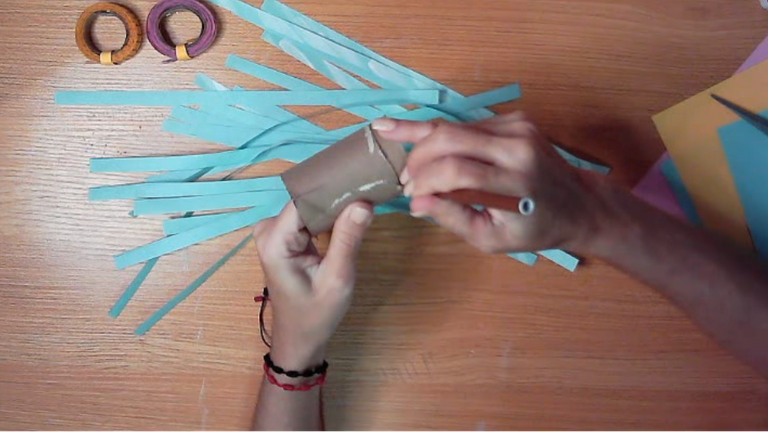
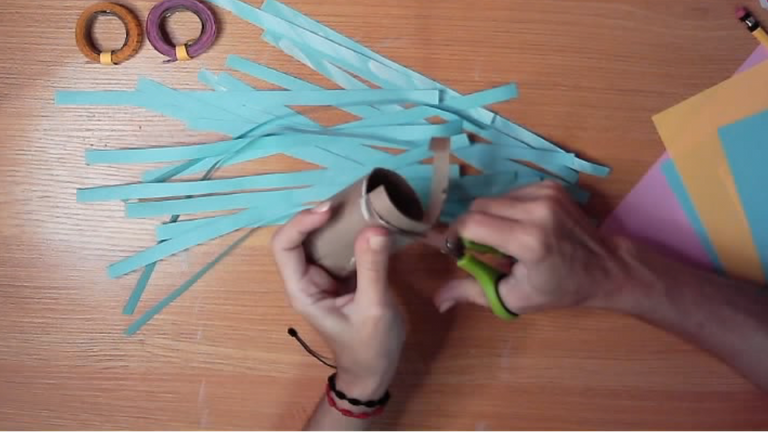
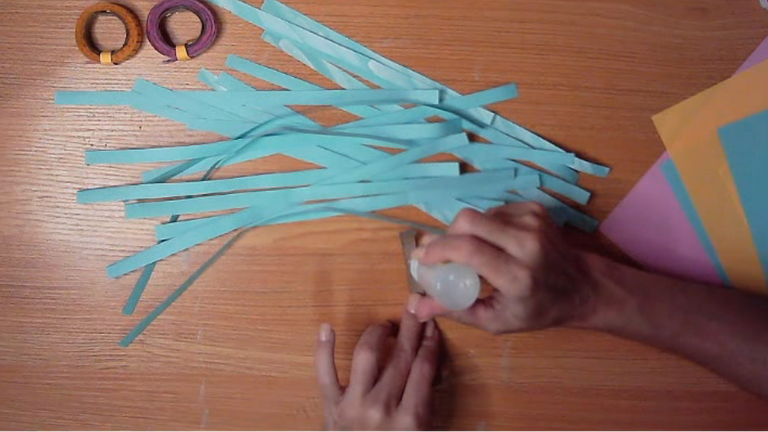
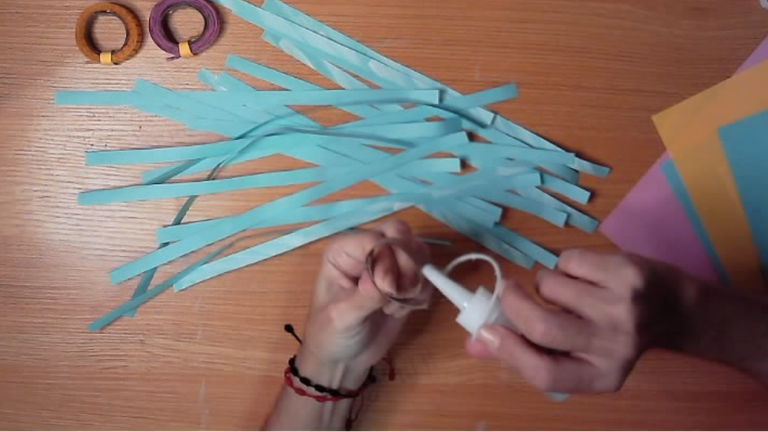
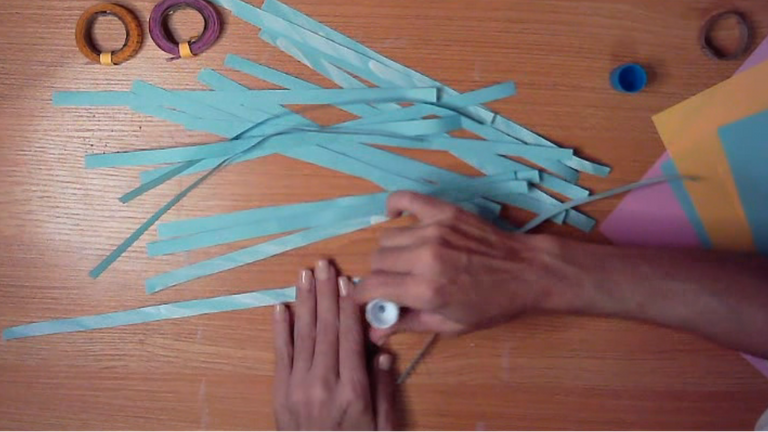
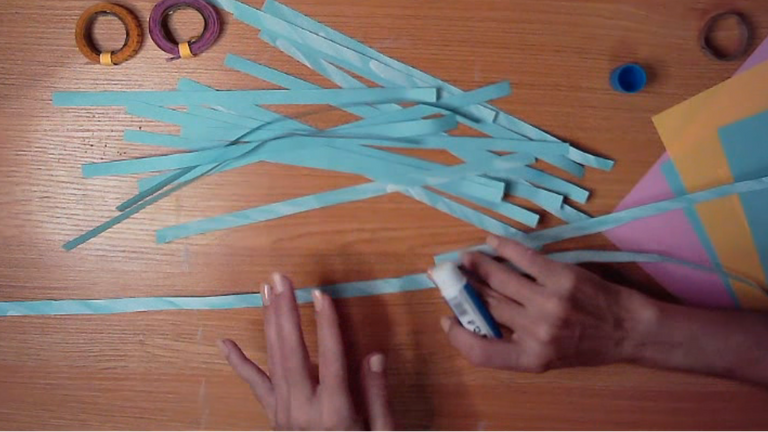
Siguiendo los pasos de los anteriores modelos, corresponde a marcar el rollo de papel higiénico, con una medida de 1 Centímetro de ancho, luego recorta, trata de hacer un rollo más pequeño y pega.
Ahora unimos cada cinta recortada y procedemos a embobinar o enrollar.
Espero te gusten estas tres ideas que te presento hoy para hacer tus propias cintas decoradas o cintas Washi, pronto volveré para mostrarte más diseños o ideas que puedes hacer.
Gracias por visitarme.
Bendiciones infinitas.
! [English version]
[Eng]
Following the steps of the previous models, it corresponds to mark the roll of toilet paper, with a measure of 1 centimeter wide, then cut, try to make a smaller roll and glue.
Now we attach each cut ribbon and proceed to wind or roll up.
I hope you like these three ideas that I present today to make your own decorated ribbons or washi tapes, soon I will come back to show you more designs or ideas that you can do.
Thank you for visiting me.
Infinite blessings.

Credits / Créditos.

💜💜💜


💜💜💜
![]() 👉
👉  👉
👉  👉
👉 
Here / Bríndame un café

Saludos @equipodelta, excelente idea, así, podemos realizar la decoración que se amerite para decorar, cada una con nuestro diseño, y cantidad necesaria, feliz día.
Así es Eylis, hoy hice un diseño precisamente, pensé en usarlos pero no me dio chance, será para la proxima que integre alguno.
Me encanta este tipo de cinta, son muy útiles y prácticas, ideales para decoraciones y el hacerlas nosotros mismos las hace únicas. Gracias por compartir.
Así es Ferguis, son ideales para tarjetería, las uso para scrapbook, decoración de cuadernos, diarios.
Es una buena idea, he querido hacer algo con la técnica del quilling y no he conseguido de esas cintas.
Hola mi bella, las cintas las puedes hacer por ti misma, del tamaño (largo, ancho y color de tu preferencia. Con una tijera, un cutter, o guillontina, mi primer tutorial en hive, muestra como hacerlo, debería hacer uno nuevo, este esta como feito jajajaja...
https://peakd.com/hive-130560/@dayadam/antes-de-comenzar-con-la-practica-conozcamos-que-es-el-quillingcomo-elaborarlo-y-sus-tecnicas-basicas
Como dice @dayadam una guillotina hace que queden perfectas, no hace falta estarlas midiendo con regla, pues la guillotina ya tiene medidas. Mi Guillotina tienen un fallo, está vieja, trataré de comprar una nueva, pero la quiero de hojilla, pero igual sirve a la antiguita como lo hice, a punta de tijera, jajaja
Me gusto este tips se ve bastante interesante y fácil de hacer, además de lo practico, gracias por compartir este tutorial.
Me alegra que le guste, las he visto emplear en decoraciones para piñatería inclusive.
¡Wow! Mi querida Isa, qué buena idea para hacerlas una misma. A mí me encantan, aquí hay bellezas y cuando voy a la papelería las quiero todas. Me encantó ver este paso a paso. Te mando un fuerte abrazo.
Gracias amiga querida, fuerte abrazo para ti, me contenta sea de tu agrado. Bendiciones.
Que excelente idea amiga @equipodelta, nada como hacer las cosas por nosotras mismas, es mas económico y damos rienda suelta a nuestra imaginación plasmando formas hermosas, y colores a nuestro gusto. Gracias por regalarnos este tutorial. Bendiciones ✨
!HUG
!DIY
I sent 1.0 HUG on behalf of @dayadam.
(1/3)
Gracias linda por tu apoyo. Tu tienes mucha experiencia en esto de cortar papel para tus proyectos, yo apenas empiezo, se siente muy bien <3
You can query your personal balance by
!DIYSTATSMuy, pero muy buena idea, fabuloso, me encanto, gracias por compartir esta excelente técnica para así realizar nuestras propias cintas decorativas al gusto que queramos, saludos.
Hola Coromoto, me alegra que sea de tu agrado <3
Congratulations, your post has been upvoted by @dsc-r2cornell, which is the curating account for @R2cornell's Discord Community.
Enhorabuena, su "post" ha sido "up-voted" por @dsc-r2cornell, que es la "cuenta curating" de la Comunidad de la Discordia de @R2cornell.
Hello, @equipodelta
You have brilliant idea. It will be helping for teenegers who like make them book beautiful.
I appreciated you share this idea on Hive. Greetings from Indonesia.
I'm glad you like Soblat, I'm just starting in this and the truth is that I'm really enjoying it.
I really enjoyed the creation process very detailed and perfect, thanks for this tutorial, I will try very useful
I'm waiting for the next tutorial
I'm glad you like it Aries, I'm starting scrapbooking, I'm just learning some techniques, and the truth is that I'm really liking it.
Can you know I am a father of learning from which sites are easy to understand, please tell me and I want to learn so that knowledge increases
Quedé así 😲 me encanta la idea de hacer tus propias cintas decorativas, que espectacular @equipodelta se que a @maryed le encantará este DIY mucho más de lo que me gusto a mí.
Hola amiga, me alegra que te guste, es algo que intento aprender y pulir, nada mejor que la práctica, me está dando gratos resultados, porque me permite ser mas creativa y concentrarme en lo que estoy haciendo.
Me encanta esto porque también es práctico a veces quieres algo en particular y personalizado la mejor manera es hacer el propio, feliz de ver tanta creatividad desbordada mi querida artista. Un abrazo
Saludos @equipodelta, una excelente idea para decorar las cintas al gusto de cada persona mi favorita la de color rosa, están perfectas para decorar los cuadernos y carpetas.
Feliz fin de semana!
Hola Belkys, me alegra que te guste, ando trabajando en otros modelos con otros materiales. Para lo que estoy haciendo, nunca es suficiente, y si tenemos para reciclar, aprovechemos la ocasión.