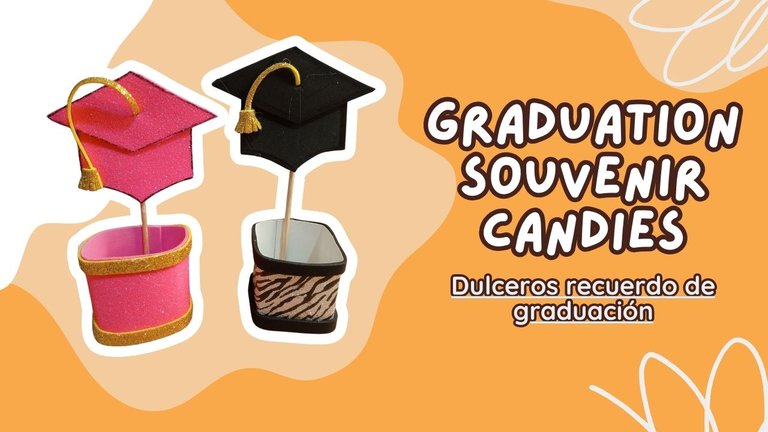
Graduation souvenir candies / Dulceros recuerdo de graduación (Esp/Eng)

[Esp]
¡Saludos comunidad!
Mi hijo menor se esta graduando de 6to grado de educación básica, en otros países se conoce como educación primaria, en la actualidad se acostumbra a entregar pequeños recuerditos del acto de grado, generalmente son hechos de forma artesanal y bajo costo ya que en un salón de clases pueden haber 40 niños mas los profesores y puede que ocupemos entregar muchos.
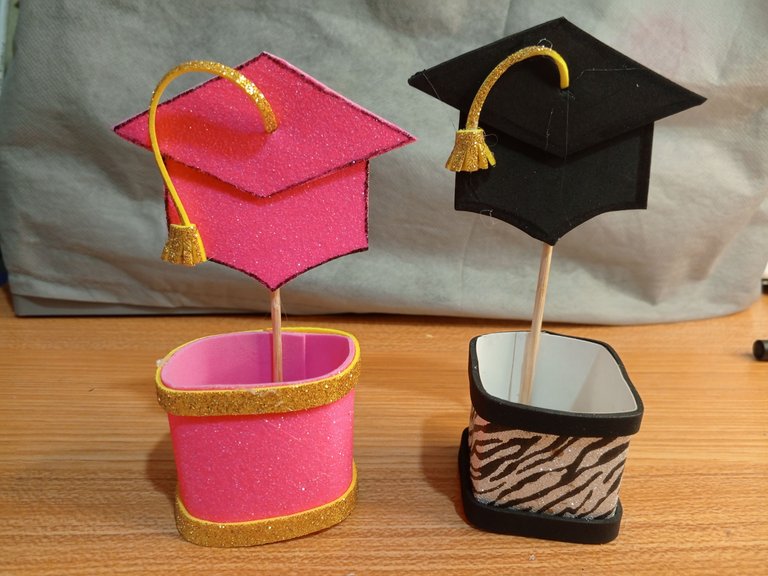
Hoy te presento una idea que realicé para recordar este evento tan importante en la vida de mi hijo, son dulceros, dentro llevaban caramelos y en la parte trasera coloque los datos de mi hijo junto la fecha de graduación.
Muchas madres hicieron varios recuerdos de diferentes materiales, pero todos estuvieron muy hermosos.
Espero les guste, es fácil de hacer, no ocupa mucho tiempo y son económicos. Realmente trabajé con lo que tenía en casa para su elaboración.
! [English version]
Greetings community!
My youngest son is graduating from 6th grade of elementary school, in other countries it is known as primary education, nowadays it is customary to deliver small souvenirs of the graduation ceremony, they are usually handmade and low cost because in a classroom there may be 40 children plus teachers and we may need to deliver many.
Today I present you an idea that I made to remember this important event in my son's life, they are candy boxes, inside they had candies and on the back I put my son's information along with the graduation date.
Many mothers made several memories of different materials, but all of them were very beautiful.
I hope you like them, they are easy to make, don't take a lot of time and are inexpensive. I really worked with what I had at home to make them.

Materiales / Materials

| Spanish | English | |
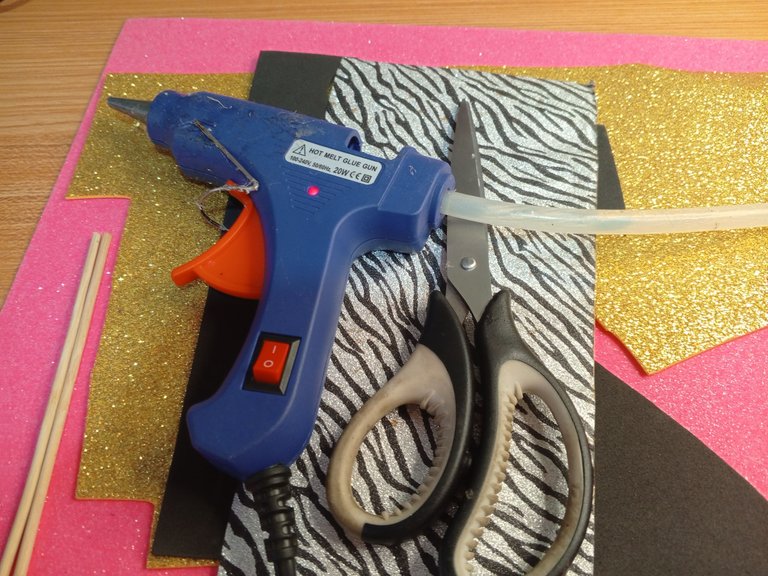
| Foami escarchado colores varios y foami negro | Frosted foami in various colors and black foami | |
| Palitos de altura | High sticks | |
| Cartulina | Cardboard | |
| Tijera, pistola de silicón | Scissors, silicone gun |

Paso a paso / Step by Step

Step 1️⃣/ Paso 1️⃣
 |  | |
 |  |
[Esp]
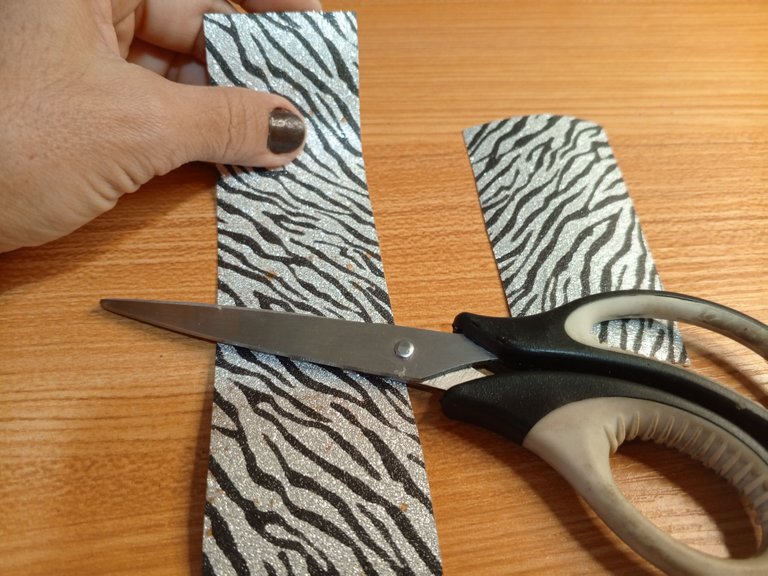
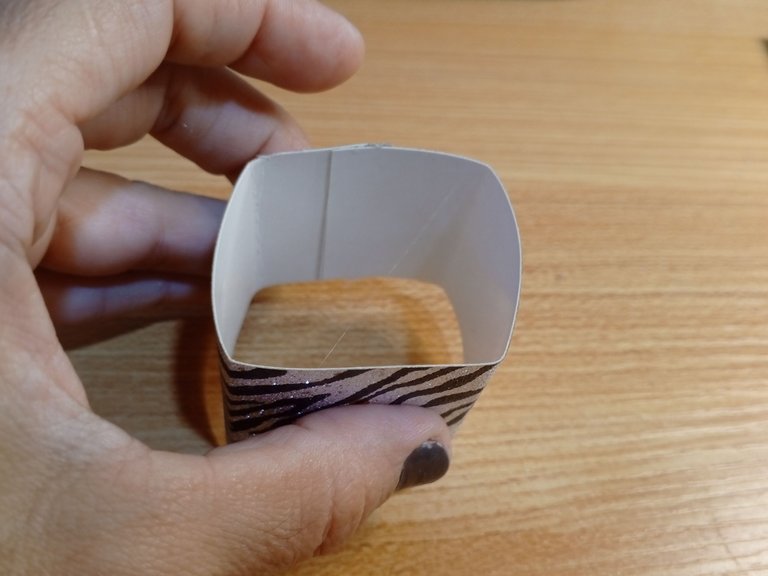
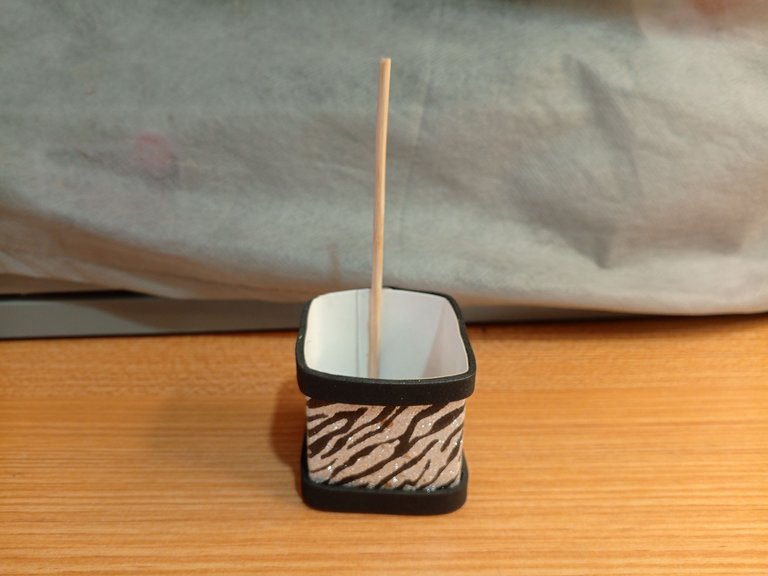
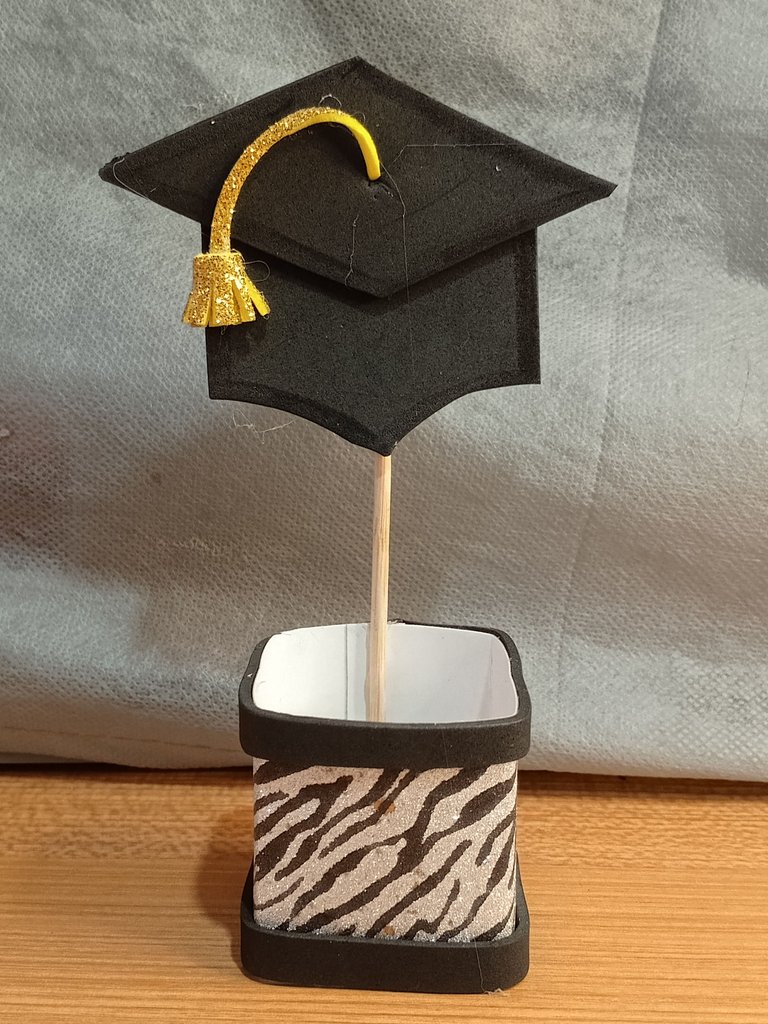
Para el modelo número uno usé cartulina con motivos de cebra, me pareció oportuno para un tema monocromático más serio. Recorta una tira de cartulina de 15 centímetros de largo por 4 de ancho.
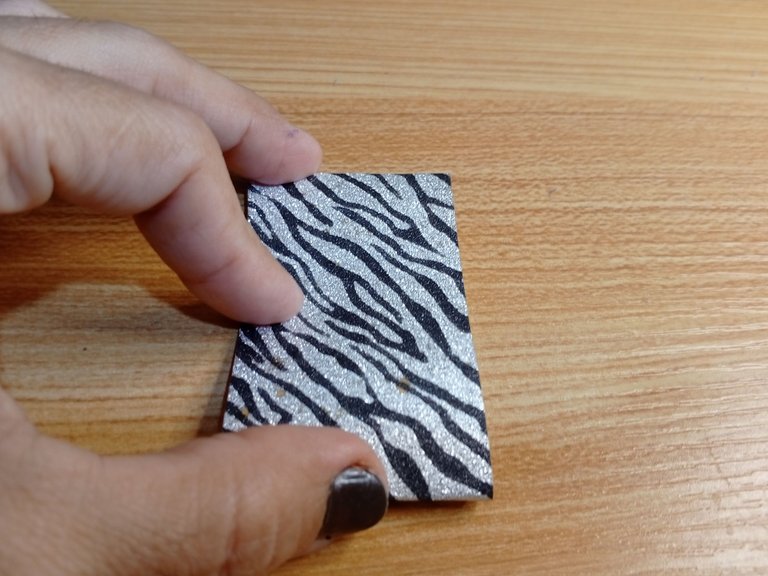
Pega en los extremos y dobla en cruz para poder formar el cuadrado.
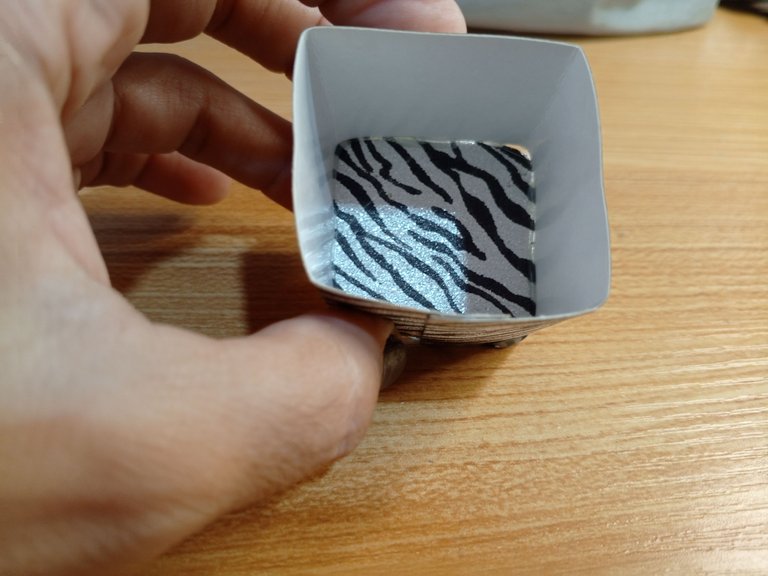
Pega la tapa del fondo y recorta el excedente.
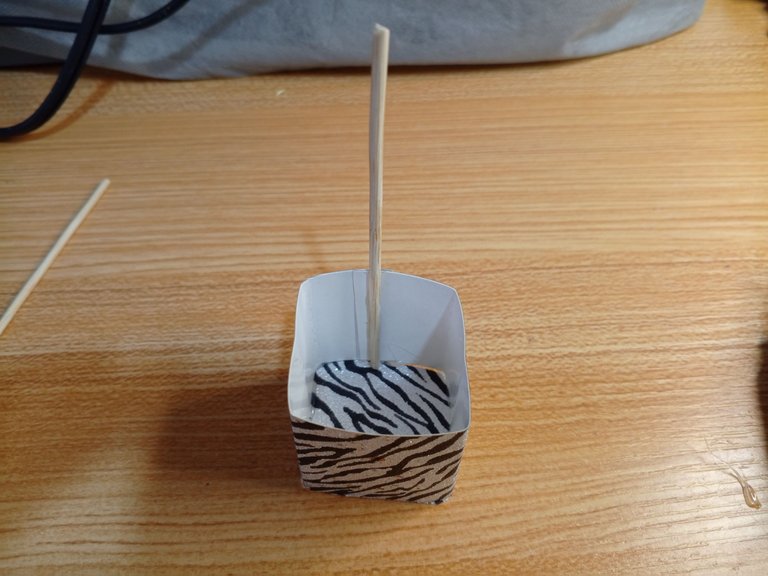
Pega un palito de altura en la parte interna, de al menos 9 centímetros.
! [English version]
For pattern number one I used zebra patterned cardstock, it seemed appropriate for a more serious monochromatic theme. Cut a strip of cardboard 15 centimeters long by 4 centimeters wide.
Glue at the ends and fold crosswise to form the square.
Glue the bottom cover and trim the excess.
Glue a stick of at least 9 centimeters high on the inside.

Step 2️⃣/ paso 2️⃣

 |  | |
 |  |
[Esp]
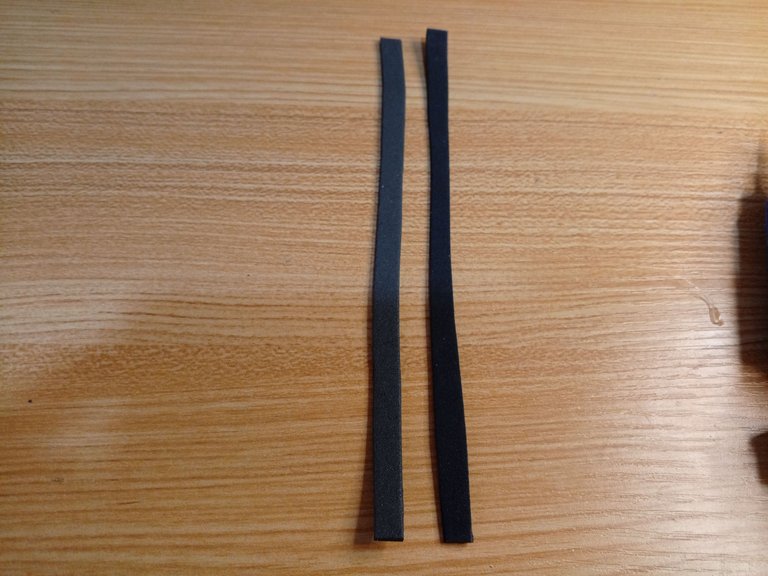
Corta dos tiras de foami negro de 0.5 centímetros.
Pega cada tira en la parte de arriba y de abajo de la cajita.
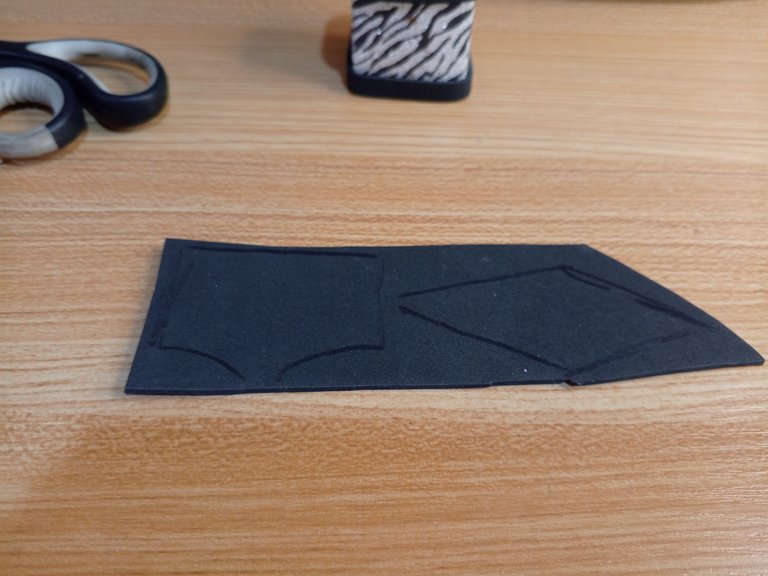
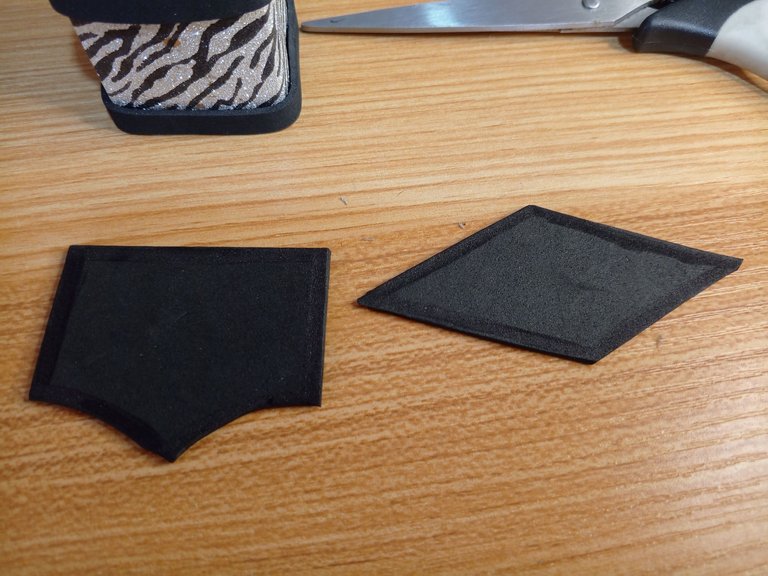
Marca la forma de un birrete en el foami negro y recorta, yo usé marcador negro para marcar los bordes.
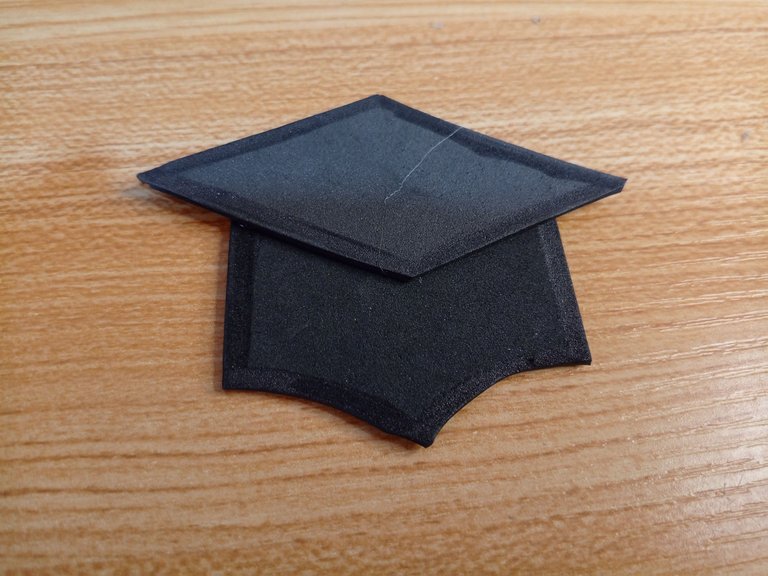
Pega ambas piezas formando un birrete.
! [English version]
Cut two 0.5 centimeter strips of black foami.
Glue each strip to the top and bottom of the box.
Mark the shape of a biretta on the black foami and cut out, I used black marker to mark the edges.
Glue both pieces together to form a hat pin.

Step 3️⃣/ paso 3️⃣

 |  | |
 |  |
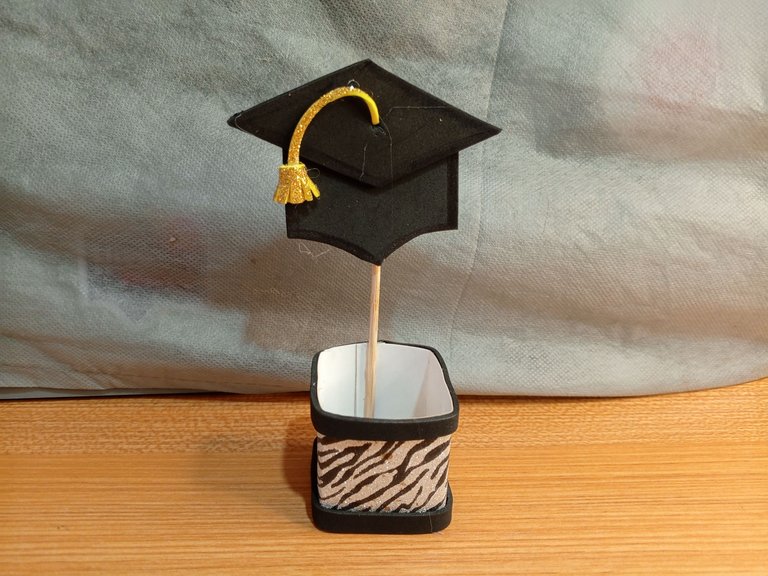
[Esp]
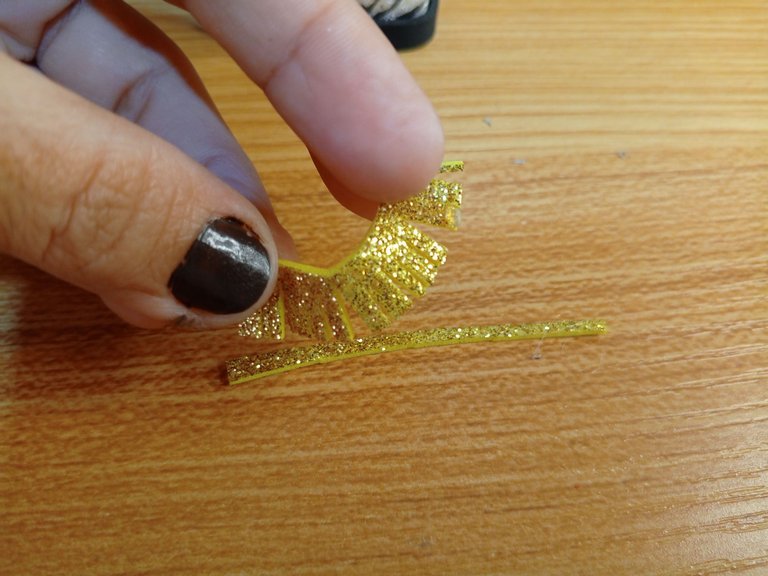
Corta una tira de foami de 1 centímetro de ancho y 3 de largo, recorta unas puntas formando un flequillo. Corta una tira muy delgada de foami de 4 centímetros de largo.
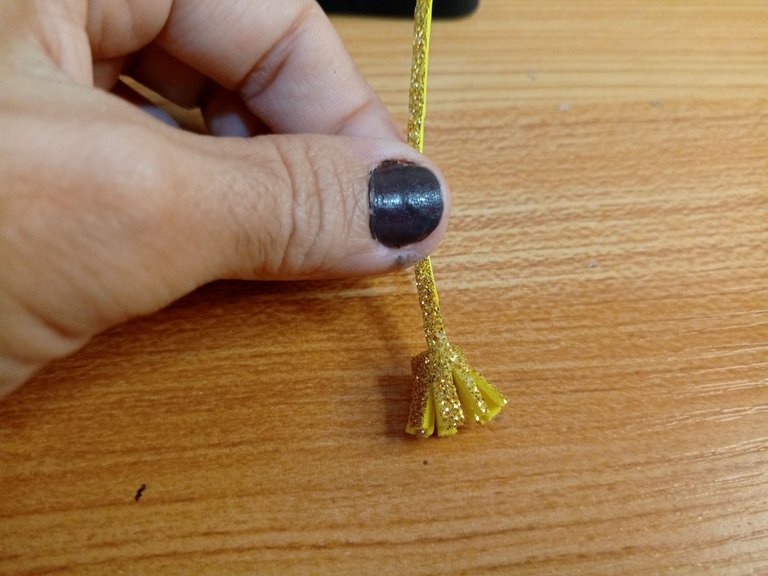
Pega el flequillo a la tira delgada de foami.
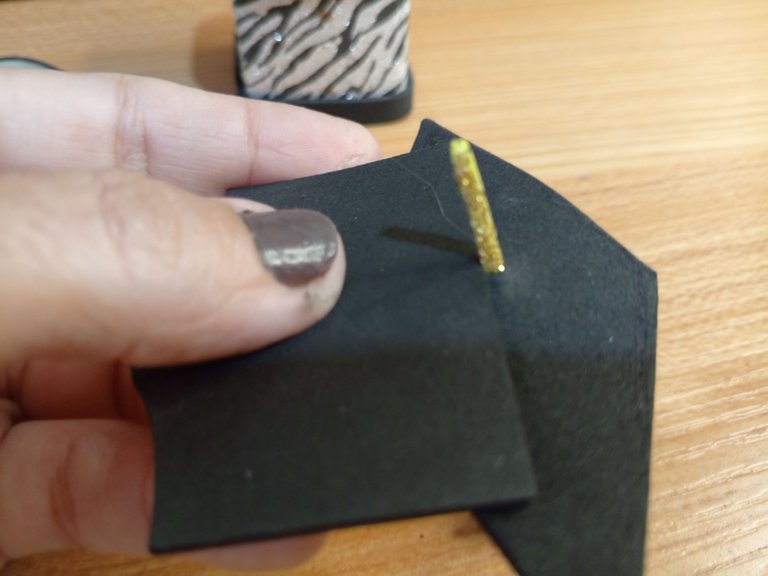
Con ayuda de la tijera abre un huequito en el centro de la parte superior del birrete e introduce la pequeña tira de foami que porta el flequillo. Coloca pegamento en la parte de atrás.
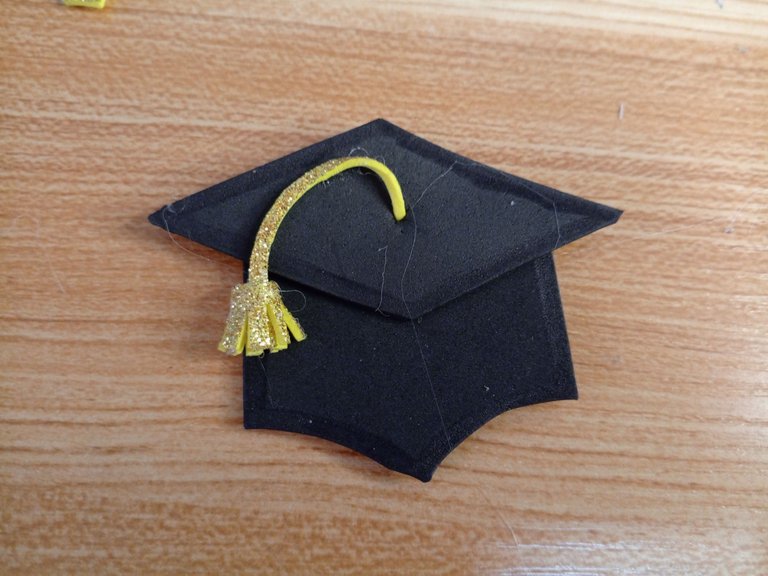
Forma una curva en la parte de adelante y aplica un poco de pegamento.
Pega el birrete en el palito de altura, con ello hemos terminado el primer modelo.
! [English version]
Cut a strip of foami 1 centimeter wide and 3 centimeters long, trim the ends to form a fringe. Cut a very thin strip of foami 4 centimeters long.
Glue the fringe to the thin strip of foami.
With the help of the scissors open a small hole in the center of the top of the biretta and insert the small strip of foami that carries the fringe. Put glue on the back.
Form a curve in the front and apply a little glue.
Glue the hat pin on the height stick, with this we have finished the first model.

Step 4️⃣/ paso 4️⃣

 |  | |
 |  |
[Esp]
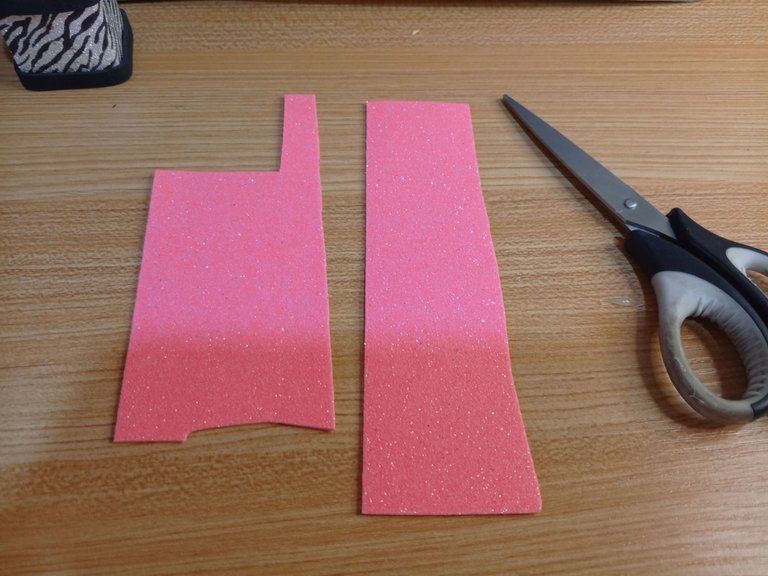
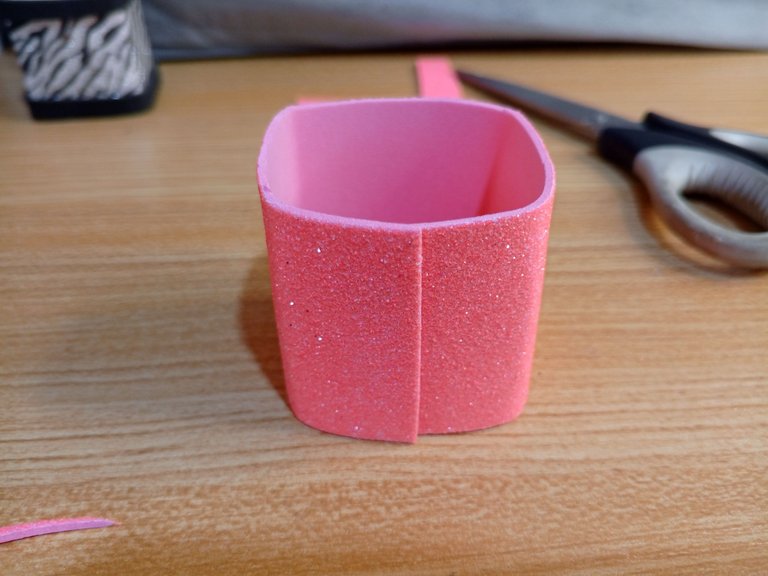
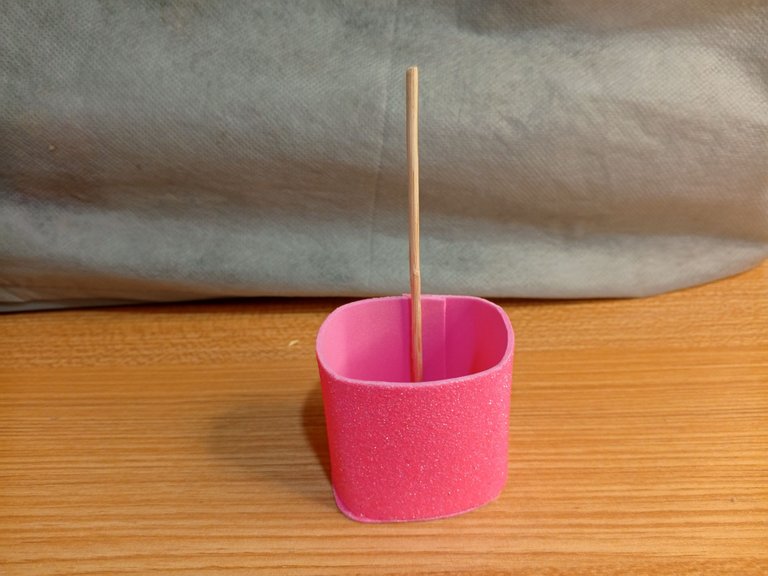
Comenzaremos con el otro modelo, repetiremos el procedimiento desde el paso uno. Recorta una tira de foami de 15 centímetros de largo por 4 de ancho.
Pega en los extremos y dobla en cruz para poder formar el cuadrado.
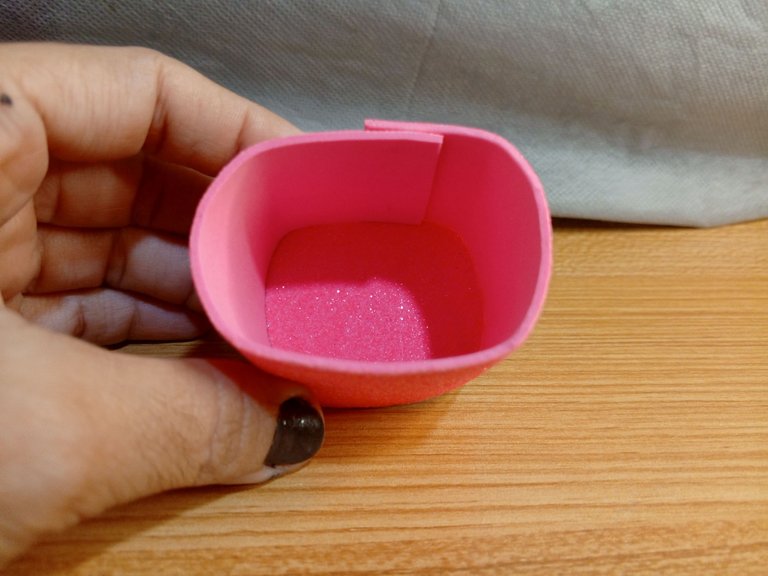
Pega la tapa del fondo y recorta el excedente.
Pega un palito de altura en la parte interna, de al menos 9 centímetros.
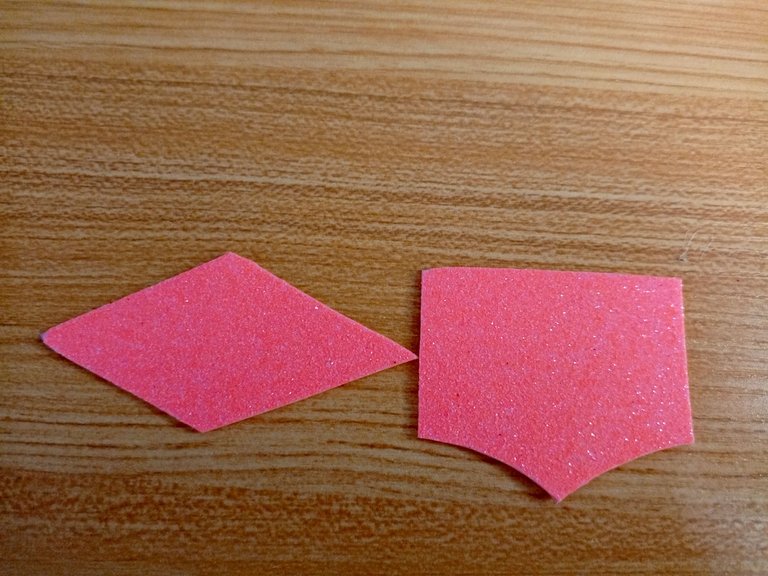
Recorta las formas que será el birrete.
! [English version]
We will start with the other model, repeating the procedure from step one. Cut a strip of foami 15 centimeters long by 4 centimeters wide.
Glue at the ends and fold crosswise to form the square.
Glue the bottom cover and trim the excess.
Glue a stick of at least 9 centimeters high on the inside.
Cut out the shapes that will be the hat pin.

Step 5️⃣/ paso 5️⃣

 |  |  |
 |  |
[Esp]
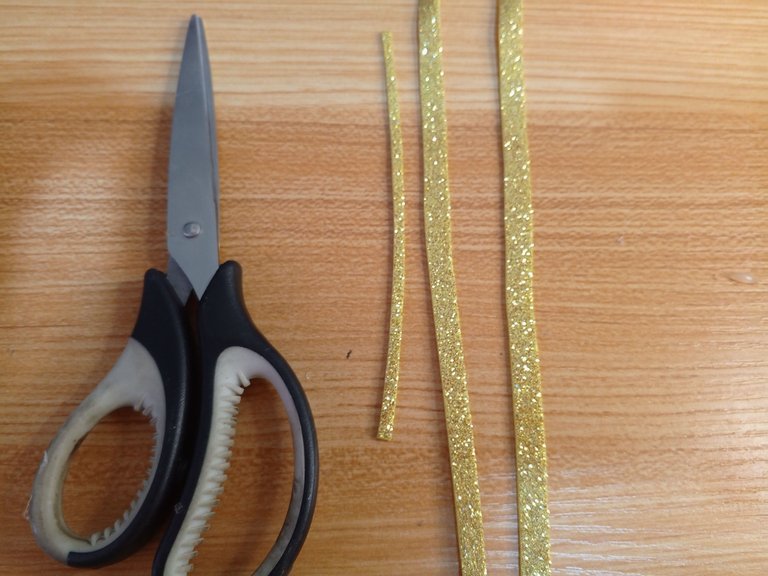
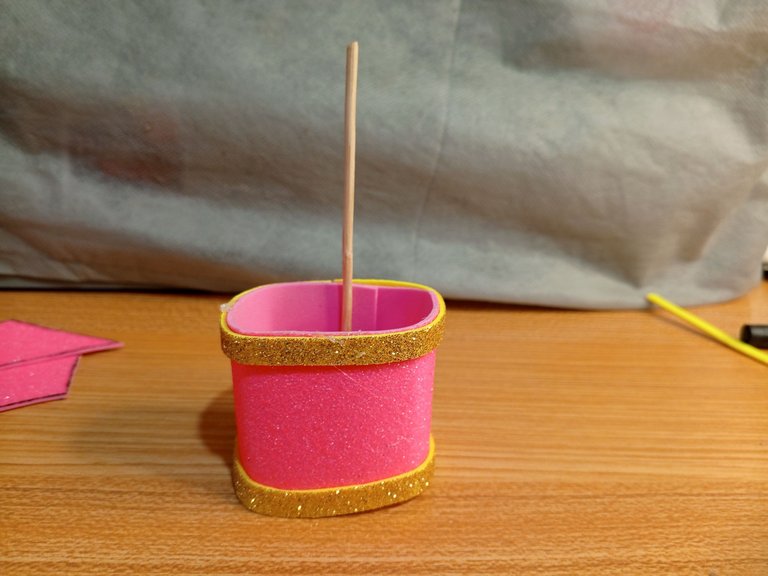
Recorta dos piezas de foami de 0.5 centímetros del ancho del cuadrado del dulcero.
Pega las piezas por el borde superior e inferior de la cajita. Pega el palito de altura en la pate interna de la cajita.
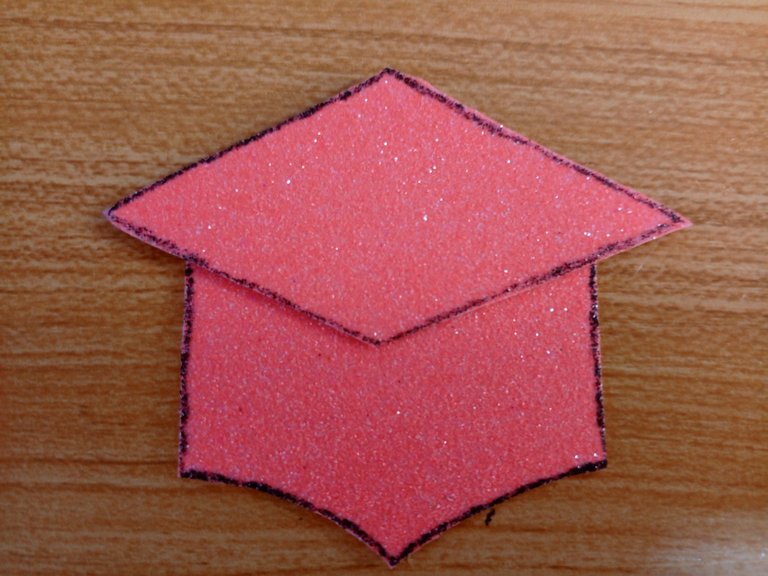
Pega la forma del birrete, yo pinté los bordes con marcador negro.
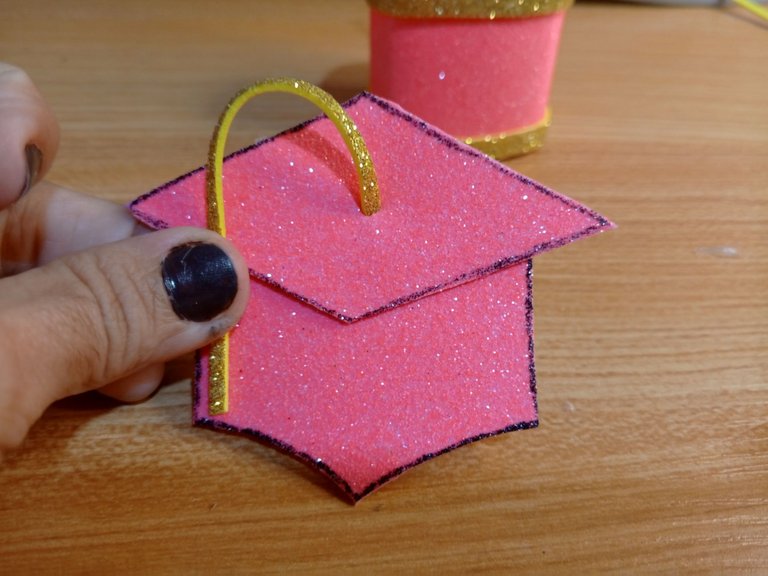
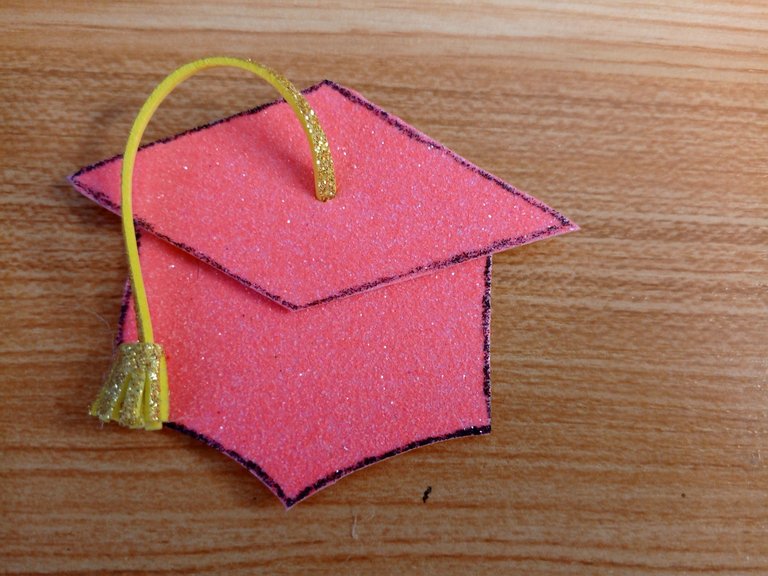
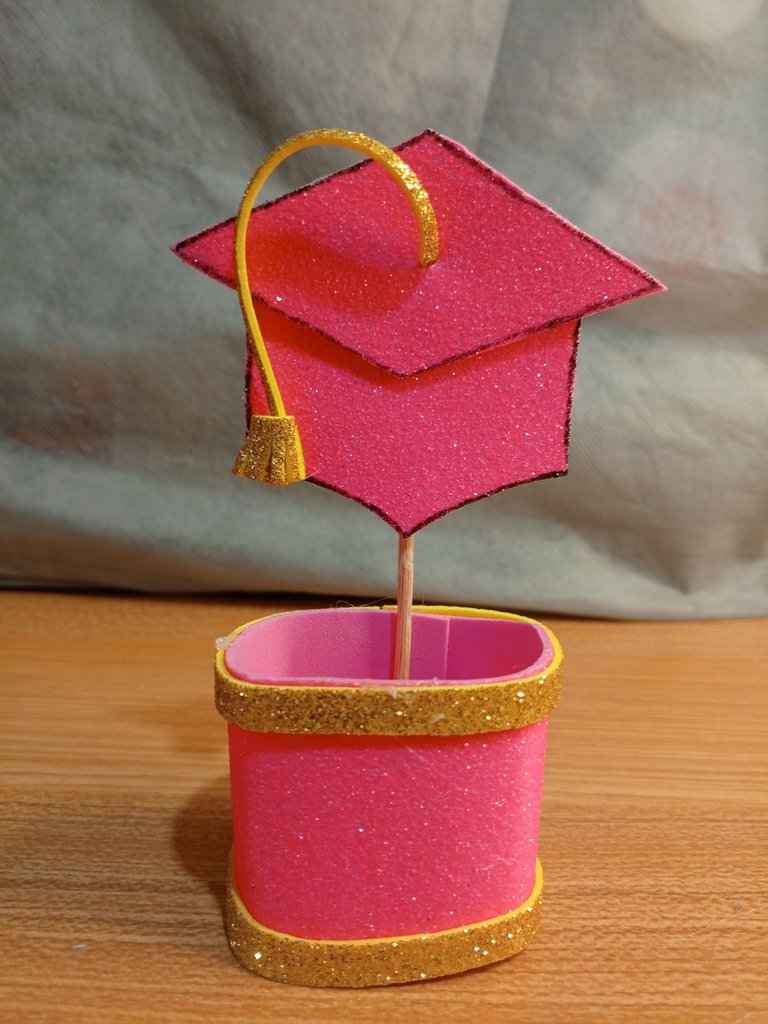
Con ayuda de la tijera realiza una abertura en el centro de la tapa del birrete e introduce la tira delgada de foami, aplica pegamento en la parte de atrás, tal como el paso del diseño anterior, pega el flequillo en la punta de la tira delgada de foami, realiza una pequeña inda y aplica pegamento.
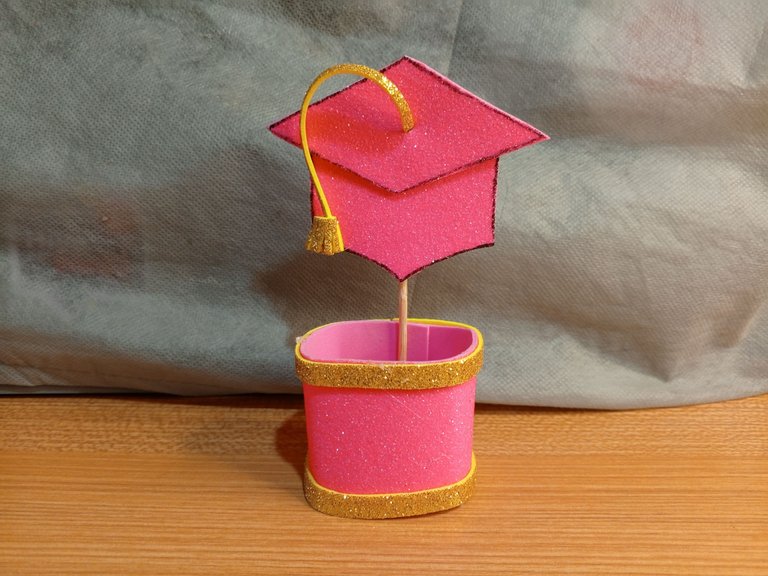
Pega el birrete en la parte superior del palito de altura.
ya los dulceros están listos por colocarles los dulces. Puedes colocar en la parte de atrás un escrito con los datos del graduando y la fecha de graduación.
Espero les guste.
! [English version]
Cut out two pieces of foami 0.5 centimeters across the width of the square of the candy box.
Glue the pieces along the top and bottom edge of the box. Glue the height stick on the inside of the box.
Glue the shape of the biretta, I painted the edges with black marker.
With the help of the scissors make an opening in the center of the cap and insert the thin strip of foami, apply glue on the back, just like the previous design step, glue the fringe on the tip of the thin strip of foami, make a small slit and apply glue.
Glue the biretta to the top of the tall stick.
Now the candy holders are ready to put the candy on them. You can place on the back a writing with the graduating student's data and the graduation date.
I hope you like it.


Créditos / Credits


 |  |


💜💜💜


![]() 👉
👉  👉
👉  👉
👉  👉
👉 
Here / Bríndame un café

Felicitaciones para tu hijo, amiga, y muchos éxitos en la nueva etapa escolar. Quedaron bellos estos recuerditos. Un abrazo.
Gracias amiga, vengo de su acto de grado, qué felicidad poder estar viva para celebrar con él un logro.
¡Felicitaciones para tu pequeño! ❤️ Que recuerdos cuando me gradue de primaria, no hicimos ninguna manualidad, pero que recuerdos jaja los niños crecen tan rapido 🦉
Esta muy lindo el souvenir, se pueden colocar un monton de dulces 😍 es muy cuchis.
Jajajja! bueno te cuento, son mini mini, a penas caben 3 caramelitos. la idea es no gastar mucho.
Congratulations, your post has been curated by @dsc-r2cornell. You can use the tag #R2cornell. Also, find us on Discord
Felicitaciones, su publicación ha sido votada por @ dsc-r2cornell. Puedes usar el tag #R2cornell. También, nos puedes encontrar en Discord
Que manualidad tan espectacular, felicidades a su hijo por la graduación, es bueno hacer memorable este momento, saludos y gracias por compartir.💜✨
Gracias Stefanía, ahora le espera el liceo, estoy agradecida con Dios por permitirme disfrutar de este momento.