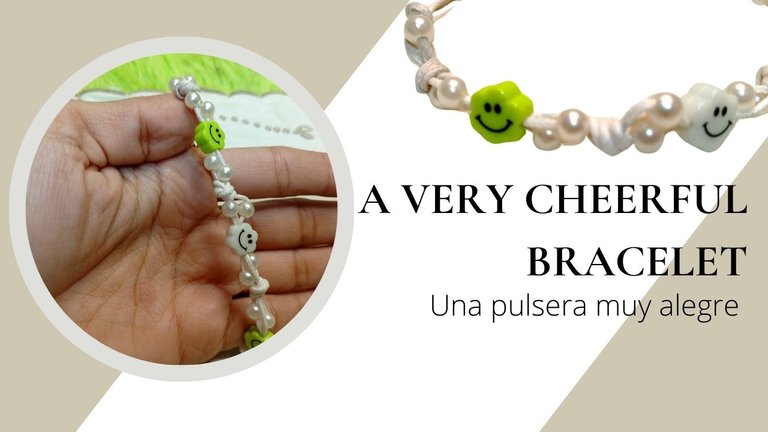
DIY: Una pulsera muy alegre / A very cheerful bracelet (Esp/Eng)


[Esp]
¡Saludos comunidad!
Me encanta retomar mis proyectos de pulseras, hoy estuve practicando con el modelo que te presento hoy, tan solo es amo do de práctica, esto del diseño de pulseras es todo un arte, requiere de además de los materiales, mucha creatividad y paciencia.
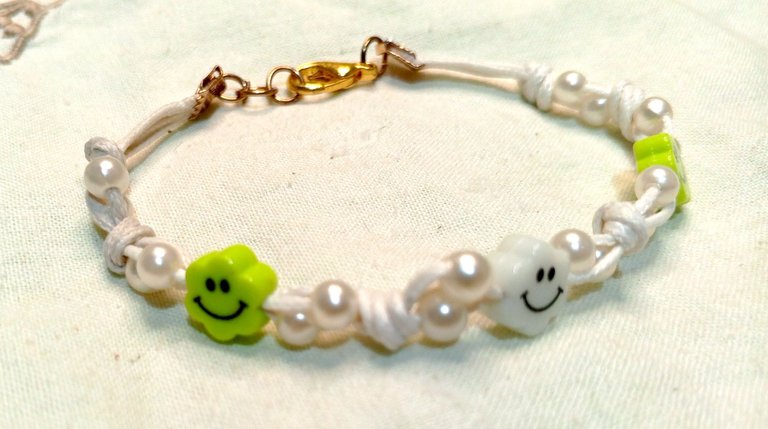
Continuo en la onda del color blanco, colores claros. Hace un tiempo compré unas lindas cuentas de florecitas con una carita feliz y anduve buscando en qué modelo lucirla, desde el principio estuve pensando en nudos y perlas para combinar, me gustó el resultado, ahora te comento mediante el paso a paso, cómo me las ingenié porque no fue fácil, los contratiempos que pude tener fueron el grosor de mis muñecas y los agujeros de las cuentas que son muy pequeños.
A pesar de todo amé el proyecto porque además de que quedó bonito, quedó divertido.
Acompáñame al paso a paso.
! [English version]
Greetings community!
I love to resume my bracelet projects, today I was practicing with the model that I present today, it's just practice, this bracelet design is an art, it requires, besides the materials, a lot of creativity and patience.
I continue in the wave of white, light colors. Some time ago I bought some pretty flower beads with a happy face and I was looking for a model to wear it, from the beginning I was thinking about knots and pearls to combine, I liked the result, now I'll tell you step by step, how I managed because it was not easy, the setbacks I could have were the thickness of my wrists and the holes of the beads that are very small.
In spite of everything I loved the project because besides being beautiful, it was fun.
Join me in the step by step.


Materials / Materiales


| Spanish | English |
|---|---|
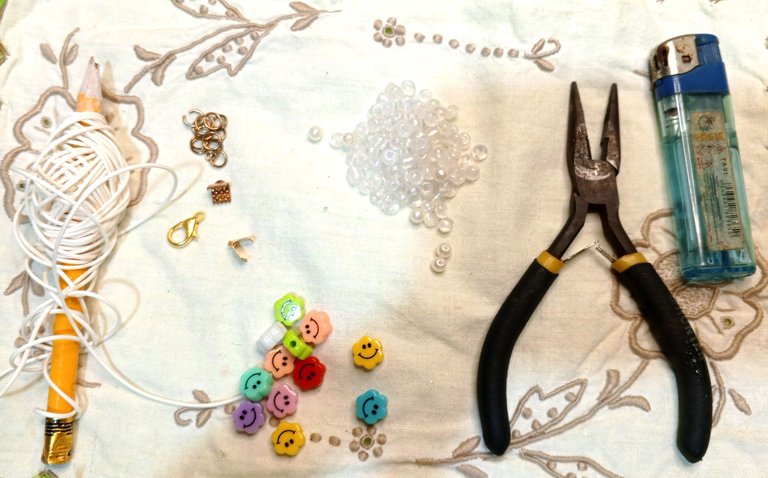
| Cuentas plásticas de bisutería carita feliz | Plastic fashion jewelry beads happy face |
| Pinza pequeña, yesquero | Small tweezers, tinder |
| Perlas de imitación | Imitation pearls |
| Hilo piel de serpiente | Snakeskin yarn |
| Anillos o argollas, 2 terminal de grapas pequeños y 1 broche pico de loro. | Rings, 2 small staple terminals and 1 parrot beak clasp. |

Paso a paso / Step by Step


Step 1️⃣/ Paso 1️⃣
 |  | |
 |  |
[Esp]
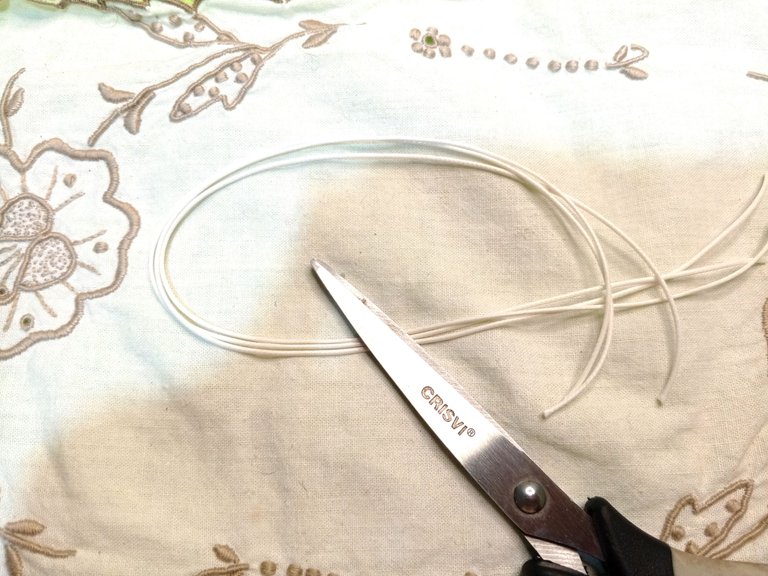
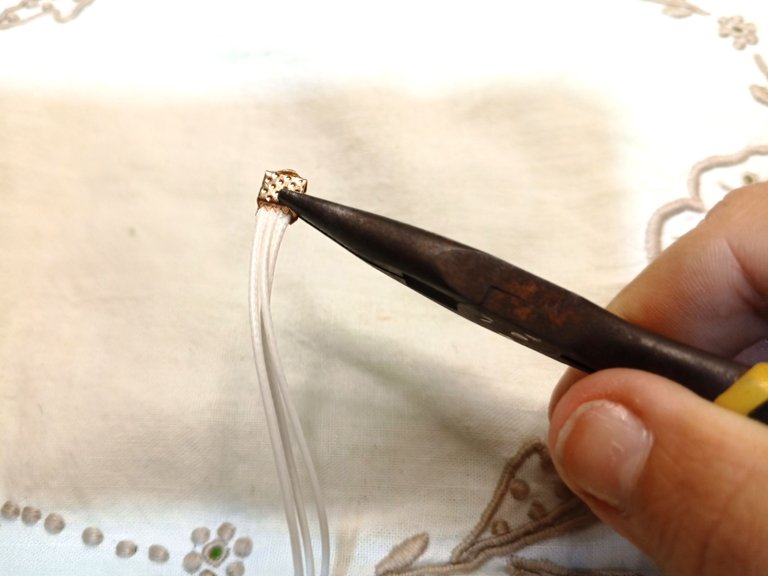
Toma la medida del ancho del la muñeca y corta tres hilos piel de serpiente del mismo tamaño.
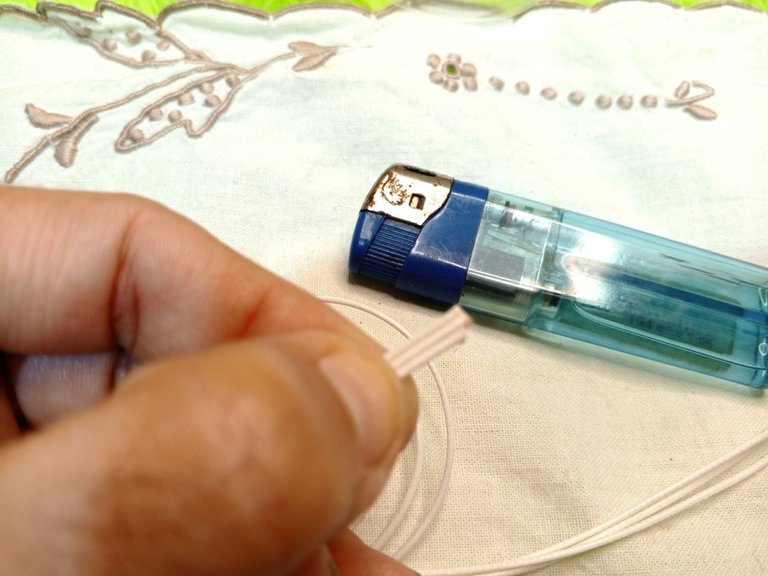
Une tres puntas y pega quemando con el yesquero.
Coloca el primer terminal y cerra apretando con la pinza.
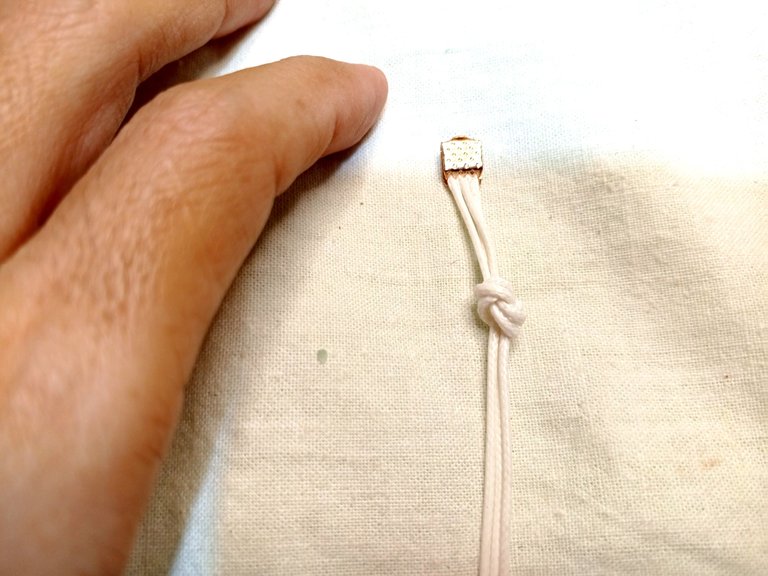
Deja un pequeño espacio de al menos 1 1/2 Centímetros y realiza un nudo sencillo, luego aprieta bien el nudo.
! [English version]
Measure the width of the wrist and cut three snakeskin threads of the same size.
Join three ends and glue by burning with the tinder.
Place the first end and close tightly with the clamp.
Leave a small space of at least 1 1/2 centimeters and tie a simple knot, then tighten the knot well.

Step 2️⃣/ paso 2️⃣

 |  | |
 |  |
[Esp]
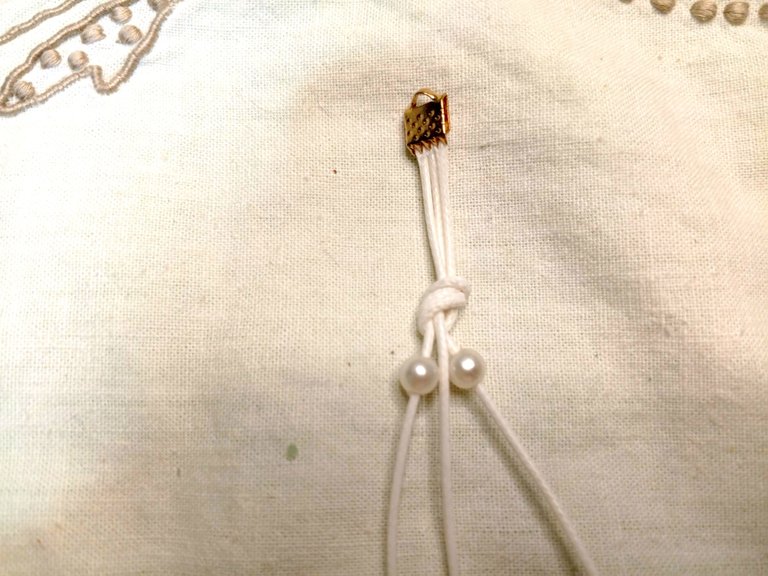
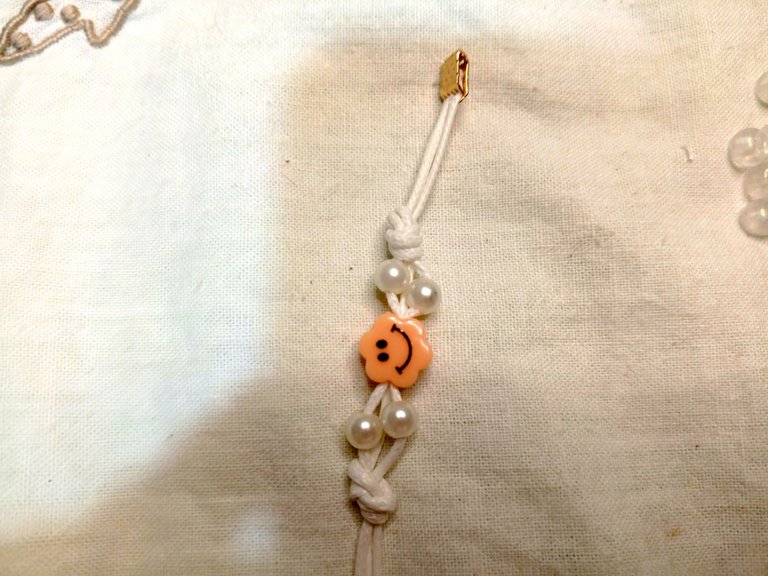
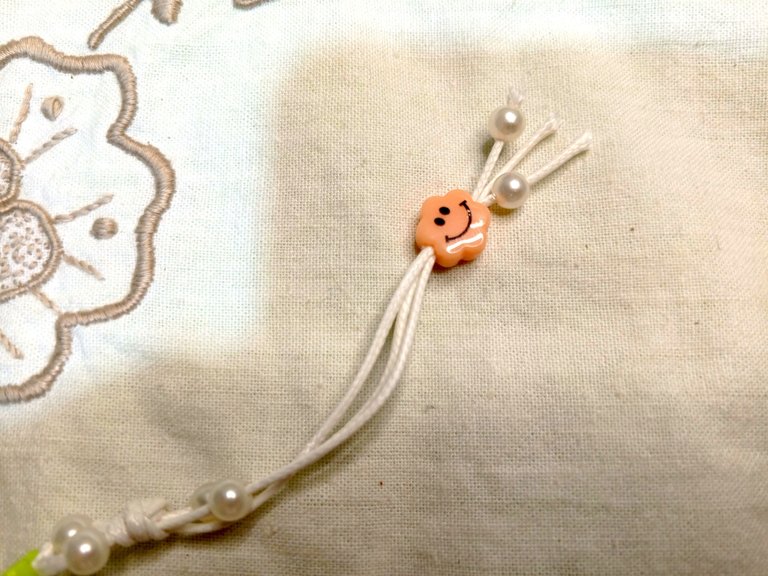
Toma dos extremos de los hilos dejando un hilo en medio, introduce una perla en cada uno de los extremos.
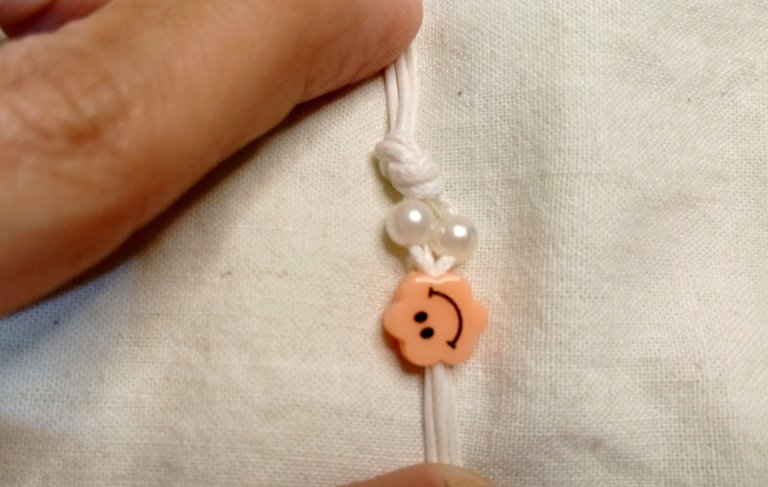
Une las tres puntas e introduce la primera cuenta de carita feliz en ellas, aprieta un poco las cuentas con el hilo para que queden juntos.
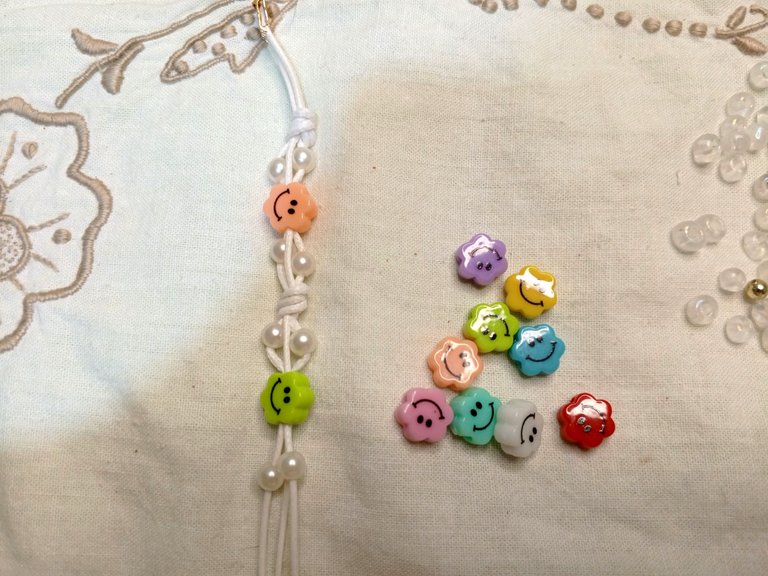
Separa los hilos, repite el paso anterior introduciendo una perla en cada extremo dejando una libre por medio, seguidamente realiza un nudo sencillo como el nudo del principio, aprieta bien el nudo que quede junto a las perlas.
Deja siempre el hilo de en medio libre, introduce una perla en cada uno de los hilos de los extremos, luego introduce otra cuenta de carita feliz, seguidamente una perla de cada lado dejando el hilo de en medio libre.
! [English version]
Take two ends of the strands leaving one strand in the middle, insert a bead on each end.
Join the three ends and insert the first smiley face bead in them, tighten the beads a little with the thread so that they stay together.
Separate the threads, repeat the previous step introducing a bead at each end leaving one free in the middle, then make a simple knot like the knot at the beginning, tighten the knot well so that it stays together with the beads.
Always leave the middle strand free, insert a bead on each of the end strands, then insert another smiley face bead, then a bead on each side leaving the middle strand free.

Step 3️⃣/ paso 3️⃣

 |  | |
 |  |
[Esp]
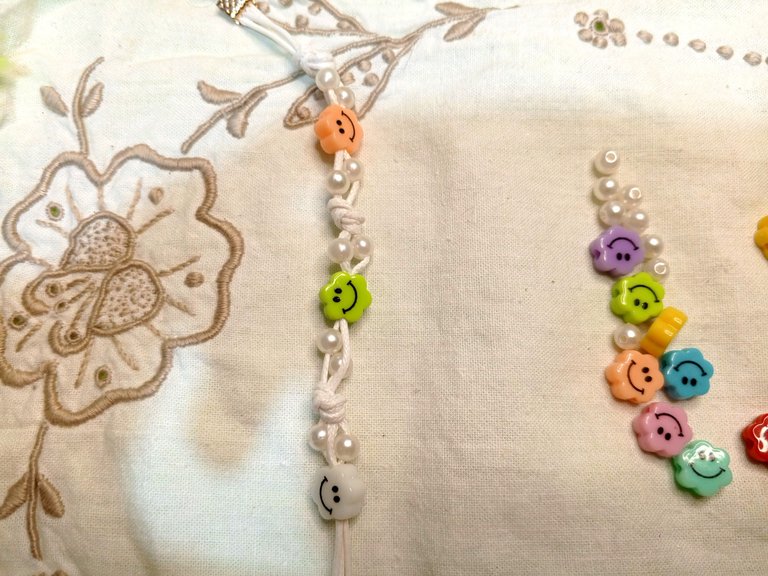
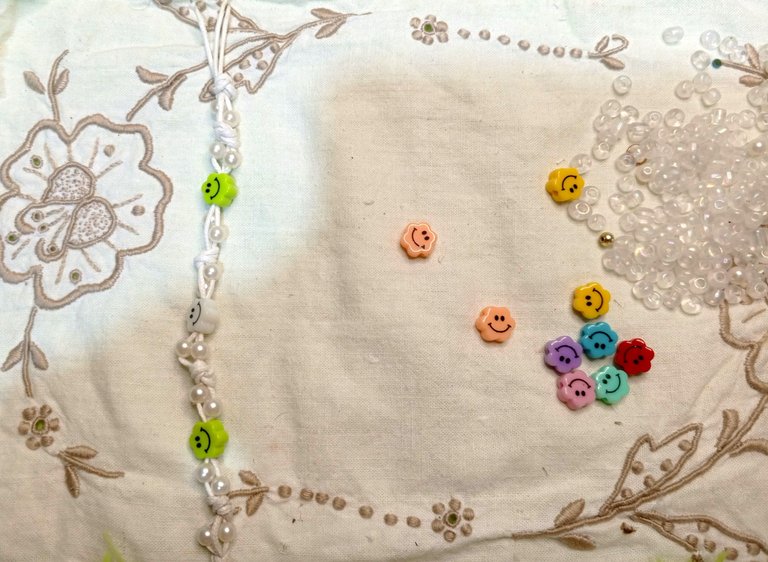
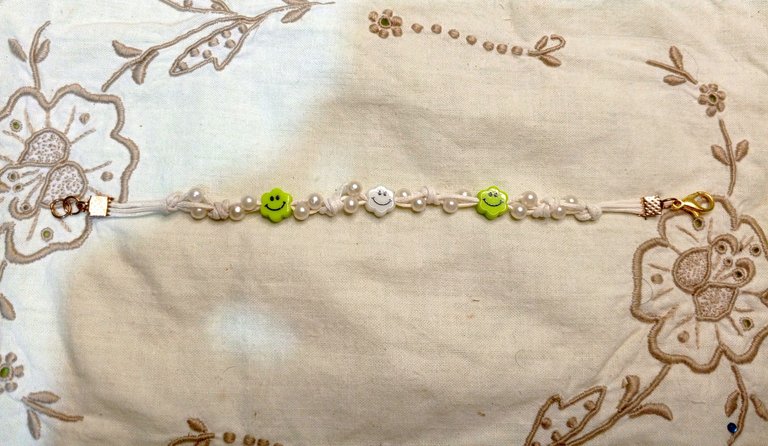
Siguiendo los pasos anteriores, llegamos a la pieza central que es la carita feliz de color blanco, a partir de allí si podemos medir en la muñeca y verificar que sea el tamaño apropiado para ella.
Continua introduciendo una perla en cada extremo, dejando el hilo de en medio libre, luego introduce la carita feliz.
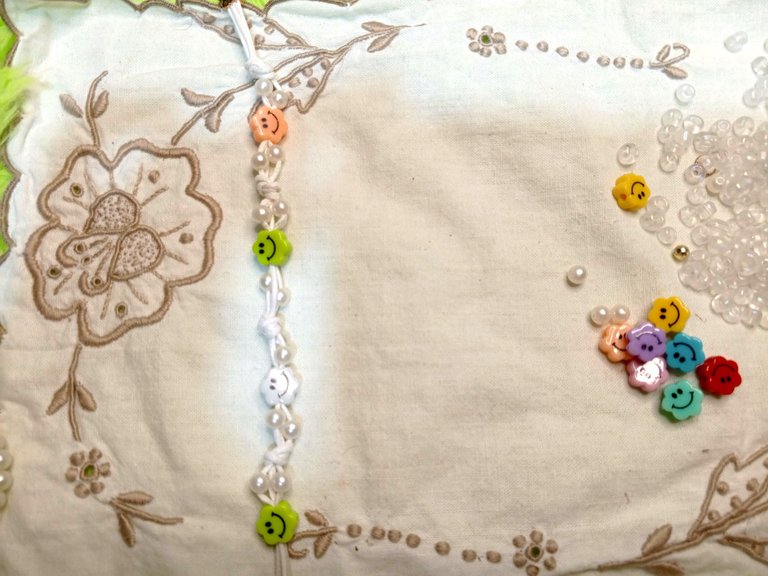
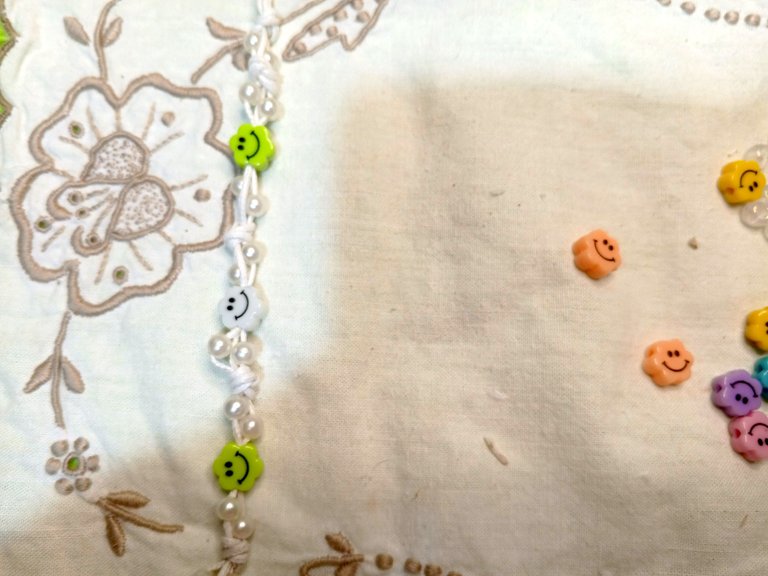
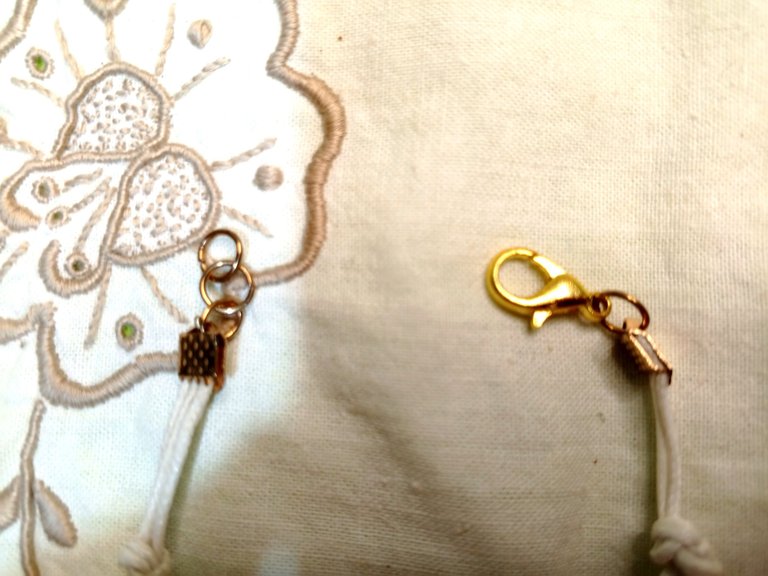
En este punto me di cuenta que la pulsera me quedaría grande, afortunadamente podemos desarmar, desaté el nudo final, quité el terminal retiré las dos cuentas de perlas y una carita feliz, es una pena porque me gustaba ese color.
Al igual que al principio, quemé las puntas, coloqué el terminal y cerré con ayuda de la pinza.
! [English version]
Following the previous steps, we get to the center piece which is the white smiley face, from there if we can measure on the wrist and verify that it is the appropriate size for her.
Continue introducing a bead at each end, leaving the middle thread free, then introduce the smiley face.
At this point I realized that the bracelet would be too big for me, fortunately we can disassemble, I untied the final knot, removed the terminal removed the two pearl beads and a smiley face, it's a shame because I liked that color.
As at the beginning, I burned the ends, placed the terminal and closed with the help of the clamp.

Step 4️⃣/ paso 4️⃣

 |  |
 |  |
[Esp]
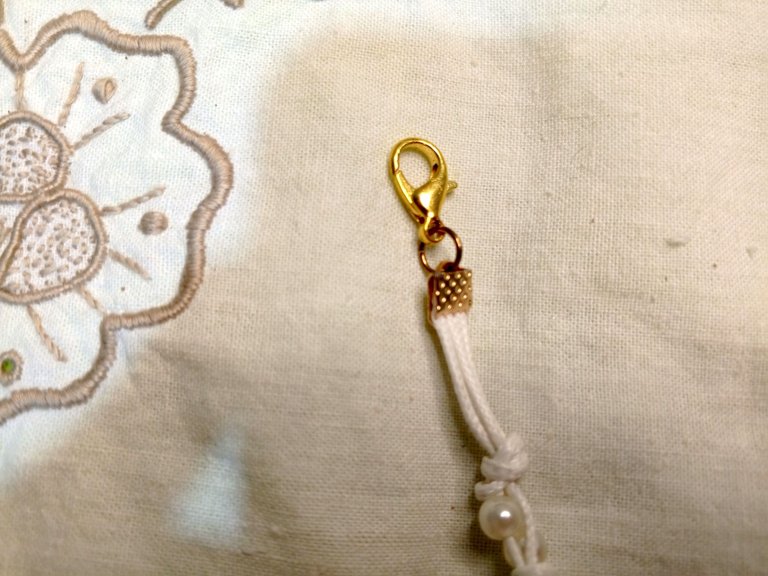
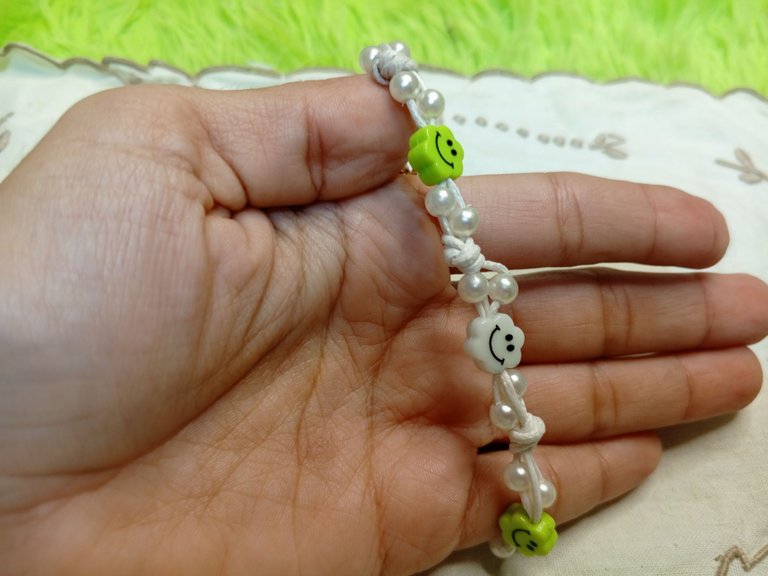
Luego de retirar las caritas felices del color rosa, coloqué el gancho pico de loro en el extremo del otro lado coloqué las argollas.
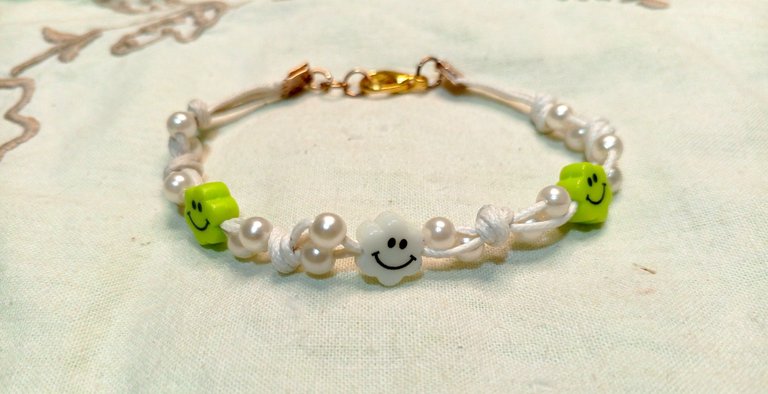
Listo el proyecto, es bastante sencillo quizá, aunque tuve los contratiempos, pero de eso se trata, de resolverlos.
Ahora a lucir esa pulsera hermosa y divertida en nuestras muñecas.
Nos vemos en mi siguiente publicación.
! [English version]
After removing the pink smiley faces, I placed the parrot beak hook on the end of the other side and placed the rings.
The project is ready, it's pretty simple maybe, although I had the setbacks, but that's what it's all about, solving them.
Now let's show off that beautiful and fun bracelet on our wrists.
See you in my next post.


Créditos / Credits




👇Support the Hive DIY community as a witness 👇


![]() 👉
👉  👉
👉  👉
👉  👉
👉 
Here / Bríndame un café

https://x.com/hivediy47901/status/1800433253276639291
Aww esas florecitas con carita feliz son muy cuchis 😍 y hay de tantos colores, es una pulsera que irradia alegria con esas sonrisas y esos colores, esta hermosa 😍
Yo estoy super super enamorada de ellas querido Buhito.
These beads fit so well in this bracelet.White and Green emojis added live to it.
Hello, I like it very much because it radiates positive energy and joy.
How are you dear friend @equipodelta good morning
Without a doubt, these are jobs that require your creativity and a lot of patience. I love the hands you have, you make beautiful things
Have a beautiful day
Hello dear Jlufer, yes, you have to be patient, there are things that we do not count as for example, the holes of the beads are smaller than the thread and it costs a lot to pass it between them.
You make the bracelet of the hand really beautiful. I remembered seeing your bracelet post that my daughter was also insisting on a bracelet one day. Green color smiley looks good in your bracelet. @equipodelta
Thank you very much, I like it because I feel positive energies of joy and happiness, making it was fun and every time I see it I smile.
Está lindísimo!
Muchas gracias Danigada
Te quedó muy hermosa 😍 me encantó apenas la vi.
Esta pulsera tiene toques elegantes con toques divertidos, es muy bonita, una pulsera para todas las edades. Saludos