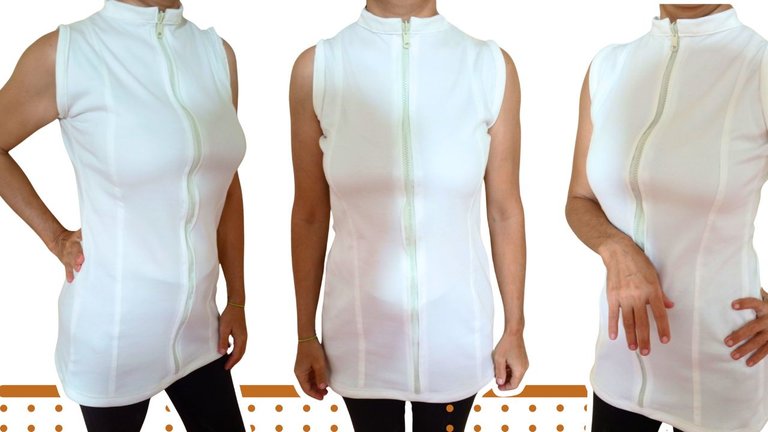
DIY: Pullover estilo chaleco / Pullover vest style (ESP/ENG)
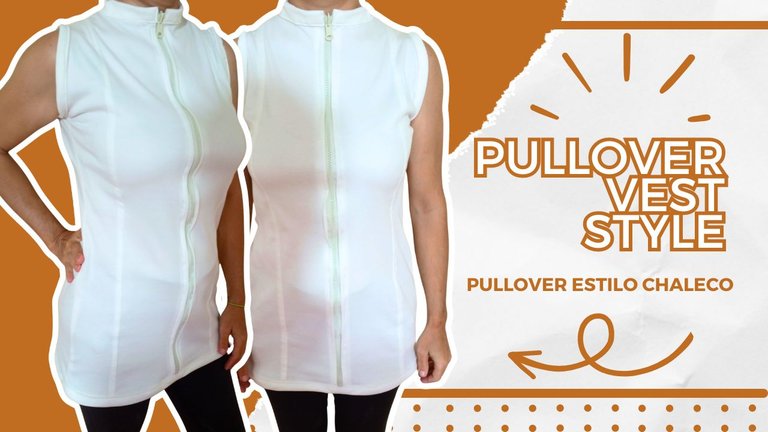

 |  |
[Esp]
¡Saludos comunidad!
Hace mucho que no trabajaba con mi máquina de coser, hoy me levanté con buen ánimo y desde temprano estuve cociendo el modelo que hoy te presento.
Hace más de un mes que compré unas telas con la intención de hacer jerséis, compré dos tipos de telas, la que hoy presento y otra que es más fina. Resulta pues que por lo delicado de la tela, al cortar y coser se deshilacha como una media de nylon, arruiné la tela y el trabajo, además que no me lucía para nada el color. No cosí más ropa por mi frustración, pensando que arruinaría otra tela.
Me levanté con la mente en positivo y me dediqué a cortar y coser con mucha paciencia, a estas cosas hay que dedicarle su debido tiempo. Es una de las prendas de ropa que he cosido que me han quedado más perfectas.
Tengo muchas anécdotas qué contar, iré haciéndolo en el paso a paso, espero les guste. Tiene su dificultad, pero con práctica podemos lograrlo (dañé una pieza antes ¡Jajaja!)
! [English version]
Greetings community!
It's been a long time since I worked with my sewing machine, today I woke up in a good mood and since early in the morning I've been working on the model that I present to you today.
More than a month ago I bought some fabrics with the intention of making sweaters, I bought two types of fabrics, the one I present today and another that is thinner. It turns out that because of the delicacy of the fabric, when cutting and sewing it frays like a nylon stocking, I ruined the fabric and the work, plus I did not look at all the color. I didn't sew any more clothes out of frustration, thinking I would ruin another fabric.
I got up with a positive mind and I cut and sewed with a lot of patience, you have to dedicate time to these things. It is one of the garments that I have sewn that have been more perfect.
I have many anecdotes to tell, I will be doing it step by step, I hope you like it. It has its difficulty, but with practice we can achieve it (I damaged a piece before, hahaha!).


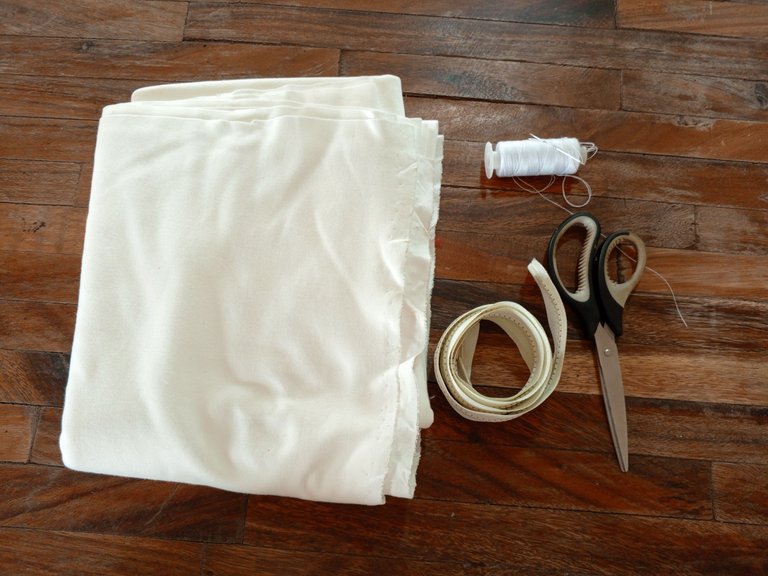
Materials / Materiales


| Spanish | English |
|---|---|
| 1 Metro de tela Liverpool | 1 Meter of Liverpool fabric |
| Cierre de chaqueta | Jacket zipper |
| Tijera | Scissors |
| Aguja, hilo | Needle, thread |
| Maquina de coser | Sewing machine |

Paso a paso / Step by Step

Step 1️⃣/ Paso 1️⃣
 |  |
[Esp]
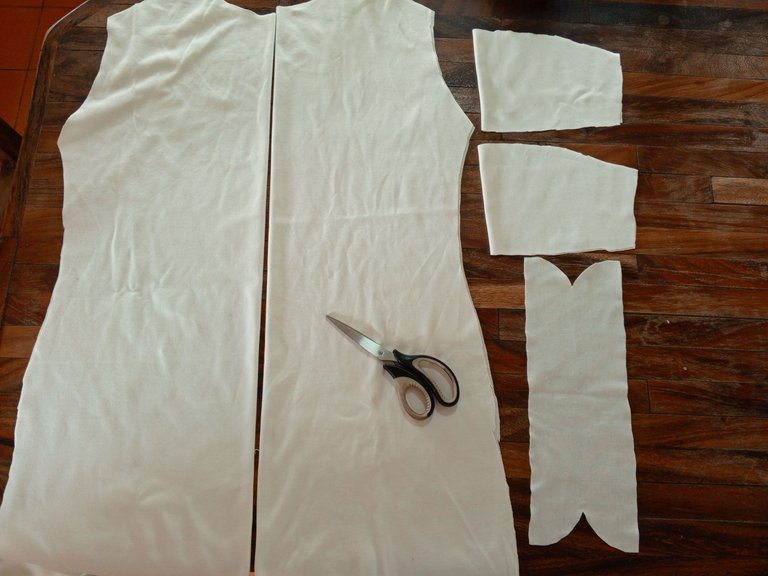
El patrón que escogí para hacer este pullover es una prenda de vestir que mucho he usado para hacer mis camisas cuello de tortuga, tan solo que tiene varias modificaciones. No sigo patrones específicos por tallas porque no tengo, tan solo mi creatividad y experiencia. Recorto las piezas, la parte delantera, trasera, el cuello y las mangas.
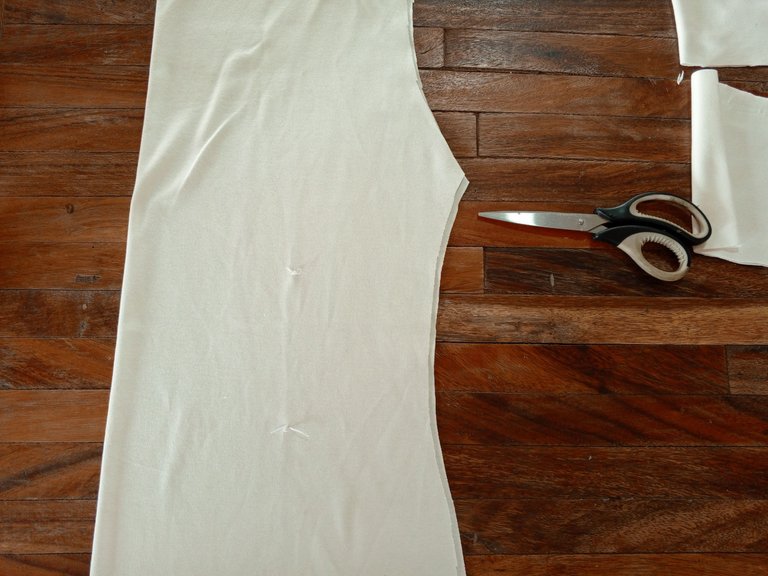
De la parte trasera con agua he ido marco donde irán las pinzas.
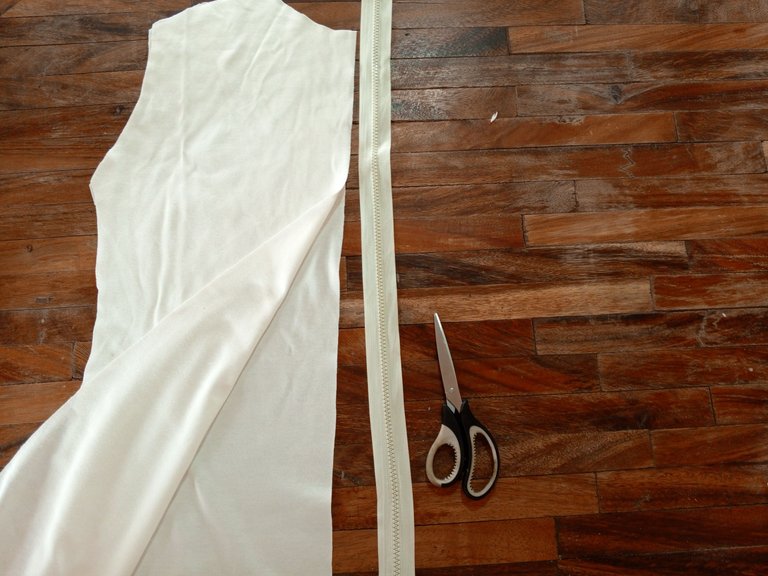
La parte delantera, doblo a la mitad y corto la tela ya que llevará el cierre.
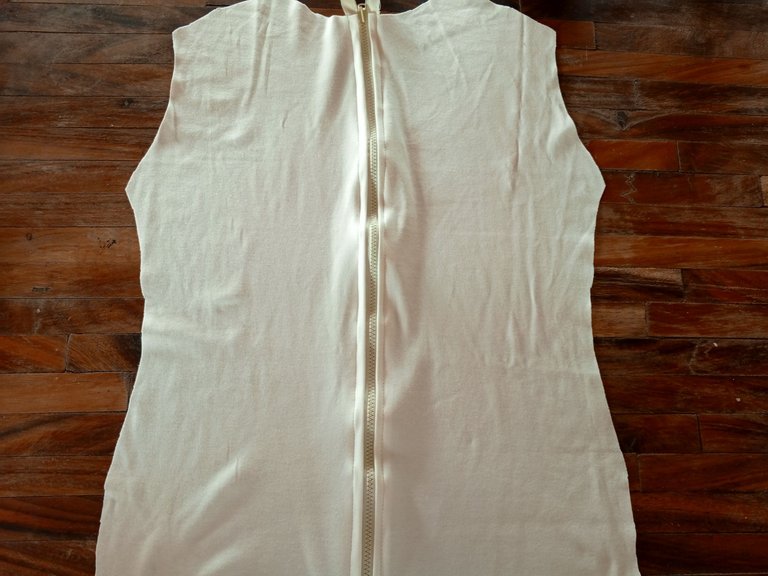
Cosí el cierre a la parte delantera, dejando un centímetro de separación de la orilla para que el cierre, como es rústico, corra sin que se quede trabado con la tela.
! [English version]
The pattern I chose to make this pullover is a garment that I have used a lot to make my turtleneck shirts, only that it has several modifications. I don't follow specific patterns by size because I don't have any, just my creativity and experience. I cut out the pieces, the front, the back, the collar and the sleeves.
On the back, I mark with water where the darts will go.
The front part, I folded in half and cut the fabric since it will have the zipper.
I sewed the zipper to the front, leaving a centimeter of separation from the edge so that the zipper, as it is rustic, runs without getting stuck with the fabric.

Step 2️⃣/ paso 2️⃣

 |  |
[Esp]
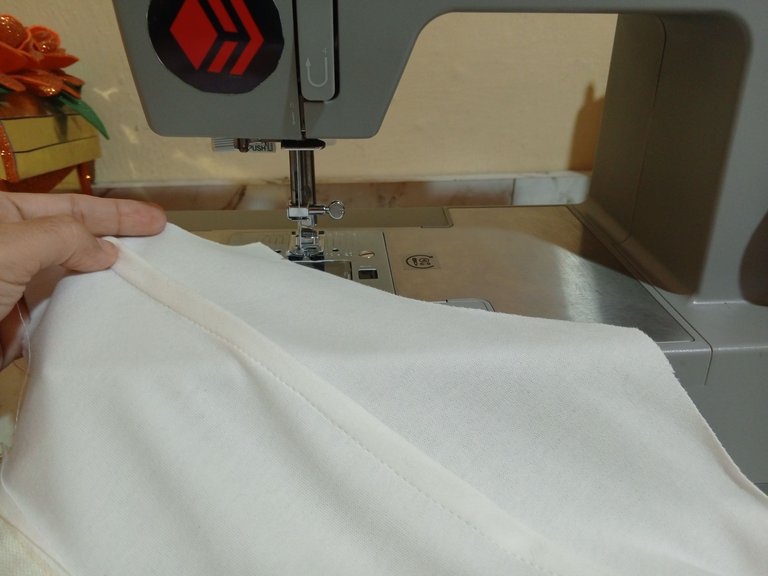
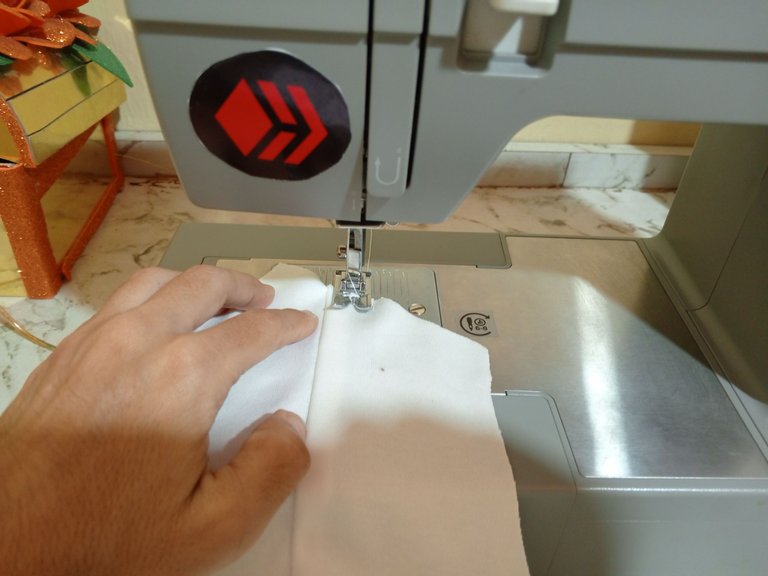
Recomiendo doblar la tela desde el alto del talle delantero (esto en cada lado) planchar para que podamos coser y quede totalmente recta la costura, cose por la parte trasera.
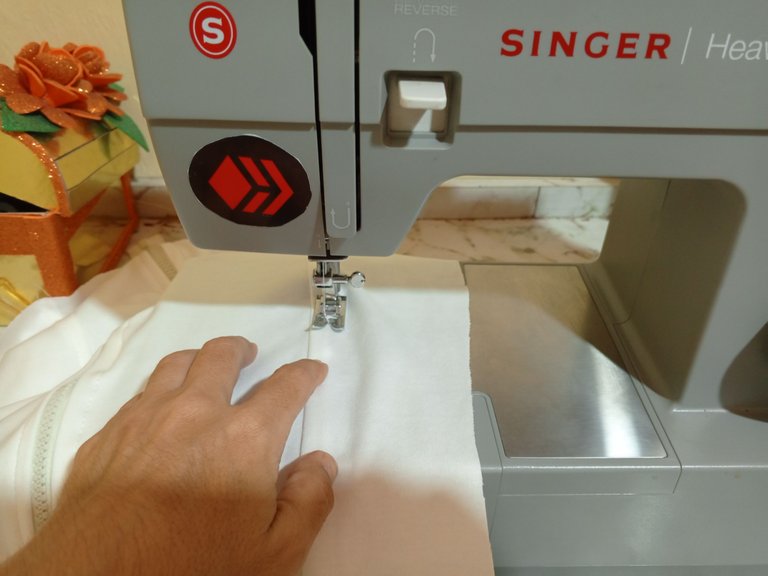
Voltea la tela y ahora pasa una recta, tratando de coser por el borde que dejamos por dentro.
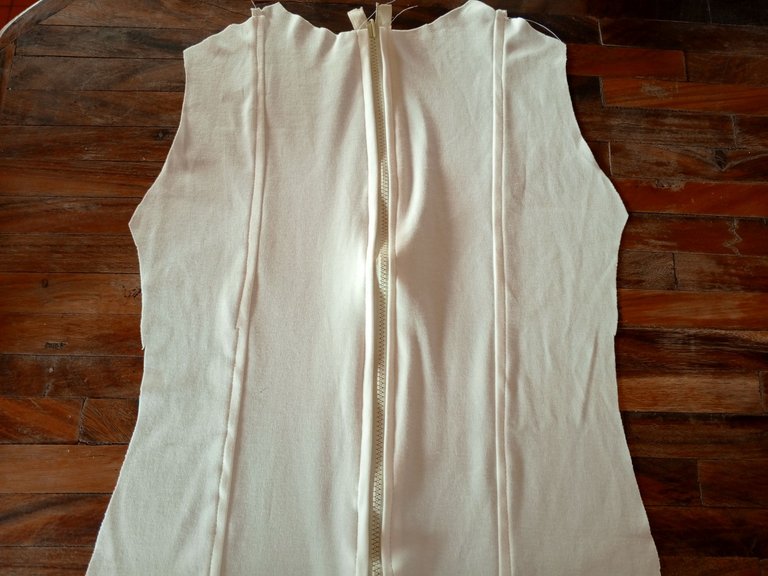
Repite el paso anterior del otro lado, el resultado es el que ves en la última imagen.
! [English version]
I recommend folding the fabric from the height of the front waistband (this on each side) and ironing so that we can sew a completely straight seam, sew along the back.
Turn the fabric inside out and now sew a straight seam, trying to sew along the edge we left on the inside.
Repeat the previous step on the other side, the result is the one you see in the last picture.

Step 3️⃣/ paso 3️⃣

 |  | |
 |  |
[Esp]
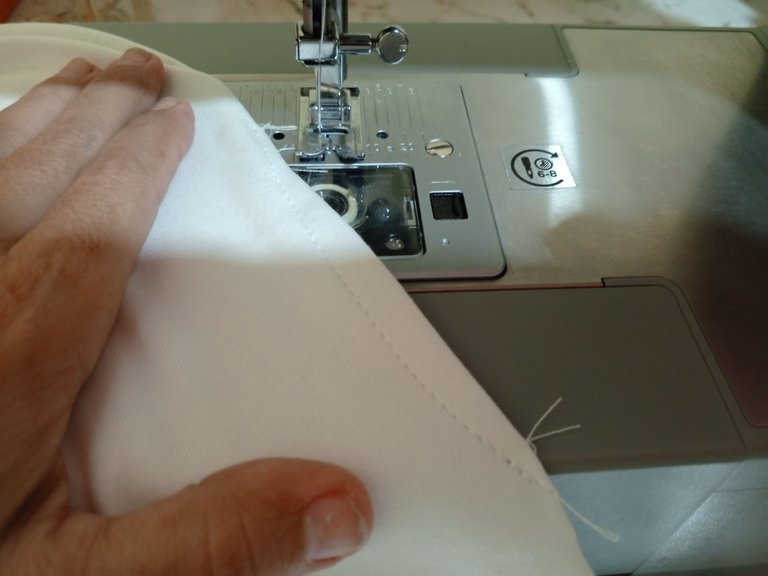
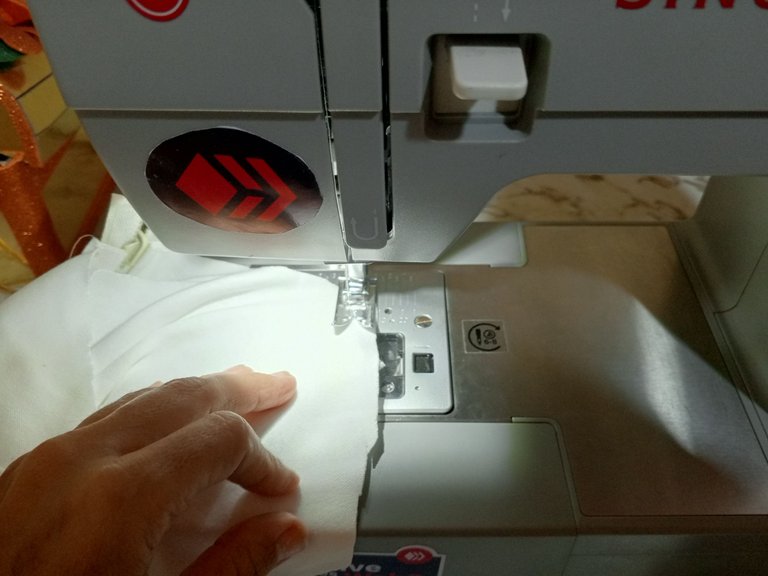
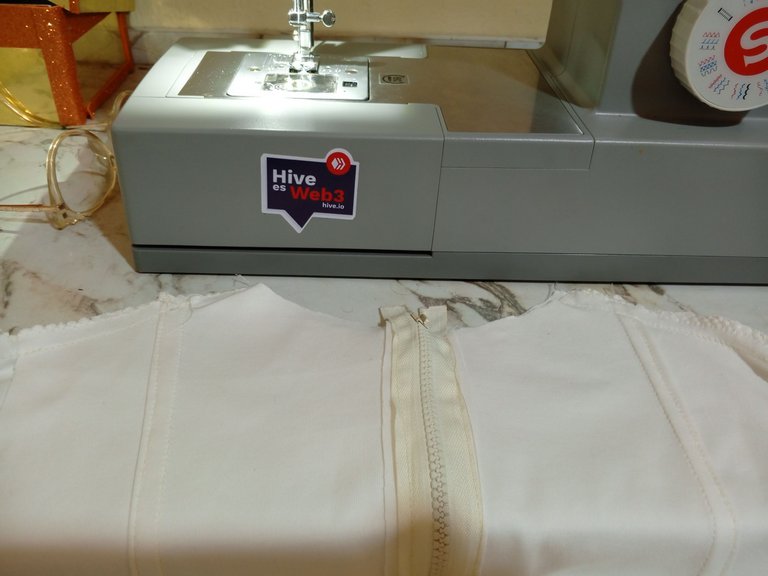
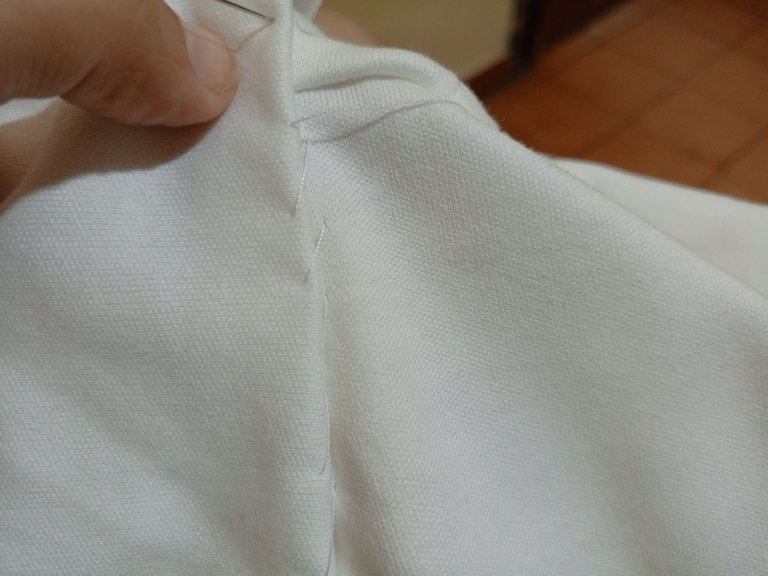
Coser las pinzas de la parte trasera.
Cerrar el largo del hombro de ambos lados.
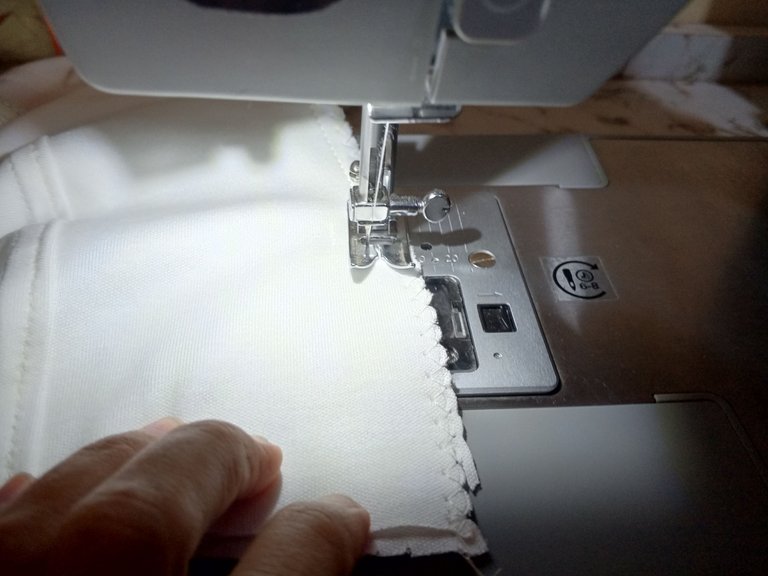
Colocar la pieza delantera junto a la trasera de frente coser recta y luego zig zag.
! [English version]
Sew the back darts.
Close the shoulder length on both sides.
Place the front piece next to the back piece facing sew straight and then zig zag.

Step 4️⃣/ paso 4️⃣

 |  | |
 |  |
[Esp]
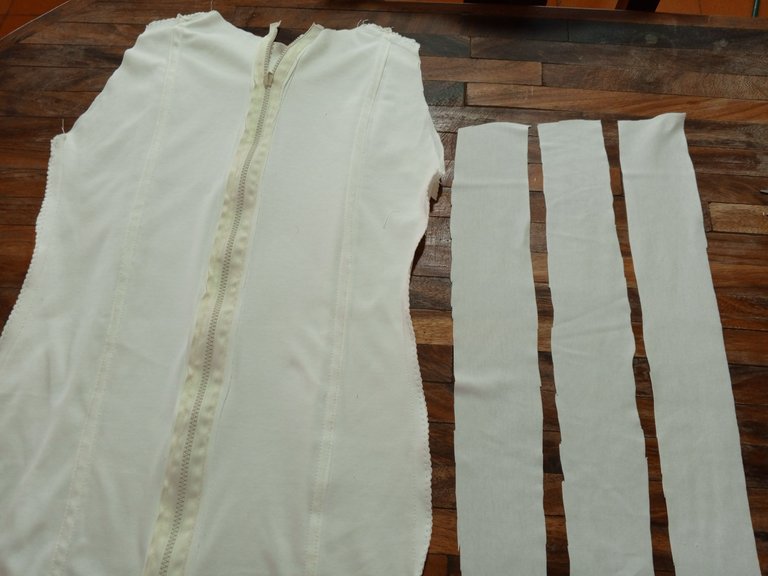
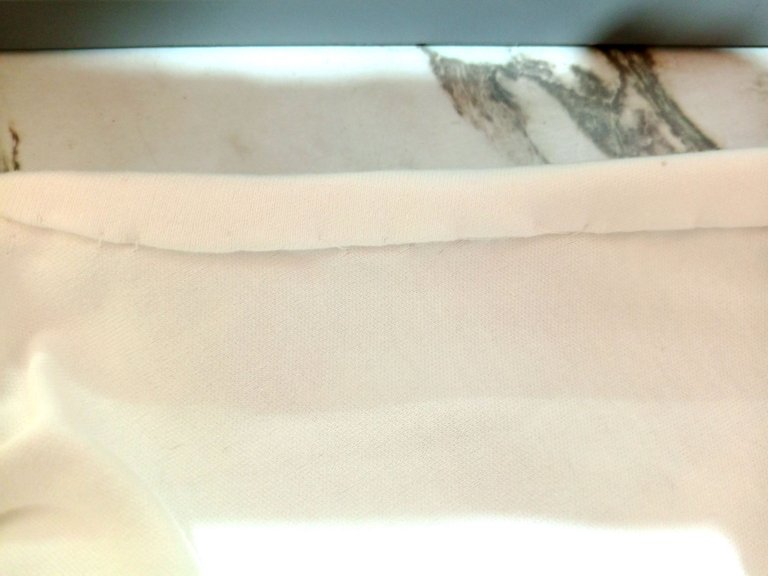
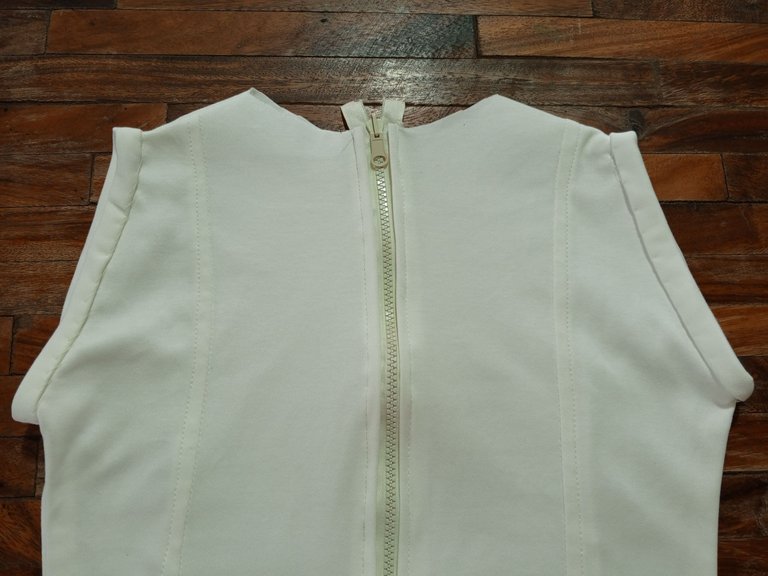
Sucede pues, que acostumbro a probarme la ropa una vez que cosí los laterales y el alto de los hombros, pues si tengo que hacer algún ajuste antes de pegar el cuello y las mangas. Al probarme la prenda me di cuenta que estaba tan bien hecha en sus medidas y tan bien cosida que colocarle el cuello de tortuga y las mangas me limitaría a usar la prenda solo cuando el clima esté fresco ya que la tela es muy gruesa, el contorno del cuello estaba bien a la altura, podía ponerle un dobladillo sencillo y estaba segura que luciría mejor, por lo tanto, recorté tres tiras de tela adicionales, para las mangas y el cuello.
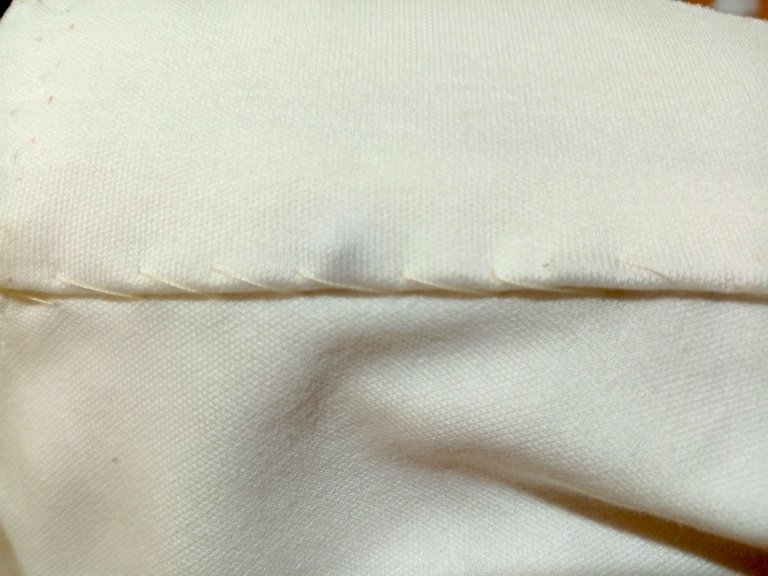
Para que todo estuviera prolijo y sujeto a una sola costura basteé los dobladillos de las mangas. Nada más verlo así ya lucían muy a mi gusto.
! [English version]
It so happens that I am in the habit of trying on the garment once I have sewn the sides and shoulders, because if I have to make any adjustments before attaching the collar and sleeves. When I tried on the garment I realized that it was so well made in its measurements and so well sewn that attaching the turtleneck and sleeves would limit me to wear the garment only when the weather is cool because the fabric is very thick, the neckline was well to the height, I could put a simple hem and I was sure it would look better, therefore, I cut three additional strips of fabric, for the sleeves and neck.
So that everything would be neat and attached to a single seam, I just cut off the sleeve hems. As soon as I saw it this way, it looked very much to my liking.

Step 5️⃣/ paso 5️⃣

 |  | |
 |  |
[Esp]
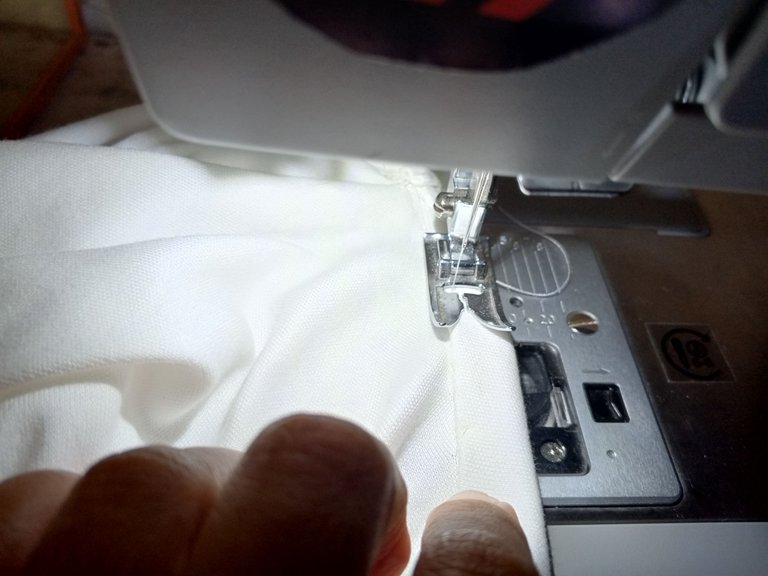
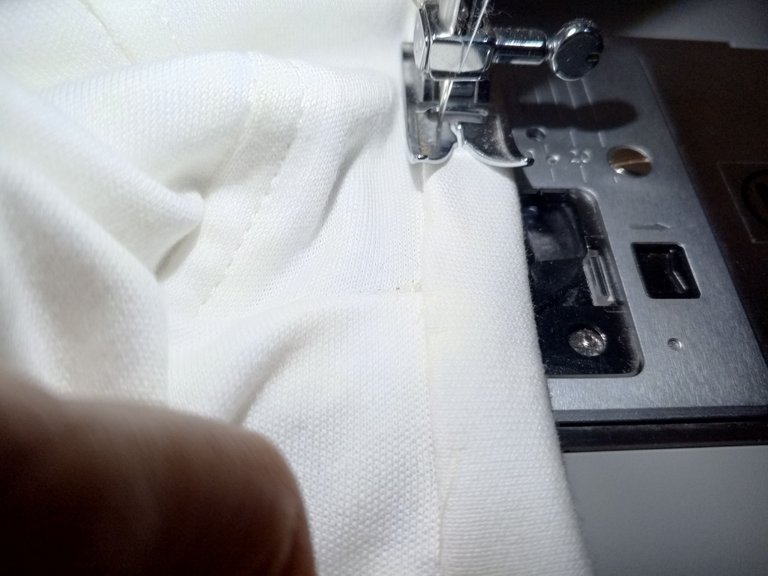
Pasa la costura recta por cada borde de las mandas ya basteados.
Repetí los procedimientos con de las mangas con el cuello.
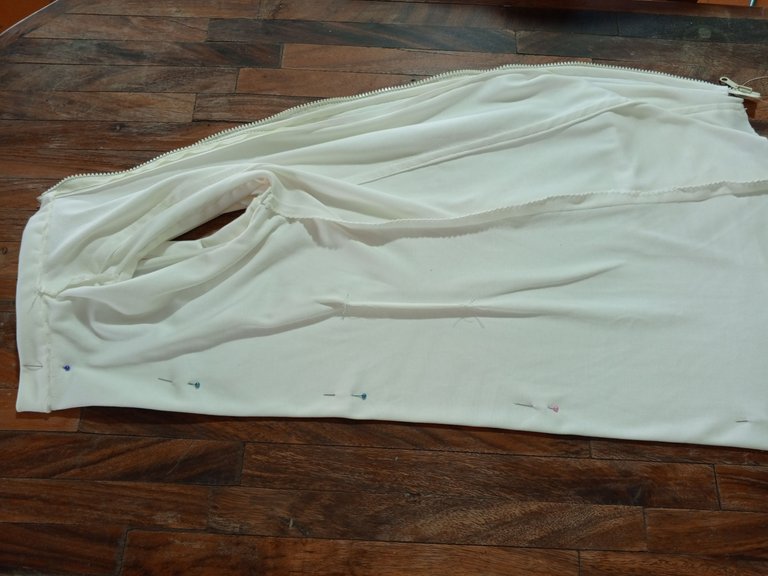
Dividí la pieza por la mitad, pues al probármela me di cuenta que se hacía necesario una costura por el centro para ajustar más la pieza al cuerpo, eso también sería decoración.
! [English version]
Pass the straight seam along each edge of the already basted mandarins.
I repeated the procedures for the sleeves and the collar.
I divided the piece in half, because when I tried it on I realized that a seam was needed in the center to adjust the piece to the body, that would also be decoration.

Step 6️⃣/ paso 6️⃣

 |  | |
 |  |
[Esp]
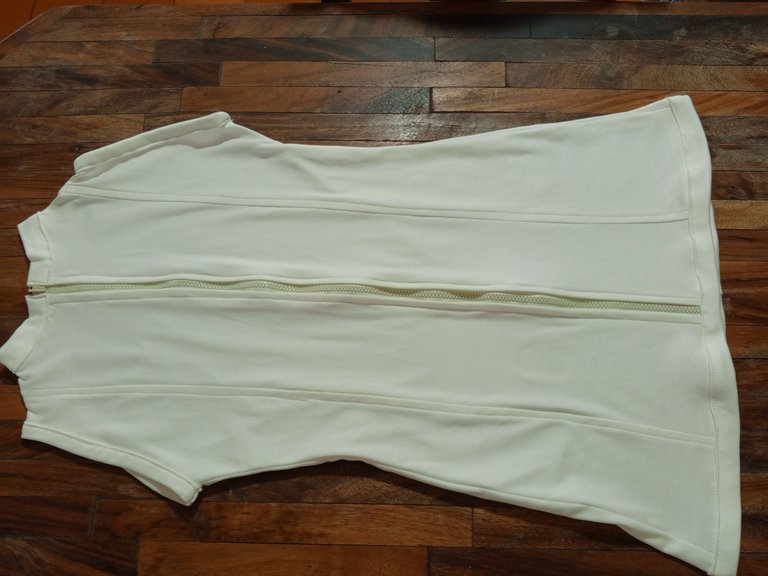
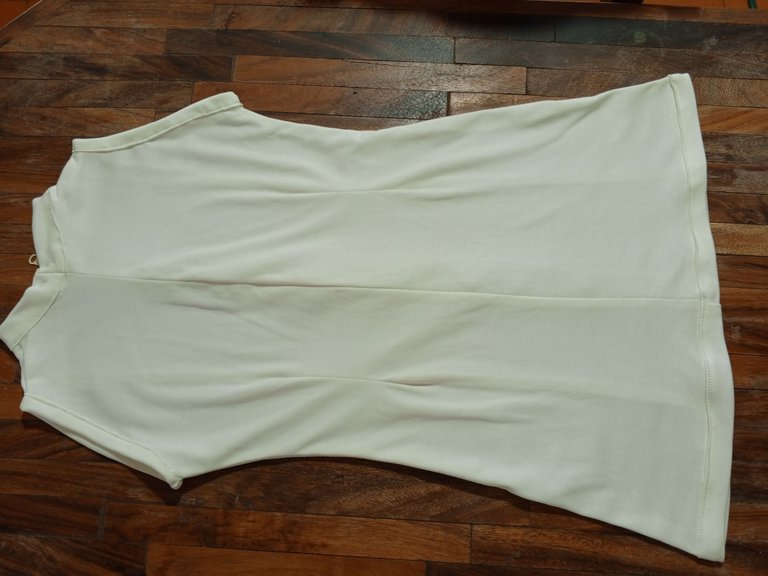
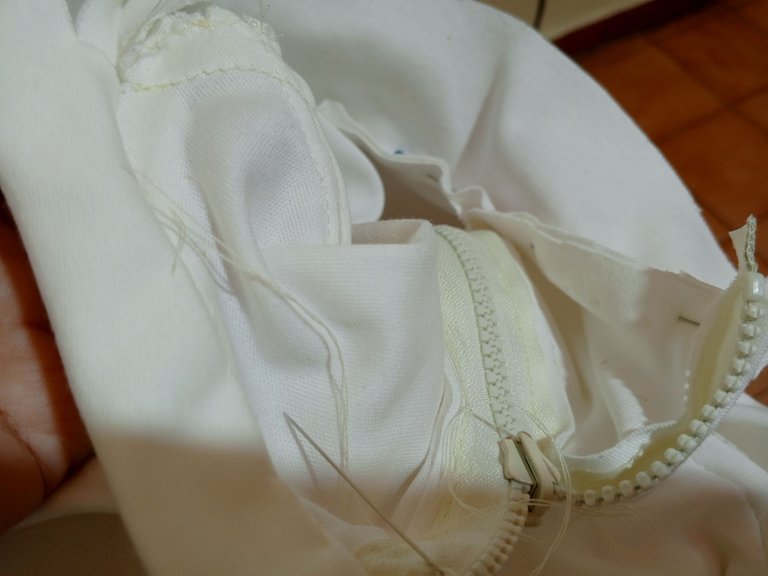
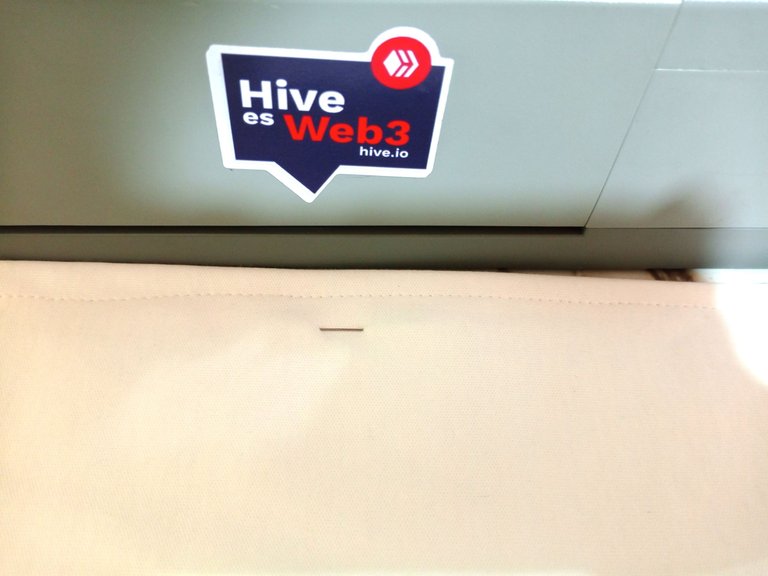
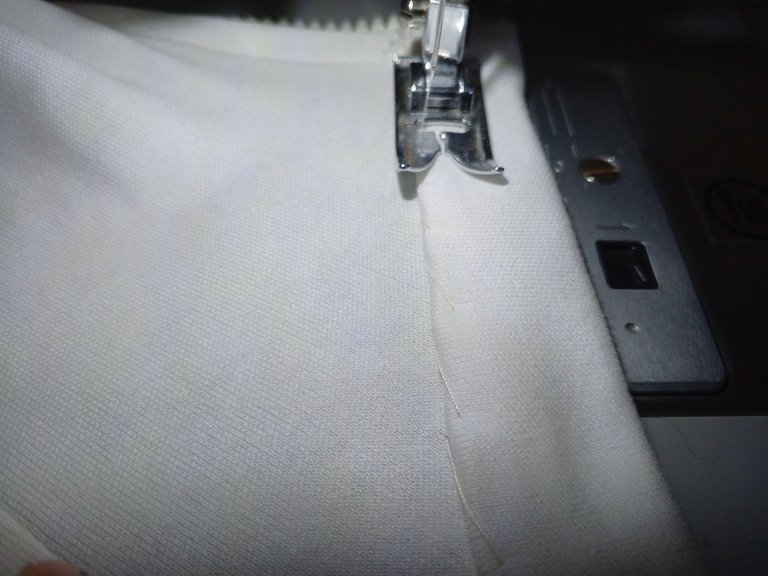
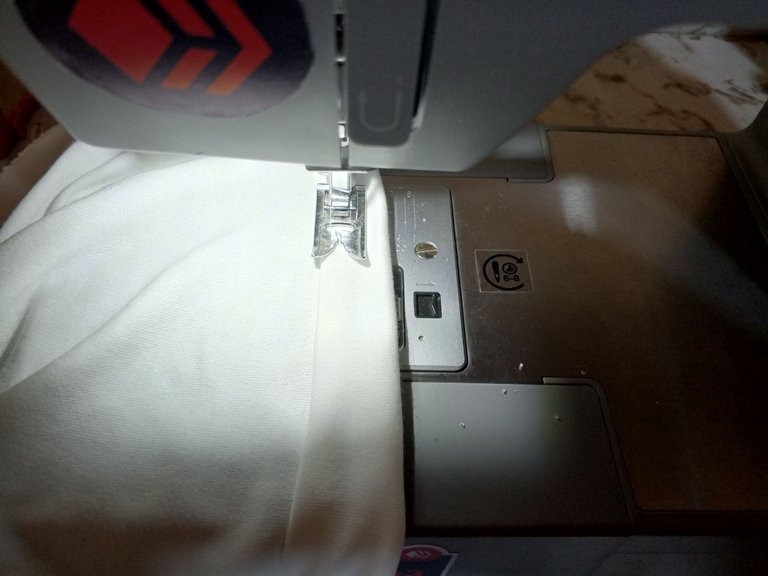
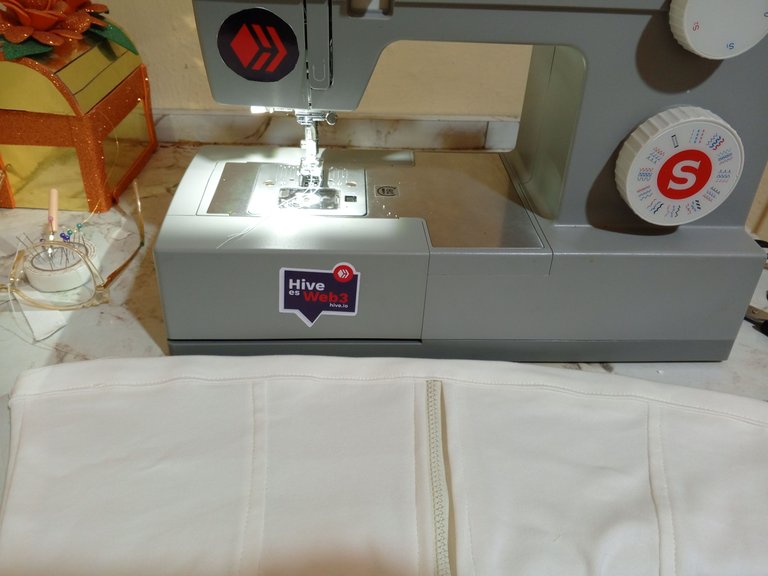
La o costura trasera queda como muestra la primera imagen.
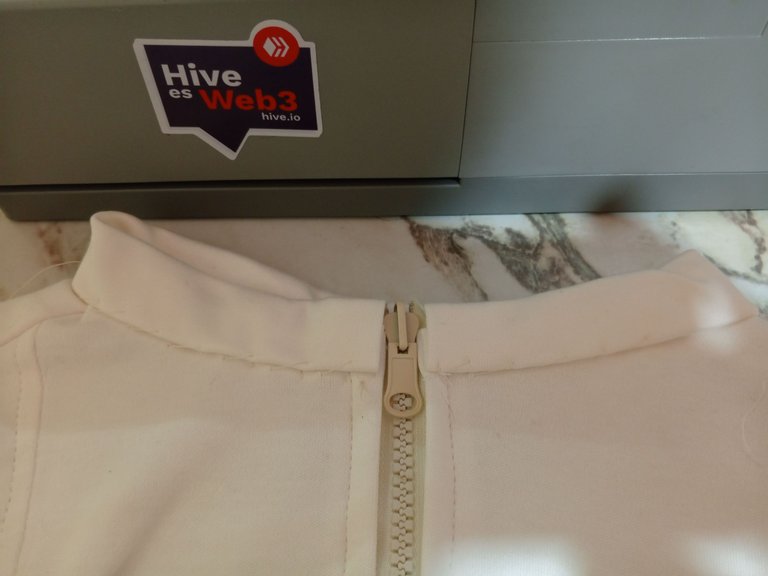
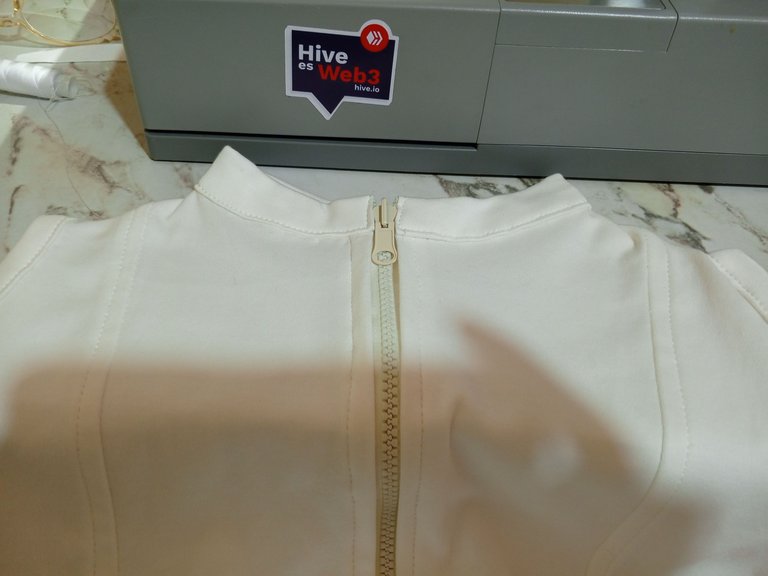
Luego pasé la costura recta por la orilla del cuello que previamente basteé.
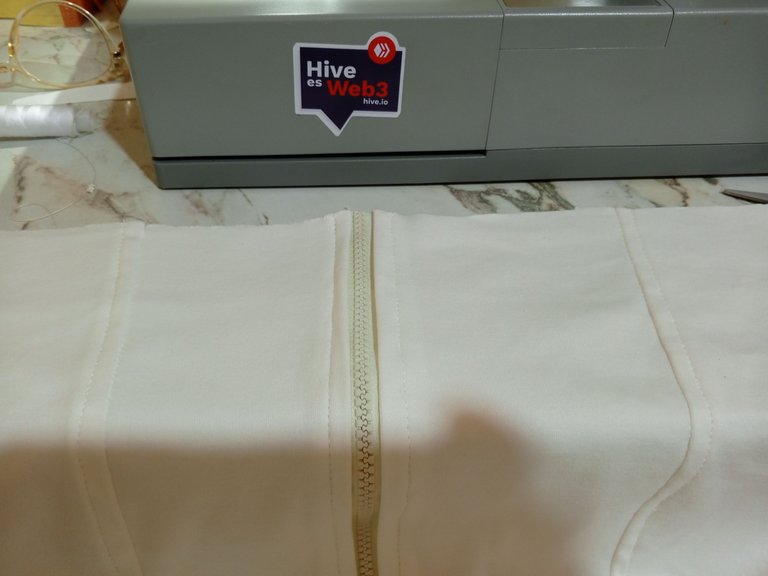
Corté el excedente del cierre.
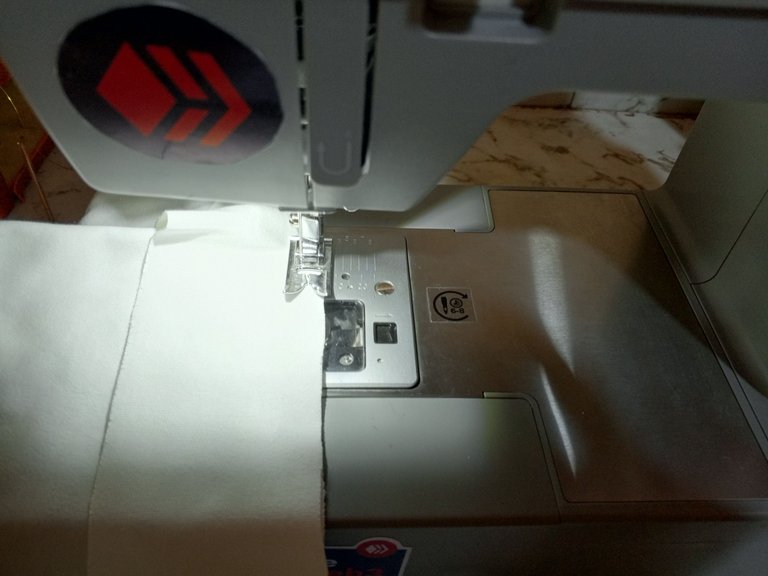
Cosí la primera recta del dobladillo.luego volteé u cosí el dobladillo por el otro lado.
! [English version]
The back seam is as shown in the first picture.
Then, I passed the straight seam along the edge of the neck that I previously basted.
I cut off the excess seam allowance.
I sewed the first straight seam of the hem, then turned and sewed the hem on the other side.

Step 7️⃣/ paso 7️⃣

 |  | |
 |  |
[Esp]
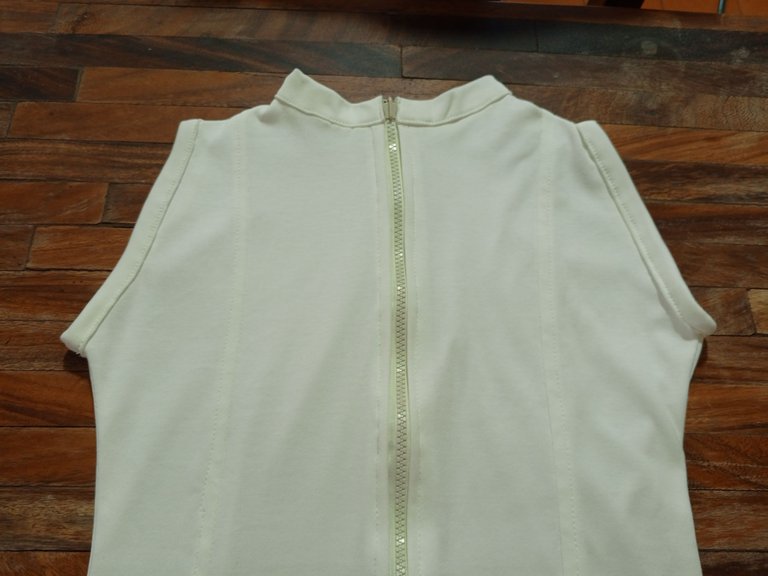
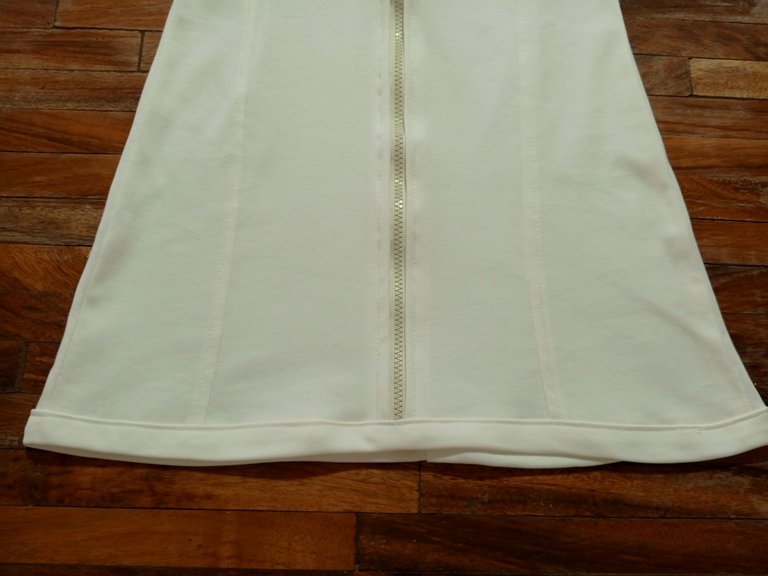
Gracias a la tela que es muy amigable para trabajar pude haber hecho un trabajo eficiente y prolijo, aprendí un poco más sobre las telas y los consejos de mi madre en cuanto a ellas, no es que no se pueda trabajar con otras telas, sino que necesitan cosas especiales para poder coserlas y que no se dañen o rueden cosiendo.
Espero les guste mi proyecto, empecé queriendo hacer algo cuello alto o cuello de tortuga, pero me di cuenta que el pullover tenía otra personalidad.
Nos vemos en mi siguiente publicación.
! [English version]
Thanks to the fabric which is very friendly to work with I could have done an efficient and neat job, I learned a little more about fabrics and my mother's advice about them, it's not that you can't work with other fabrics, but they need special things to be able to sew them so they don't get damaged or roll while sewing.
I hope you like my project, I started out wanting to make something turtleneck or turtleneck, but I realized that the pullover had another personality.
See you in my next post.


Créditos / Credits




💜💜💜


![]() 👉
👉  👉
👉  👉
👉  👉
👉 
Here / Bríndame un café

This post has been manually curated by @steemflow from Indiaunited community. Join us on our Discord Server.
Do you know that you can earn a passive income by delegating to @indiaunited. We share more than 100 % of the curation rewards with the delegators in the form of IUC tokens. HP delegators and IUC token holders also get upto 20% additional vote weight.
Here are some handy links for delegations: 100HP, 250HP, 500HP, 1000HP.
100% of the rewards from this comment goes to the curator for their manual curation efforts. Please encourage the curator @steemflow by upvoting this comment and support the community by voting the posts made by @indiaunited.
Lovely style. I love the zipper style
Also the color choice ❤️
¡Felicidades! Esta publicación obtuvo upvote y fue compartido por @la-colmena, un proyecto de Curación Manual para la comunidad hispana de Hive que cuenta con el respaldo de @curie.
Si te gusta el trabajo que hacemos, te invitamos a darle tu voto a este comentario y a votar como testigo por La Colmena.
Si quieres saber más sobre nuestro proyecto, te invitamos a acompañarnos en nuestro servidor de Discord.
Muy bonito trabajo
You are a multi-talented person. Because you know how to make pearl bracelets (jewellery) in the onion of the hand. Your digital art is amazing. And now the top is also sewn well. Salutations to you. @equipodelta
Es un lindo trabajo, bien elaborado y el color me gusta 😉 saludos
Nunca dejo de maravillarme con tu blog 😍 a veces pienso que todo en torno a tu vida es elaborado con tus propias manos... Eso es un gran don mi amiga, me encanta que lo uses y que te sientas bien con ello. Todo lo que yo tengo es comprado jajaja. Feliz de leerte, tenía tiempo sin comentarte sorry 😉 pero aquí estoy deleitándome con el poder de tu máquina de cocer... Yo tengo varias calcomanías de Hive y aún no me decido donde colocarlas 😅
Hola Isabela, este post me d aun poco de nostalgia porque he anhelado desde siempre una máquina de coser y aún no la he podido adquirir, coser es una de mis materias pendientes en esta vida. Te felicito por este trabajo, quedó hermoso.
Amiga quede fascinada con este hermoso chaleco, se ve bastante cómodo, suave y elegante, para climas fríos, me gustaría usarla con una blusa de mangas largas en otro color que resalte el blanco.
https://x.com/hivediy47901/status/1804713948585042081
Al final la prenda quería ser terminada de otra manera.
Un trabajo muy bueno, le felicito.
Hola amiga, que hermoso trabajo el chaleco se ve espectacular, este tipo de cuello es de mis favoritos, con el cierre luce genial.
Que tengas un lindo día!
Quedó lindo la chaqueta, a pesar de que dices que no sigues un patrón, pero solamente con la idea y de tener las piezas bien cortadas pudiste lograrlo, es cierto que no todas las telas sirven para algo específico, hay que ir probando depende de lo que queramos hacer, te felicito, feliz día.
que bonito quedo amiga! con una tela mas gruesa quedaria genial un vestidito para los domingos 😉