DIY: Hair Bow / Lazo para el cabello (Esp/Eng)
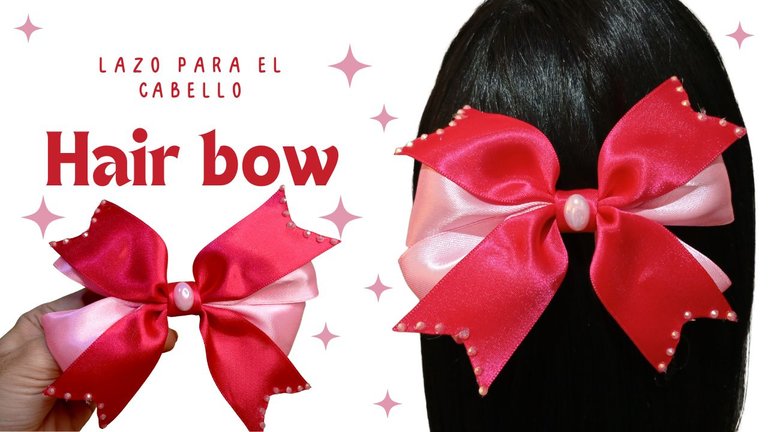

[Esp]
¡Hola amados!
Es curioso tener una idea la manualidad que haremos y de pronto a medio camino vamos cambiando de forma, haciendo que esta sea algo diferente a lo que habíamos visualizado, sin embargo quedó hermosa, considero que pudo hasta superar la idea que tenía anterior a ella.
Partí desde la idea de un lazo básico de 4 puntas, quería que tuviera algo como colgantes, sin embargo, me pareció mejor dejar solo la pedrería y que esta fuera la que resaltara, además las decoraciones extra que quería colocar como que no combinaban muy bien con los colores.
Hoy aprenderemos hacer lazos de 4 puntas a mi estil, siempre busco una forma cómoda de hacer las cosas, por lo que aprendí de esta forma. Espero les guste, son pocos pasos y muy fácil de hacerlo, los lazos para el cabello siguen de moda, por lo cual siguen siendo una excelente idea de emprendimiento.
! [English version]
Hello loved ones!
It's funny to have an idea of the craft that we will do and suddenly halfway we are changing shape, making this something different from what we had visualized, however it was beautiful, I think it could even surpass the idea I had before it.
I started from the idea of a basic 4 point bow, I wanted it to have something like pendants, however, it seemed better to leave only the rhinestones and that this was the one that stood out, besides the extra decorations that I wanted to place as they did not combine very well with the colors.
Today we will learn how to make 4 point bows in my style, I always look for a comfortable way to do things, so I learned this way. I hope you like it, they are few steps and very easy to do, hair bows are still in fashion, so they are still an excellent idea of entrepreneurship.

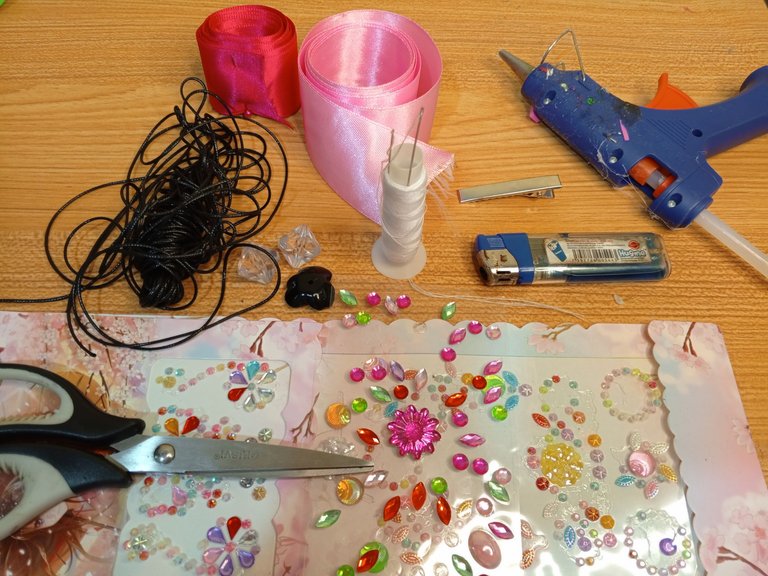
Materiales / Materials

| Spanish | English | |
| Pedrería de fantasía | Fancy rhinestones | |
| Cinta de raso N°9 color rosa y fucsia | Pink and fuchsia color ribbon N°9 | |
| Tijera, aguja e hilo | Scissors, needle and thread | |
| Gancho caimán para el cabello | Alligator hair clip | |
| Pistola de silicón caliente | Silicone hot gun | |
| Yesquero | Tinder |

Paso a paso / Step by Step

Step 1️⃣/ Paso 1️⃣
 |  |
[Esp]
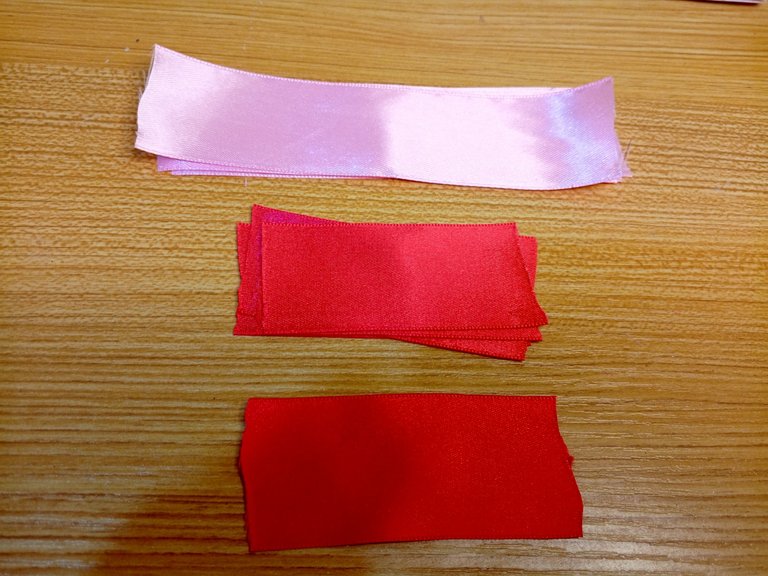
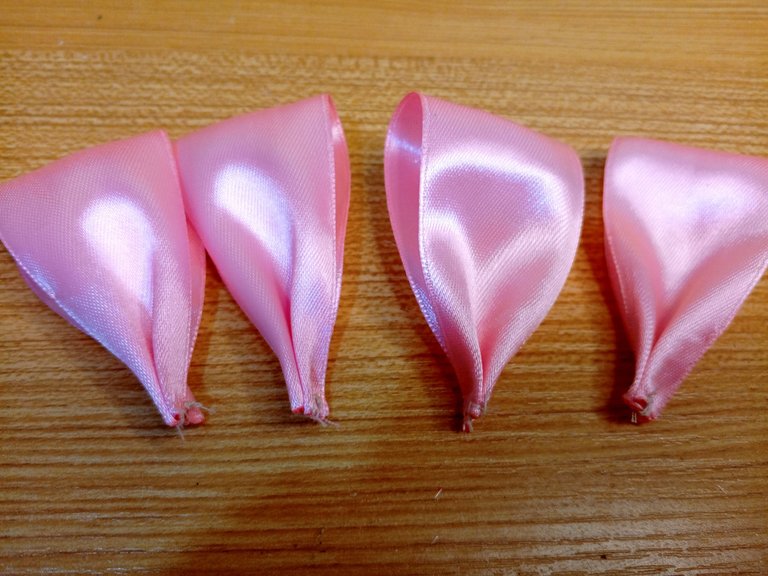
Corta 4 piezas de conta de raso de color rosa de 15 centímetros de largo y 5 piezas de cinta de raso color fucsia de 7.5 centímetros de largo.
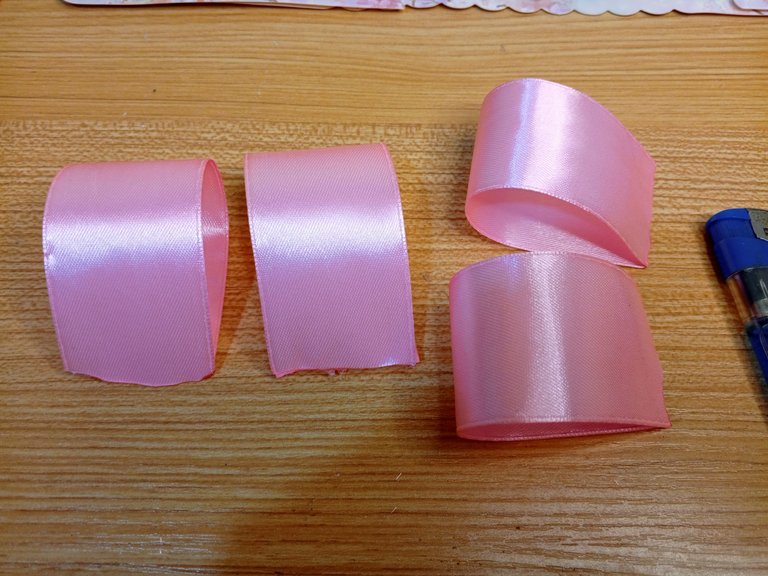
Dobla las piezas de color rosa por la mitad y pasa el yesquero uniendo la pieza en las puntas. Repite este paso en las tres piezas restantes.
Realiza un doblez en cada punta y cose a mano.
! [English version]
Cut 4 pieces of pink satin ribbon 15 centimeters long and 5 pieces of fuchsia satin ribbon 7.5 centimeters long.
Fold the pink pieces in half and pass the tinder joining the piece at the ends. Repeat this step on the remaining three pieces.
Make a fold at each end and sew by hand.

Step 2️⃣/ paso 2️⃣

 |  |
[Esp]
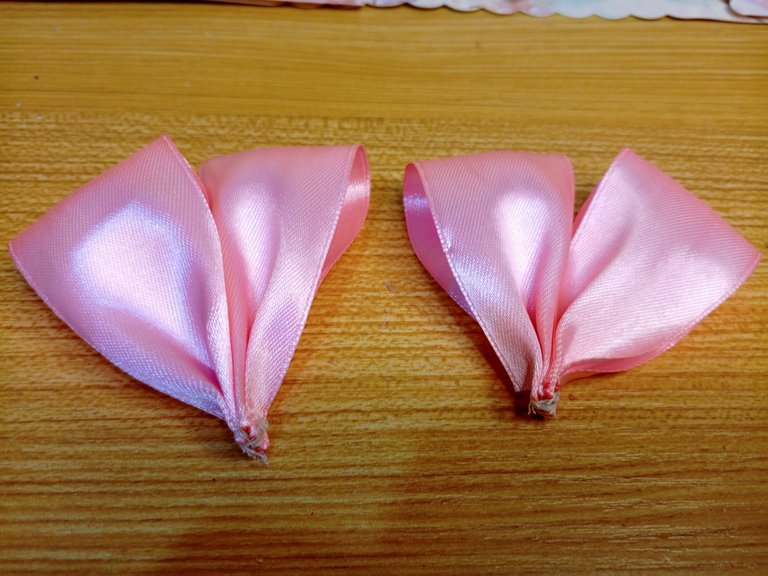
Toma dos partes y las unes cosiendo, también puedes aplicar pegamento, yo preferí coser a mano para que sea más resistente. Repite este paso con las otras dos piezas.
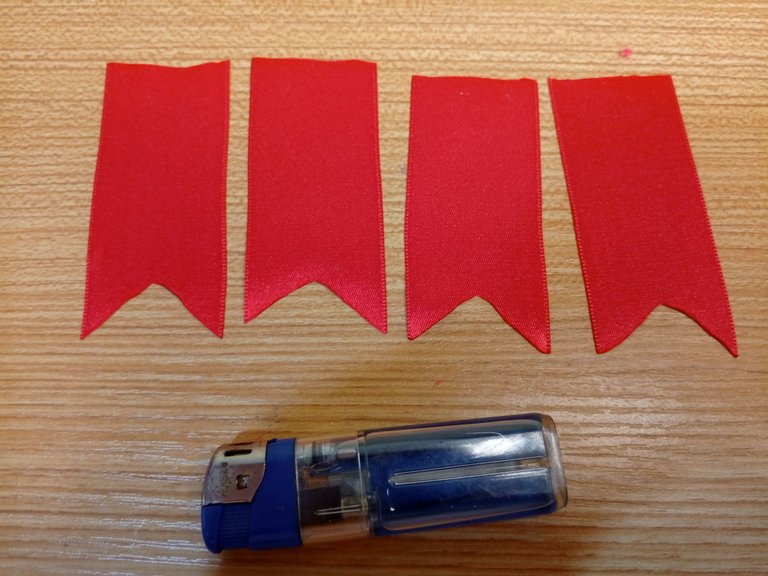
Toma 4 piezas de la conta de color fucsia, dobla por la mitad y realiza un corte diagonal, luego pasa el yesquero en ambas puntas para evitar que se deshilache, repite este procedimiento con las tres piezas restantes.
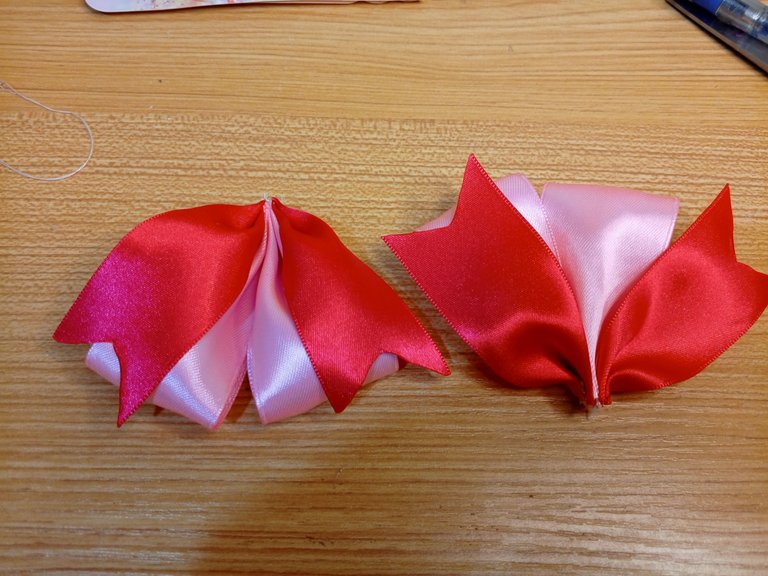
Cose las piezas fucsia a cada pieza de color rosa.
! [English version]
Take two parts and sew them together, you can also apply glue, I preferred to sew by hand to make it more resistant. Repeat this step with the other two pieces.
Take 4 pieces of the fuchsia colored conta, fold in half and make a diagonal cut, then pass the tinder on both ends to prevent fraying, repeat this procedure with the remaining three pieces.
Sew the fuchsia pieces to each pink piece.

Step 3️⃣/ paso 3️⃣

 |  |
 |  |
[Esp]
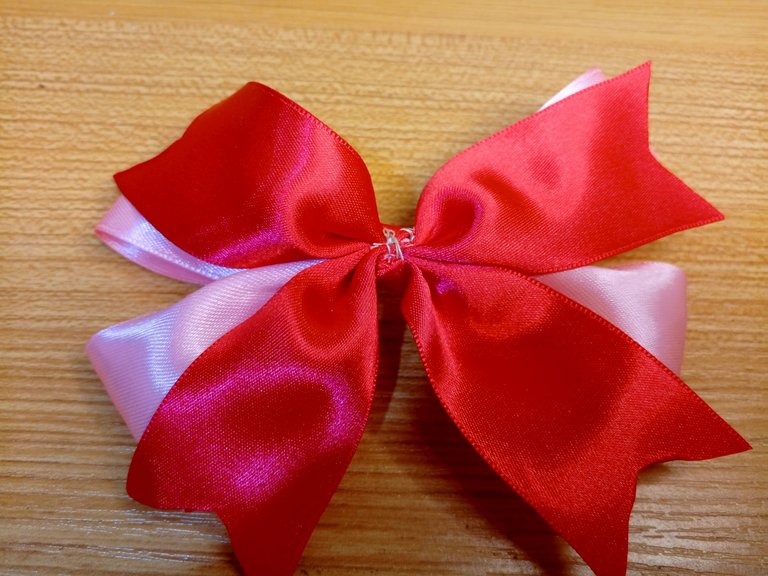
Une las dos piezas por el centro con costura preferiblemente.
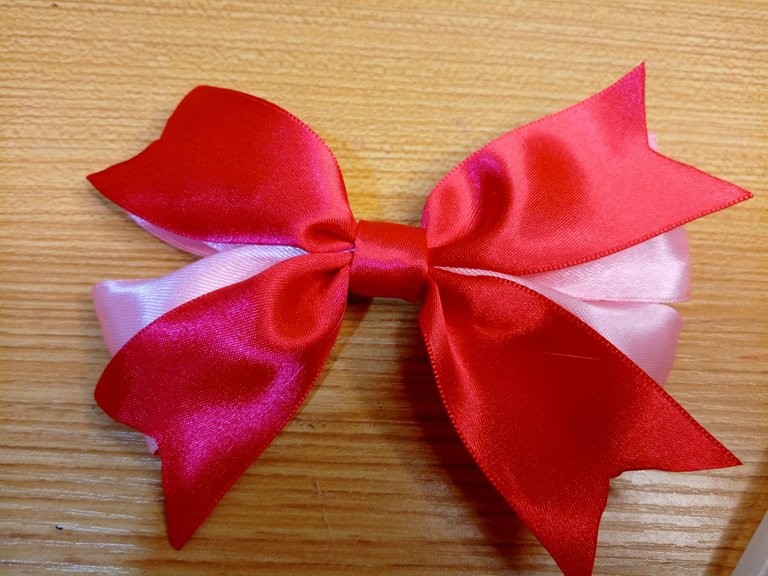
Toma la pieza restante de color fucsia, aplica pegamento y dobla en el centro.
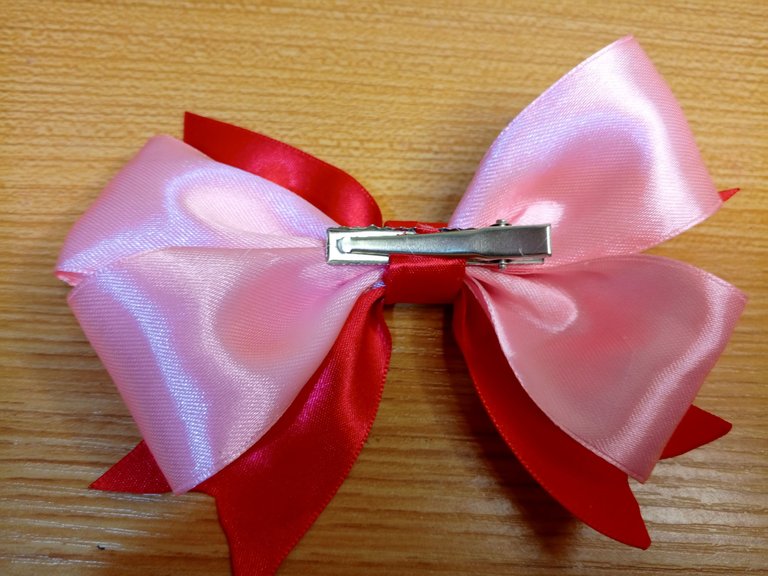
Coloca un punto de pegamento en la parte trasera y pega la pieza, luego aplica pegamento nuevamente y pega el gancho caimán.
Pasa la cinta por la parte delantera del lazo y termina la unión por la parte trasera abrazando el gancho para que quede mejor fijo.
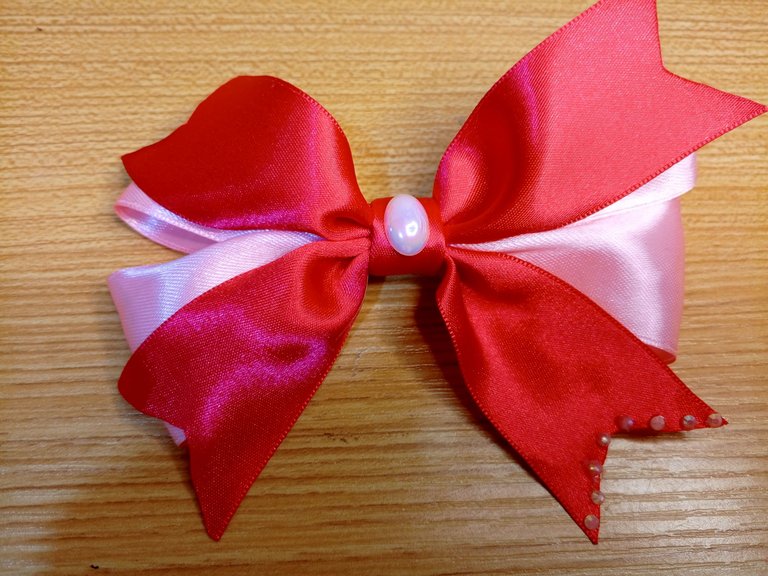
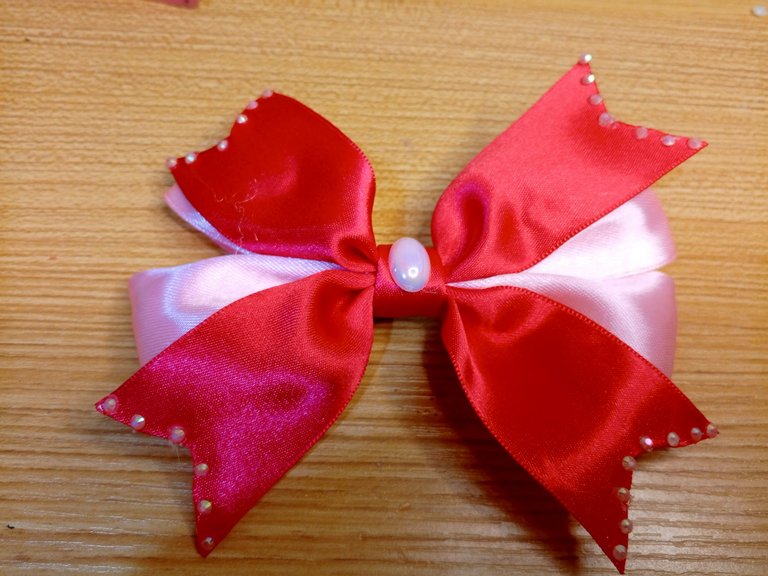
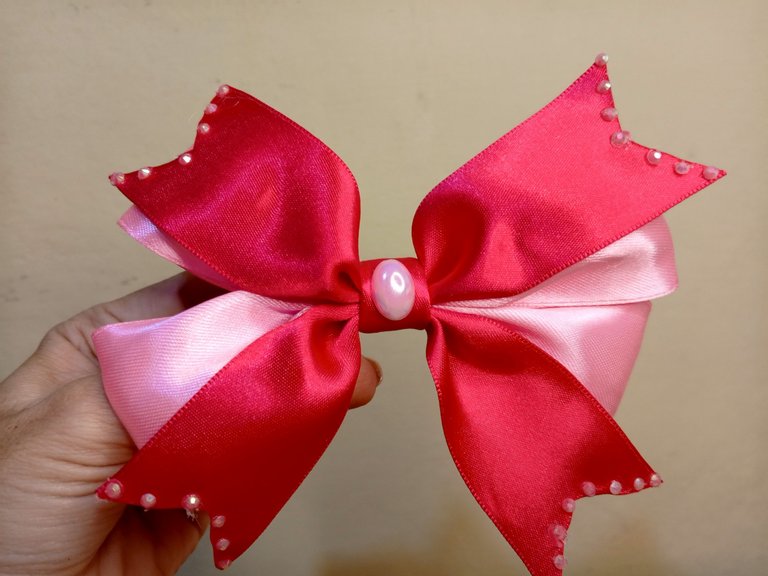
Pega una pedrería grande en el centro, procura que la pedrería combine con los colores de las cintas.
Comienza a pegar la pedrería por los bordes de las cuatro cintas color fucsia.
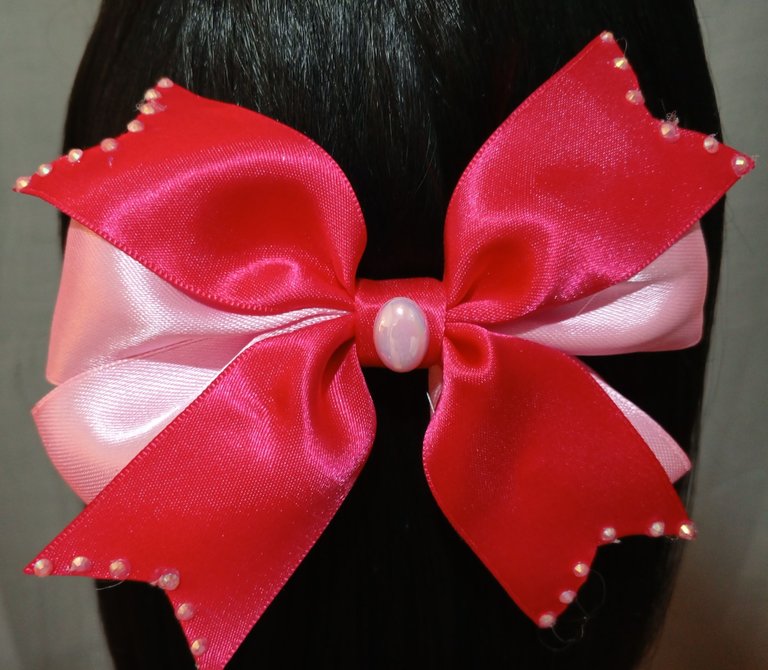
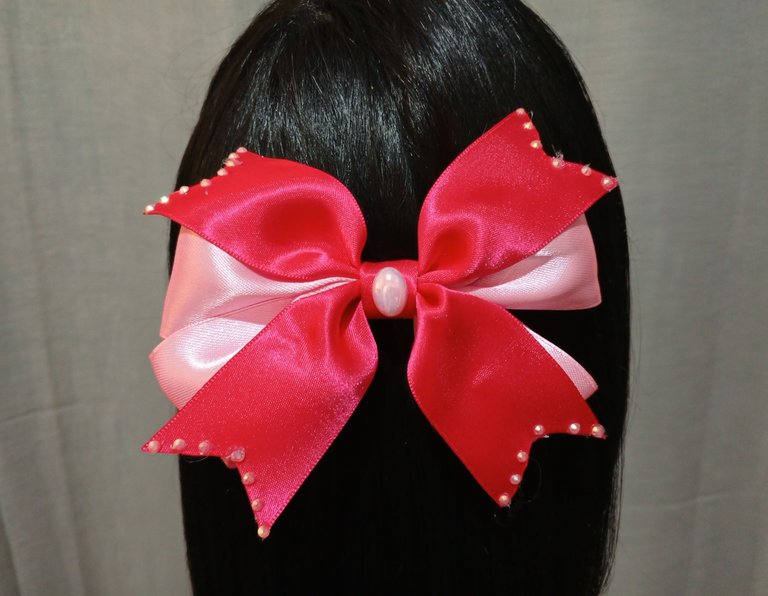
Espero te guste este proyecto, fácil de hacer y muy económico.
! [English version]
Sew the two pieces in the center with stitching preferably.
Take the remaining fuchsia piece, apply glue and fold in the center.
Place a dot of glue on the back and glue the piece, then apply glue again and glue the alligator hook.
Thread the ribbon through the front of the bow and finish the joint at the back by hugging the hook to make it more secure.
Glue a large rhinestone in the center, making sure that the rhinestones match the colors of the ribbons.
Start gluing the rhinestones around the edges of the four fuchsia ribbons.
I hope you like this project, easy to make and very economical.


Créditos / Credits




💜💜💜


![]() 👉
👉  👉
👉  👉
👉  👉
👉 
Here / Bríndame un café

Good afternoon and hopefully the best for all of us.The creations of handicrafts that you have shown are quite good.
Wow 😲 is beautiful nice work
Es curioso, la mente imagina algo y las manos crean otra jaja creo que es tener la idea en mente y luego dejar que la creatividad haga su trabajo, a veces resulta mejor de lo pensado ❤️
Muy coqueto este lazo 😍 (me imagine a Buhito luciendo uno parecido jaja)
This post has been manually curated by @steemflow from Indiaunited community. Join us on our Discord Server.
Do you know that you can earn a passive income by delegating to @indiaunited. We share more than 100 % of the curation rewards with the delegators in the form of IUC tokens. HP delegators and IUC token holders also get upto 20% additional vote weight.
Here are some handy links for delegations: 100HP, 250HP, 500HP, 1000HP.
100% of the rewards from this comment goes to the curator for their manual curation efforts. Please encourage the curator @steemflow by upvoting this comment and support the community by voting the posts made by @indiaunited.
One amazing thing about creative people is the ability to create just anything with their minds. The more you proceed with whatever you are making the more ideas you begin to have and most times these ideas are so enormous that they can't all fit in a box so you just have to make do with the one that you can and whatever you have, always come out pretty well. Your bow is so lovely and unique and we love the colour combination. Thank you for sharing your creative piece with us as a community.
Amiga, esta precioso, en tonos azules está ideal para el colegio.
Gracias por compartir
Quedó muy bonito , y me gustó que está diferente el diseño con los piquitos en rojo 🩷
Hermoso este lazo para el cabello, yo no me hubiese controlado colocando todos los brillitos que tienes 🤣🤣 Quedó precioso
Me gustan mucho estos lazo, en la actualidad las mami casi no se los ponen a las niñas. Te quedo muy bonito
Un abrazo amiga @equipodelta
Congratulations, your post has been curated by @dsc-r2cornell. You can use the tag #R2cornell. Also, find us on Discord
Felicitaciones, su publicación ha sido votada por @ dsc-r2cornell. Puedes usar el tag #R2cornell. También, nos puedes encontrar en Discord