DIY: Green hair bow / Lazo verde para el cabello (Esp/Eng)


[Esp]
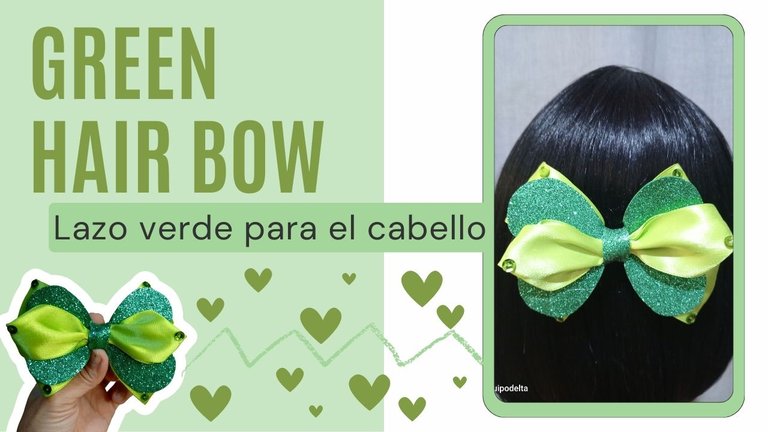
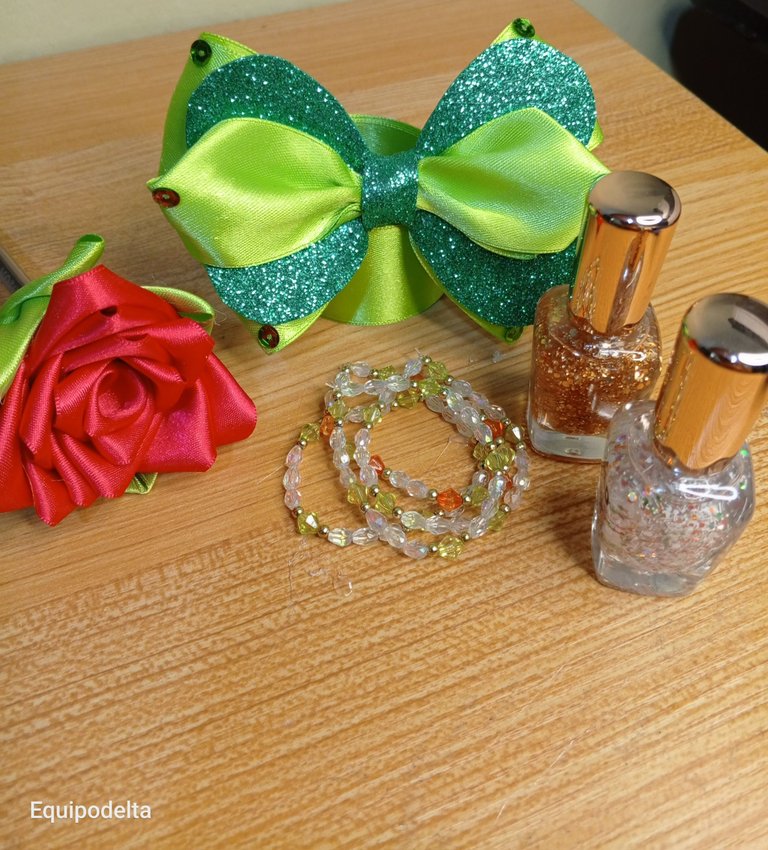
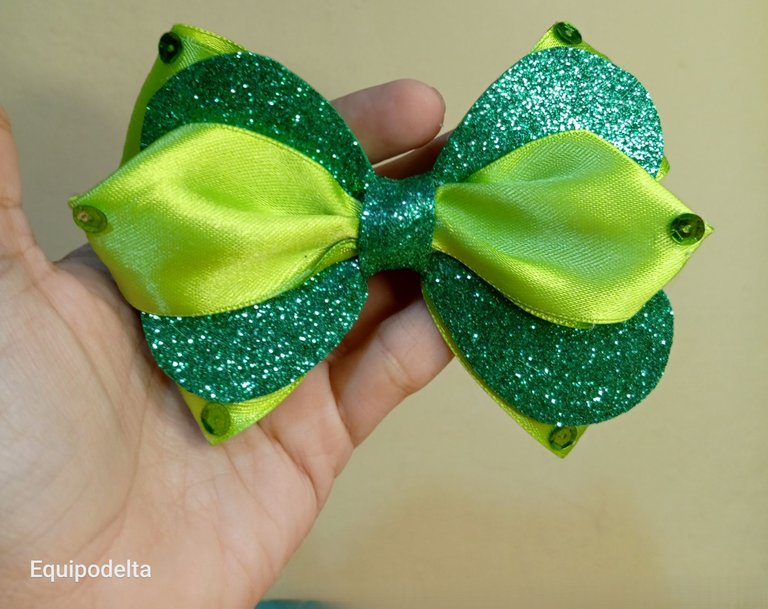
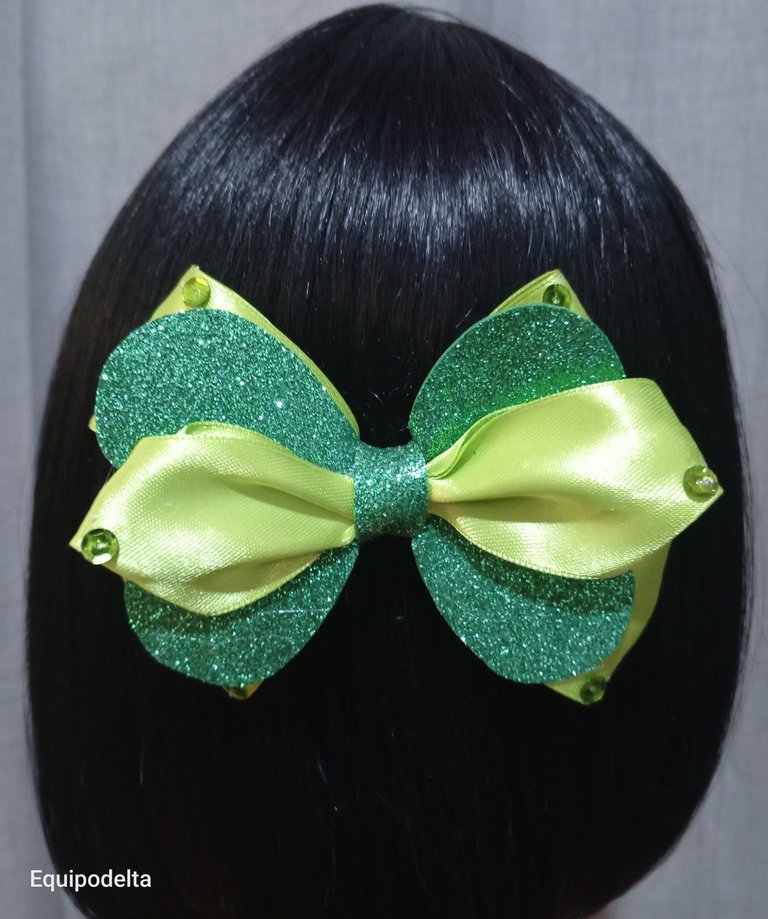
Experimentando con texturas se me ocurrió hacer otro lazo pero integrando el foami escarchado. No luce mal, pero es recomendable solo para eventos especiales, fiestas, vestidos del mismo tono de color o de contraste, pues brilla mucho de día puede que no se vea tan elegante.
Puedo decir, no es fácil integrar estos dos elementos (Foami escarchado y cinta de raso) y que se vean armónicos con cualquier color. Pienso que si lo hiciéramos de un color blanco o plateado luciría estupendo y podría hasta usarse de día. Aunque a las niñas tan coquetas y lindas, se les perdona todo. Espero les guste.
! [English version]
Experimenting with textures I came up with the idea of making another bow but integrating the frosted foami. It does not look bad, but it is recommended only for special events, parties, dresses of the same color tone or contrast, because it shines a lot during the day it may not look so elegant.
I can say, it is not easy to integrate these two elements (frosted Foami and satin ribbon) and make them look harmonious with any color. I think if we made it a white or silver color it would look great and could even be used in the daytime. Although for girls so flirty and cute, all is forgiven. I hope you like it.

Materiales / Materials

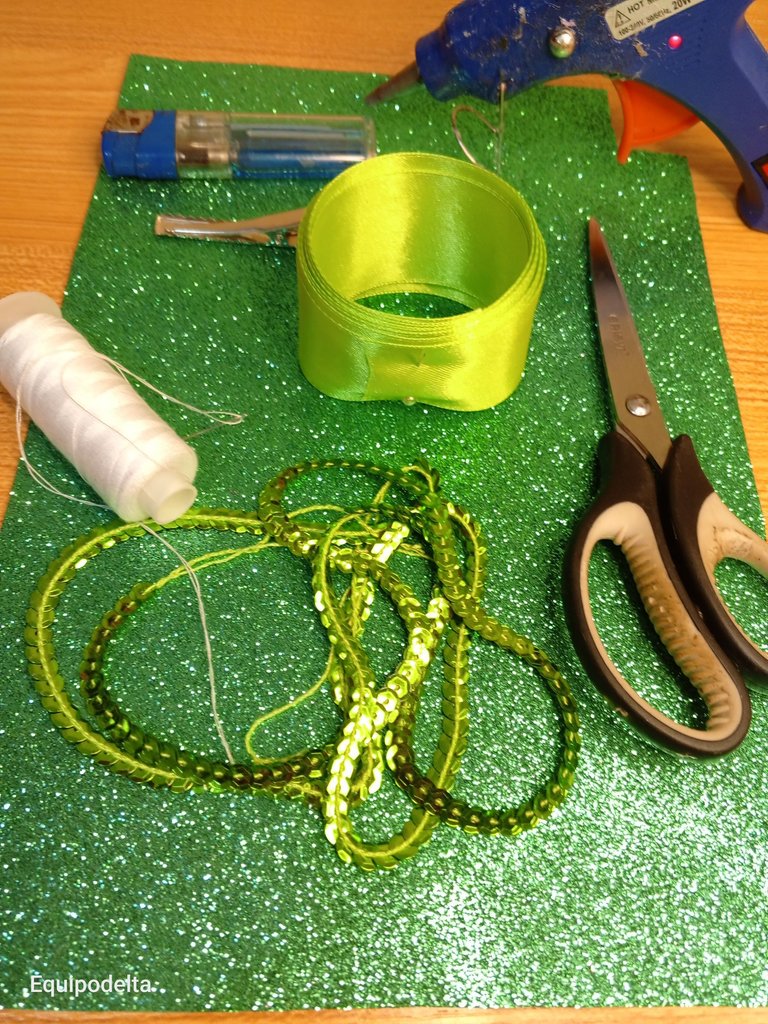
| Spanish | English | |
| Foami verde escarchado | Frosted green foami | |
| Lentejuelas color verde | Green sequins | |
| Tijera, yesquero | Scissors, tinder | |
| Cinta de raso color verde | Green satin ribbon | |
| Gancho caimán para cabello | Alligator hair clip | |
| Hilo, aguja de coser a mano | Thread, hand sewing needle | |
| Silicón caliente | Hot Silicone |


Paso a paso / Step by Step


Step 1️⃣/ Paso 1️⃣
 |  |
[Esp]
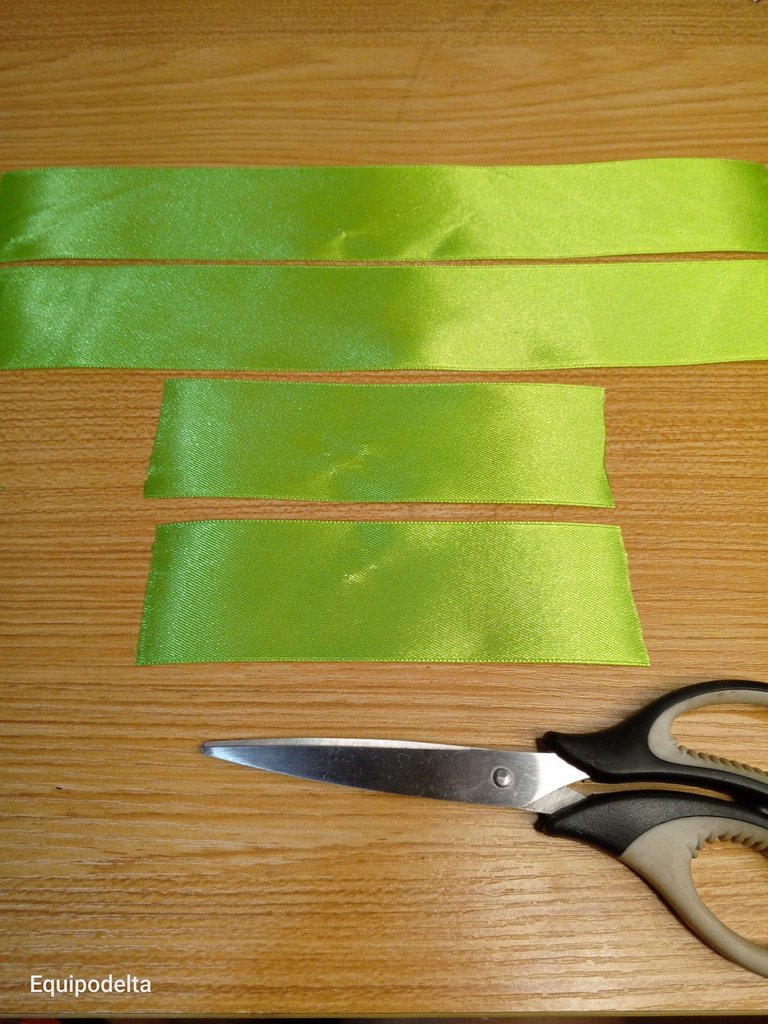
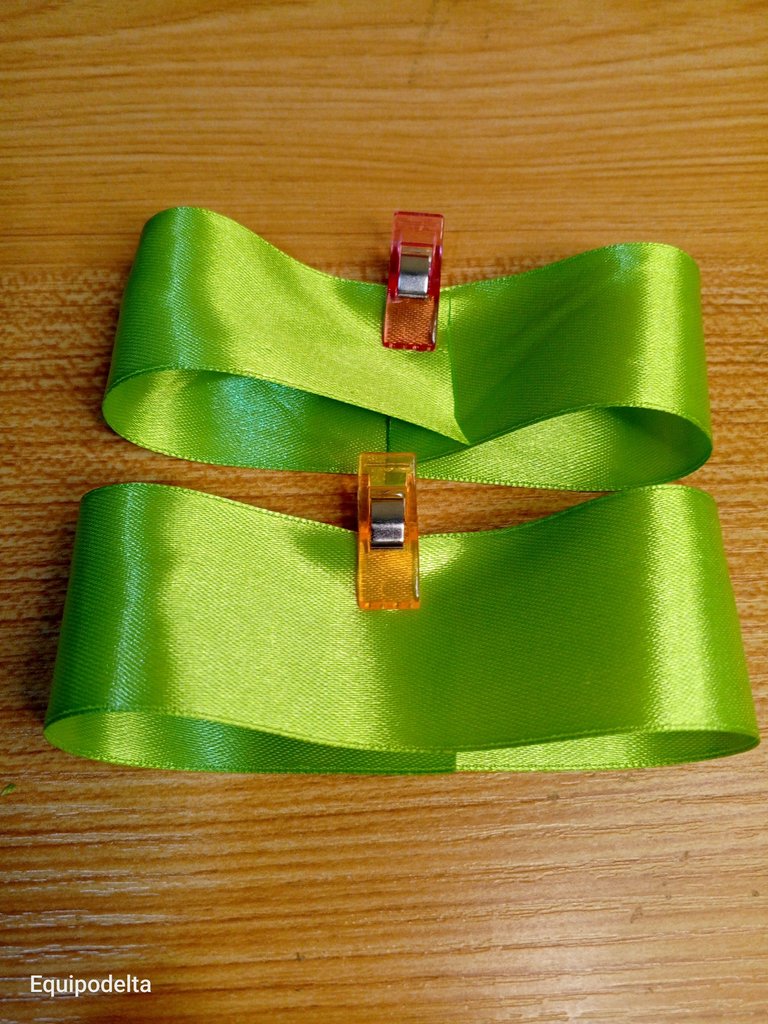
Toma la cinta de raso, recorta tres piezas de 10centímetros de largo, toma una de las piezas, divide por la mitad y corta. Luego, pasa el yesquero por cada extremo para sellarlo y evitar se deshilache.
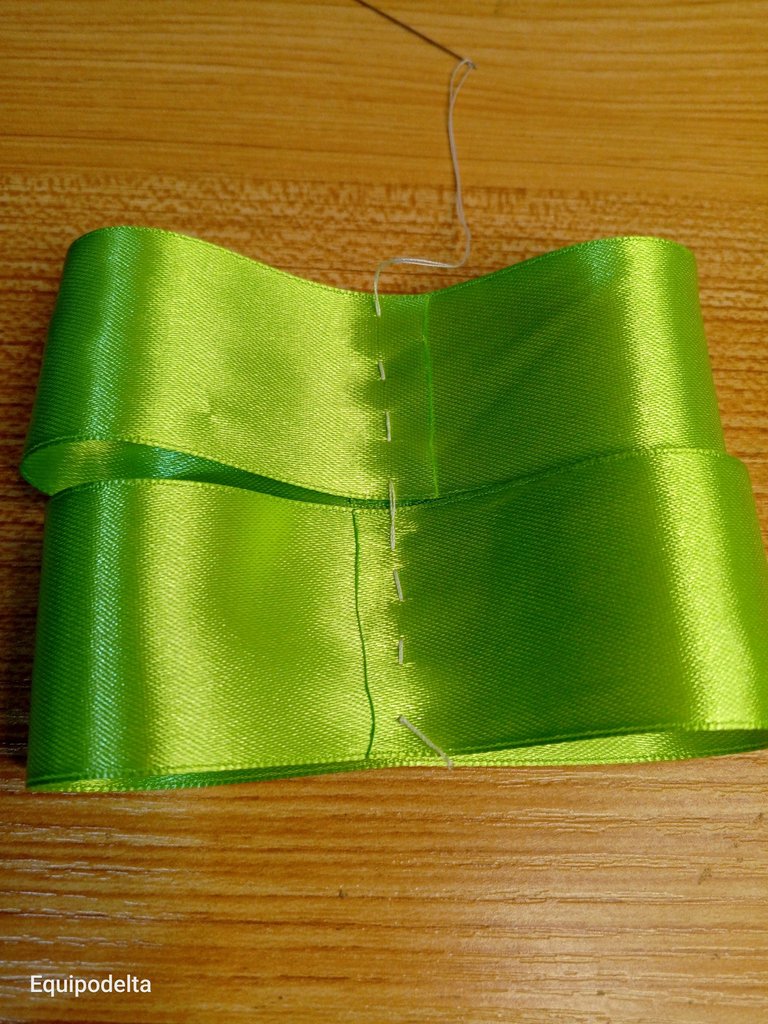
Divide las dos piezas por la mitad y pasa la aguja con hilo por el centro uniendo las dos piezas como indica la imagen.
! [English version]
Take the satin ribbon, cut three pieces of 10 centimeters long, take one of the pieces, divide in half and cut. Then, thread the tinder through each end to seal it and prevent fraying.
Divide the two pieces in half and pass the needle with thread through the center joining the two pieces as shown in the picture.

Step 2️⃣/ paso 2️⃣

 |  |
[Esp]
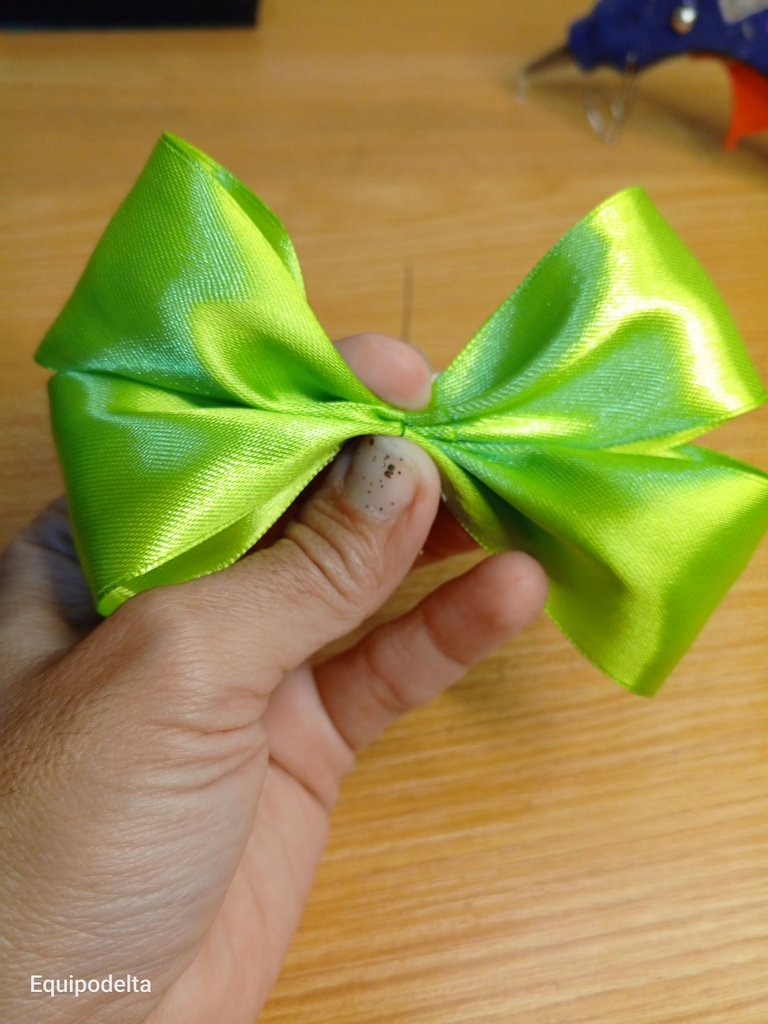
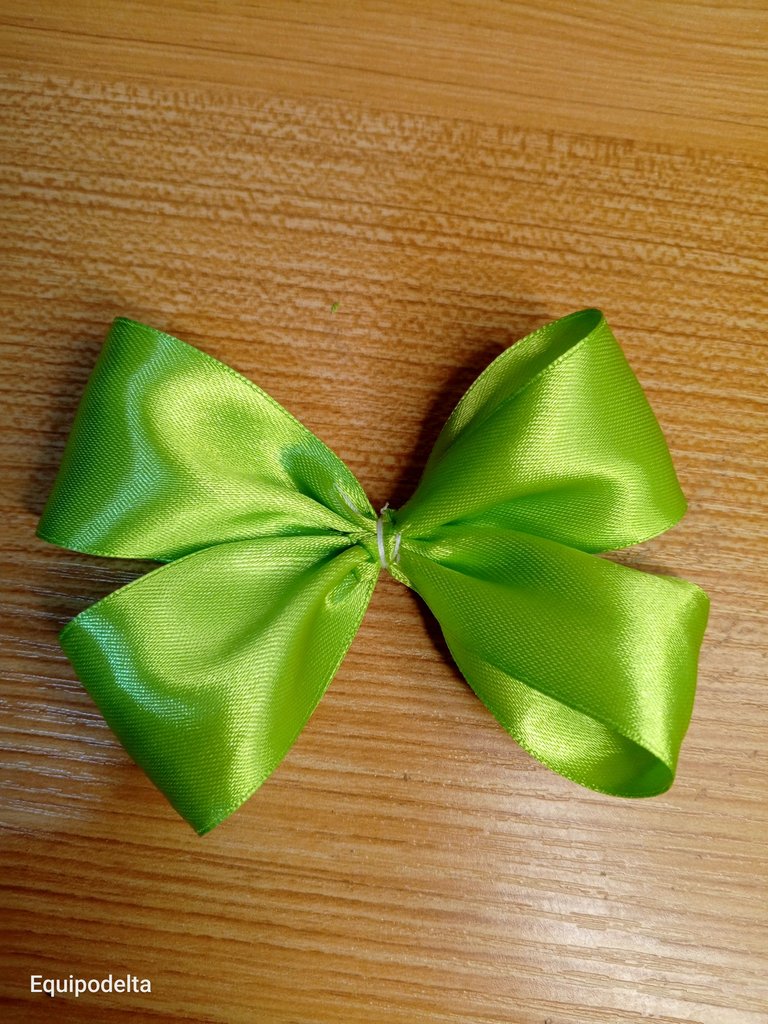
Una vez que unas las dos piezas, hala el hilo frunciendo, realiza un nudo y varias vueltas, luego vuelve a anudar para cortar el hilo.
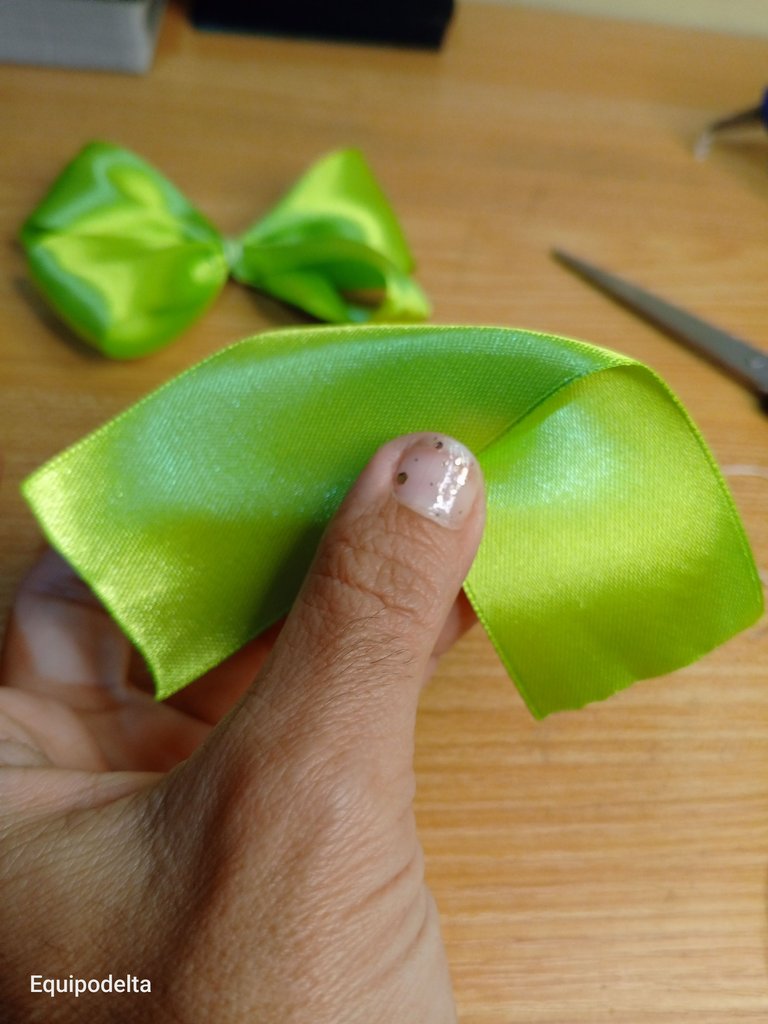
Toma una de las piezas pequeñas de la cinta de raso y dobla en forma de V invertida.
! [English version]
Once the two pieces are joined, pull the thread together, tie a knot and make several turns, then knot again to cut the thread.
Take one of the small pieces of satin ribbon and fold it into an inverted V shape.

Step 3️⃣/ paso 3️⃣

 |  |
[Esp]
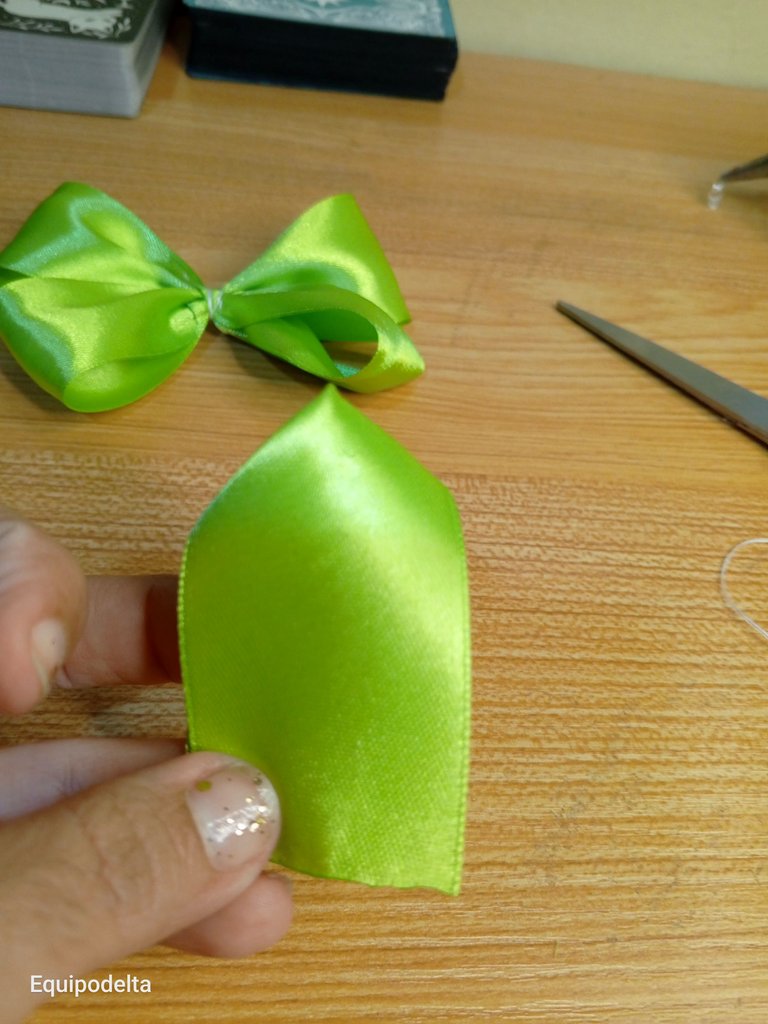
Vuelve a voltear la cinta para quedar en la forma que muestra la imagen.
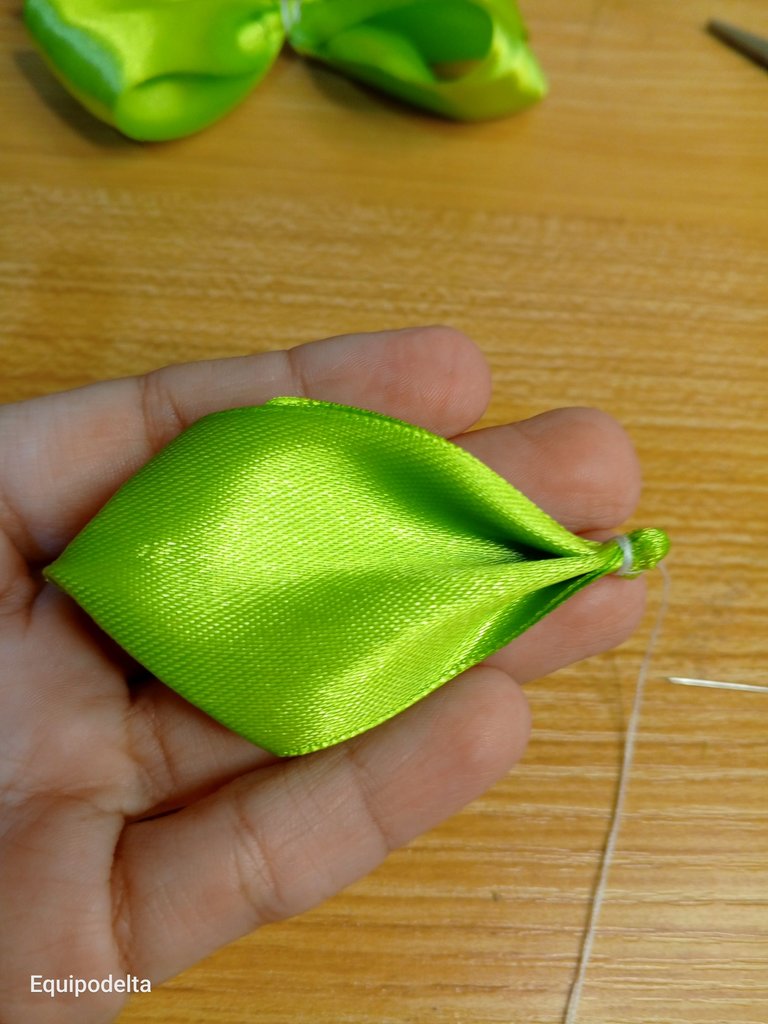
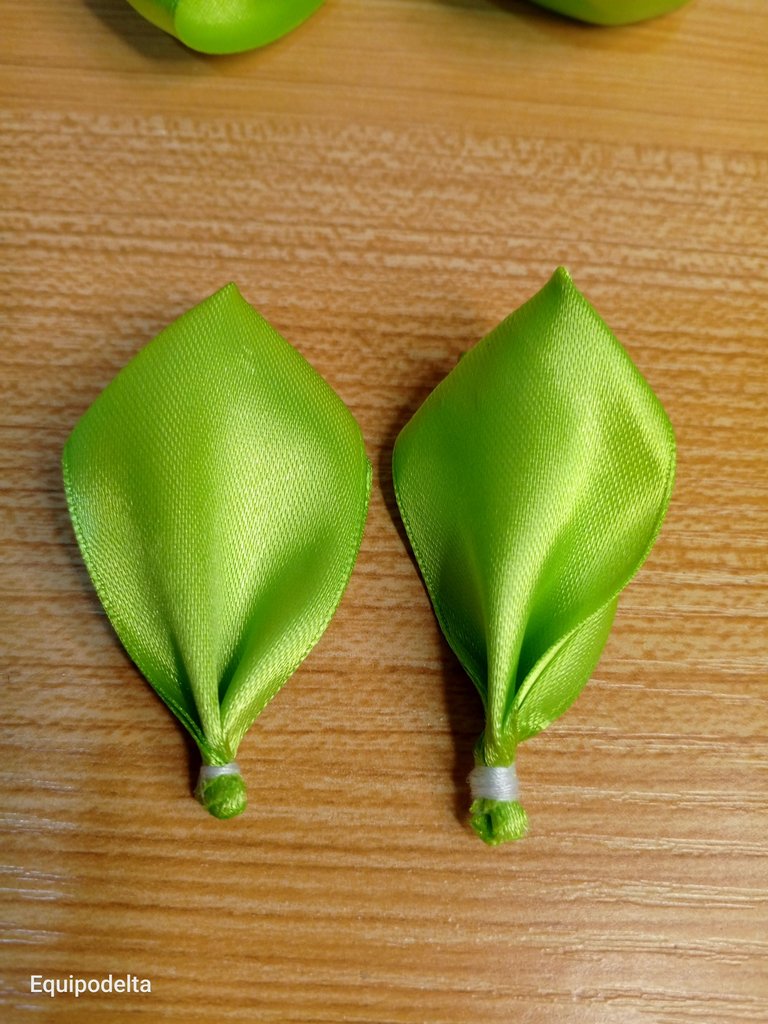
Dobla el centro por el ancho de la cinta y cose para cerrar el pétalo. Repite este procedimiento con el otro pétalo o forma de lazo.
! [English version]
Flip the ribbon back to the shape shown in the picture.
Fold the center over the width of the ribbon and sew to close the petal. Repeat this procedure with the other petal or ribbon shape.

Step 4️⃣/ paso 4️⃣

 |  | |
 |  |
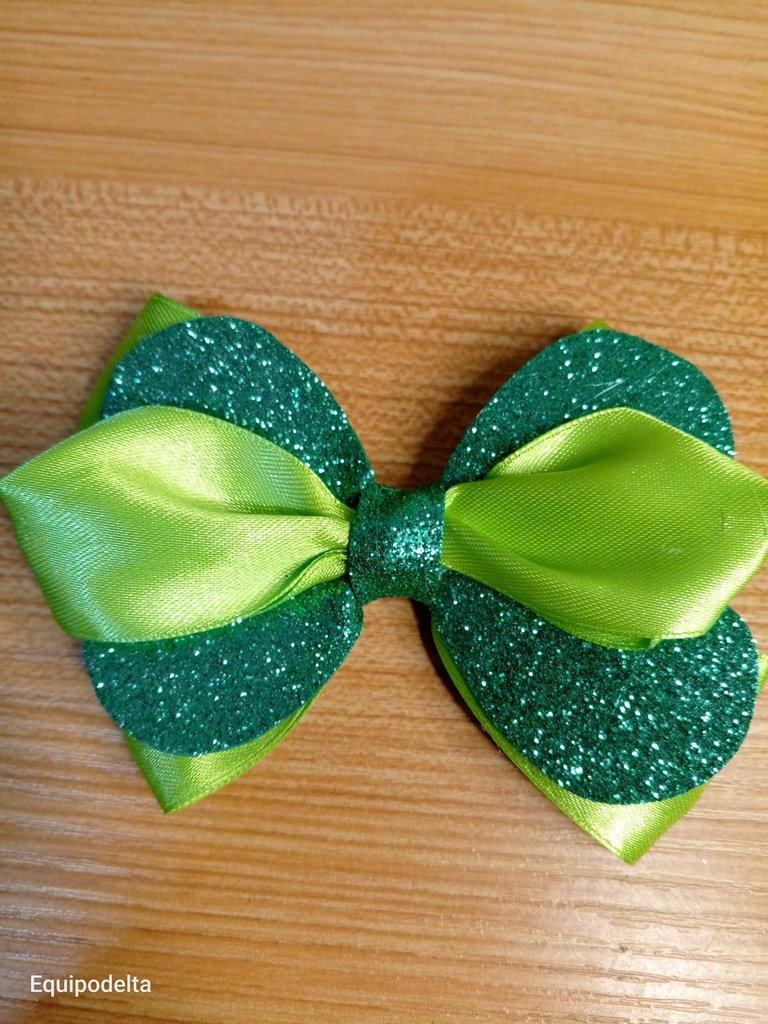
[Esp]
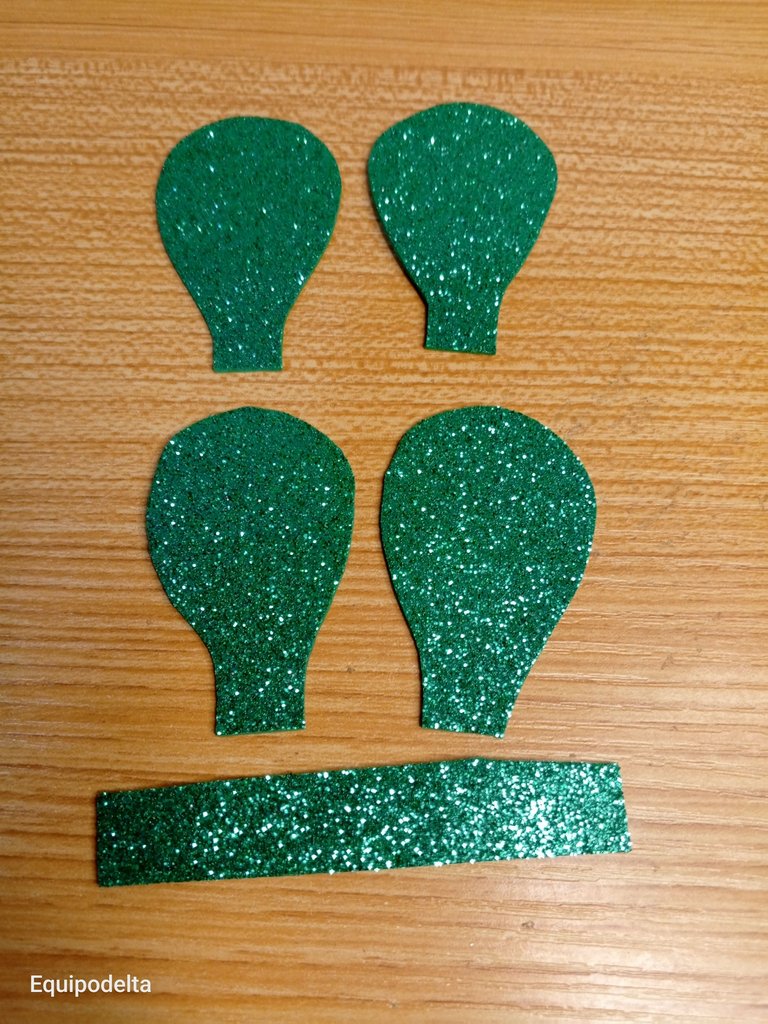
Recorta 4 pétalos de foami verde escarchado, procura que sea del ancho y tamaño del lazo y una pieza rectangular de 1 centímetro de ancho.
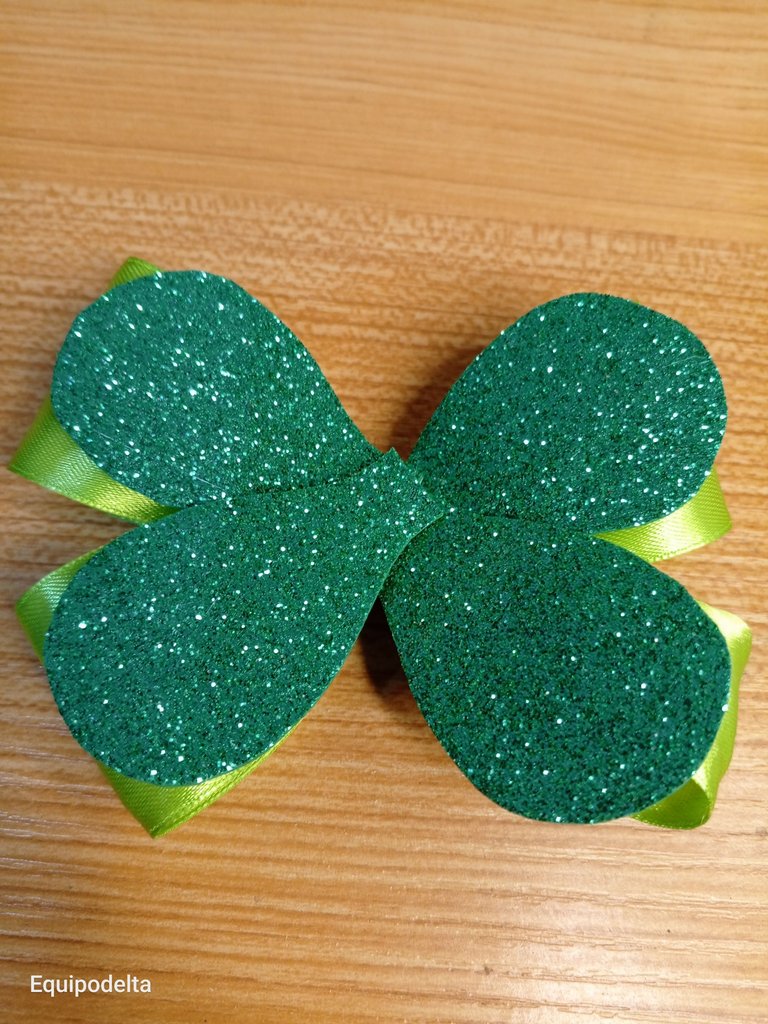
Pega cada pétalo en cada parte de lazo.
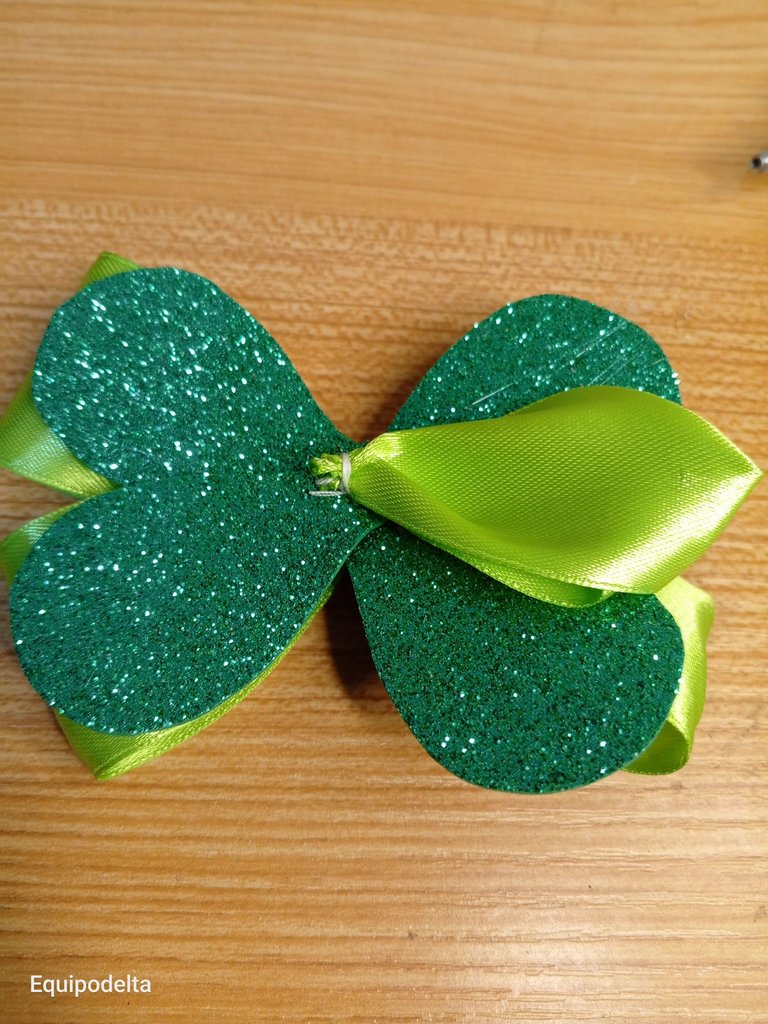
Pega la pieza pequeña a los lados del lazo.
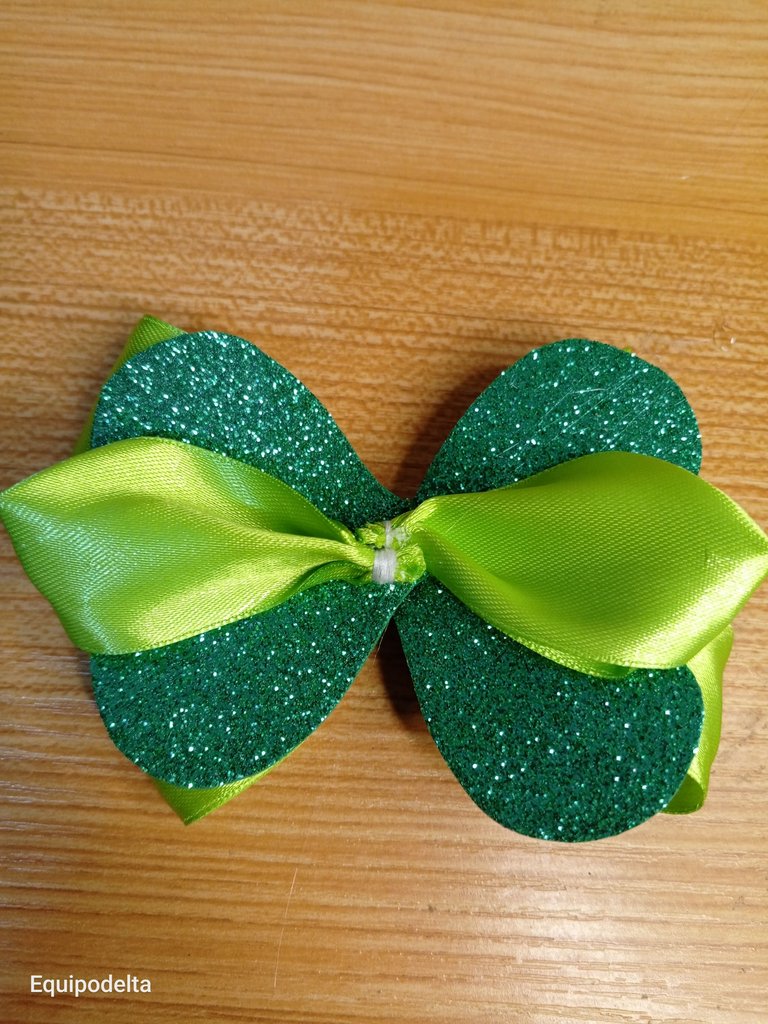
Toma la pieza de foami rectangular y pégala en el centro del lazo apretando.
! [English version]
Cut out 4 petals from frosted green foami, making sure it is the width and size of the bow and a rectangular piece 1 cm wide.
Glue each petal to each part of the bow.
Glue the small piece to the sides of the bow.
Take the rectangular piece of foami and glue it to the center of the ribbon, pressing it tightly.

Step 5️⃣/ paso 5️⃣

 |  |
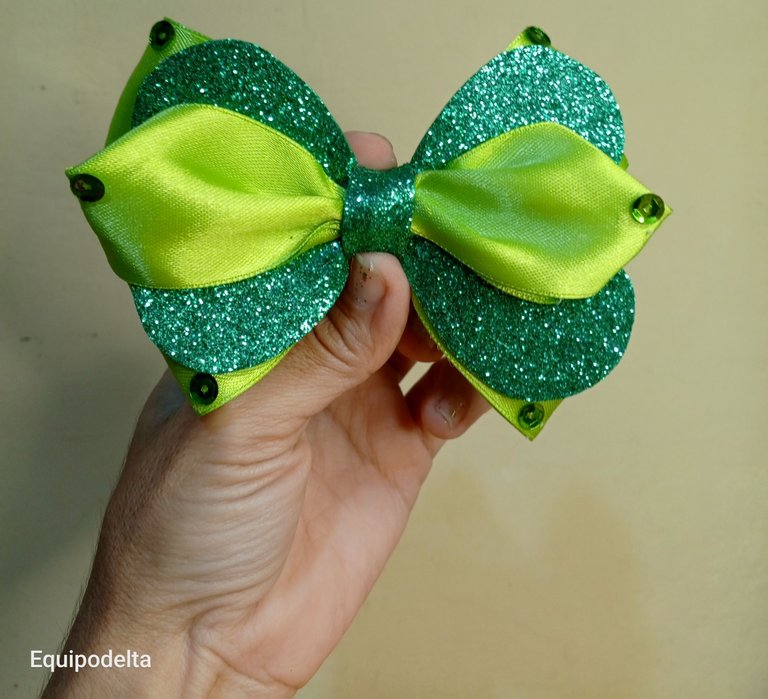
[Esp]
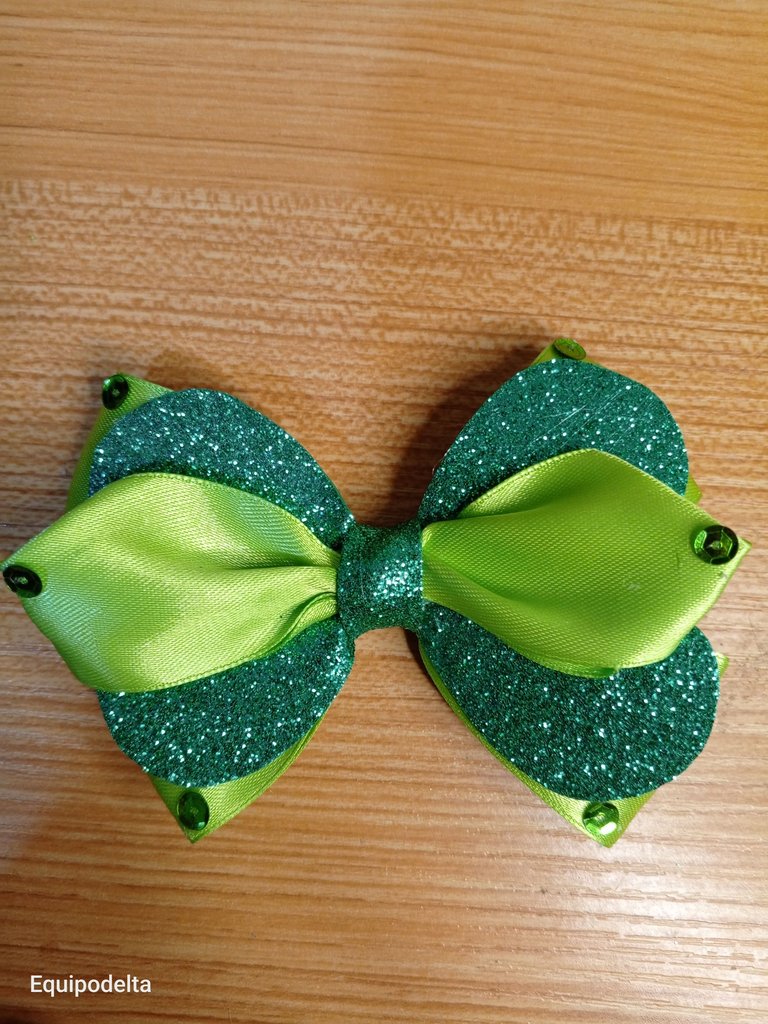
Toma las lentejuelas y pega una en cada punta o esquina del lazo.
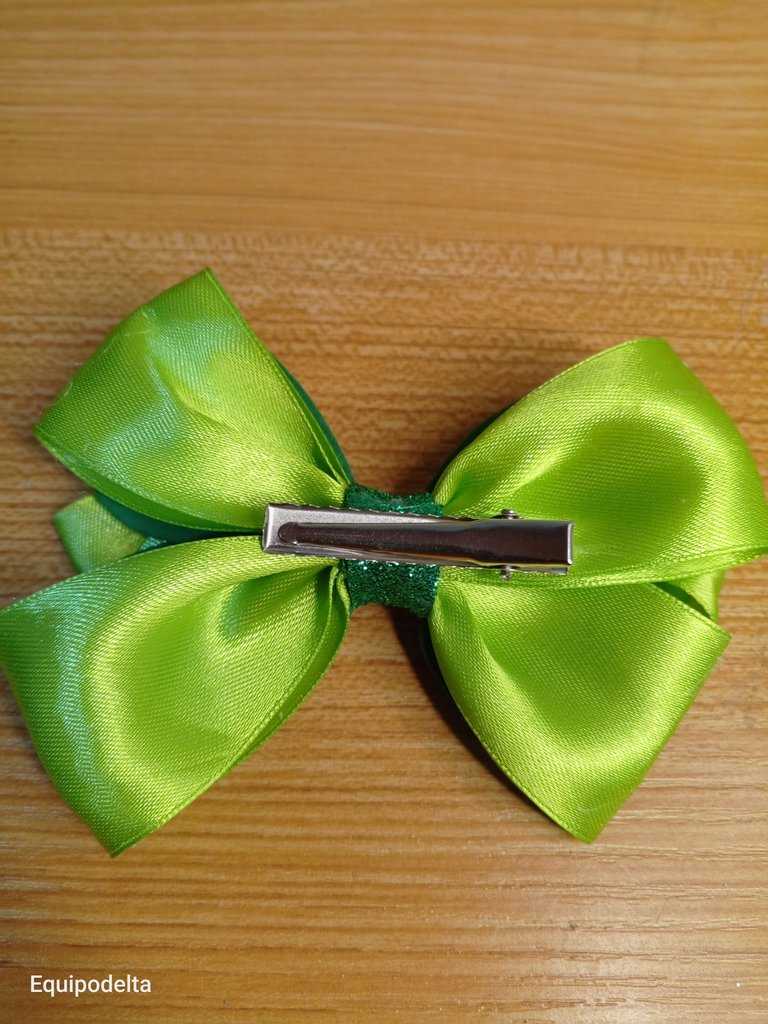
Voltea el lazo y pega el gancho caimán. Con ello culminamos el proyecto.
He ido a comprar cintas pero, no he visto mucha variedad de color, hay mil formas de hacer lazos, unos son mas lindos que otros, espero les guste mi versión.
! [English version]
Take the sequins and glue one on each end or corner of the bow.
Flip the bow over and glue the alligator hook. This completes the project.
I have gone to buy ribbons but I have not seen much variety of color, there are a thousand ways to make bows, some are prettier than others, I hope you like my version.


Créditos / Credits




💜💜💜


![]() 👉
👉  👉
👉  👉
👉  👉
👉 
Here / Bríndame un café

How beautiful and attractive it is 😍
Hermoso lazo @equipodelta la combinación del verde y el amarillo es ideal.
An artistic creation of handicrafts that is very beautiful and extraordinary.
Te quedó hermoso, es una muestra de lo bonito que puede quedar estos lazos cuando se hacen de buena manera y siguiendo buenas prácticas. Excelente trabajo!
Quedó muy hermoso, gracias por la explicación❤️✨
Ese color está precioso.😍
You made such a beautiful bow, your tutorial is well-detailed and can serve as a guide to anyone who wishes to recreate this. Well done.
Wow! otro lazo, te quedó muy lindo, además elegante para eventos nocturnos, tal como lo mencionas, sabes? no conocía el nombre del gancho, me entero que se llama gancho caimán, muchas gracias por la información.
Feliz fin de semana!
Congratulations, your post has been curated by @dsc-r2cornell. You can use the tag #R2cornell. Also, find us on Discord
Felicitaciones, su publicación ha sido votada por @ dsc-r2cornell. Puedes usar el tag #R2cornell. También, nos puedes encontrar en Discord