Crafting a star keychain ⭐
Hello gorgeous members of @jewelry community, wishing us all a happy new month and pray our heart desires comes to a reality this month. It actually feels amazing been here once again and am thrilled to share with all of us this star keychain I made for a beautiful client.
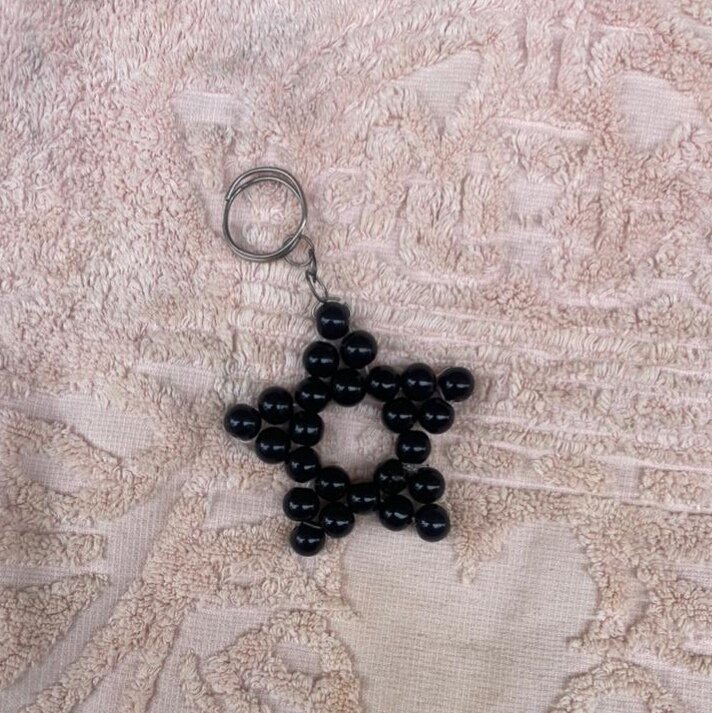
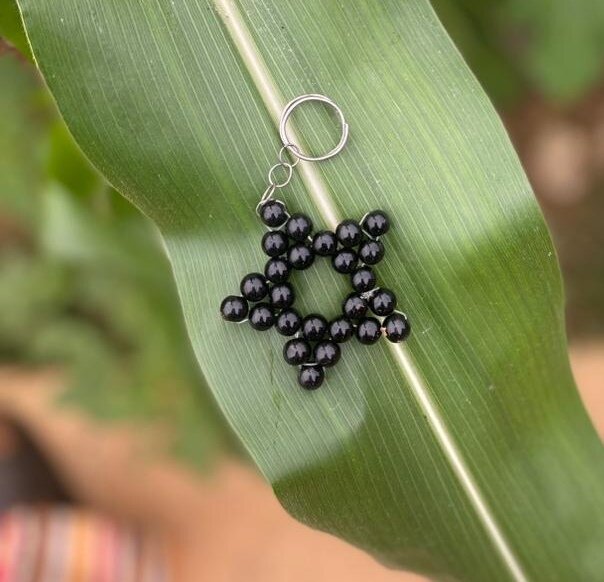
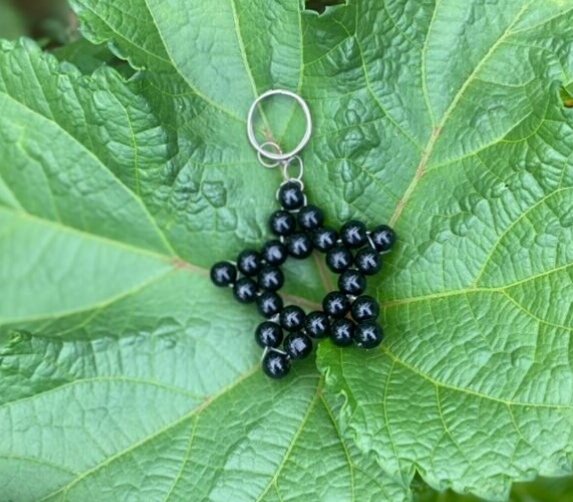
Earlier in the day, I received a call from a good friend turned client requesting for a keychain to replace her old one. After not so much discussion as to which design or rather shape she wanted, she decided to go for a star keychain. I wanted the keychain to be in a more brighter color but then she opted for black. Well I can only give her suggestions but I think she's pretty cool with color black which I have no other option than to go ahead with her preferred choice. I later went to the bead shop to get a black pearl beads since the once I have at home we're not so new. Immediately I returned back from getting the beads and necessary stuffs I quickly hurried up to begin with my clients keychain which within the space of some minutes I was done with it and called her to come get it. Her expression said it all when she saw it and I was glad she liked the turn out.
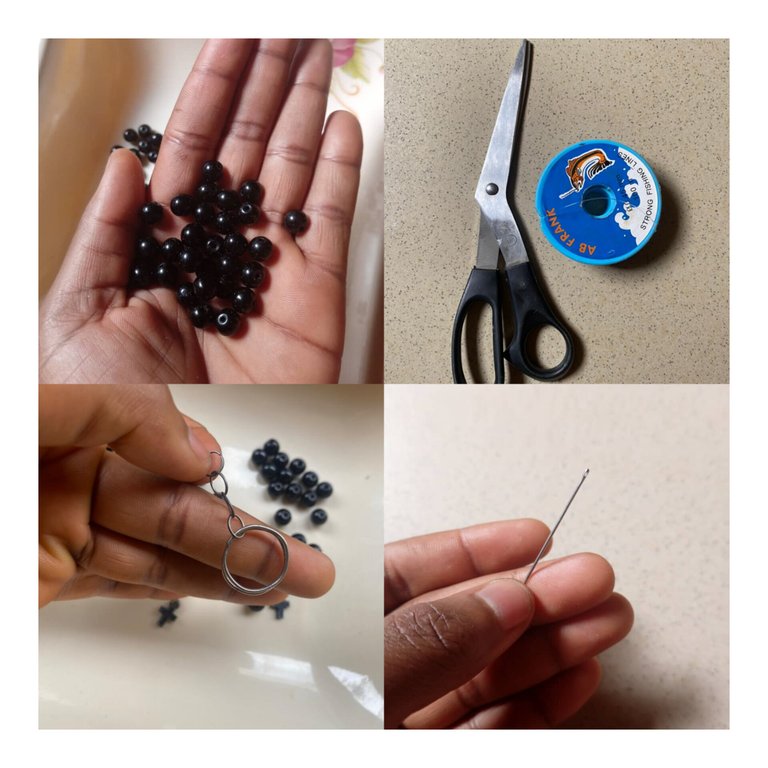
To begin with the process of crafting this beauty, these were the materials I used.
*Black pearl beads
*Keychain
*Fishing line (non elastic)
*Scissor ✂️
*Needle
Step 1
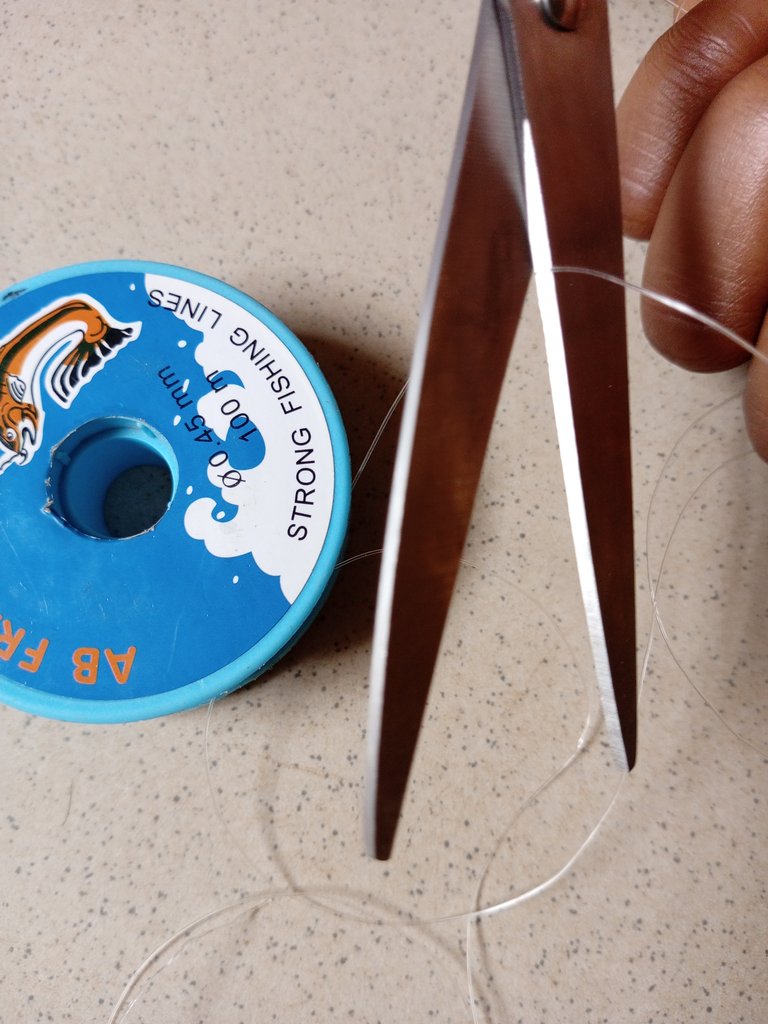
I cut out a long fishing line enough for the keychain with a scissor.
Step 2
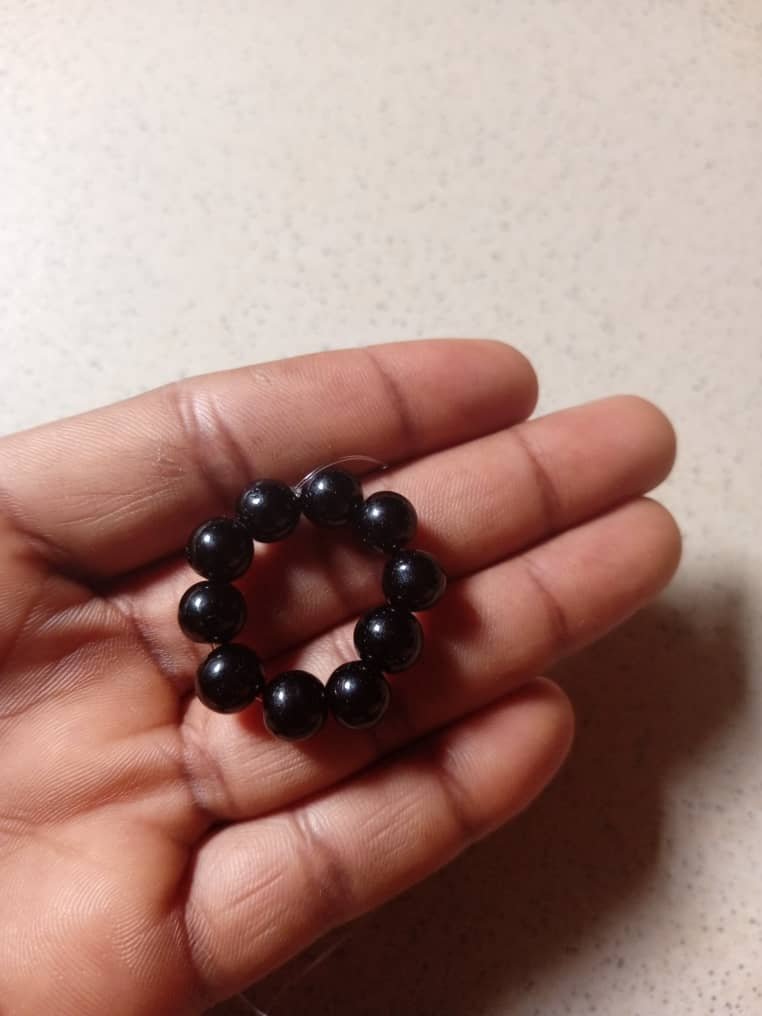
After cutting the desired length of fish line, I inserted ten (10) black pearl beads in the middle of the line and then i tighten it up properly giving me a circle ⭕ shape.

Step 3
At this point, I inserted the line in the needle to easily pass through the holes of the beads after that I inserted two black pearl beads in the line, skipped one the pear beads from the already created circle and then passed in the neddle through the other line and dragged it to be tight. I again inserted two pearl beads, skipped one bead from the circle and inserted it in the other bead.

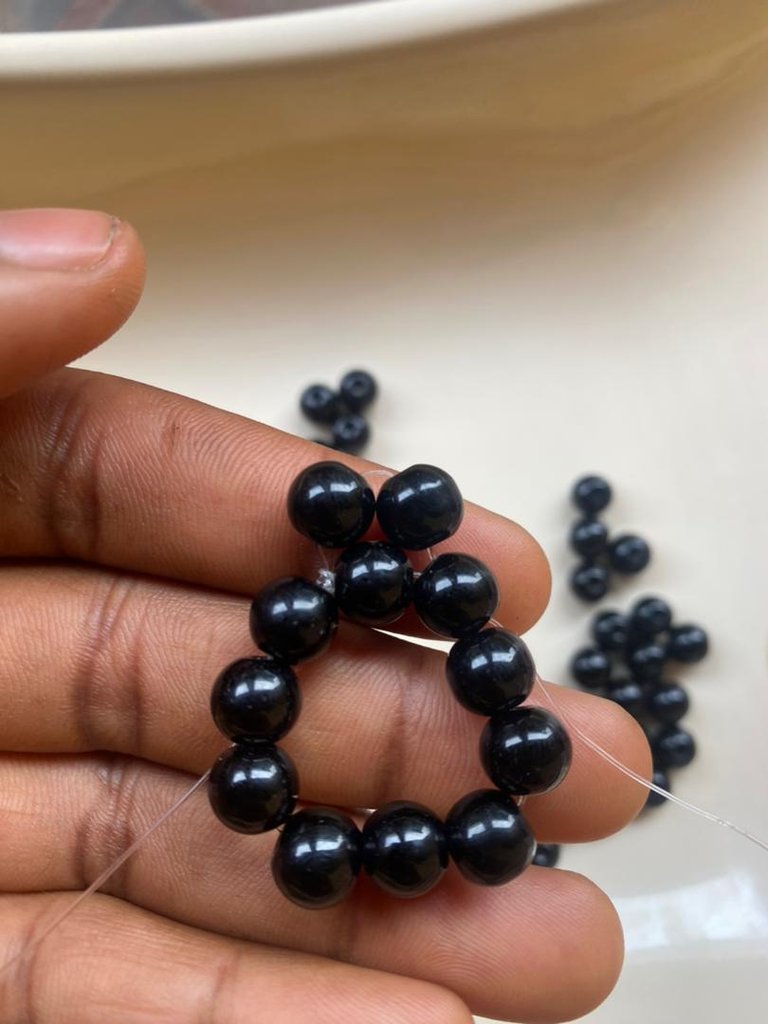

I continued with step two till I completed the whole circle and moved on to the next step.
Step 4
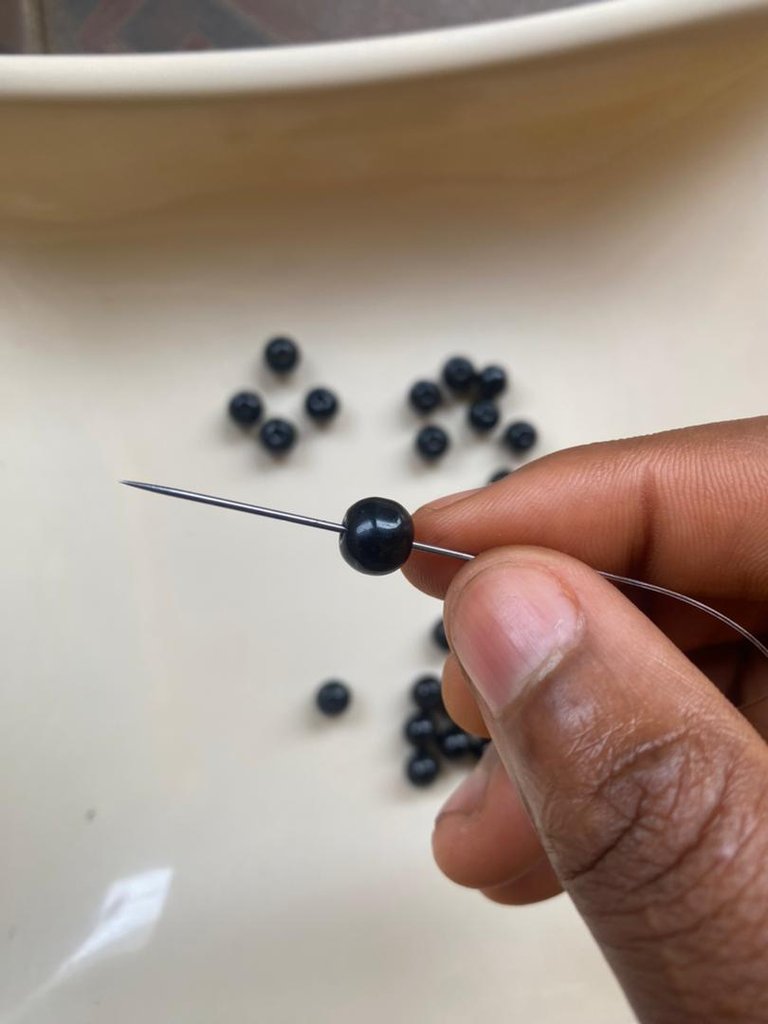
For this particular step, first I passed the neddle again into the nearest hole and then passed it to the top after which i inserted one pearl bead which brought out the star shape. I continued to add the one pearl bead on each and every side I did the step two till I was done bringing out the beauty of the star.

Step 5
I tightened my line firmly after that I used scissor to cut out the excess line.
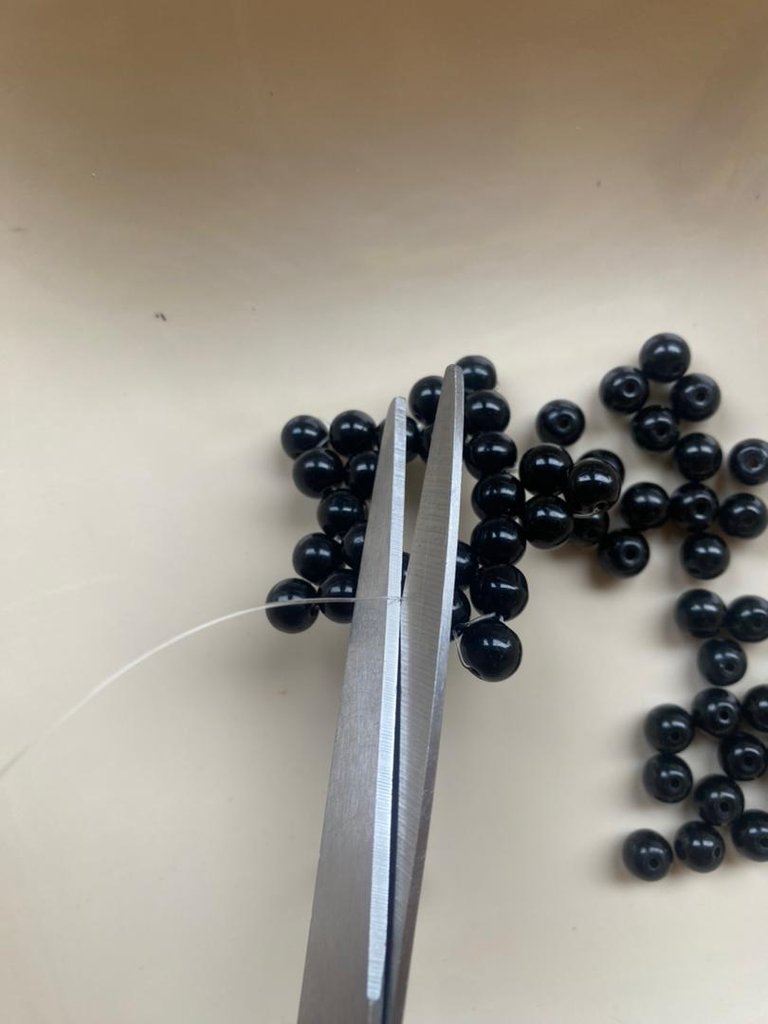
Lastly, I inserted the chain to the beaded star ⭐ and it was ready for my beautiful client to come pick it up.

Thank you all for your beautiful time, peace 🕊️
This is pretty, I've never tried this beading stuff before, from the look of things, it looked easy. I think I'm gonna try doing this.
Thanks dr.
Oh! it would be nice if you give it a trial but still at that there are other complex designs but it's still fun. 😄
Then I will have to disturb you on discord😌😌
Alright!!!
Le ha quedado muy bonito, gracias por compartir su ideal... Felicidades 😊
Thank you 😊
How cute you got it, your customer will be very happy with her new keychain. The color she chose is perfect for her, the customer is always right.
Greetings and many blessings-
Thanks a lot for your warm comment. She was indeed happy on seeing the keychain. 😊