DIY| Porta macetas vertical/ Vertical pot holder
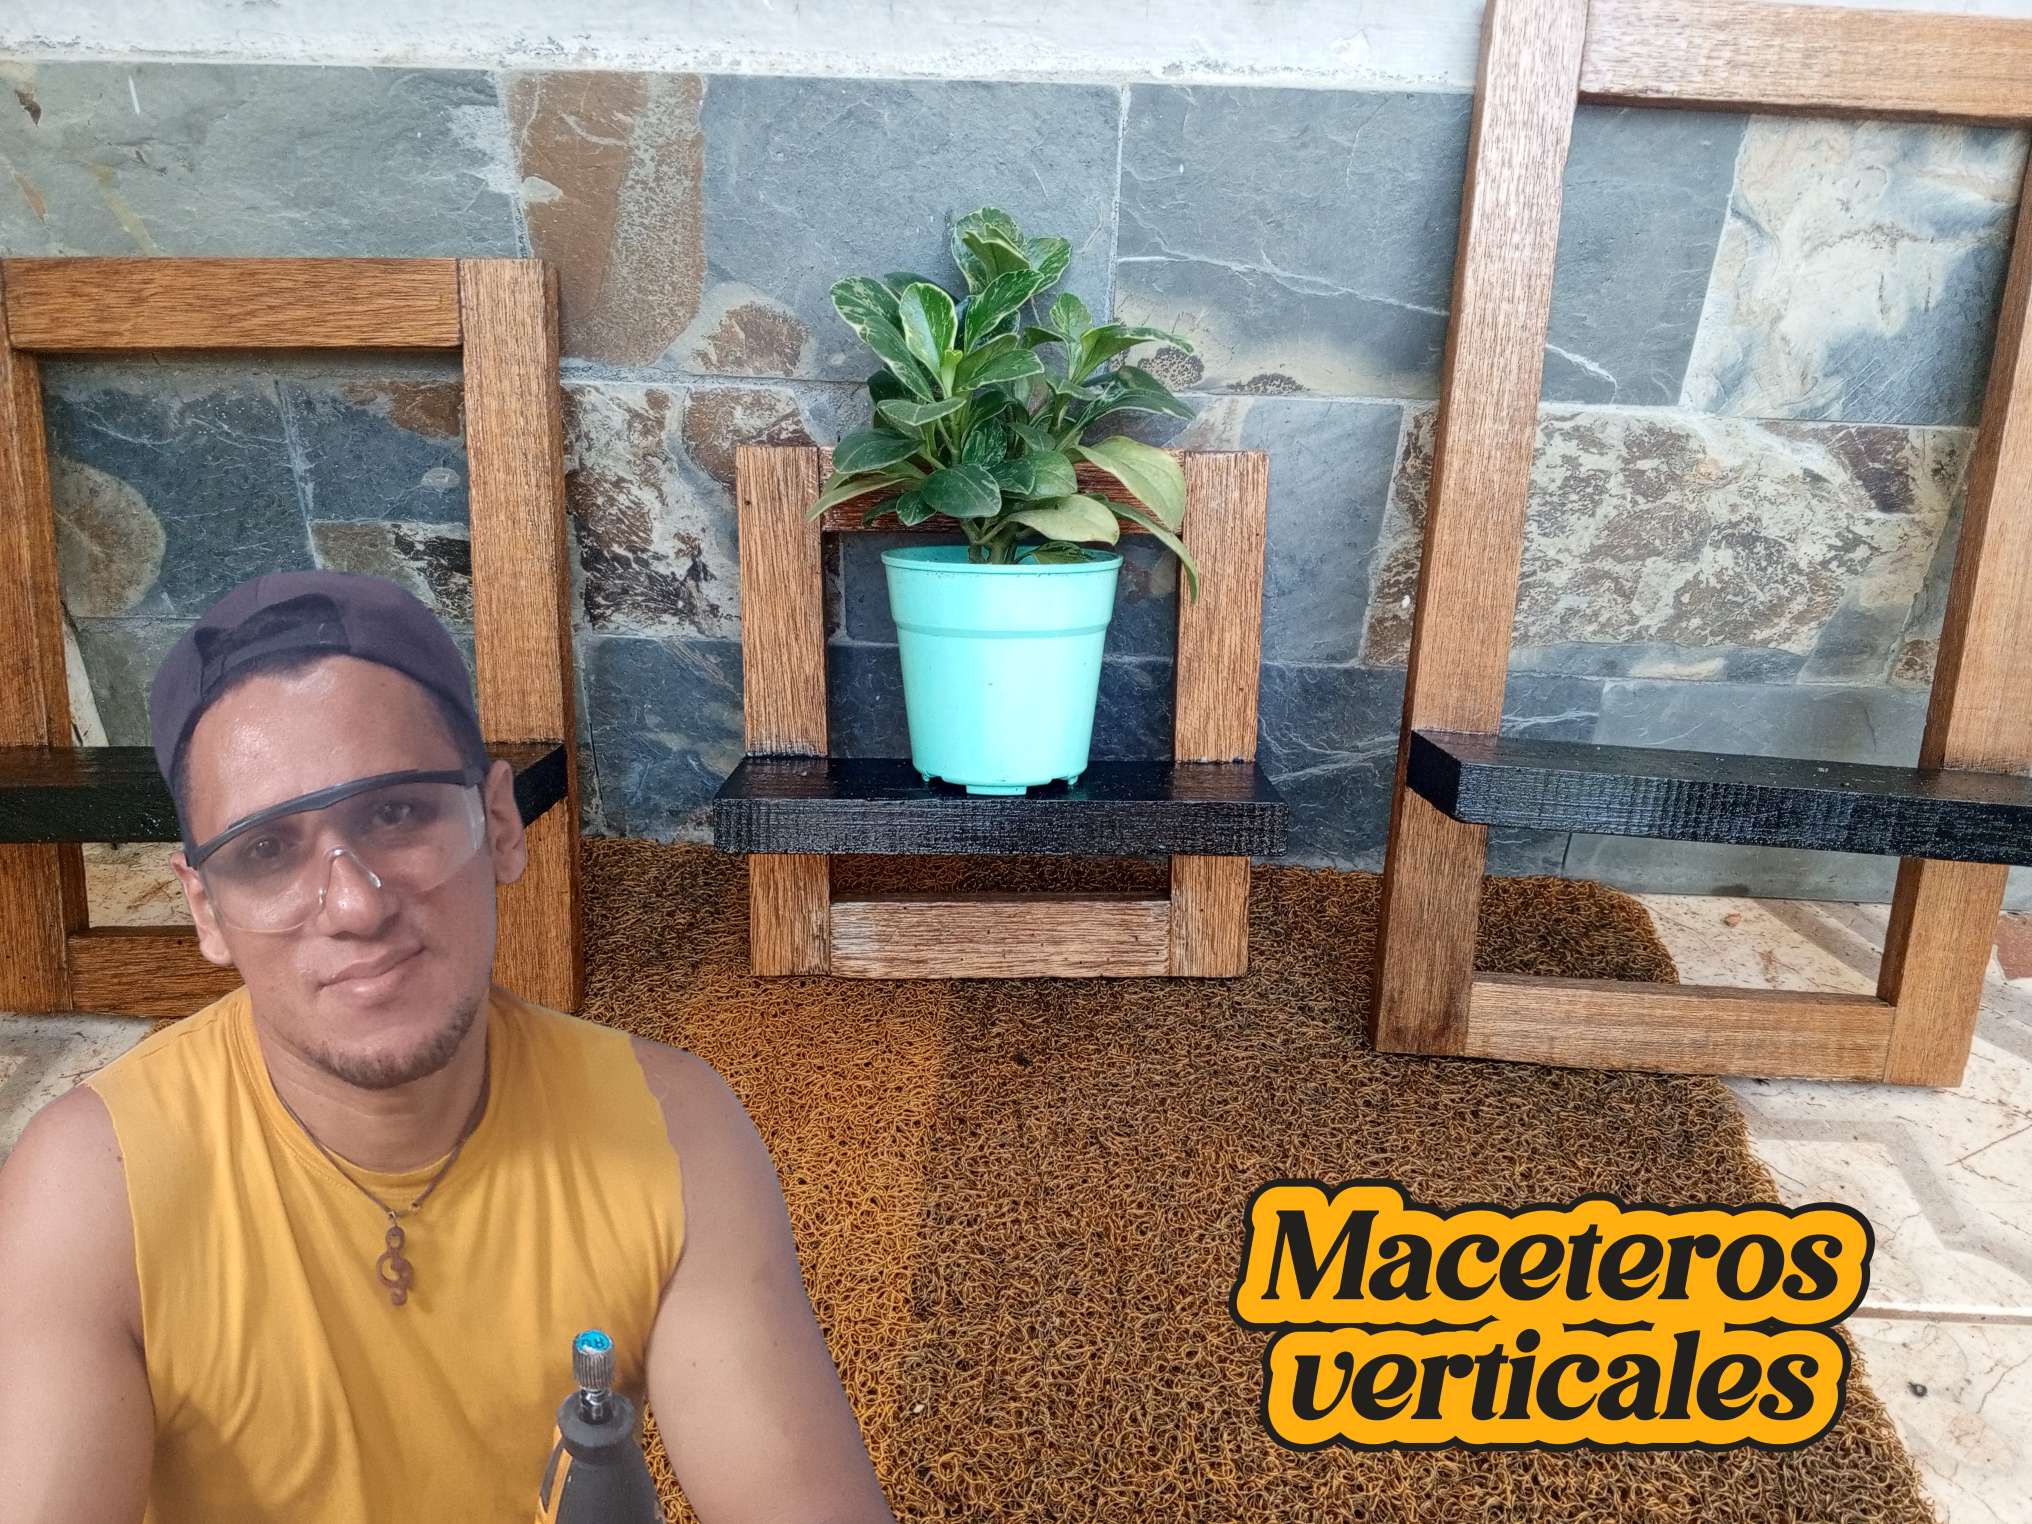
Saludos amigos, siempre busco la oportunidad de hacer algo con mis propias manos, aunque pensándolo bien, tenía algo de tiempo que no entraba a mi pequeño taller de carpintería. Ésta vez propuse hacer unos cuadros para colocar unas macetas con plantas y decorar cualquier espacio acordé en el hogar.
Me tomó algo de tiempo realizarlos, sobretodo porque pegarlos lleva algo de tiempo mientras seca, a continuación les muestro el paso a paso...
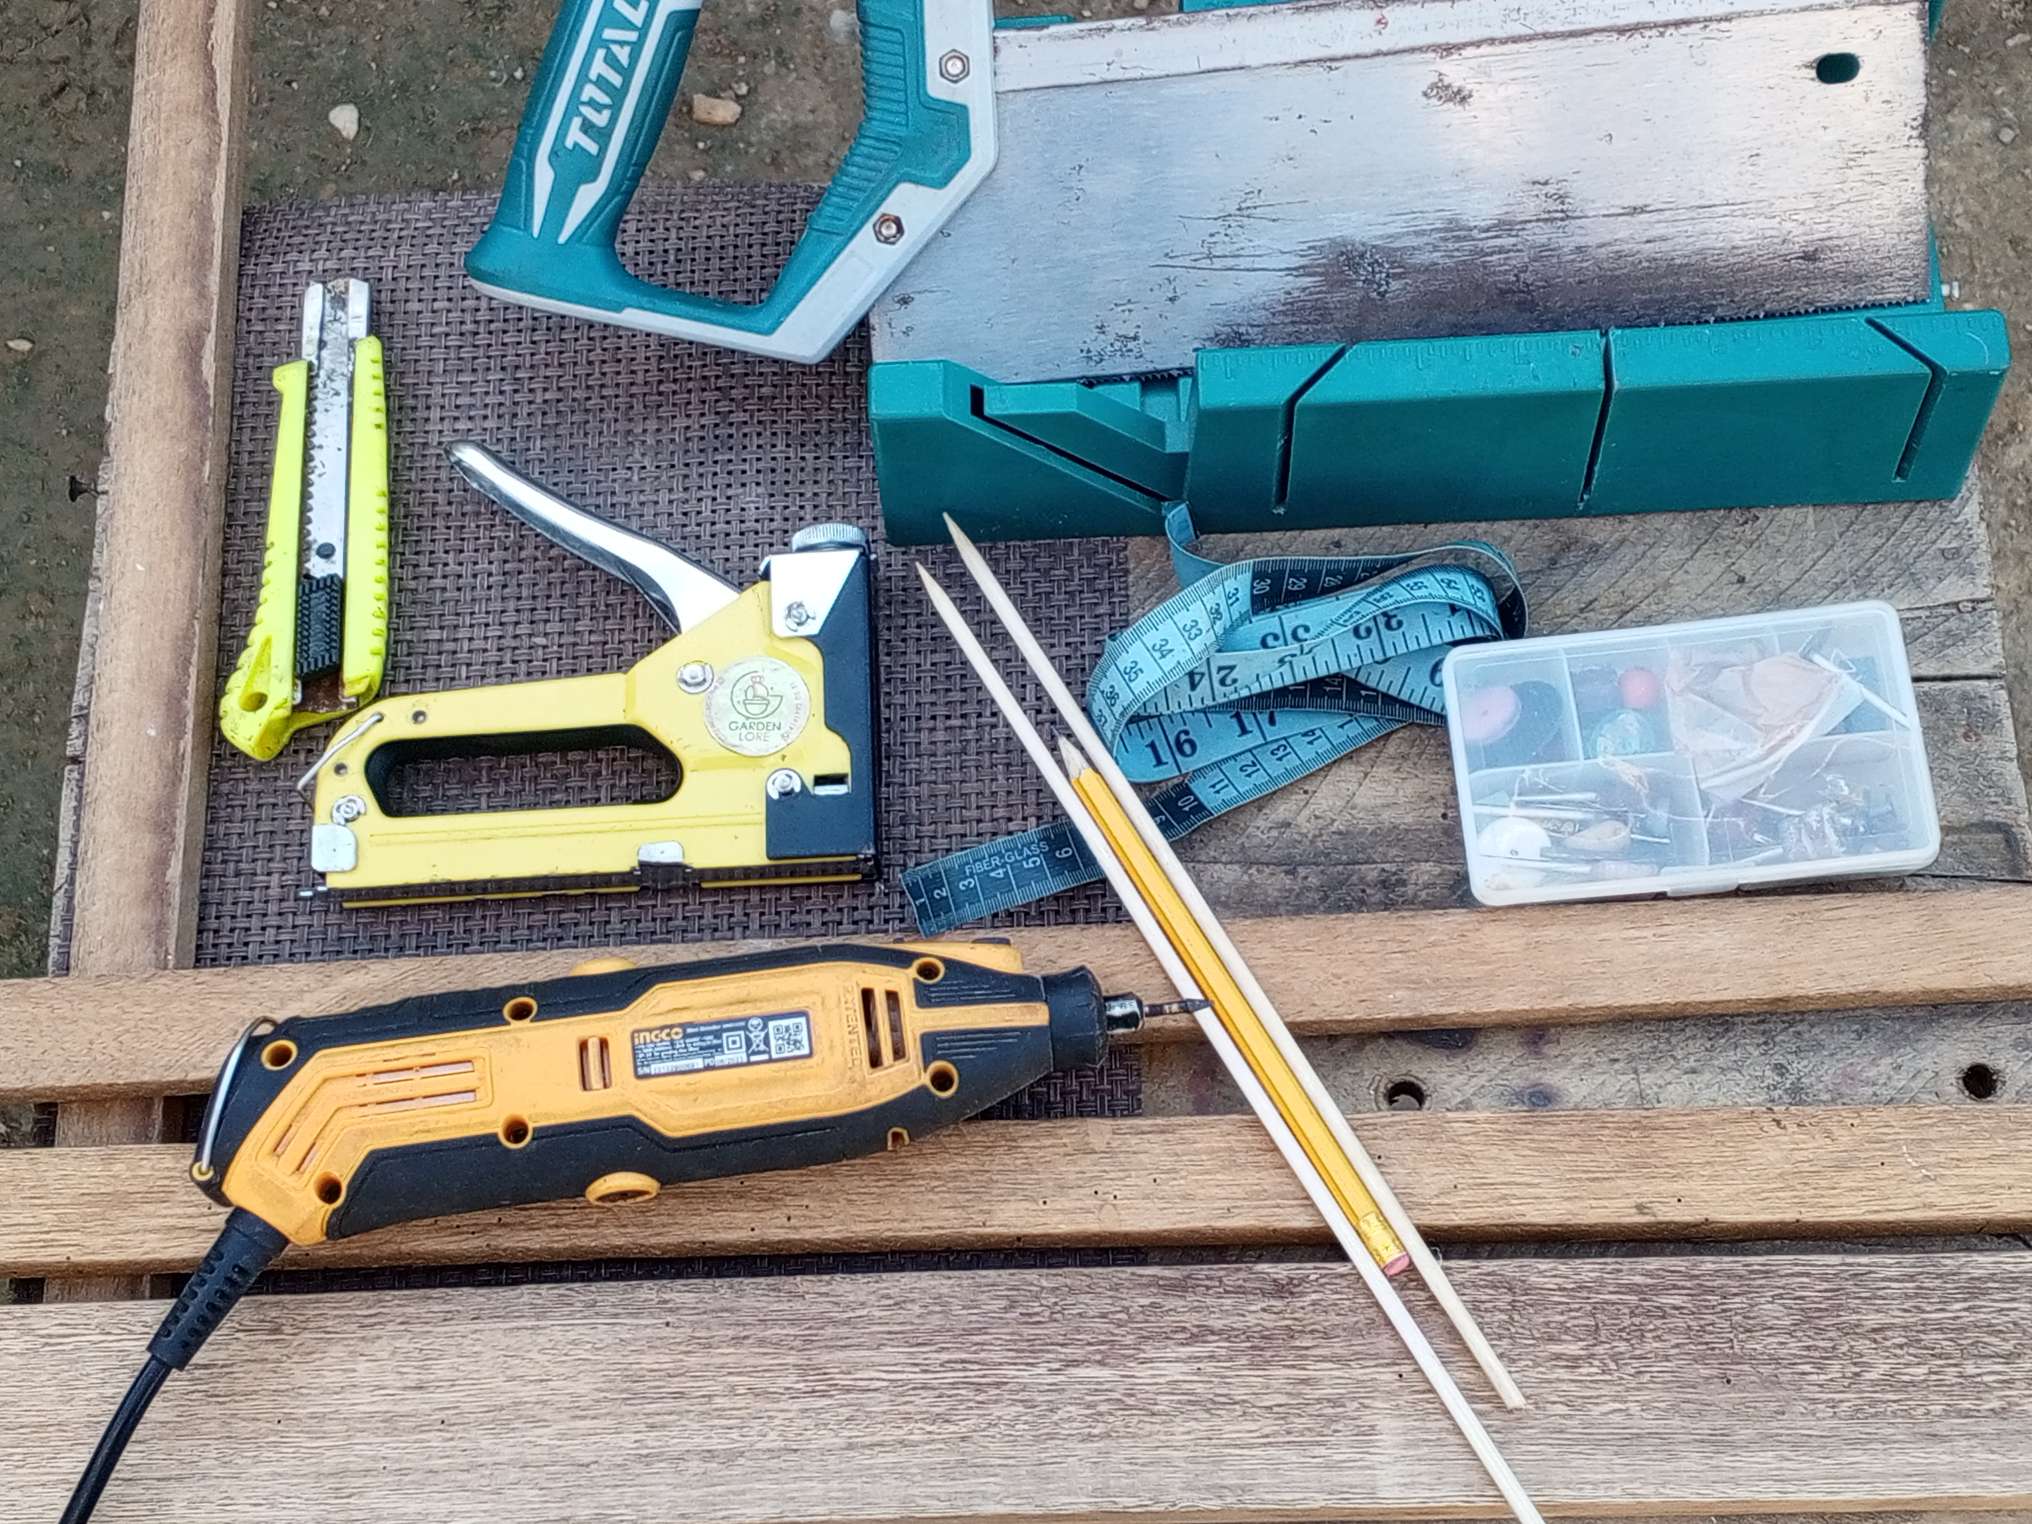
Materiales
Madera
Clavos
Martillo
Dremel
Pintura negra
Cola blanca
Barniz
Cinta para medir
Lápiz
Lija
Pincel
Greetings friends, I always look for the opportunity to do something with my own hands, although thinking about it, I had not been in my small carpentry workshop for some time. This time I proposed making some paintings to place some pots with plants and decorate any agreed space in the home.
It took me some time to make them, especially because gluing them takes some time while it dries, below I show you the step by step...
Materials
Wood
Nails
Hammer
Dremel
black paint
white tail
Varnish
measuring tape
Pencil
sandpaper
Brush
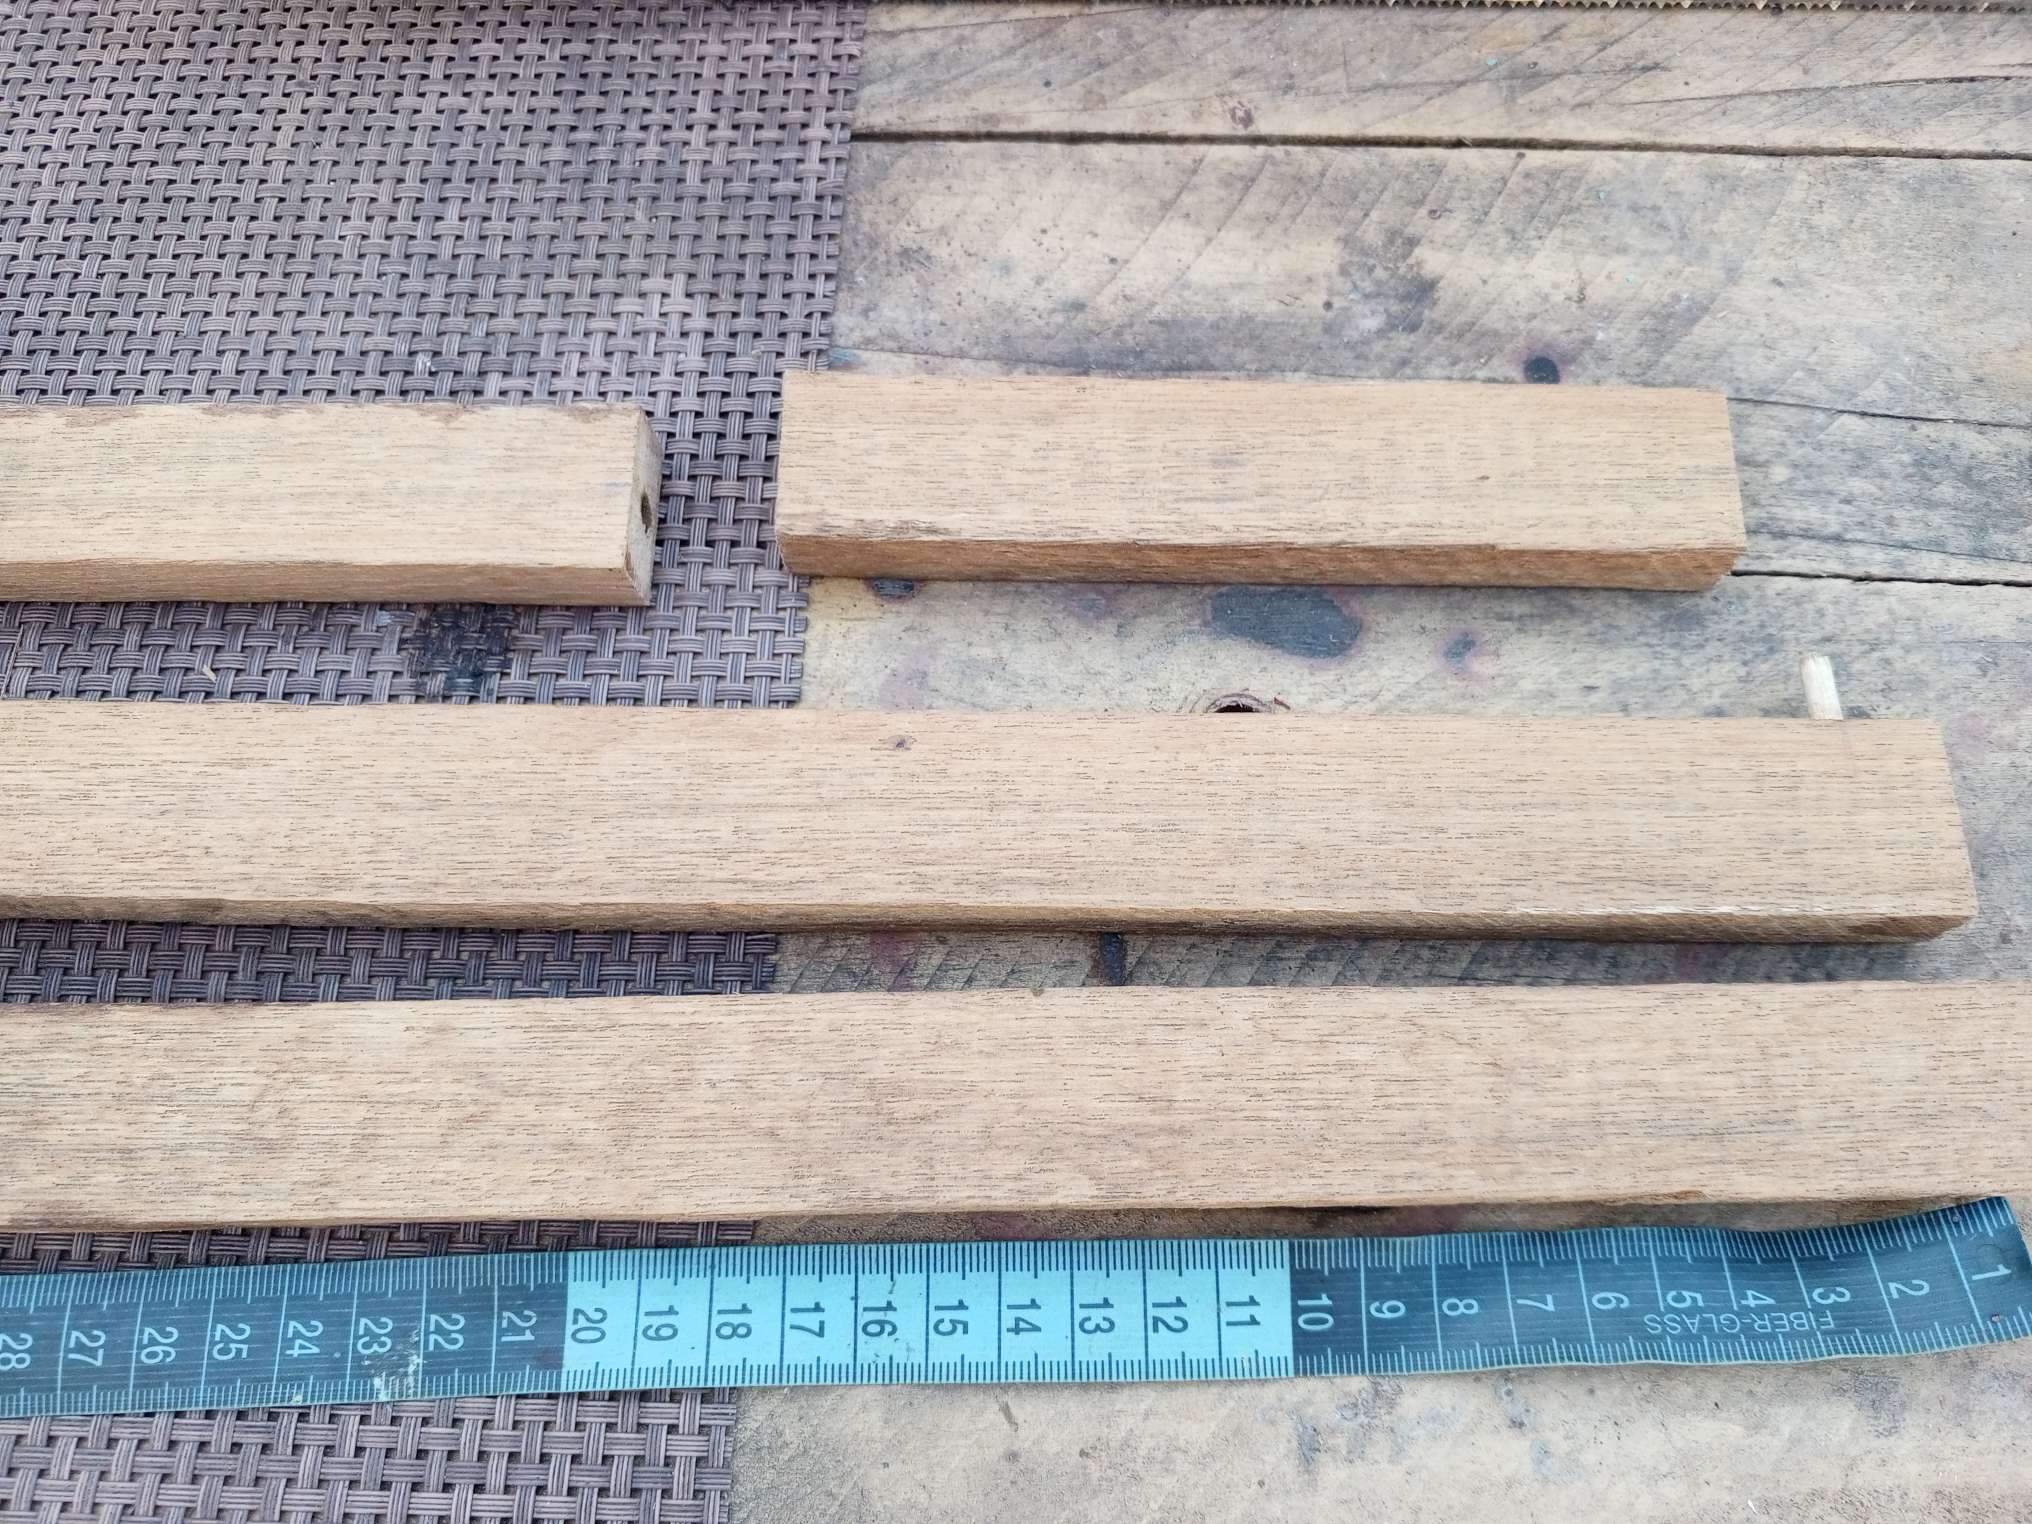
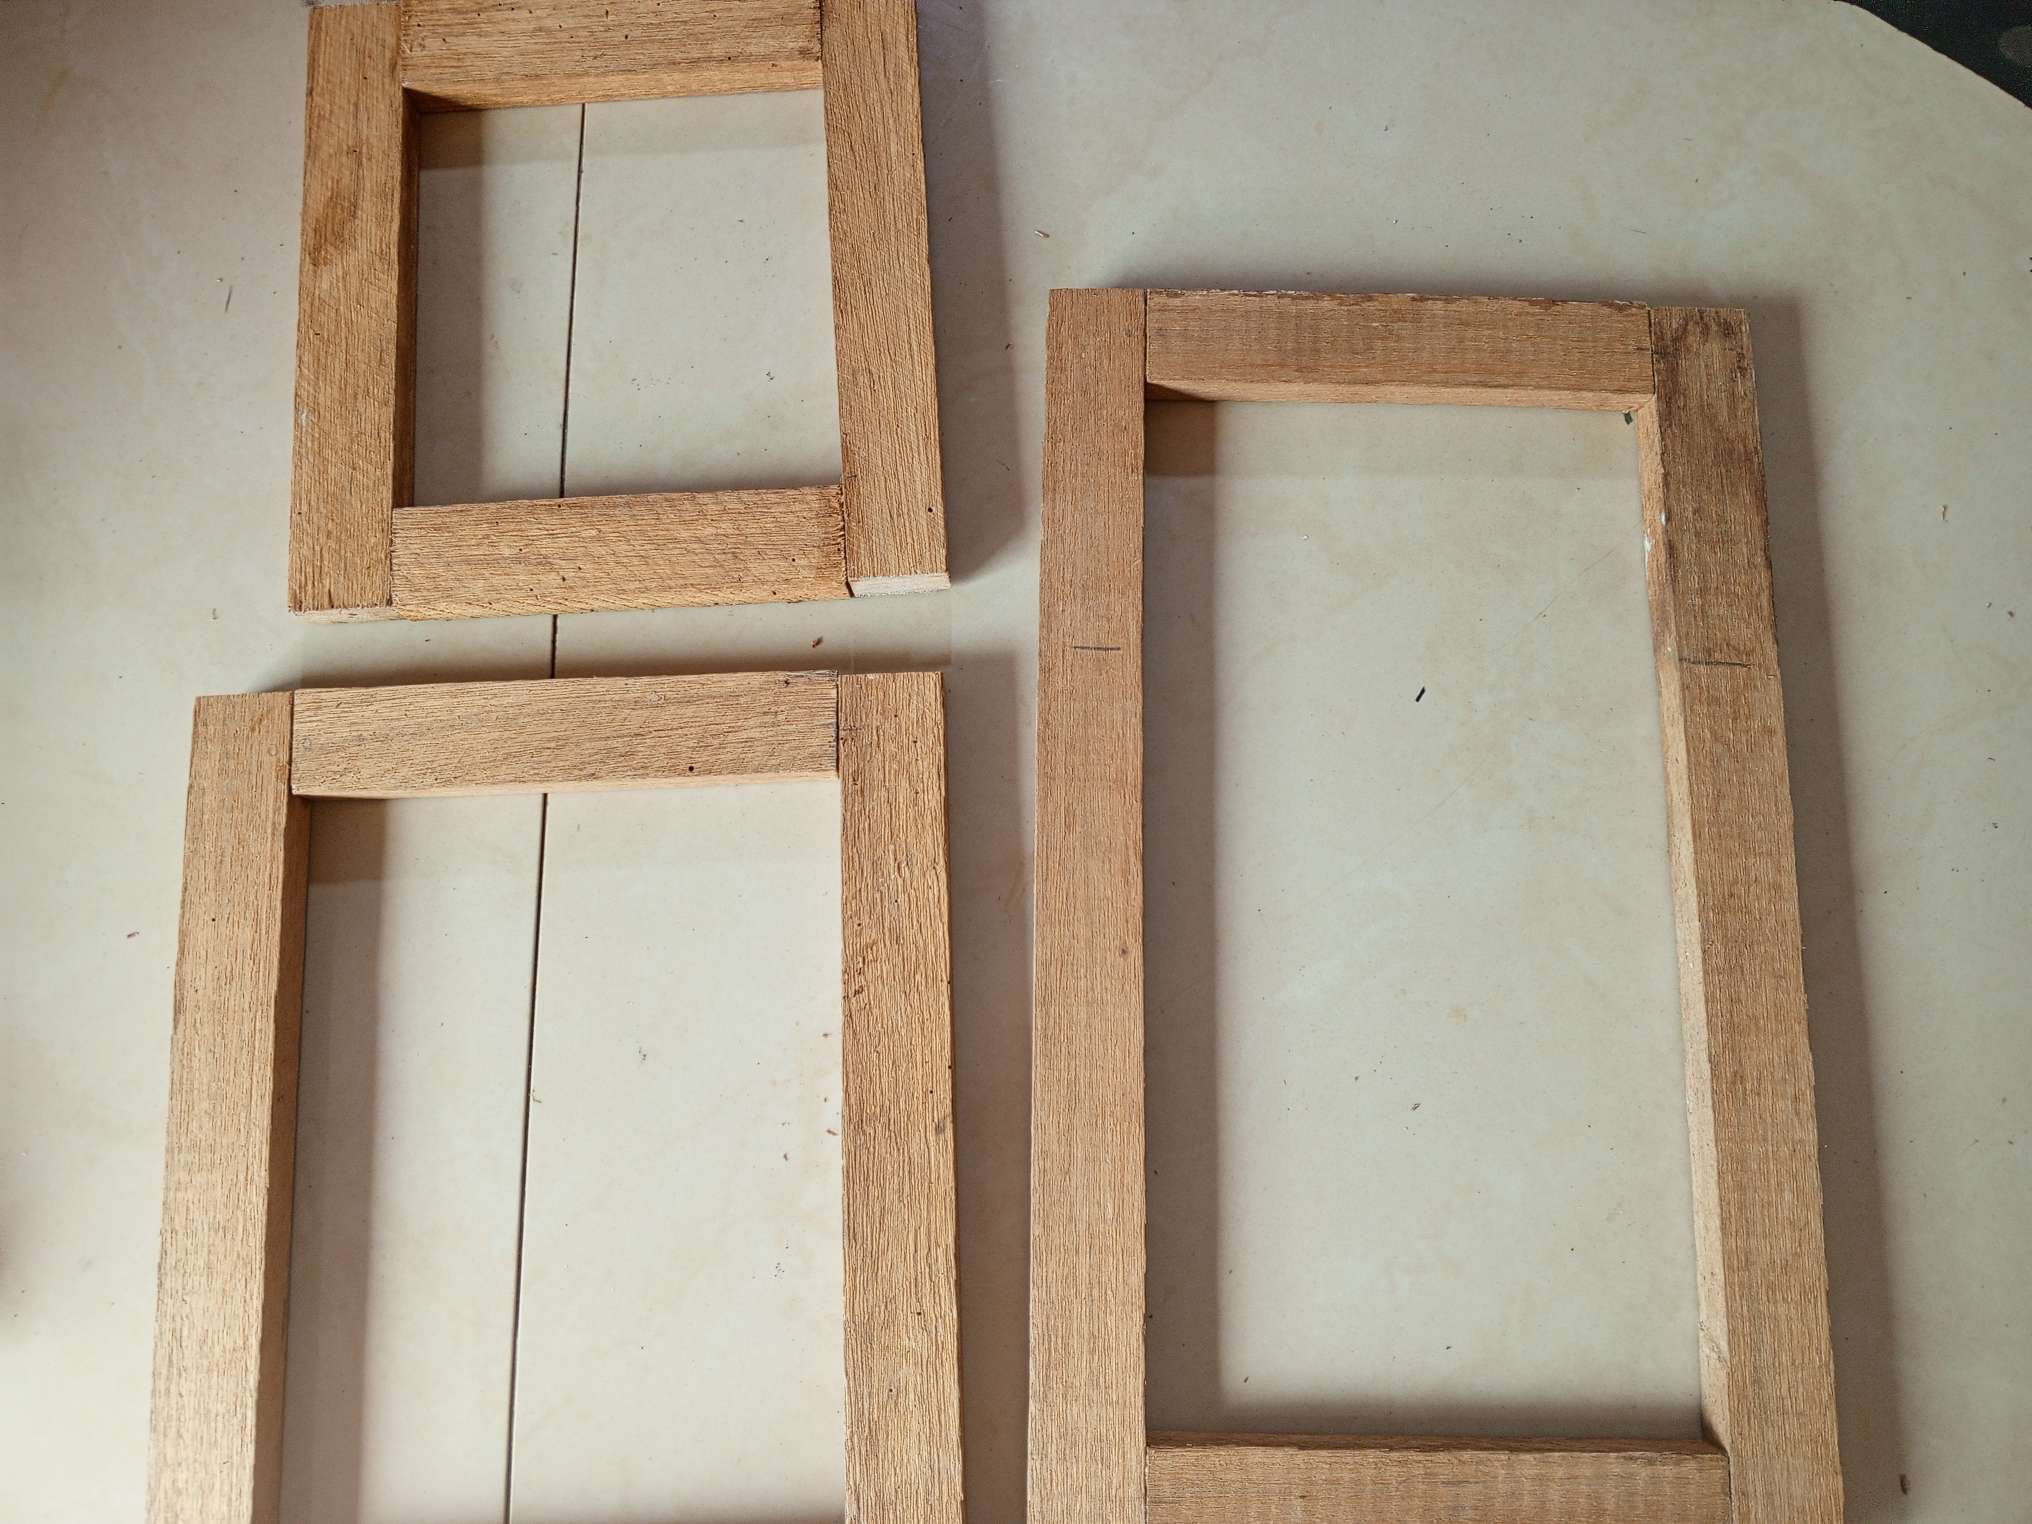
Lo primero que hice fue recortar listones de madera para hacer tres cuadros de distintas dimensiones 30 x 20 centímetros, 25 x 15 y 15 x 15 el más pequeño.
The first thing I did was cut wooden slats to make three paintings of different dimensions: 30 x 20 centimeters, 25 x 15 and 15 x 15, the smallest.
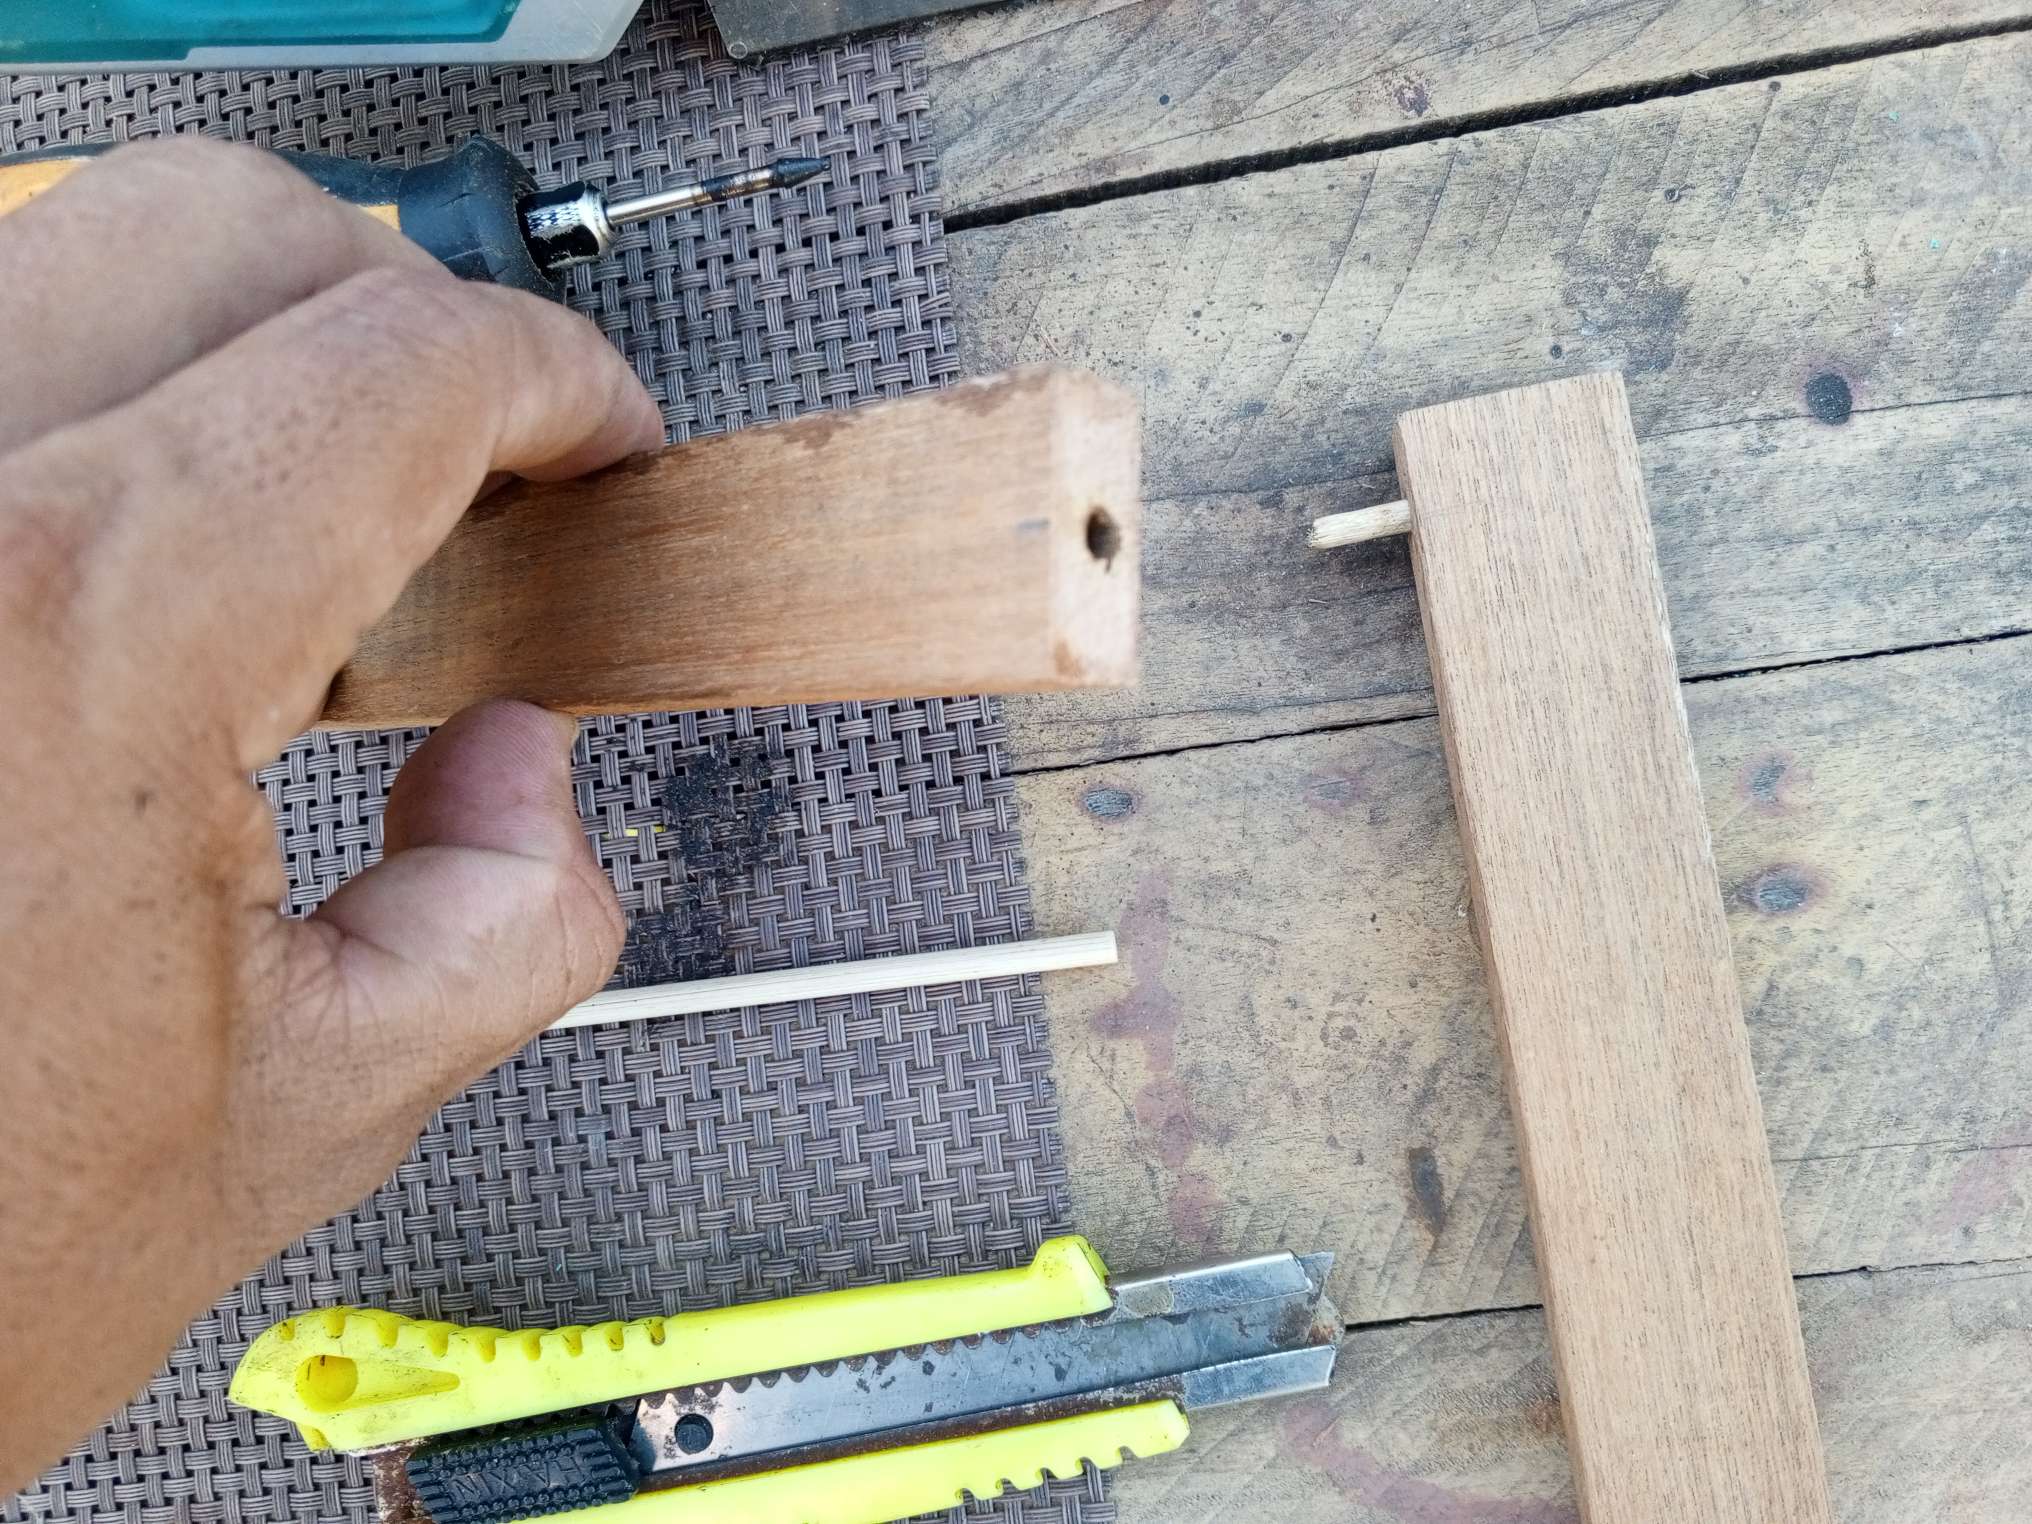
Uní los listones de cada cuadro insertando palos en el centro con cola blanca como muestra la siguiente imagen:
I joined the slats of each painting by inserting sticks in the center with white glue as shown in the following image:
Luego pegue una base central para colocar la maceta y la fijé con clavos de media pulgada. También apliqué cola blanca para un mejor soporte.
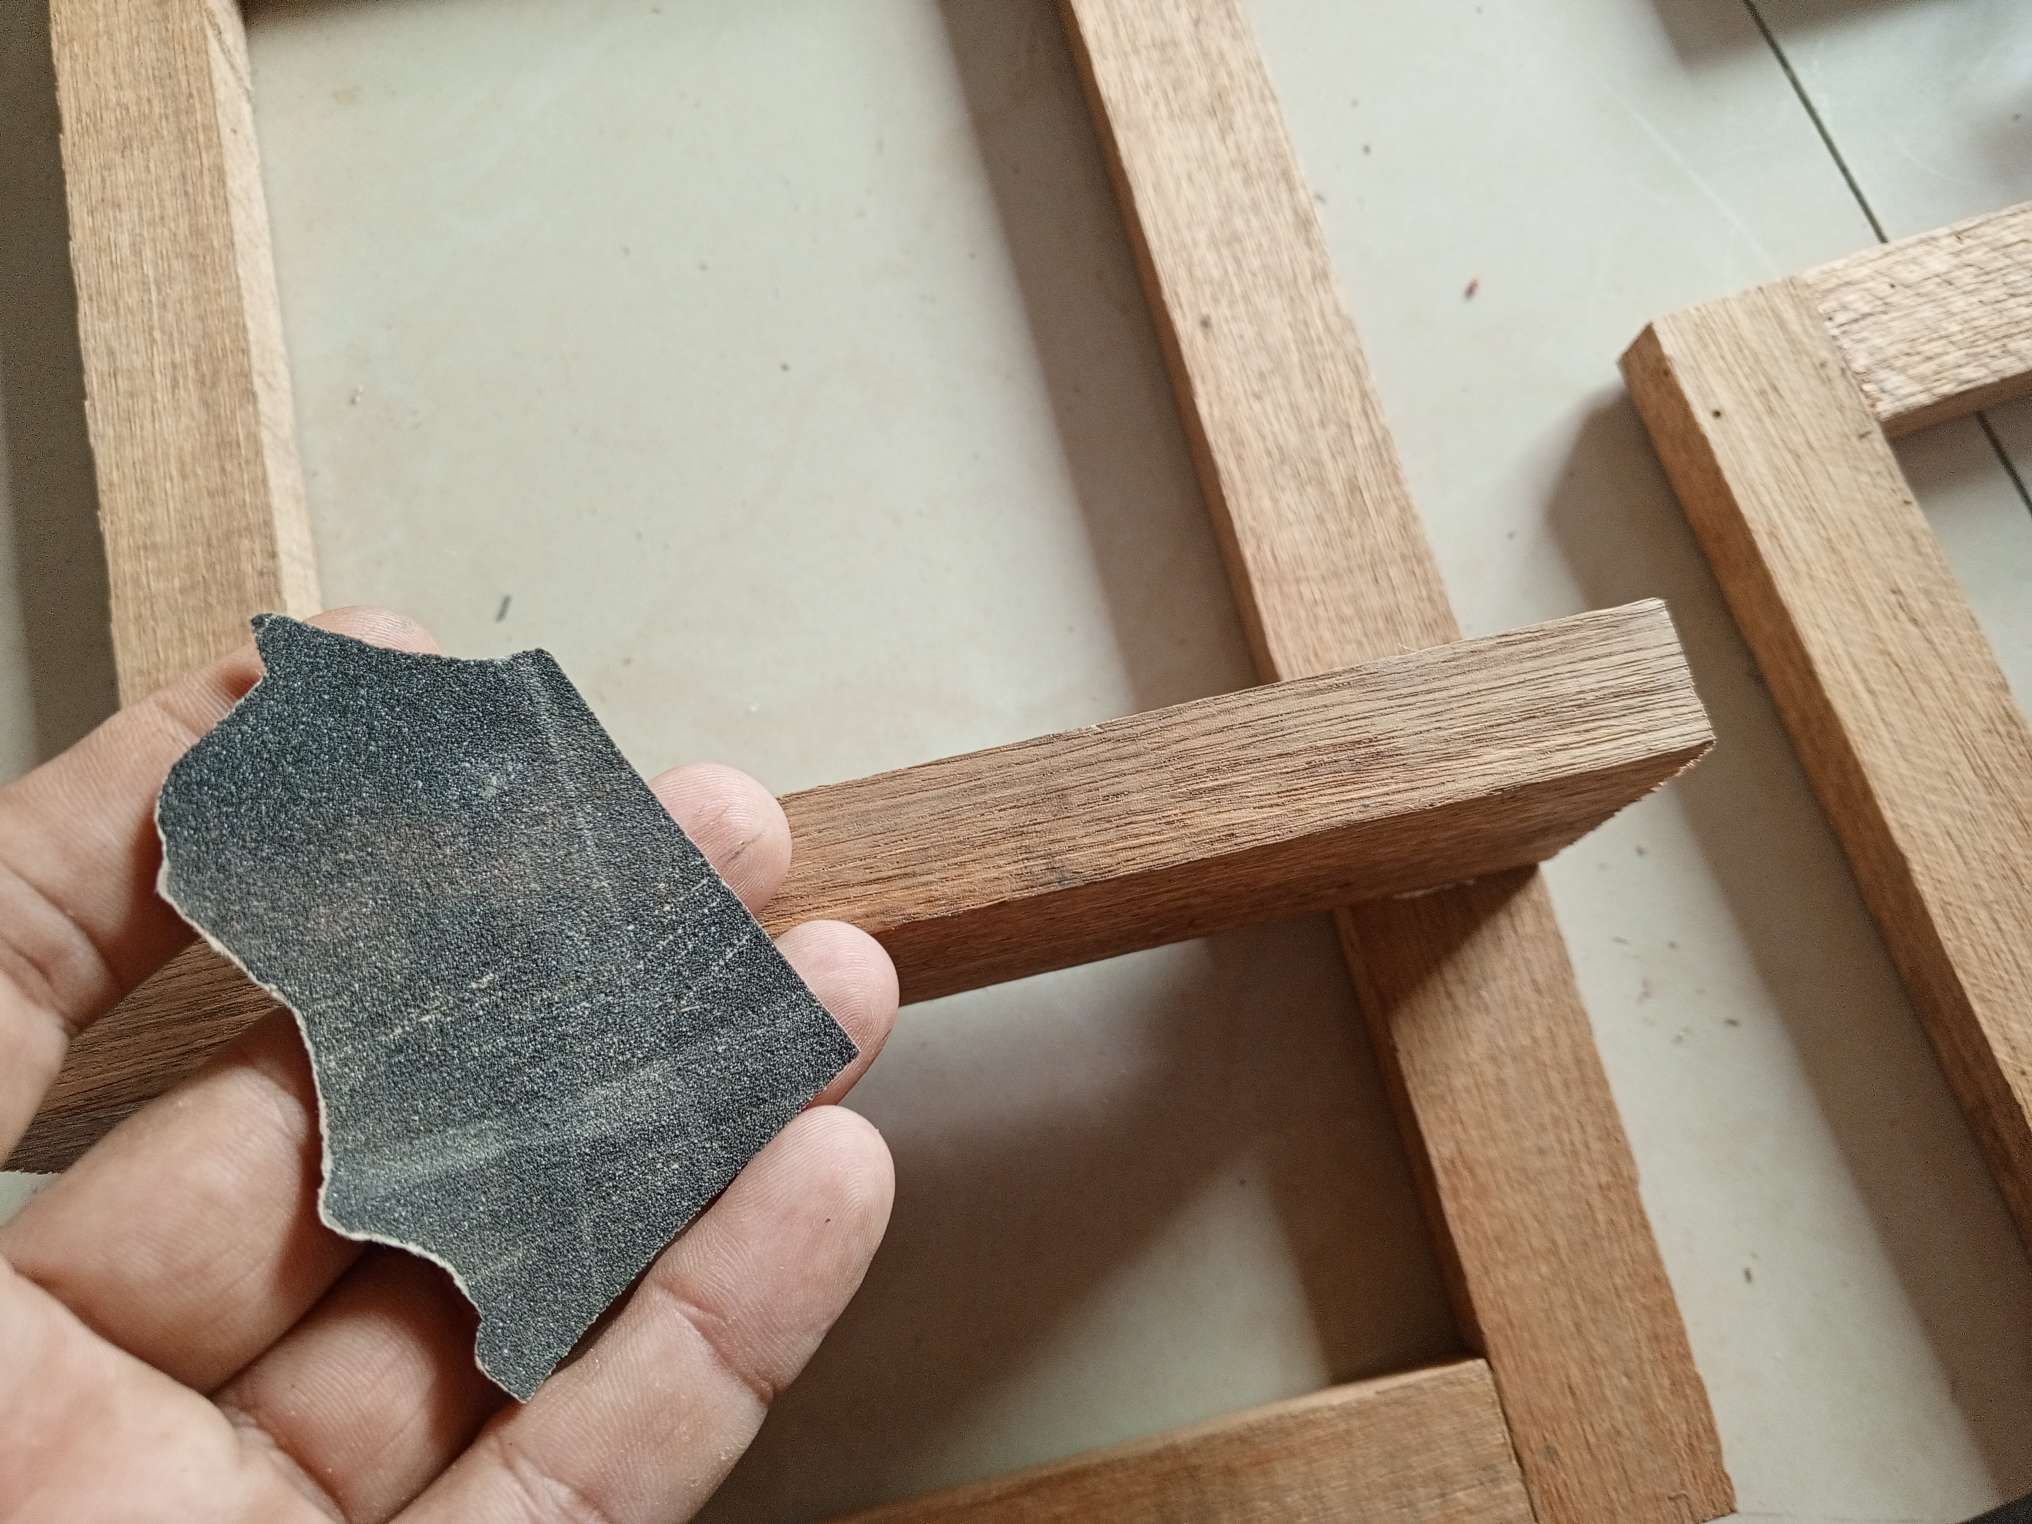
Para conseguír un mejor acabado le pase lija número 220 y luego una número 1000 al agua.
I then glued a center base to place the pot on and secured it with half inch nails. I also applied white glue for better support.
To get a better finish, I used number 220 sandpaper and then a number 1000 wet sandpaper.
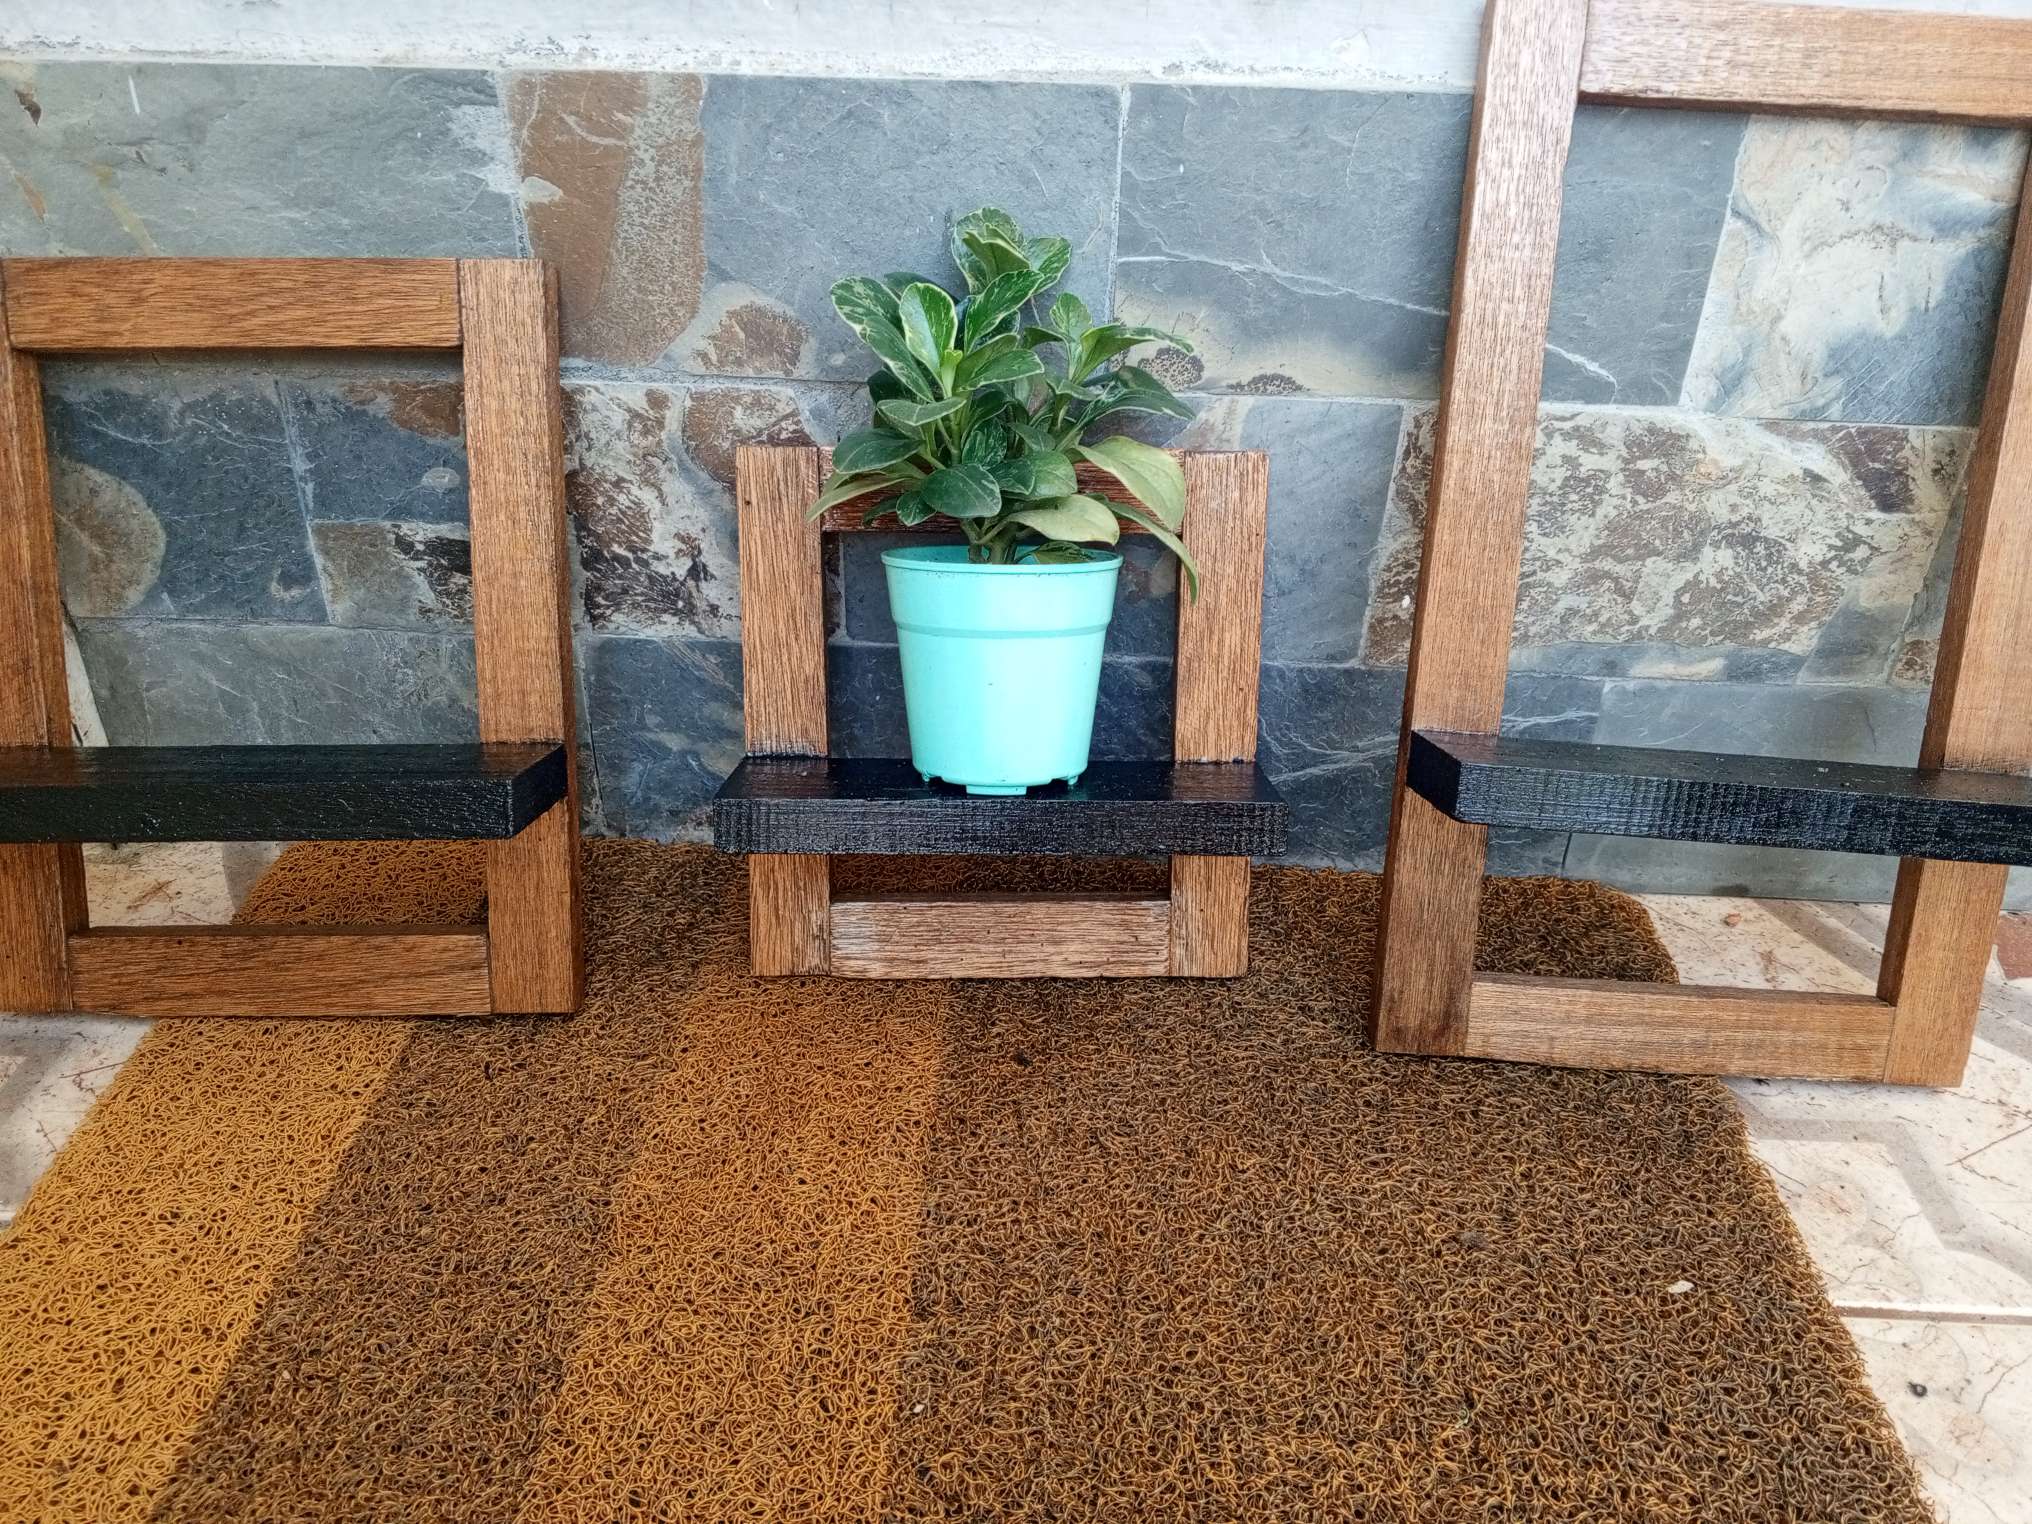
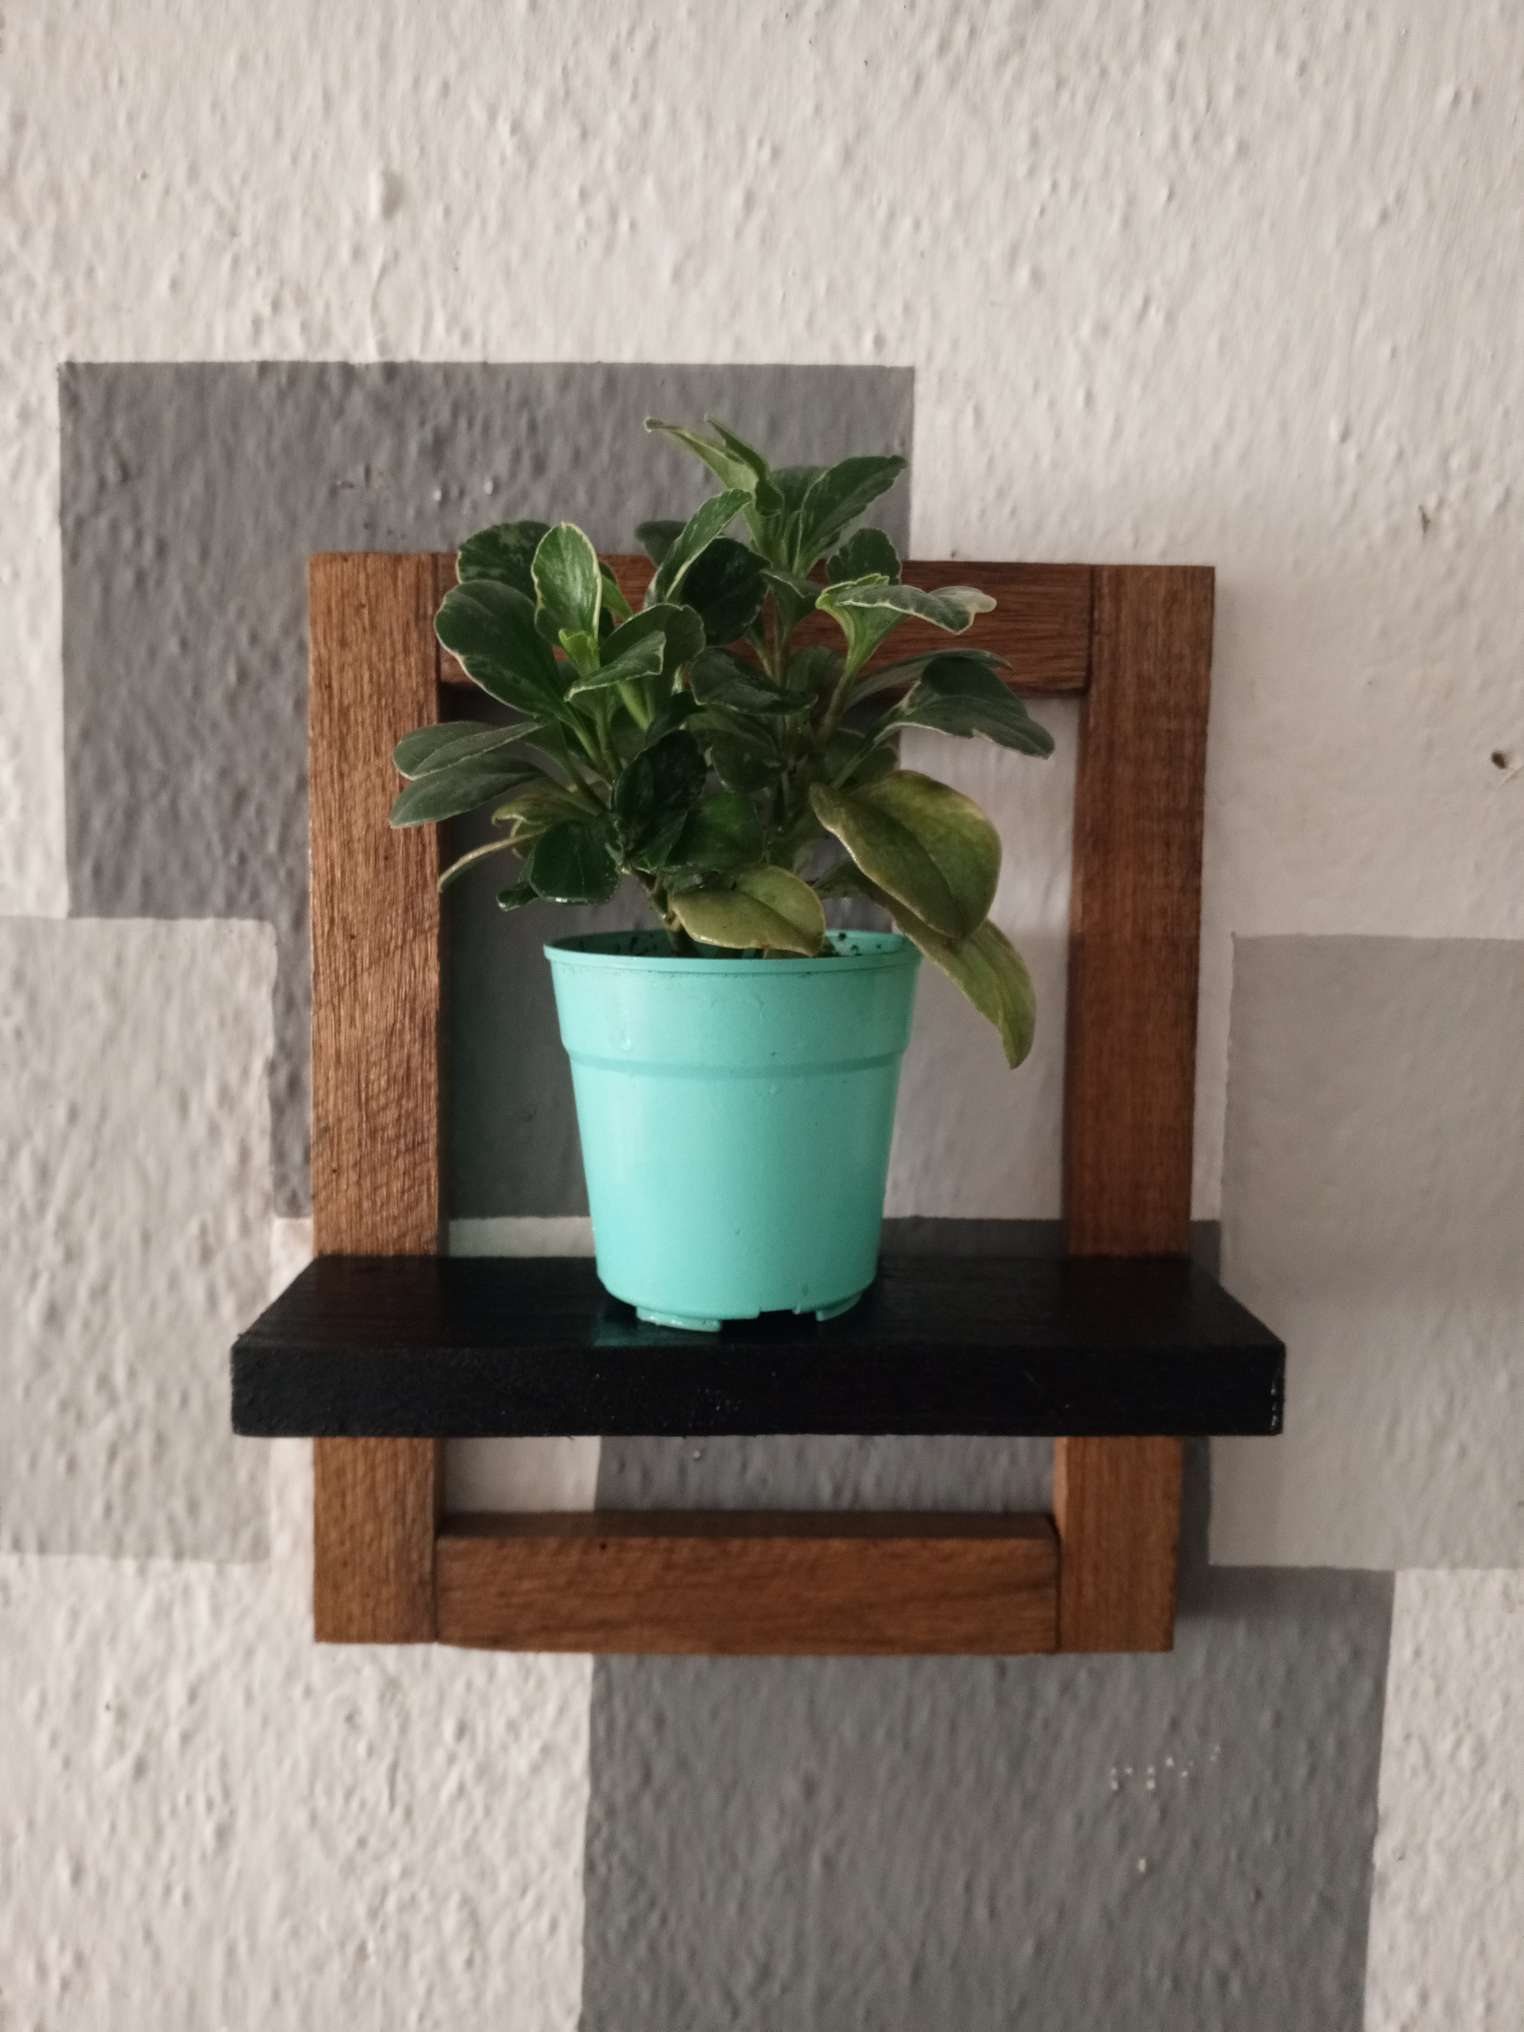
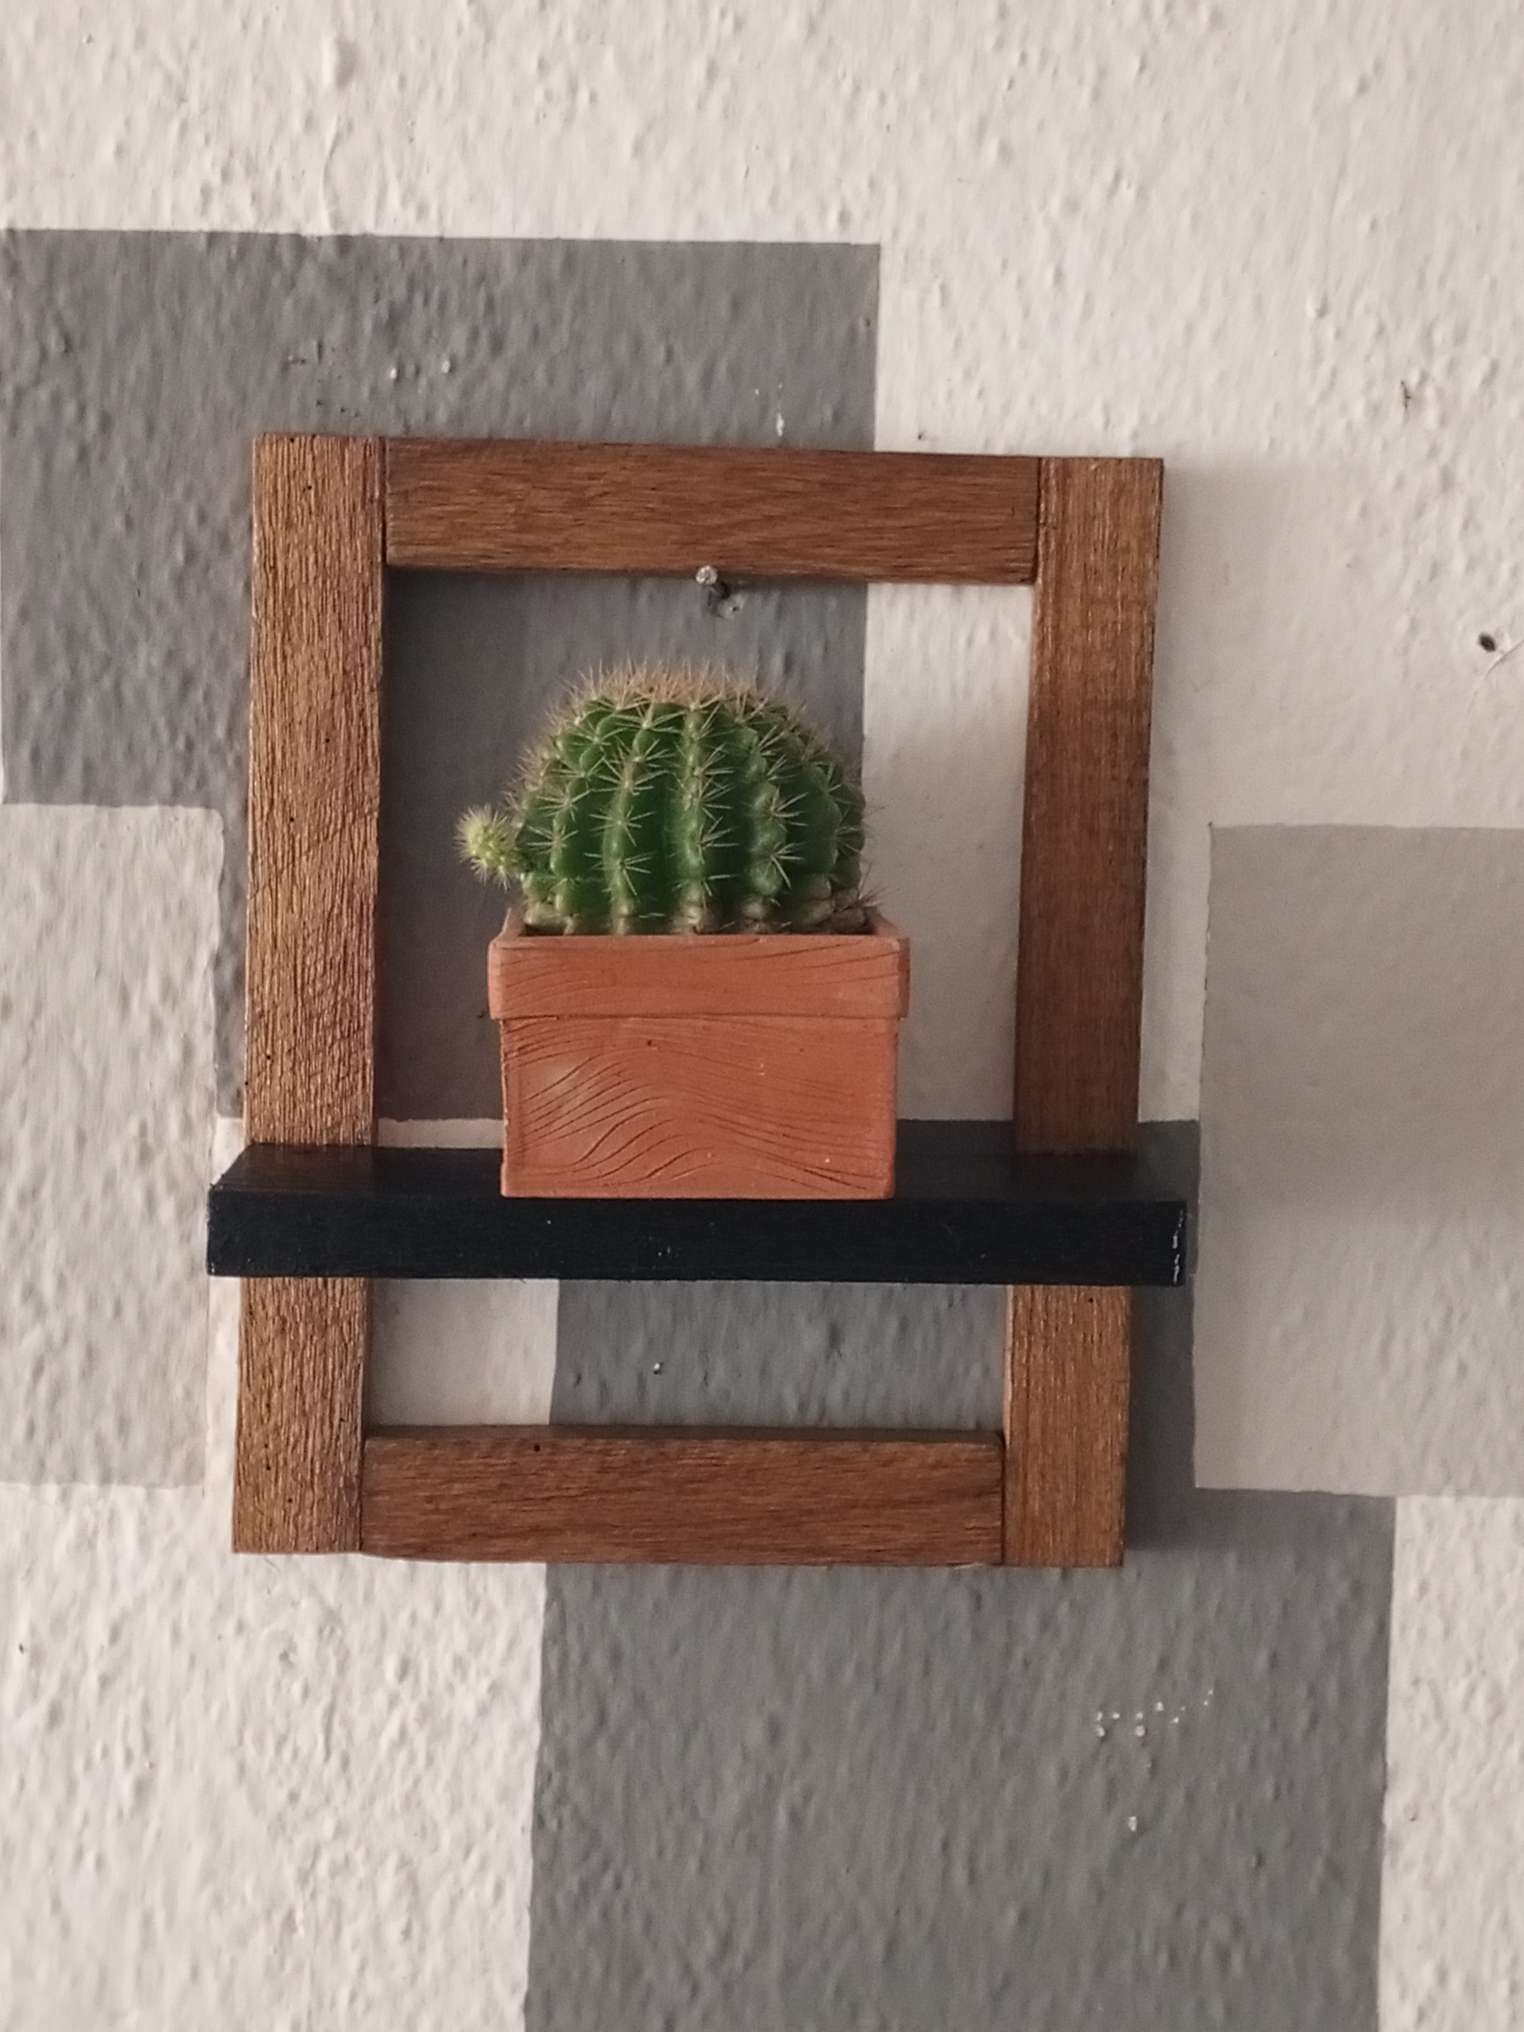
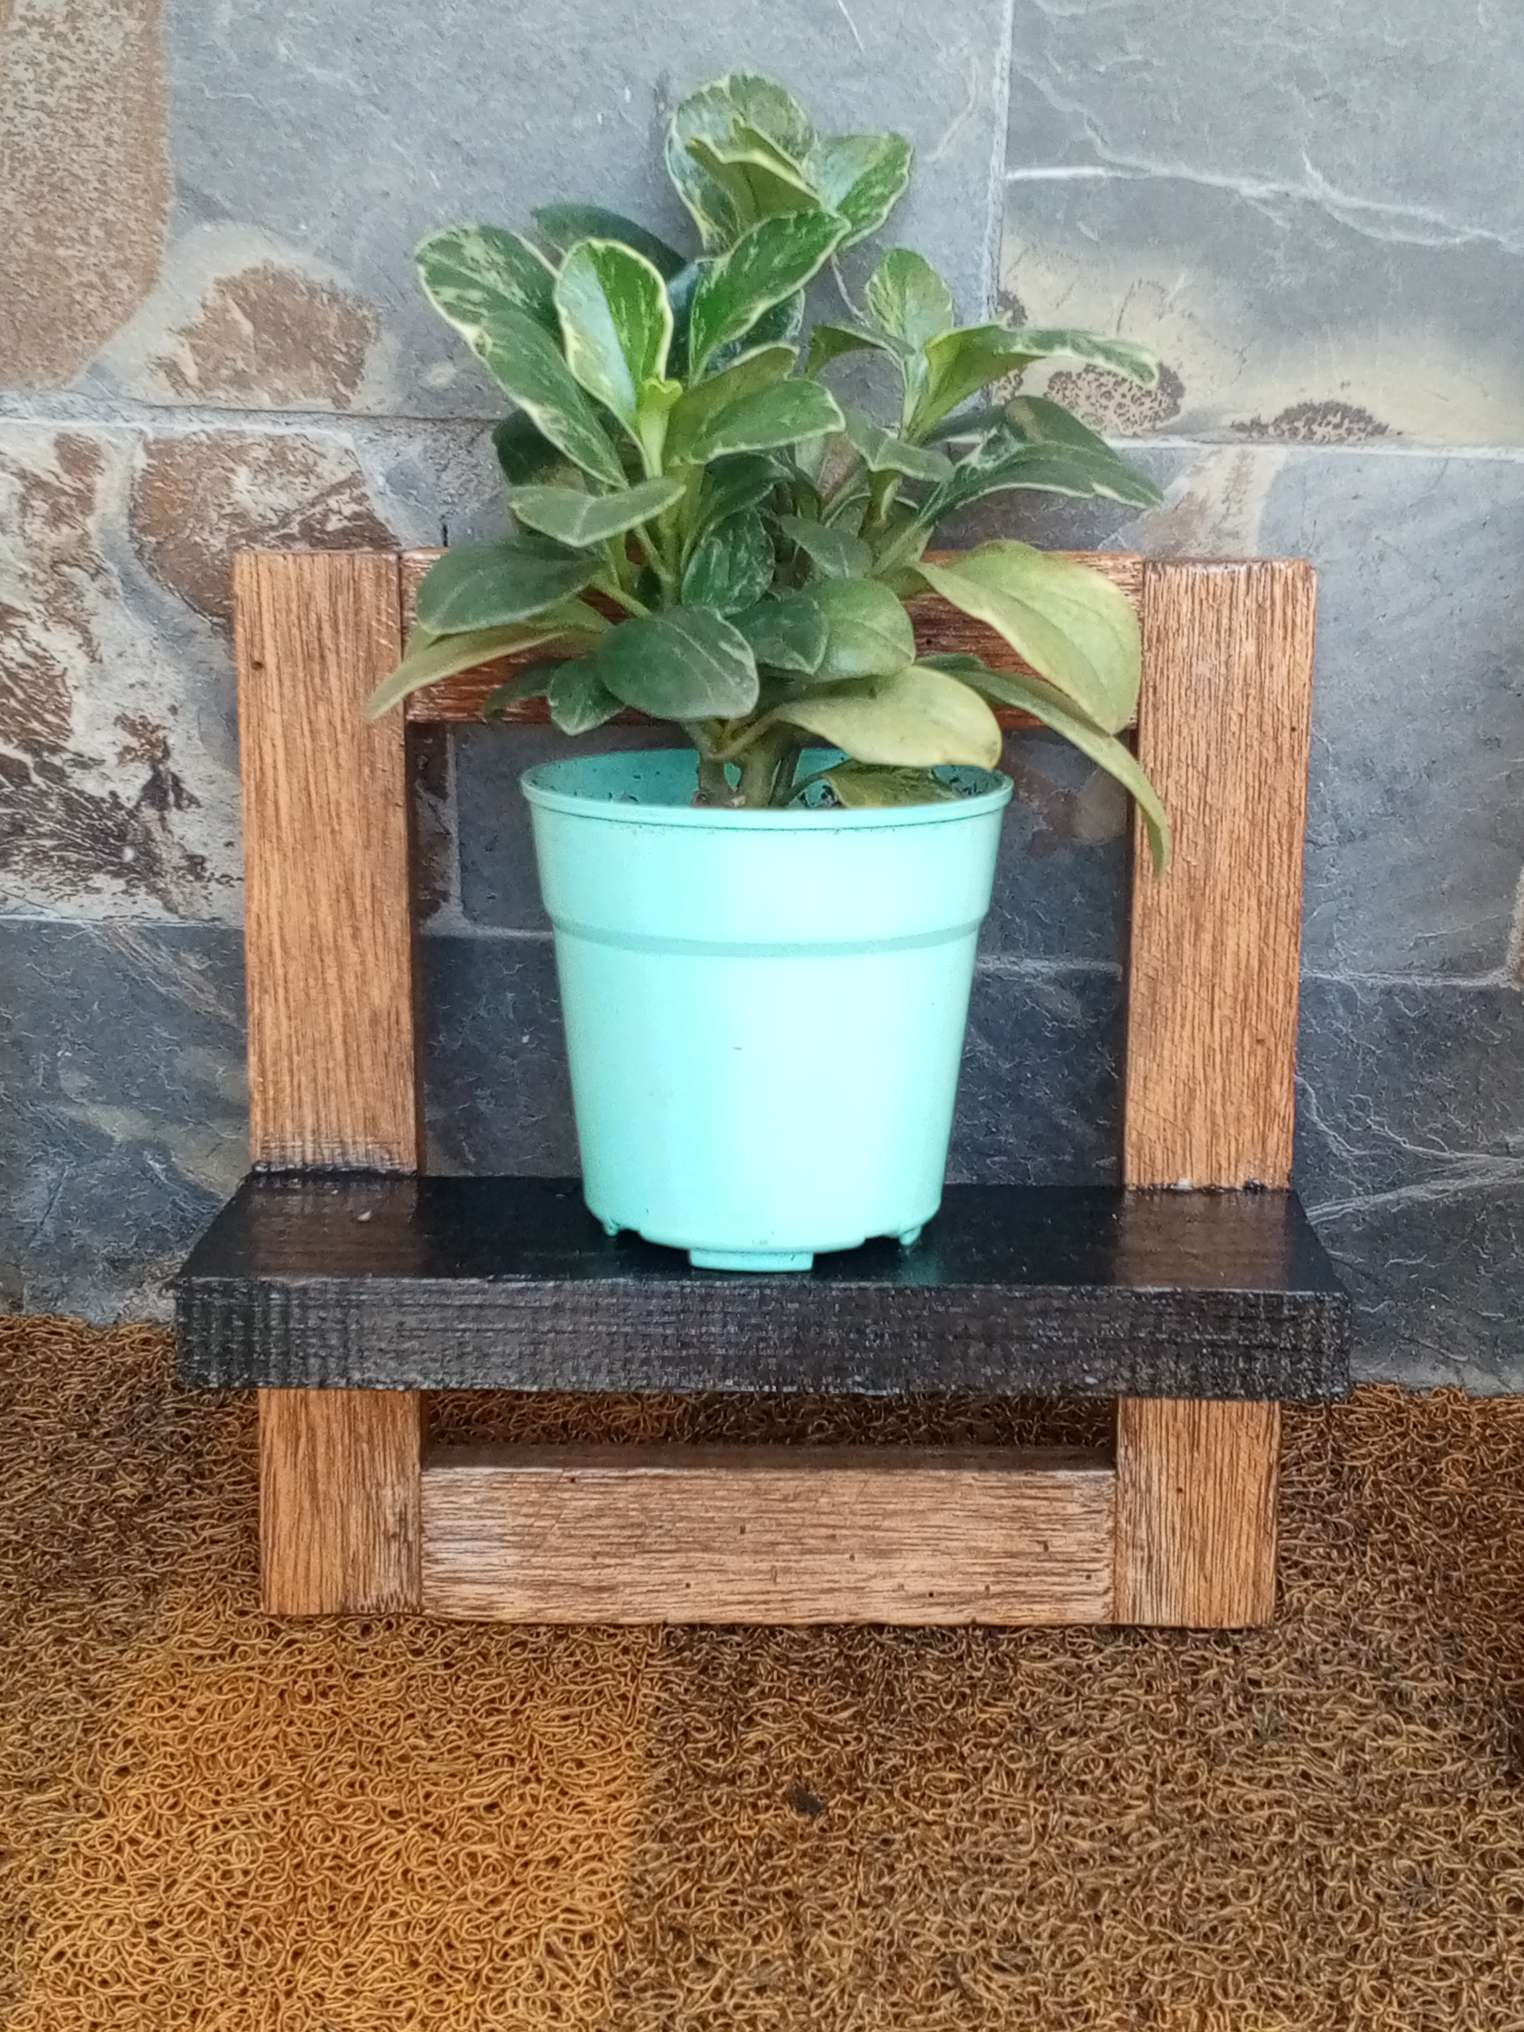
Por último pinté la base central negra y el cuadro lo barnicé . En la parte trasera le hice un orificio hasta la mitad de la madera para colgar en la pared y así decorar cualquier espacio del hogar que lo amerite.
Fotografía finales:
Finally I painted the central base black and varnished the painting. In the back I made a hole halfway through the wood to hang on the wall and thus decorate any space in the home that deserves it.
Final photography:
Muchas gracias por leerme , nos vemos en una próxima entrada!!
Thank you very much for reading me, see you in a next entry!!
Te quedaron muy bien, es una idea excelente para elevar un poco las plantas y decorar los espacios :3
Muchas gracias por tu apreciacion..! El concepto de elevar me gustó .
It feels so good to be able to create something this beautiful and useful as well. Putting all these together was not an easy task but you did an awesome job regardless.
Thank you very much for your kindness and appreciation, I actually had sweat on my forehead hehe but the result was worth the effort. Success community!!
This is really hard work and creativity
Nice one
Thanks so much @praiselove
Created the vertical path through extraordinary experience combining card and plastic. It is a great industry after all. Thank you so much for sharing this wonderful art. Along with this, the creation of trees in the middle of such art creates a wonderful nature creation.
Well said friend, if we expand our mind we can do wonderful things through art. greetings and thanks