✨MY AMAZING AND DELICIOUS😋 VEGAN COCONUT TARTLET🥥// ✨MI INCREÍBLE Y DELICIOSA 😋 TARTALETA VEGANA DE COCO 🥥
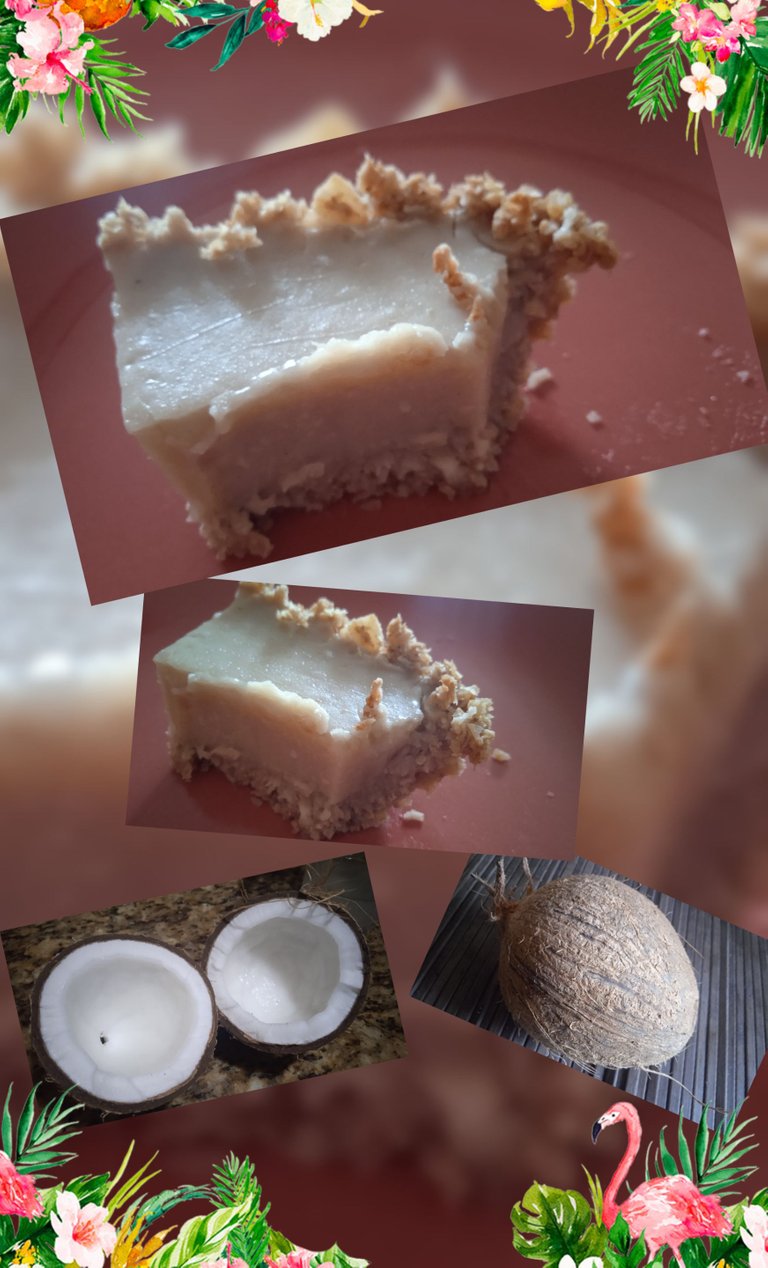
Friends of @plantpower(Vengan) what a pleasure to greet you on this special day. Today I am very happy because I am celebrating one year in this beloved Blockchain. These days I thought to eat something very delicious 😋 and very nutritious.
In recent days I bought three of my favorite fruits: pineapple, mango and coconut. I use the pineapples for my smoothies in the morning, the mango I eat it in a fruit salad and with the coconut I wanted to prepare something very delicious and different.
So I decided to make a Vegan dessert. I thought of making a coconut tartlet. I confess that this recipe is the first time I prepare it. I first imagined how I should make the base with the same coconut.
That's how I came up with the idea of combining it with oatmeal. This time I wanted to try instant oatmeal and this brand is gluten free. How did I manage to make this delicious recipe?
I will describe it below and I am sure you will like it. Very easy to make and with few ingredients, which in our current economic situation is the best option. Besides, it turned out great so I recommend preparing it on a special day or to share with family and friends.
INGREDIENTS
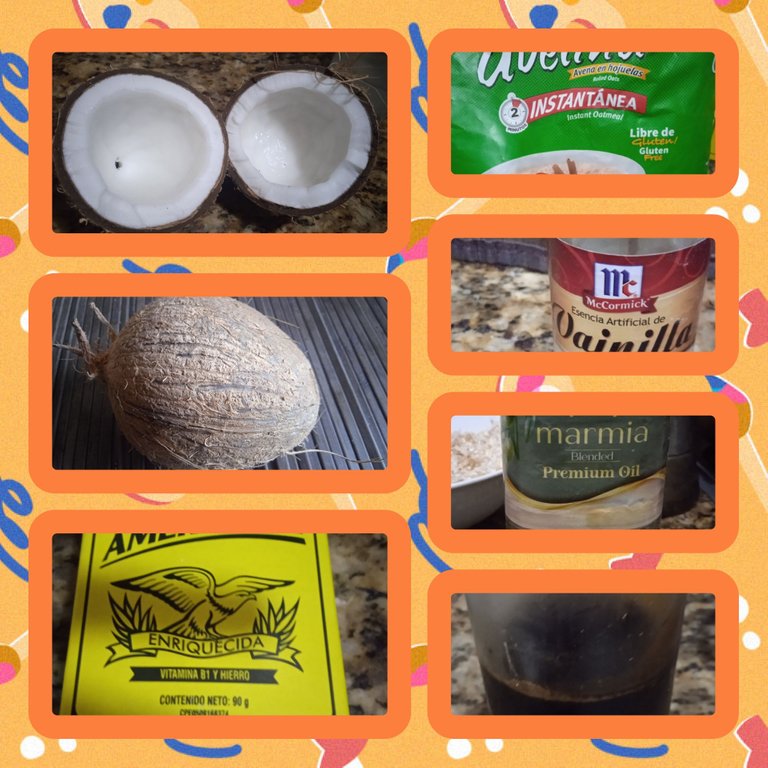
- 1 large dry coconut
- 1 1/2 oatmeal for the base
- 1 tablespoon of olive oil for the base.
- 4 tablespoons of cornstarch (Maizina)
- 2 tablespoons of vanilla (1 for the base and 1 for the cream).
- 4 heaping tablespoons of cornstarch for the cream.
- 8 tablespoons of Papelón Melado (4 for the cream and 4 for the base).
- 2 glasses of water for the cream.
- Salt to taste for the base.
PREPARATION
Friends, the first thing I did was to take the water out of the coconut and taste it. As it tasted very fresh and sweet I reserved it to be part of the liquid needed for my preparation.
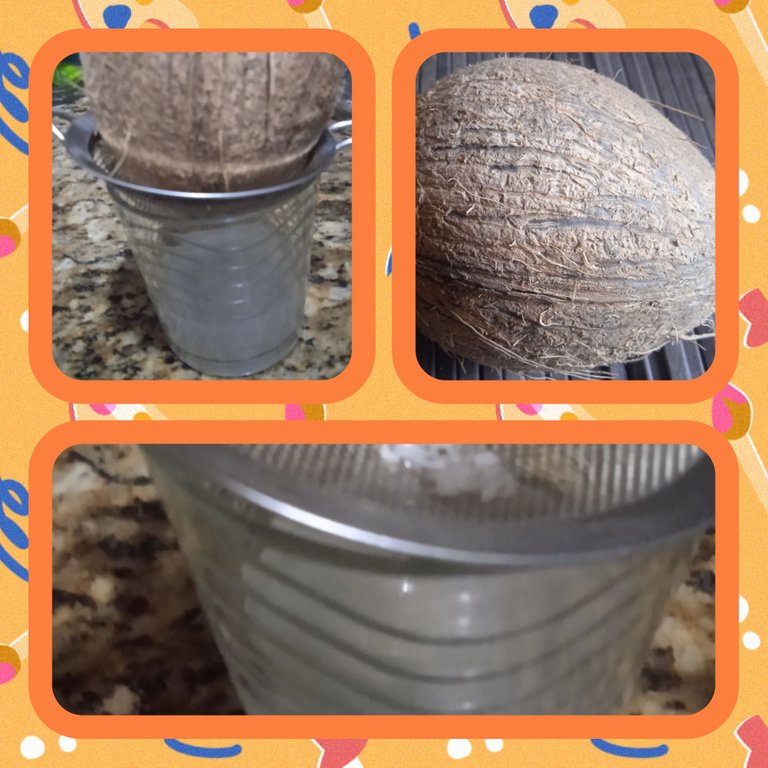
I chopped the coconut, hitting it against the floor. I managed to break it in two. I carefully washed and removed the coconut from the hard shell. The truth is that the coconut was beautiful and just right for this dessert.
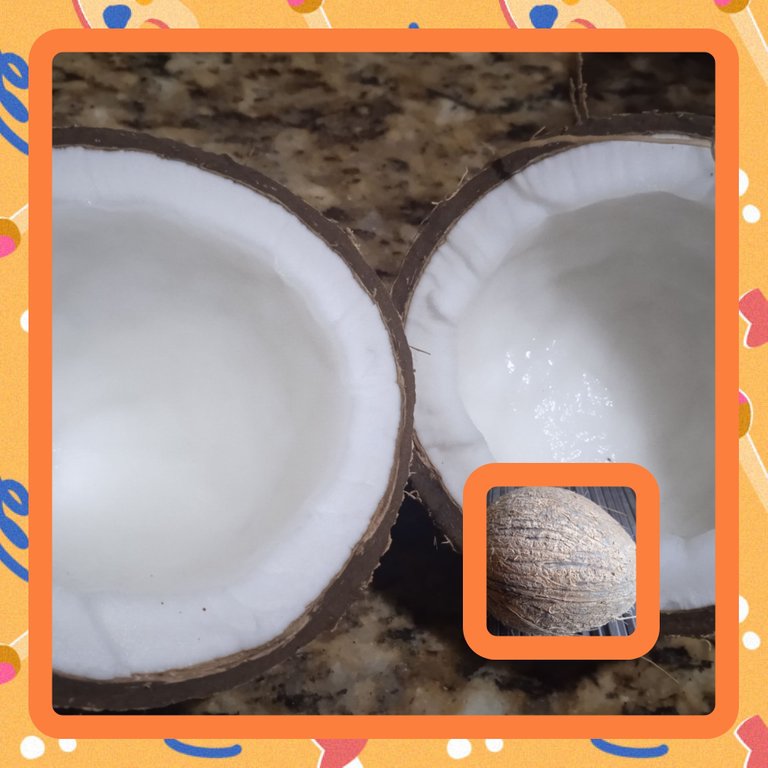
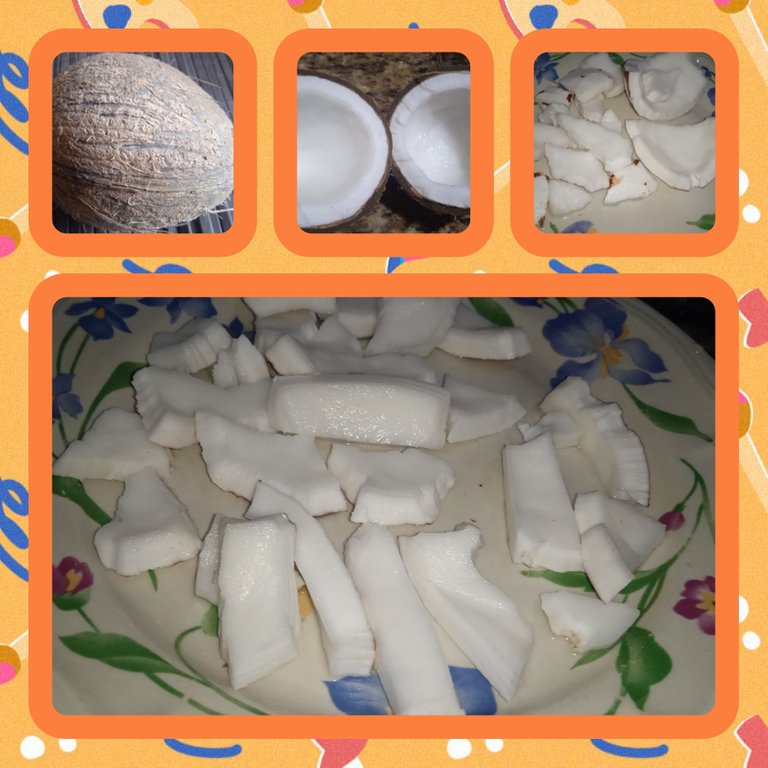
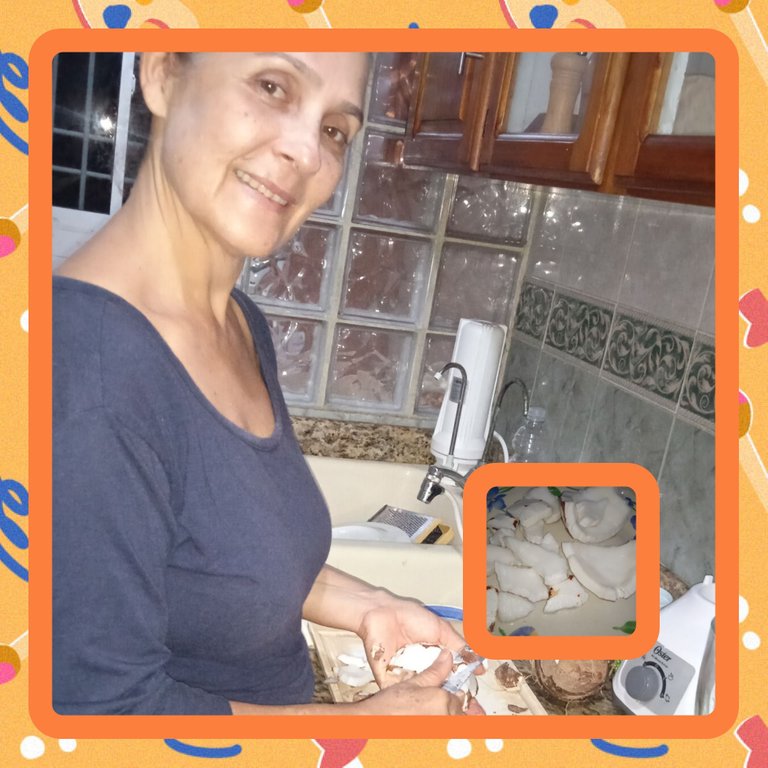
Then I removed the brown skin that makes contact with the hard shell. I did this with a lot of calm and patience. In this part of the process my son arrived and I asked him to take a picture with my phone.
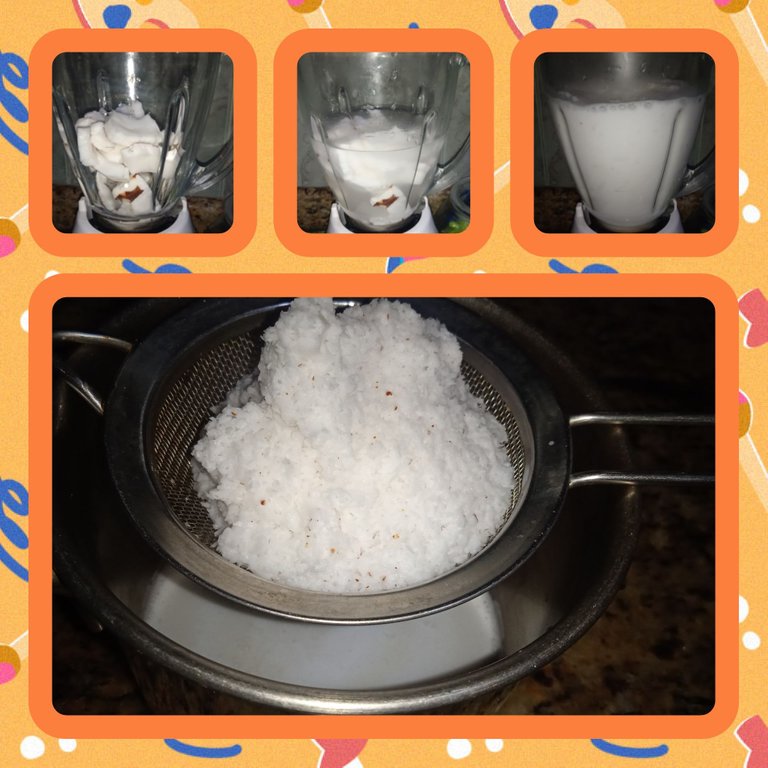
Once peeled I washed it, cut it into smaller pieces and introduced it into the blender. I measured and added the filtered water to a pot and placed it over medium heat to warm. I like the temperature of the water to be a little warmer than lukewarm to add to the blender so I can extract the coconut milk.
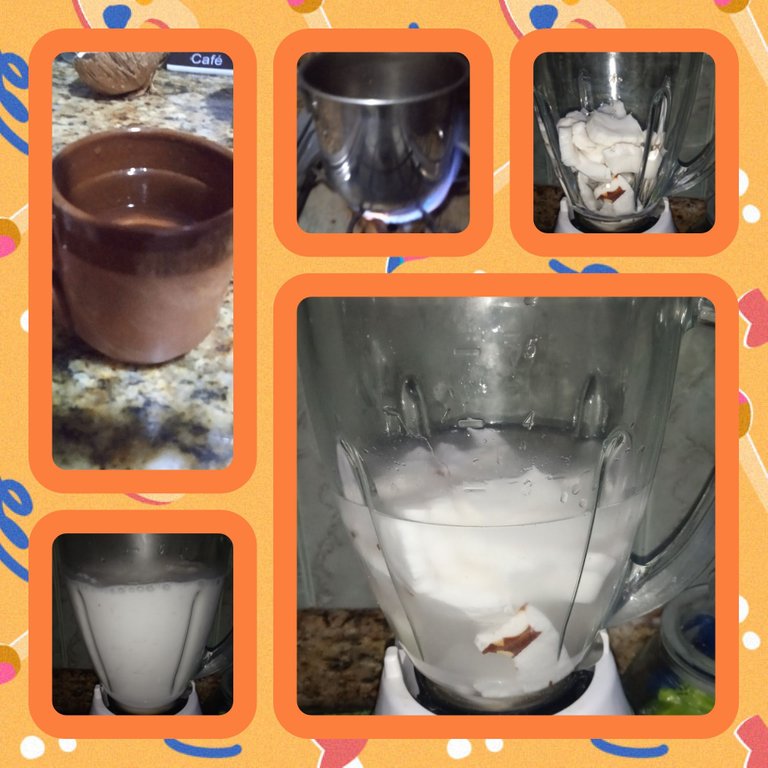
I added the water to the blender and let it work for two minutes so that the coconut could be liquefied very well. I turned it off and added in a container with a strainer to extract the milk and separate the coconut remains in the colodor. I put this coconut fiber in a container to prepare the base of my TARTLETTE.
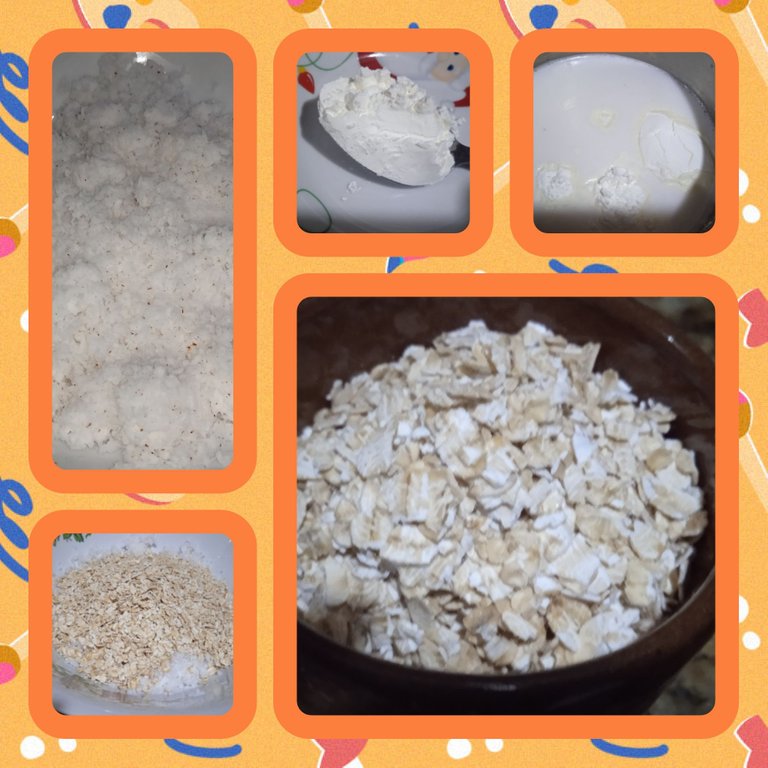
To the coconut residue I added the oatmeal, salt, olive oil, vanilla, the 4 tablespoons of papelón and a tablespoon of the coconut water that I initially extracted. I mixed all the ingredients kneading with my hands very well.
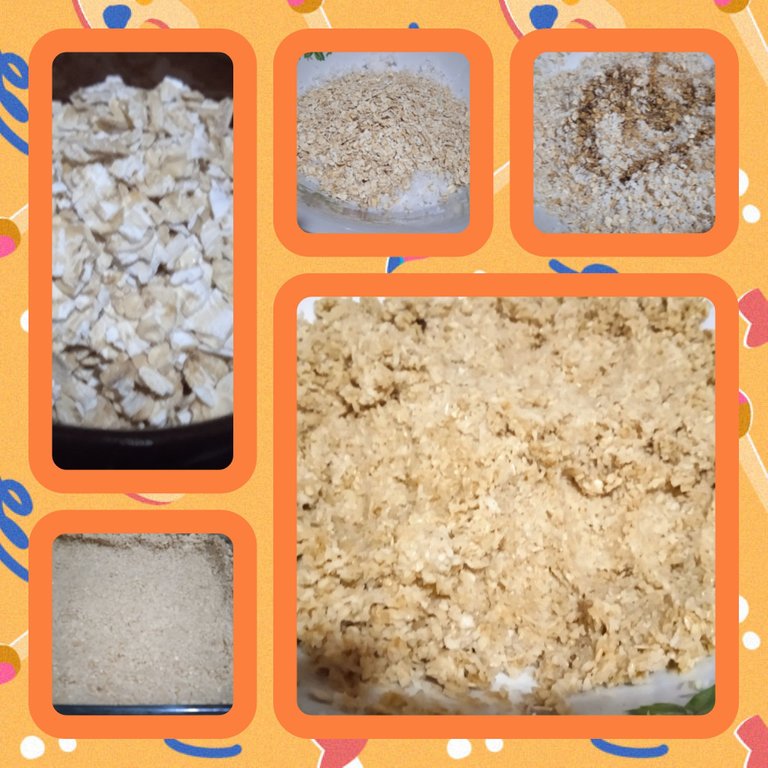
I took a refractory container, spread olive oil around it and put the dough or mixture that will be the base of my TARTLETTE. I tried to cover it on all sides. I helped myself with a fork to give a nice shape to the edges. I turned on the oven and put it in for 20 minutes at 180 degrees.
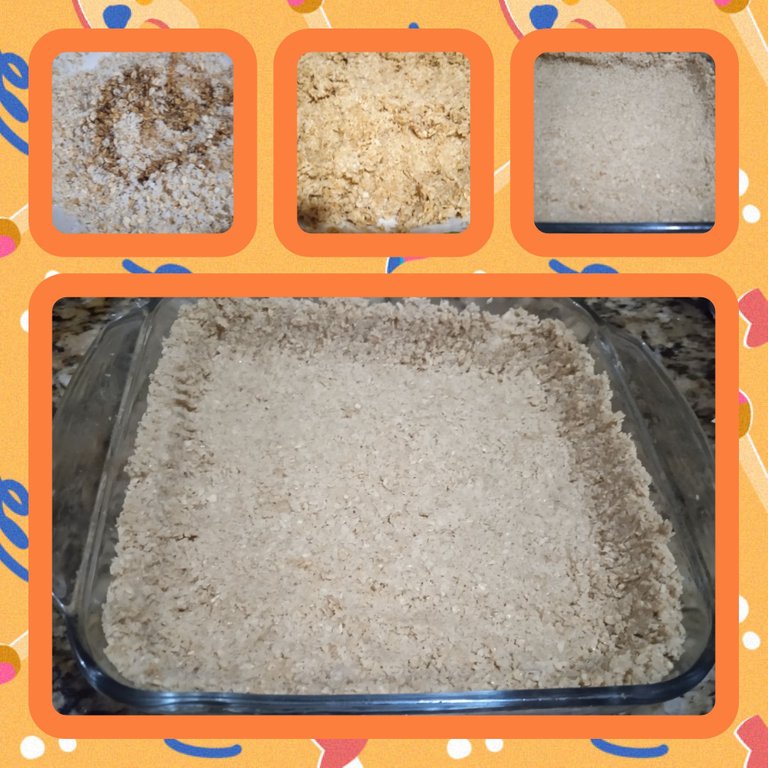
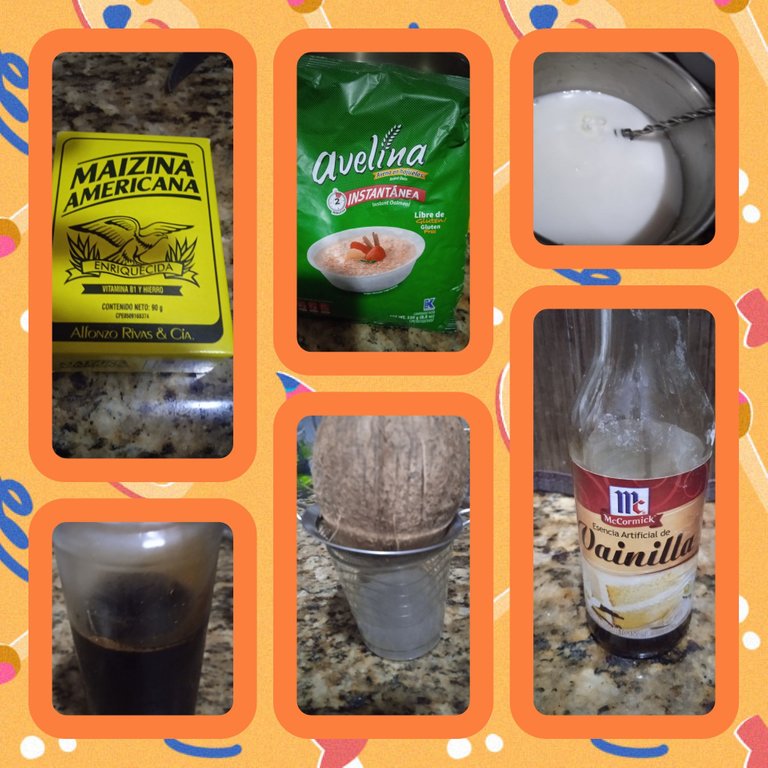
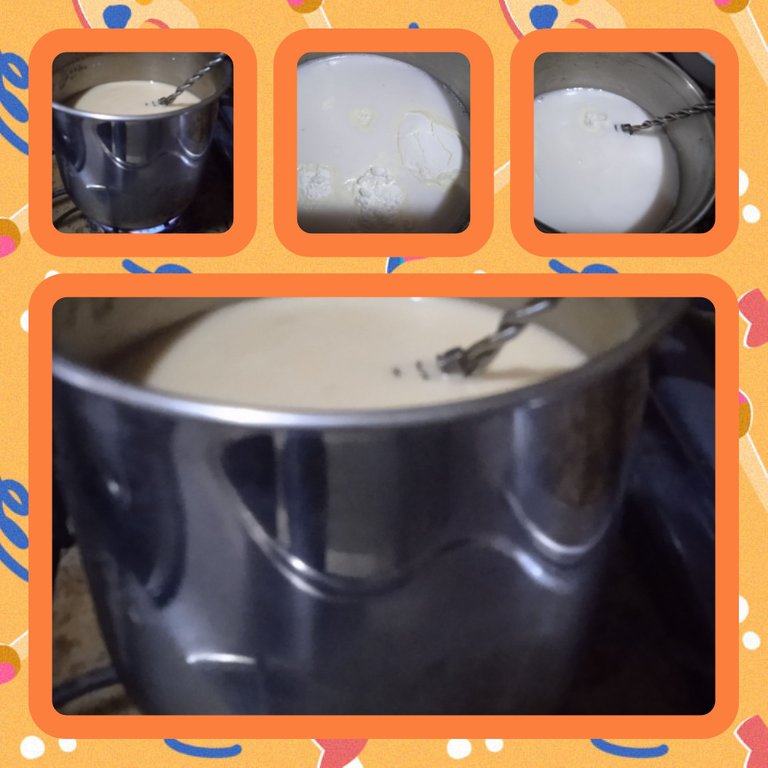
After the time had elapsed, I took the base of the TARTARETTE out of the oven and let it rest. I began to prepare my cream. I took the container, which in this case is a pot where I had reserved the coconut milk that I previously extracted. I added the cornstarch, paprika, vanilla and the remaining coconut water.
I beat all the ingredients very well and after the cornstarch dissolved well, I took it to the moderate heat without stopping stirring. The cream was ready when it started to bubble and the mixture thickened. I immediately removed it from the heat and added it to the base.
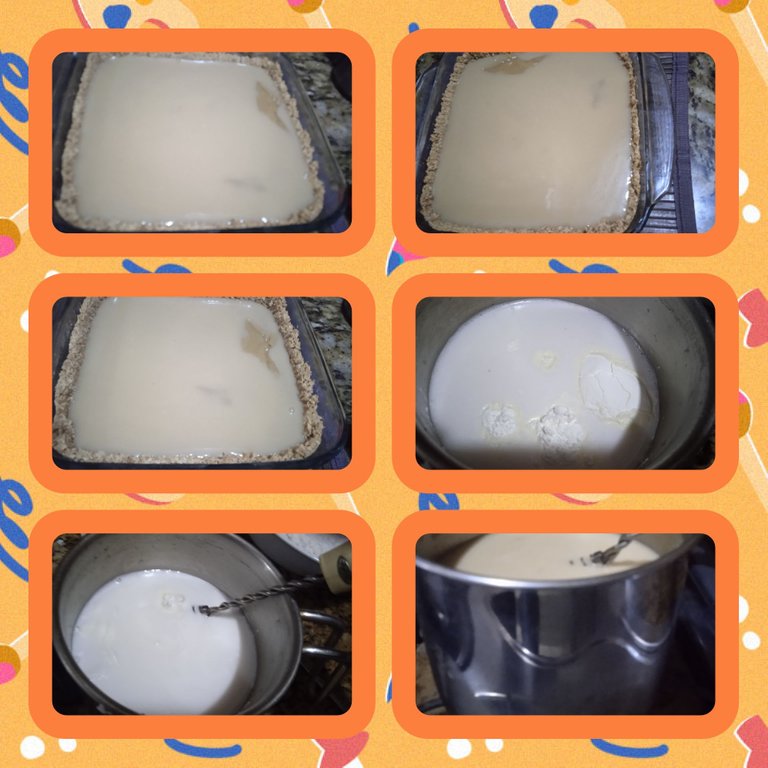
I left it for about an hour to cool completely and took it to the refrigerator. I left this COCONUT TARTARETTE overnight. I wanted to try it but the power went out in my house. So I slept in and it was only this morning that I tried it.
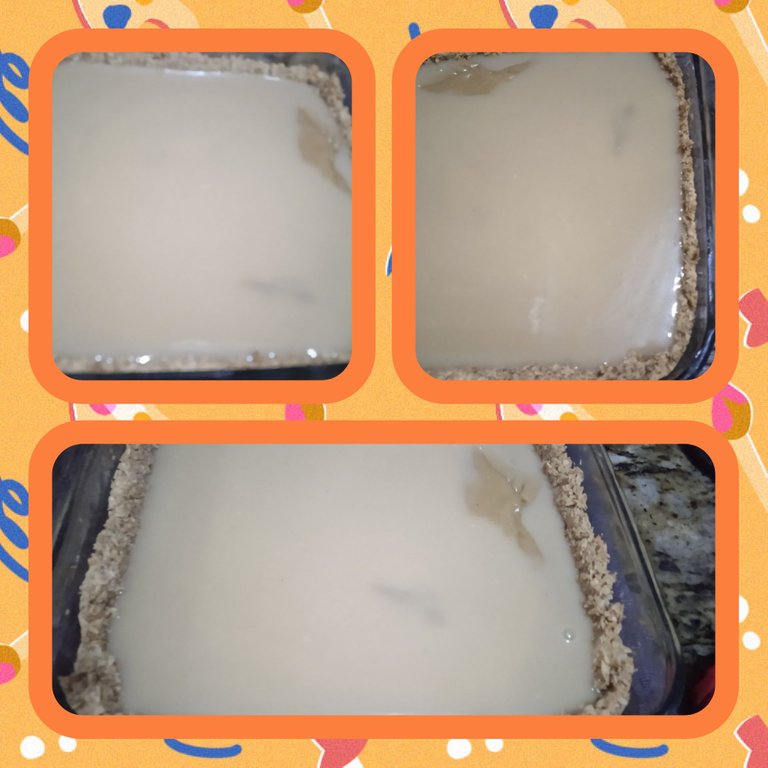
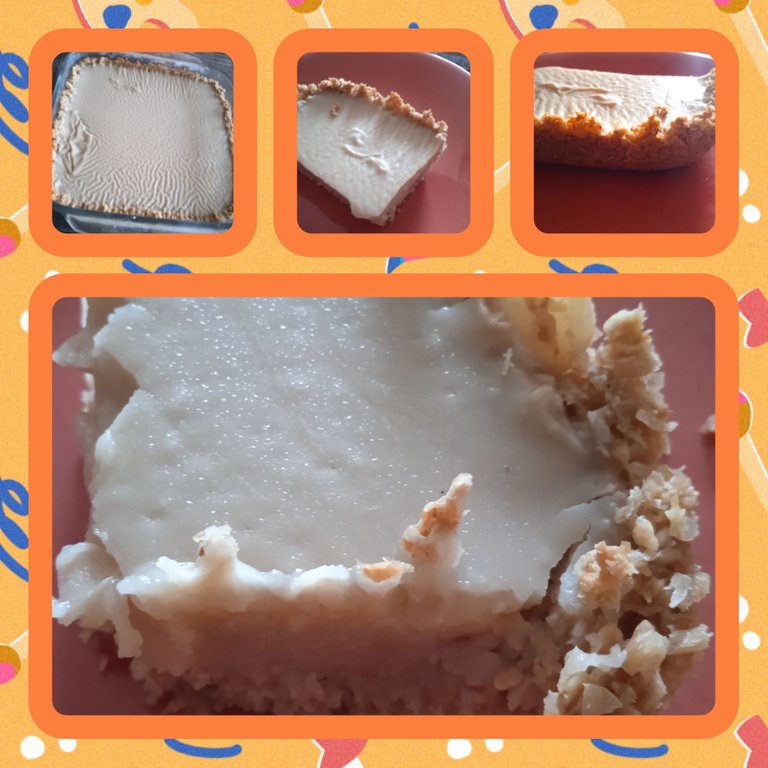
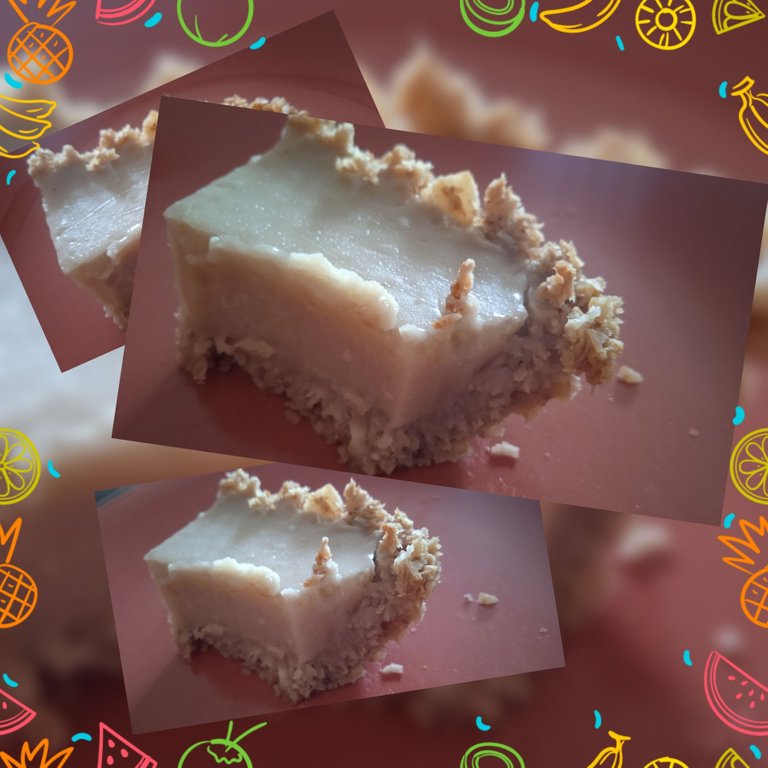
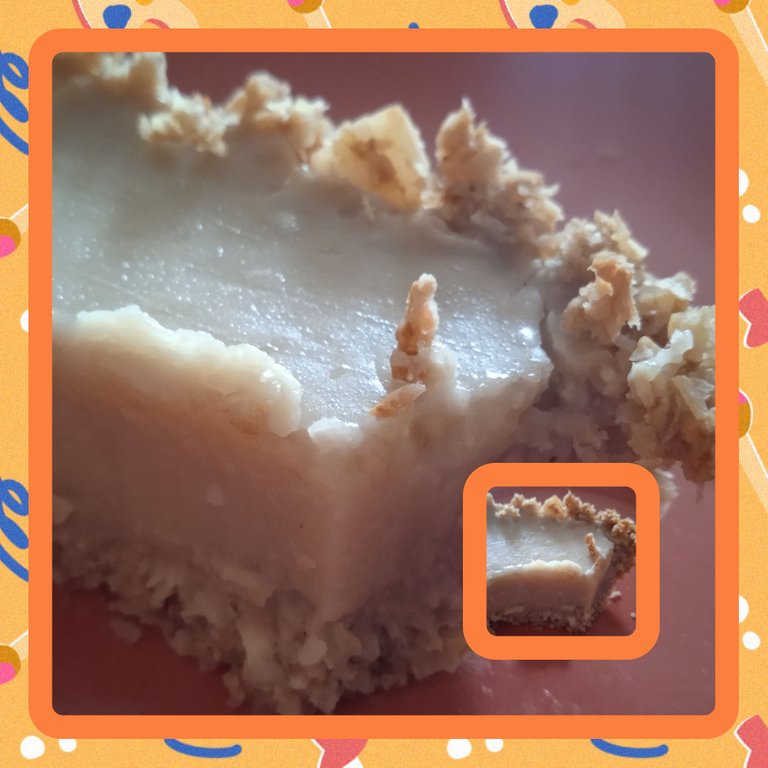
What a great recipe, you have no idea how DELICIOUS it turned out. For this reason I am sharing it today with great pride for my creation. This recipe makes eight servings.
I am very happy and pleased to share this great recipe with all of you. Happy weekend my dear friends of #hive.
EN ESPAÑOL
Amigos de @plantpower(Vengan) que gusto saludarlos en este día especial. Hoy muy contenta porque estoy cumpliendo un año en esta querida Blockchain. En estos días pensé comerme algo muy delicioso 😋 y que fuera muy nutritivo.
En días pasados compré tres de mis frutas favoritas: piña, mango y coco. Las piñas las uso para mis batidos en la mañana, el mango me lo como en una ensalada de frutas y con el coco quería preparar algo muy delicioso y diferente.
Es así que me decidí por un postre Vegano. Pensé en hacer una TARTALETA DE COCO. Les confieso que esta receta es la primera vez que la preparo. Me imaginé primero como debía hacer la base con el mismo coco.
Es así que me surgió la idea de combinarlo con avena. En esta oportunidad quería probar la avena instantánea y la de esta marca que es libre de gluten. ¿Cómo me la ingenié para hacer está deliciosa receta?.
A continuación se las describo y estoy muy segura que les gustará. Muy fácil de hacer y con pocos ingredientes, que en nuestra situación económica actual es la mejor opción. Además de que quedó de maravilla así que la recomiendo preparar en un día especial o para compartir con familiares y amigos.
INGREDIENTES
• 1 Coco grande seco
• 1 1/2 de Avena para la base
• 1 Cucharada de Aceite de oliva para la base.
• 4 Cucharadas grandes de Maizina (fécula de maíz)
• 2 Cucharadas de Vainilla ( 1 para la base y otra para la crema).
• 4 Cucharadas colmadas de Maizina para la crema.
• 8 Cucharadas de Melado de Papelón (4 para la crema y 4 para la base).
• 2 Vasos de agua para la crema.
• Sal al gusto para la base.

PREPARACIÓN
Amigos lo primero que realicé fué sacar el agua del coco y probarla. Como sabía muy fresca y dulce la reservé para que formara parte del líquido necesario para mí preparación.


Piqué el coco, golpeándolo contra el piso. Logré que se partiera en dos. Lavé y saqué cuidadosamente el coco de la concha dura. La verdad que el coco estaba hermoso y en su punto para realizar este postre.


Después quité la parte o piel marrón que hace contacto con la concha dura. Esto lo realicé con mucha calma y paciencia. En esta parte del proceso llegó mi hijo y le pedí el favor que me tomara una foto con mi teléfono.

Una vez pelado lo lavé, corté en trozos más pequeños e introduje en la licuadora. Medí y agregué a una olla el agua filtrada y la coloqué a fuego medio para calentar. La temperatura del agua me gusta que esté un poco más caliente que tibia para agregar a la licuadora y así poder extraer la leche del coco.

Agregué el agua a la licuadora y la dejé trabajando por dos minutos para que se pudiera licuar muy bien el coco. Apagué y agregué en un envase con un colador para extraer la leche y separar los restos del coco que quedan en el colodor. Este coco que es la fibra la coloqué en un envase para preparar la base de mi TARTALETA.

A los residuos del coco le agregué la avena, sal, aceite de oliva, vainilla, las 4 cucharadas de papelón y una cucharada de agua del coco que extraje inicialmente. Mezclé todos los ingredientes amasando con mis manos muy bien.


Tomé un envase refractario, le unté aceite de oliva alrededor y coloqué la masa o mezcla que será la base de mi TARTALETA. Tratando de que cubriera por todos lados. Me ayudé con un tenedor para dar una bonita forma en los bordes. Encendí el horno e introduje por 20 minutos a 180 grados.

Transcurrido el tiempo mi base de la TARTALETA lista la saqué del horno y dejé reposar. Comencé a preparar mi crema. Tomé el envase, que en este caso es una olla a dónde había reservado la leche del coco que extraje previamente. Le agregué la Maizina, papelón, vainilla y el agua de coco restante.
La batí muy bien todos los ingredientes y después de que se disolviera bien la Maizina la llevé al fuego moderado sin dejar de mover. La crema estuvo lista cuando se empezó a hacer burbujas y la mezcla espesa. De inmediato la retiré del fuego y agregué a la base.


La dejé por una hora aproximadamente que enfriara completamente y la llevé a la nevera. Esta TARTALETA DE COCO la dejé toda la noche. Quería probarla pero en mi casa se fué la luz. Es así que me quedé dormida y fue hoy en la mañana cuando la probé.


¡Qué gran receta!, no tienen idea de lo DELICIOSA que me quedó. Por esta razón la comparto hoy con mucho orgullo por mi creación. Esta preparación da para ocho porciones.
Estoy muy felíz y complacida de compartir con todos usted está estupenda receta. Felíz fin de semana mis queridos amigos de #hive.


Fotografías y collage editadas en GridArt por @elamaria// Photographs edited in GridArt
Fotografías tomadas desde mi teléfono celular Redmi 9A//Photos taken from my Redmi 9A phone.
Traductor usado es Deepl// Translator used is Deepl

https://reddit.com/r/Cocina_Creativa/comments/1396hoy/my_amazing_and_delicious_vegan_coconut_tartlet_mi/
The rewards earned on this comment will go directly to the people( @edwing357 ) sharing the post on Reddit as long as they are registered with @poshtoken. Sign up at https://hiveposh.com.
https://leofinance.io/threads/view/creativecuisine/re-leothreads-32mscsifq
The rewards earned on this comment will go directly to the people ( creativecuisine ) sharing the post on LeoThreads,LikeTu,dBuzz.
Waoh. So many beautiful recipes plant is given to us. I love this recipe @elamaria. I know it taste so good. Can't wait to try something with a coconut and bring it on here. Thanks for sharing @elamaria. Enjoy your weekend ❤✨
Friend @sunshine29 thank you for your nice comment 🤗. This recipe is spectacular, can't wait to make it and let me know how it turned out. I was very excited and satisfied with the result.
Join the foodie fun! We've given you a FOODIE boost. Come check it out at @foodiesunite for the latest community updates. Spread your gastronomic delights on and claim your tokens.
¡Hola @elamaria! Me encantó tu receta de la tartaleta de coco, se ve realmente sencilla de preparar. Gracias por compartir.
Amiga @tiaene es realmente una delicia, sencilla de prepara y con pocos ingredientes. Yo estaba muy emocionada haciéndola. El resultado una gran TARTALETA y muy nutritiva. Te la recomiendo, no dejes de prepararla.