🌺🌺🐼 Craft: Cute Panda Bear Made With Cardboard In Few Steps//Linda Osita Panda Elaborada Con Cartulina En Pocos Pasos🌺🌺🐼@Egarysv🌺
Good morning Hive readers, blessings and happy weekend to all, today I will share a creation, which inspires me because I want to decorate my girl's room, I made a big panda bear to paste on a space on the wall ,which my daughter likes this emotional very much, it is very quick to make, we just have to have cardboard, since I made it with this, and I loved how the result turned out, I hope that she likes me and, oh, my daughter, you too If you like it, you can also use it to decorate a birthday if the emotion of the party is from this, then I will show you the steps to follow.
Buenos días lectores de Hive ,bendiciones y feliz fin de semana para todos ,el día de hoy compartiré una creación ,la cual me inspire porque le quiero decorar el cuarto a mi niña ,elabore una osita panda grande para pegar en un espacio de la pared , la cual a mi hija le gusta mucho este emotivo ,es muy rápido para hacer solo debemos tener cartulina ,ya que con esta fue que la elabore ,y me encantó como quedó el resultado espero que como a mi y ah mi hija a ustedes también les guste ,también lo pueden usar para la decoración de un cumpleaños si el emotivo de la fiesta sea de esta, a continuación les mostraré los pasos a seguir .
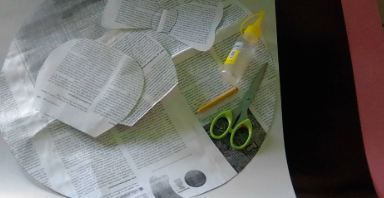
*Materials used for the craft:
~Black cardstock
~White Cardstock
~pink card stock
~Green carrulina
~Silicone in liquid
~Scissors
~Pencil
~Molds
*Materiales Utilizados para la manualidad:
~Cartulina negra
~Cartulina blanca
~Cartulina rosada
~Carrulina verde
~Silicon en líquido
~Tijera
~Lápiz
~Moldes
🌺🐼How I made it, step by step🐼🌺:
🌺🐼Cómo lo Elaboré ,Paso a paso🐼🌺:
🌺Step 1:
The first thing we must do is have the mold of the body of the panda bear, to mark it on the black cardboard, the part of its body is cut out, and then continue with the legs that will be marked on the black cardboard and the other two paras that are in the form of a circle once having this we proceed to the elaboration of the head.
🌺Paso 1°:
Lo primero que debemos hacer es tener el molde de l cuerpo de la osita panda ,para marcarlo en la cartulina negra la parte del cuerpo de esta ,se recorta ,para luego seguir con las patas que se marcará en la cartulina negra y las otras dos paras que son en forma de círculo una vez teniendo esto procedemos a la elaboración de la cabeza.
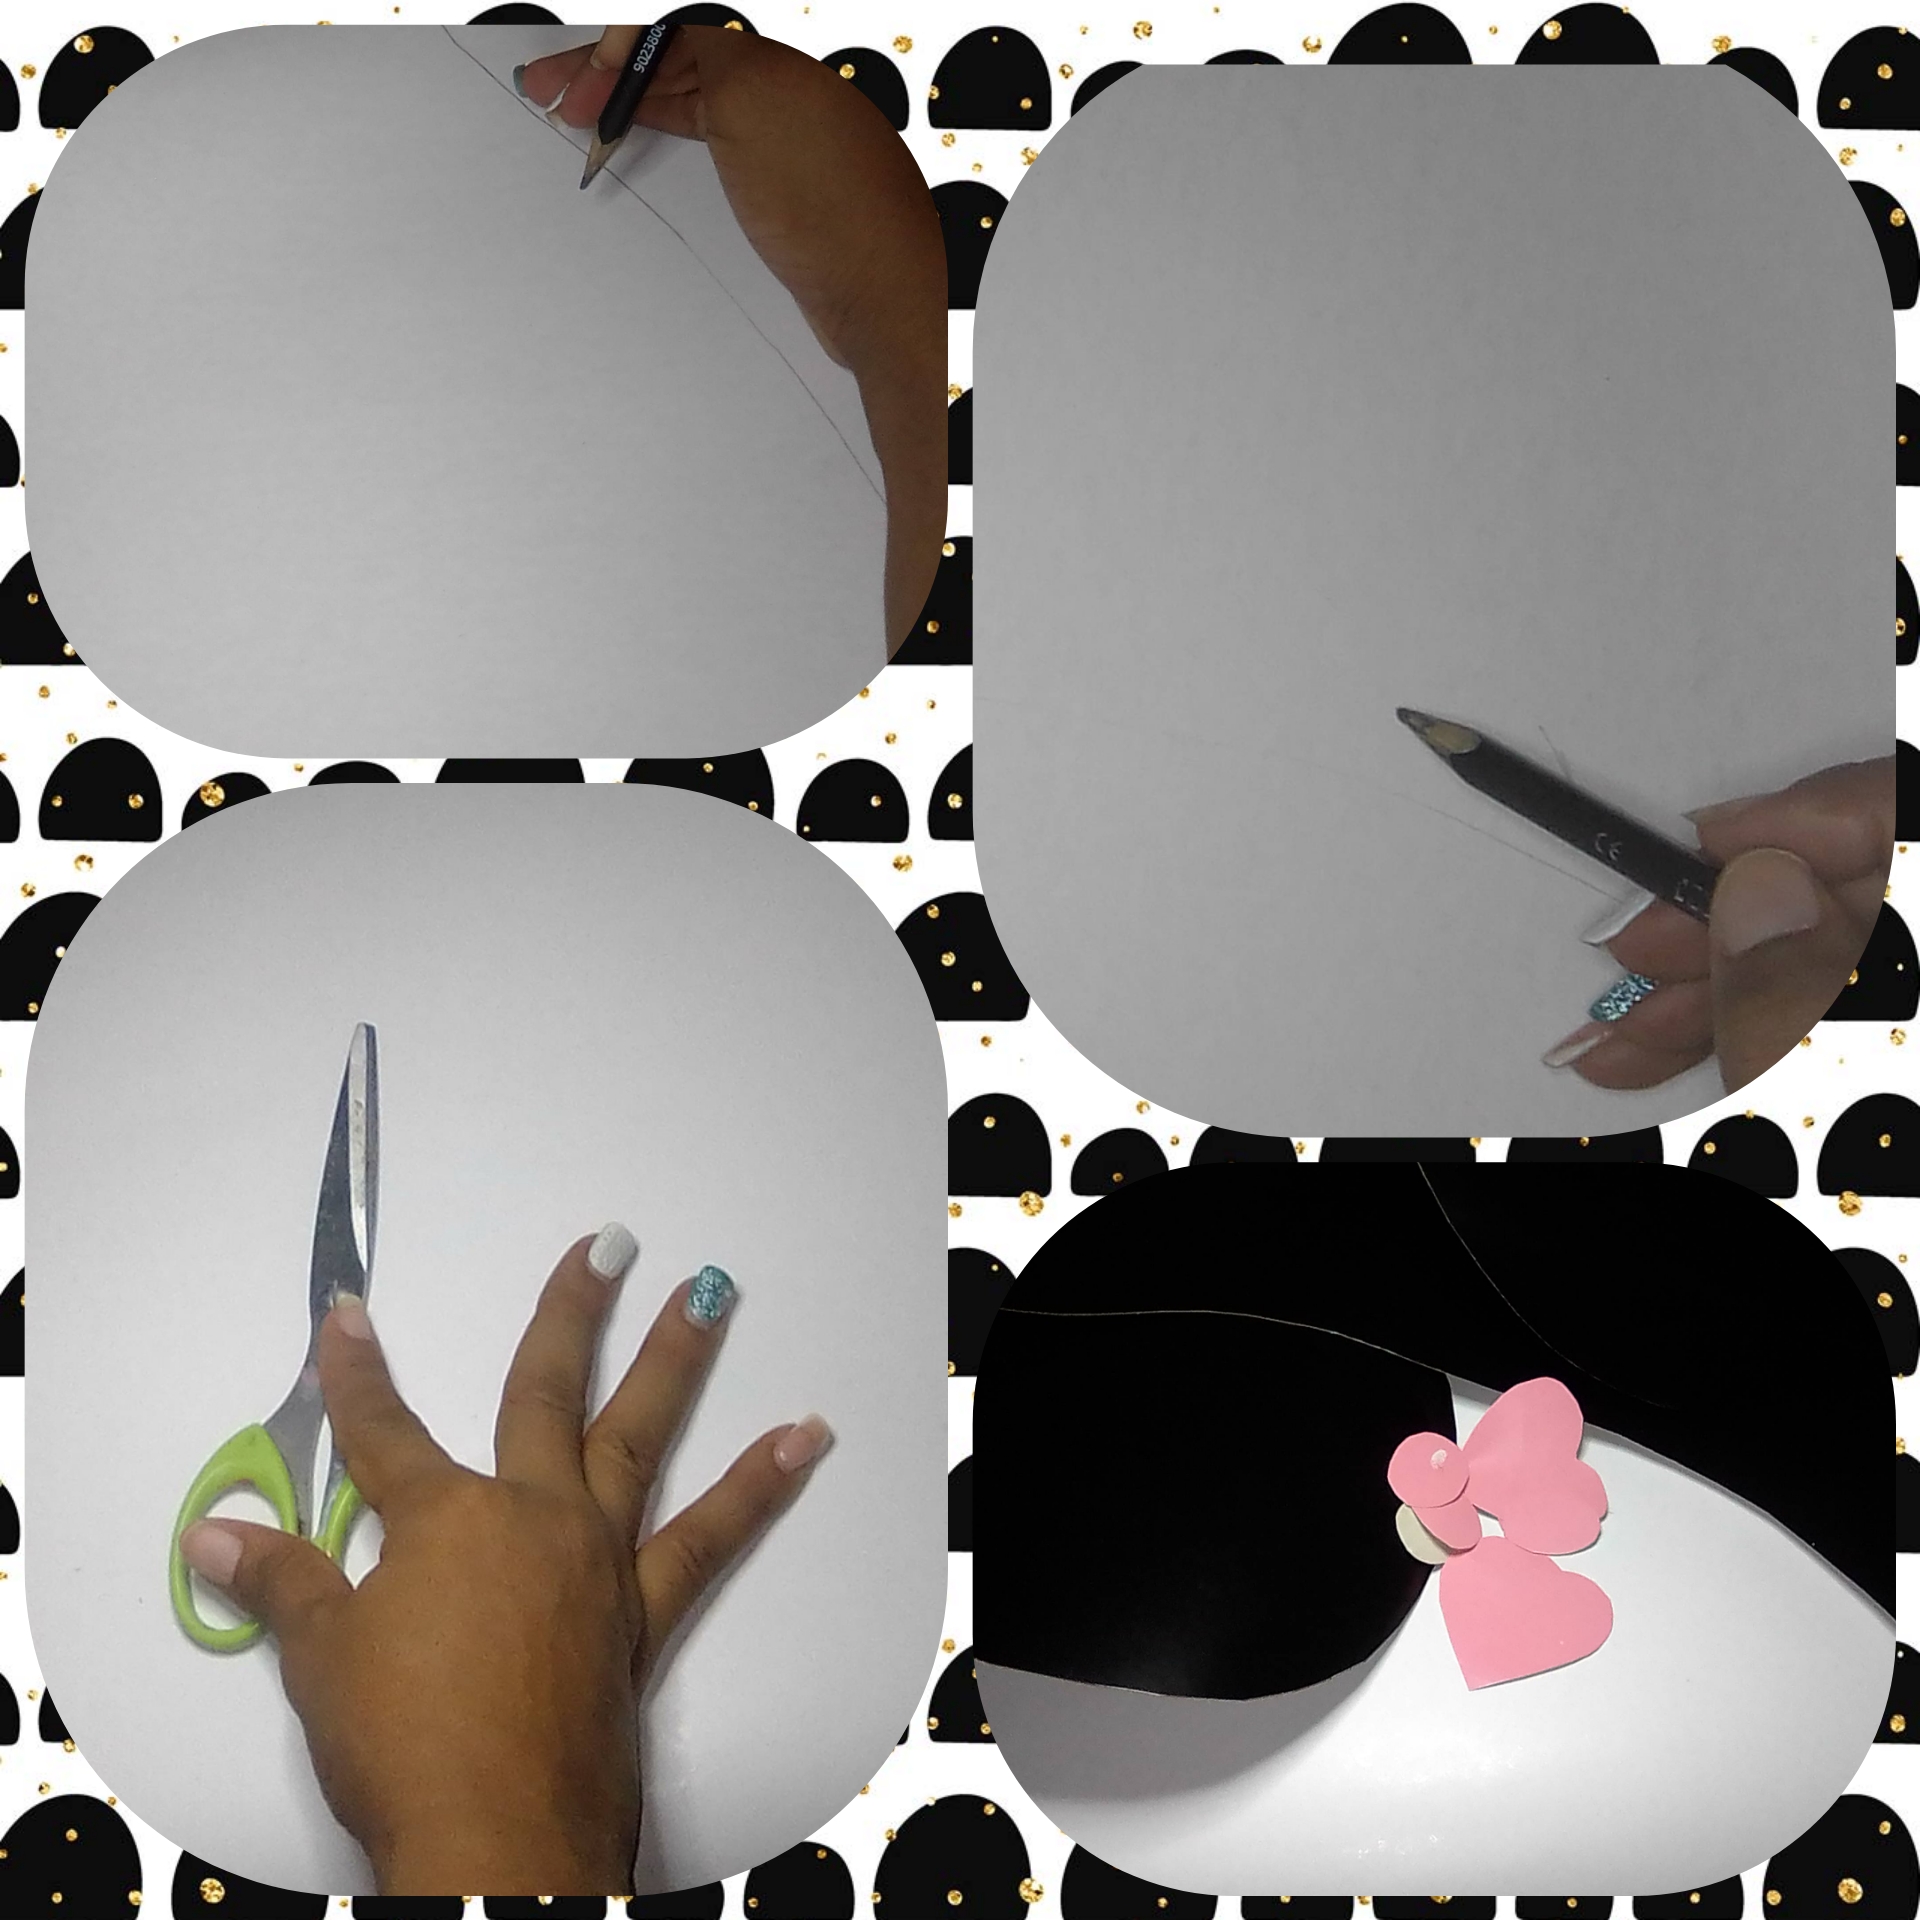
🐼Step 2:
A large circle is marked on the white cardboard to make the head of this little bear, then the ears are marked on the black cardboard and other smaller ones on the pink cardboard, followed by the eyes in the shape of hearts, the nose together with the mouth and this is cut out, once we have everything cut out we are going to start putting together this cute little panda bear.
🐼Paso 2°:
Se marca un círculo grande en la cartulina blanca para hacer la cabeza de esta osita ,después se marca las orejas en la cartulina negra y otras más pequeñas en la cartulina rosada ,seguido de que se marcan los ojos en forma de corazones ,la nariz junto con la boca y esto se recorta ,una vez que tenemos todo recortado vamos a comenzar a armar está linda osita panda.
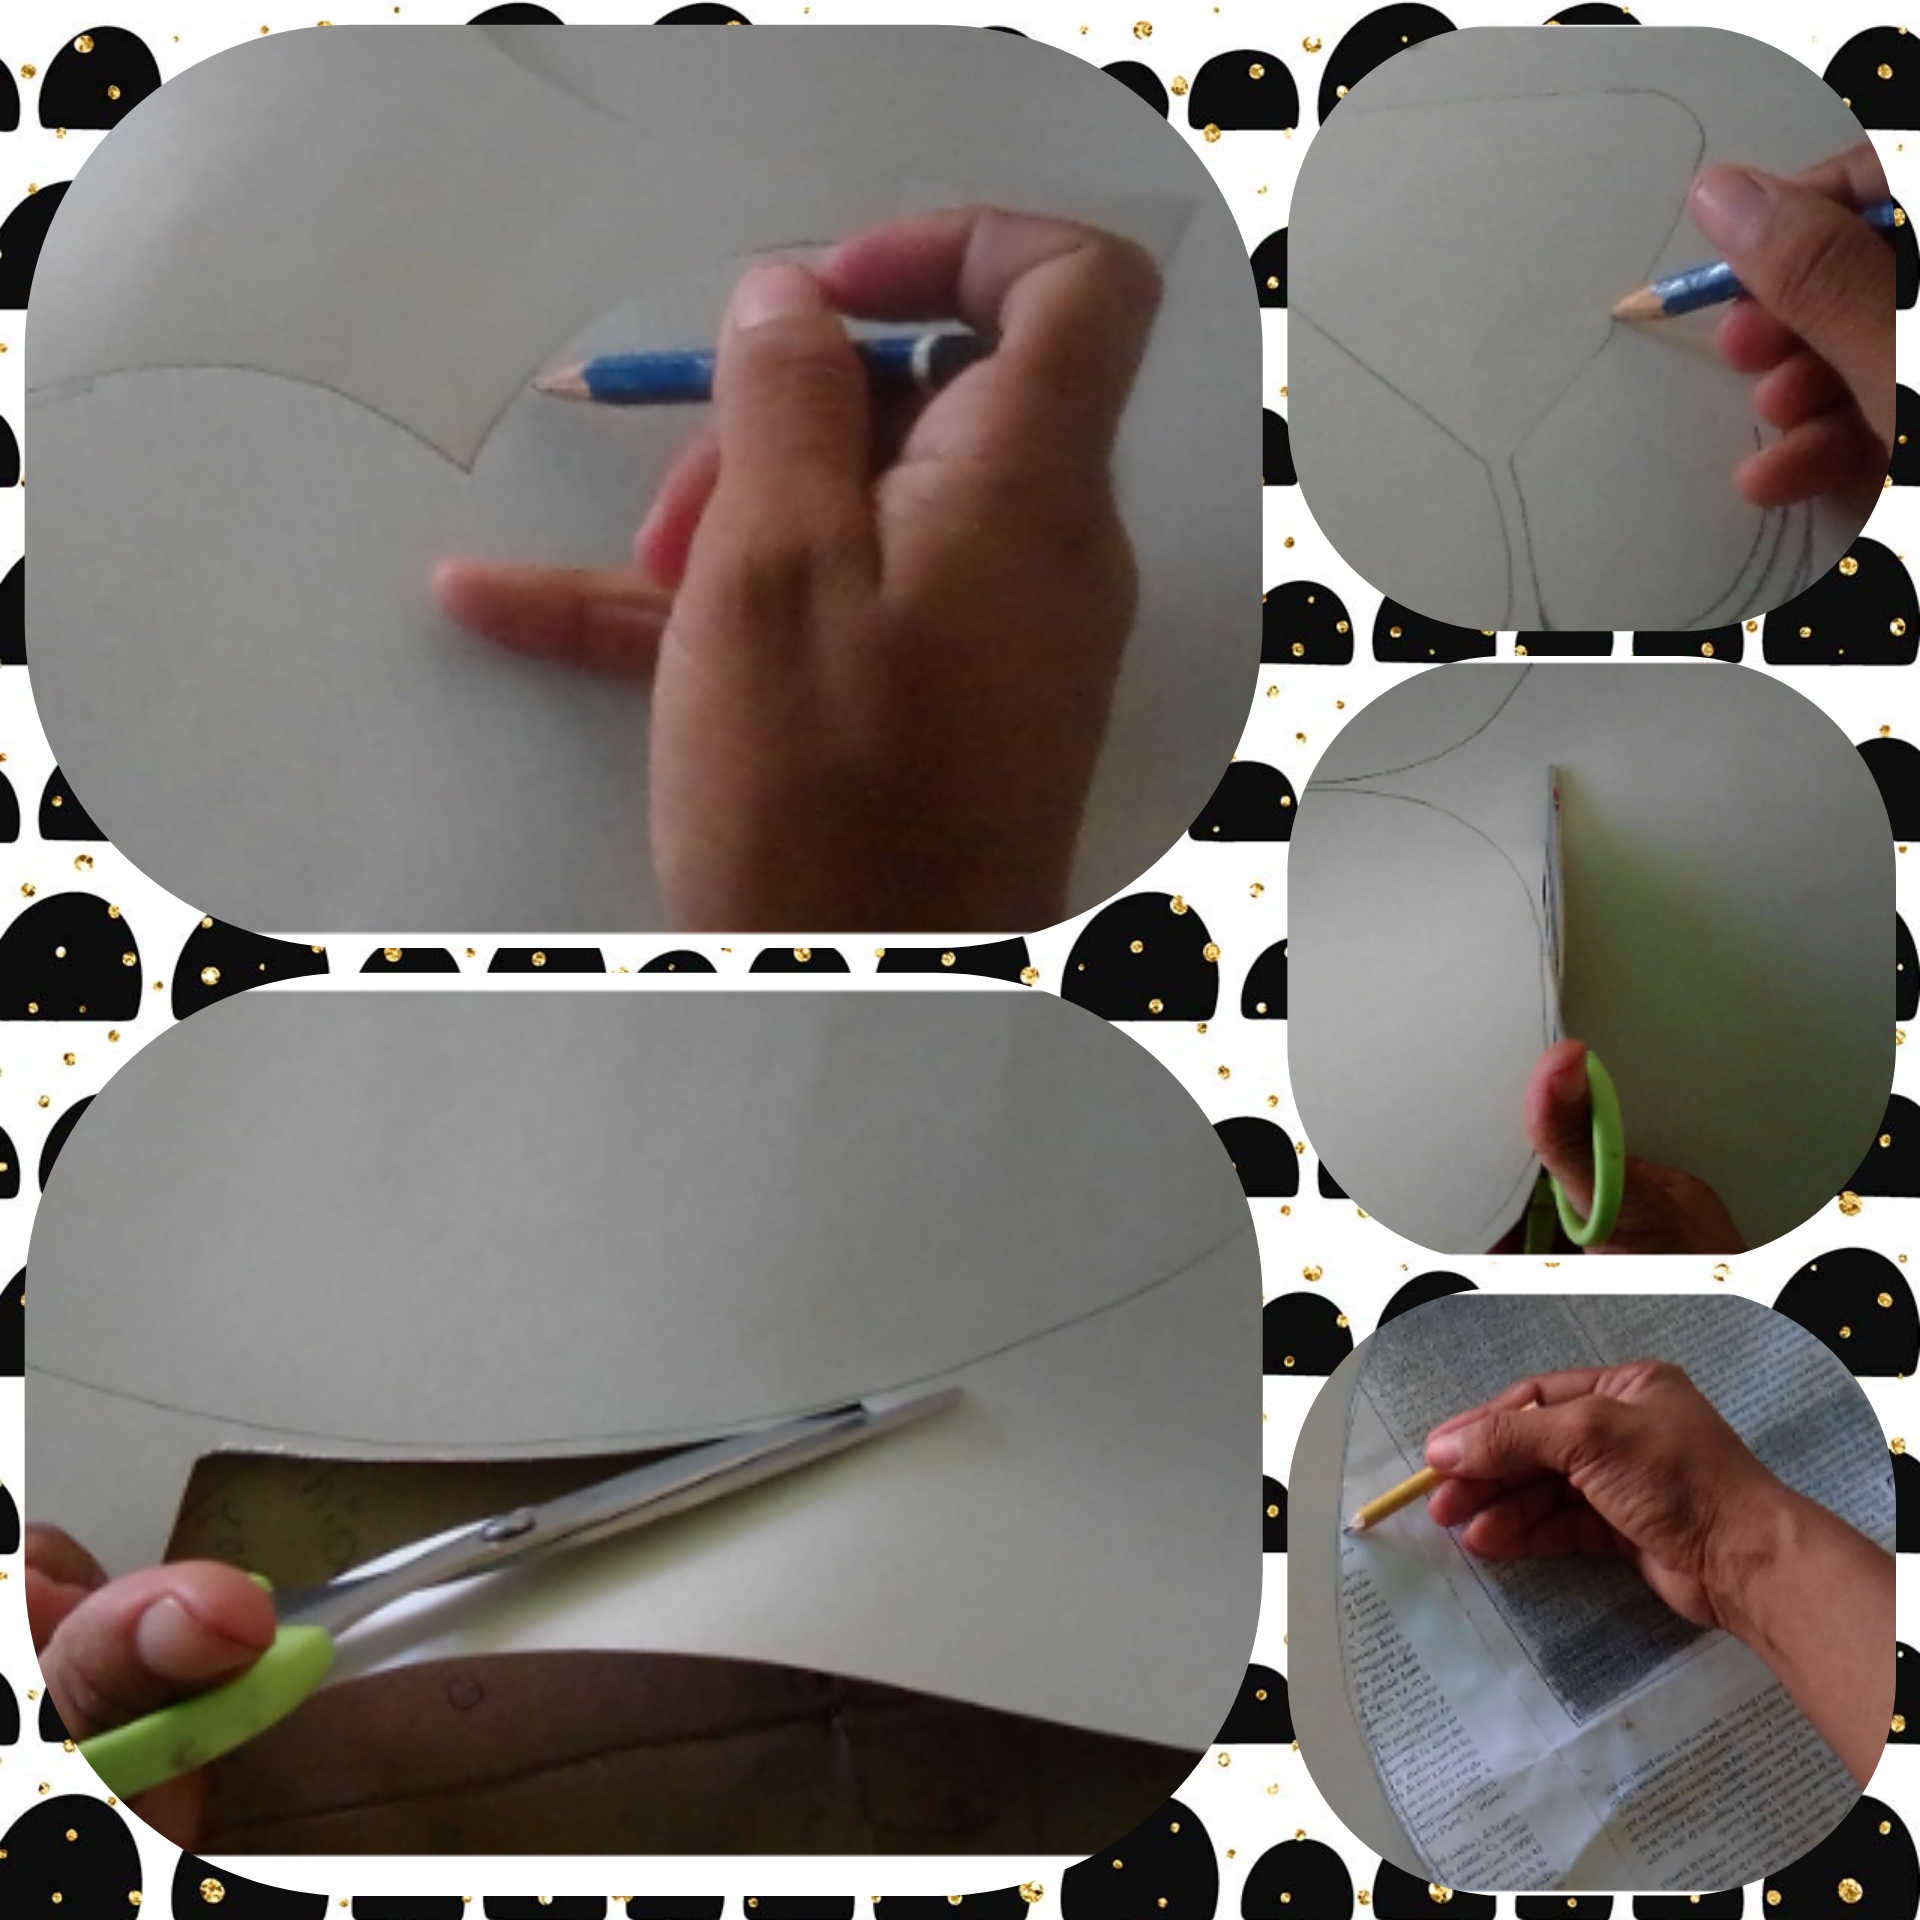
🌺Step 3:
The legs are glued to the body, firstly at the top and then the other two at the bottom, finished gluing the body, now we are going to assemble the head, gluing the pink ears on top of the black ones, they stick to it to the big circle from the back, then the eyes, nose and mouth are glued, and finally the head is glued to the body.
🌺Paso 3:
Se le pega las patas al cuerpo ,primeramente en la parte de arriba y lugos las otras dos en la parte de abajo,terminado de pega r cuerpo ahora vamos a armar la cabeza ,pegando las orejas rosadas encima de las negra ,estás se le pegan al circulo grande por la parte de atrás ,después se le pega los ojos ,nariz y boca ,y por último de le pega la cabeza al cuerpo .
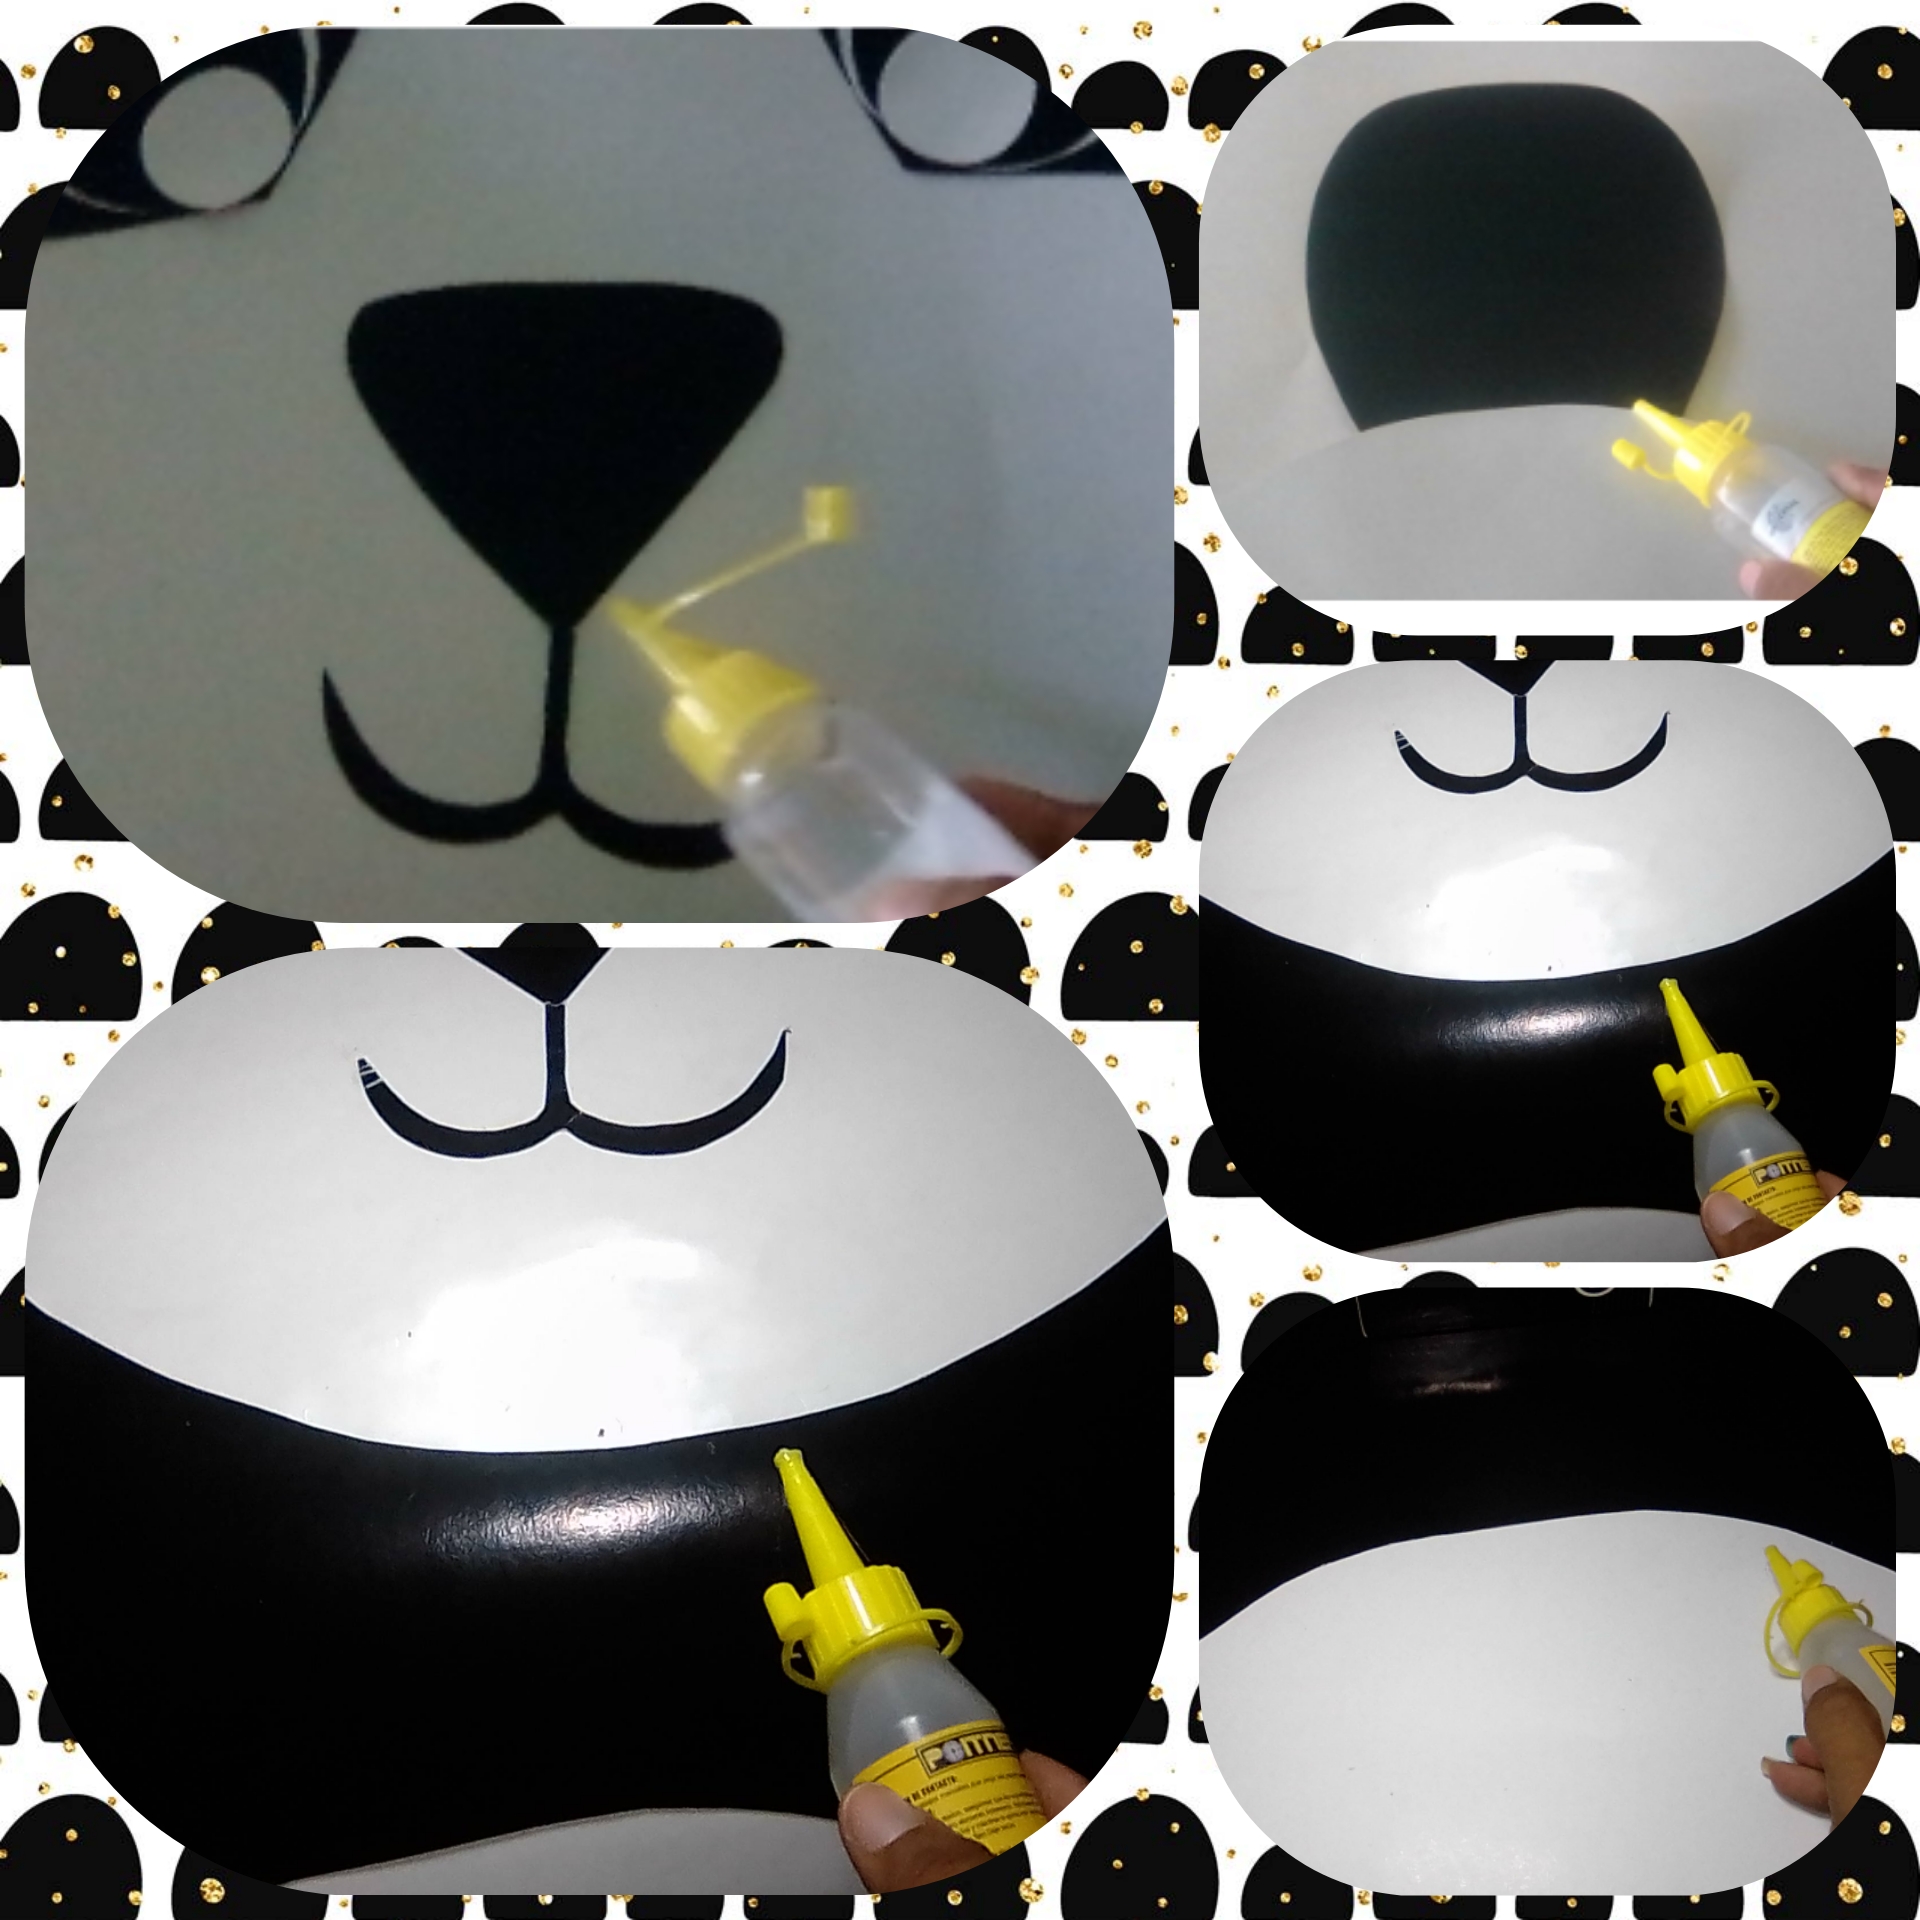
🌺Step 4:
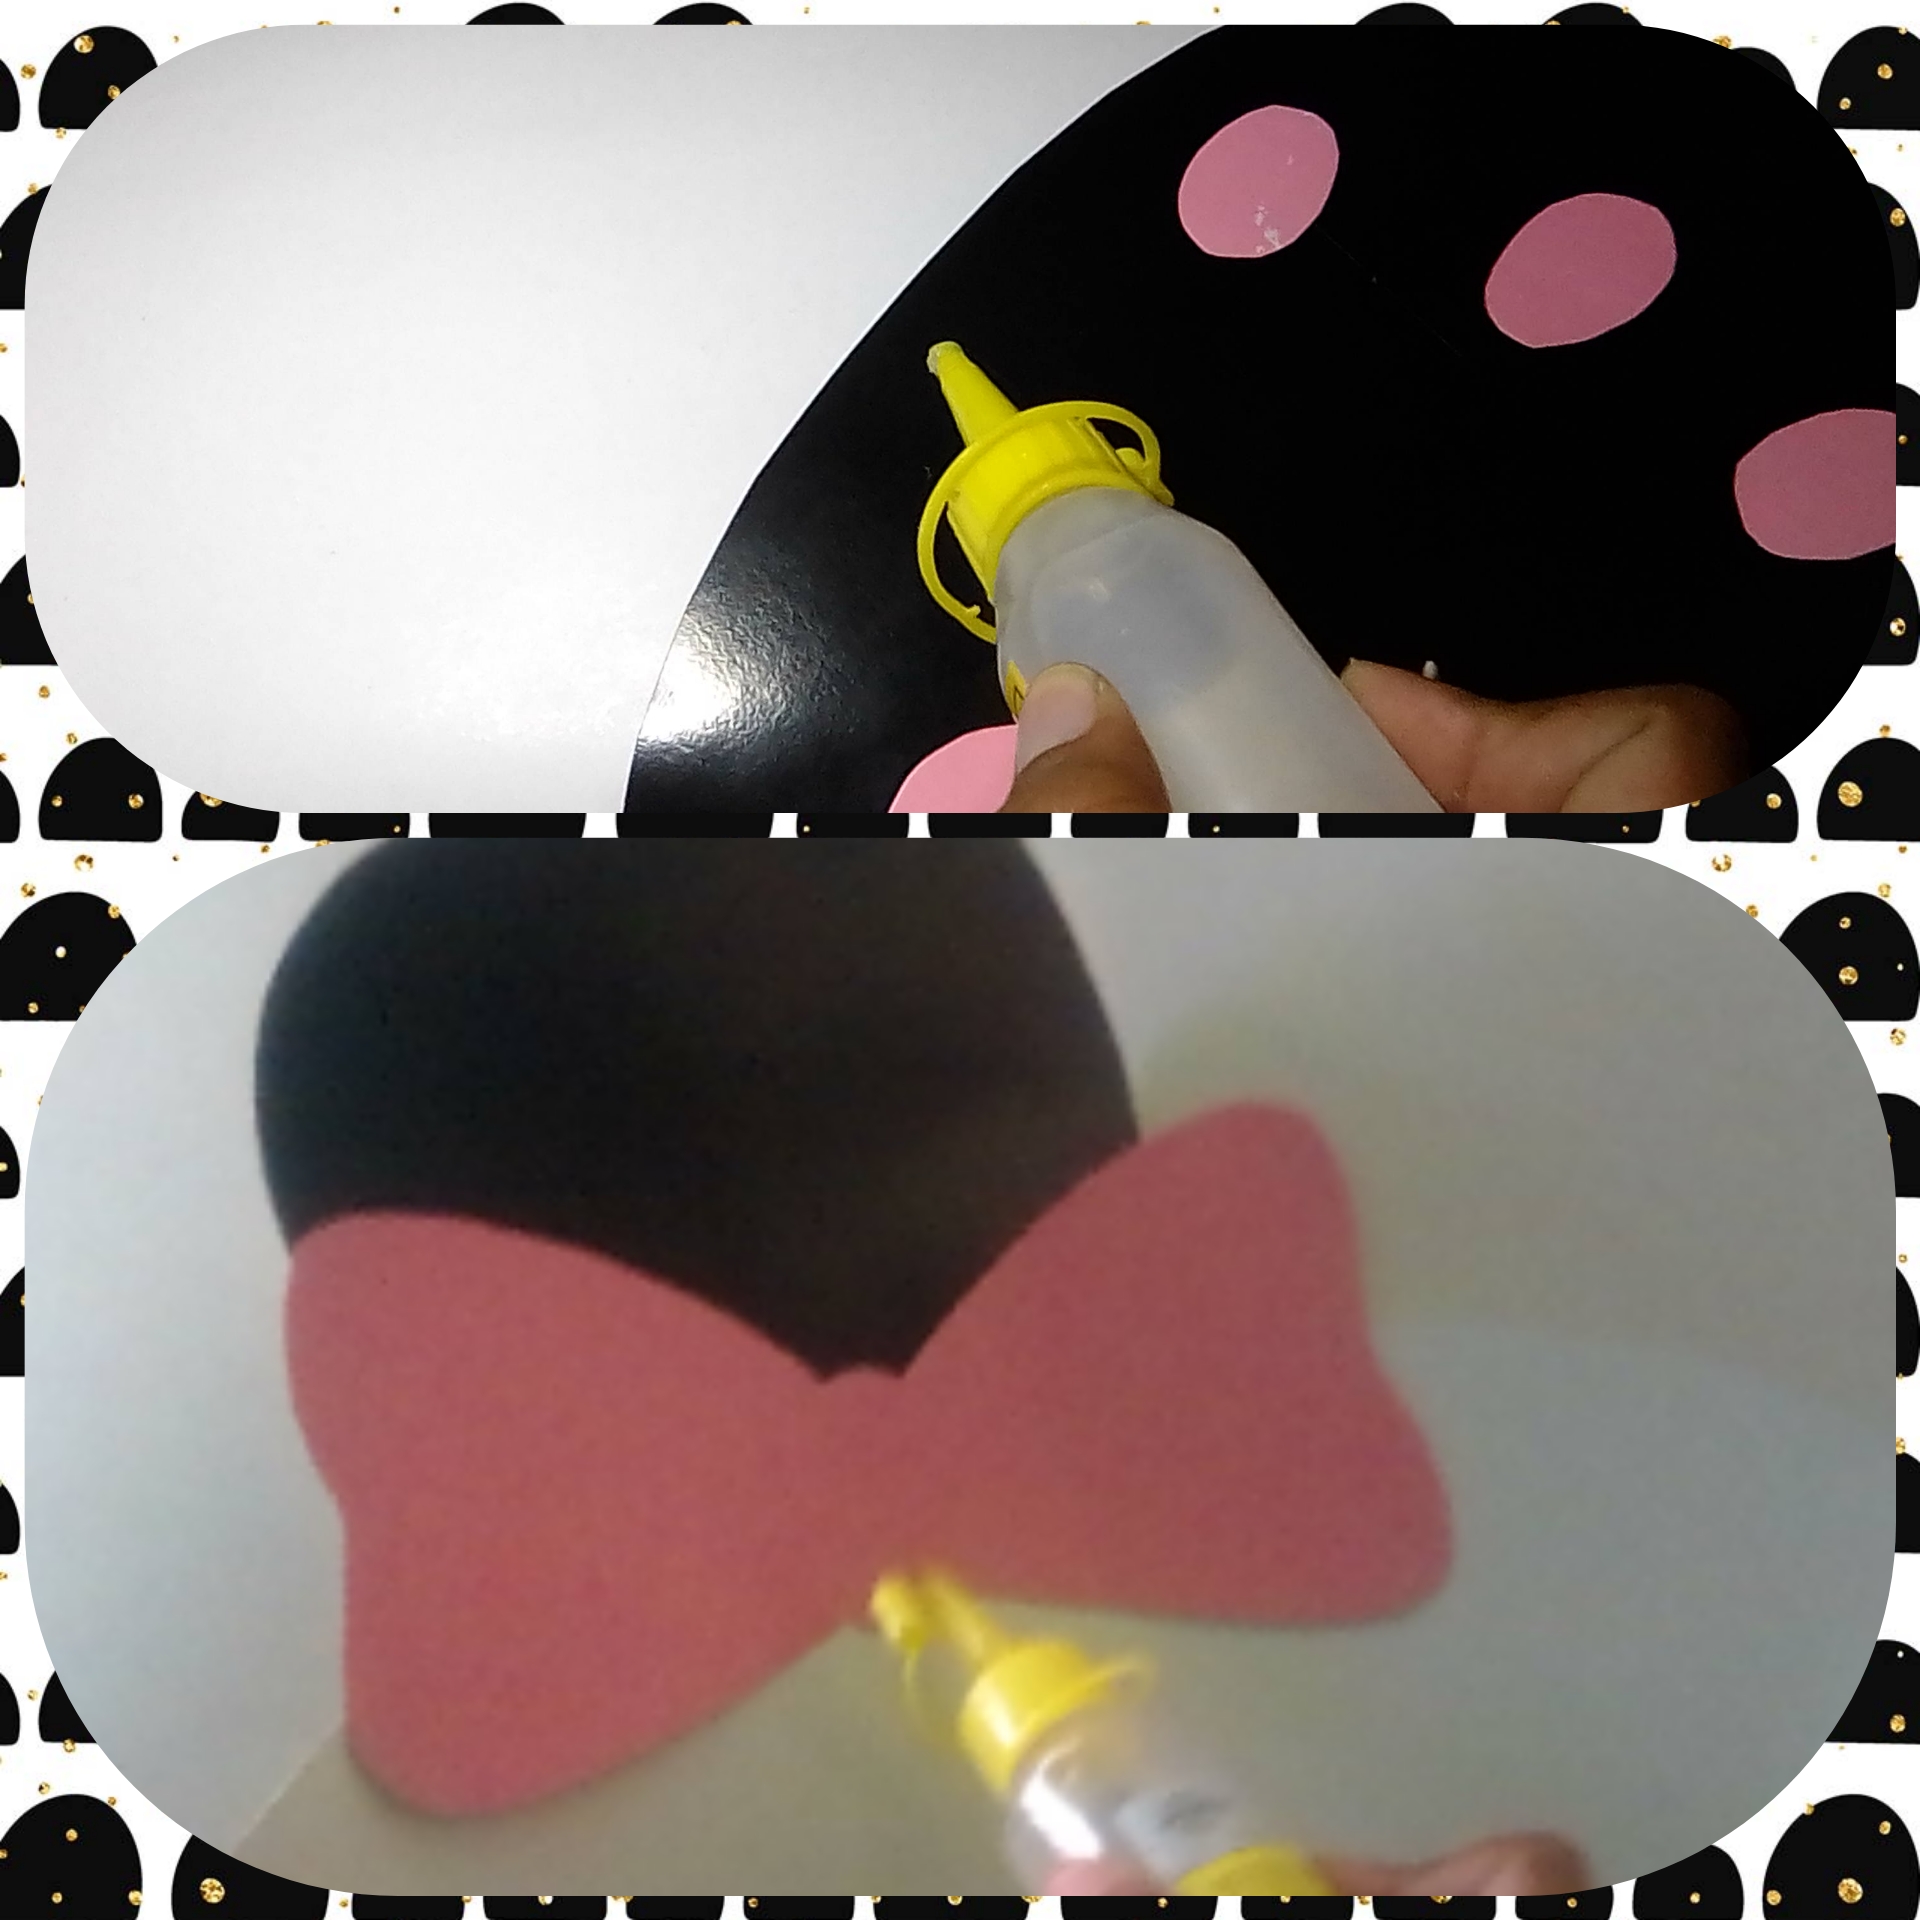
To finish this bear, we must make a few touches with some accessories, with the pink cardboard we make a bow and stick it on one of the ears, and with the green cardboard, we mark a bamboo, we cut it out, we outline it with a green pencil, and cut some leaves and stick it to the bamboo, once ready, stick the bamboo on one of the legs to the panda bear and in this way we finish the craft
🌺Paso 4:
Para finalizar está osita ,debemos hacerlos unos toques con unos accesorios,con la cartulina rosada se le hace un lazo y se le pega en unas de las orejas,y con la cartulina verde ,se marca un bambú ,se le recorta ,lo deliniamos con un lápiz de color verde ,y de recorta unas hojas y se le pega al bambú ,una vez listo ,se pega el bambú en una de las patas a la osita panda y de esta manera damos por terminado la manualidad.
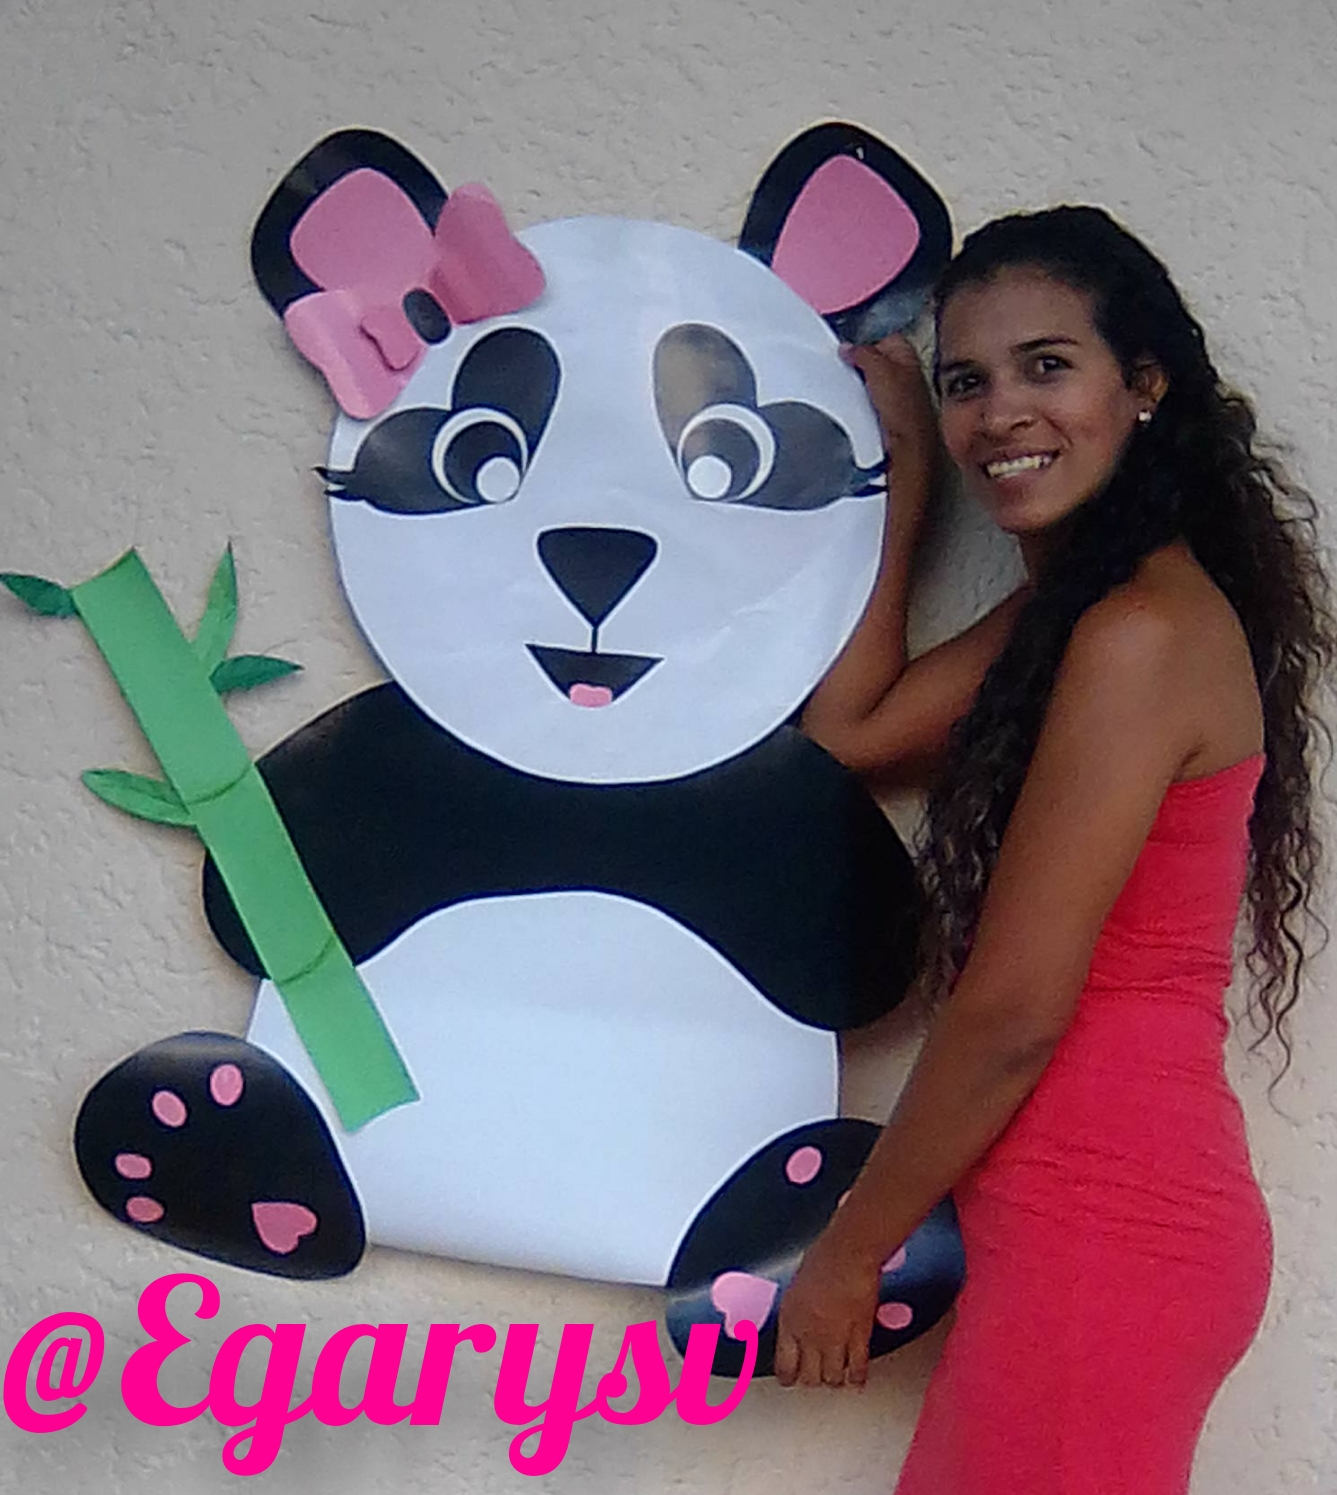
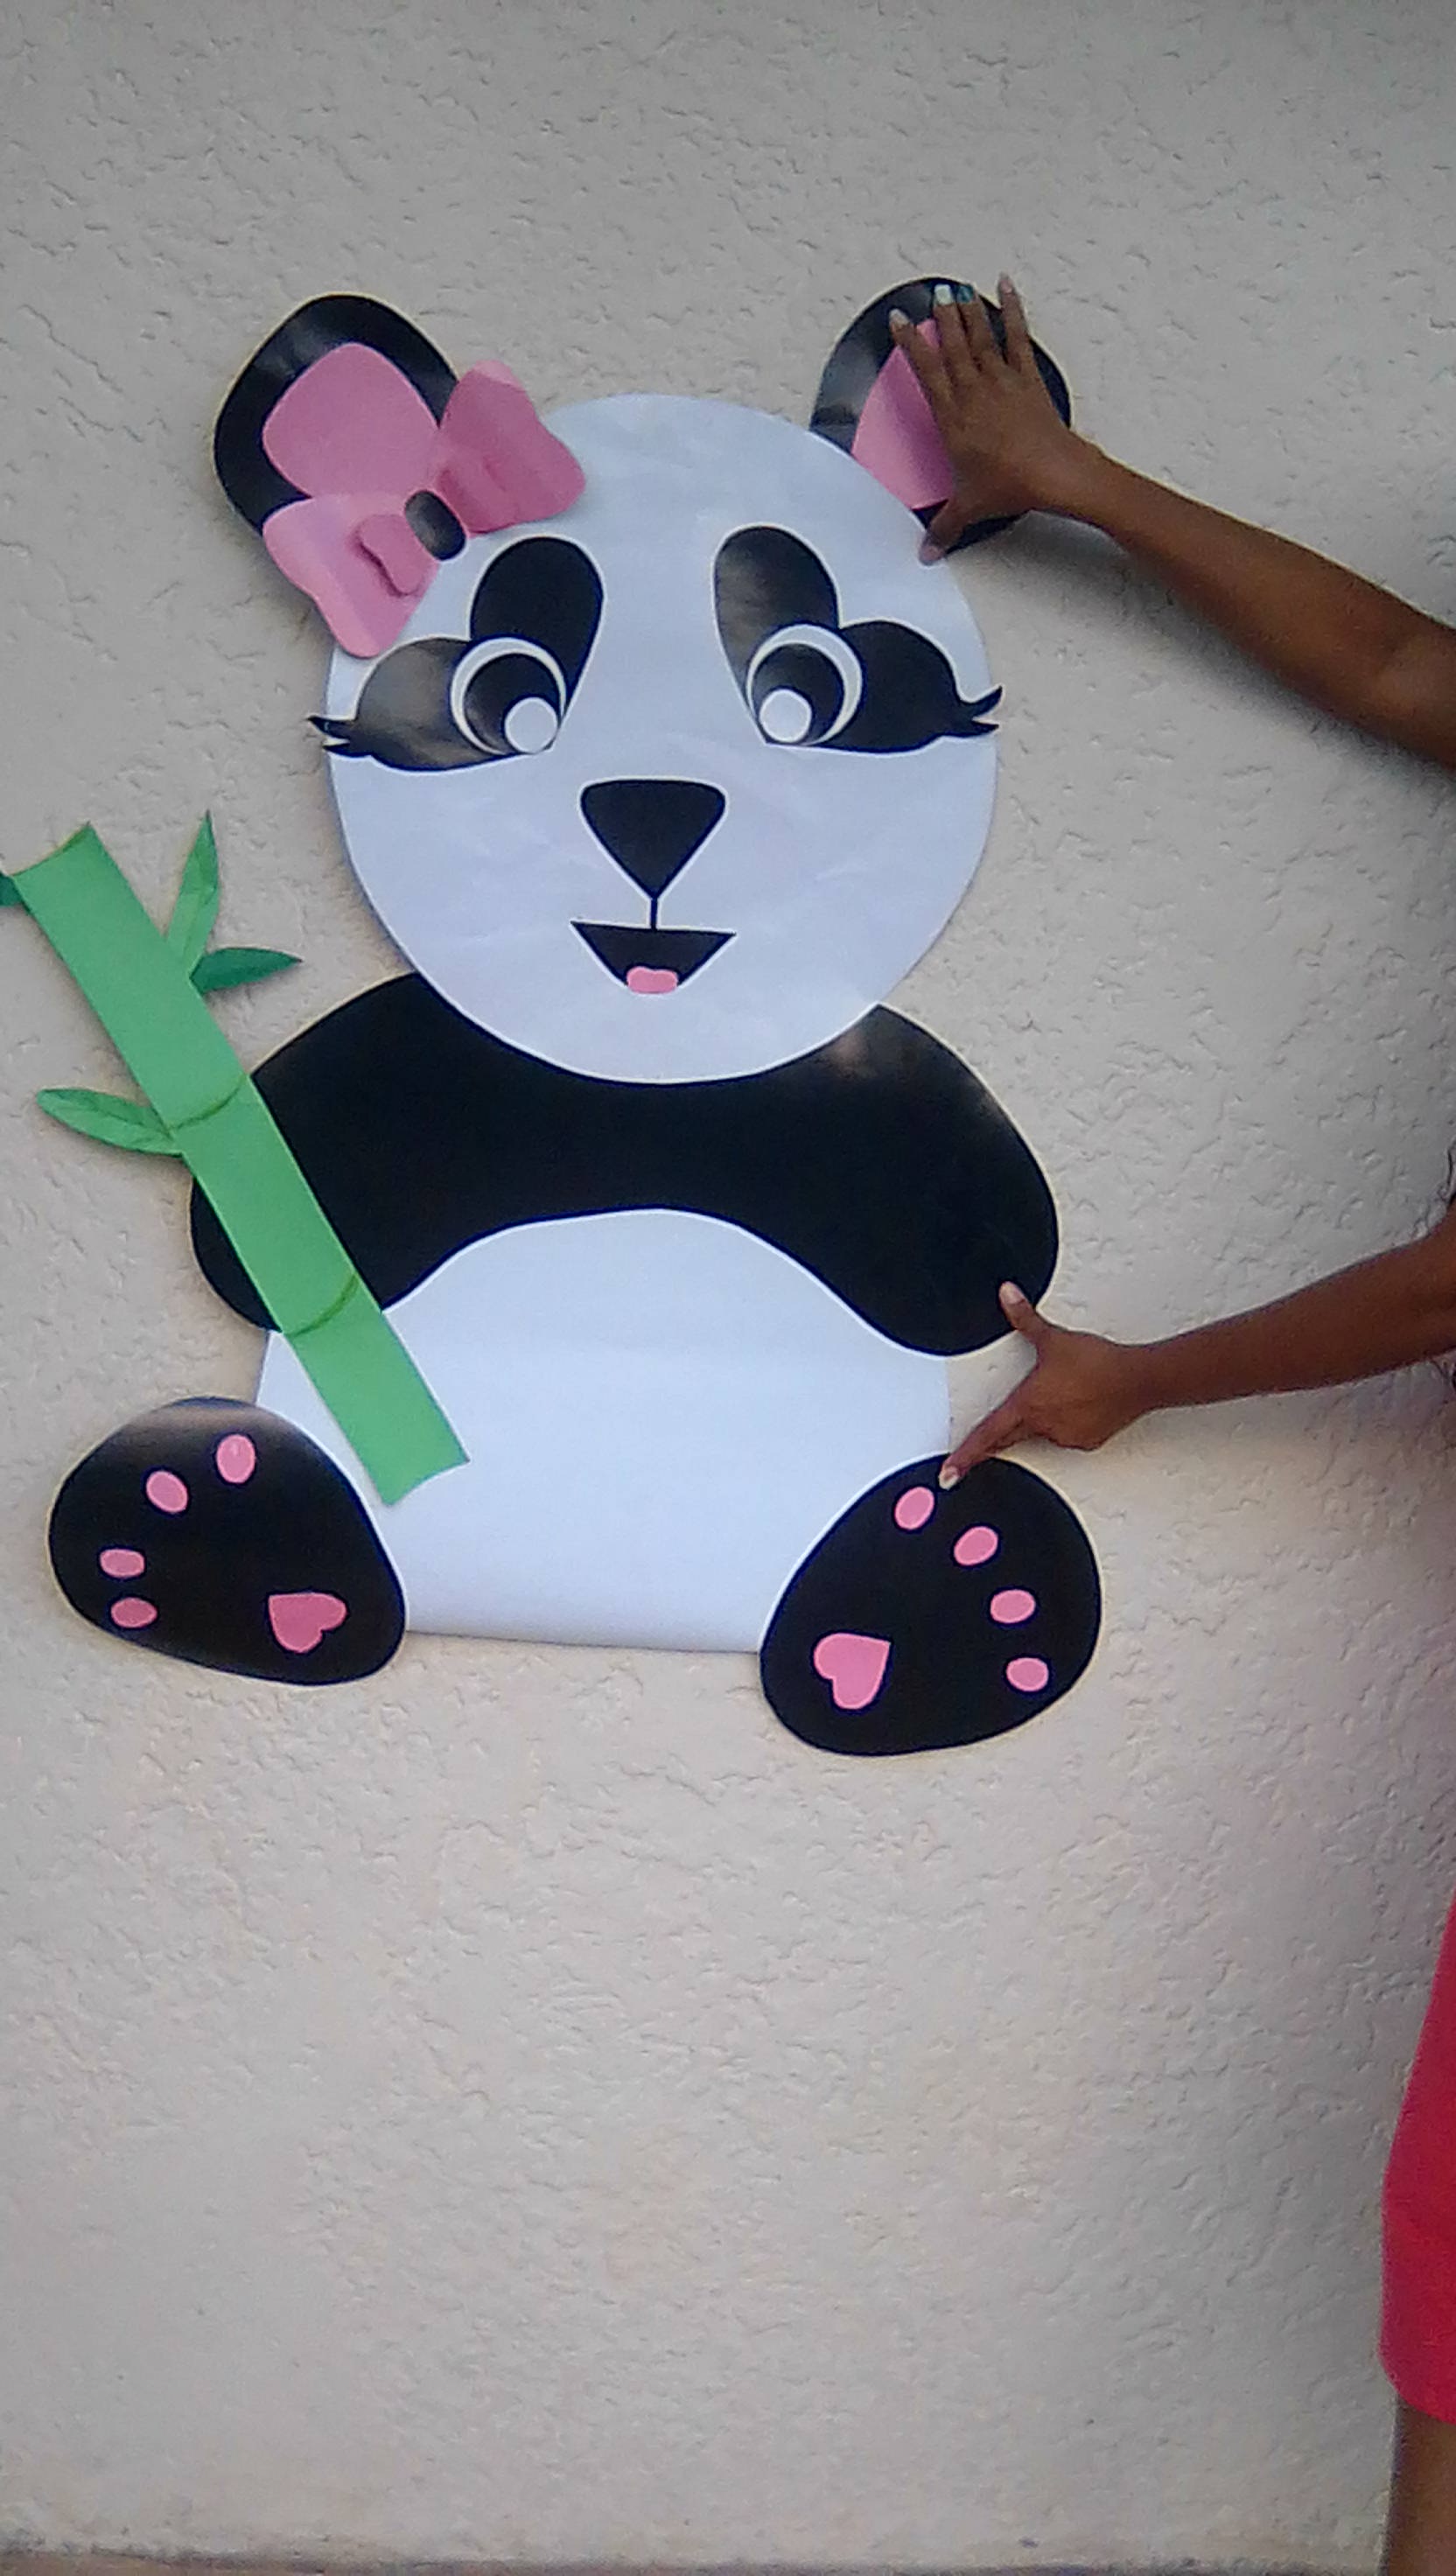
🌺🌺The end result will be wonderful, it's easy to make, I hope you like them, it will look like this🌺🌺
🌺🌺El resultado final será maravillo ,es es fácil de elaborar ,espero les gusten,nos quedará de esta manera🌺🌺

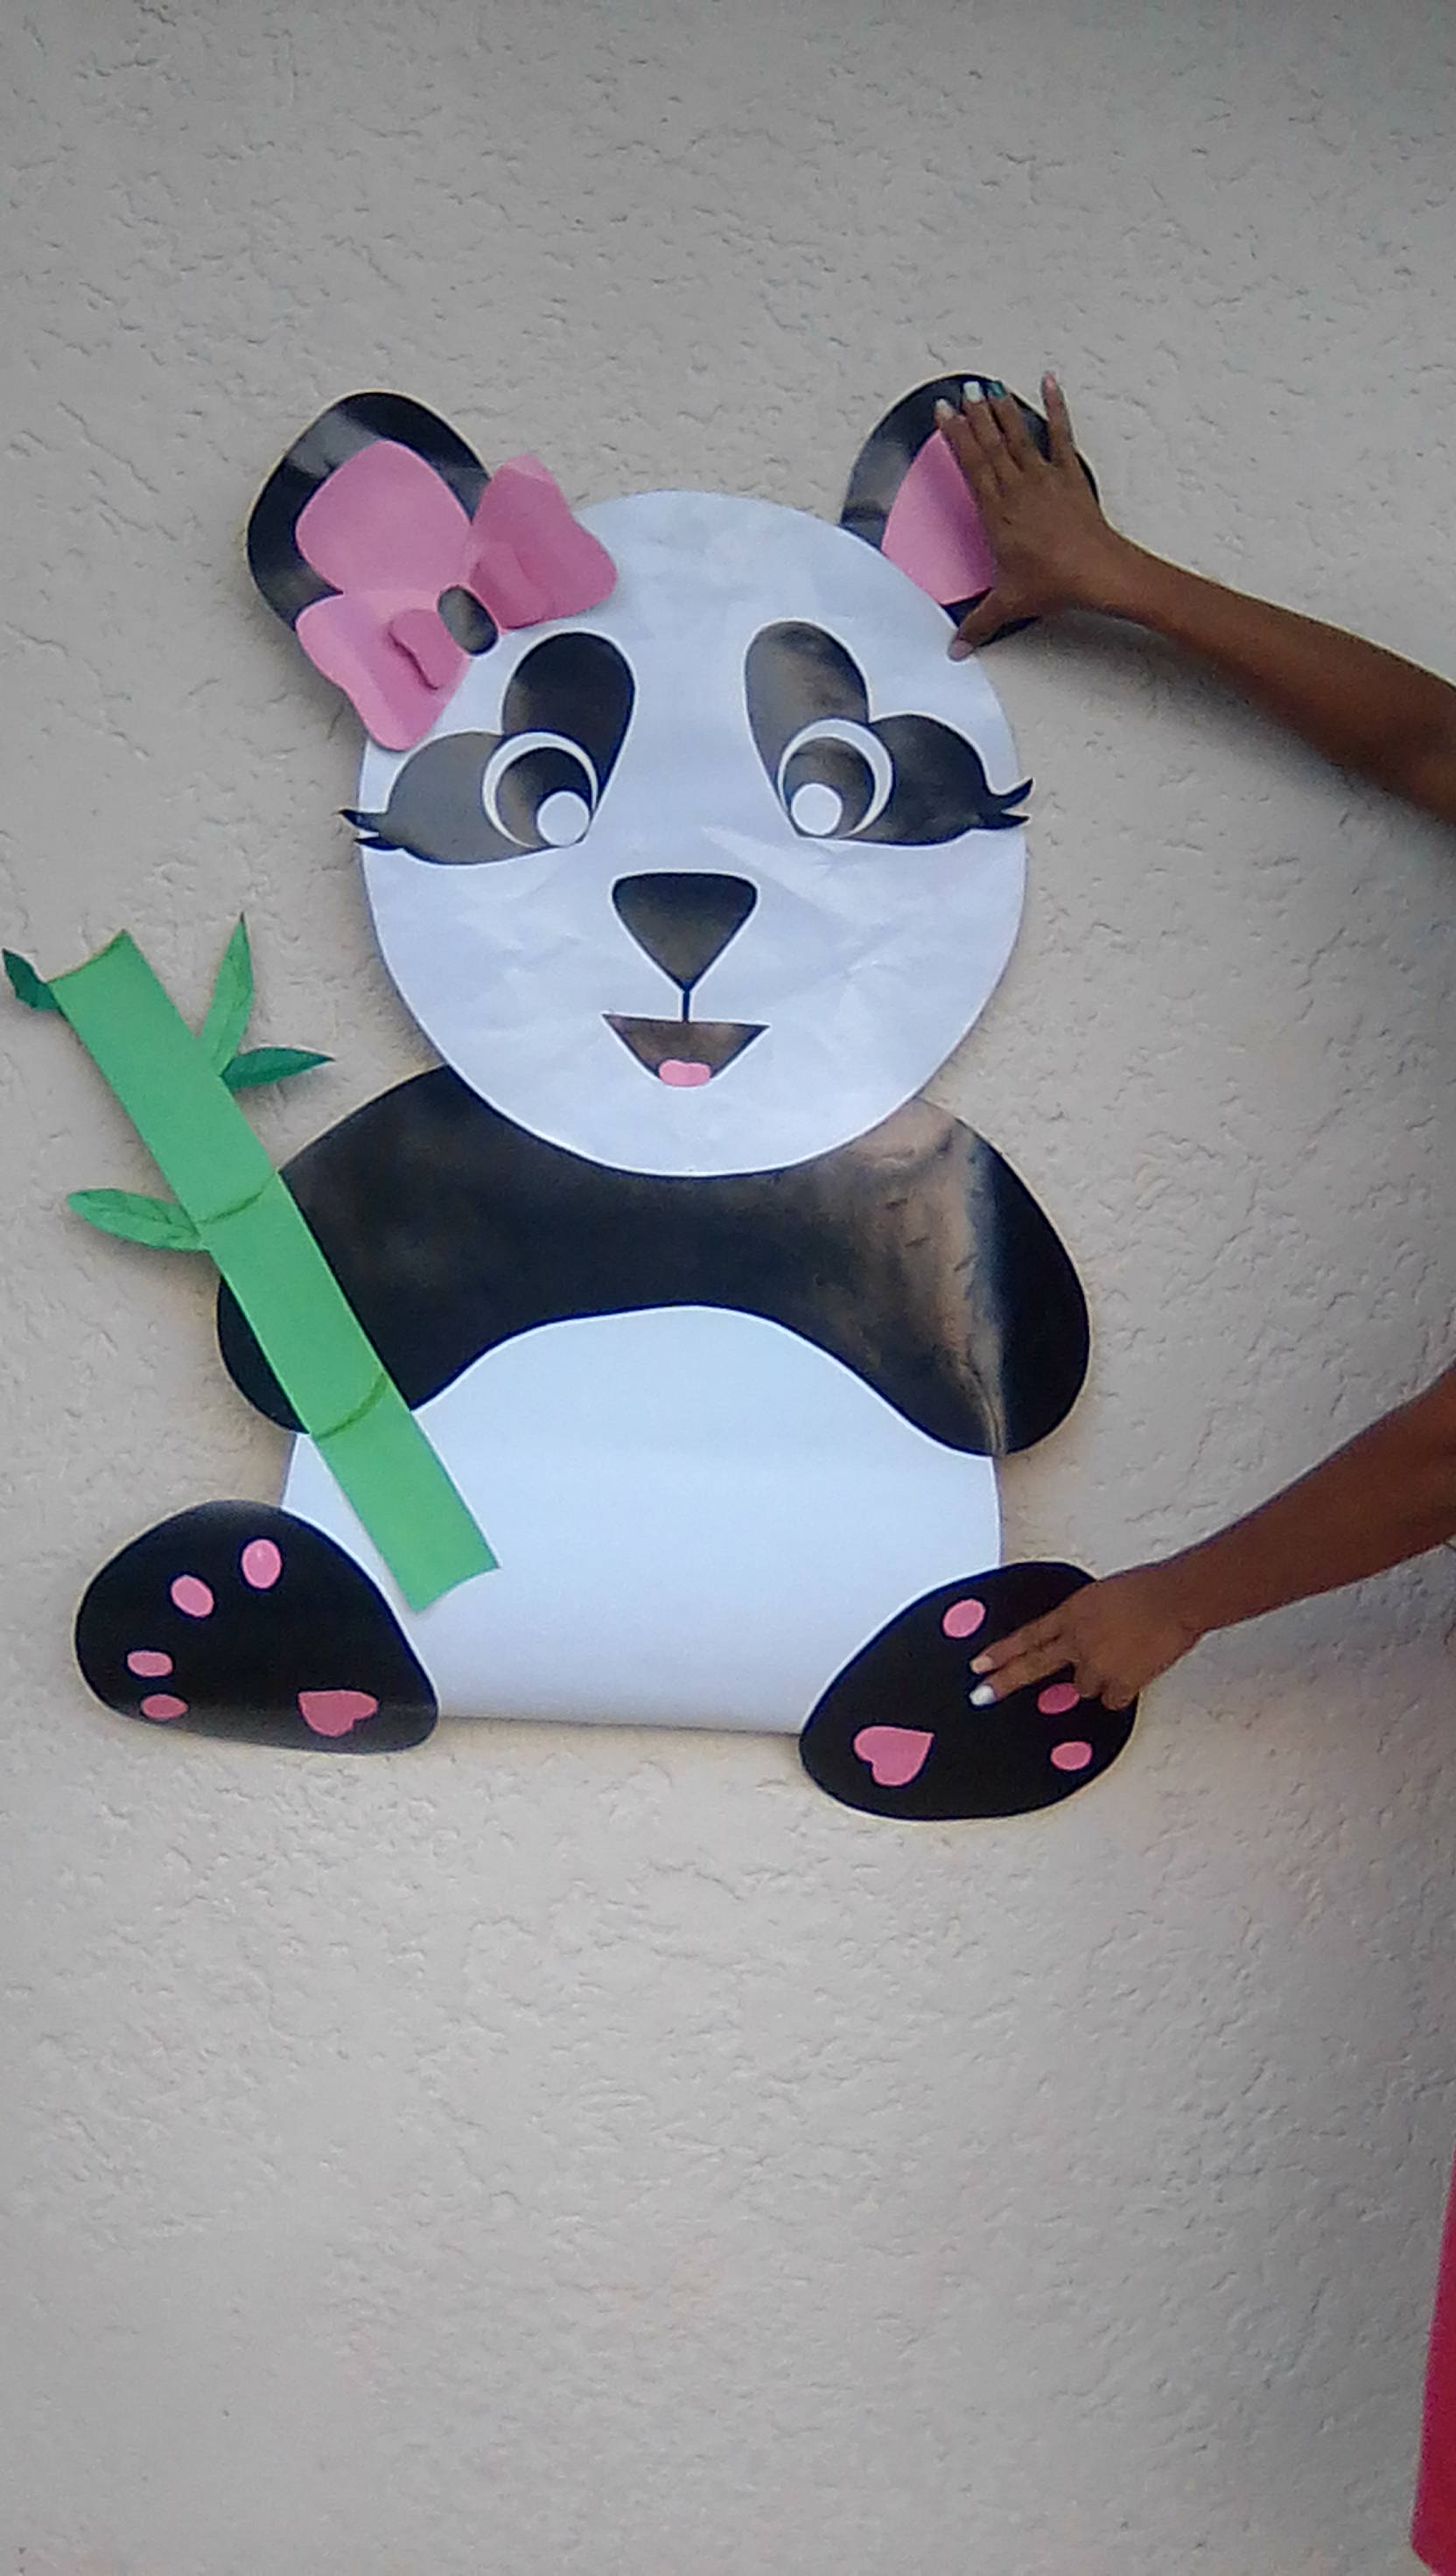
🌺🐼Thanks for reading me @Egarysv🐼🌺
🌺🐼Gracias por leerme @Egarysv🐼🌺
Quedo muy lindo! Felicidades y suerte.
Gracias amiga 🤗