A beautiful new Christmas sewing project to keep improving your sewing skills
Hola amigos de Hive❤️
Les doy la bienvenida a mi blog y feliz día para todos!
En esta oportunidad me encuentro en esta linda comunidad para compartirles un nuevo y hermoso proyecto navideño que hice por motivo de un regalo muy especial, algo muy me animó mucho a volver al mundo de la costura y seguir mejorando en esta habilidad que tanto me gusta pero que por cuestión de tiempo lo había dejado de lado.
Así que en un sencillo paso a paso les muestro un poco lo que fue mi proceso de creación, una obra que aprendí hacer hace poco y estoy enamorada de su diseño básico pero delicado y muy hermoso para lucir, vender o regalar en estas próximas fechas decembrinas, espero les guste!!
Materiales:
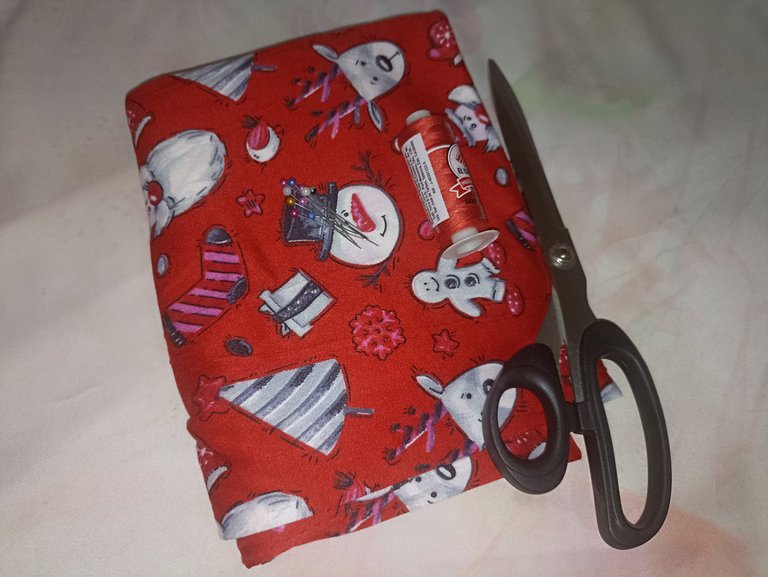
- 60 cm de tela de algodón estampado navideño
- Hilo color rojo
- Alfileres
- Tijeras
- Patrón pijama talla 10
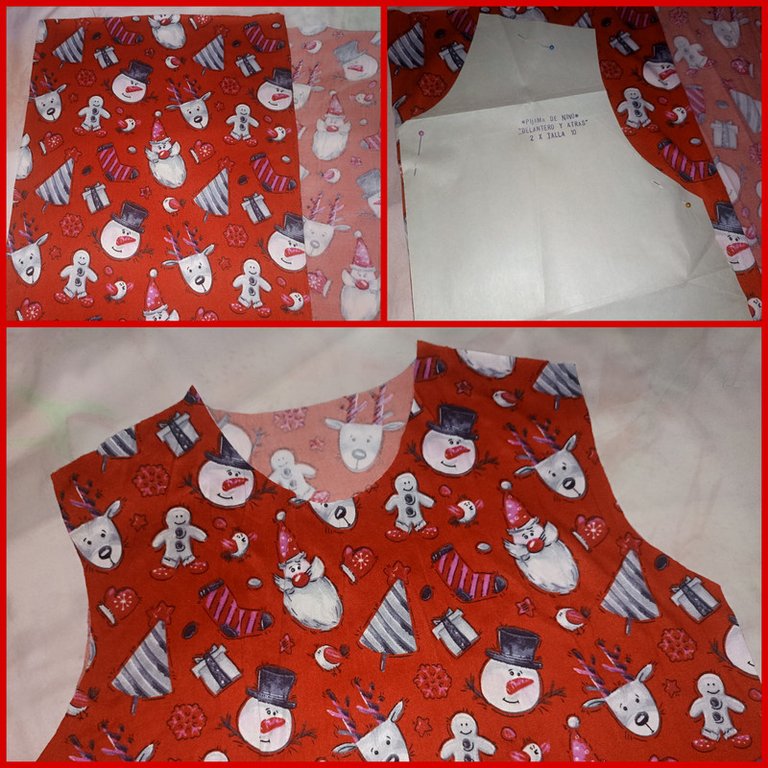
Lo primero fue buscar mi patrón ya prefabricado talla 10, ya que la camisa que servirá como pijama será para una niña. Una vez ubicado el patrón en el dobles de la tela, fijamos con alfileres y cortamos la pieza delantera, la trasera, y el cuello. Todo con la misma tela estampada. Ya cuando tengamos estas piezas las fijamos por el derecho de la tela con alfiler y cosemos primero con costura recta y luego con zig zag, solo en la parte de los hombros.
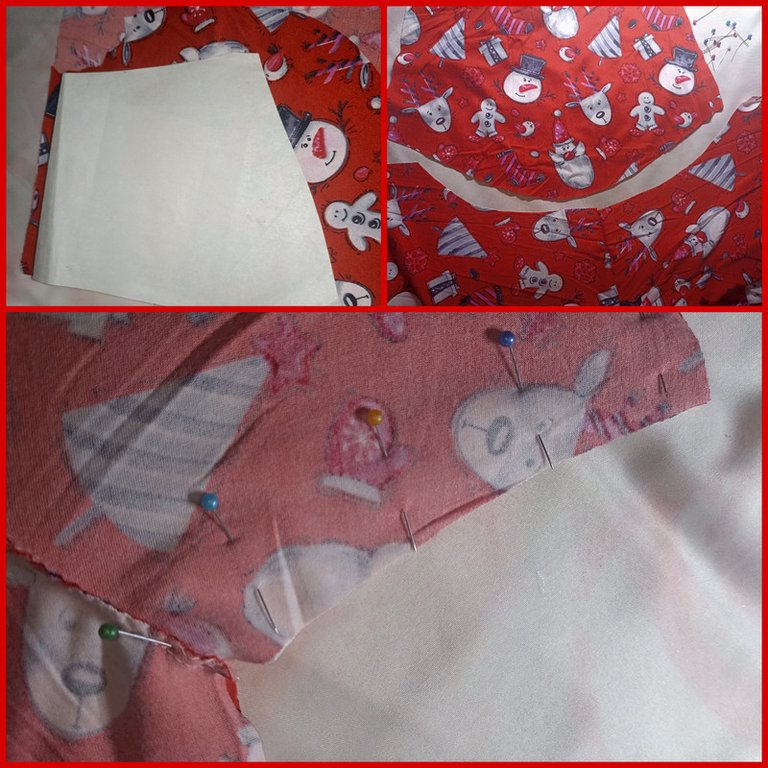
Ahora pasamos a las mangas, como ya yo tengo unas que viene con el patrón ya prefabricado, solo lo coloque por el dobles de la tela, lo fijé con alfiler y las corte. Y hecho esto lo fijo al espacio del cuerpo delantero y trasero que cosimos anteriormente con alfileres, siguiendo la forma redondeada para que se nos haga más fácil. Cuando terminamos de coser las mangas, ya nos quedaría cerrar todo el cuerpo, fijando bien las costuras antes de volver a la máquina, primero con costura recta y luego con zig zag para un mejor acabado.
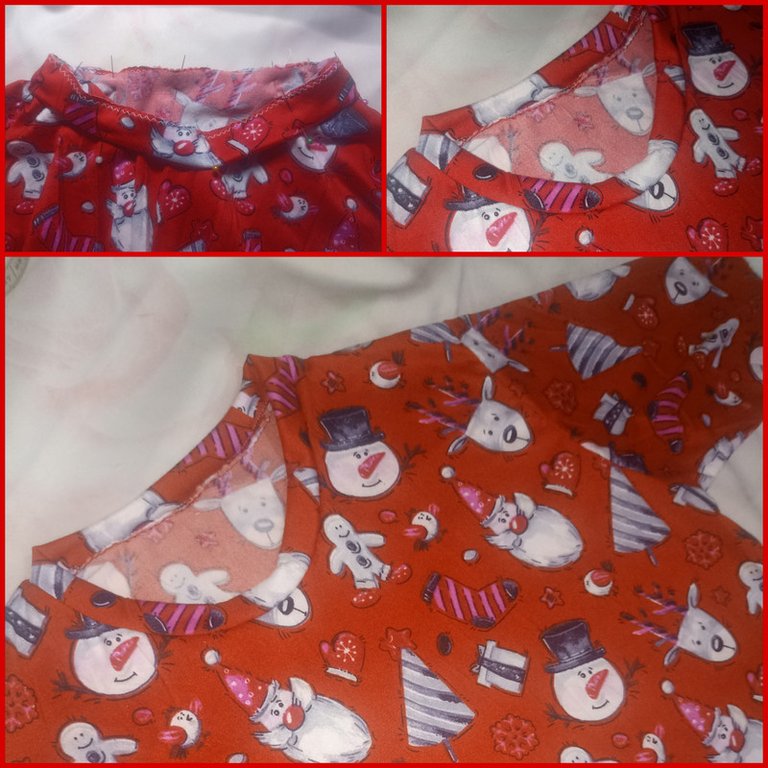
Ya para terminar solo queda coser el cuello, cortando una tira de aproximadamente 40 cm dependiendo cuánto nos mida el cuello de la camisa, primero lo cerramos con zig zag, luego lo cosemos al cuerpo con costura recta, luego cortamos el sobrante y volvemos a rematar con costura en zig zag para un mejor acabado. En mi caso, al cuello, para darle un lindo toque le pase una segunda costura alrededor del cuello, así como también le agarre el ruedo a las mangas y el terminal de la camisa, solo con costura recta.
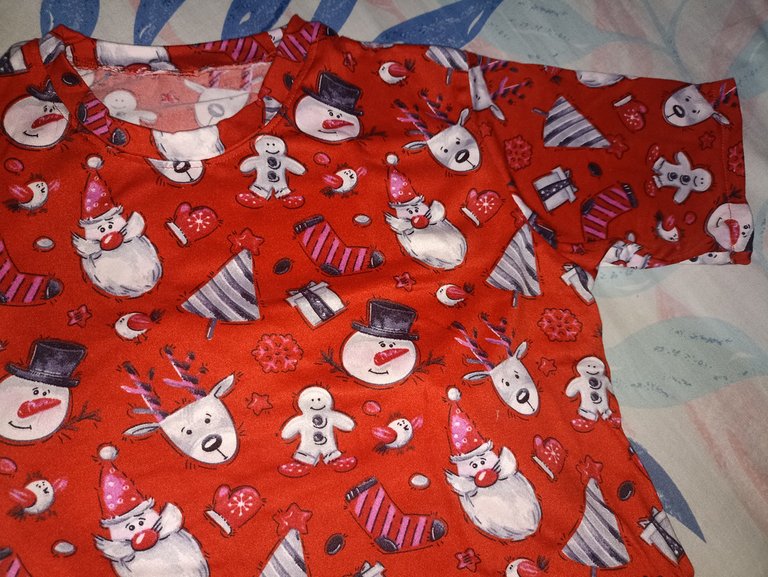
Y así nos quedaría lista!! Solo queda planchar y usar🤗❤️..lucir nuestras prendas o verlas puestas en alguien más es lo más satisfactorio que hay en este arte...los invito animarse y probar crear sus propias prendas o emprender en ello!!🥰🎄🎁
Espero les haya gustado y pronto compartirles más contenido como éste...🤗, con esto me despido y nos vemos en una próxima oportunidad!! ✨♥️

Hello friends of Hive❤️
I welcome you to my blog and happy day to all!
This time I am in this beautiful community to share with you a new and beautiful Christmas project that I made for a very special gift, something that encouraged me to return to the world of sewing and continue improving in this skill that I like so much but for a matter of time I had left it aside.
So in a simple step by step I show you a little of what was my creation process, a work that I learned to do recently and I am in love with its basic but delicate and very beautiful design to wear, sell or give as a gift in these upcoming holidays, I hope you like it!
Materials:
- 60 cm of cotton fabric with Christmas print
- Red thread
- Pins
- Scissors
- Pajama pattern size 10
The first thing to do was to look for my prefabricated pattern size 10, since the shirt that will serve as pajamas will be for a girl. Once the pattern was placed on the fabric doubles, we pinned and cut the front piece, the back piece, and the collar. All with the same printed fabric. Once we have these pieces we fix them on the right side of the fabric with pins and sew first with a straight seam and then with a zig zag, only on the shoulders.
Now we move on to the sleeves, as I already have one that comes with the pattern already prefabricated, I just put it by the doubles of the fabric, I fixed it with pins and cut them. And then I pinned it to the space of the front and back body that we sewed previously, following the rounded shape to make it easier for us. When we finished sewing the sleeves, we would have to close the whole body, fixing the seams well before returning to the machine, first with straight stitching and then with zig zag for a better finish.
Now to finish, we just need to sew the collar, cutting a strip of approximately 40 cm depending on how long the collar is, first we close it with zig zag, then we sew it to the body with straight stitching, then we cut the excess and finish it with zig zag stitching for a better finish. In my case, to give the collar a nice touch, I sewed a second seam around the collar, as well as the hem of the sleeves and the end of the shirt, only with straight stitching.
And so we would be ready! It only remains to iron and use🤗❤️..to wear our clothes or see them on someone else is the most satisfying thing there is in this art...I invite you to cheer up and try to create your own garments or start doing it!!!🥰🎄🎁
I hope you liked it and soon I will share with you more content like this...🤗, with this I say goodbye and see you in a next opportunity!! ✨♥️

Todo el contenido es de mi autoría y las imágenes son de mi propiedad
Cámara: Redmi note 10s
All content is my own and images are my property
Camera: Redmi note 10s

Edición y Separador|Editing and Separator
App PicMonkey - App Picsart - App Canva
Traductor|Translator
DeepL


Well done dearie , this is beautiful and its good that it inspired you to do more and work on your skills.
Thanks for sharing dear.
Thank you very much for your words friend! A pleasure to share🩷
Congratulations @edwarlyn11! You have completed the following achievement on the Hive blockchain And have been rewarded with New badge(s)
Your next target is to reach 140000 upvotes.
You can view your badges on your board and compare yourself to others in the Ranking
If you no longer want to receive notifications, reply to this comment with the word
STOPCheck out our last posts:
Beautiful outfit and the process is well explained too. Well done, 👍🏿
Thank you very much friend... greetings🤗🩷
♥️❤️
I really lovely
Thank you very much🤗🩷
This is so beautiful and colorful, you did a ice work.
Thank you very much friend🤗🩷greetings!!