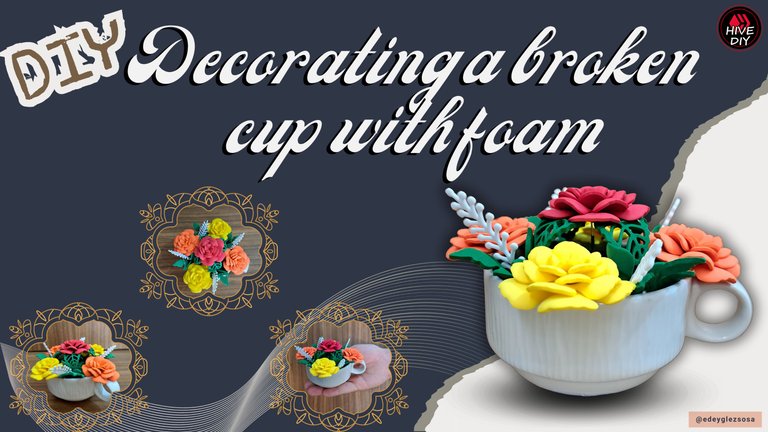
DIY: Decorating a broken cup with foam. [ENG+ESP]
Greetings fellow creators.
After a small fall, a mug in my house became unusable. Even though it didn't break into many pieces and I can glue it back together, it will no longer be able to do its job because it doesn't look good aesthetically and I'm afraid it will peel off again. So I decided to use this broken cup to show you how it can be transformed into a beautiful decoration using such a versatile material as fomi.
Saludos amigos creadores.
Tras una pequeña caída, una taza de mi casa quedó inservible. A pesar de que no se rompió en muchos pedazos y de que puedo pegarla nuevamente, esta ya no podrá cumplir con su función debido a que estéticamente no se ve bien y tengo miedo de que se despegue nuevamente. Así que decidí utilizar esta taza rota para mostrarles cómo se puede transformar en una bella decoración utilizando un material tan versátil como lo es el fomi.
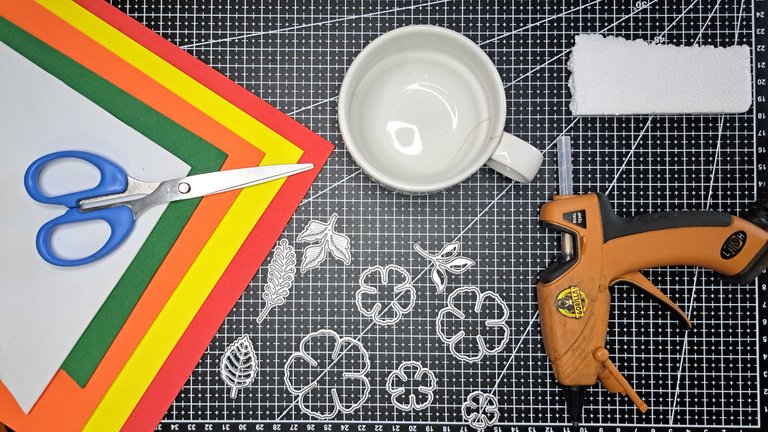
Materials // Materiales
| English | Español |
| ✔️ Green, yellow, orange, orange, red and white fomi | ✔️ Fomi verde, amarillo, naranja, rojo y blanco |
| ✔️ A broken mug (that keeps its shape) | ✔️ Una taza rota (que conserve su forma) |
| ✔️ Polystyrene | ✔️ Poliestireno |
| ✔️ Flower-shaped metal cutting dies | ✔️ Troqueles metálicos de corte con forma de flor |
| ✔️ Metal cutting dies in the shape of leaves | ✔️ Troqueles metálicos de corte con forma de hojas |
| ✔️ Scissors | ✔️ Tijeras |
| ✔️ Hot silicone | ✔️ Silicona caliente |
Step by step // Paso a paso
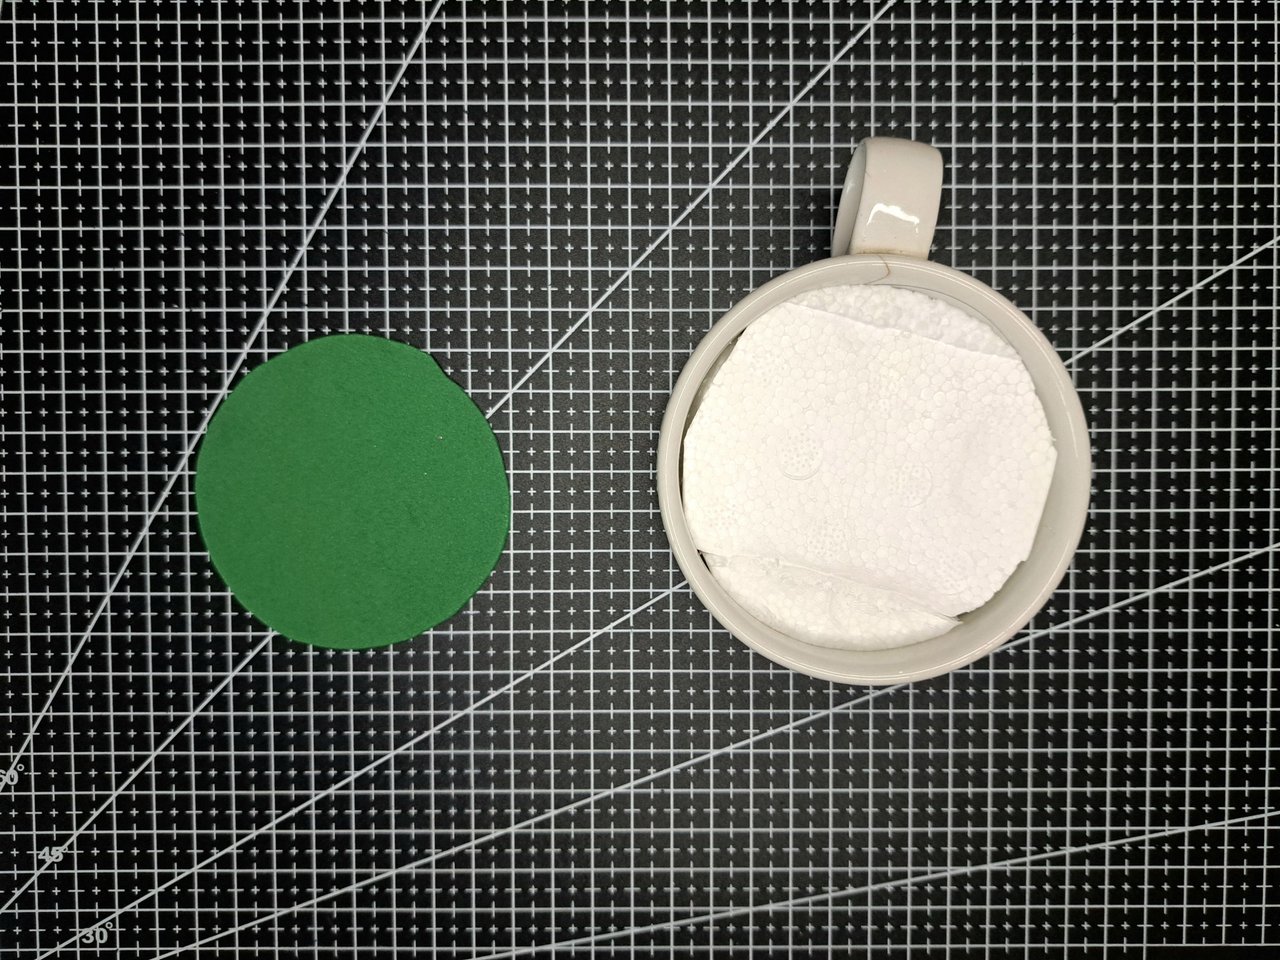
1️⃣ The first thing I did was to cut out several pieces of polystyrene in a circular shape using the cup itself to take the measurement. The polystyrene pieces I had were not wide enough, so I had to make semicircles and fill the inside of the cup with several pieces.
Lo primero que hice fue recortar varios trozos de poliestireno en forma circular utilizando la propia taza para tomar la medida. Los trozos de poliestireno que tenía no eran lo suficientemente anchos, así que tuve que hacer semicírculos y rellenar el interior de la taza con varias piezas.
 |  |
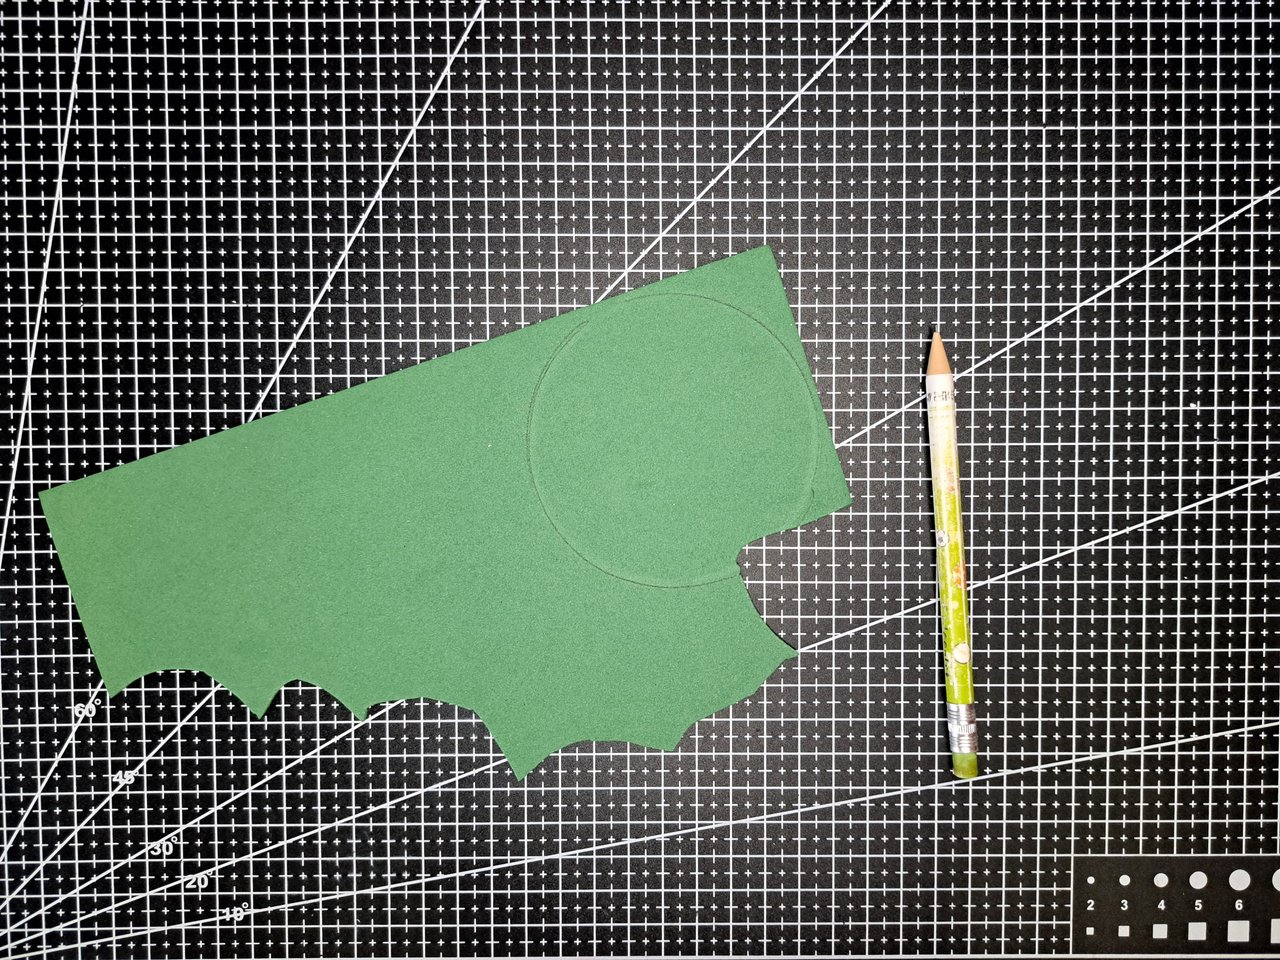
2️⃣ Again using the cup as a sample, I marked a circle on a green fomi sheet. After cutting out the circular piece, I glued it inside the cup, on top of the polystyrene.
Utilizando otra vez la taza como muestra, marqué un círculo sobre una lámina de fomi verde. Luego de recortar la pieza circular, la pegué dentro de la taza, encima del poliestireno.
 |  |
 | 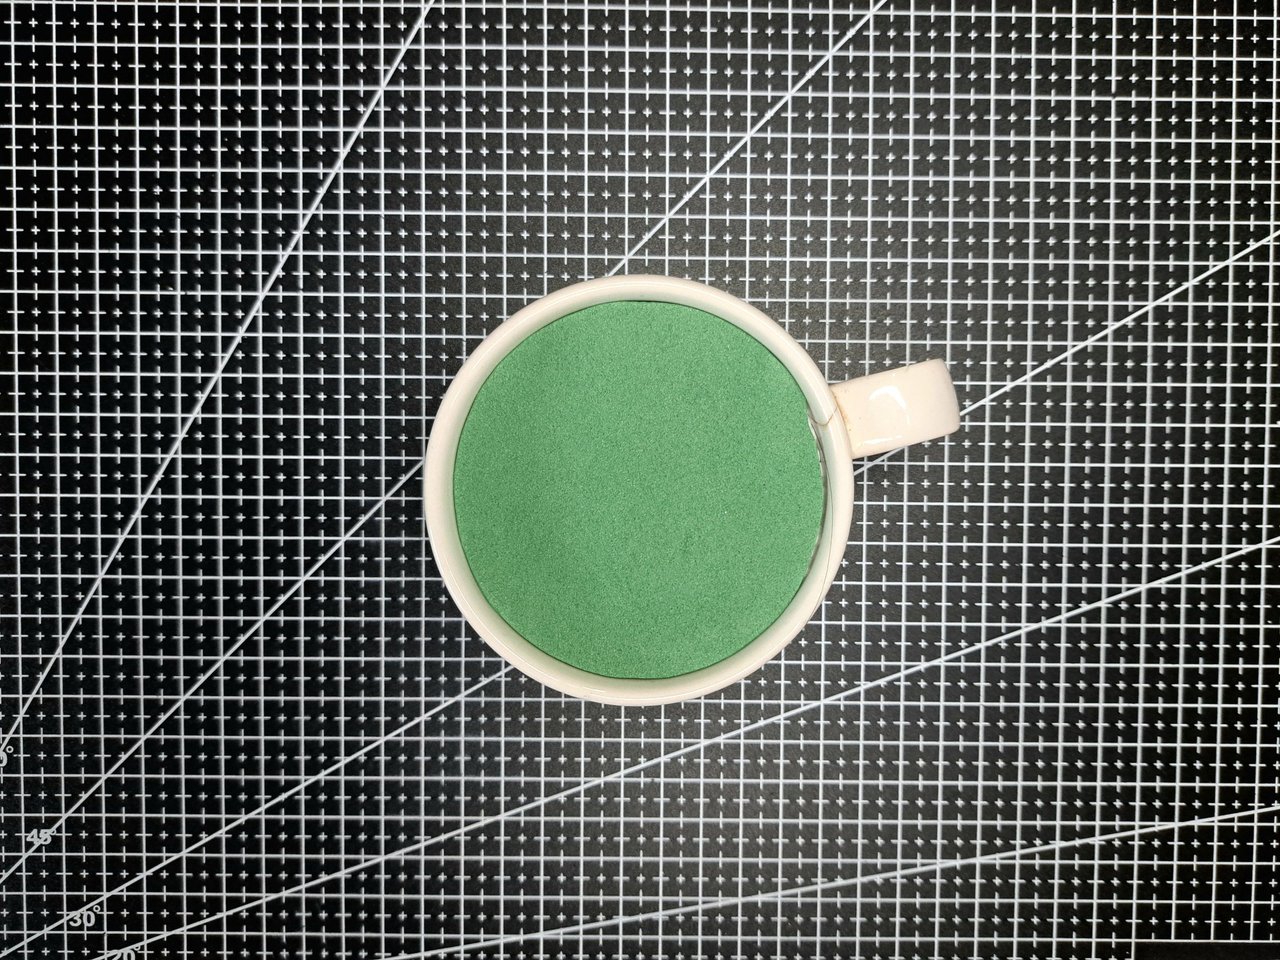 |
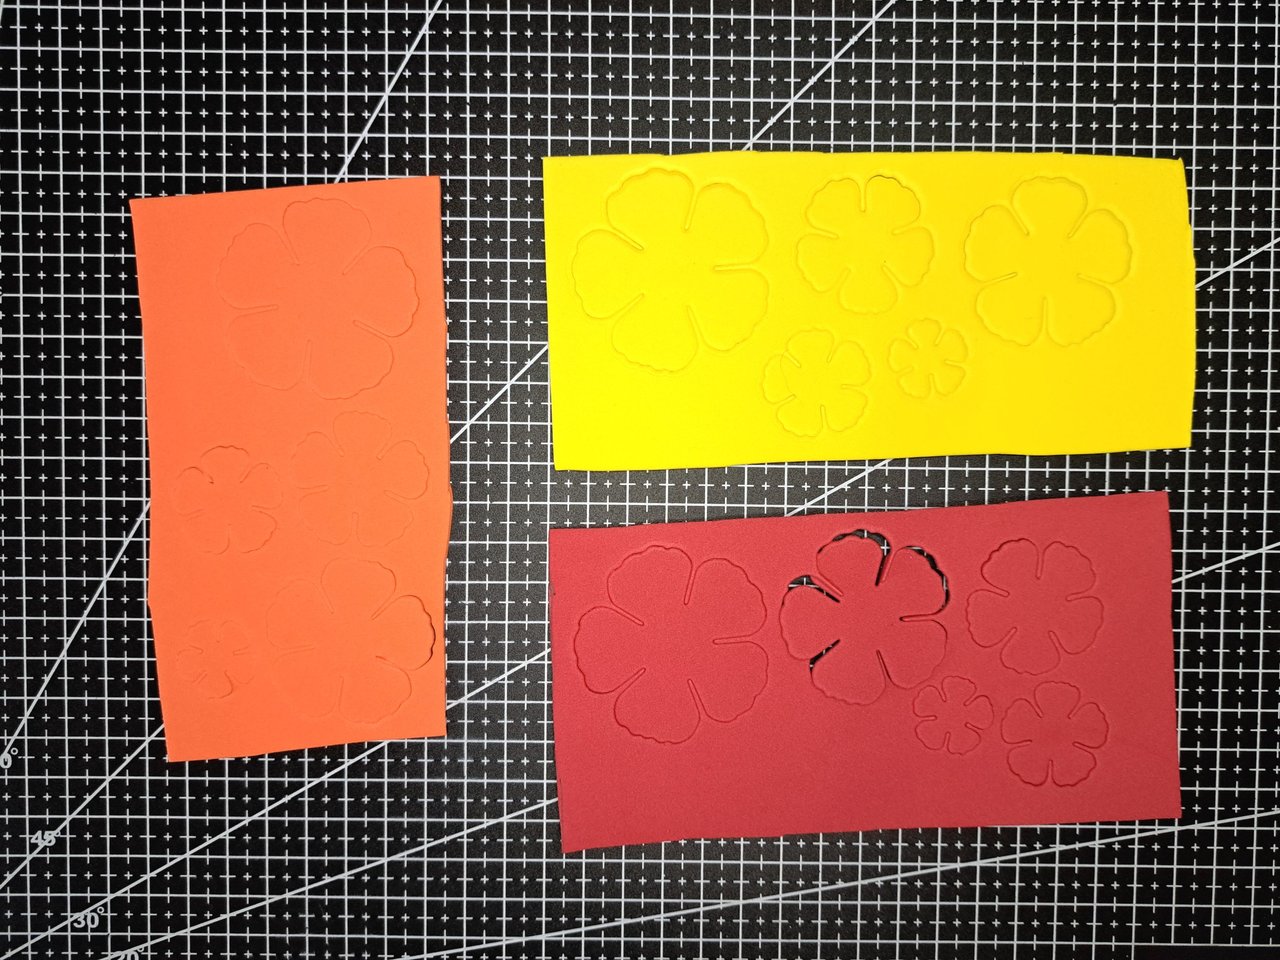
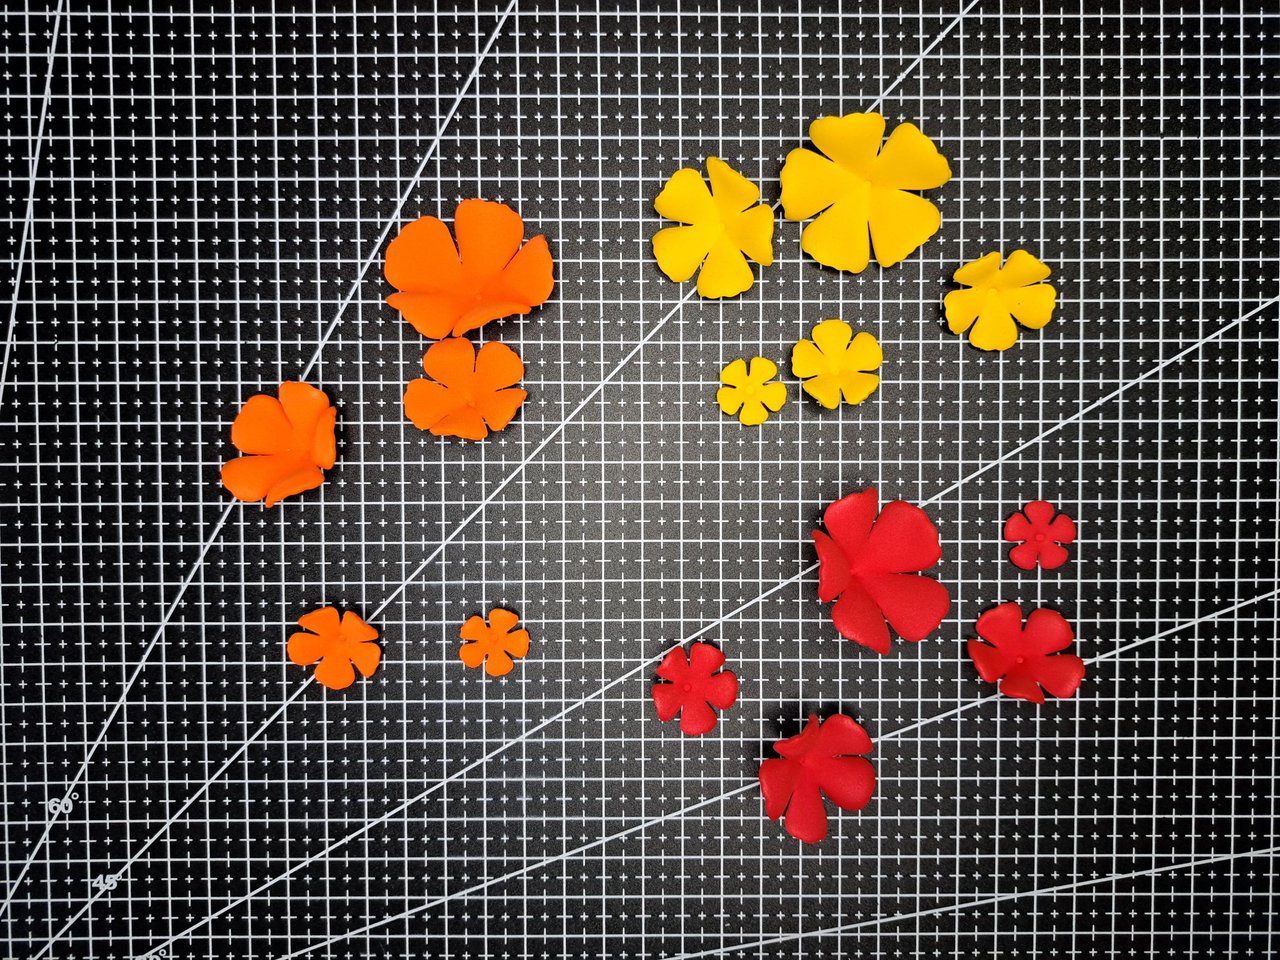
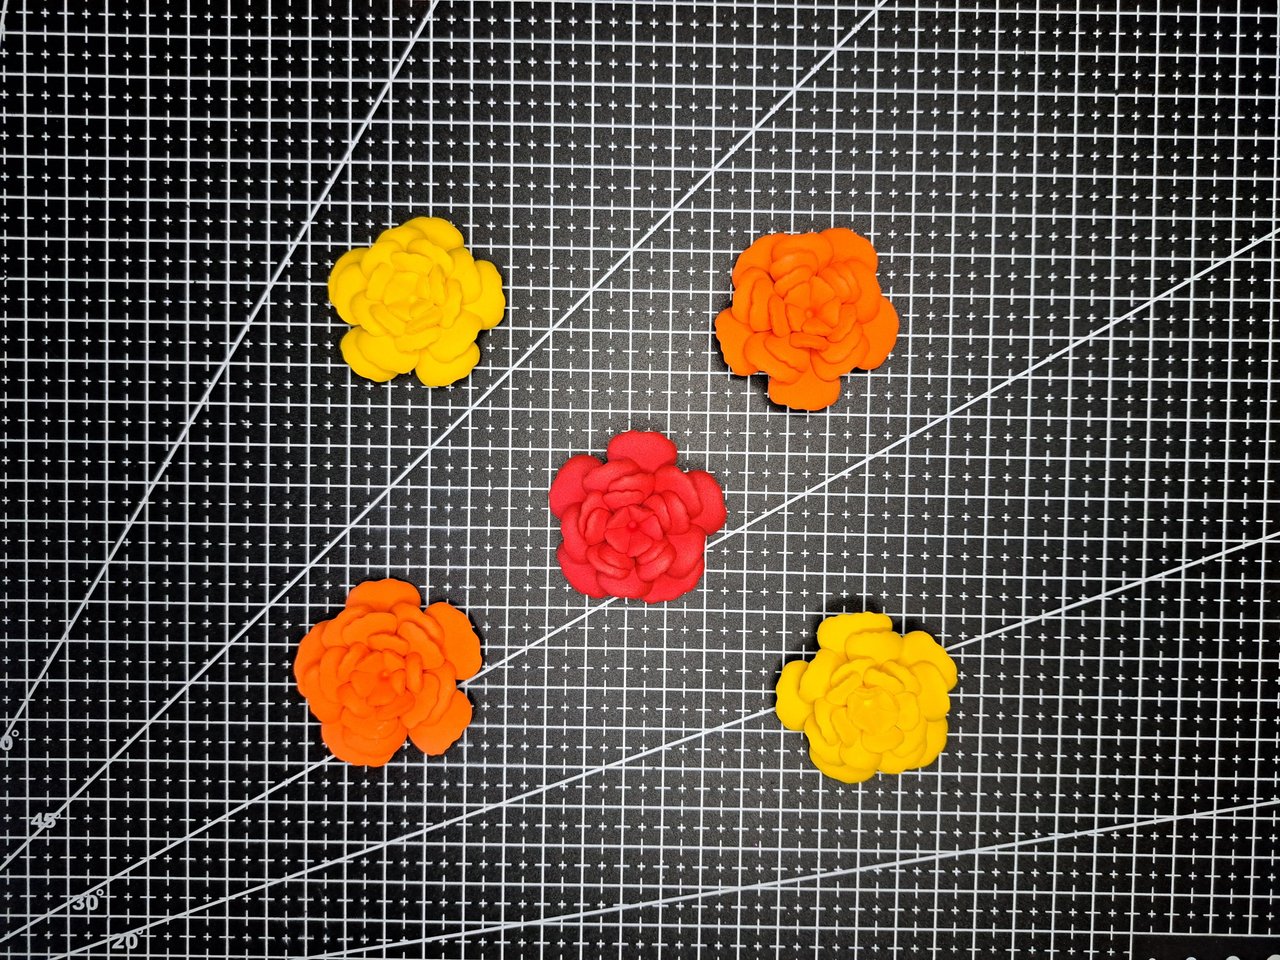
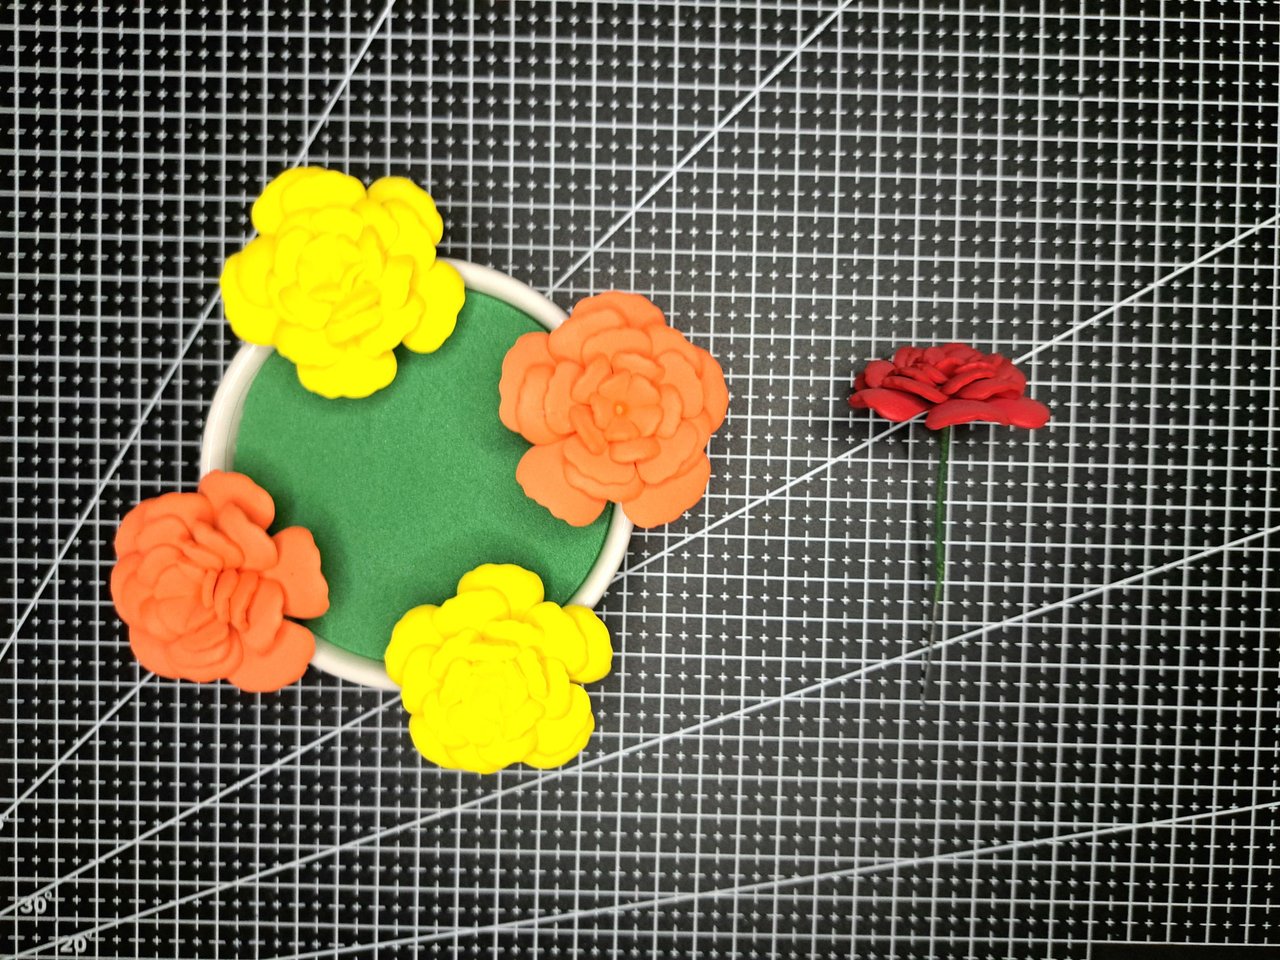
3️⃣ Using the flower-shaped cutting dies, I cut out 5 sets of petals to make 5 flowers. These flowers will be 2 yellow, 2 orange and 1 red. Applying heat on the layers of petals, I thermoformed them and gave volume to each of them and then glued them one on top of the other, respecting the order of size. In this way, the flowers were ready.
Con ayuda de los troqueles de corte con forma de flor, recorté 5 juegos de pétalos para conformar 5 flores. Dichas flores serán 2 amarillas, 2 naranjas y una roja. Aplicando calor sobre las capas de pétalos, las termoformé y di volumen a cada uno de ellos para luego pegarlos uno encima de otros, respetando el orden de tamaño. De esta forma, quedaron listas las flores.
 |  |
 |  |
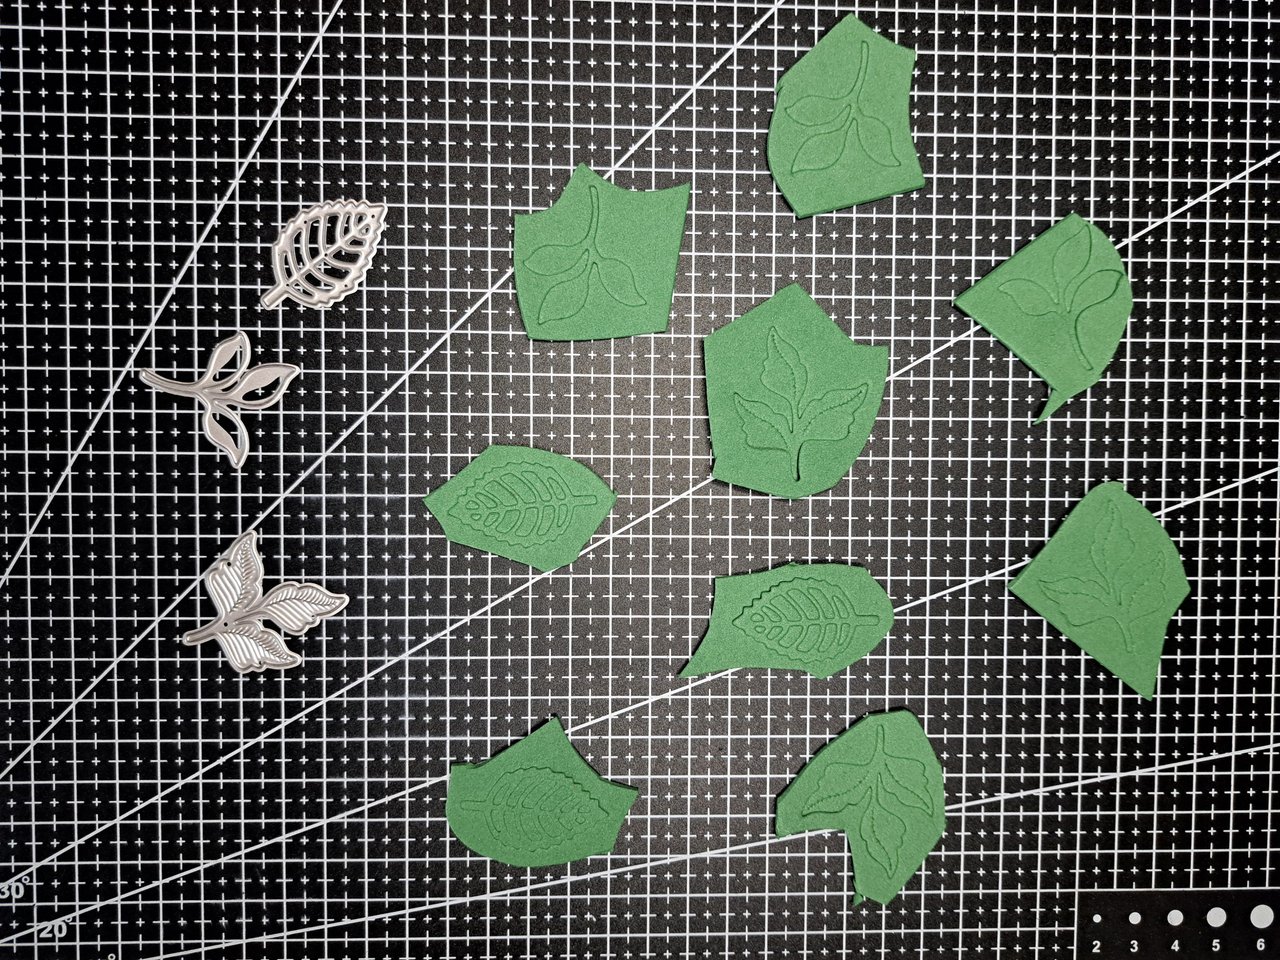
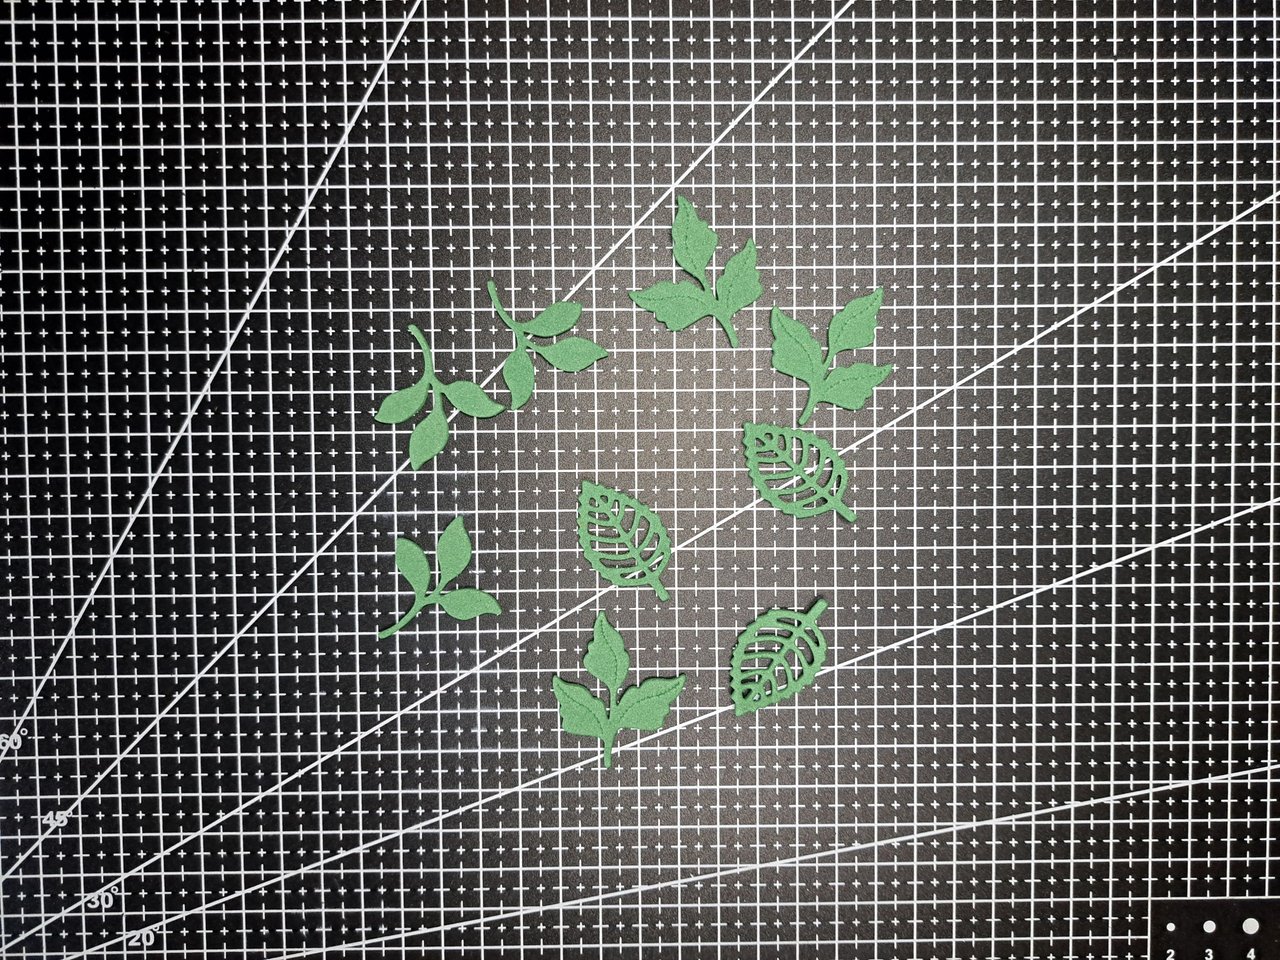
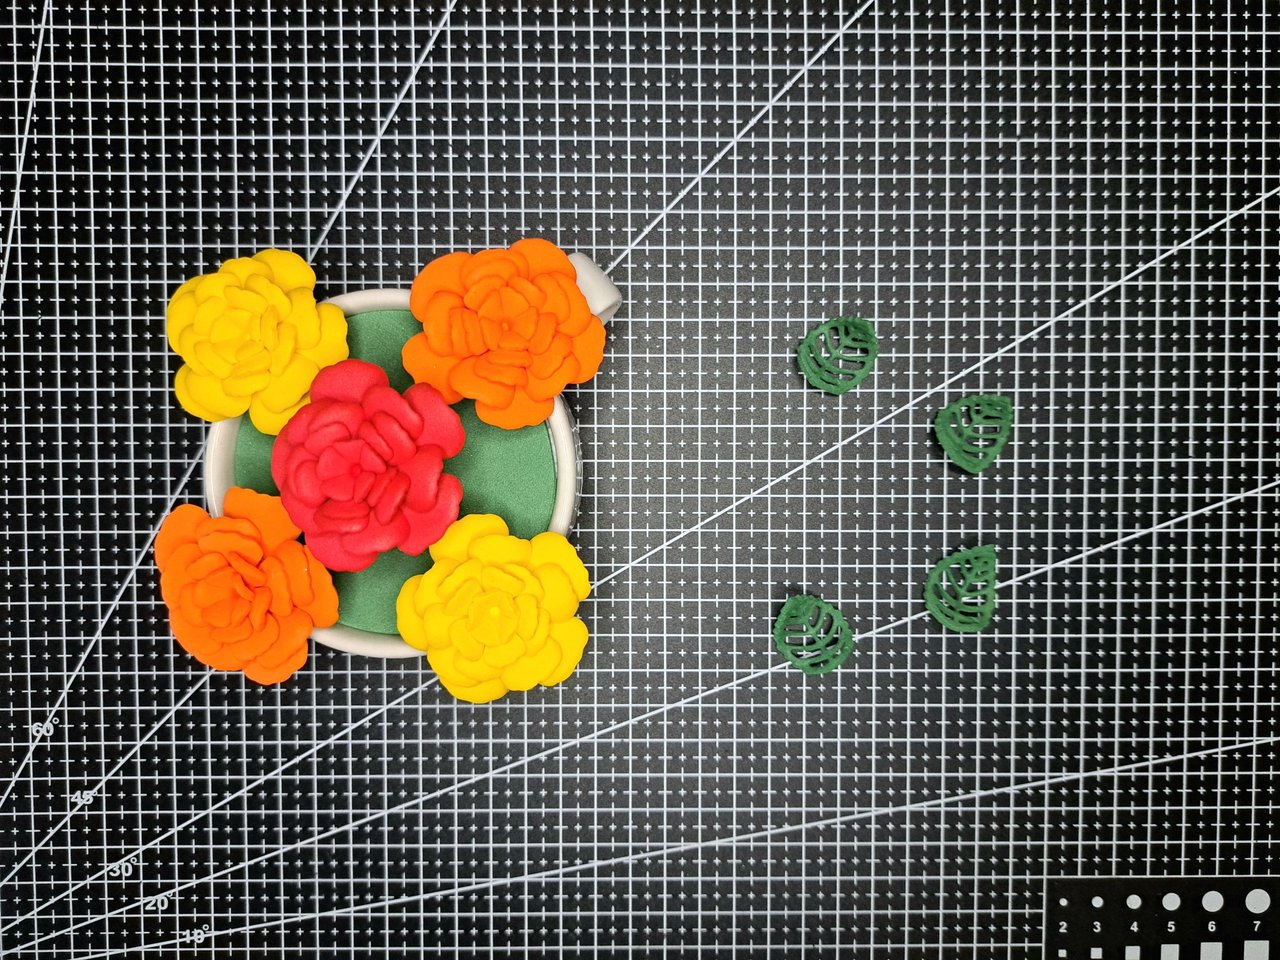
4️⃣ The flowers and the spikes follow the same principle of elaboration. Use the metal cutting dies and, on green and white fomi sheets, cut out several pieces. The leaves can be made in various shapes or all the same. Just keep in mind their size and that they are only filler elements and should not stand out too much.
Las flores y las espigas siguen el mismo principio de elaboración. Utilice los troqueles metálicos de corte y, sobre láminas de fomi verde y blanco, recorte varias piezas. Las hojas se pueden hacer de varias formas o todas iguales. Solo hay que tener en cuenta su tamaño y que estas son solo elementos de relleno y no deben destacar tanto.
 |  |
 |  |
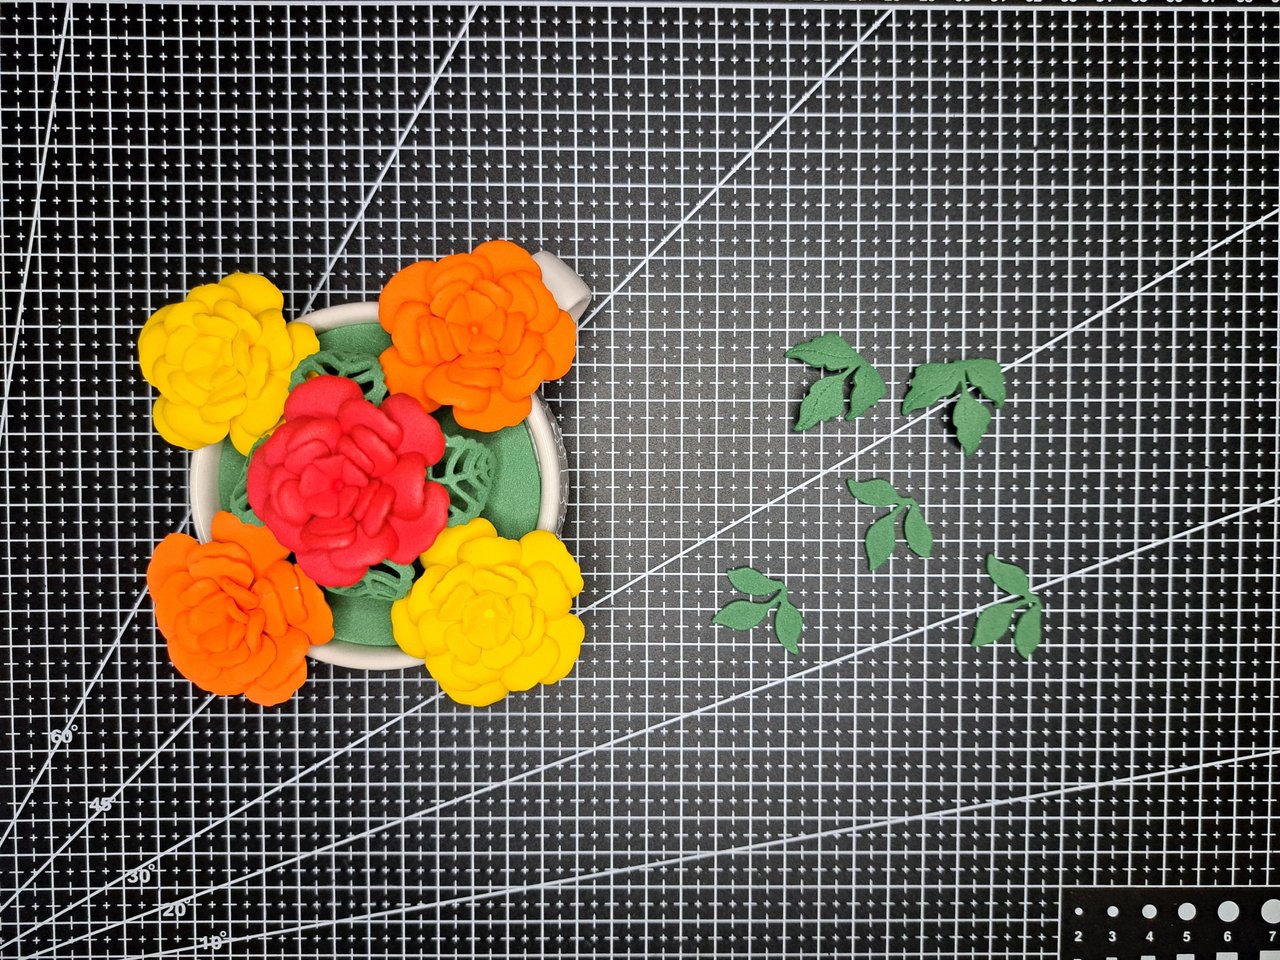
5️⃣ With all the elements of the ornament ready, I placed each one in its place. I started with the flowers, of which I first glued the orange ones on the handle and the side opposite it. I glued the yellow ones on the remaining sides, leaving the red one for the center. In my case I used a wire to raise the height of the central rose, but you can choose to leave them all at the same height.
Con todos los elementos del adorno listos, coloqué cada uno en su lugar. Comencé por las flores, de las cuales primero pegué las naranjas en el asa y el lado opuesto a este. Las amarillas las pegué en los costados restantes, dejando la roja para el centro. En mi caso utilicé un alambre para elevar la altura de la rosa central, pero perfectamente pueden optar por dejarlas todas a la misma altura.
 |  |
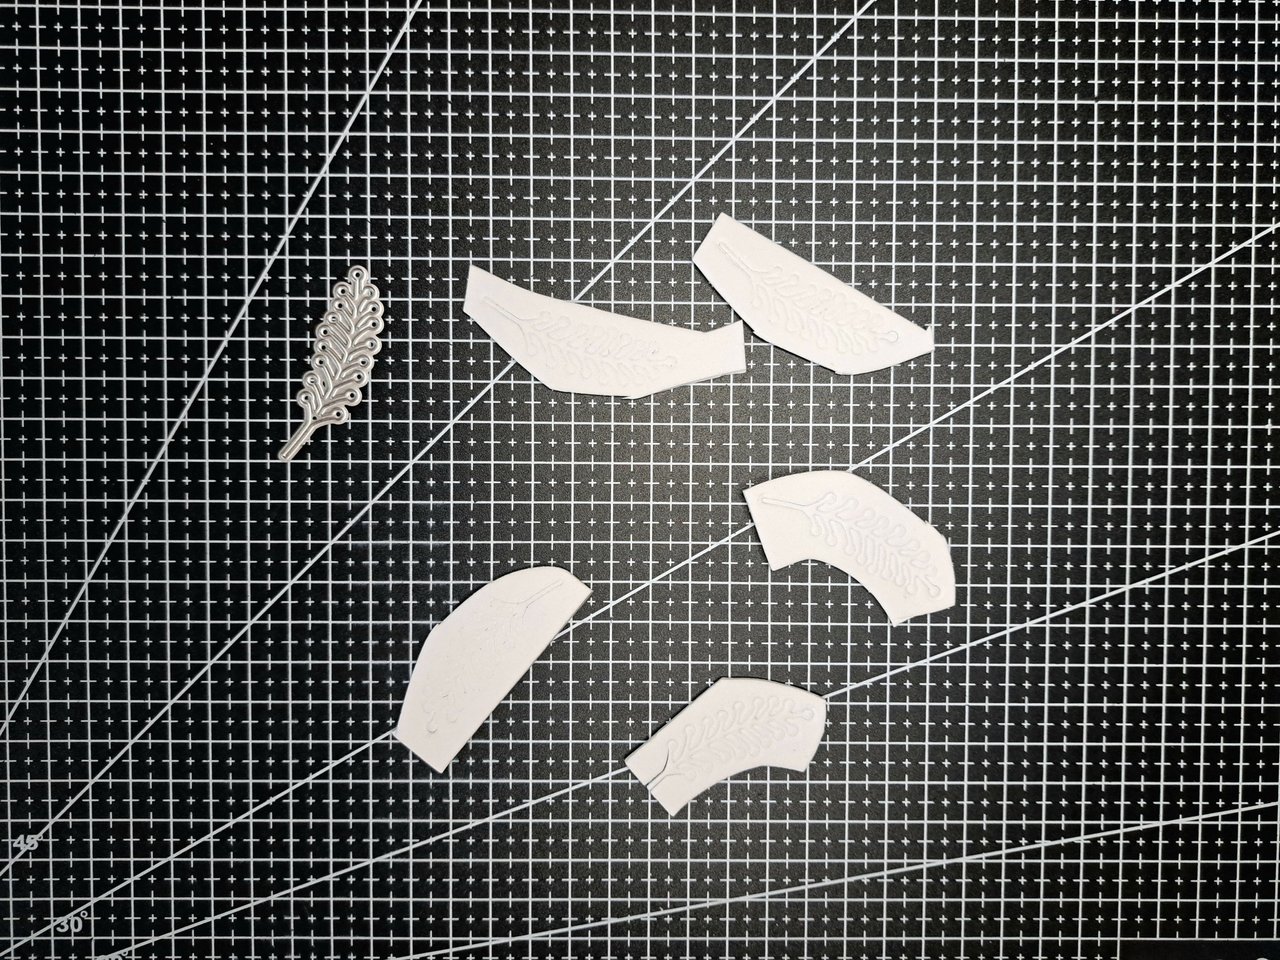
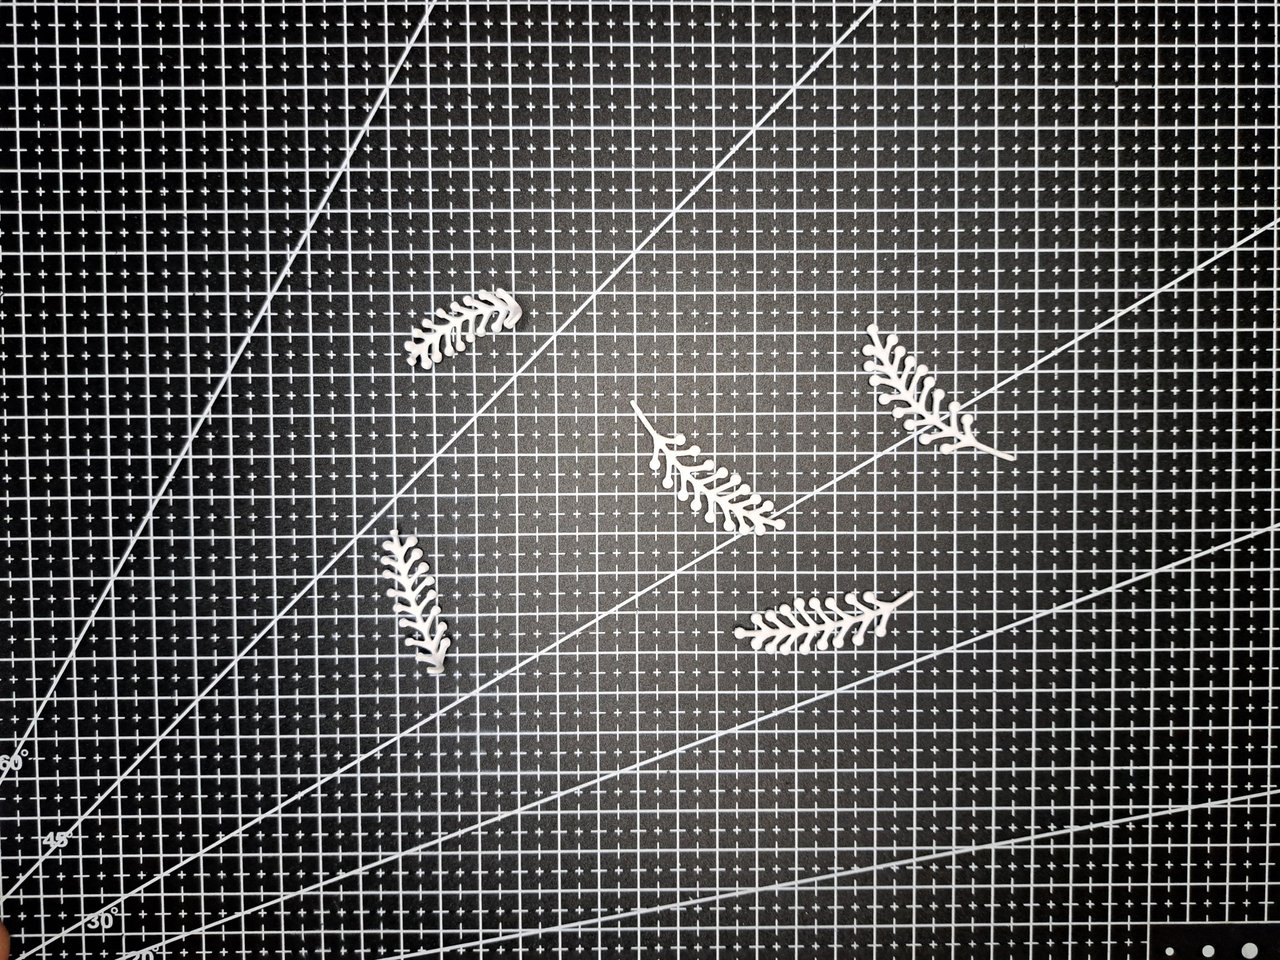
6️⃣ To finish, place the leaves in the spaces between the flowers and under the red rose. I also did the same with the white spikes, which I had started to arch with heat, but in the end decided not to do them that way because they looked better straight.
Para finalizar, coloca las hojas en los espacios que quedan entre las flores y debajo de la rosa roja. También hice lo mismo con las espigas blancas, las cuales había empezado a arquear con calor, pero al final decidí no hacerlas así porque rectas se veían mejor.
 |  |
 |  |
Finished Work // Trabajo Terminado
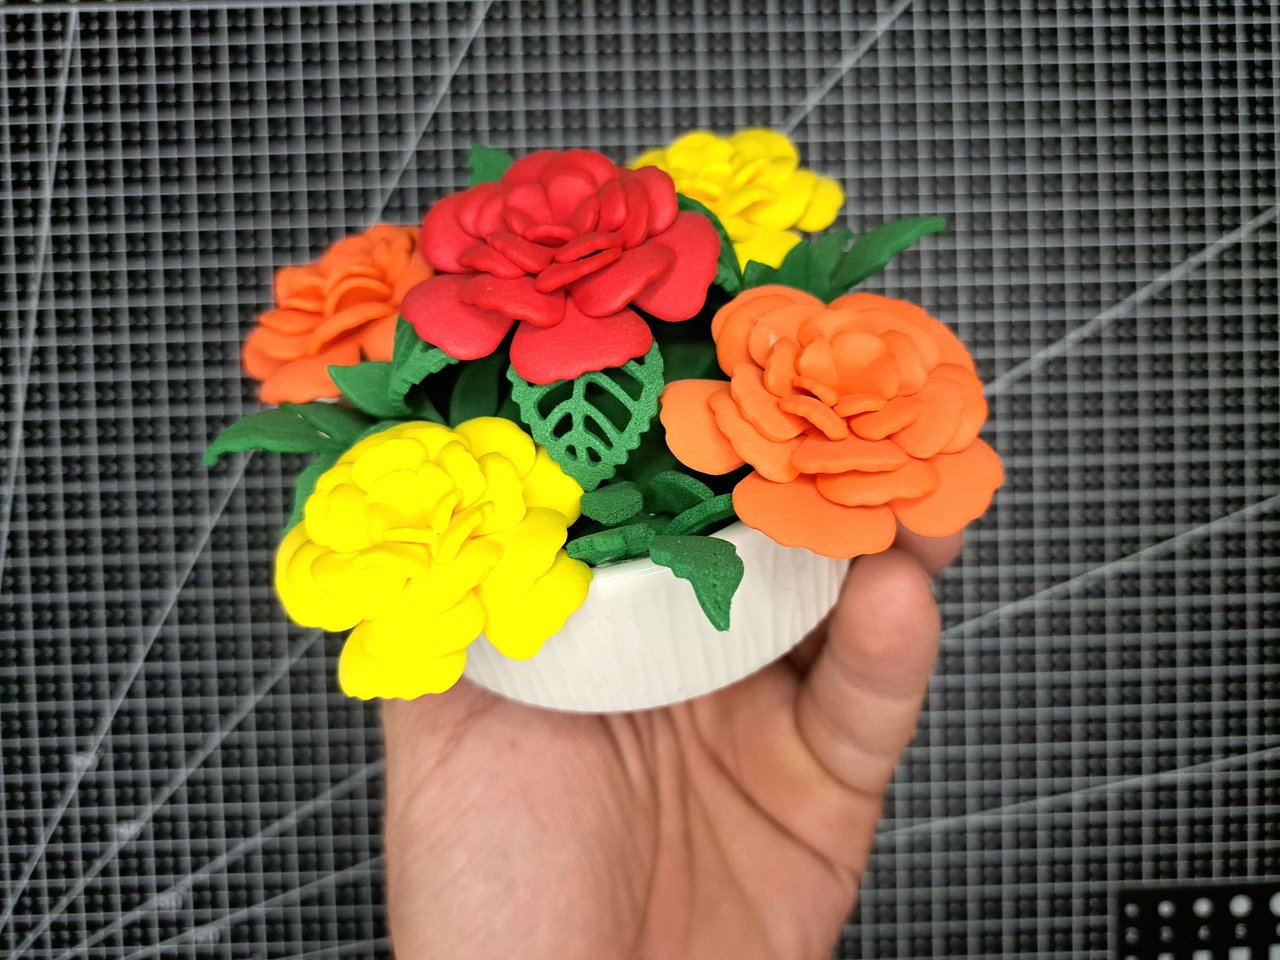
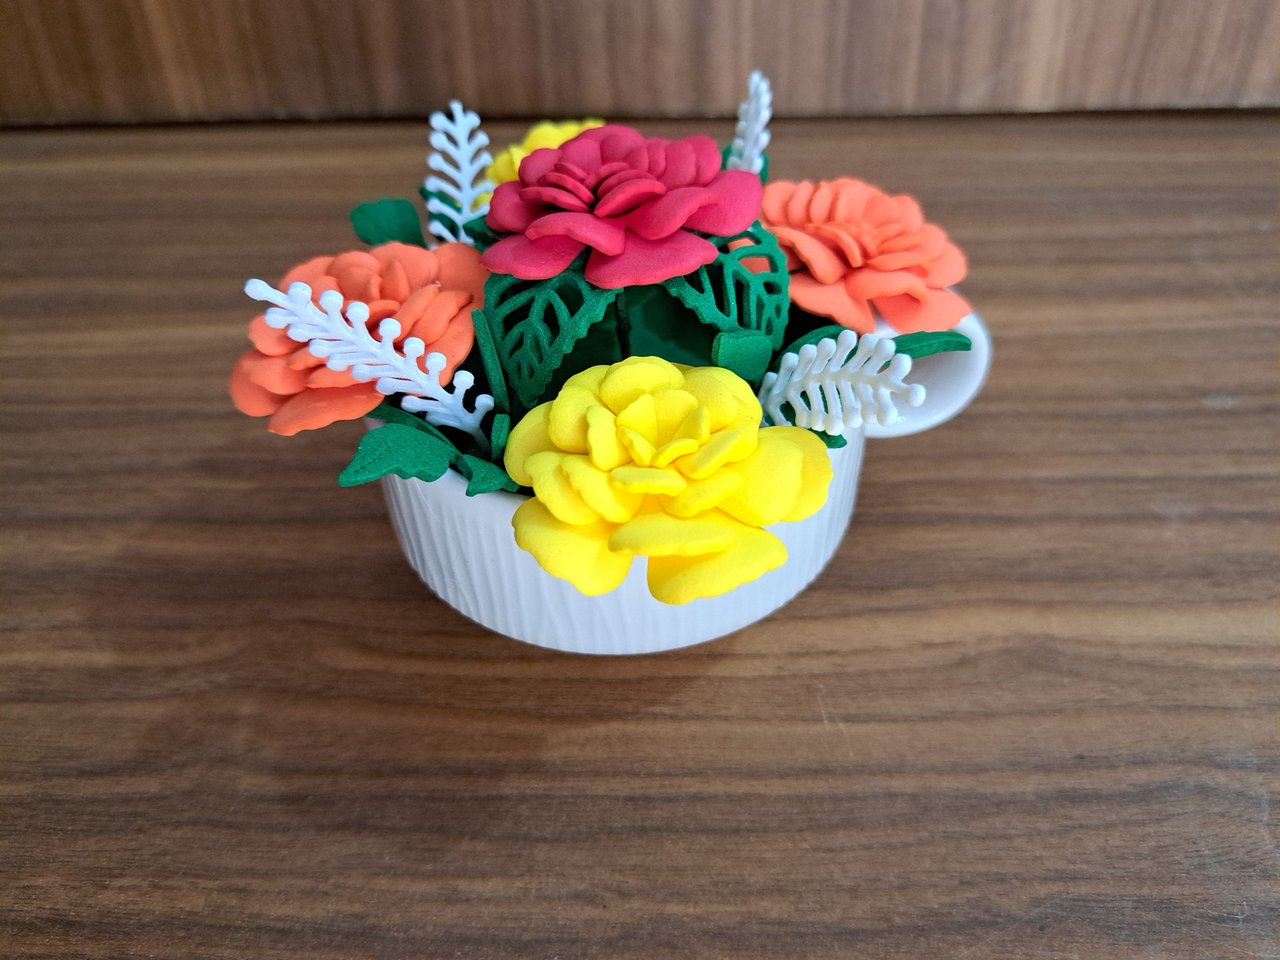
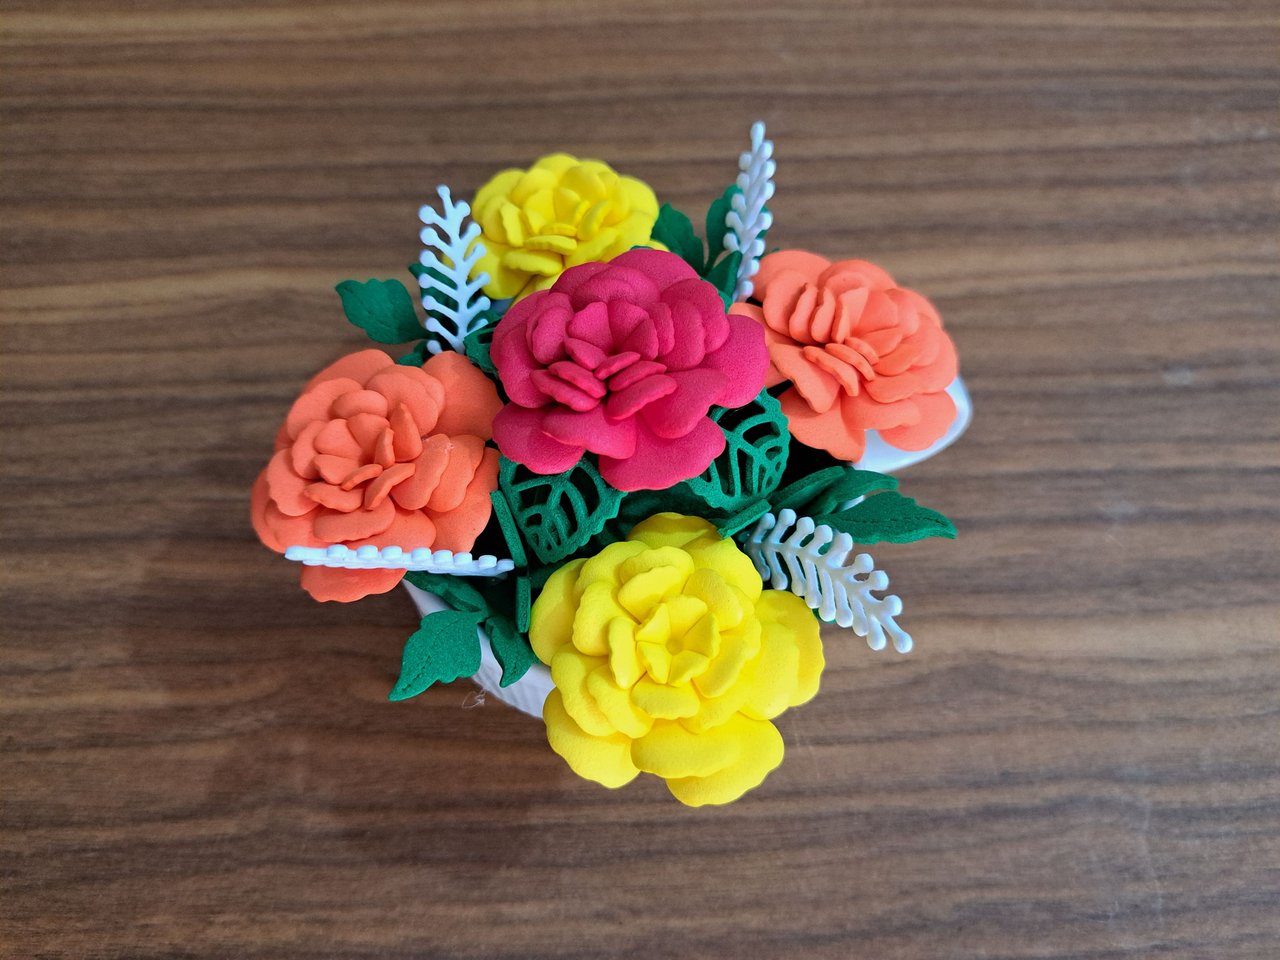
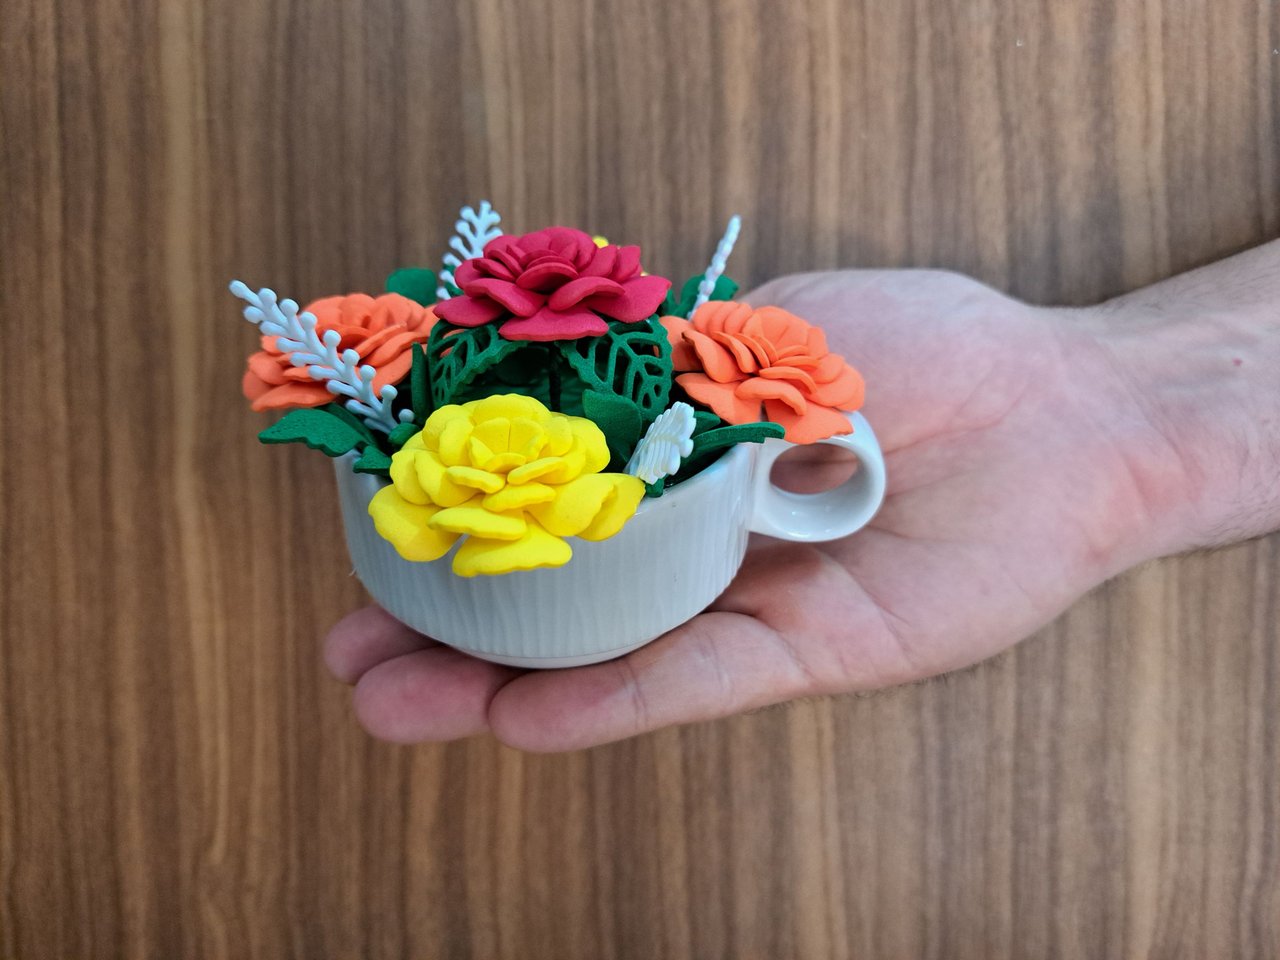
And in this way we would reach the end of the tutorial. I hope you liked it and that it will be useful in case you need to decorate a cup or other container that you can no longer use for one reason or another. Without more to add, I say goodbye leaving you with clearer images of the result of the tutorial.
Y de esta forma llegaríamos al final del tutorial. Espero que les haya gustado y les sea de provecho en caso de que necesiten decorar una taza u otro recipiente que ya no pueden utilizar por un motivo u otro. Sin más que agregar, me despido dejándoles a continuación imágenes más nítidas del resultado del tutorial.
 |  |
 |  |

Credits and Resources // Créditos y Recursos
Cover page created in Canva
Translated by DeepL
Images captured with my Samsung Galaxy A53


Posted Using INLEO
Que linda. ✨️
Me encanta como el fomi le devolvió la vida a la taza, y los colores son hermosos.
Felicidades ❤️
Gracias 🤗
Me encanta el hecho de que esta manualidad haya salido de una taza rota... Me recuerda, de cierta forma, a la fábula del jarrón roto.
En fin, a veces las cosas que pensamos que "no sirven" pueden transformarse en algo bello. En este caso, en una linda decoración con flores que no se marchitarán nunca. Qué bellas te quedaron esas flores, muy bonito el diseño 💐
Gracias amiga. Es tal y como diría mi abuela. Antes de desechar un envase mejor conviértelo en maceta o adorno en este caso.
Great idea for repurposing a broken cup. The foam decorations add such a creative and colorful touch. Well done.
Thanks for all the support 🤗.
Jamás se me habría ocurrido algo así y es que muchas veces he dañado tazas que van a la basura. Ahora tú con tu idea, nos abres la mente y nos haces pensar en como darle un uso a ese objeto dañado. Este adorno quedó muy bonito.
Saludos amiga. Siempre y cuando la taza no esté muy destrozada se puede convertir en algo bello. Gracias por comentar
cool👍 you are very creative my friend. I am amazed by your idea.
Luce genial, buena combinación de colores y de diseño. Y aprovecho la taza, así ya no es algo que termina como desecho en el medio ambiente, también es un buen trabajo de reciclaje.