Christmas Ornament: Snowflake made with recycled materials. [ESP+ENG]
Diciembre es de esos meses en los cuales toda la creatividad va enfocada a la navidad. Y como yo no podía ser la excepción, me sumo a la iniciativa de crear adornos navideños. En esta ocasión les traigo un copo de nieve al más puro estilo del Diy de reciclaje. Un adorno fácil, pero hermoso, confeccionado usando palos de chupa-chus y bastoncitos de oídos o aplicadores (discúlpenme si lo conocen con otros nombres, pero es que varía según el país y región). La manualidad en sí es muy sencilla, pero no deja de darle un toque único a nuestro árbol de navidad. La magia de este proyecto reside en el hecho de que estamos reciclando materiales que normalmente pararían en la basura y de una forma creativa, cada cual puede generar su propio diseño y ser único en su tipo.
December is one of those months in which all creativity is focused on Christmas. And as I could not be the exception, I join the initiative to create Christmas decorations. This time I bring you a snowflake in the purest Diy style of recycling. An easy, but beautiful ornament, made using sucker sticks and ear sticks or applicators (excuse me if you know it by other names, but it varies depending on the country and region). The craft itself is very simple, but it still gives a unique touch to our Christmas tree. The magic of this project lies in the fact that we are recycling materials that would normally end up in the trash and in a creative way, everyone can generate their own design and be unique in its kind.
 |
|
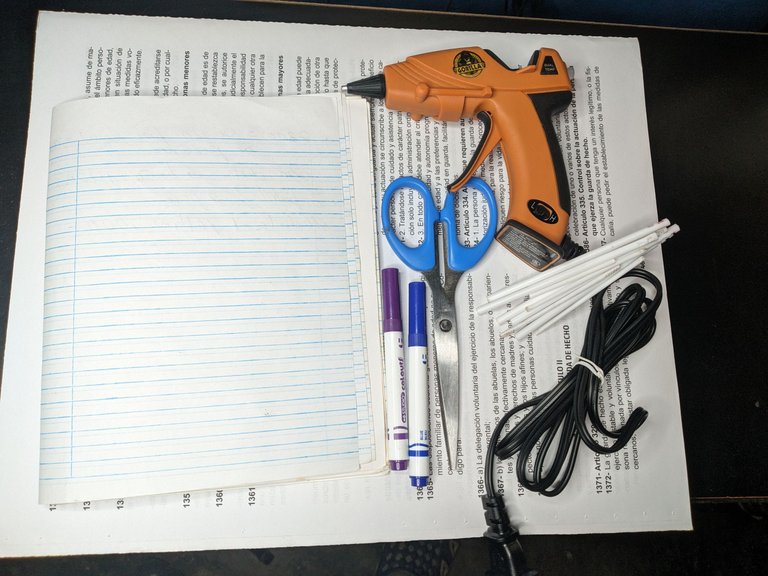
🛠 Materiales // Materials 🛠
- Palitos blancos de Chupa-chus y de aplicadores (bastoncitos para los oídos)
- Pistola de silicona o pegamento acrílico.
- Tijeras o cúter.
- Cuaderno y marcadores (opcional)
- White Chupa-chus and applicator sticks (ear sticks).
- Silicone gun or acrylic glue.
- Scissors or box cutter.
- Notebook and markers (optional)
🔸 Paso-a-paso // Step-by-step 🔸
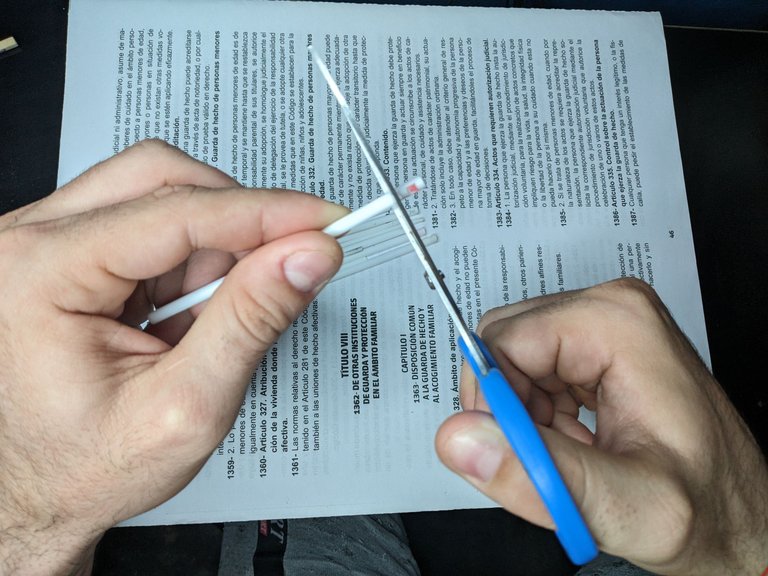
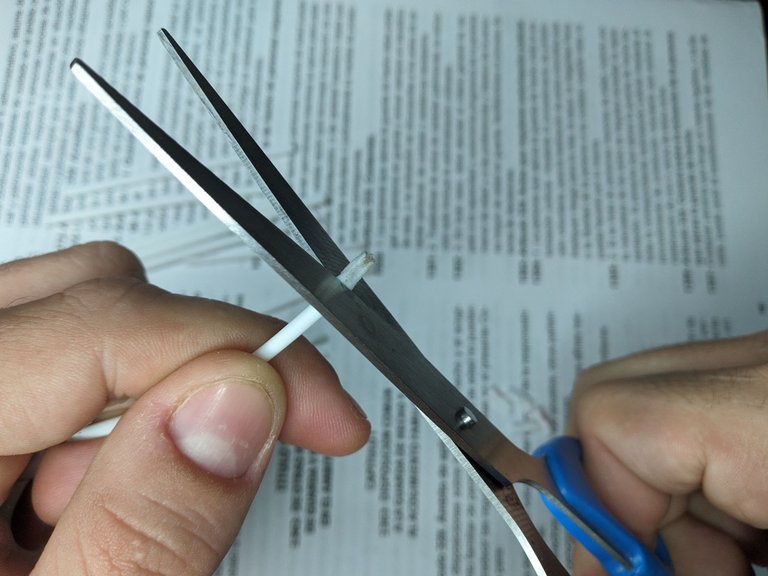
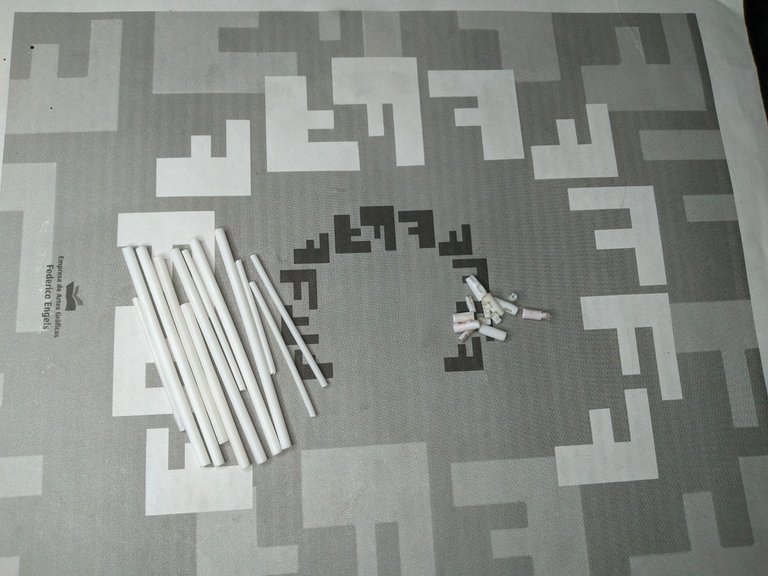
Primeramente, limpiamos a fondo todos los palitos para luego cortarle los extremos. En el cao de los Chupa-chus solo será el extremo donde va el caramelo, pero en los aplicadores cortamos los dos extremos, ya que la zona debajo del algodón no es lisa.
First, we thoroughly clean all the sticks and then cut off the ends. In the Chupa-chus stick only the end where the candy goes, but in the applicators we cut both ends, since the area under the cotton is not smooth.
|
|
|---|---|
|
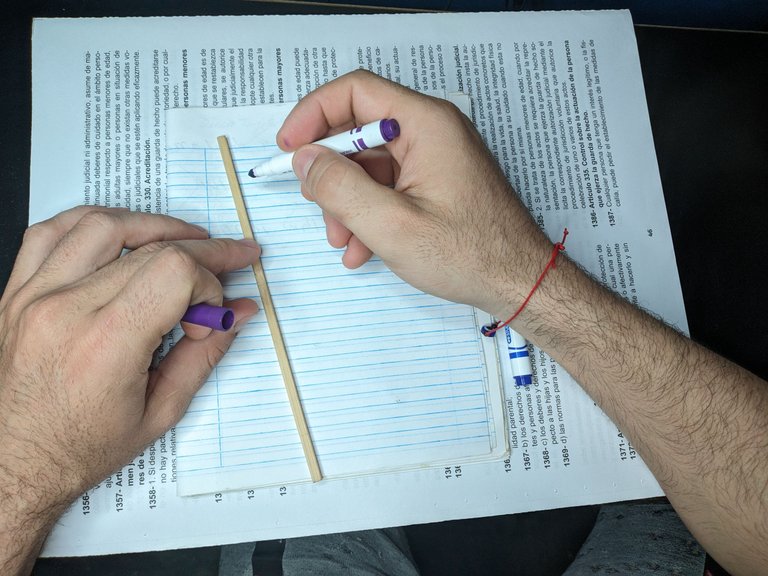
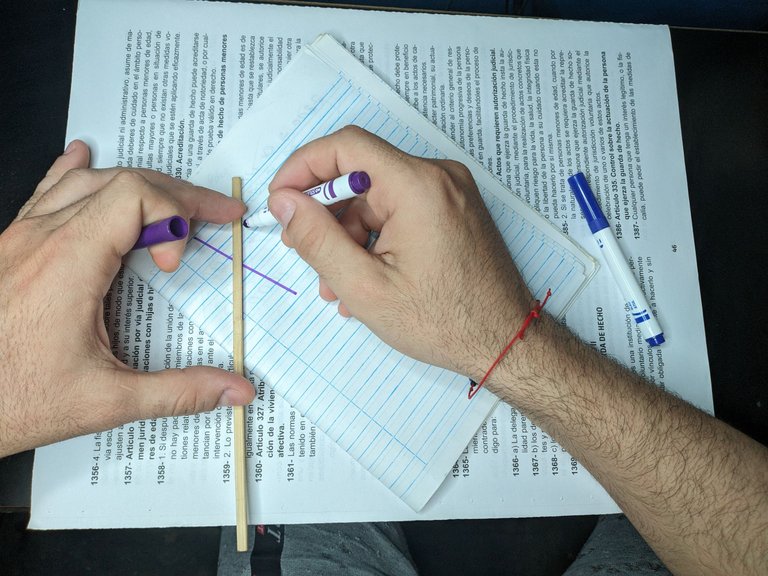
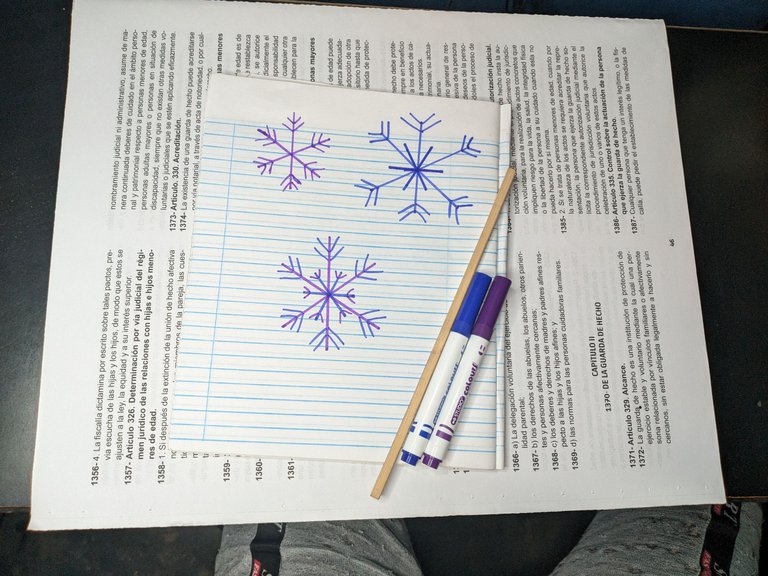
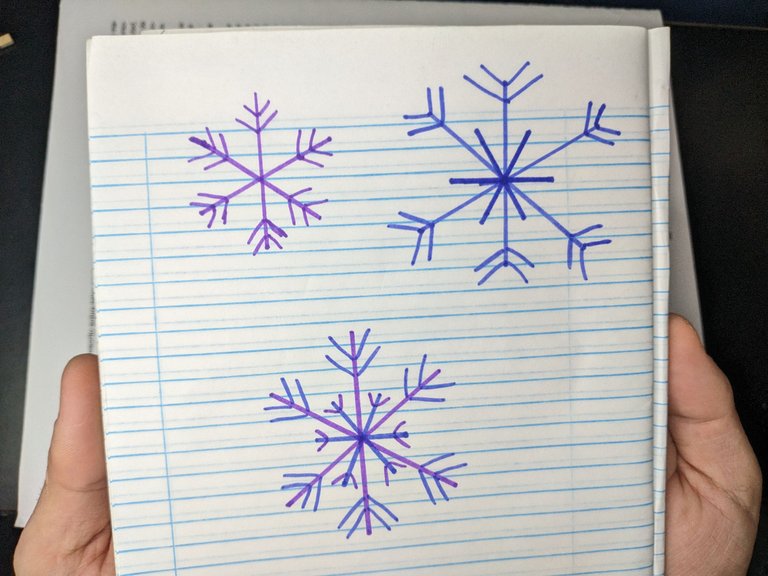
Una vez tenemos todo correctamente saneado ya podemos empezar a trazar y tomar medidas. En este paso es totalmente opcional usar el cuaderno y los marcadores para hacer los diseños. Siempre habrá quien quiera ir haciéndolo sobre la marcha, pero yo aconsejo que esbocen su diseño para que tengan claro el número de segmentos que necesitan cortar.
Once we have everything properly sanitized we can start tracing and taking measurements. In this step it is completely optional to use the notebook and markers to make the designs. There will always be those who want to make it up as they go along, but I advise you to sketch your design so that you are clear about the number of segments you need to cut.
|
|
|
|
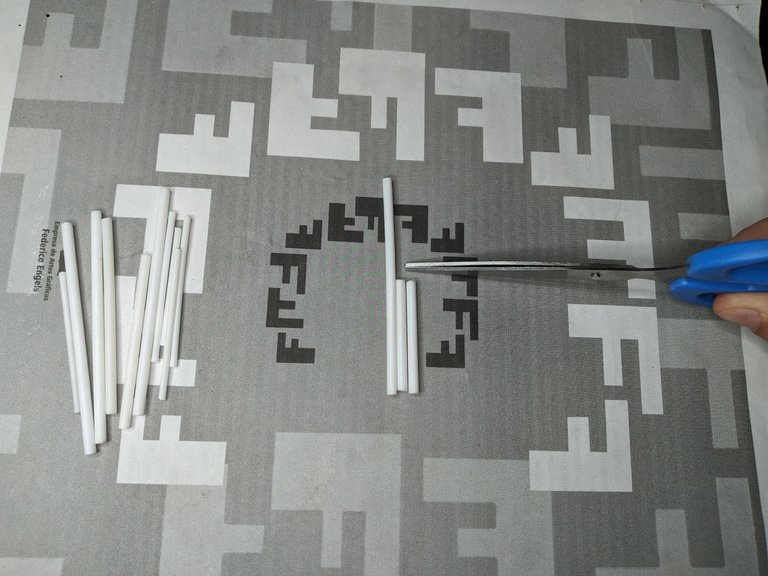
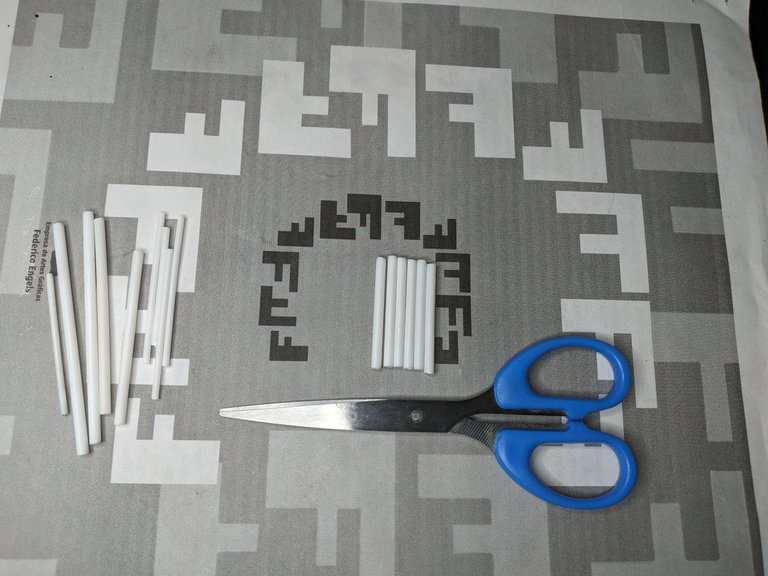
En cuanto a las medidas no tengo mucho que decir. Las medidas dependerán mucho del tamaño del árbol. En mi caso mi árbol es mediano por o decir pequeño y la medida que emplee fue cortar a la mitad cada palito de Chupa-Chus y en cuatro partes los palitos de aplicadores.
As for the measurements I don't have much to say. The measurements will depend a lot on the size of the tree. In my case my tree is medium to say small and the measure I used was to cut in half each Chupa-Chus stick and in four parts the applicator sticks.
|
|
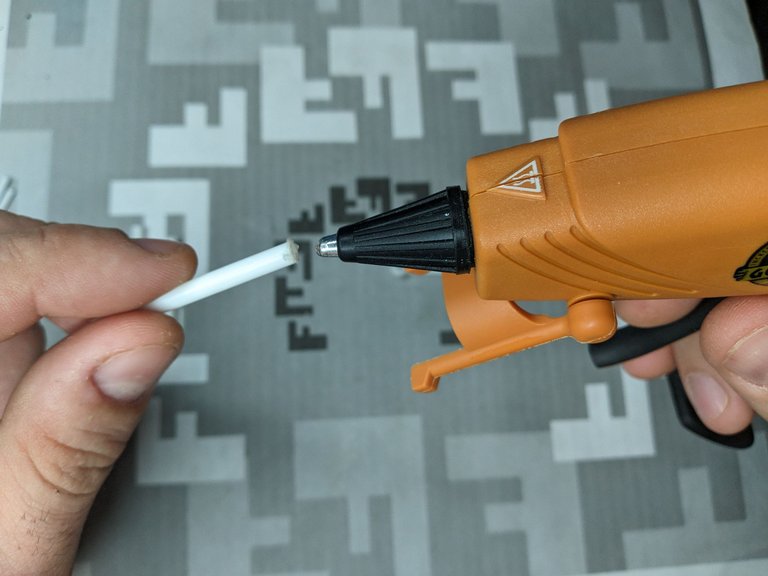
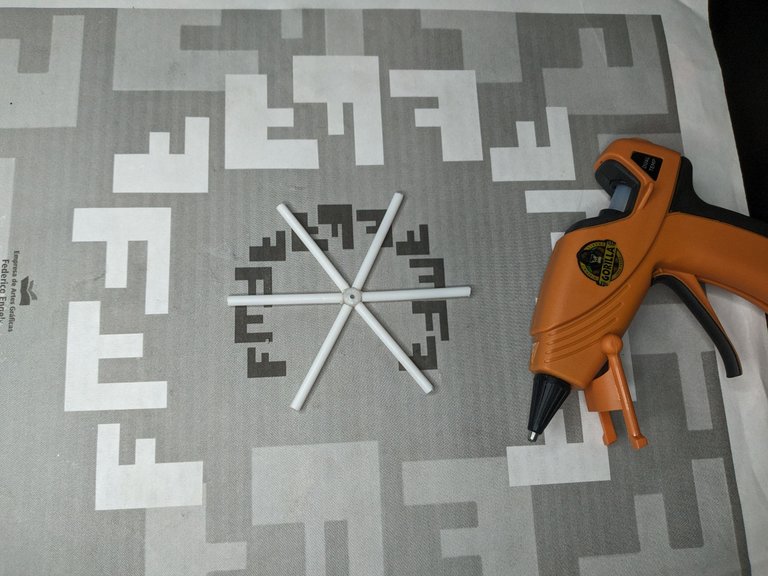
Una vez tenemos cortados los segmentos a la medida deseada, empezamos a pegarlos para formar una estrella de seis puntas o asterisco. A la hora de pegar los segmentos pueden pegarlos entre sí directamente o pueden utilizar una pequeña pieza de plástico en el medio como guía.
Once we have the segments cut to the desired size, we start gluing them together to form a six-pointed star or asterisk. When gluing the segments you can glue them together directly or you can use a small piece of plastic in the middle as a guide.
|
|
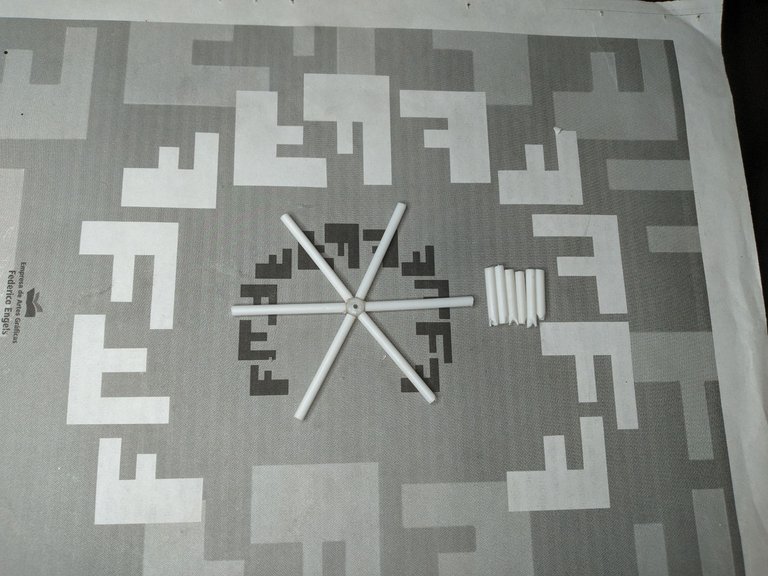
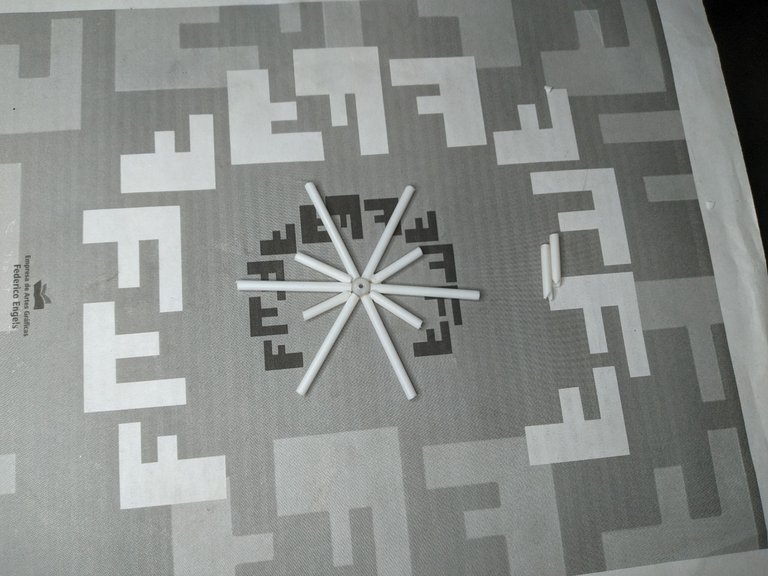
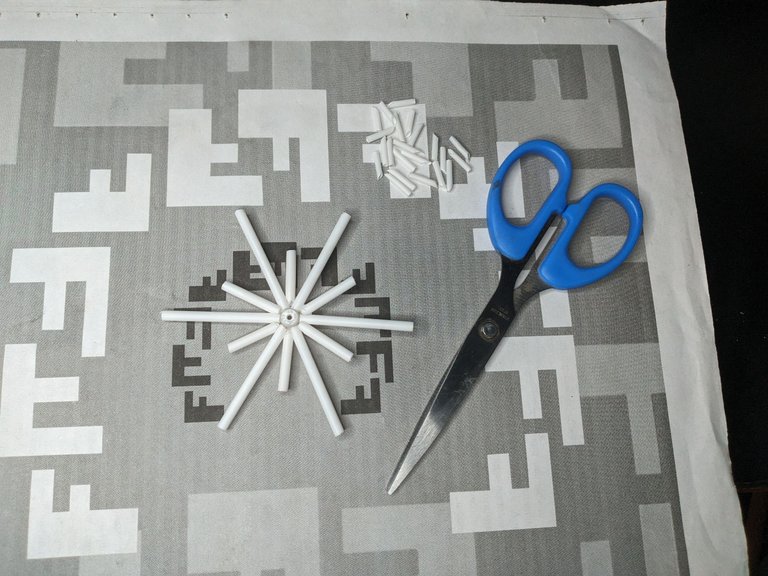
Una vez que la estrella grande está lista, cortamos a la mitad el resto de los palitos de Chupa-chus para hacer una estrella más pequeña en los espacios que deja la grande. Pero antes de pegarlos tienes que asegurarte que las puntas estén picadas en forma de cuña para que estas hagan contacto correctamente con el centro.
Once the big star is ready, cut in half the rest of the Chupa-chus sticks to make a smaller star in the spaces left by the big one. But before gluing them you have to make sure that the tips are cut into wedge shapes so that they make proper contact with the center.
|
|
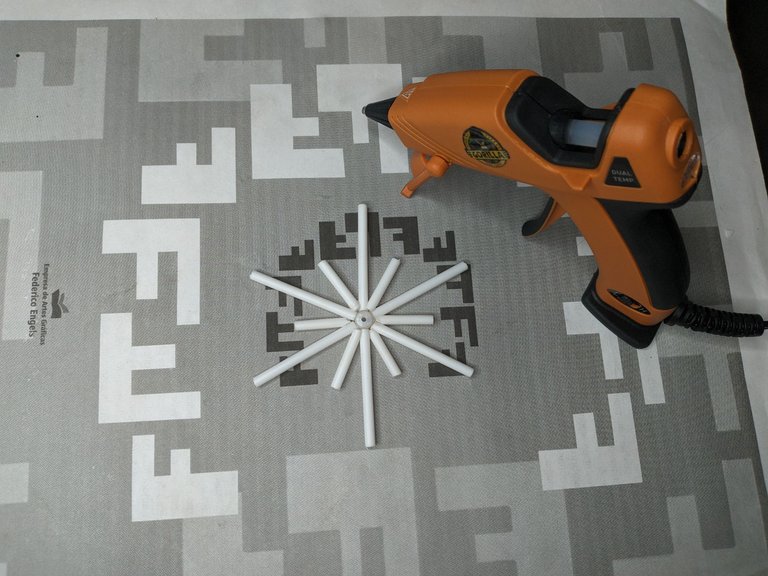
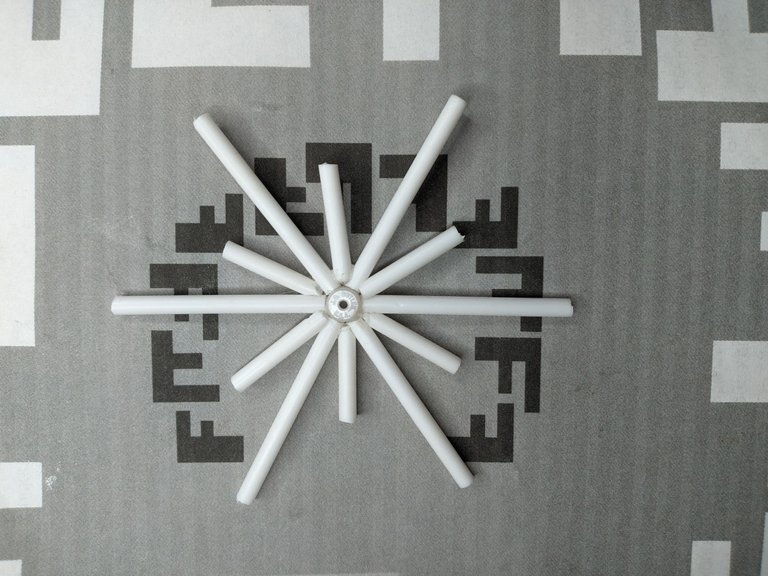
Hasta ahora tendríamos un copo de nieve de 12 puntas, 6 grandes y 6 medianas. Por ahora todo bien, pero antes de continuar debemos asegurarnos que todas estén correctamente pegadas y en caso de que alguna de las puntas esté floja la reforzamos usando la pistola de silicona, pero con mucho cuidado de no excedernos con el pegamento.
So far we would have a snowflake of 12 tips, 6 large and 6 medium. So far so good, but before continuing we must make sure that all are properly glued and in case any of the tips is loose we reinforce it using the silicone gun, but very careful not to overdo it with the glue.
|
|
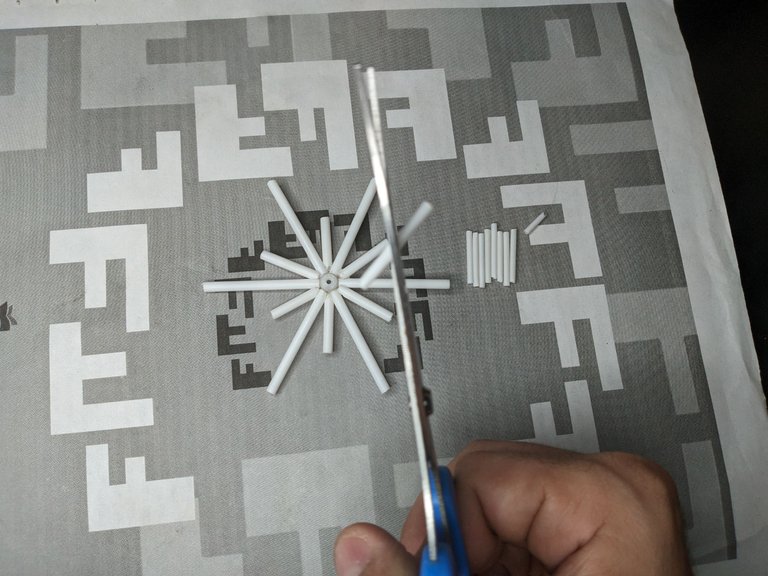
Seguidamente, cortamos los las puntas de los segmentos de los aplicadores a la mitad, pero de forma diagonal para que sea más fácil pegarlos a las puntas de nuestro copo de nieve.
Next, we cut the tips of the applicator segments in half, but diagonally so that it is easier to glue them to the tips of our snowflake.
|
|
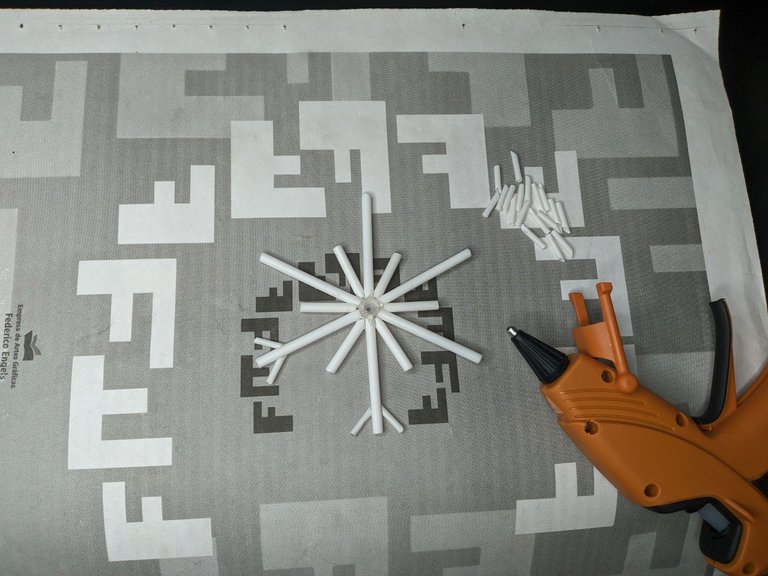
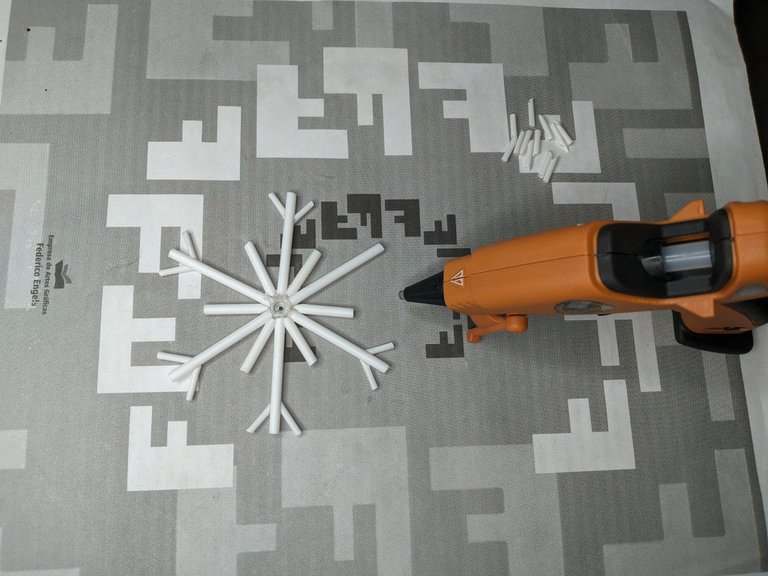
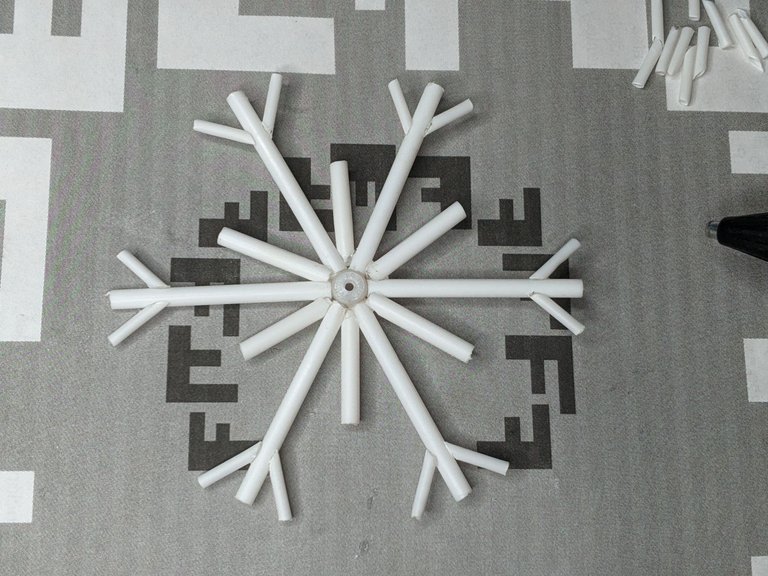
Comenzamos a pegar dos segmentos cortos de aplicador en cada una de las puntas largas del copo de nieve. Hasta que en total hallamos pegado 12 segmentos cortos en los 6 extremos largos.
We start gluing two short segments of applicator on each of the long ends of the snowflake. Until in total we have glued 12 short segments on the 6 long ends.
|
|
|
|
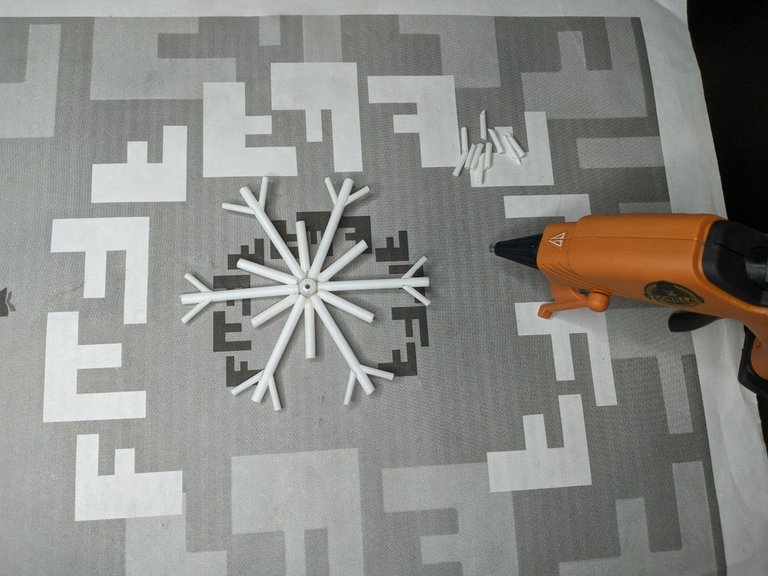
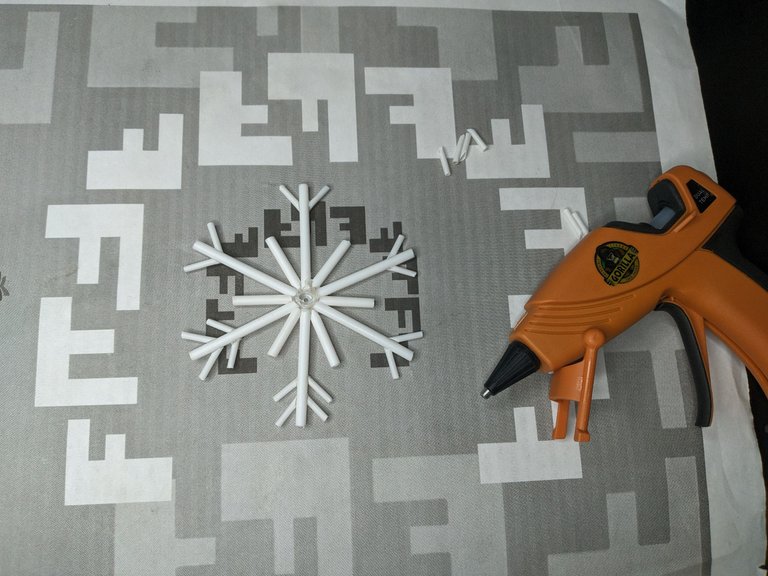
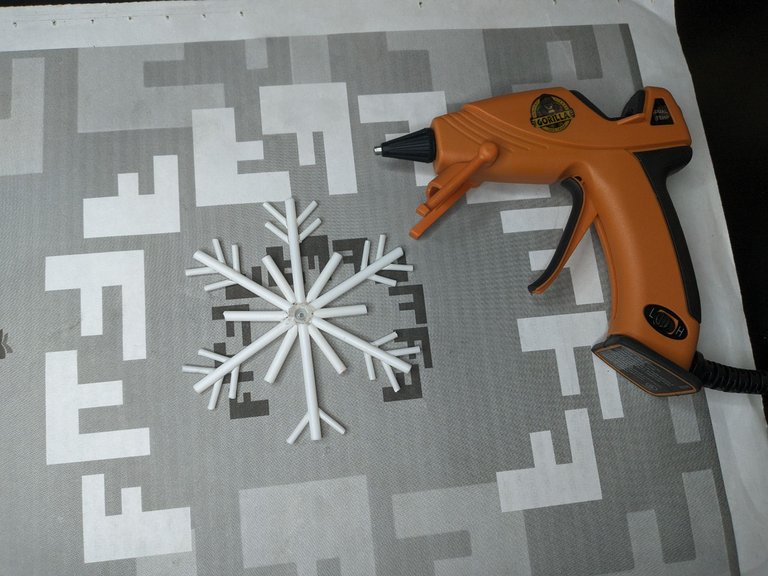
Y luego volvemos a repetir el proceso dejando un espacio no tan grande entre un segmento y otro. Según la cuenta ya tendríamos pegados, 24 segmentos cortos en las 6 puntas largas.
And then we repeat the process again leaving a not so big space between one segment and another. According to the count we would have already glued 24 short segments on the 6 long ends.
|
|
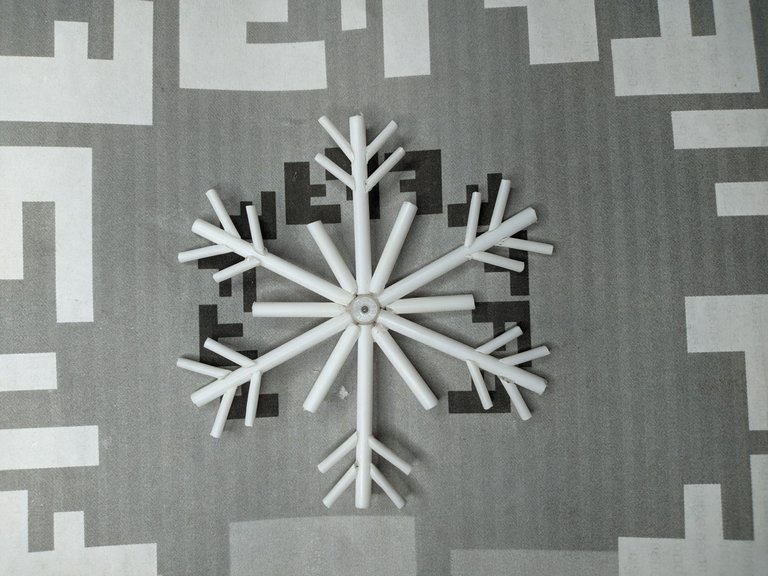
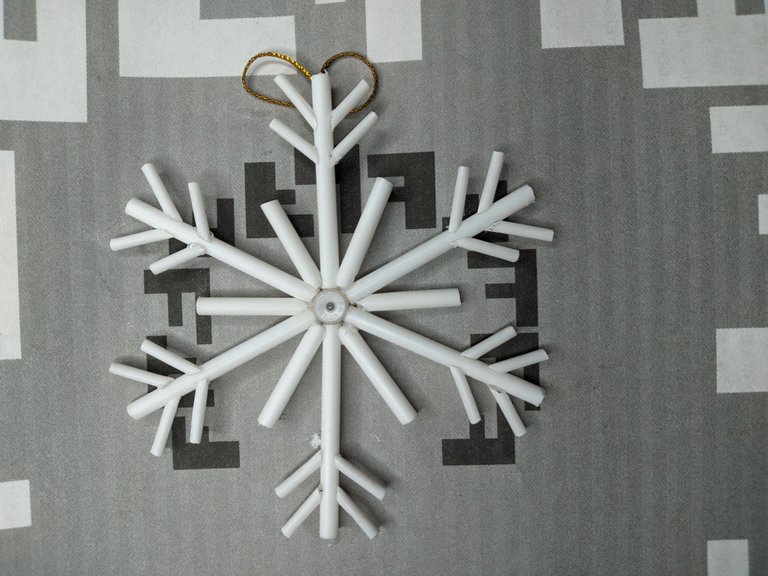
Si todo fue bien el resultado debería ser algo así si seguiste mi diseño, si no fue así no te preocupes de seguro el tuyo se ve hermoso.
If everything went well the result should look something like this if you followed my design, if not don't worry for sure yours looks beautiful.
|
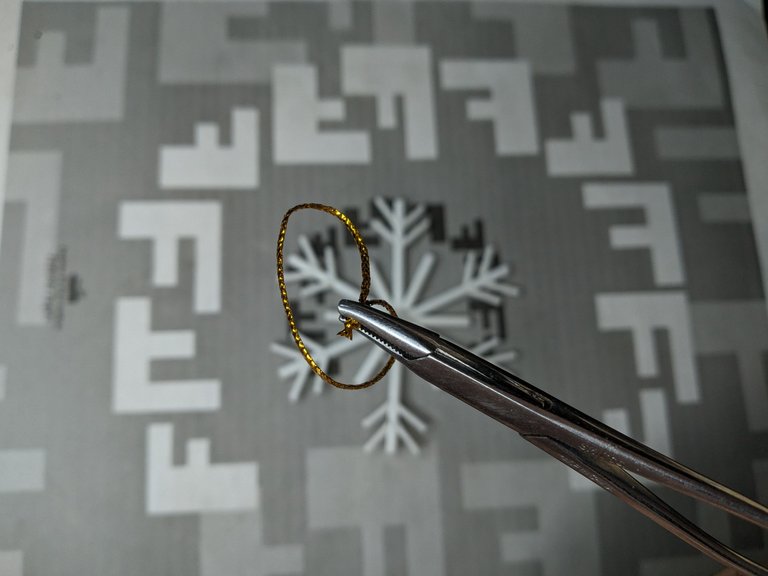
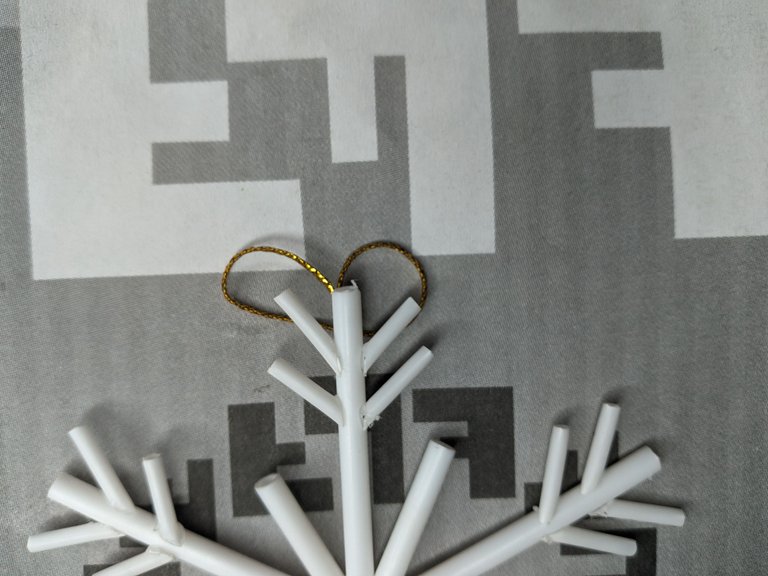
Para finalizar tenemos que agregar alguna forma de sujetar el copo de nieve al árbol. Aquí puedes pegarlo directamente, atarlo con un hilo fino o hacer una gaza fina con una cuerda de preferencia plateada (solo tenía una dorada) y pegarla en una de las puntas del copo de nieve por la parte de atrás.
Finally we need to add some way to attach the snowflake to the tree. Here you can glue it directly, tie it with a thin thread or make a thin gauze with a preferably silver rope (I only had a golden one) and glue it to one of the ends of the snowflake from the back side.
|
|
|
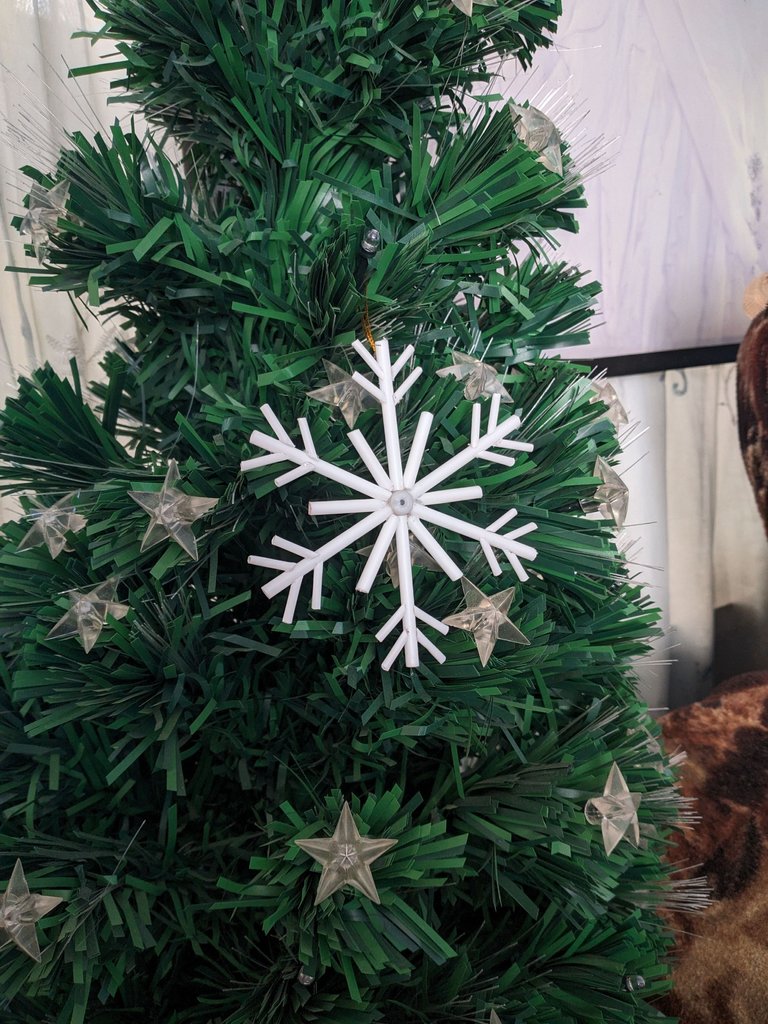
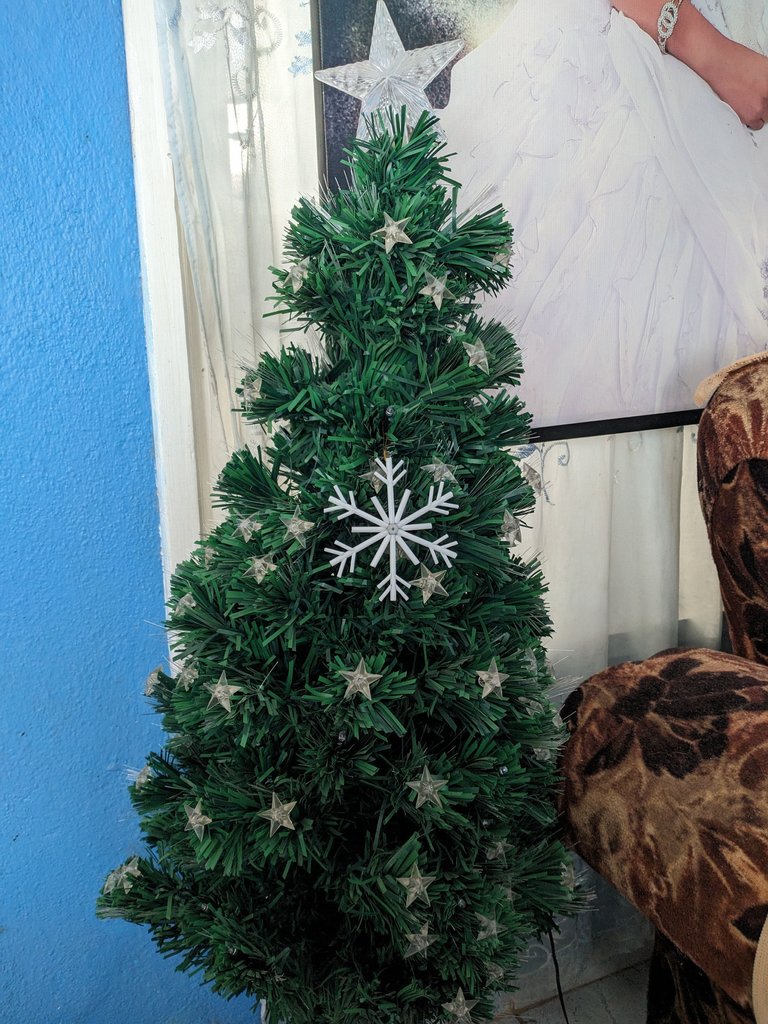
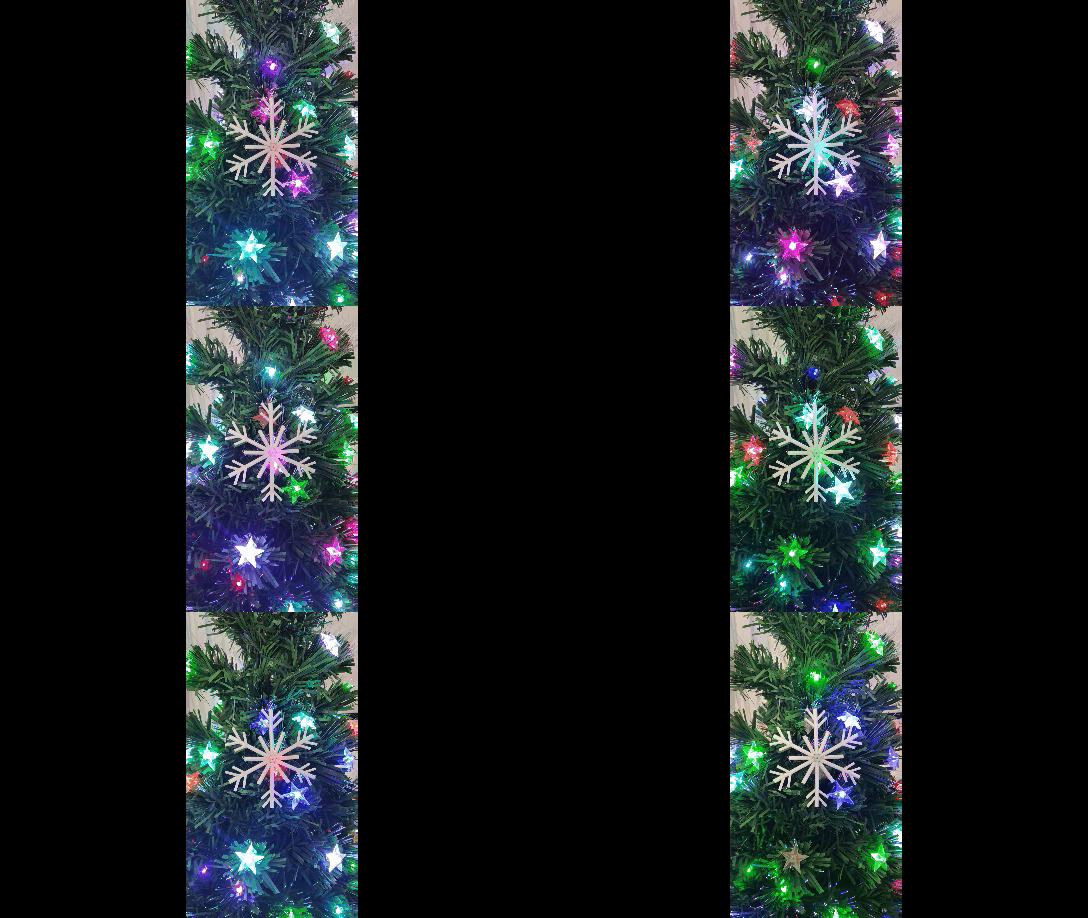
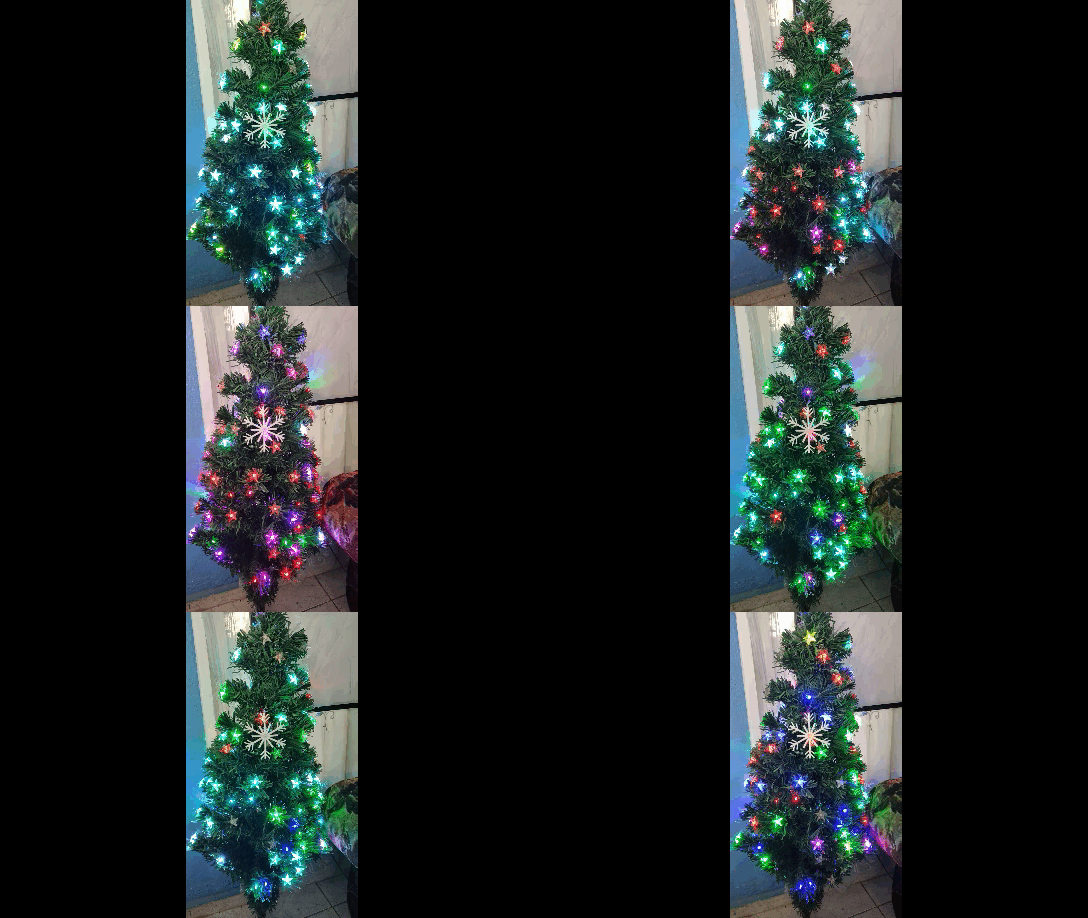
Ya solo queda ir y poner nuestro copo de nieve en el árbol de navidad. El mío se ve así. Sencillo, fácil de hacer, pero con un toque único.
Now all that's left is to go and put our snowflake on the Christmas tree. Mine looks like this. Simple, easy to make, but with a unique touch.
|
|

Muchas gracias por leer mi post. Si te gustó, por favor deja un comentario y considera seguirme para no perderte mis próximas publicaciones. Me encantaría saber tu opinión y tus ideas sobre el tema que traté en este post. ¡Nos vemos en el próximo!
Thank you very much for reading my post. If you liked it, please leave a comment and consider following me so you don't miss my next posts. I'd love to know your opinion and your thoughts about the topic I discussed in this post, see you in the next one!

Cover page created in Canva
Logo and banner property of @hive-130560 and Hive Diy Community
Translated by DeepL


Que bonito. ❤
Muchas gracias 🥰
Se ve muy fácil de hacer. Gracias por compartir
Un placer. Es muy fácil de hacer, pero lo que más me gusta es hacer manualidades que sin importar la temática tengan algo de reciclaje. Y en este caso es casi 100% materiales reciclados.
Maravilloso, reciclar es super importante, los humanos poco a poco estamos viviendo en la basura. Aprender a darle varias utilidades a las cosas puede salvar nuestro futuro, si es que llegamos a tenerlo 🙏
Pues sí. Depende de nosotros y de nadie más.
Congratulations, your post has been upvoted by @dsc-r2cornell, which is the curating account for @R2cornell's Discord Community.
Enhorabuena, su "post" ha sido "up-voted" por @dsc-r2cornell, que es la "cuenta curating" de la Comunidad de la Discordia de @R2cornell.
Muchísimas gracias por el apoyo.
https://twitter.com/hivediy47901/status/1732043992530104390
I love it! I'm a huge fan of recycling and this looks amazing. What you can do to decorate your Christmas tree is way better than what you buy from the shops.
When we recycle we contribute to the care of the environment and at the same time we save money when buying ornaments. It is the typical 2 for 1.
¡Enhorabuena!
✅ Has hecho un buen trabajo, por lo cual tu publicación ha sido valorada y ha recibido el apoyo de parte de CHESS BROTHERS ♔ 💪
♟ Te invitamos a usar nuestra etiqueta #chessbrothers y a que aprendas más sobre nosotros.
♟♟ También puedes contactarnos en nuestro servidor de Discord y promocionar allí tus publicaciones.
♟♟♟ Considera unirte a nuestro trail de curación para que trabajemos en equipo y recibas recompensas automáticamente.
♞♟ Echa un vistazo a nuestra cuenta @chessbrotherspro para que te informes sobre el proceso de curación llevado a diario por nuestro equipo.
🥇 Si quieres obtener ganancias con tu delegacion de HP y apoyar a nuestro proyecto, te invitamos a unirte al plan Master Investor. Aquí puedes aprender cómo hacerlo.
Cordialmente
El equipo de CHESS BROTHERS
Agradezco mucho el apoyo 🤗
Yay! 🤗
Your content has been boosted with Ecency Points, by @edeyglezsosa.
Use Ecency daily to boost your growth on platform!
Support Ecency
Vote for new Proposal
Delegate HP and earn more
Quedó precioso. Quiero uno para mi arbolito 🤗
Dicho y echo. Cuando lo haga te lo llevo 😉
Está bastante bonito, muchas personas piensan en desechar los objetos los cuáles los consideran como “inutiles" sin embargó, con un poco de creatividad e ingenio podremos crear cosas tan bonitas cómo está 👍😸
Muy cierto. Con las manualidades no solo liberamos el espíritu creativo sino que casi siempre reciclamos algo sin darnos cuenta.
Cierto😸