Adorno con foami y papel prensado. // Ornament with foami and pressed paper. [ESP+ENG]
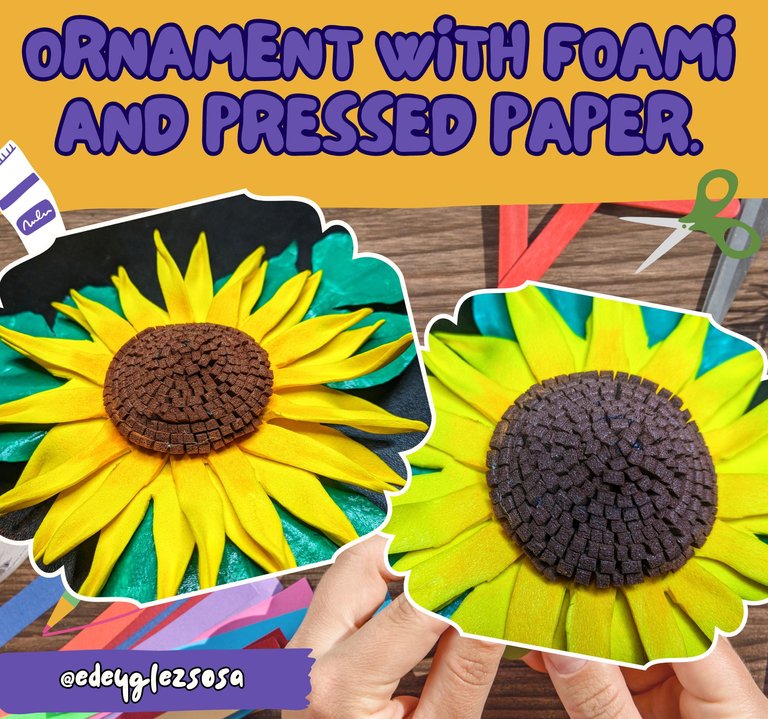
Saludos, mis amigos creativos. El día de hoy les traigo una manualidad muy fácil de hacer utilizando Fomi y algunos materiales que fácilmente tendremos por casa. Hoy quiero mostrarles el paso a paso de la confección de un adorno para colocar en la puerta de un refrigerador o en cualquier superficie metálica.
Greetings, my creative friends. Today I bring you a very easy craft to make using Fomi and some materials that you can easily find at home. Today I want to show you step by step how to make an ornament to place on the door of a refrigerator or any metal surface.
 |
 |
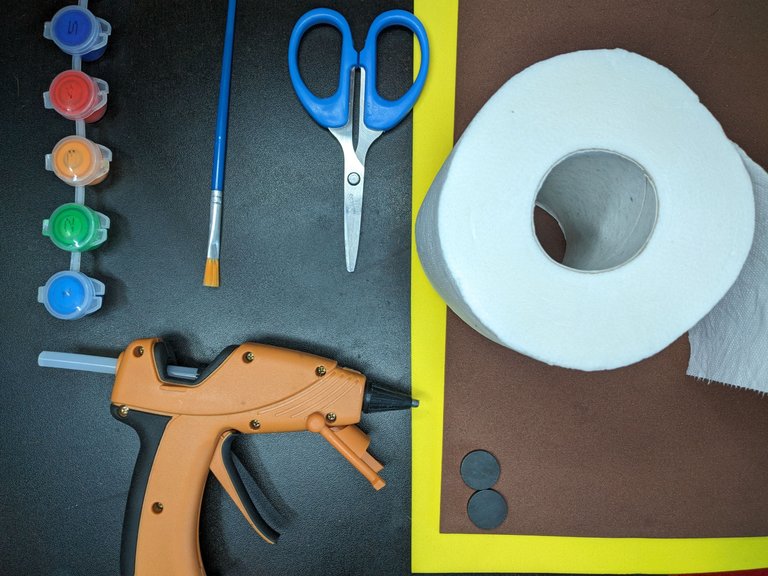
Materiales // Materials
✔️ Hojas de foami amarillo y carmelita.
✔️ Tijeras o cúter.
✔️ Silicona caliente y pegamento líquido.
✔️ Pintura verde y naranja.
✔️ Pinceles.
✔️ Papel de cocina.
✔️ Imán.
✔️ Yellow and carmelite fomi sheets.
✔️ Scissors or cutter.
✔️ Hot silicone and liquid glue.
✔️ Green and orange paint.
✔️ Brushes.
✔️ Cooking paper.
✔️ Magnet.
Paso a paso // Step by step
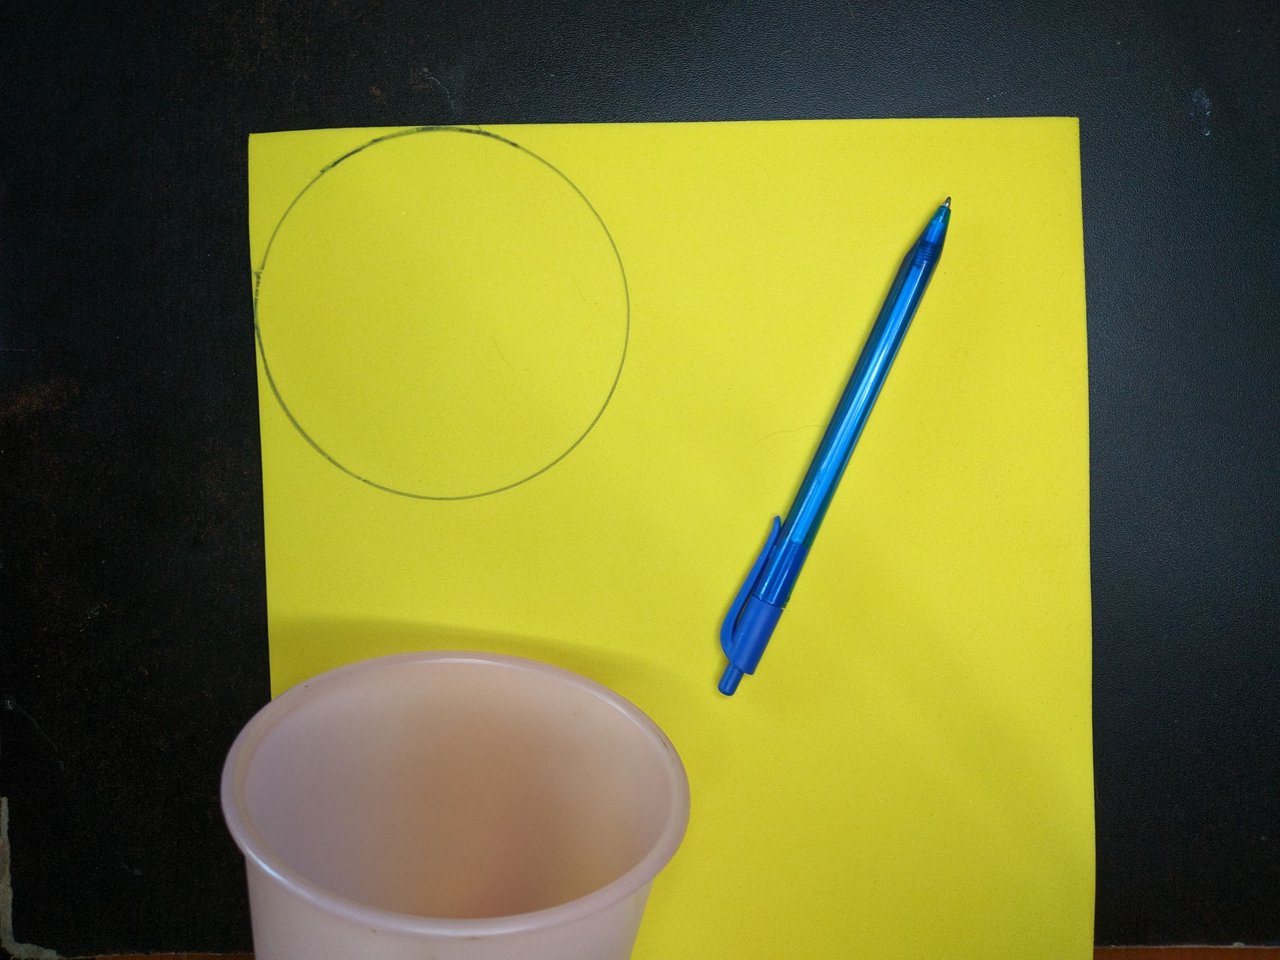
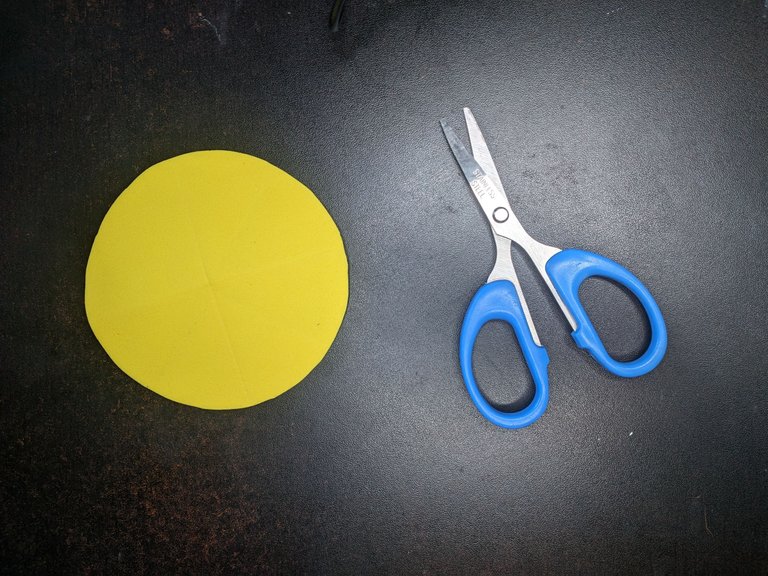
1️⃣ Para empezar marcamos y recortamos dos círculos en la hoja de fomi amarillo. El diámetro del círculo depende del tamaño en que se quiera hacer el adorno.
To start we mark and cut out two circles on the yellow fomi sheet. The diameter of the circle depends on the size you want to make the ornament.
 |
 |
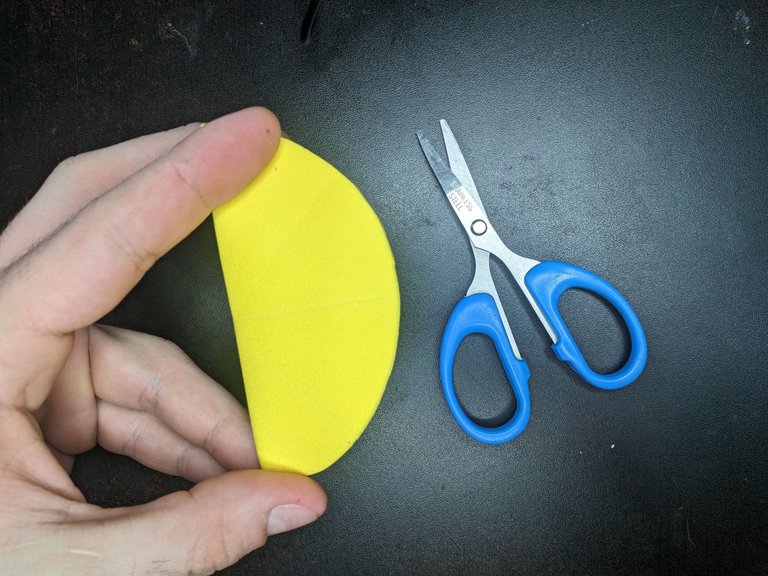
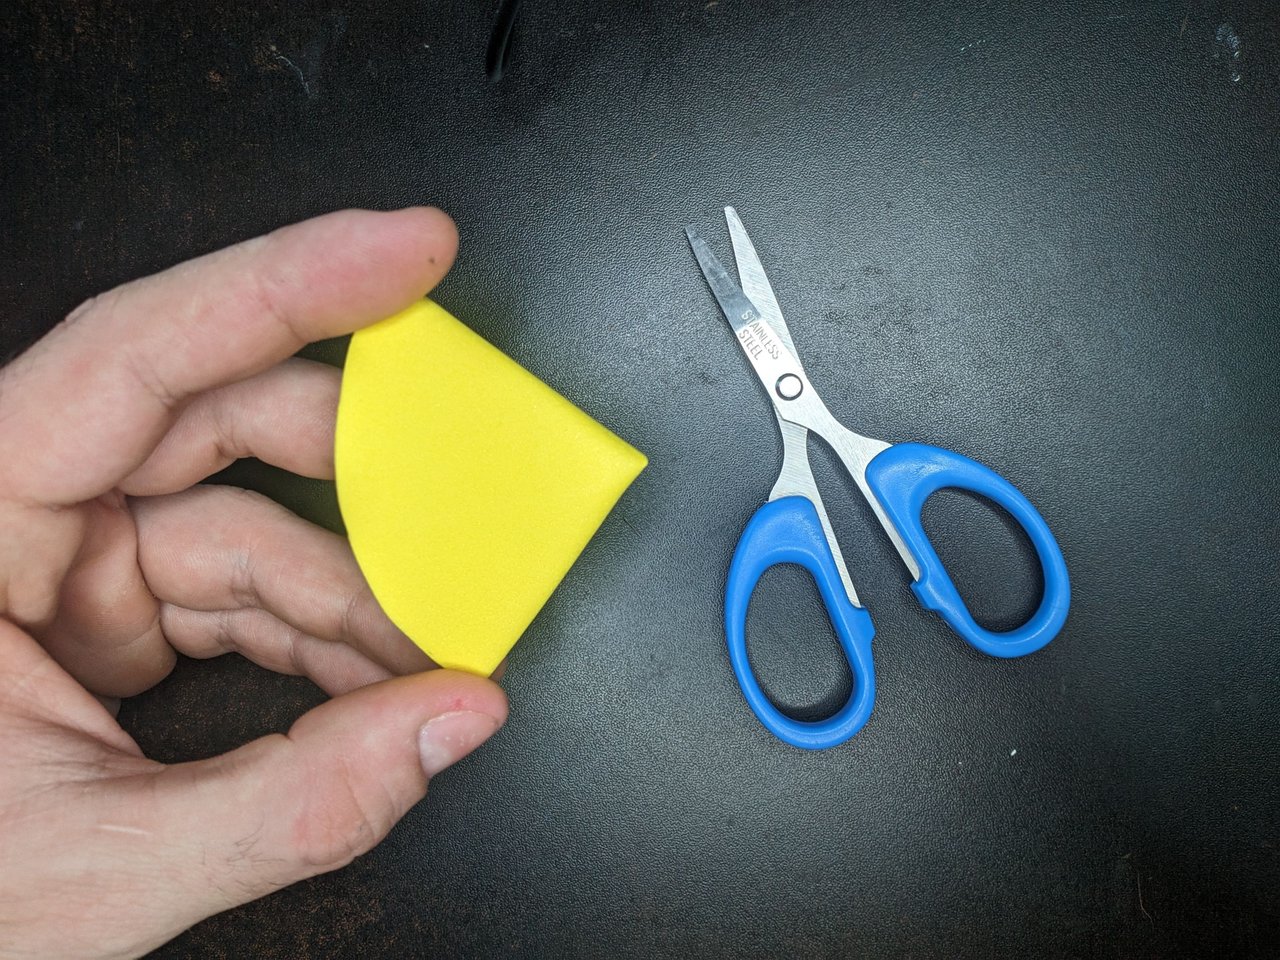
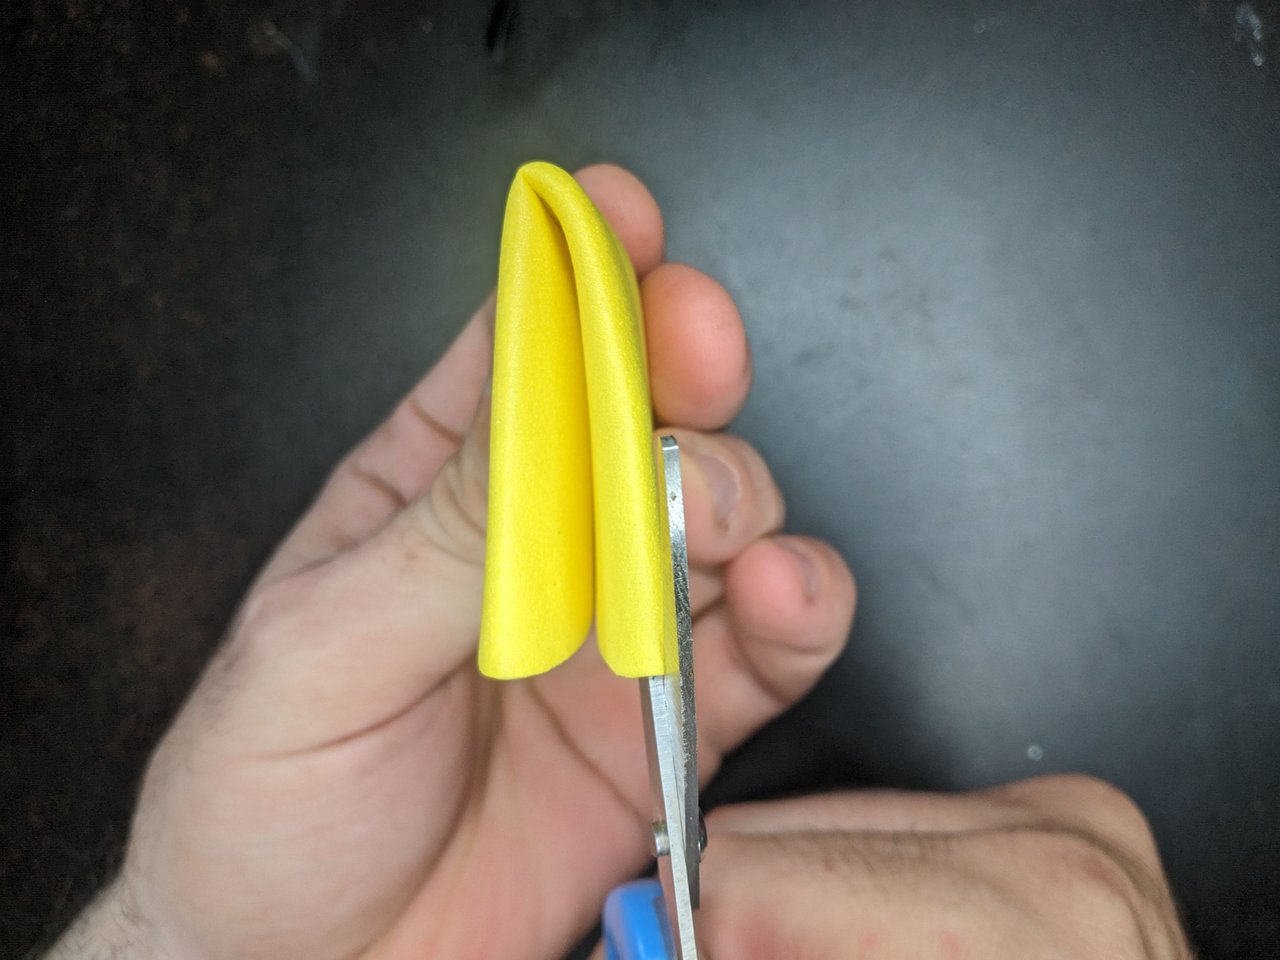
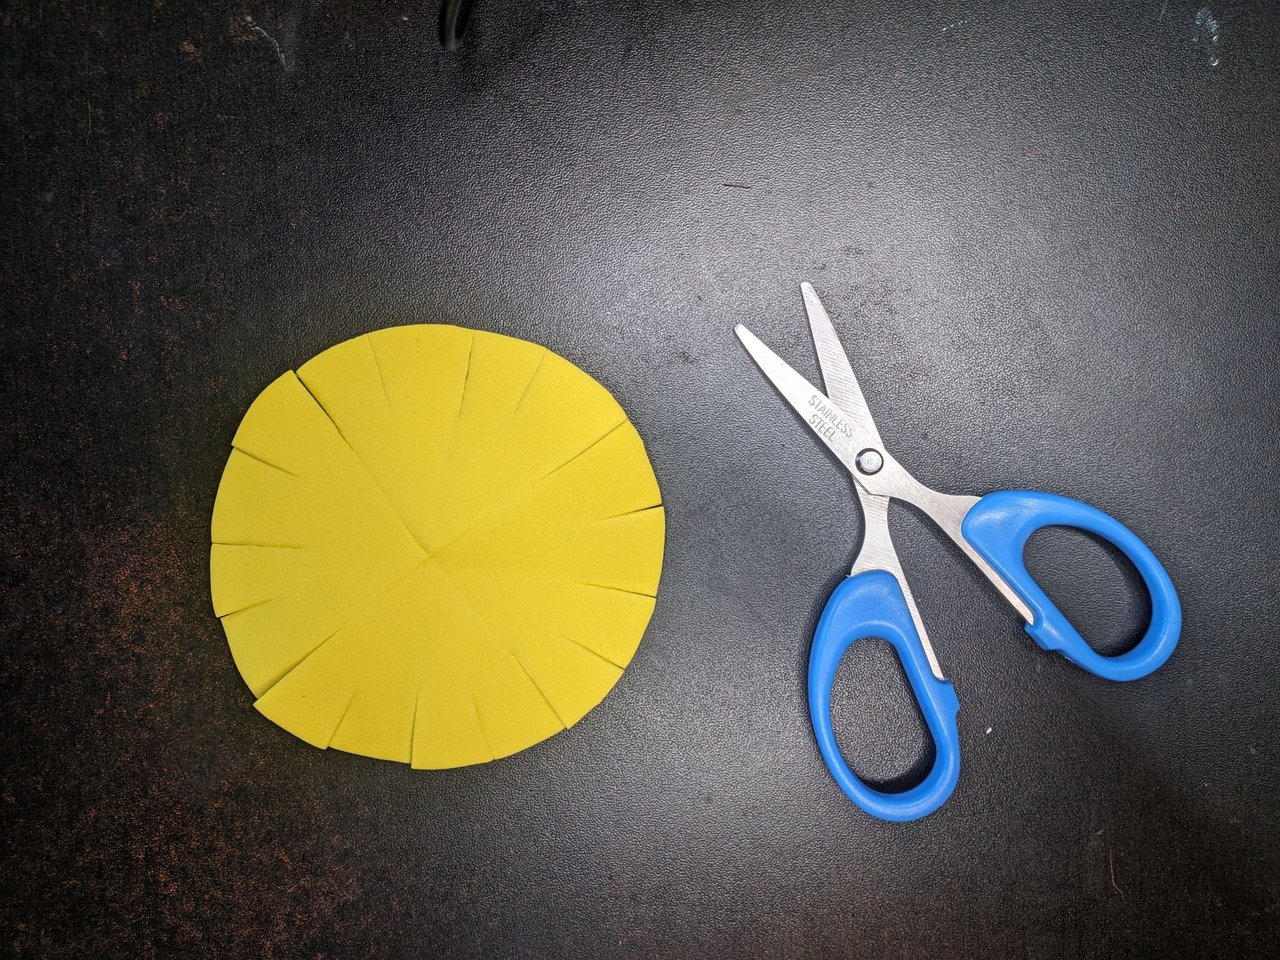
2️⃣ A cada círculo lo doblamos en 4 partes y les haremos 16 cortes iguales de aproximadamente 3 partes de su radio. Para determinar el radio se mide la distancia desde el centro hasta el borde.
We fold each circle in 4 parts and make 16 equal cuts of approximately 3 parts of its radius. To determine the radius we measure the distance from the center to the edge.
 |
 |
 |
 |
 |
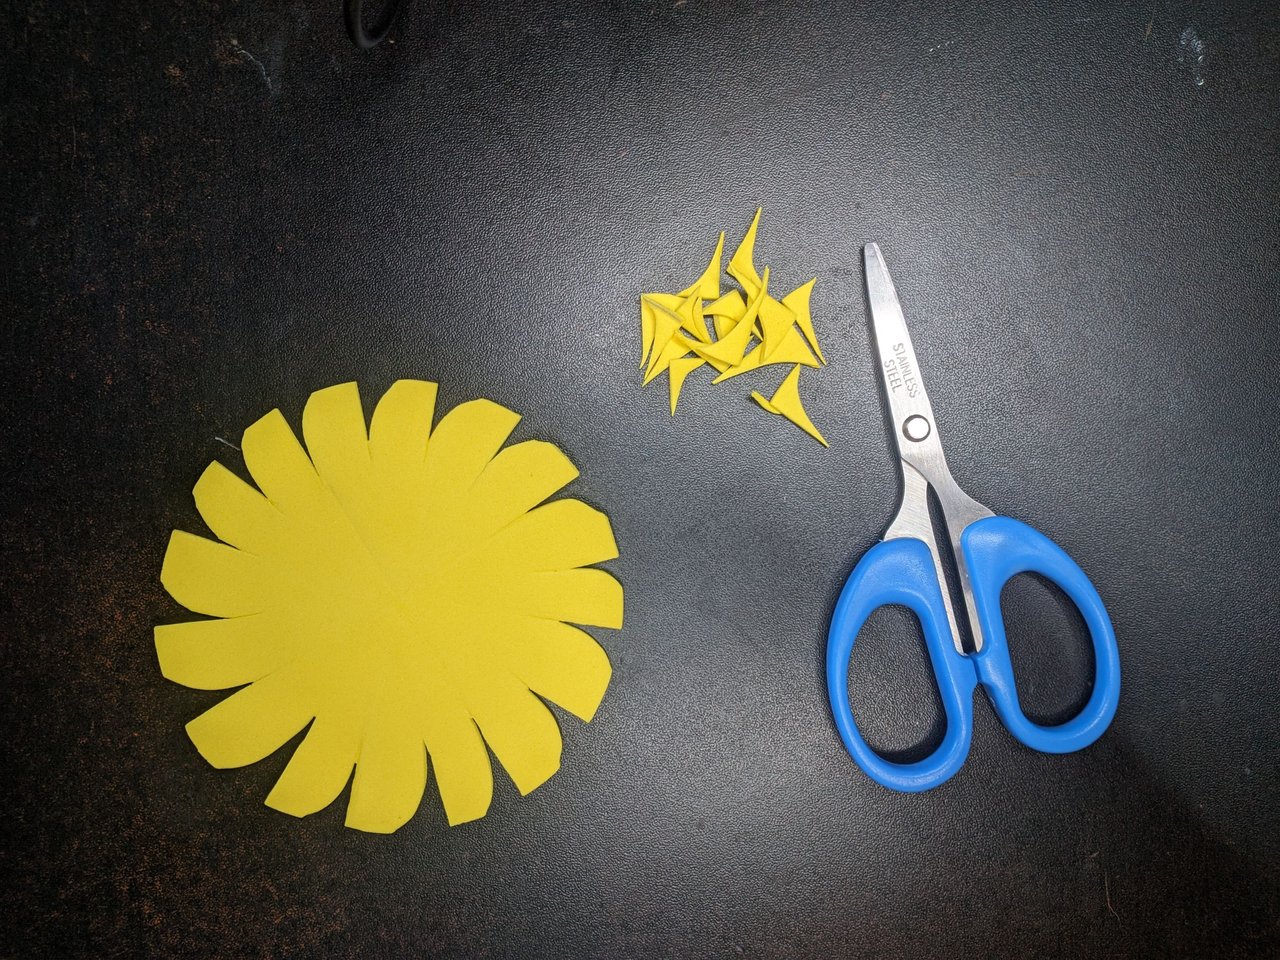
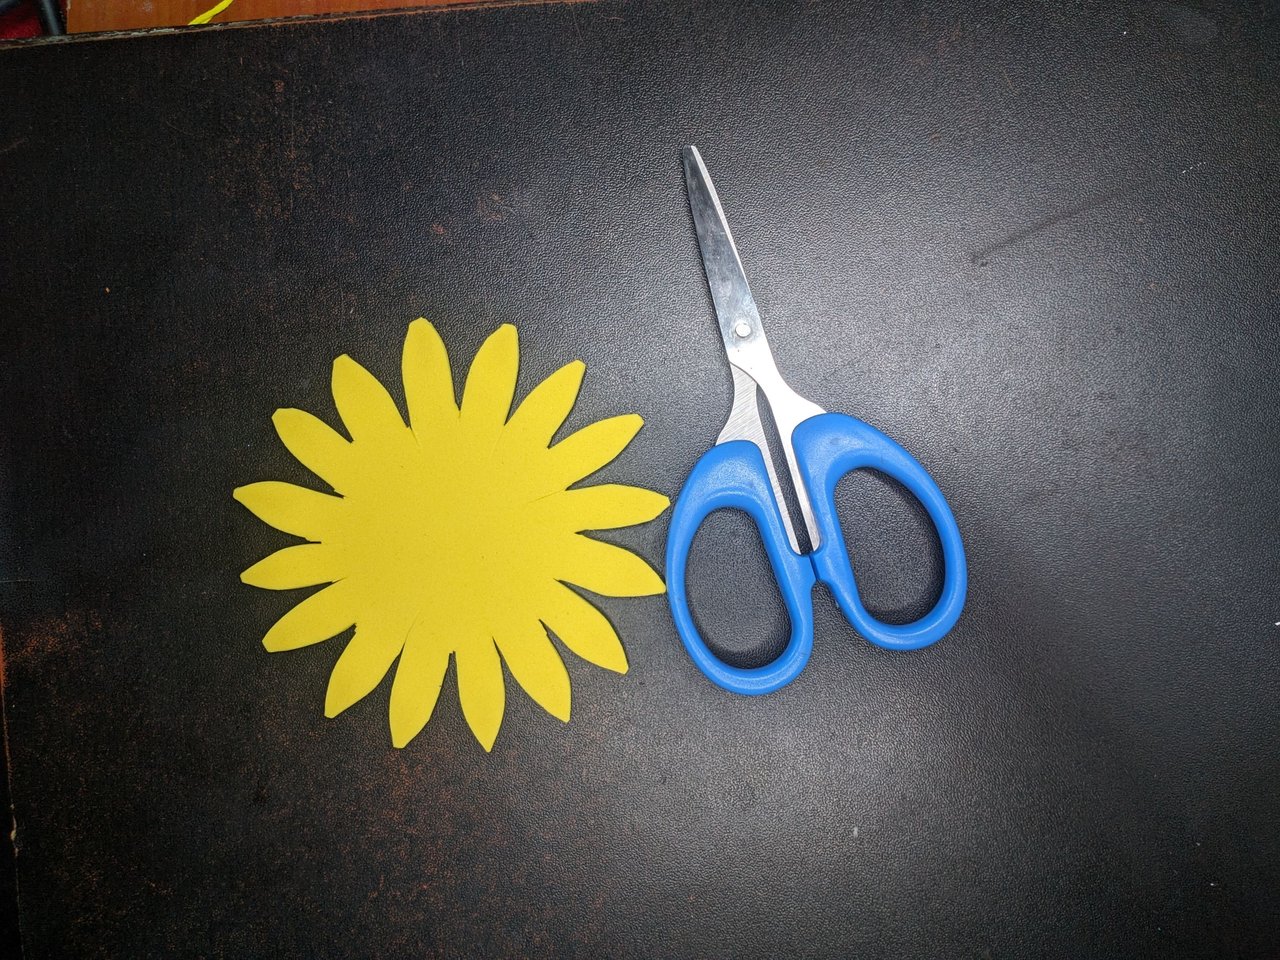
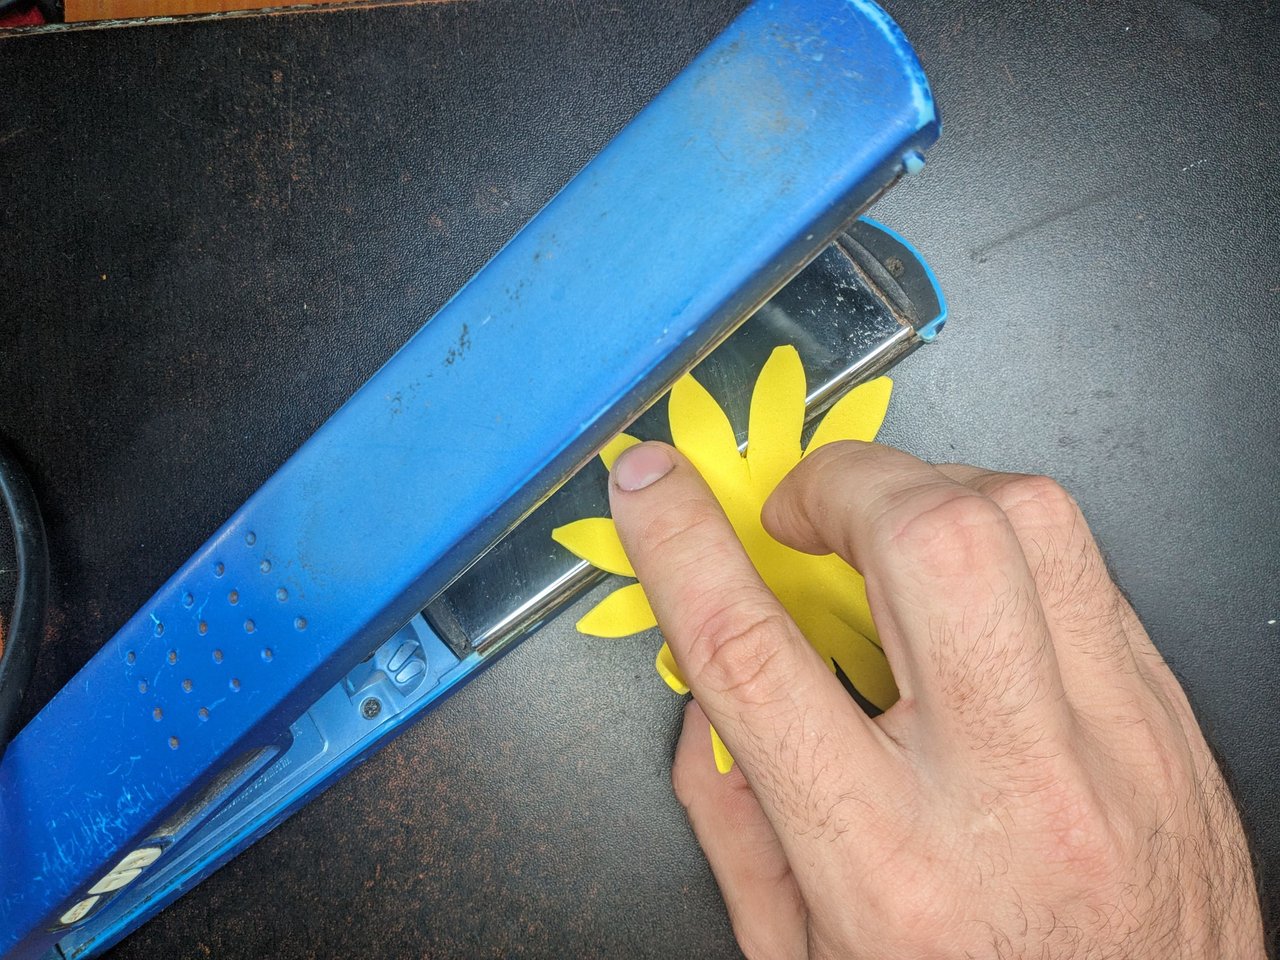
3️⃣ Luego de realizar los 16 cortes iremos dando forma a los pétalos. Esto se hace recortando las equinas de cada extremo. A la hora de dar forma a los pétalos hay que hacer los pétalos de un círculo más anchos que el otro, un poco más anchos, no tanto. Con los pétalos cortados los alargaremos y afinaremos las puntas haciendo un termoformado que consiste en calentar el fomi utilizando una fuente de calor.
After making the 16 cuts we will shape the petals. This is done by cutting the corners at each end. When shaping the petals, make the petals of one circle wider than the other, a little wider, but not so much. With the petals cut we will lengthen them and refine the tips by thermoforming which consists of heating the fomi using a heat source.
 |
 |
 |
 |
 |
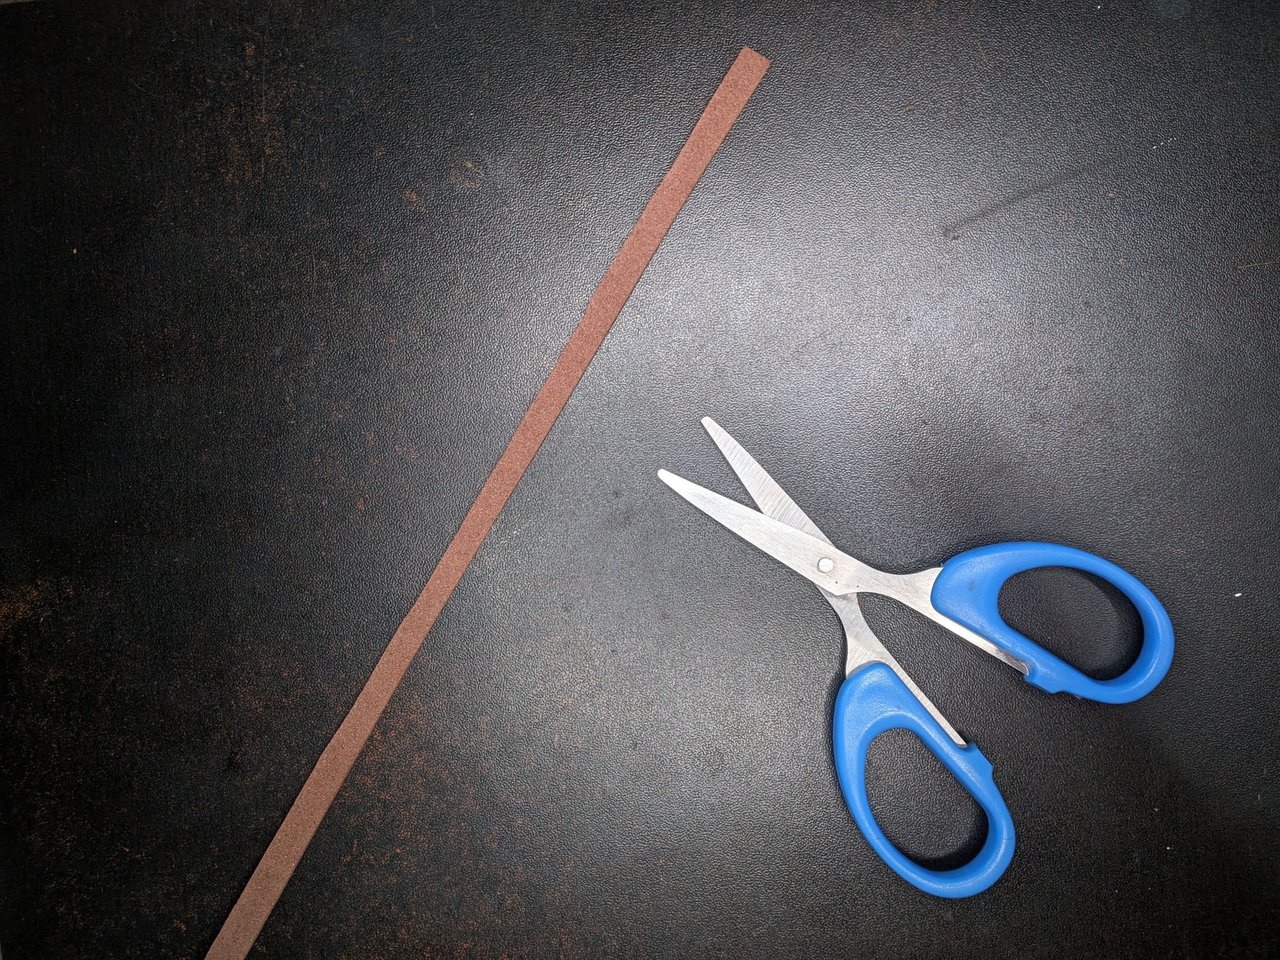
4️⃣ Seguidamente, recortamos 3 tiras finas de fomi carmelita. A lo largo de las tiras iremos haciendo pequeños cortes.
Next, we cut 3 thin strips of carmelite fomi. Along the strips we will make small cuts.
 |
 |
 |
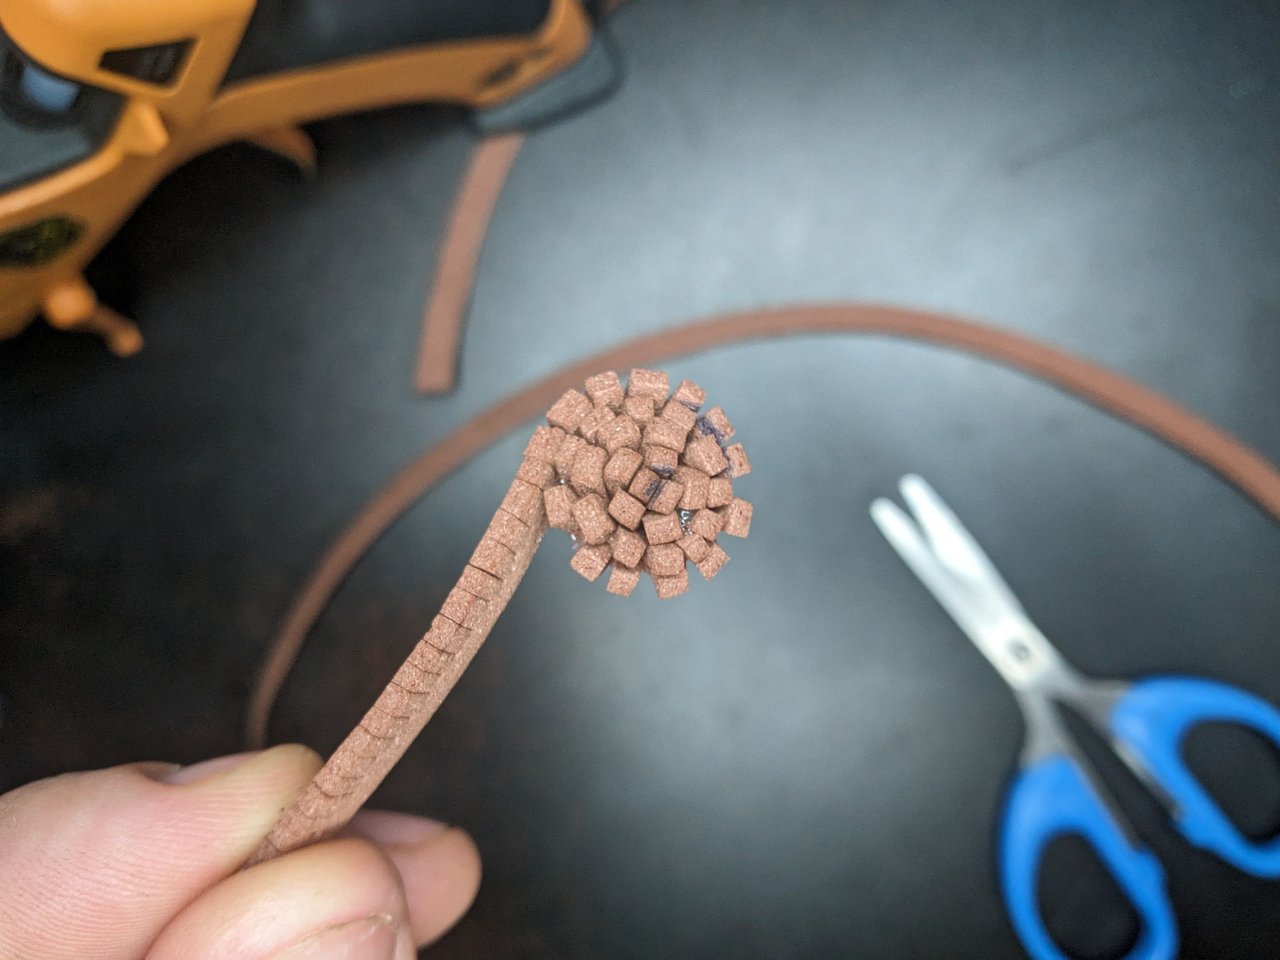
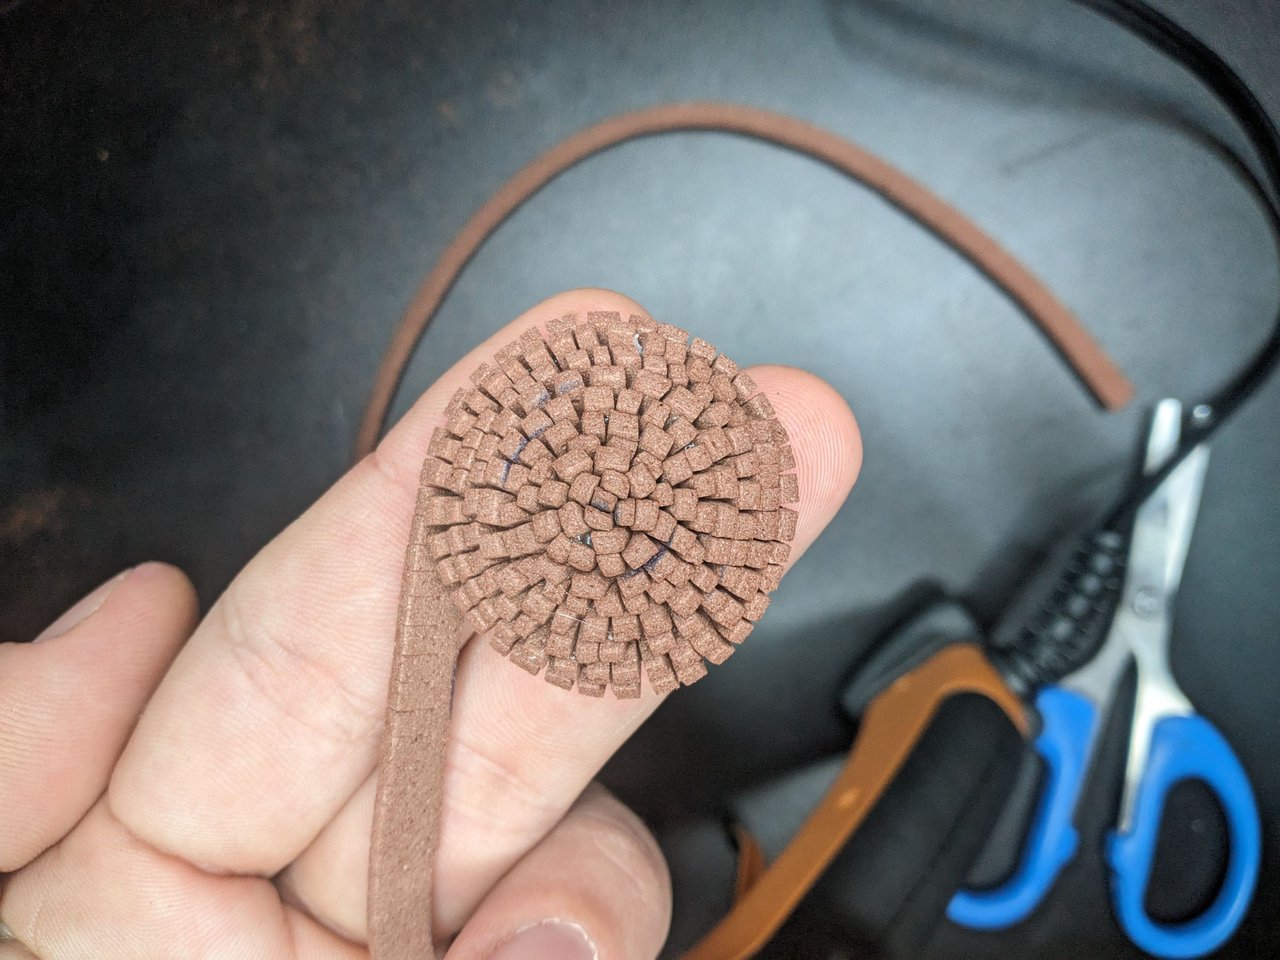
5️⃣ Enrollamos forma de espiral las tiras de fomi carmelita para formar el centro de la flor.
We roll the strips of carmelite fomi in a spiral shape to form the center of the flower.
 |
 |
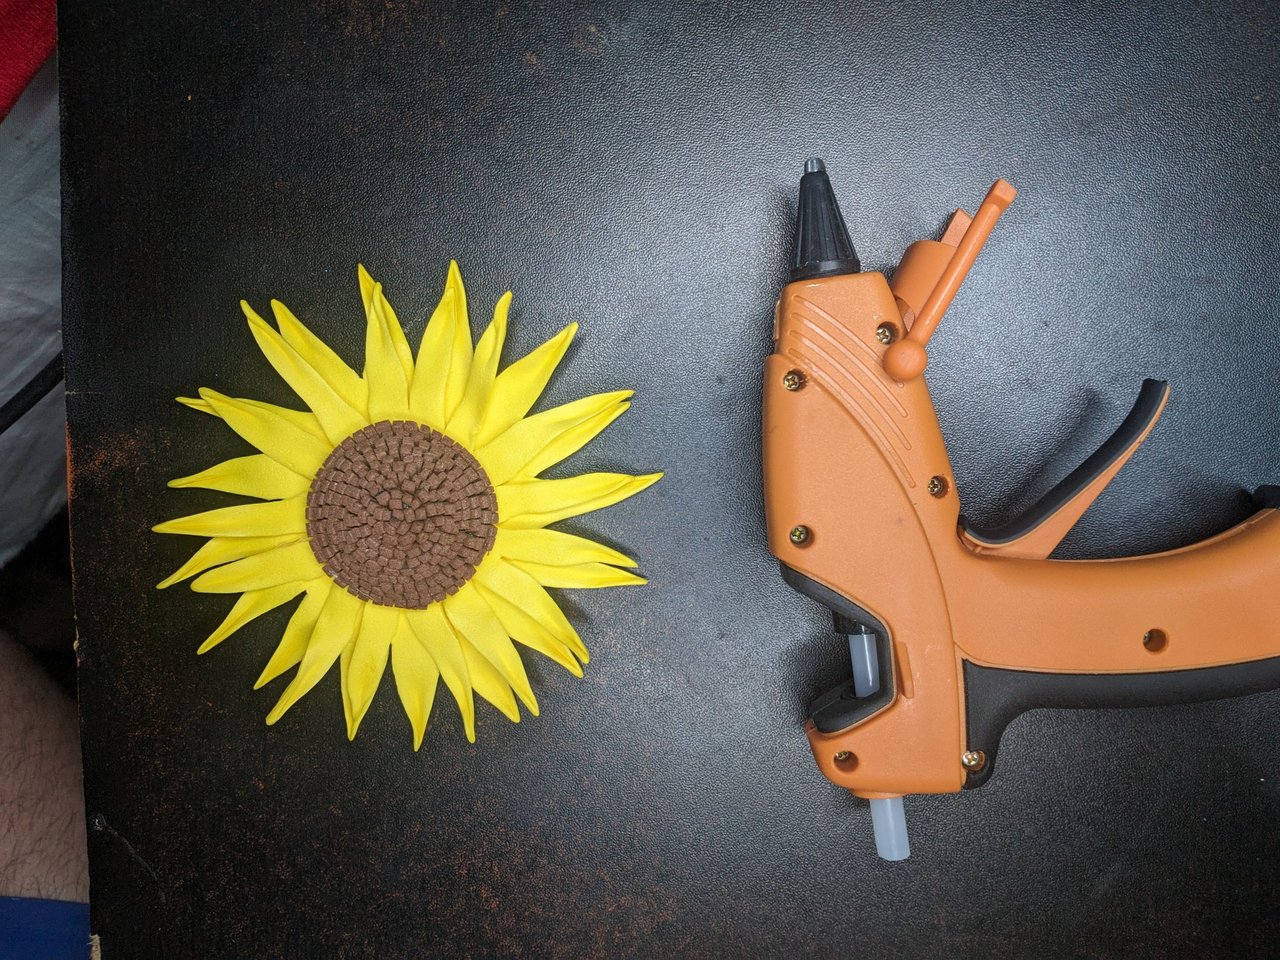
6️⃣ Pegamos el centro carmelita de la flor sobre el primer conjunto de pétalos, los finos y luego lo pegamos sobre el segundo conjunto de pétalos, los más anchos.
We glue the carmelite center of the flower on the first set of petals, the thin ones, and then we glue it on the second set of petals, the wider ones.
 |
 |
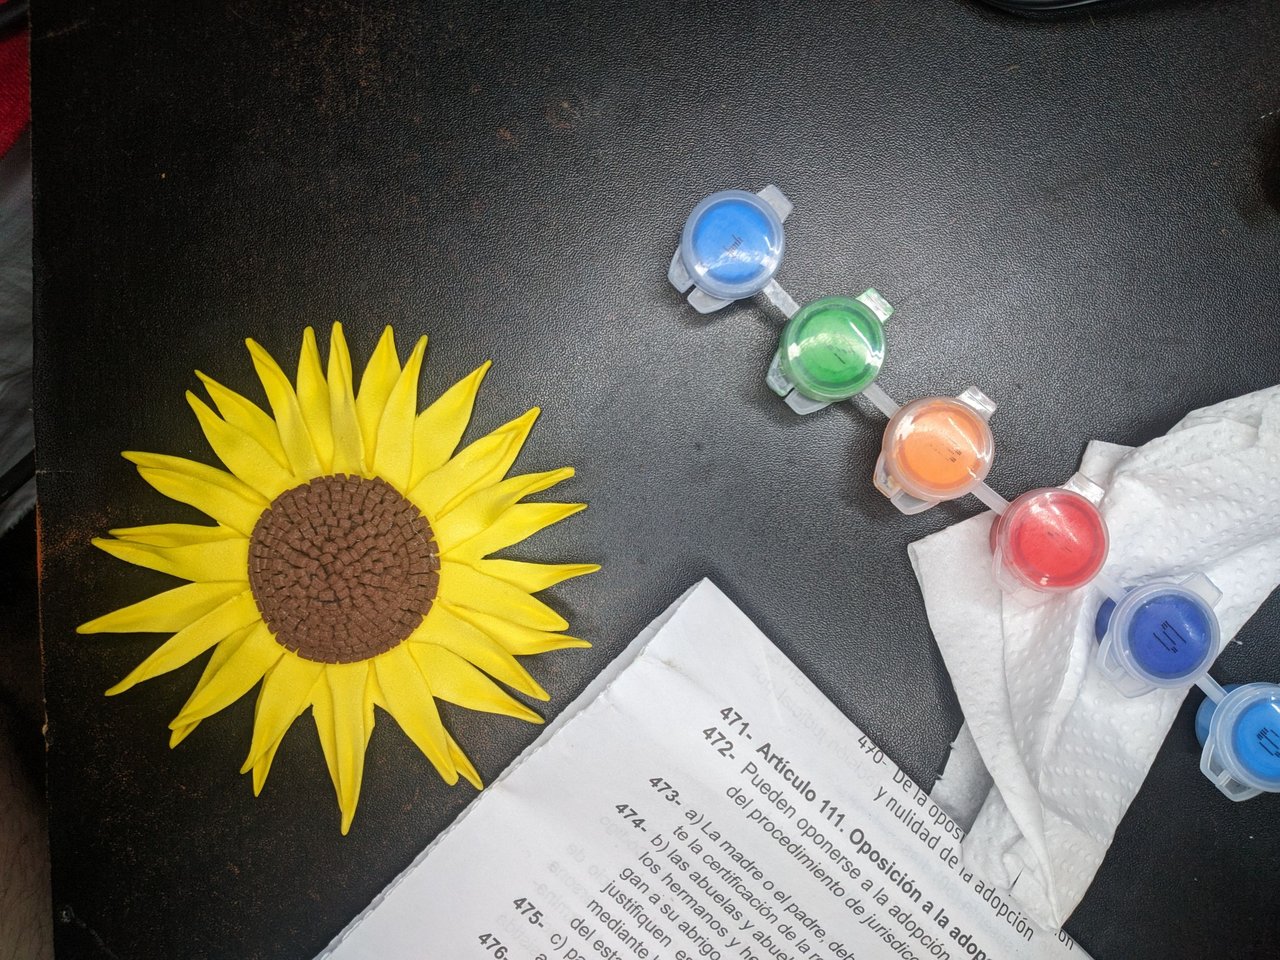
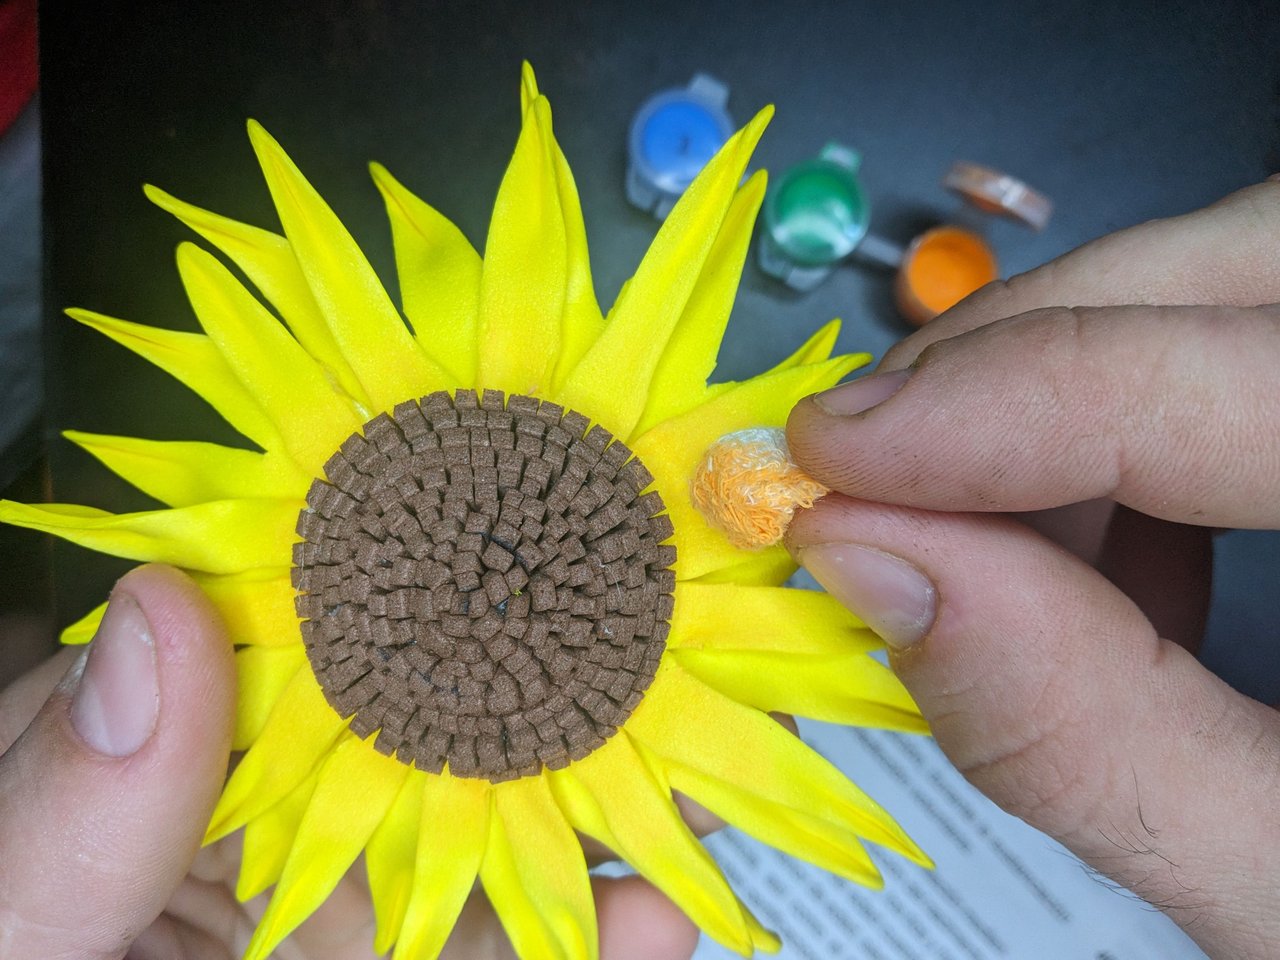
7️⃣ Para terminar con la parte de la flor utilizaremos un pedazo de tela o algún pincel seco y con muy poca pintura, casi nada, iremos dándole una sombra naranja sobre la hilera de pétalos superior.
To finish with the part of the flower we will use a piece of cloth or a dry brush and with very little paint, almost nothing, we will give it an orange shade on the upper row of petals.
 |
 |
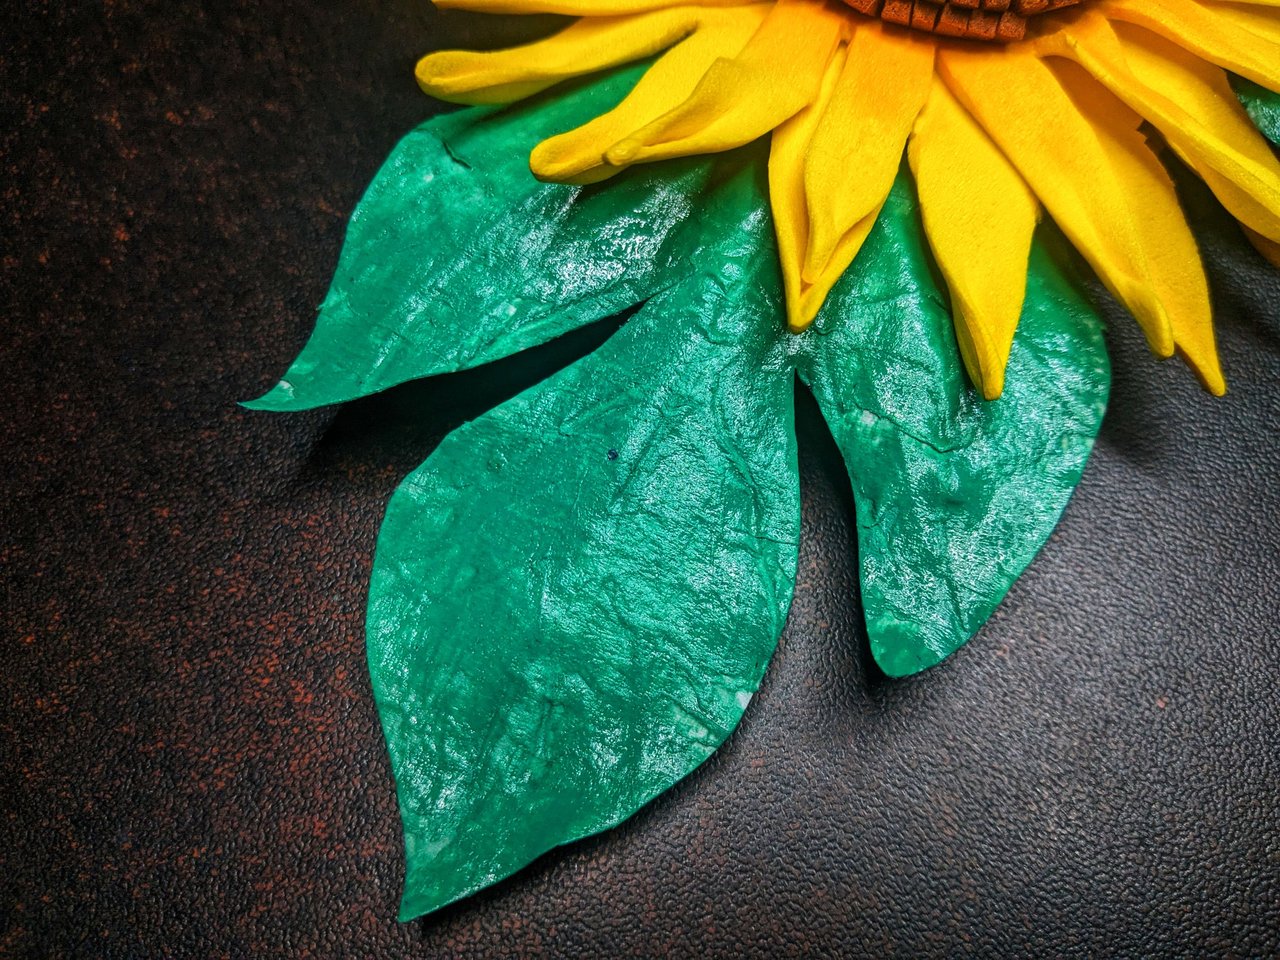
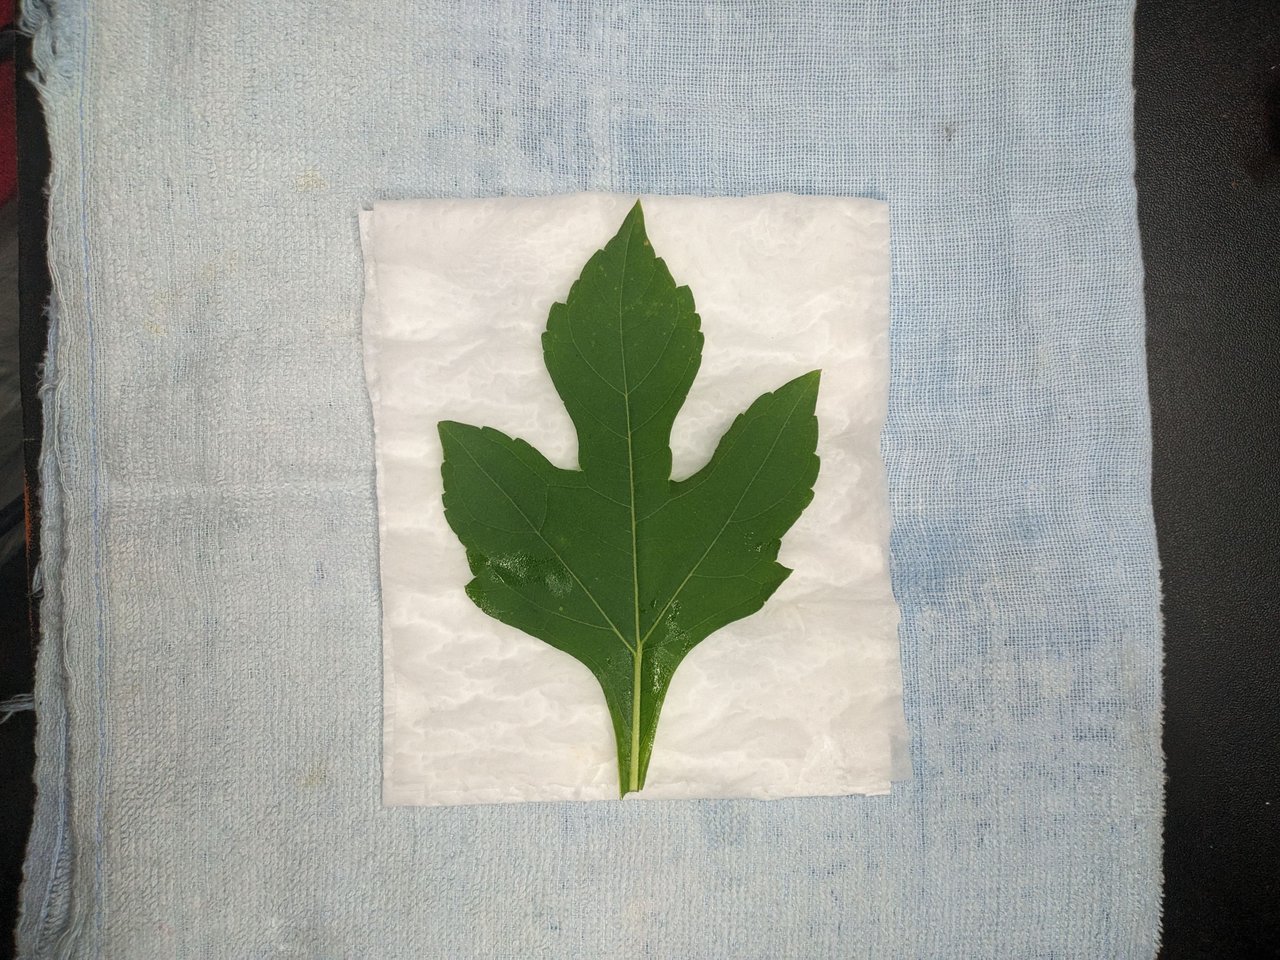
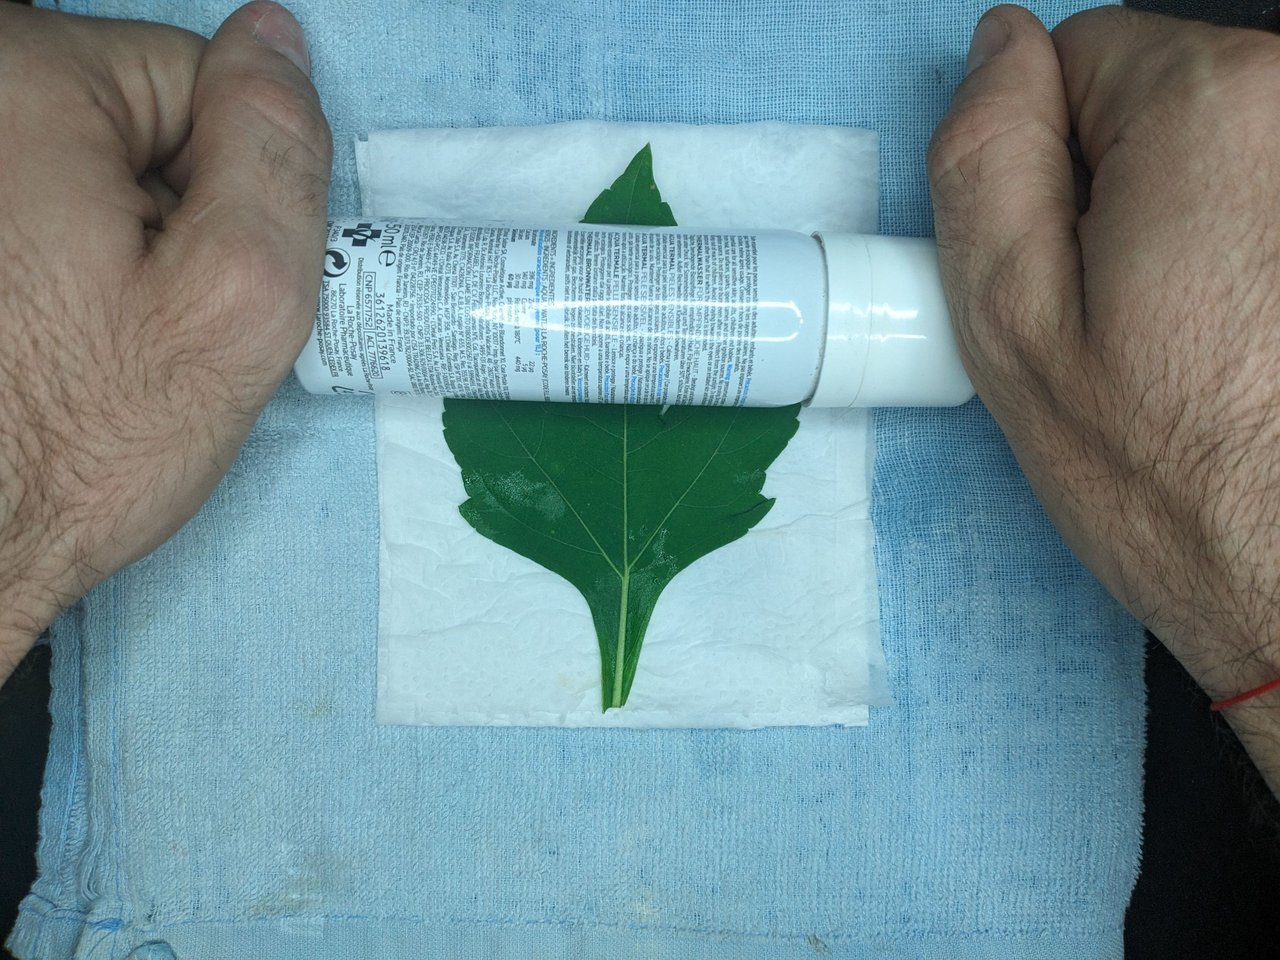
8️⃣ Ahora pasaremos a las hojas. Para las hojas humedecemos tres capas de papel de cocina y prensaremos una hoja de verdad para marcar su contorno.
Now we move on to the leaves. For the leaves we wet three layers of kitchen paper and press a real leaf to mark its outline.
 |
 |
 |
 |
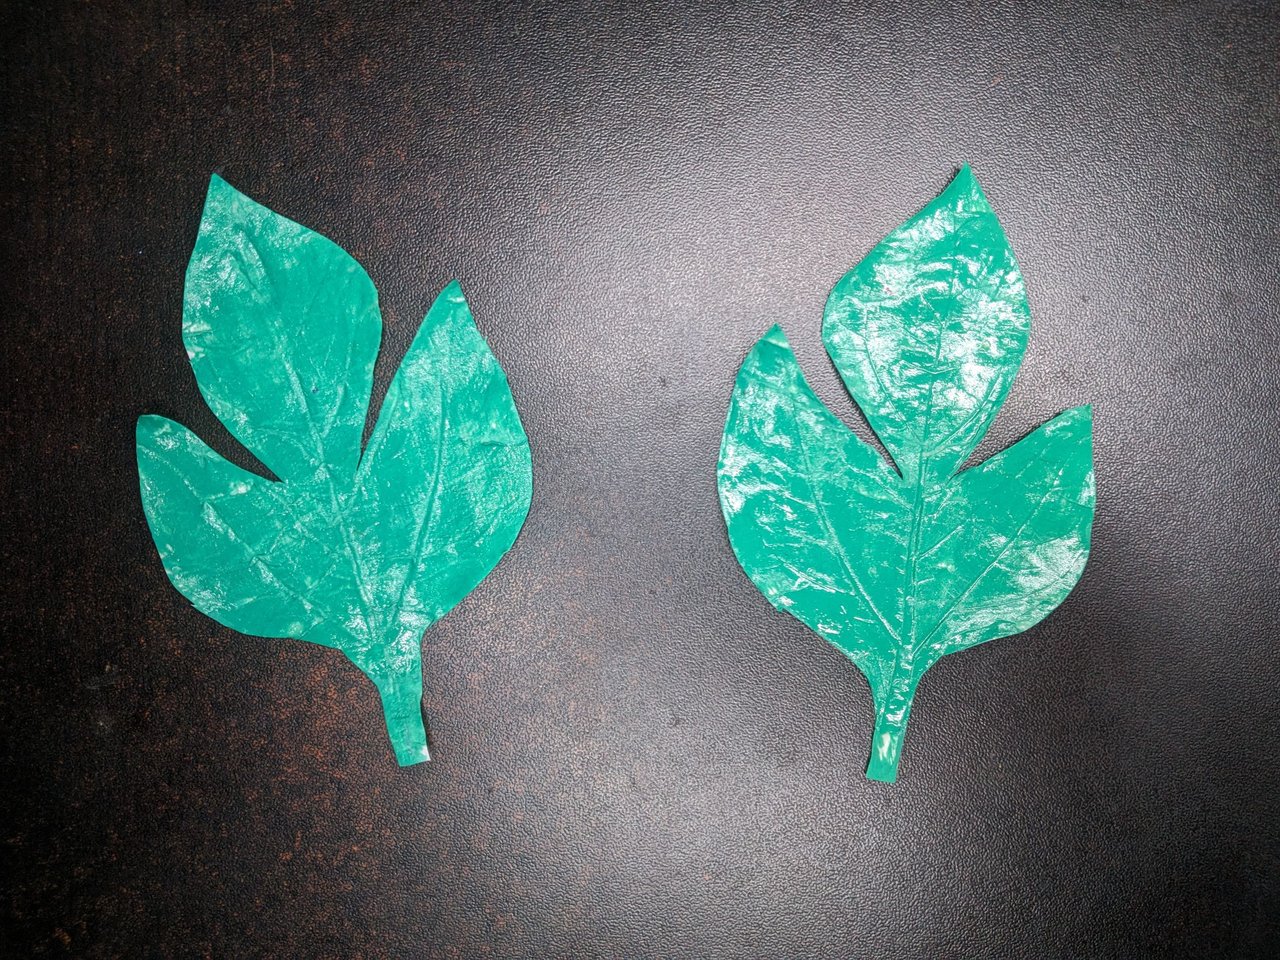
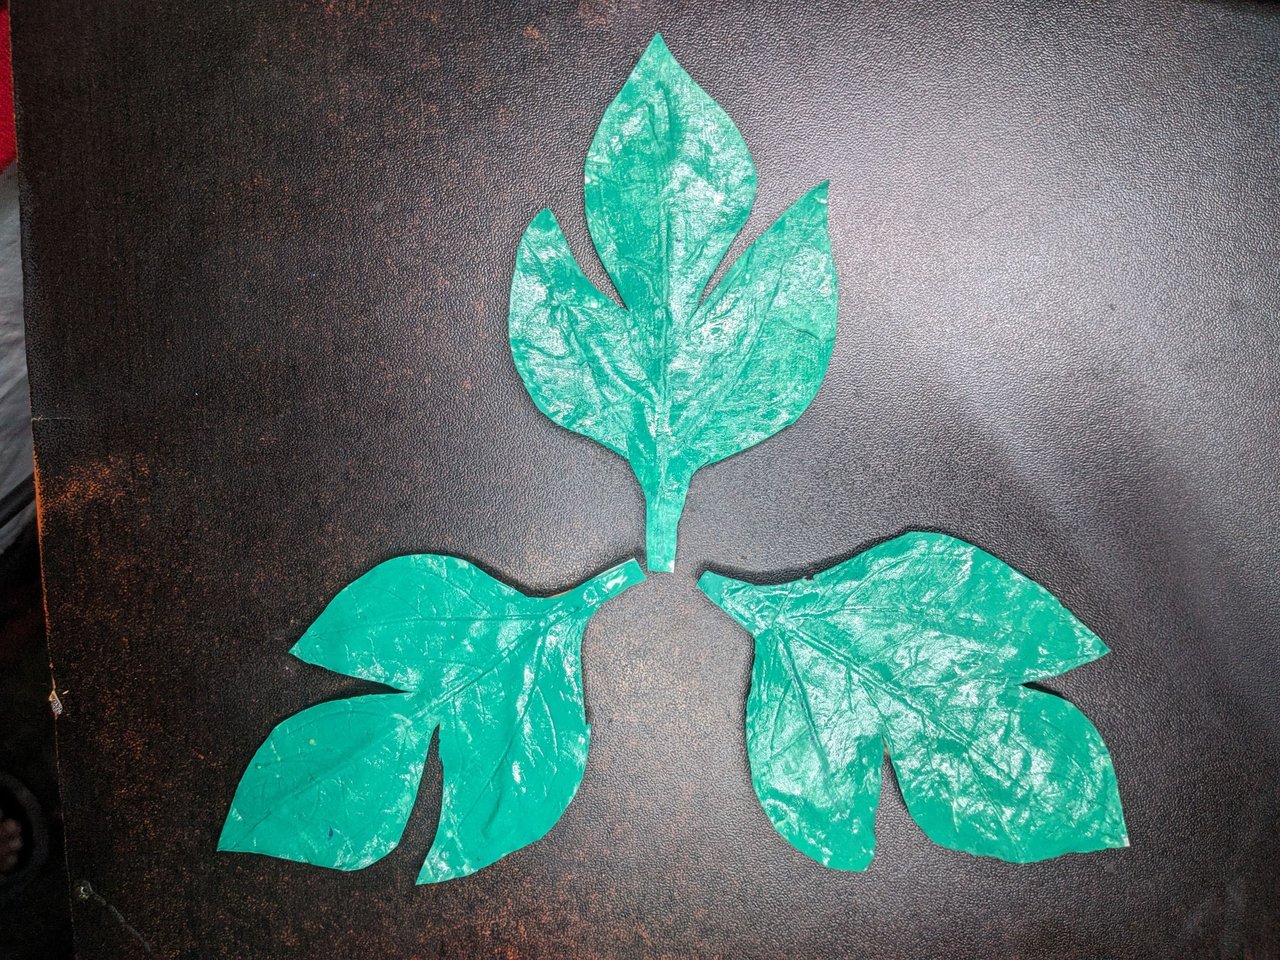
9️⃣ Luego de marcada la hoja pintaremos el diseño con una mezcla de pintura verde y pegamento líquido. Una vez seco recortaremos las hojas artificiales. En caso de que las hojas luego de secas no posean consistencia, se puede recortar un cartón con forma de la hoja y pegarla en el reverso.
After marking the leaf we will paint the design with a mixture of green paint and liquid glue. Once dry, we will cut out the artificial leaves. In case the leaves are not consistent after drying, you can cut out a cardboard in the shape of the leaf and glue it on the back.
 |
 |
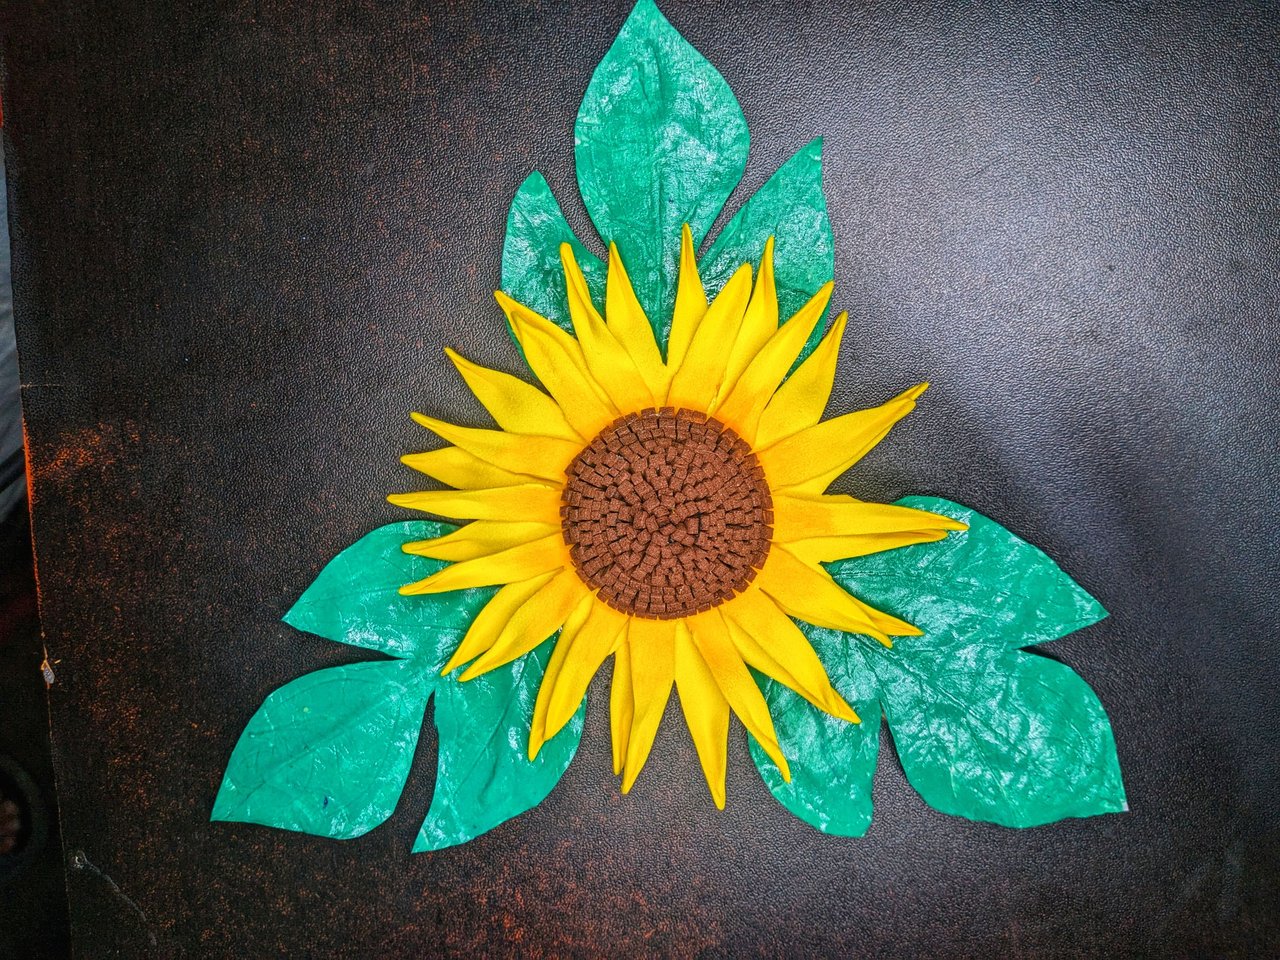
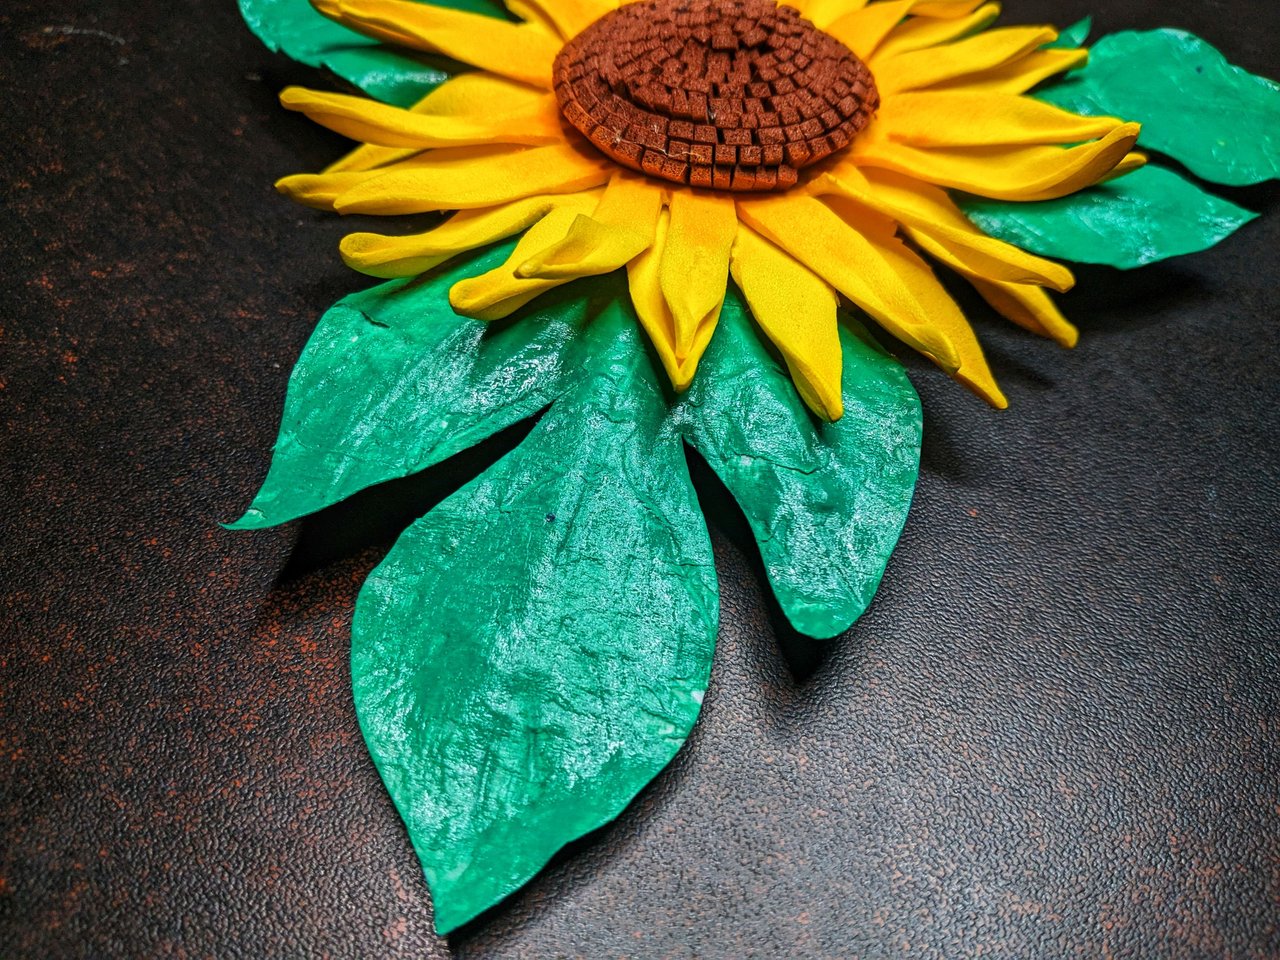
🔟 Es hora de montar el adorno y para eso ubicaremos las hojas en la posición deseada, aplicamos silicona y pegamos la flor. Luego agregamos el imán en la parte de atrás.
It is time to assemble the ornament and for that we will place the leaves in the desired position, apply silicone and glue the flower. Then we add the magnet on the back.
 |
 |
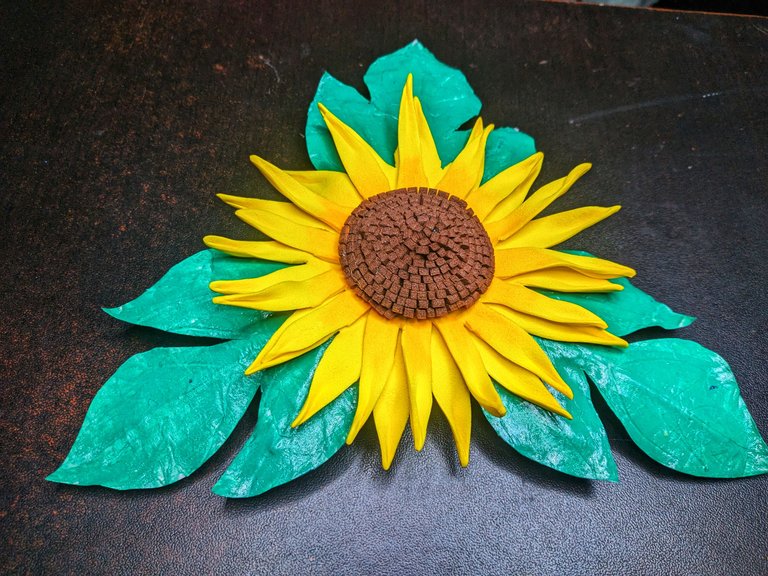
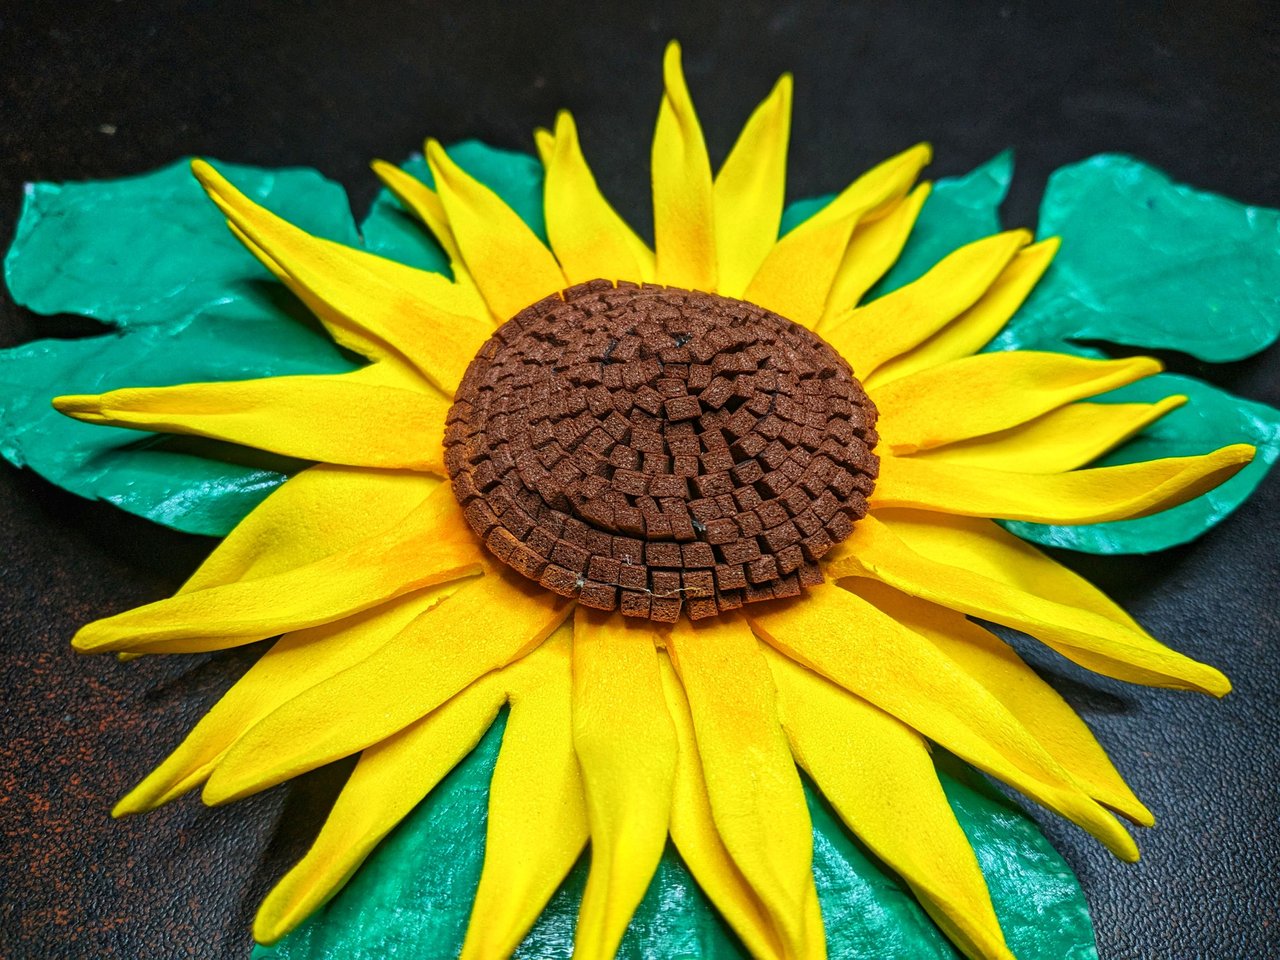
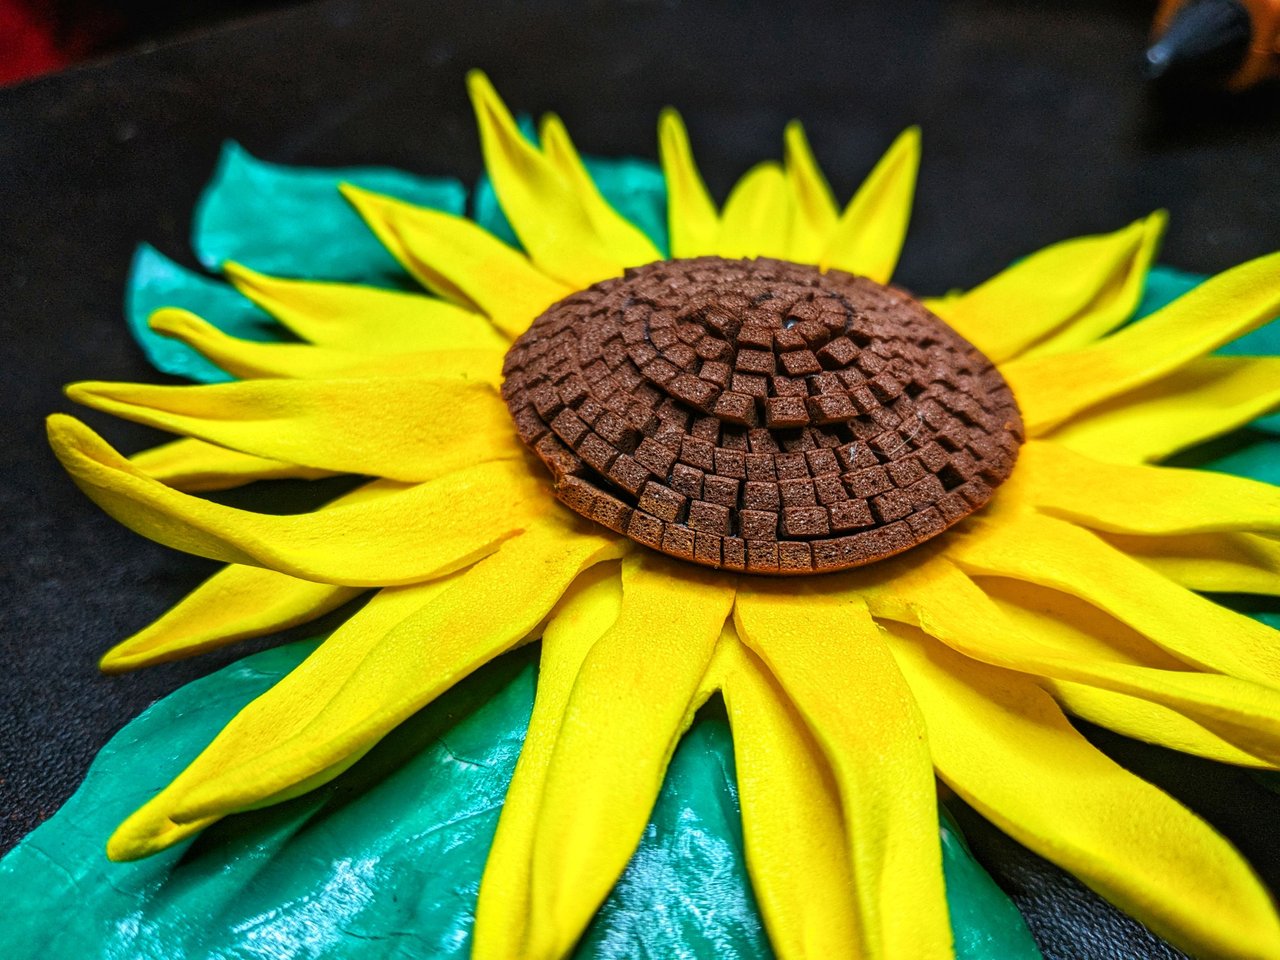
Y pues esto sería todo amigos. Una manualidad tanto fácil como hermosa a la cual pueden agregarle su propio toque. Cualquier variación del diseño quedará igual de hermoso y será un muy buen presente para alguien. Así que no esperen más y atrévanse a hacer su propio adorno para hacer feliz a alguien o adornas un lugarcito.
And so that's it folks. An easy and beautiful craft to which you can add your own touch. Any variation of the design will be just as beautiful and will make a great gift for someone. So don't wait any longer and dare to make your own ornament to make someone happy or decorate a little place.
 |
 |
 |
 |
 |

Muchas gracias por leer mi post. Si te gustó, por favor deja un comentario y considera seguirme para no perderte mis próximas publicaciones. Me encantaría saber tu opinión y tus ideas sobre el tema que traté en este post. ¡Nos vemos en el próximo!
Thank you very much for reading my post. If you liked it, please leave a comment and consider following me so you don't miss my next posts. I'd love to know your opinion and your thoughts about the topic I discussed in this post, see you in the next one!

Cover page created in Canva
Translated by DeepL


Yay! 🤗
Your content has been boosted with Ecency Points, by @edeyglezsosa.
Use Ecency daily to boost your growth on platform!
Thank you for accepting my Boost
I love it! It looks very nice. I've never tried anything similar though. Well done!
That's the great thing about crafts, we can make use of different materials to express our ideas and show them to the world.
Que hermoso adorno y que hermosa flor, de mis favoritas ya que son muy pintorezcas y alegres para el hogar jeje ❤️
Hiciste un muy buen trabajo, gracias por compartir 😊
Gracias por comentar. Desde hace tiempo tengo pensado hacer un buhito y cuando reponga materiales lo haré.
Uy yo quiero ver ese buhito 😍
Quedó completamente hermoso, me encantaría poder seguir pronto tu paso a paso para poder tener el mío.
Gracias por compartir ✨
!DIY
Gracias por comentar y gracias por el regalo. Me alegra saber que te gustó.
You can query your personal balance by
!DIYSTATSWow, thank you very much 🫂
Bello trabajo me encanto 🤗
Y a mi me encanta que te encante 😁
🤗😉
Congratulations @edeyglezsosa! You have completed the following achievement on the Hive blockchain And have been rewarded with New badge(s)
Your next target is to reach 800 comments.
You can view your badges on your board and compare yourself to others in the Ranking
If you no longer want to receive notifications, reply to this comment with the word
STOPhttps://twitter.com/hivediy47901/status/1749476901188473157
¡¡¡Buen trabajo!!! Gracias por publicar tu excelente contenido en Hive Diy.