Diy delight : crafting a jewelry box from embossed paper
Creating something with your own hands is a deeply fulfilling experience, especially when the result is something truly unique and reflect your personality. One such fun and exciting project is making a jewelry box using embossed paper - a simple yet creative and artistic endeavor that transform little materials into a treasure trove of beauty. The idea came to me on a quiet afternoon as i shifted through scattered trinket - rings, bracelets and necklace. I wanted to create a sanctuary for them, a place where they would be kept without being scattered or misplaced, that's when I decided to make a jewelry box adorned with embossed paper. Stay tuned as I walk you through the making process
MATERIALS NEEDED
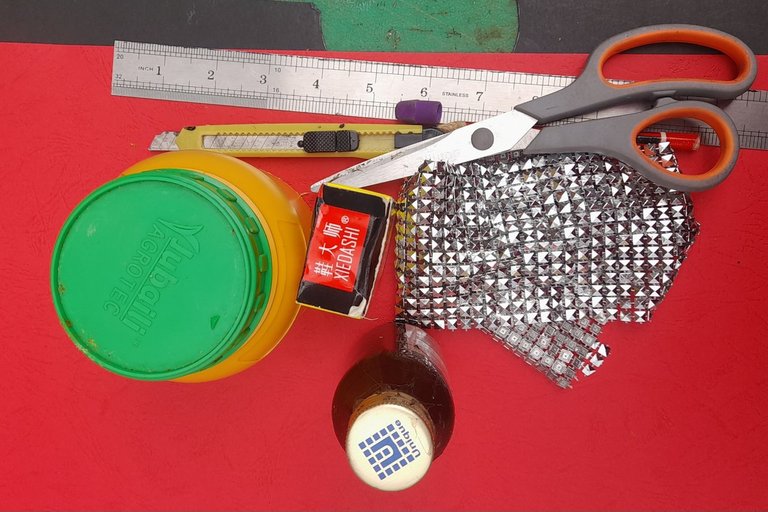
• embossed paper
• scissors
• pencil
• paper cutter
• rubber
• gum and
• crystal fabric mesh
PROCEDURE
step I
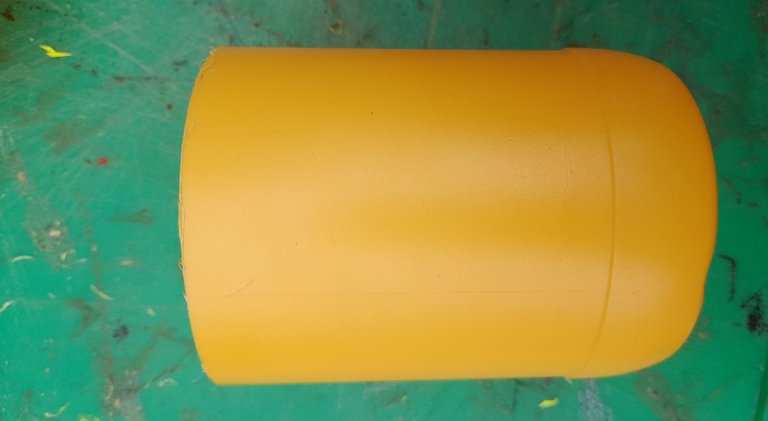
Firstly I measured my rubber by the length 4.5 inches and used my paper cutter and cut it off.
step 2
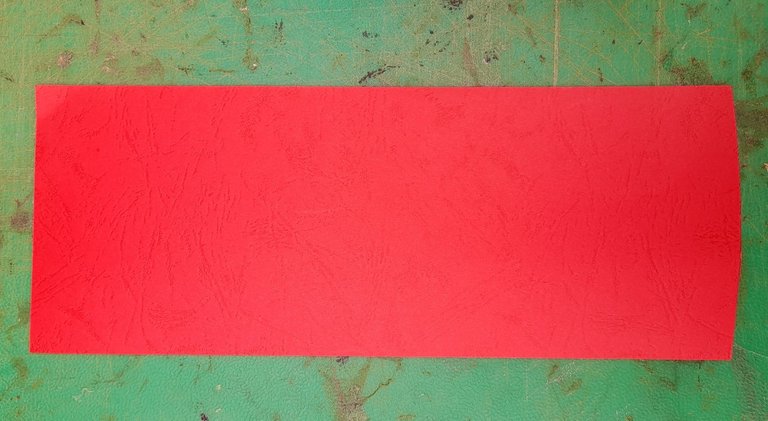
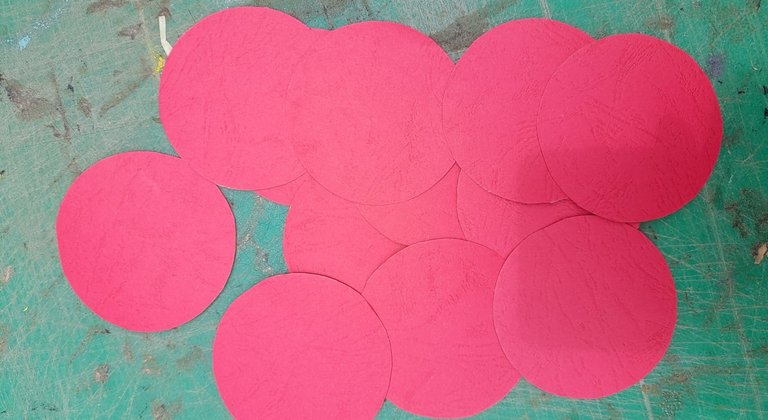
After doing that, I then measured 4.5 inches x 11 inches on my embossed paper to make a rectangular shape ,then I drew 15 circle and used my scissors to cut it out.
step 3
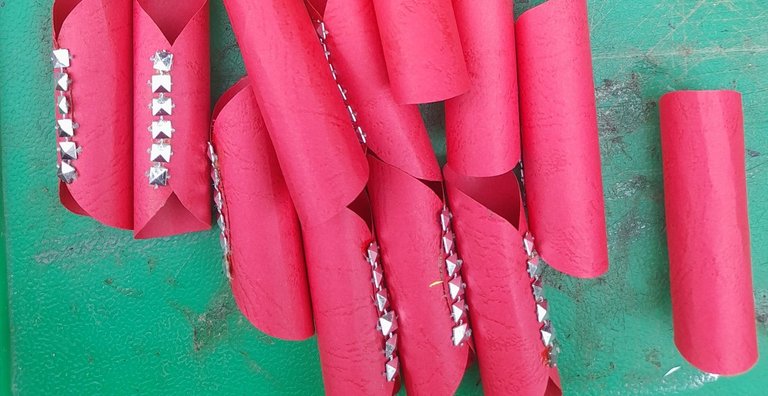
In this step, I then folded the circle and gum it together into a thin long structure and then I gum some crystal fabric mesh by the side of the folded circle.
step 4
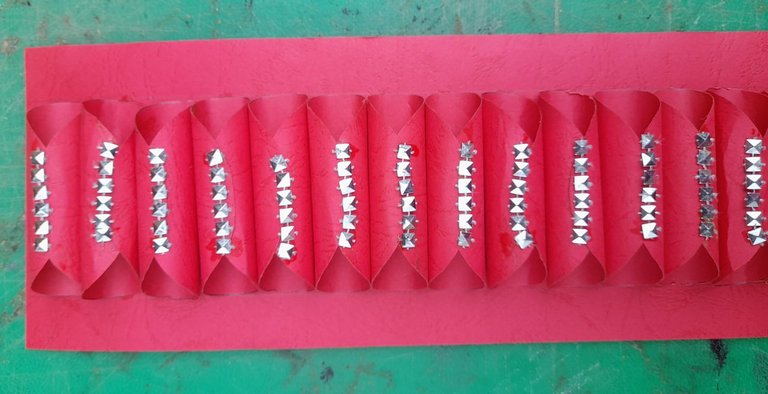
I then carefully arranged and gum the folded circle on the rectangular embossed paper.
step 5
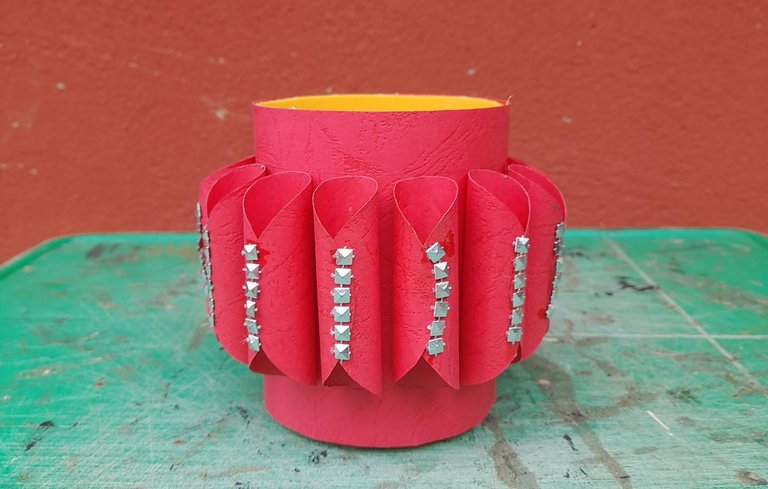
With the help of my gum, I then gum my rectangular embossed paper on the rubber , then I cut two pieces of black embossed paper and gum it to the edges of the jewelry box, one at the top and one at the bottom.
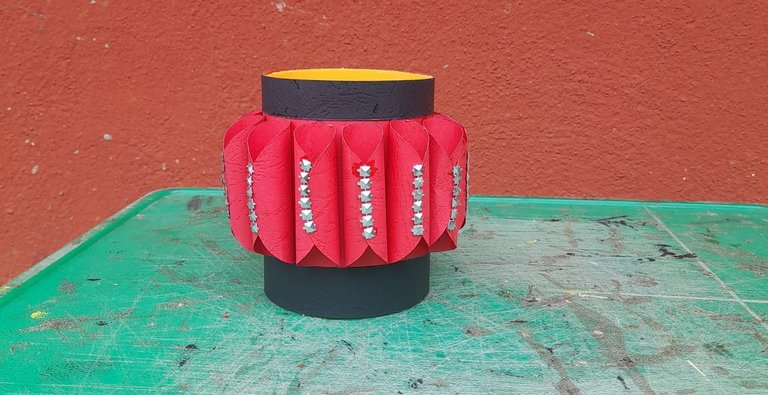
step 6
I then applied my fabric mesh where the black embossed paper are gum at the top and bottom of the jewelry box.
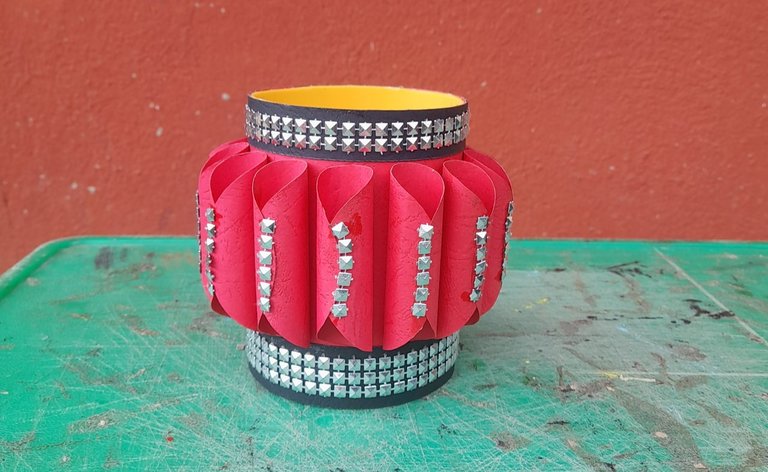
step 7
Next I then placed the bottom of the jewelry box on a black embossed paper measured it and cut out a circle from it, then I gum it to the bottom of the jewelry box.
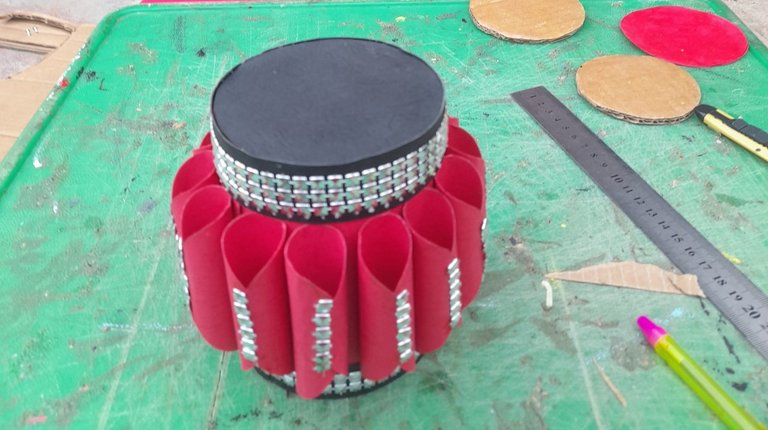
step 8
At this stage of my construction, I constructed the cover of the jewellery box. I measured the top of the box on red embossed paper. I cut it out and duplicated it. I also cut a cardboard of the same size and gummed the red embossed paper on both sides of the cardboard. I cut another cardboard a little smaller than the first one and gummed it on the bigger circle. I again cover it with red embossed paper. I closed the edges with embossed paper and a line of crystal fabric mesh. Finally, I folded a black embossed paper, gummed it on top of the cover with adhesive gum and also gummed crystal fabric mesh around it and on top which serves as the handle of the cover.
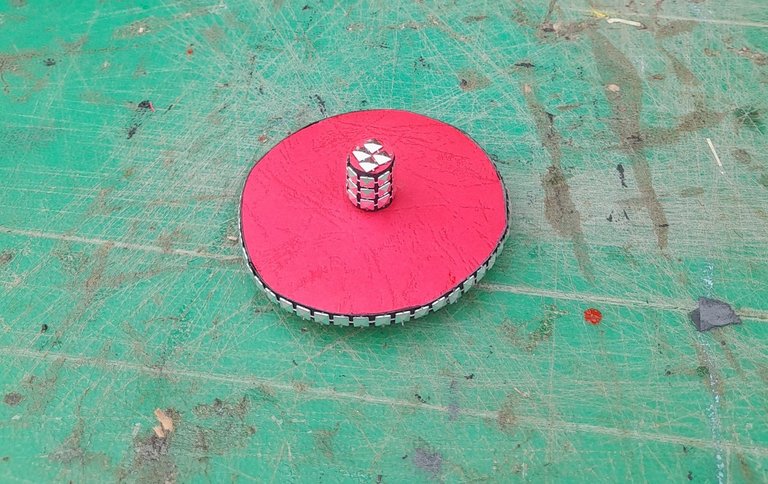

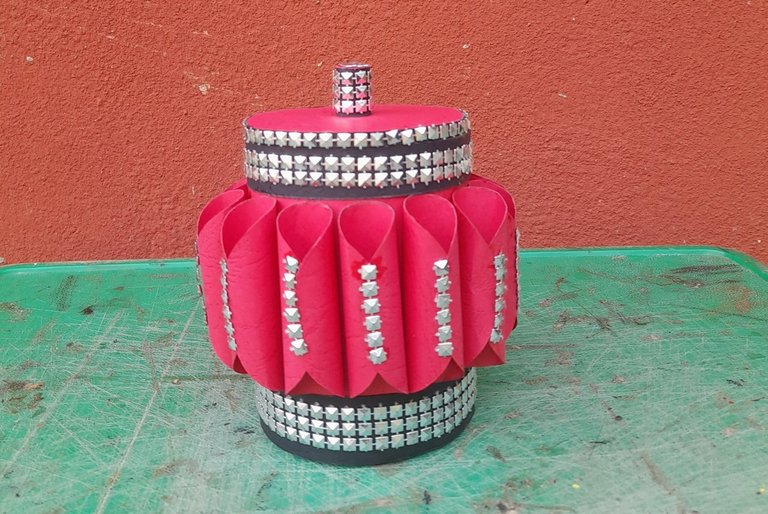
After doing that, my jewelry box was now finally completed and Here's a picture of my final result
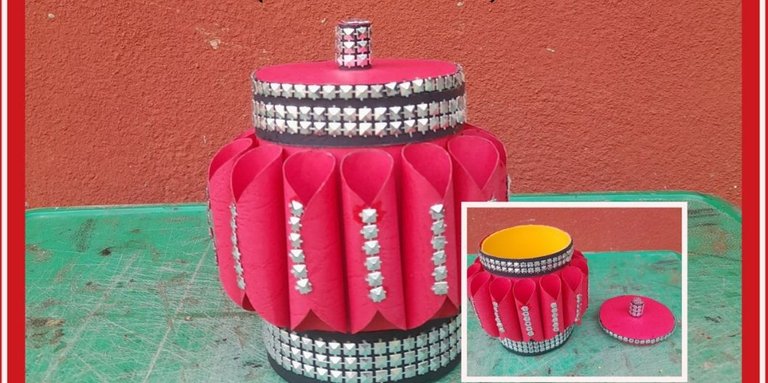
This jewelry box is more than just a container for trinket, it is a testament to the joy of creating something with your hands and the beauty of handmade creation. Till my next post, bye for now.
best regards @eberrchi01
Great job! Keep up the good work! 👏 !STRIDE (Comment !STOPSTRIDE to stop receiving upvotes & STR)
Inspiration can come from any and everything, so nice to know that you were inspired to make this beautiful jewelry box.
que bello, esta genial como quedo y el uso de materiales!
how beautiful, it's great how it turned out and the use of materials!