Creating a wall hanging decor craft made with yarn

avatar

Good day to the creative users of this wonderful community @diyhub,I hope all is well and you are all doing well. We are in the season of Christmas as you all know and one thing I like about Christmas the most is decorating, and designing and luckily today I was opportune to do some decorating. it's almost Christmas and I thought about decorating my home to give it that Christmas touch and look, and so I thought why not make a wall craft with yarn. It looked hard at first but as I continued, my hands created something truly wonderful and I would love to share it with you all. Here are the process I took in creating this diy wall hanging decor made with yarn.
4bEjbgCbFMvA8T33kKpp3RsBvZue1Hns5Cwuz57pgmmNsP8DMkAreqmQMXNivVFqHPs8wCYRQHob7su3g2jbMFhBeC2Q6xEB3vMXjZ8eihQdzi23t2PLWhtwD6LWDWV82BXyPokr8zR52r1oBPmFcxec6UatLnMgqF82AEwrZPEsERFCJr.jpeg


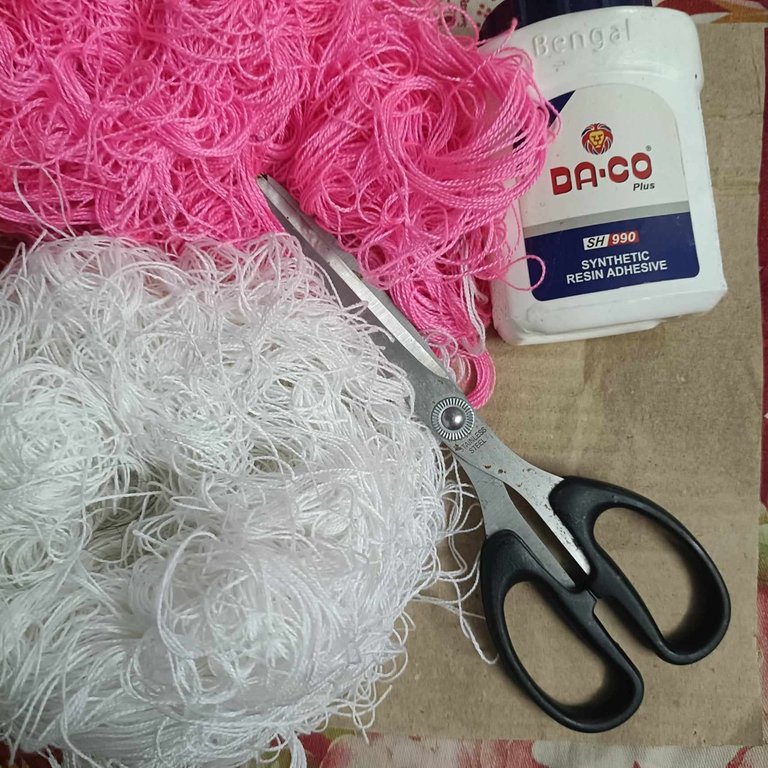
MATERIALS NEEDED

• carton/cardboard
• gum
• scissors
• bead
• yarn of different colours.
pBMyo3B2Sao2EbuHAFTX1CNWMbam25xJGPs4sKmLS6XL7jLFb3utnaXhPBSNDFADgmjHkhfdRshq8ZcbSMLrKA8XEZCgGJptMrmYguzoHY8FuyJG1B2SpSAJ44RE5iQheQGti5hfdAgTJjsVABkm1J553eKuEyHm556nfsvtUMbfzuze.jpeg

PROCEDURE

step I

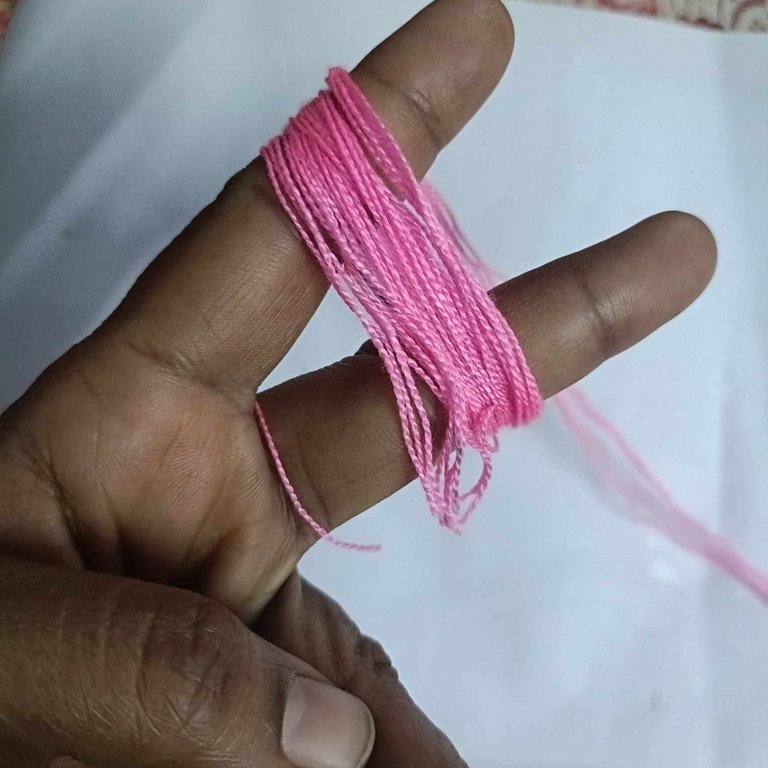
After getting all my necessary materials, I then wrapped or twisted my pink yarn around my two fingers first.
pBMyo3B2Sao2EbuHAFTX1CNWMbam25xJGPs4sKmLS6XL7jjGyFwHebJhuZzJCkJZ144jtV9MUADY5mSTpiZKkFiGNgtwzmRDdKJAui35sTdJLARpwdFGjN5M9vD6yp4EcPExiaMdPGkGSuLda7zqHdNNXzwsHz4VQJZeo28Tq9jB7mLS.jpeg

step 2

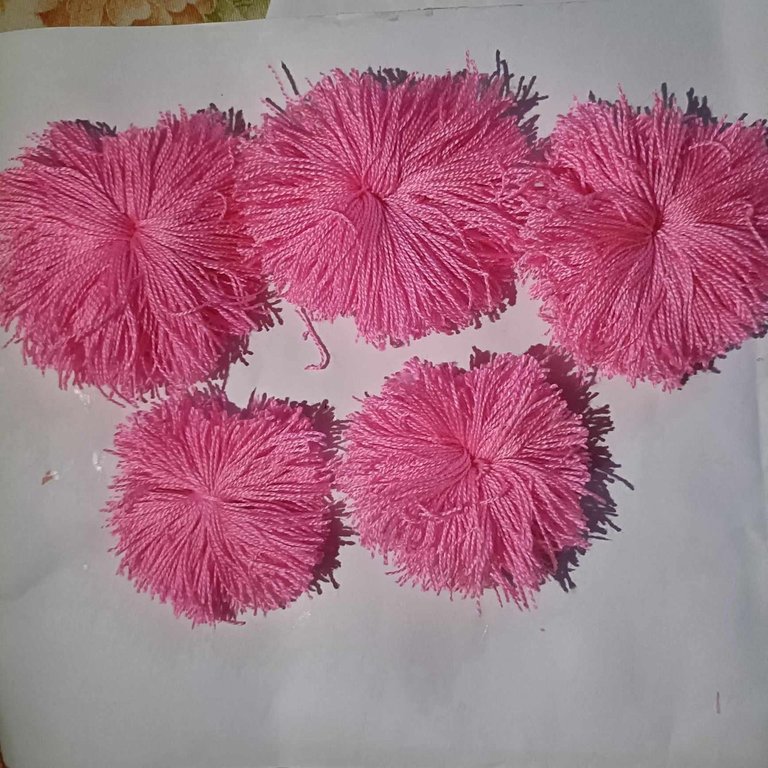
After doing that, I then cut the twisted yarn to size and made flower of different sizes, both big and small ones.
4bEjbgCbFMvA8T33kKpp3RsBvZue1Hns5Cwuz57pgmmNsNza4f5PFsbSfjPstKYfoxGLR9RbH678K2wvJdDSPvs5kjej9KMiFbi1f3nwsw6wsw5AXFf52R6FK3aZMJDk1QTsDBuW4wc7qtfkHR2eoDXYGLQzbMGbAUmDef3C8jQLddD2LN.jpeg

step 3

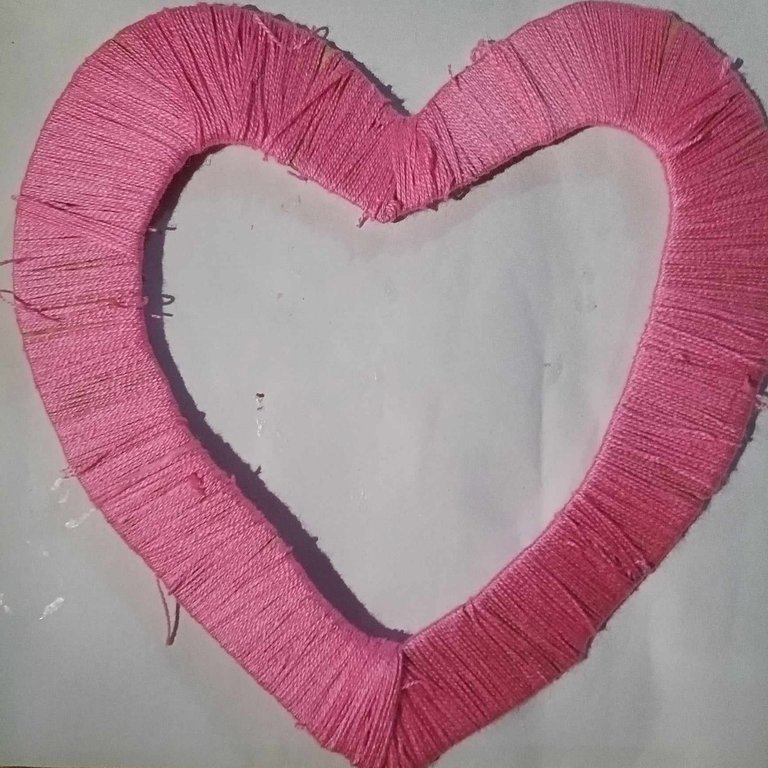
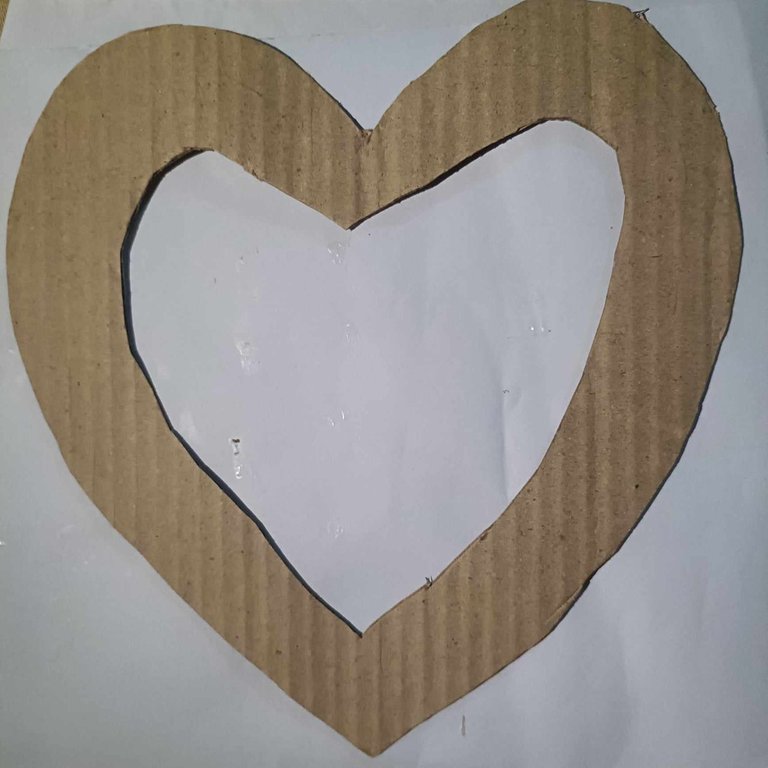
I then carefully cut both the inside and outside of my carton into a Love shape
pBMyo3B2Sao2EbuHAFTX1CNWMbam25xJGPs4sKmLS6XL7oVMEdc1NTQfF2dXmpjbaqPXS9YVguxkH5RzSoRiEv45QxouXwWXTKAe4FGujyAYN96cxPRSLkYeKbtGBw73TF9CvrMdBXAhgCS1AsH1g4B5SMD74LUdC48a1F3TTLB3K6bG.jpeg

step 4

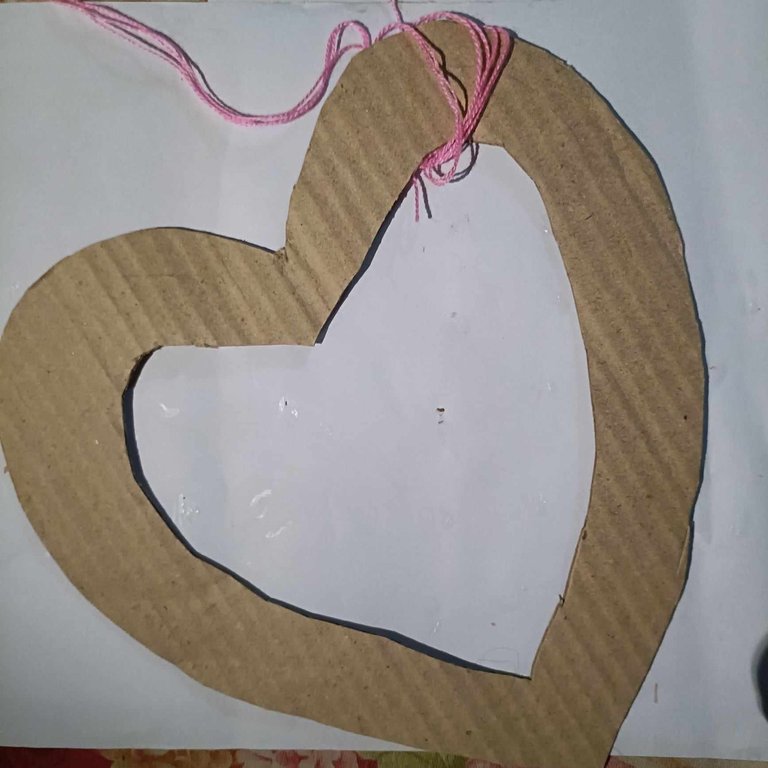
Then again, I then took my pink yarn and began to wrap it round my love shaped carton
pBMyo3B2Sao2EbuHAFTX1CNWMbam25xJGPs4sKmLS6XL7hvwmp7Vb59VH5LSitQfKc6TsZKEKnu1tbEErMCvQJ5RS64jYkDcxgo24iQEWx53cWA1ugq547CwPvFDx7TNPjUooEkmXDKXjaMyF17s6Z2kyavMPCUAEpLTWiF5wkrZNySv.jpeg

4bEjbgCbFMvA8T33kKpp3RsBvZue1Hns5Cwuz57pgmmNsNpFhsnaPENqaHA3ixzsn41VCKm68Fq3hCKYjmjnjSKQpwcnr5wF3wE9KzuD38wUriUChczwfAqh4K4bvrmo8cyp6AVjakJ4k6g5yaMZLCZ96P88MZnUFoSgTty5SHVXtdNGQn.jpeg

step 5

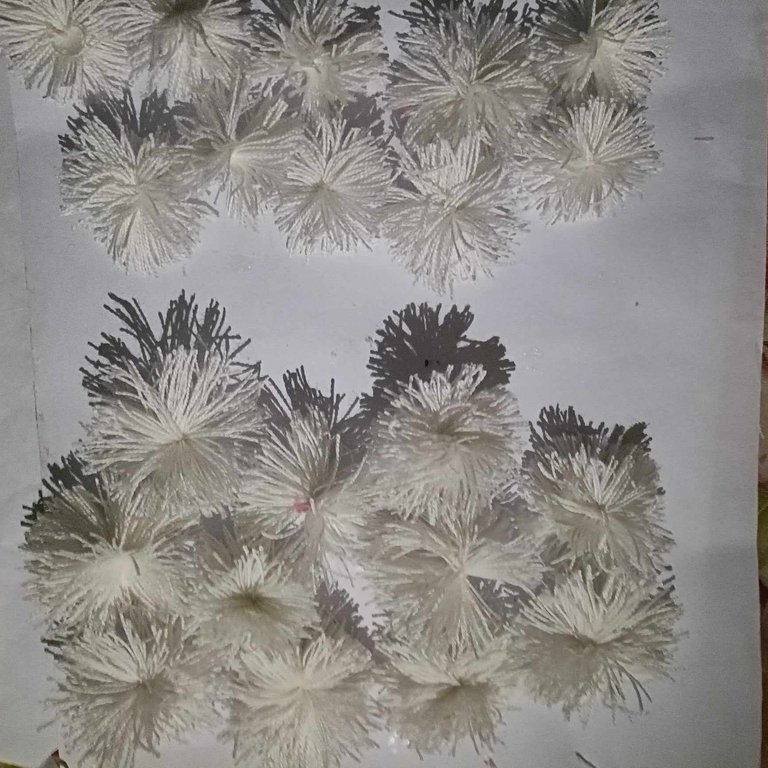
After doing that, I then made several white flower yarn in the same way I made the pink flower yarn, Make both big and small ones.
4bEjbgCbFMvA8T33kKpp3RsBvZue1Hns5Cwuz57pgmmNsNnf524atazHTyt5kJ4CTLmJtMi3cwyXuH7jngv1gnttt23fANBzAqZNVNhYinaUdsNochgssMQjyLUg6TTSEyZNk6MsskNBHD3EQcn1qwjYuoqDXMLjih1s1eGA4etVsu8QPQ.jpeg

step 6

and then I stitched the white flowers in a little circle with green yarn in between the white flowers.
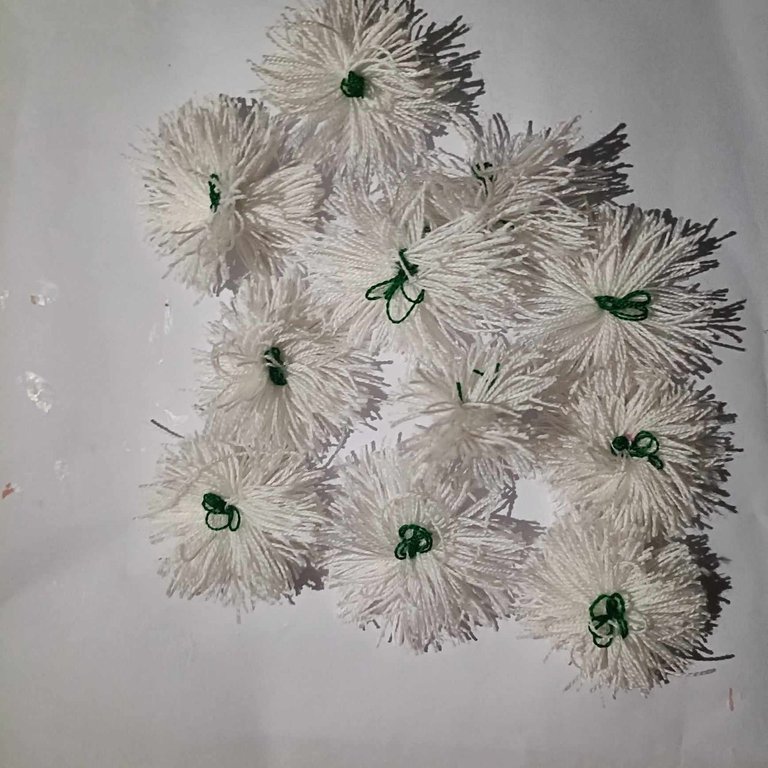
BgxWBRxjvNhnbM9DiyHtCptYaDNF3xx85r8if8spuMjfmZhPUc2nMWSJRWHtfKG86mEiwhJaaUuvpRMwUaawPRboWbh2gfNg33frfeD7zp4G754pSgH8Ts19YVNYnXQGyaa6DQ3fjaqtCdJwZioEsd2NUwEp2Kq8mzFkBAmrygVRc5t.jpeg

step 7

Here I then carefully gum the white yarn flowers to the right side of the love shaped carton
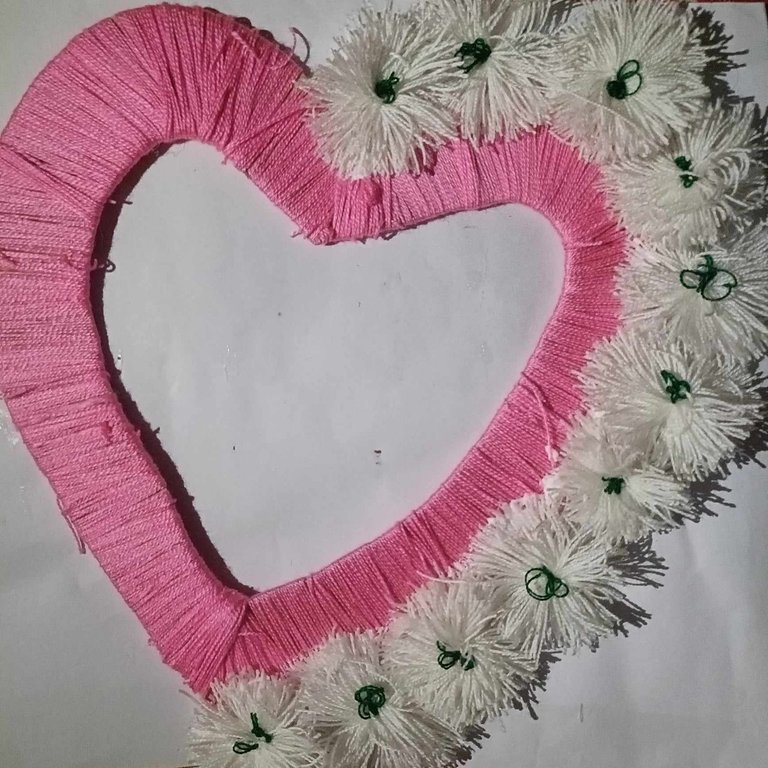
4bEjbgCbFMvA8T33kKpp3RsBvZue1Hns5Cwuz57pgmmNsP6yS18ocbE6dDobeTZDzg36bgjBhyHxHLFrphy7muFyWzZQ2r99WPvtG3weydB8xXZT5ajvEStKptFgHMGFpJ3SDjm7tQR7iqmxtmAJM459KMdKEXiN2qanc2UgKiQFLtAWg6.jpeg

step 8

I'm this step, I then gum each of the white and pink yarn together to form tersel.
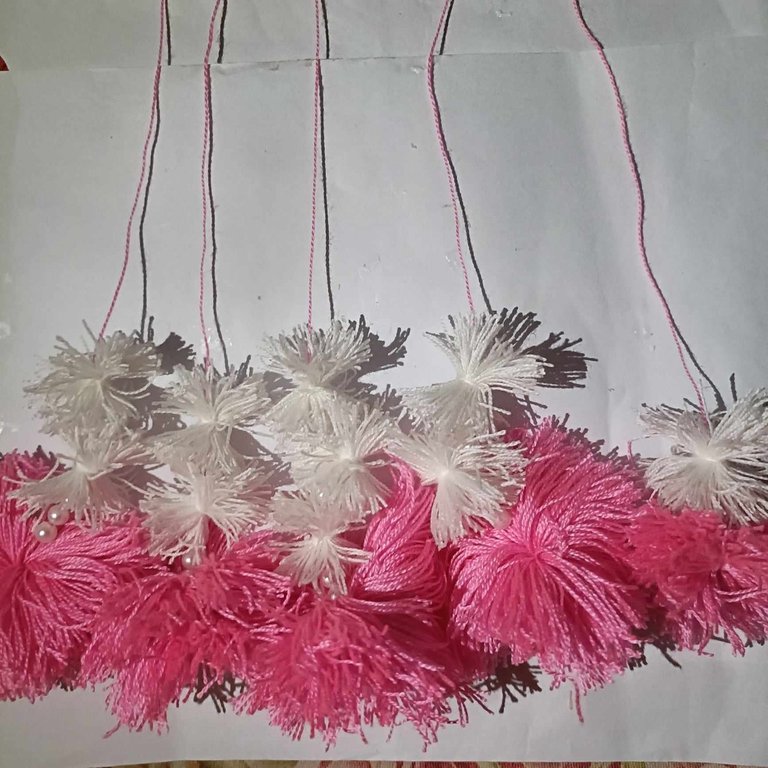
pBMyo3B2Sao2EbuHAFTX1CNWMbam25xJGPs4sKmLS6XL7k1CSM5ZSy9awkdXe4cx8ib7T8PQWg83sL1Xbrh334tqYR6JGTQ4wzxn86YugnyRXTBEMdmtXX1uVnNq7cRTLPGimuh1DiVzsmQJiZ9ALKrL3yzq4YMSYmAsf2v5siTcQH9G.jpeg

step 9

Then I then began to glue the tersel to the other side of the love shape and in the middle I attached a small tersel using my gum.
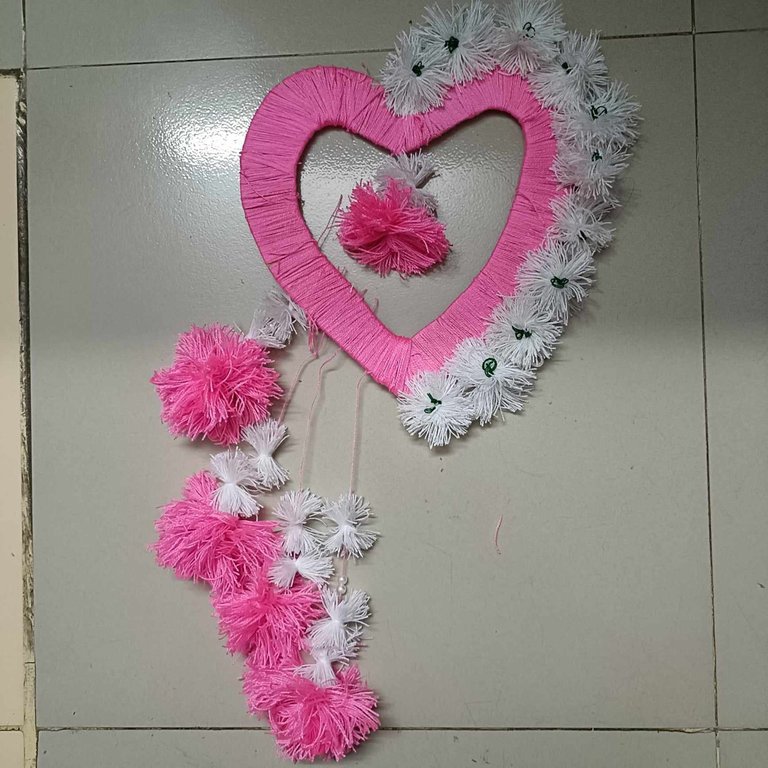
pBMyo3B2Sao2EbuHAFTX1CNWMbam25xJGPs4sKmLS6XL7hdEVpF4D4zKUygjuaJGyKRjXy9vqQae7ASA2GjknEaCbV5E1xCHUGBm2edNdSqTcpdukN2xXffjqUy5Grf3q5Vw4StJ7S5Df87PhTh8H3v5UKCoKMerZzMXiCd29NwAAJvA.jpeg

step 10

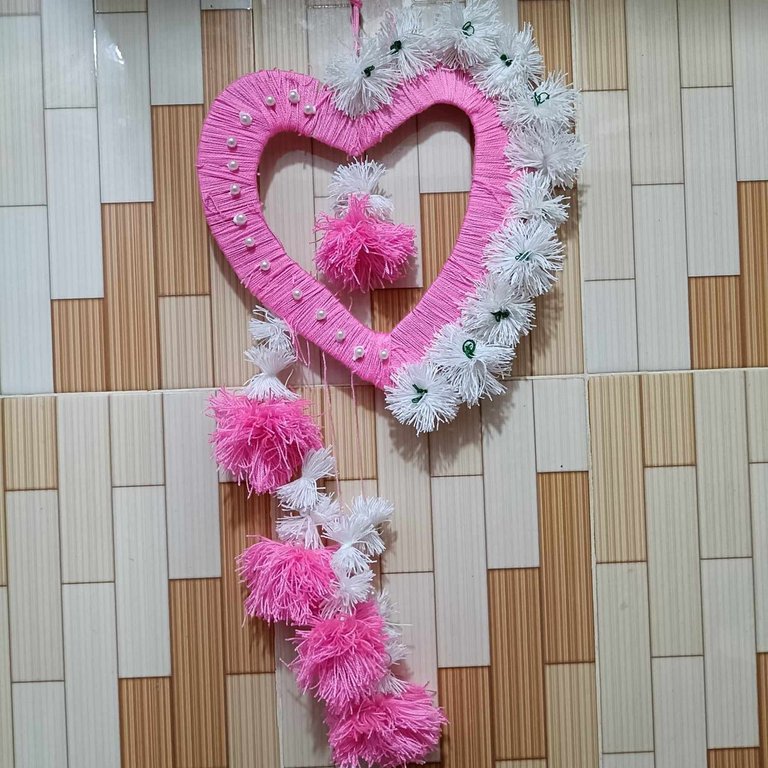
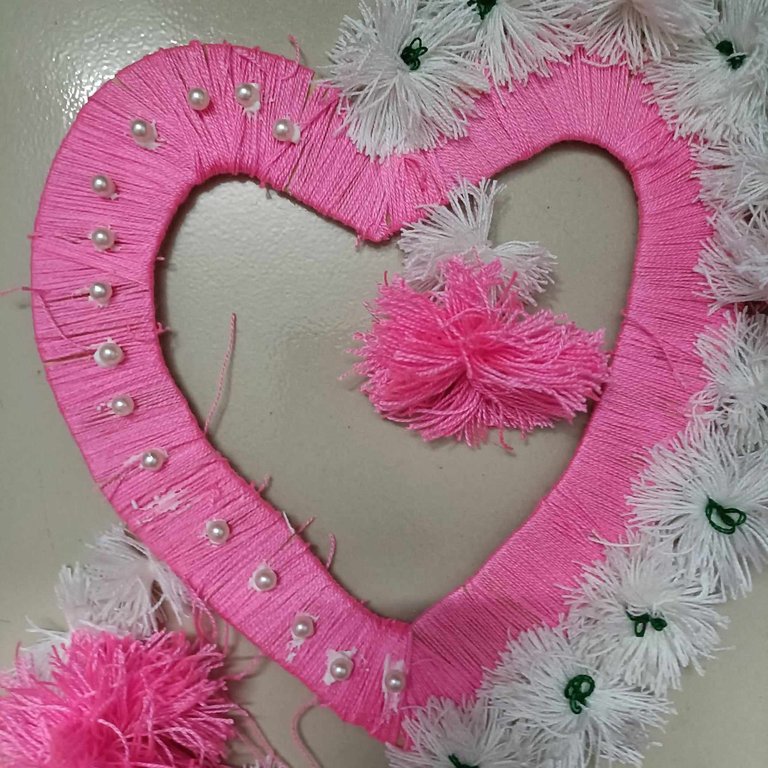
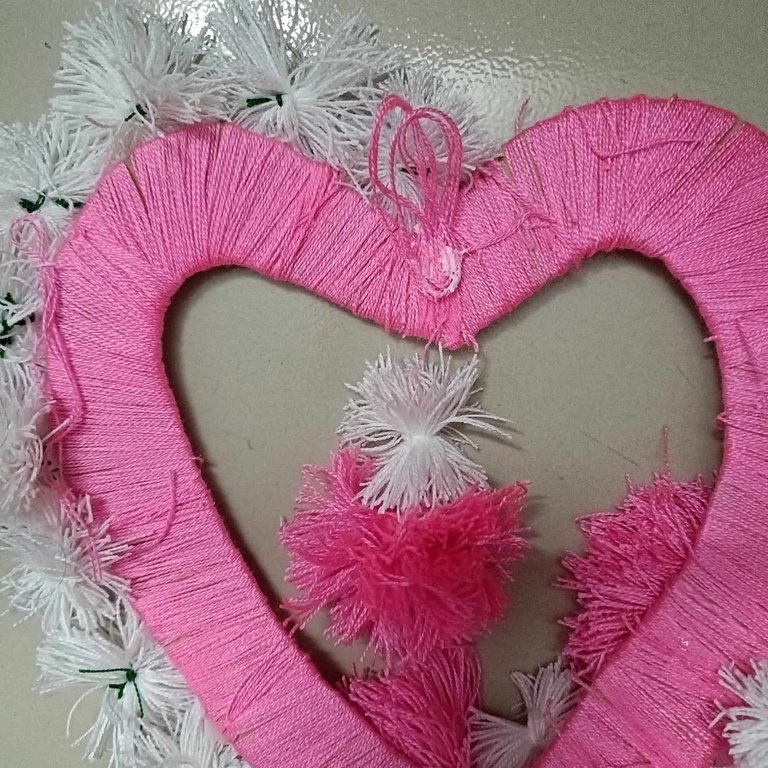
Here I then attached some white bead to it with the help of my glue and then made a pink yarn at the back to hang it on the wall.
pBMyo3B2Sao2EbuHAFTX1CNWMbam25xJGPs4sKmLS6XL7oreB14ZcC1h8xYH1W4joUo5s2SoXgL46dxDfjL2DS7M4FTzgK2y3FZVovxtmKqRWyXm1J9tZAshdL7jBpdnM84oUyciVL8eUXwiijxnPzkPguCuKpGSLDkw1ueEJPTvweKY.jpeg

4bEjbgCbFMvA8T33kKpp3RsBvZue1Hns5Cwuz57pgmmNsP1zQwCKQ35MzVrLRzapwaGcJpXEi129ytmqsvUV4NxjoMH633rnbSPqvsh7Bs1WnC249TEx7CFBv5NUfZYCBsZ6kE5sKoBaPptHLGxn6HQVowaTx6HC2LRZoQDiPVsVUWyrh4.jpeg

step 11

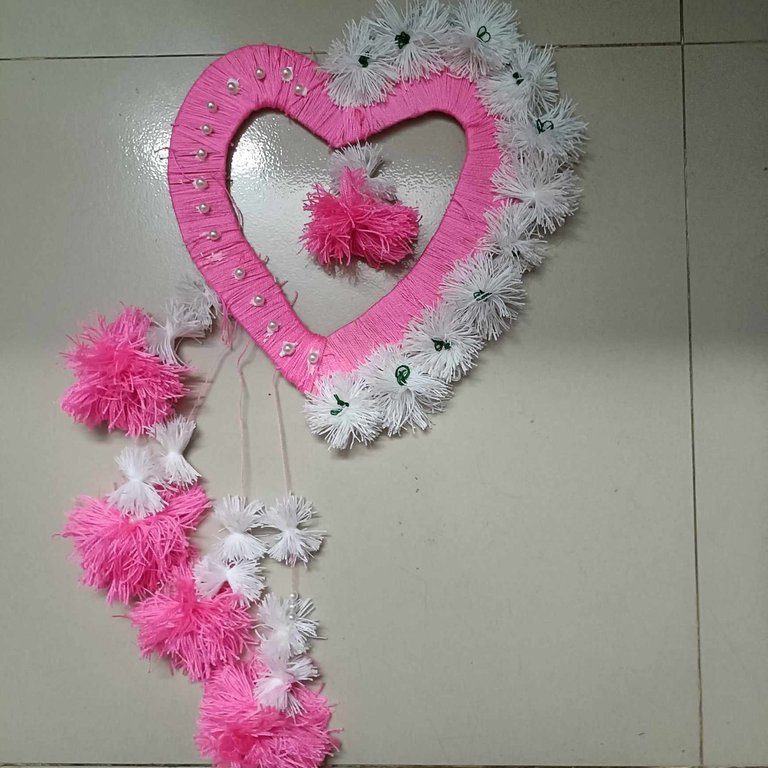
After some time I allowed it to dry a bit and then it was now ready to be hung.
4bEjbgCbFMvA8T33kKpp3RsBvZue1Hns5Cwuz57pgmmNsNaUs1ctdiACDwkAJcaqrvzAJegZ6Aftk65qPUMTyefjtspijspnrAwJrcDgfm7gHp81x95N8dpzmSyguBCbodDUrNNmdgstaqRbTKVy1Nn3e6TiP4ftw8B242PtDupT7QZVQJ.jpeg


Here's a picture of my final result

4bEjbgCbFMvA8T33kKpp3RsBvZue1Hns5Cwuz57pgmmNsP8DMkAreqmQMXNivVFqHPs8wCYRQHob7su3g2jbMFhBeC2Q6xEB3vMXjZ8eihQdzi23t2PLWhtwD6LWDWV82BXyPokr8zR52r1oBPmFcxec6UatLnMgqF82AEwrZPEsERFCJr.jpeg


It was a bit time consuming and also difficult to make but the results was truly worth it. I hope you all enjoyed reading through and I hope you also try this out in your homes as well.

THANK YOU FOR YOUR TIME


0
0
0.000
8 comments
avatar

I like how you transformed the materials you used, giving them dimension. The project looks cute and fun, and I love those colors. When I make projects for my daughters, I always like to use colors like pink, white, fuchsia, etc.

0
0
0.000
avatar

It took me some time to achieve this but am glad you liked it. Thanks for reading through my post

0
0
0.000
avatar

Your hands are truly blessed, despite the mistakes you persevered and give this project your best shot. Great job.

0
0
0.000
avatar

Creative and very nice work.

0
0
0.000
avatar

muy lindo, me encanta la forma y colores!


very cute, love the shape and colors!

0
0
0.000