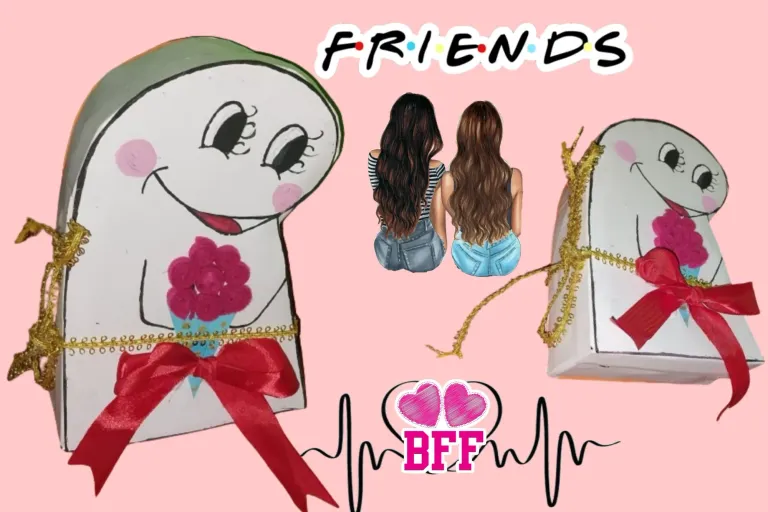
Friendship Day Surprise Box 🫶❤️
Hello Hive family, I hope you are doing great. Throughout the month the Diyhub family has offered a contest to celebrate friendship day.
A day that fills us with much joy and fraternity, having friends is a blessing, a gift from heaven! I take this opportunity to greet all my friends at Hive. Friends that through time we have formed bonds of union.
One way to celebrate special days is to be able to give a gift, something that we will always keep in our hearts. So I have decided to make a surprise capital to give to our friends, in it we can give chocolates, cookies, candies and other gifts, I hope you like it!
Materials
- White cardboard
- scissors
- glue
- black marker or black cold paint
- pink cold paint
- red and gold ribbons
- Felt ribbons
- blue cardboard (or color of choice)
1
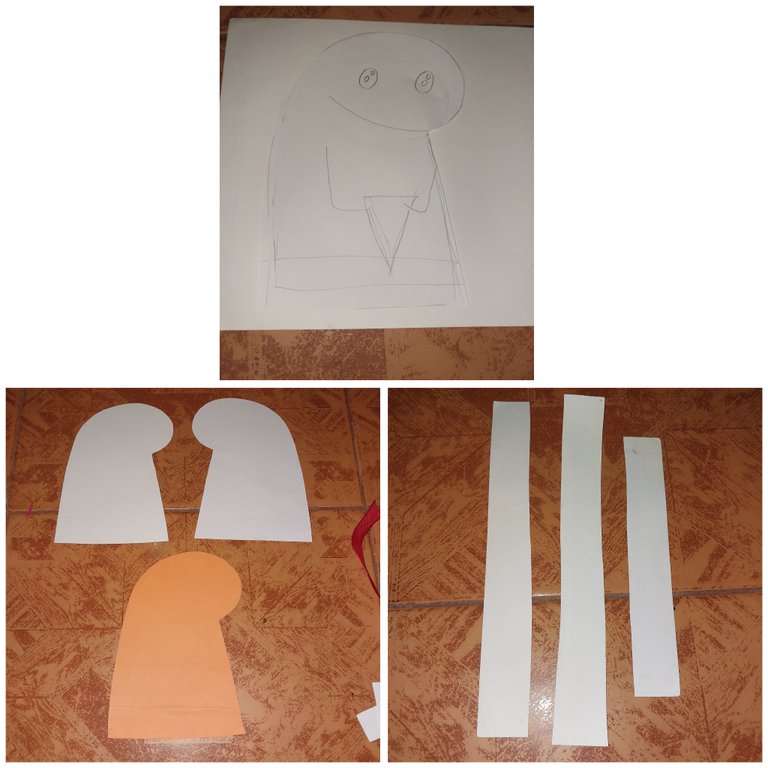
We start by making the shape of our figure, having the pattern on a sheet of paper we will mark this silhouette on the cardboard making three, two on white cardboard and one on orange cardboard.
2
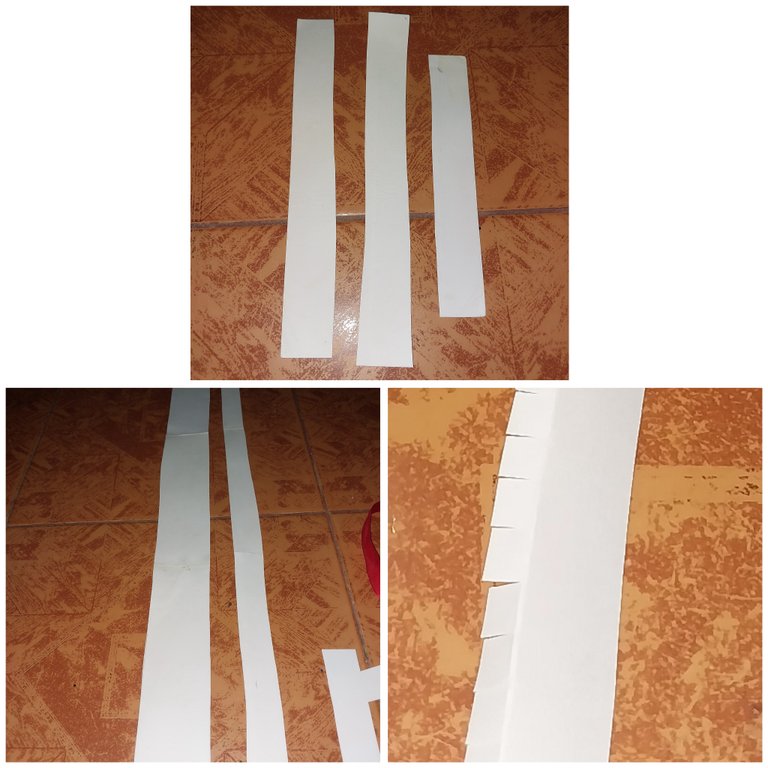
Then we cut out ribbons of the same thickness. Three ribbons 4 cm thick and 60 cm long.
And three ribbons 7 cm wide and 60 cm long. Then we fold these ribbons to one centimeter lengthwise and then make vertical cuts along this edge.
3
( )
)
Then we are going to devour one of the faces, we make the eyes, hands and mouth with the help of the cold paint, you can also use the marker.
Cut out a small cone using the blue cardboard and glue.
4
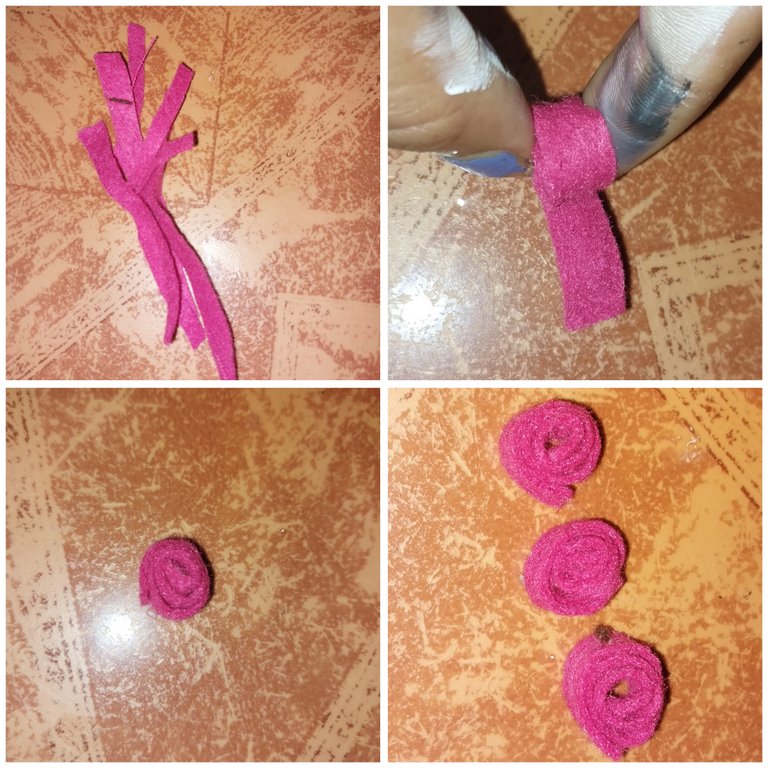
Then we cut Felt ribbons and proceed to roll and glue these ribbons.
5
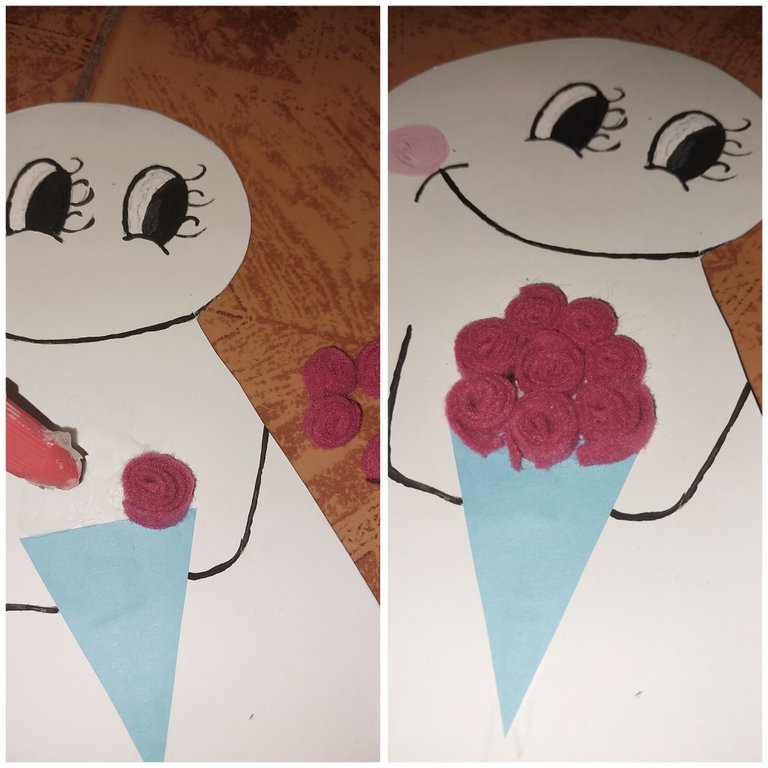
Then we glue these circles on the cone, simulating the fact that they are flowers.
6
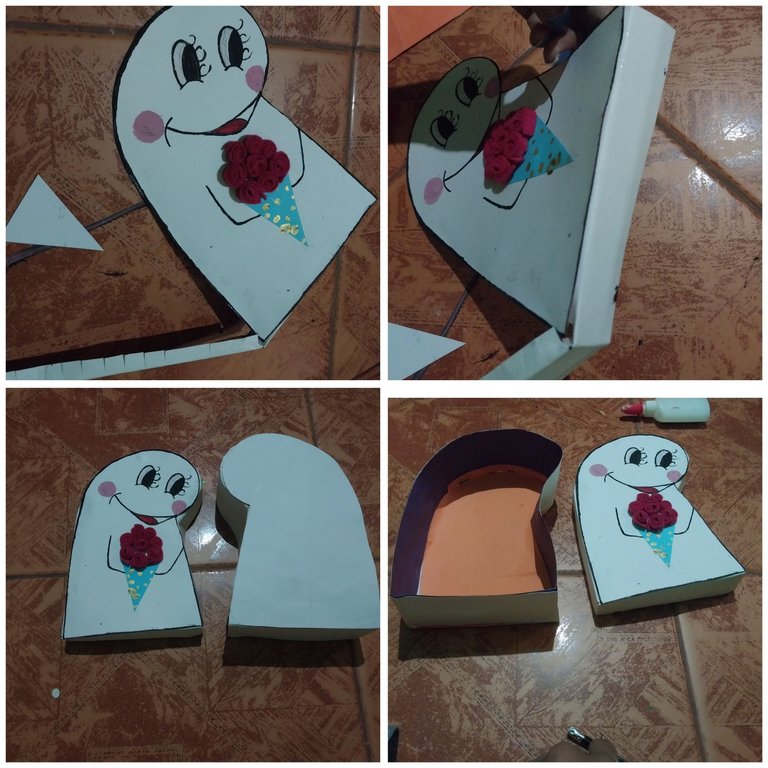
Then we glue the ribbons to form the edge of the lid. We are gluing little by little with the glue, for the lid we use the 4 cm ribbon while for the base we use the 7 cm ribbon.
7
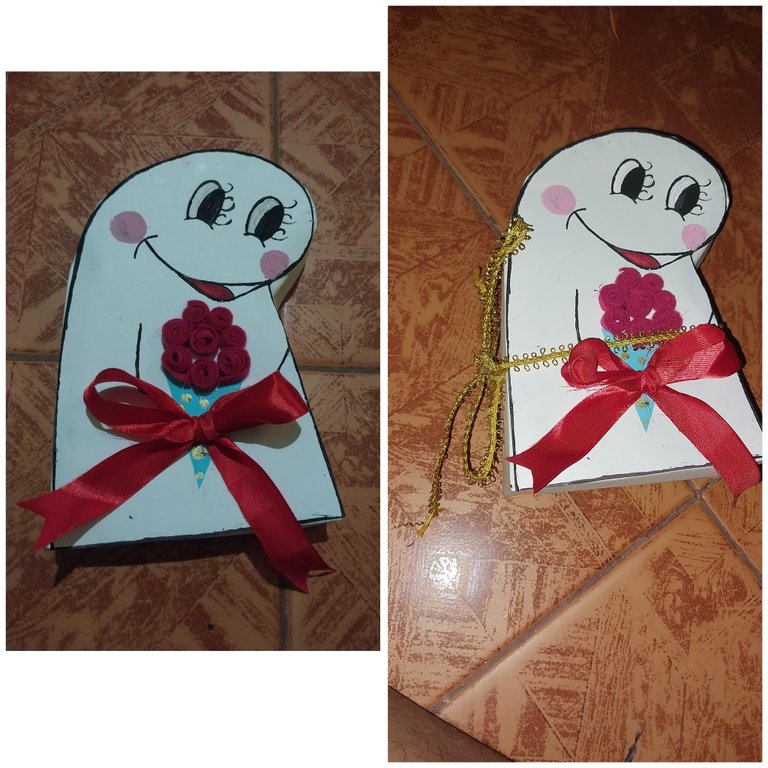
We finish with details, in this case I have placed a red ribbon and also a golden ribbon around both pieces.
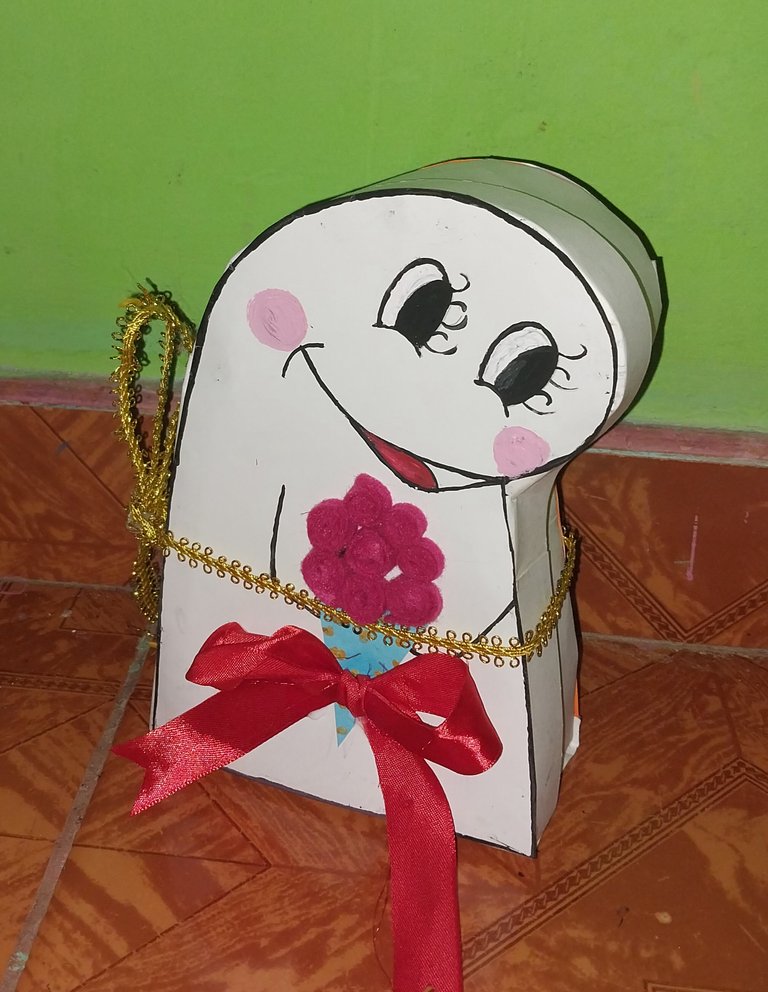
This is the final result, I hope you like it! And happy friend's day to all of you.
- Images belong to me
- Translator: Deepl Traslator
- Editing: Canva
Hola familia de Hive, espero que se encuentren muy bien. A lo largo del mes la familia de Diyhub ha ofrecido un concurso para celebrar el día de la amistad.
Un día que nos llena de mucha alegría y fraternidad. Tener amigos es una bendición, un regalo del cielo! Aprovecho la oportunidad de saludar a tod mis amigos en Hive. Amigos que a través del tiempo hemos formado lazos de unión.
Una forma de poder celebrar los días especiales es poder regalar un detalle, algo que siempre vamos a guardar en nuestro corazones. Así que he decidido hacer una capital sorpresa para regalar a nuestros amigos, en ella podemos reglar chocolates, galletas, dulces acompañado de otros detalles. Espero les guste!
Materiales
- cartulina Blanca
- Tijera
- pega
- marcador negro o pintura al frío negra
- pintura al frío rosada
- cintas roja y dorada
- cintas de Fieltro
- Cartulina azul( o del color de preferencia)
1
Iniciamos haciendo la forma de nuestra figura, teniendo el patrón en una hoja vamos a marcar esta silueta en la cartulina haciendo tres, dos en cartulina Blanca y una en cartulina naranja.
2
Luego recortamos cintas del mismo grosor. Tres cintas de 4 cm de grosor y 60 de largo.
Y tres cintas de 7 cm de ancho y 60 cm de largo. Luego doblamos estas cintas a un centímetro a lo largo y luego hacemos cortes verticales a lo largo de este borde.
3
()
Luego vamos a devorar una de las caras, le hacemos los ojos, las manos y la boca con ayuda de la pintura al frío, también pueden utilizar el marcador.
Recortamos un cono pequeño usuaanod la cartulina azul y pegamos.
4
Luego recortamos cintas de Fieltro y procedemos a enrollar y oegar estas cintas.
5
Seguidamente debemos pegar estos círculos sobre el cono, simulando el hecho de que son unas flores.
6
Después pegamos las cintas para formar el borde de la tapa. Vamos pegando poco a poco con la pega, para la tapa usamos la cinta de 4 cm mientras que para la base usamos la cinta de 7 cm.
7
Finalizamos con detalles, en este caso he colocado un lazo rojo y también una cinta dorada al rededor de amabas piezas.
Este es el resultado final. Espero les guste! Y feliz día del amigo a todos.
- Las imágenes me pertenecen
- Traductor: Deelp traslator
- Edicion: Canva
For the best experience view this post on Liketu
Very fell maid small work 😋👌👌☕🦊
It is not easy to do this fast ... but you maid it fell 😋👌👌👌👌🌺
Ohh thanks always 🫶
This is very thoughtful of you, making something which we can put many things, indeed your friends will surely like it . All the best dear
Thank you my friend
This looks so unique and I love the eyes🥰🥰
that looks so beautiful, you are amazing keep up the good work.
Ay pero qué coqueto te quedó! me encantó la cajita y ver que con materiales tan sencillos pero sobre todo con mucha imaginación se logran cosas hermosas. Me gustó mucho tu diseño de York en forma de cajita de regalo. Sin duda un obsequio muy especial para quien lo recibe. Gracias por compartir! 💕
Muchas gracias! Que bueno que te gustó
Hermosa cajita ✨😍lindo trabajo creativo
Muchas gracias amiga!
están muy bonitas. quedaron genial!
they look great. they turned out great!
Muchas gracias amiga bella!