Beautiful set of Jean - Diy
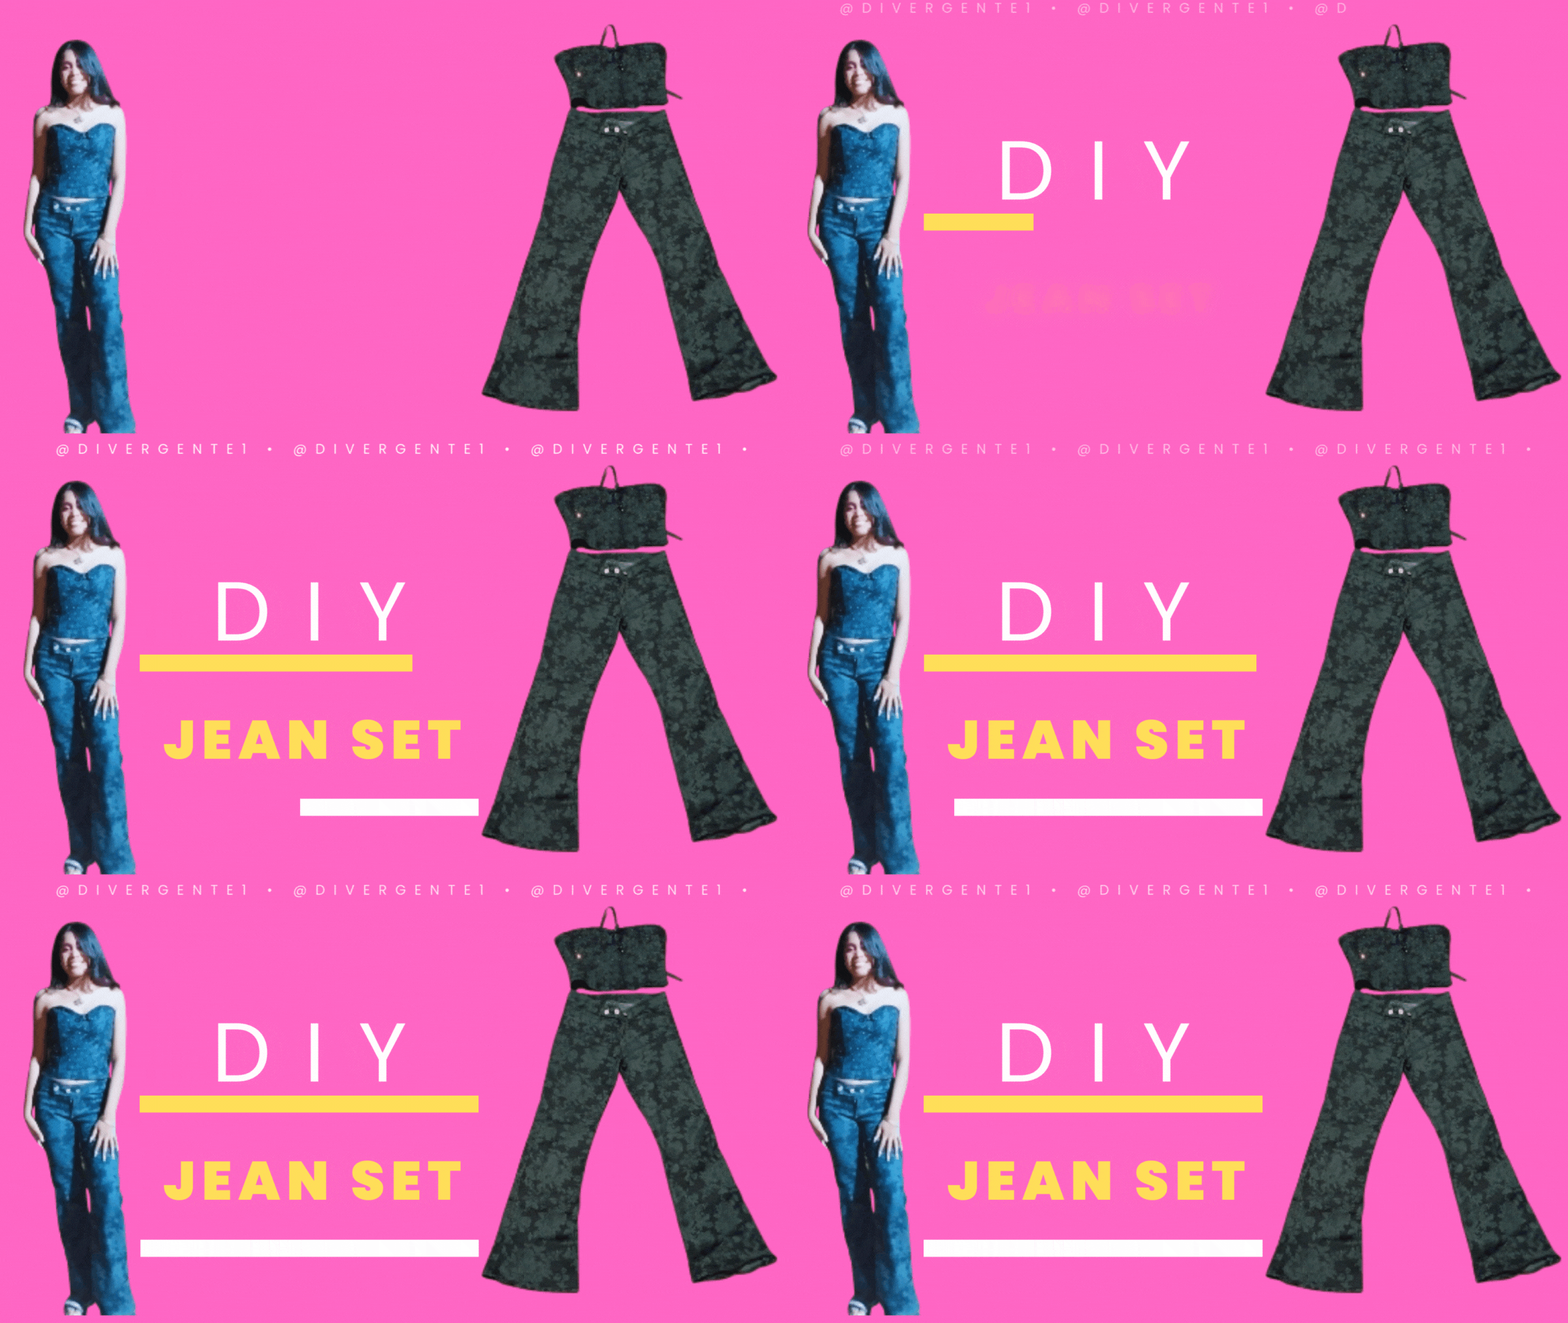
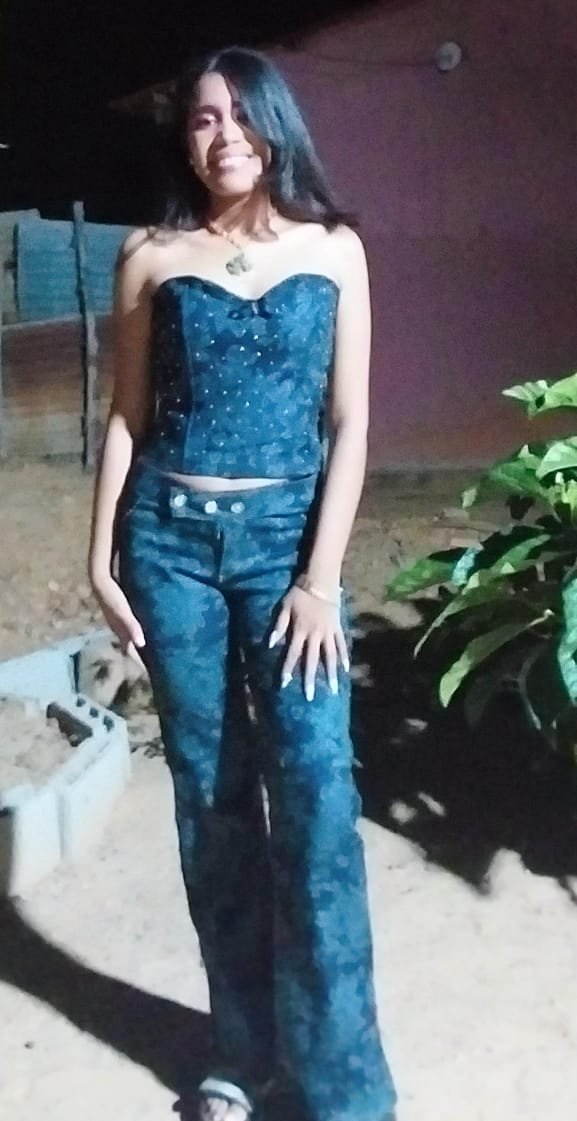
Hello my dear friends of Hive and DiyHub, I hope this new year will be a very good one. Grateful for all the support and suggestions I have received from all of you. This time I want to present you the first jean outfit I've made, it's the first time I've made a pair of jeans but I'm very happy with the result, also with the fabric I have left I have made a corset.

I hope you like it!
Materials
- 2 meters of jean fabric
- 3 buttons
- zipper
- sewing machine
- Thread
- Sewing needle number 16
1
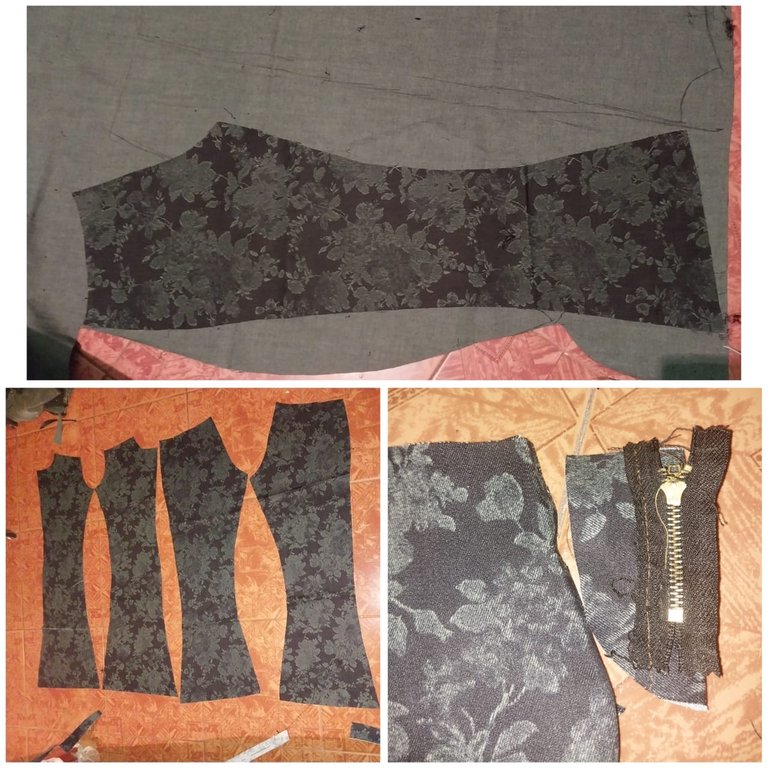
I start with the front cut of the pants, I particularly used a pattern of another pants and copied the silhouette of this one, both on the front side and on the back side of this one, so you get the 4 pieces.
Then you have to use two pieces of the jean fabric and sew on both ends of each side of the zipper.
2
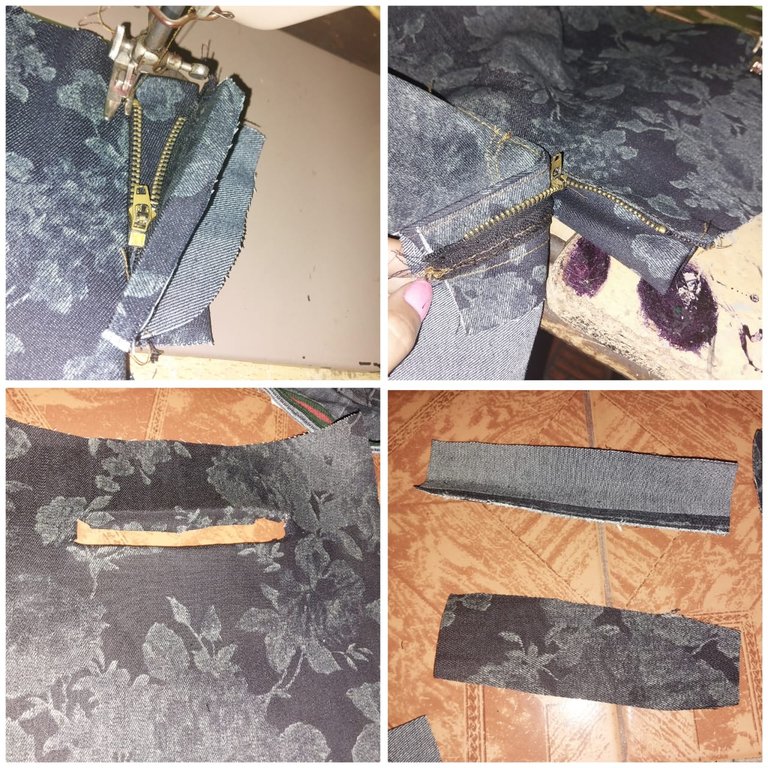
Then fix the zipper on each side of the front area of the pieces.
Then to make the “fake” effect pockets we must make a rectangle of 4 inches X 1 inch, in the same way we must cut out two rectangles of 8 inches X 4 inches.
3
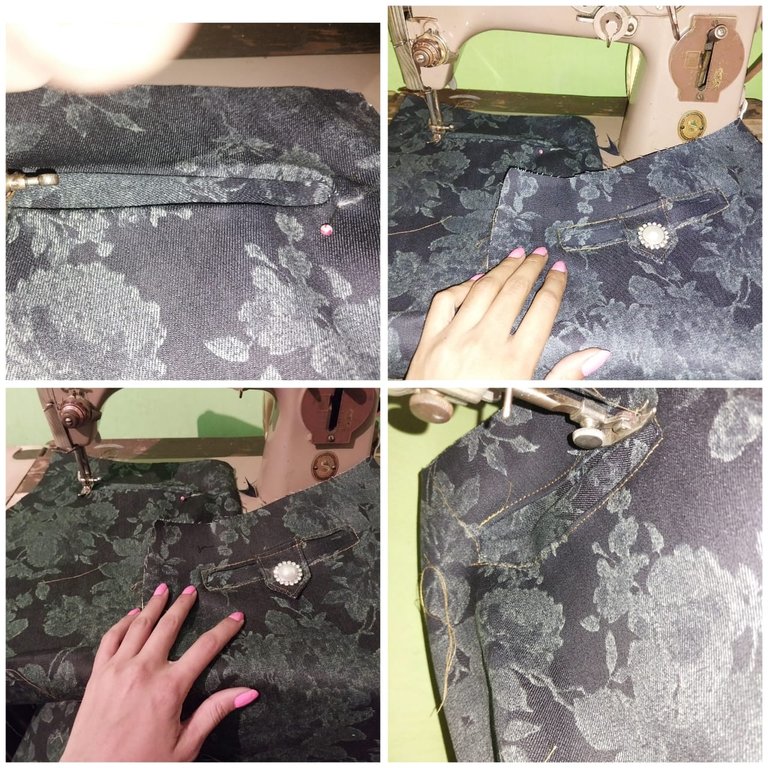
One of the rectangles should be placed on the inside of this one and then we fix it through the seam.
4

Then we must join both front pieces through the seam.
5
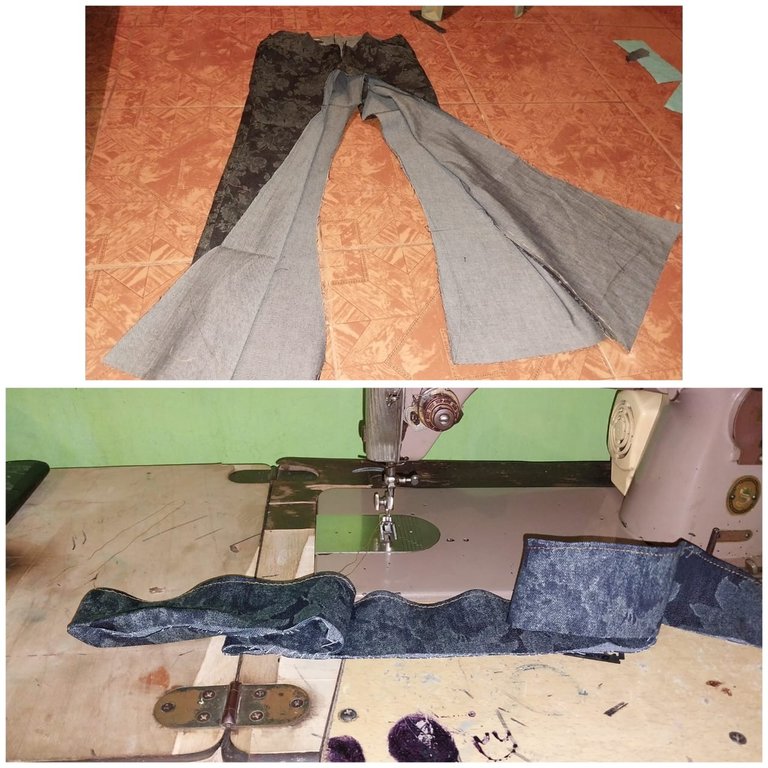
Then we must sew and join both front and back pieces together through the seam sides of each zone. Next we prepare the petrin to sew it on the trouser area. Next we must apply the buttons on the front of the trousers.
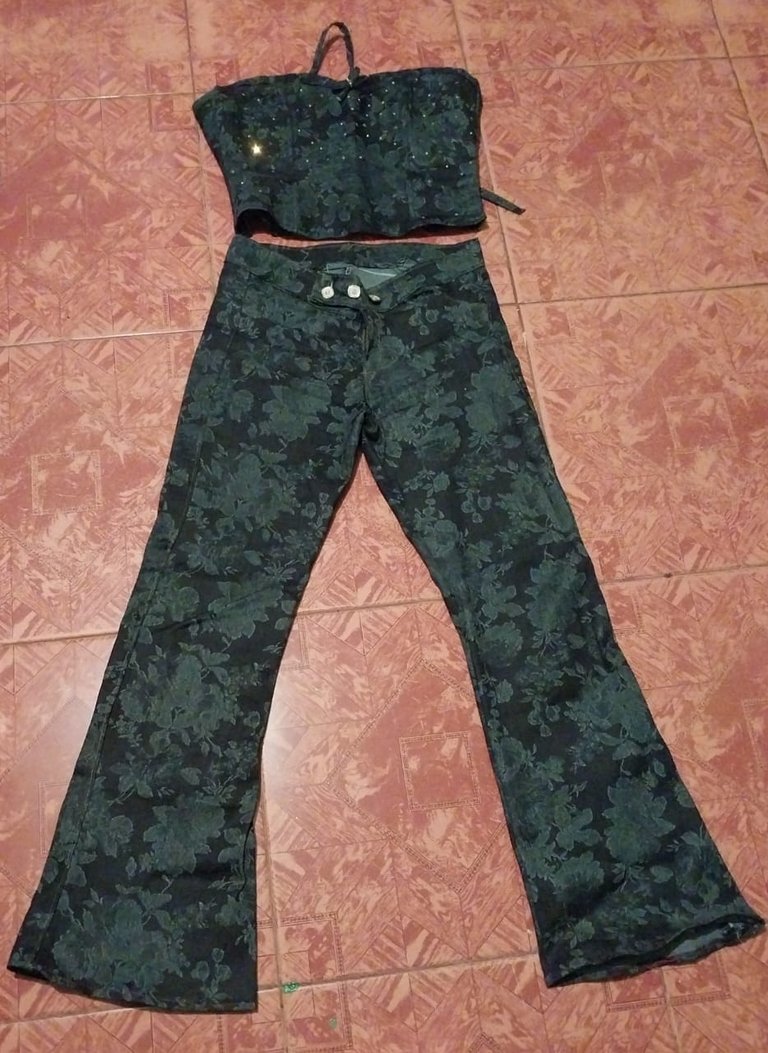
Corset
1
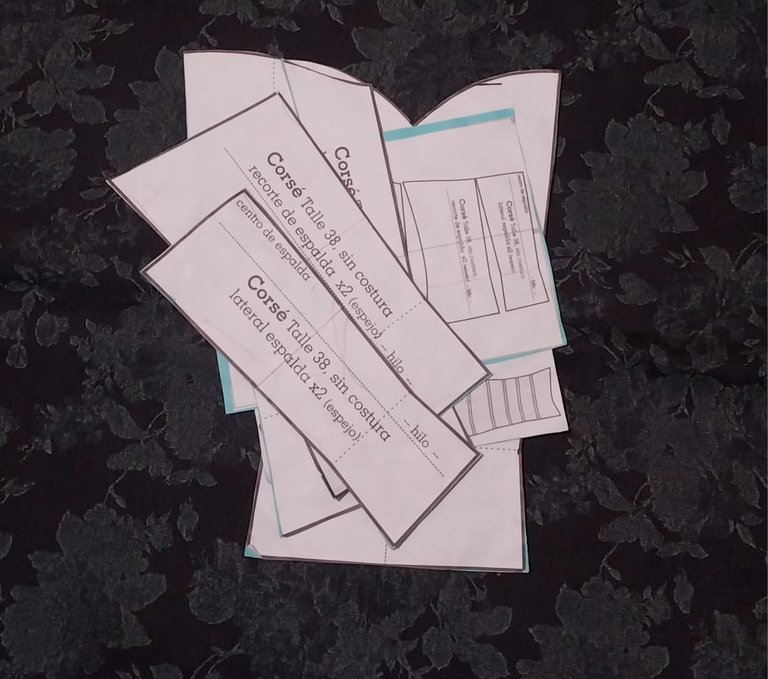

Then we must use the patterns to obtain the pieces of the corset.
2
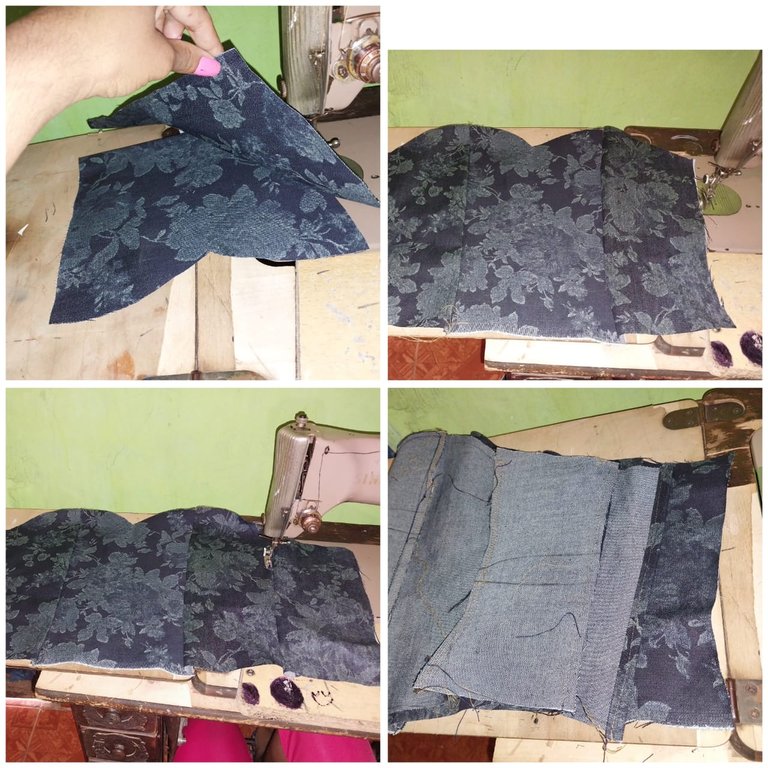
Then we must join the pieces by sewing them together.
4

We must cut several ribbons, these ribbons are going to be fixed in each part of the union of the seams, since in these the rods or whales are going to be introduced. To fix these ribbons I have made some stitches with thread and needle before taking it to the sewing machine area.
5

Once the ribbons are fixed from the inner side, we must pass sewing from the outside of the fabric so that it is in the middle of the seam of both lines when sewing.
Then we must sew several ribbons and then pass this to sewing.
6
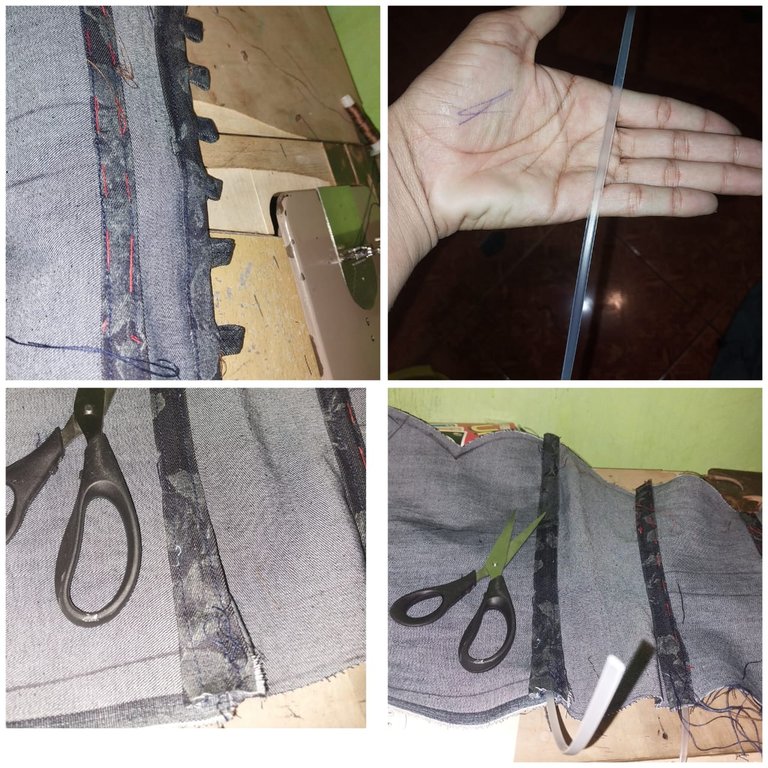
Finally the loops are sewn at both ends of the end of the stitching. In total there will be 10 loops, 5 on each side.
Then we introduce the rods inside each line of tape that we have fixed. Finally we must fold the lower area of the corset and then we must sew.
- Images belong to me
- Translator: Deepl Traslator
- Editing: Canva


Hola mis queridos amigos de Hive y DiyHub, espero que este año nuevo que inicia sea muy prospero. Agradecida con todo el apoyo y las sugerencias que he recibido por parte de todos ustedes. Esta vez quiero presentarles el primer conjunto en jean que he realizado, es la primera vez que realizo un pantalón de jean pero estoy muy feliz con el resultado, además con la tela que me ha quedado he realizado un corsé.

Espero que les guste!
Materiales
- 2 metros de tela de jean
- 3 botones
- Cierre
- maquina de coser
- Hilo
- Aguja de coser numero 16
1

Inicio con el corte delantero del pantalón, particularmente utilicé un patrón de otro pantalón y copie la silueta de este, tanto por el lado delantero como por el lado trasero de este, así se obtienen las 4 piezas.
Luego de deben utilizar dos rectagulos de la tela de jean y en esta se debe coser en ambos extremos cada lado del cierre.
2

Luego se fija el cierre en cada lado de la zona delantera de las piezas.
Luego para hacer los bolsillos con efecto "falso" debemos hacer un rectangulo de 4 pulgadas X 1 pulgada, de la misma forma debemos recortar dos rectángulos de 8 pulgadas X 4 pulgadas.
3

Uno de los rectángulos los debemos colocar en la zona interna de este. y luego fijamos a través de la costura.
4

Luego debemos unir ambas piezas delanteras a traves de la costura.
5

Luego debemos coser y unir ambas piezas la delantera y la trasera a través de los lados costeros de cada zona. Seguidamente preparamos la petrina para coserla en la zona del pantalón. Seguidamente debemos aplicar los botones en la zona delantera del pantalon.

Corset
1


Luego debemos utilizar los patrones para obtener las piezas del corset.
2

Luego debemos unir las piezas a traves de la costura.
4

Debemos recortar varias cintas, estas cintas van a ir fijadas en cada parte de la unión de las costuras, ya que en estas se van a introducir las varillas o ballenas. Para fijar estas cintas he realizado algunas puntadas con hilo y aguja antes de llevarla a la zona de la maquina de coser.
5

Una vez que se fijen las cintas desde el lado interno, debemos pasar costura desde la parte externa de la tela de forma de que quede en medio la costura de ambas lineas cuando se cose.
Luego debemos coser varias cintas y luego pasar esta a costura.
6

Finalmente se cosen las trabillas en ambos extremos del final del cosert. En total serian 10 trabillas, 5 en cada lado.
Luego introducimos las varillas por dentro de cada línea de cinta que hemos fijado. Por ultimo debemos doblar la zona inferior del corseé y luego debemos coser.

- Las imágenes me pertenecen
- Traductor: Deelp traslator
- Edicion: Canva
Congratulations @divergente1! You have completed the following achievement on the Hive blockchain And have been rewarded with New badge(s)
Your next target is to reach 3000 comments.
You can view your badges on your board and compare yourself to others in the Ranking
If you no longer want to receive notifications, reply to this comment with the word
STOPCheck out our last posts:
I like it, next cool work what is cool to see, you maid it fell 👌👌👌🥂🦊🌟🌟🌟🌟🌟
And when I look how you putting it all together, then I can see that it's a long job to do , it's not easy to do... you are master in this work 👌👌👌👌👀🌟🌟🌟🌟
Thank you very much for your words and support, I work to improve day by day, I love sewing! Thank you
Your welcome 🙏🌺☕👌👌👌🦊🦊🦊
For a first-timer, you nailed it, friend. Your Jean set came out so beautiful and no one would ever guess that this was your first attempt. Fantastic job friend, well done.
Thank you very much diyhub for your support!
wow eres toda una dura de la costura
Muchas gracias amigo, bendiciones
está bonito, bien hecho!
it's beautiful, well done!
Muchas gracias amiga!
You have a great talent for this job. Thanks so much for sharing it on DIYHub, the step by step is great and overall it's a great post that graces our community. Happy weekend!...
Thank you for your past support!
Unfortunately we have recognized that you have removed your delegation from our initiative. We want to thank you for the long support and would be happy to welcome you again some day :)
Stay creative & HIVE ON!
Que bonito te quedo
Look at some very beautiful pictures have a nice day
Keep creating 🎨